
Forum Replies Created
-
AuthorPosts
-
 Moderator
Yes maybe, Could be interesting to see how it responds to either command when connected to the 1611 converter also
I had done limited testing of DVD1 to BL1611 here: https://forum.beoworld.org/forums/topic/beolab-3500-and-1611-converter-settings/page/8/#post-14333
But I was trying to select using DVD command rather than CD, but in order to do the latter (and get sound) I would have to move the audio pins from 3&5 to 1&4. Of course I could just test control without audio.
Location: Warwickshire, UK
My B&O Icons:

Thanks for testing the Active Passive combination – useful info to store away for the future.
Location: Warwickshire, UK
My B&O Icons:
@Guy: Just a thought. When you tried testing with the DVD1 did you ever try if it would react to the CD command?
I can’t remember, but if I did then I didn’t note the result anywhere!! ?
Of course it won’t work if the DVD1 is connected to my BC9500 or BC2300 because they both have a CD built in, but next time I have the MCL2AV equipment out I will try it connected to the CD socket and see what happens.
It could be that the DVD1 only responds to AAL commands rather than Datalink commands?
Location: Warwickshire, UK
My B&O Icons:
The BeoSound Ouverture was called BeoSound 4000 outside of Europe, as explained here: https://beoworld.org/prod_details.asp?pid=952
Location: Warwickshire, UK
My B&O Icons:
A further thought about the ‘three wire’ MCL sensor timer button: I suppose I could test using my BV10-32 as the source, but I am never quite sure about timer setups when initiated from the TV. Might be worth a try while I have the cables out, but not today.
I was about to test this but realised that (unlike my old BV6-26) my BV10-32 does not have a programmable timer function! It just has a ‘Sleep Timer’ and a ‘Play Timer’ – the latter giving the ability to respond to a timer set elsewhere in an ML system.
Location: Warwickshire, UK
My B&O Icons:
@madskp. Any chance you could check whether the Active’s PL output will turn a connected Passive on/off? This could be useful if wanting a local ‘PC’ input in a room with passive speakers.
Location: Warwickshire, UK
My B&O Icons:
The PC socket can also be used as a line-out (fixed volume).
The pins were listed back here: https://archivedforum.beoworld.org/forums/p/15997/261799.aspx
Location: Warwickshire, UK
My B&O Icons:
The user guide found…. ….here might help. Beware – almost all BS4/DAB are DAB only, no DAB+ MM
Not a problem in UK where the majority of stations are still DAB.
(assuming OP is in UK)
Location: Warwickshire, UK
My B&O Icons:
Tried that it is finding 120 odd stations but I don’t know how to find them or add them. thanks for your help much appreciated
Have you tried following the advice on page 15 of the manual? As follows:
If DAB tuning results in too many stations for the Program List …
> The available stations appear in the STORE PROGRAM menu.
> Turn the wheel to move between stations.
> Press GO to store a station.
> If the menu is empty, or if you do not want to store more stations, press EXIT to leave the menu.Location: Warwickshire, UK
My B&O Icons:
I once removed the stickiness from most of the interior and centre console of a Mk4 VW Golf – that was mostly plastic underneath. I remember using IPA and finding quite a few advice videos on the subject, such as this one: https://www.youtube.com/watch?v=IbrznLcQwNg
Location: Warwickshire, UK
My B&O Icons:
A further thought about the ‘three wire’ MCL sensor timer button: I suppose I could test using my BV10-32 as the source, but I am never quite sure about timer setups when initiated from the TV. Might be worth a try while I have the cables out, but not today.
Location: Warwickshire, UK
My B&O Icons:
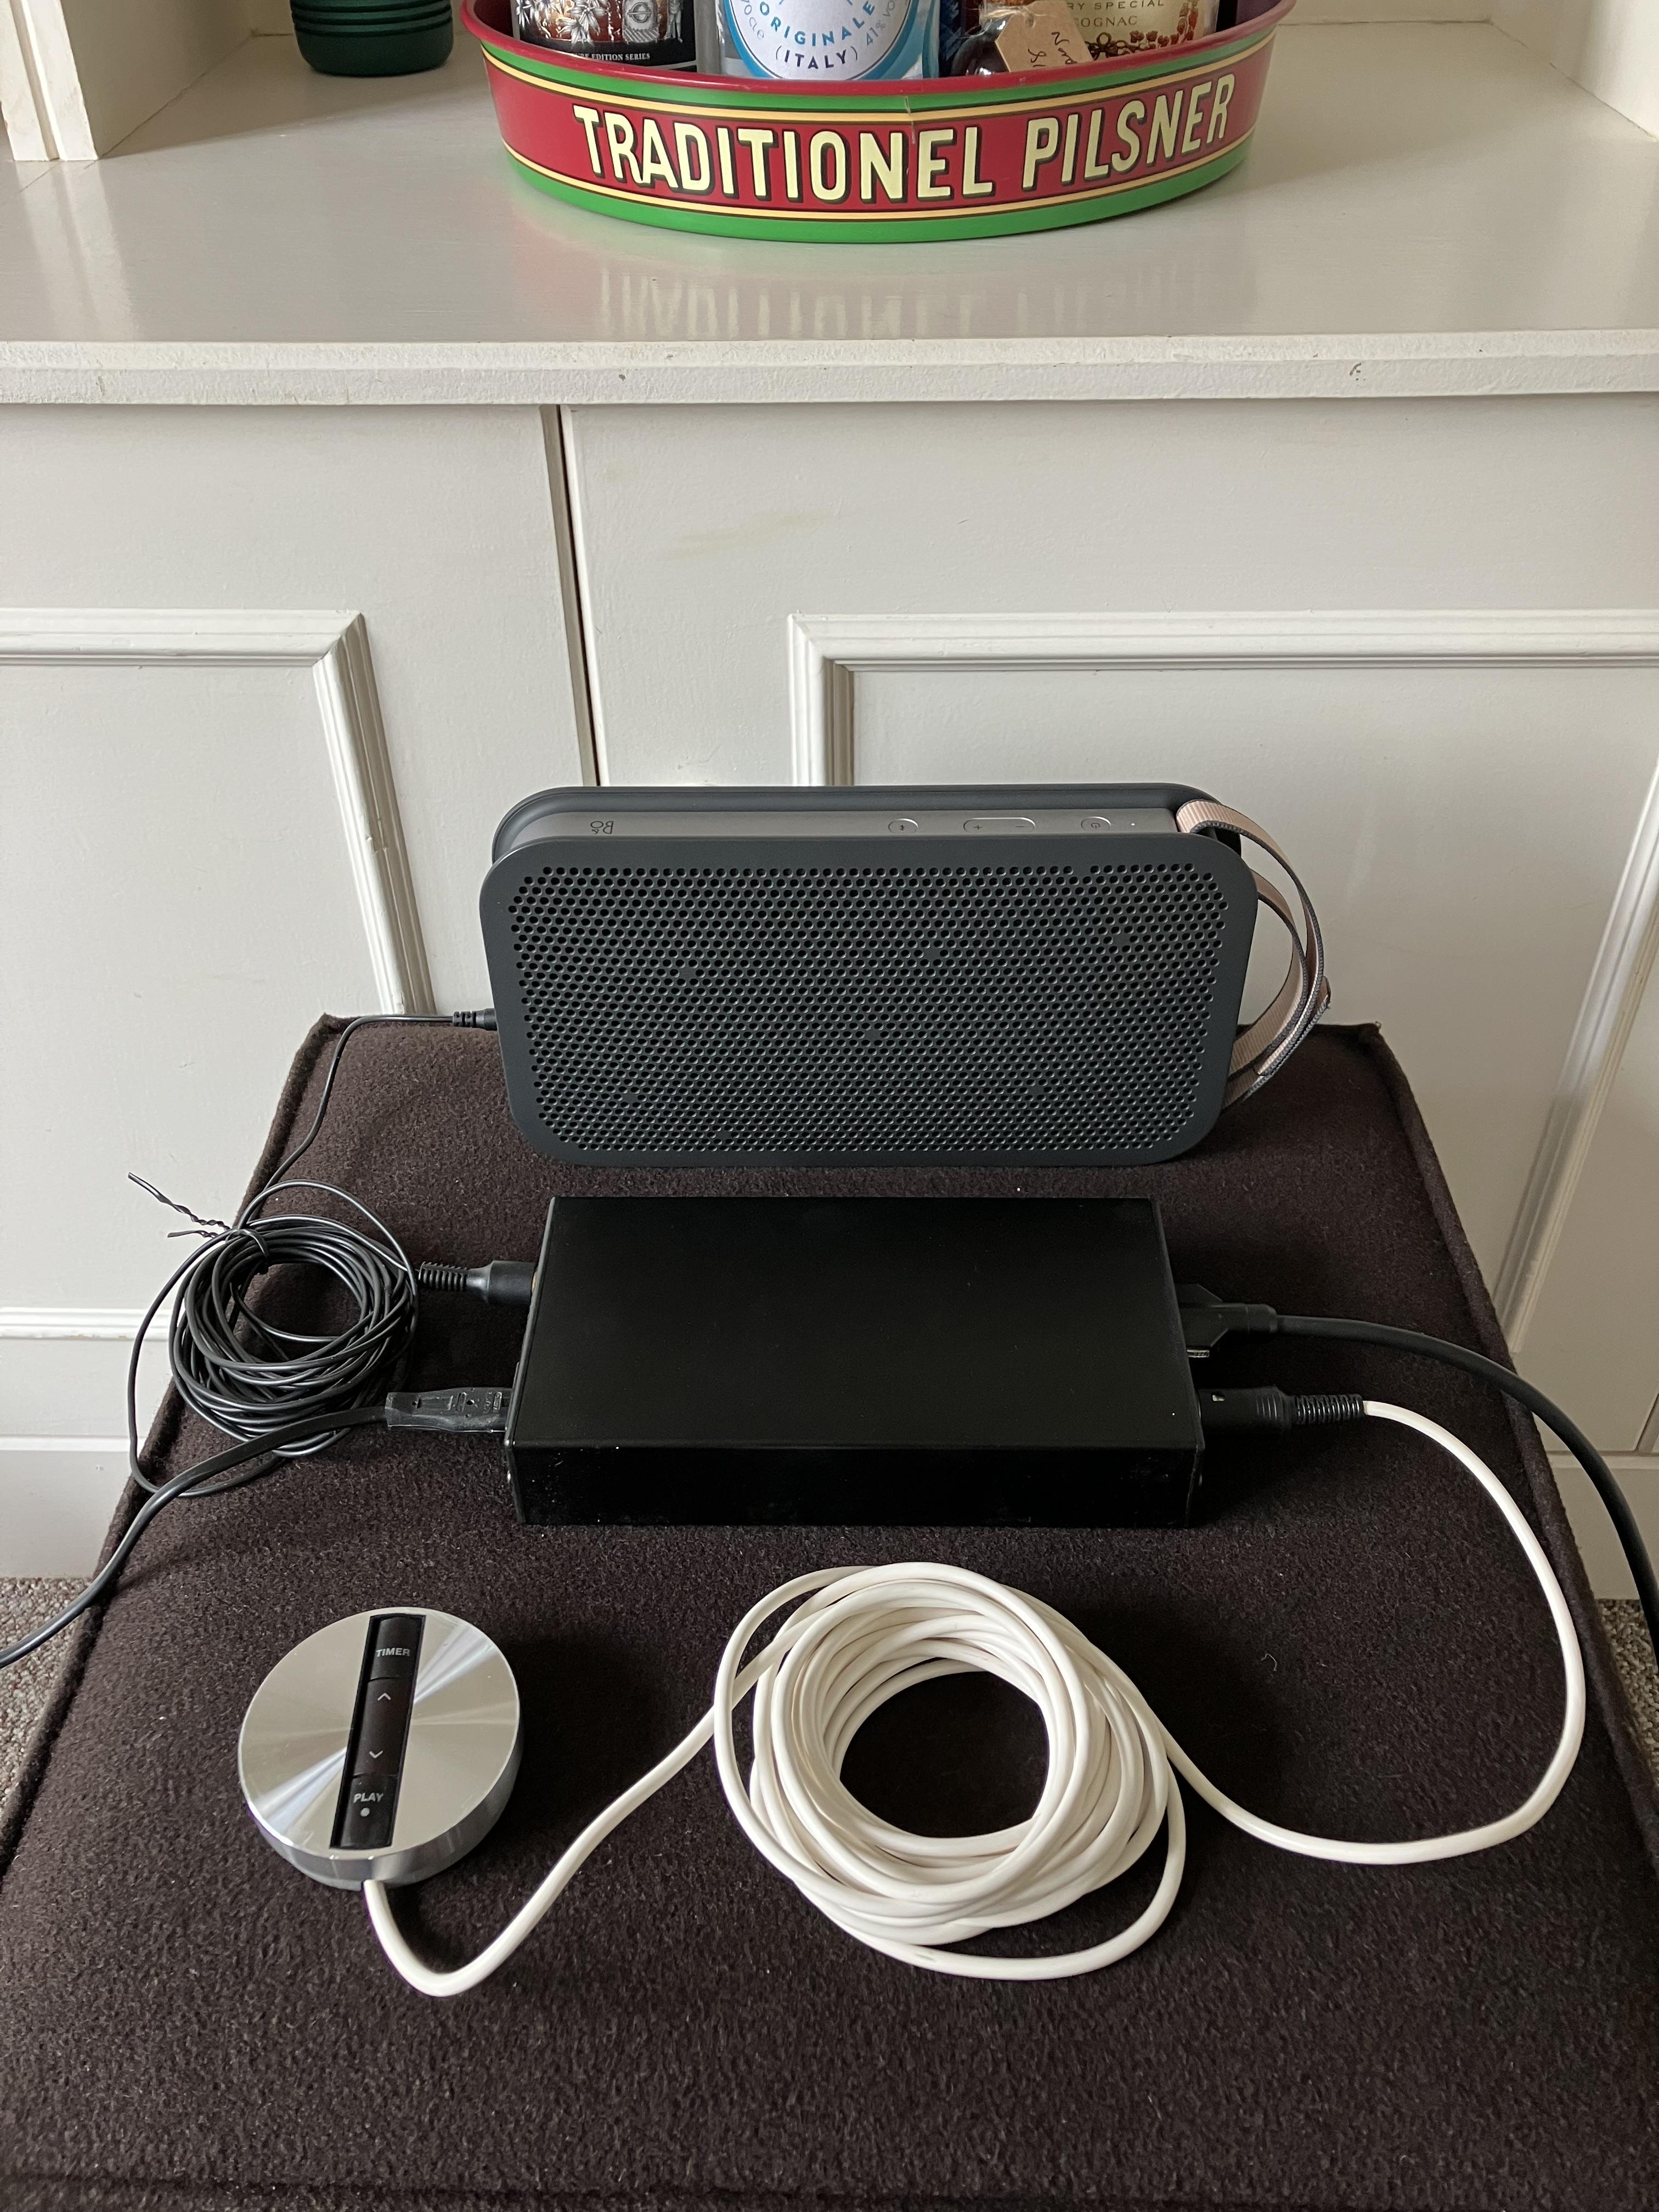
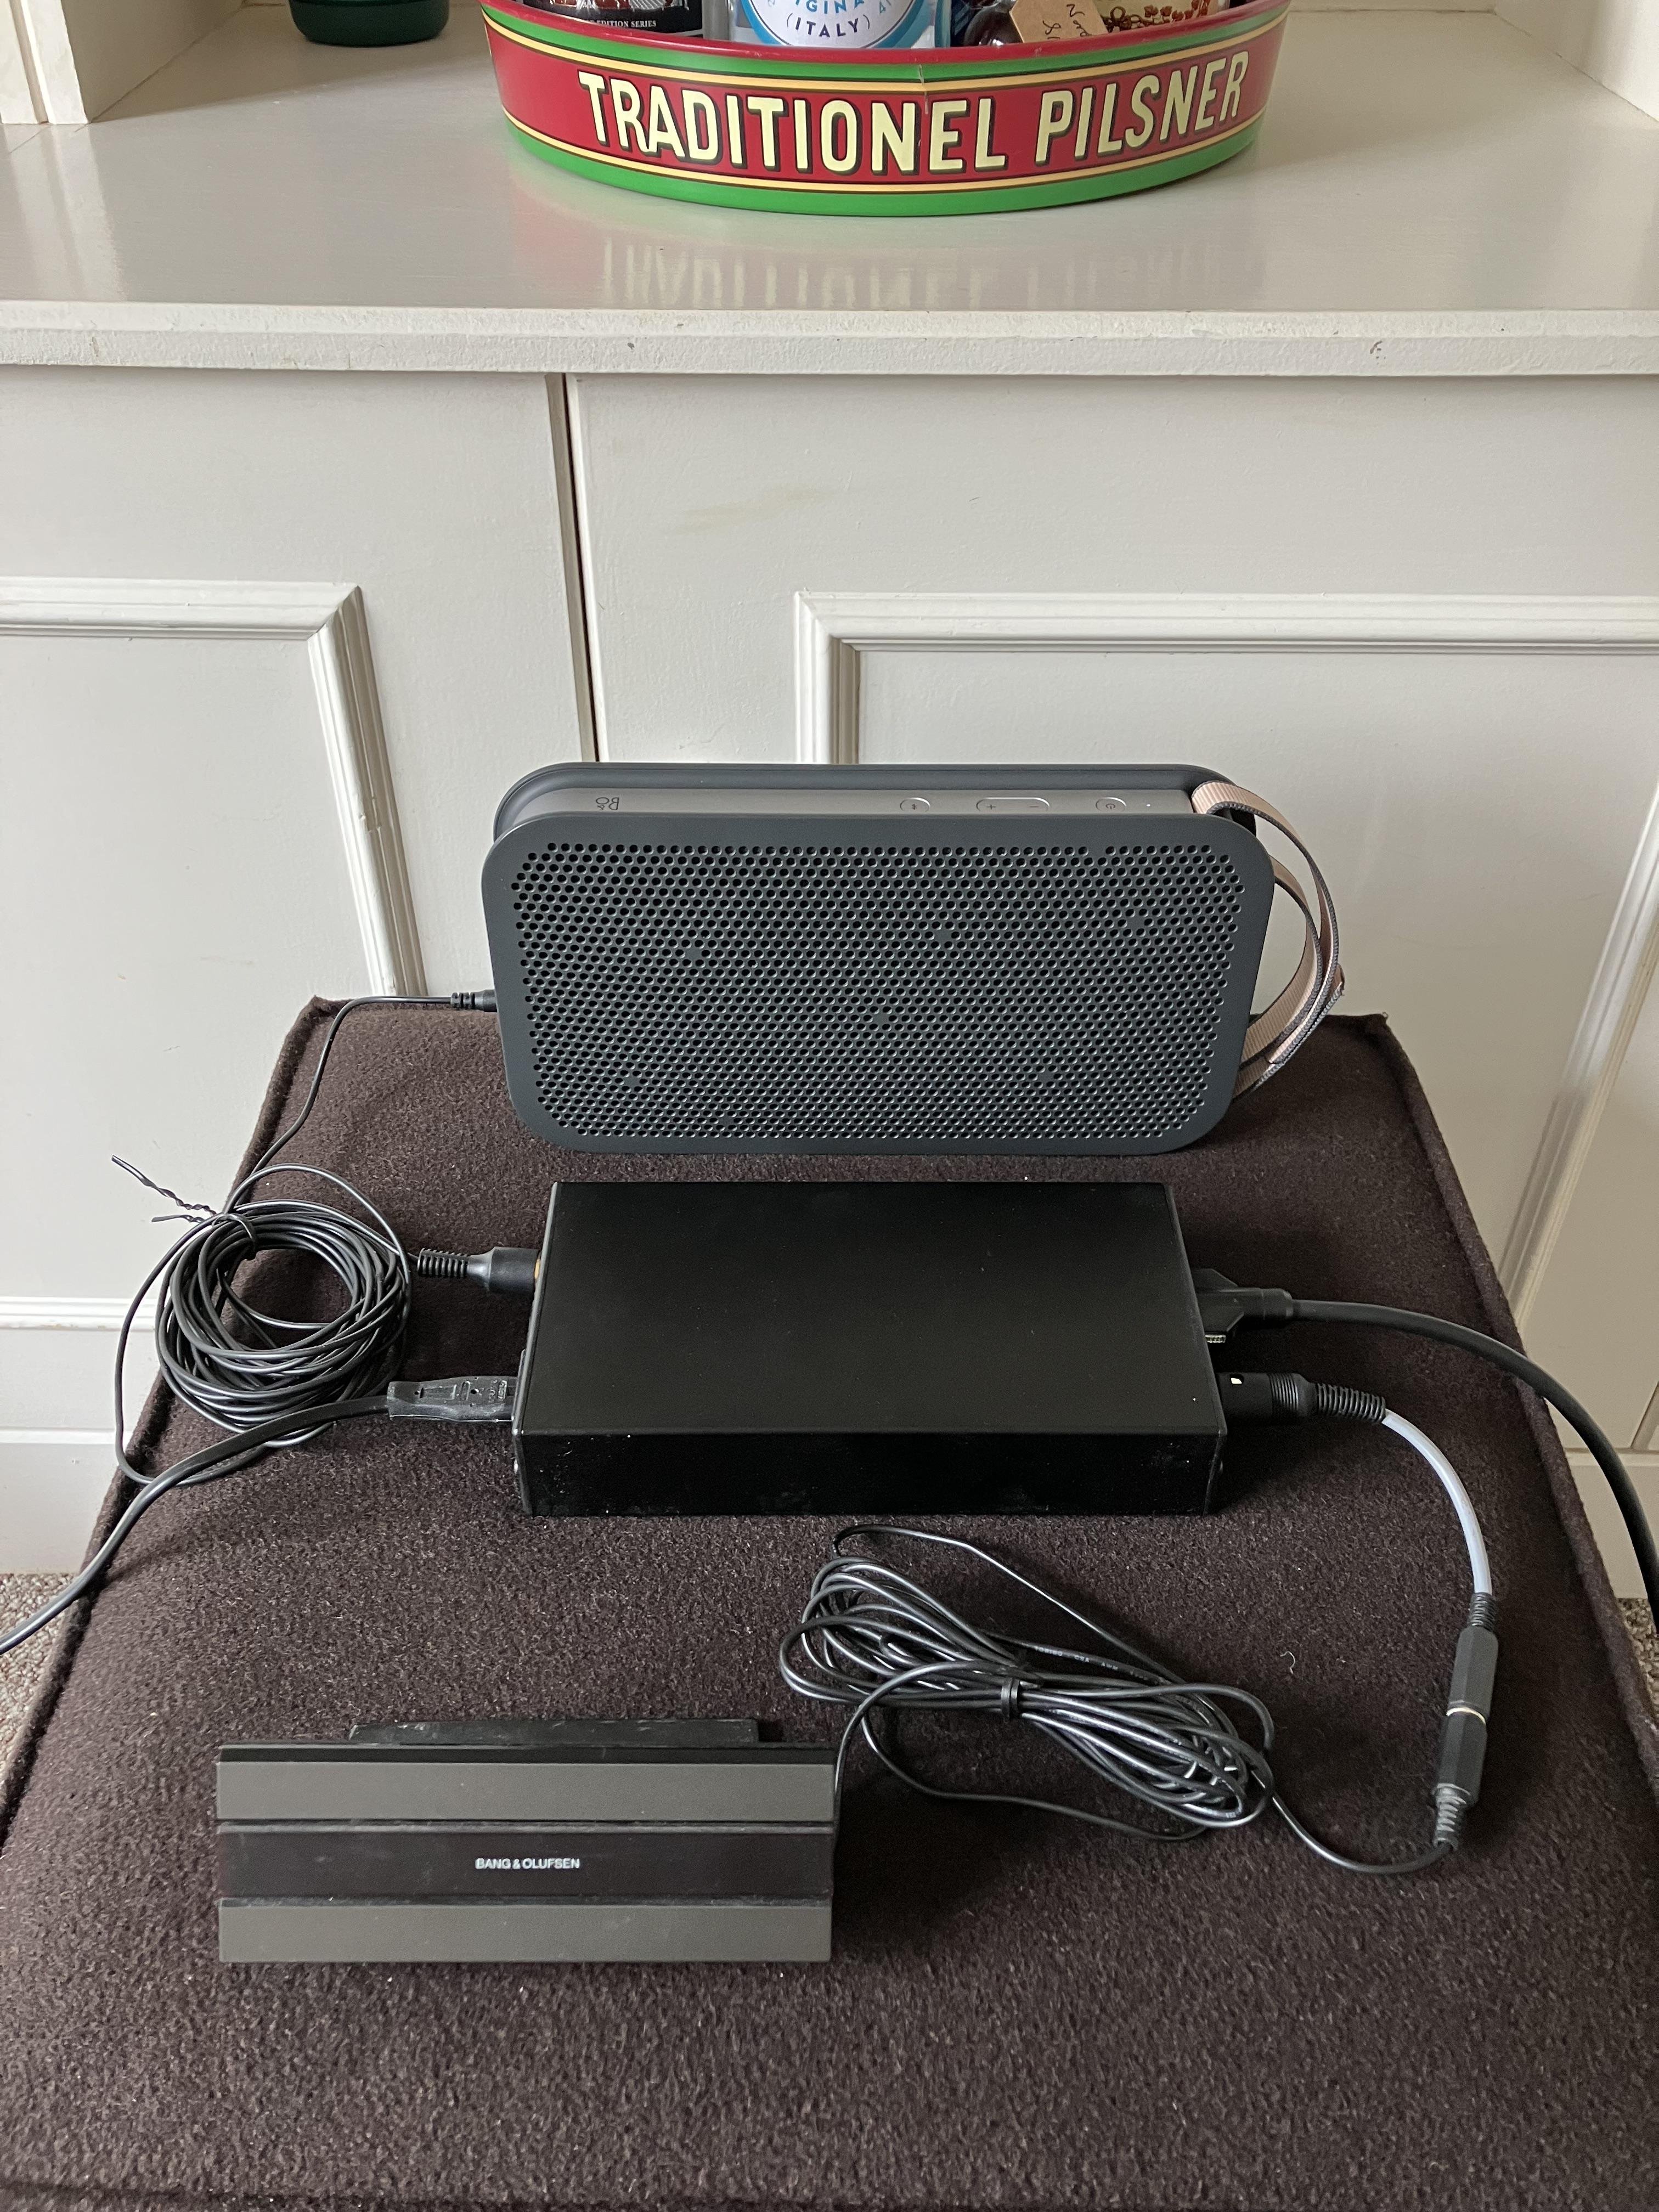
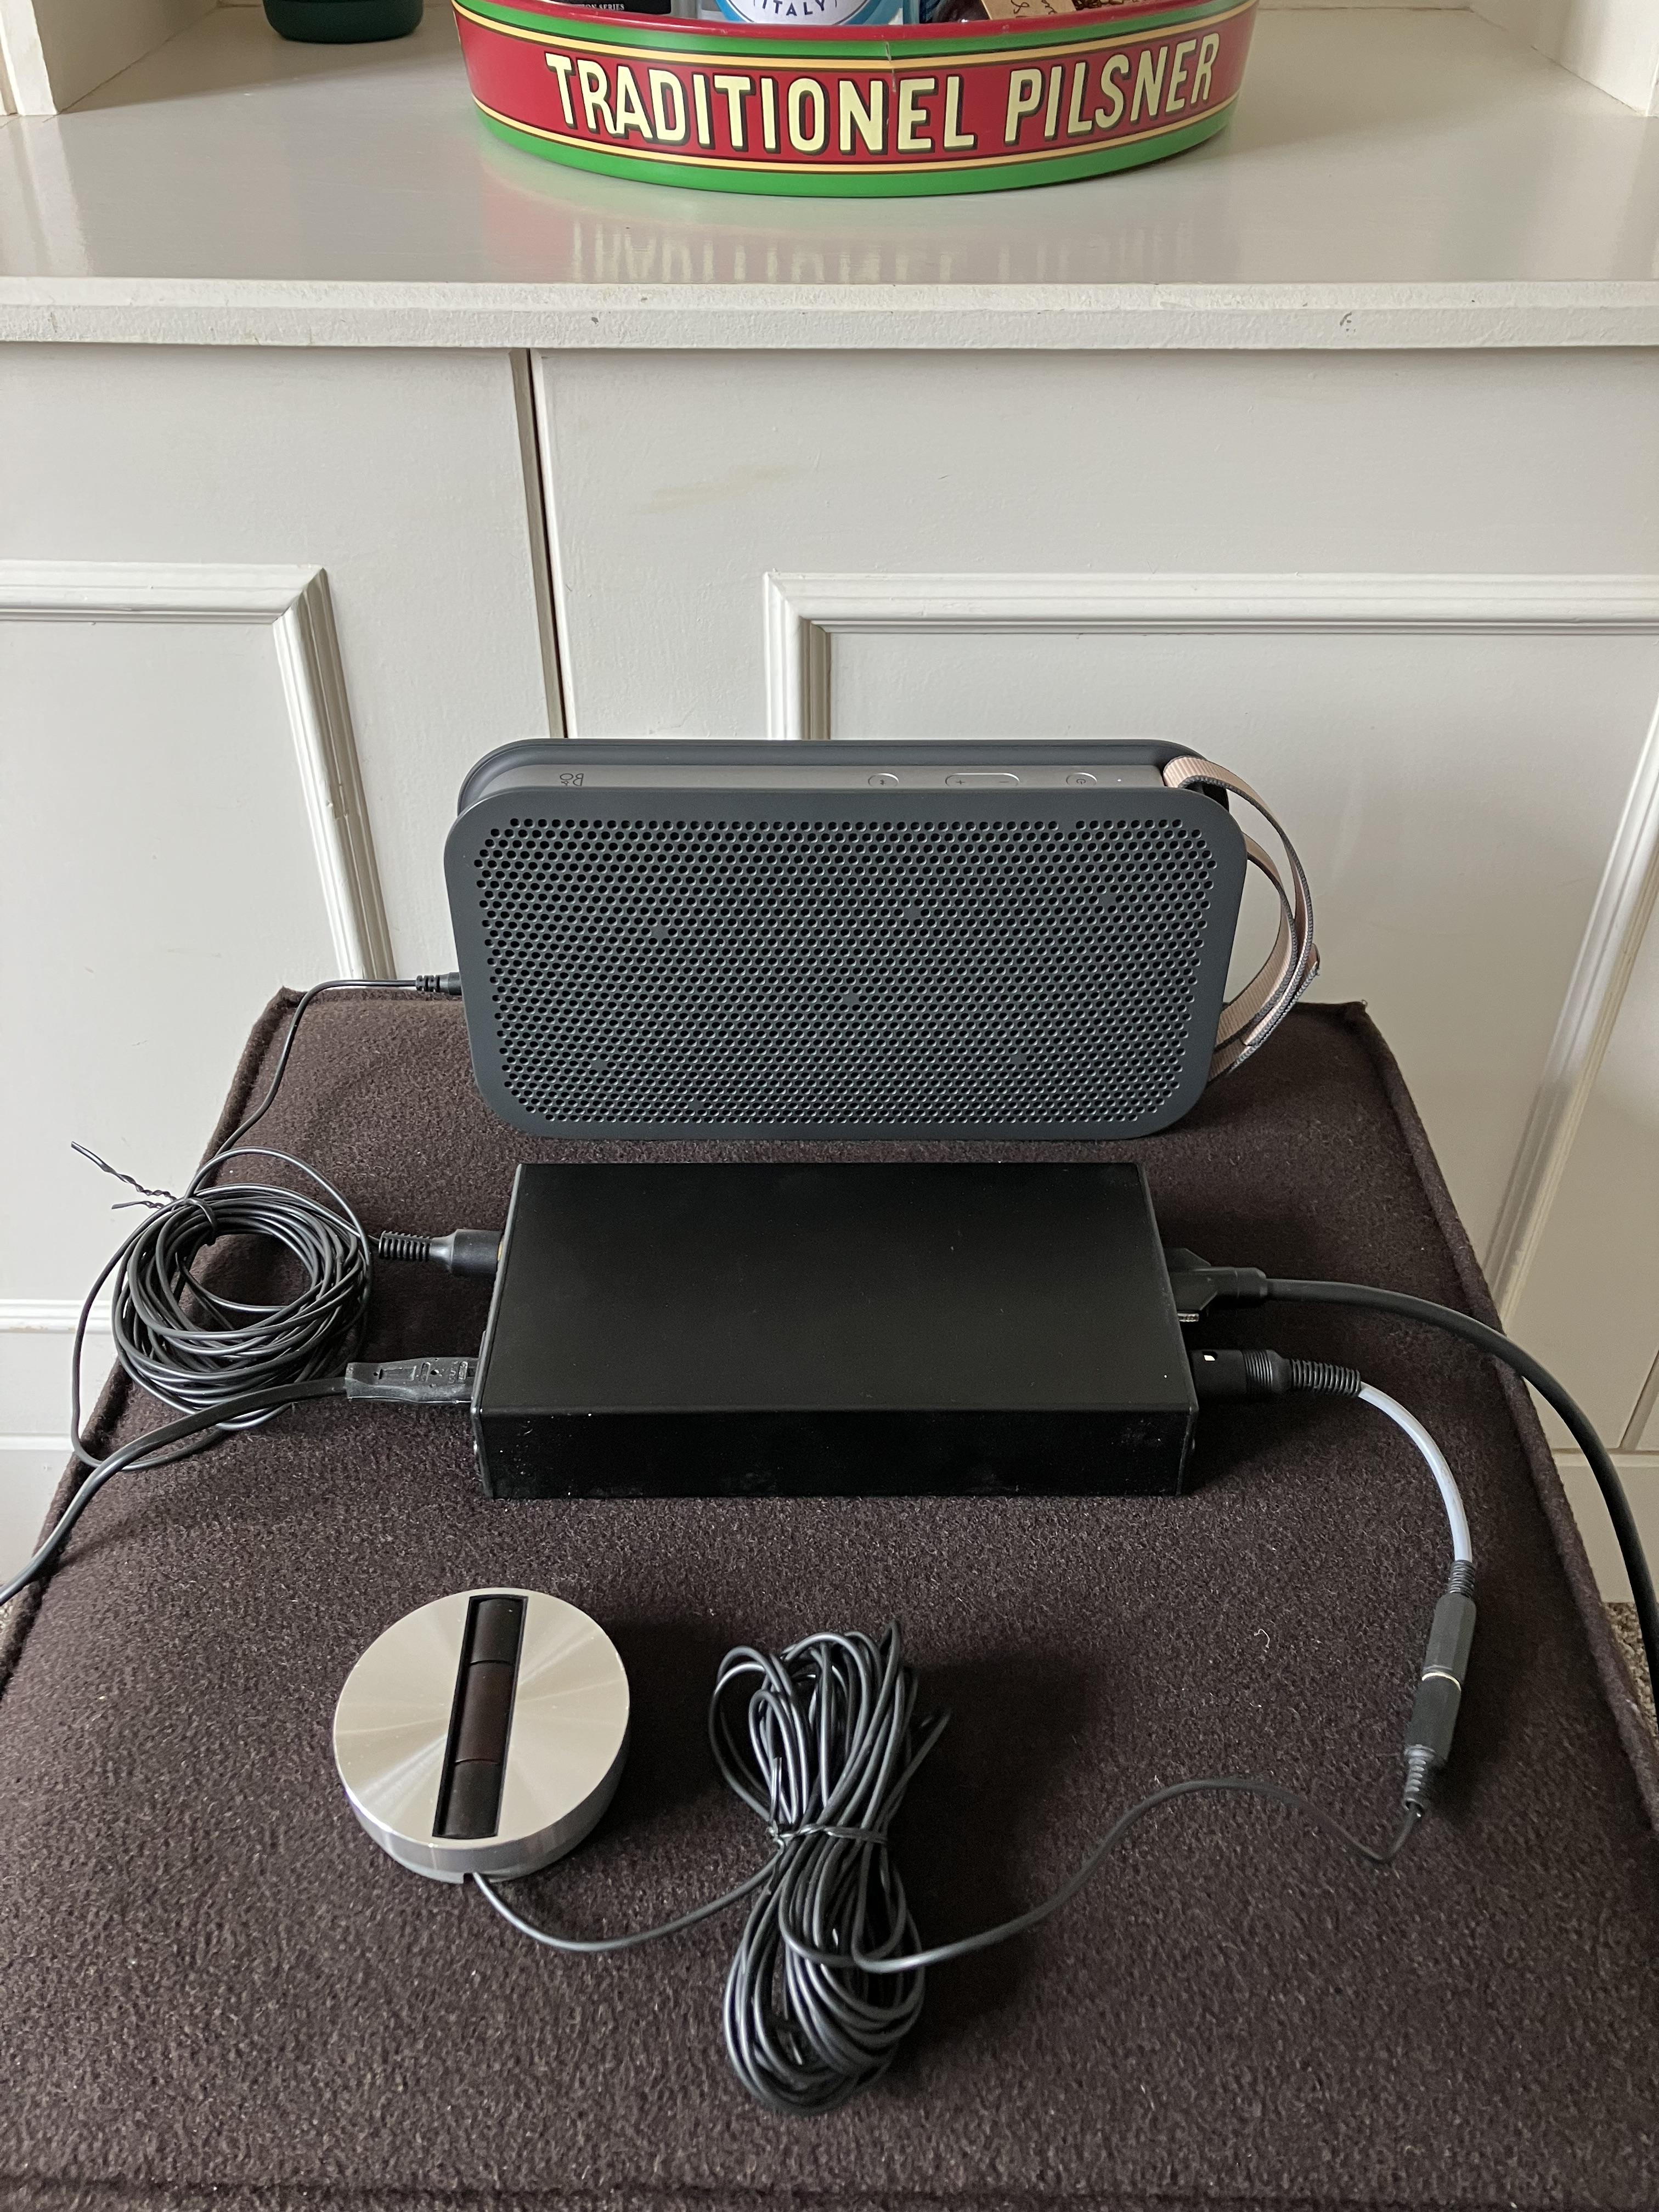
Apropos Beolink Active I just got a good deal on three of the including IR sensors and some ML cable and not related adapter cables.
A very useful acquisition and I look forward to more experiments including with the PC input!
Location: Warwickshire, UK
My B&O Icons:
I can’t access my MCL sensors at the moment to try them, but maybe later in the week (the BC9500 goes back on Friday). I do want to test out the MCL button Timer function as raised by madskp earlier in the thread.
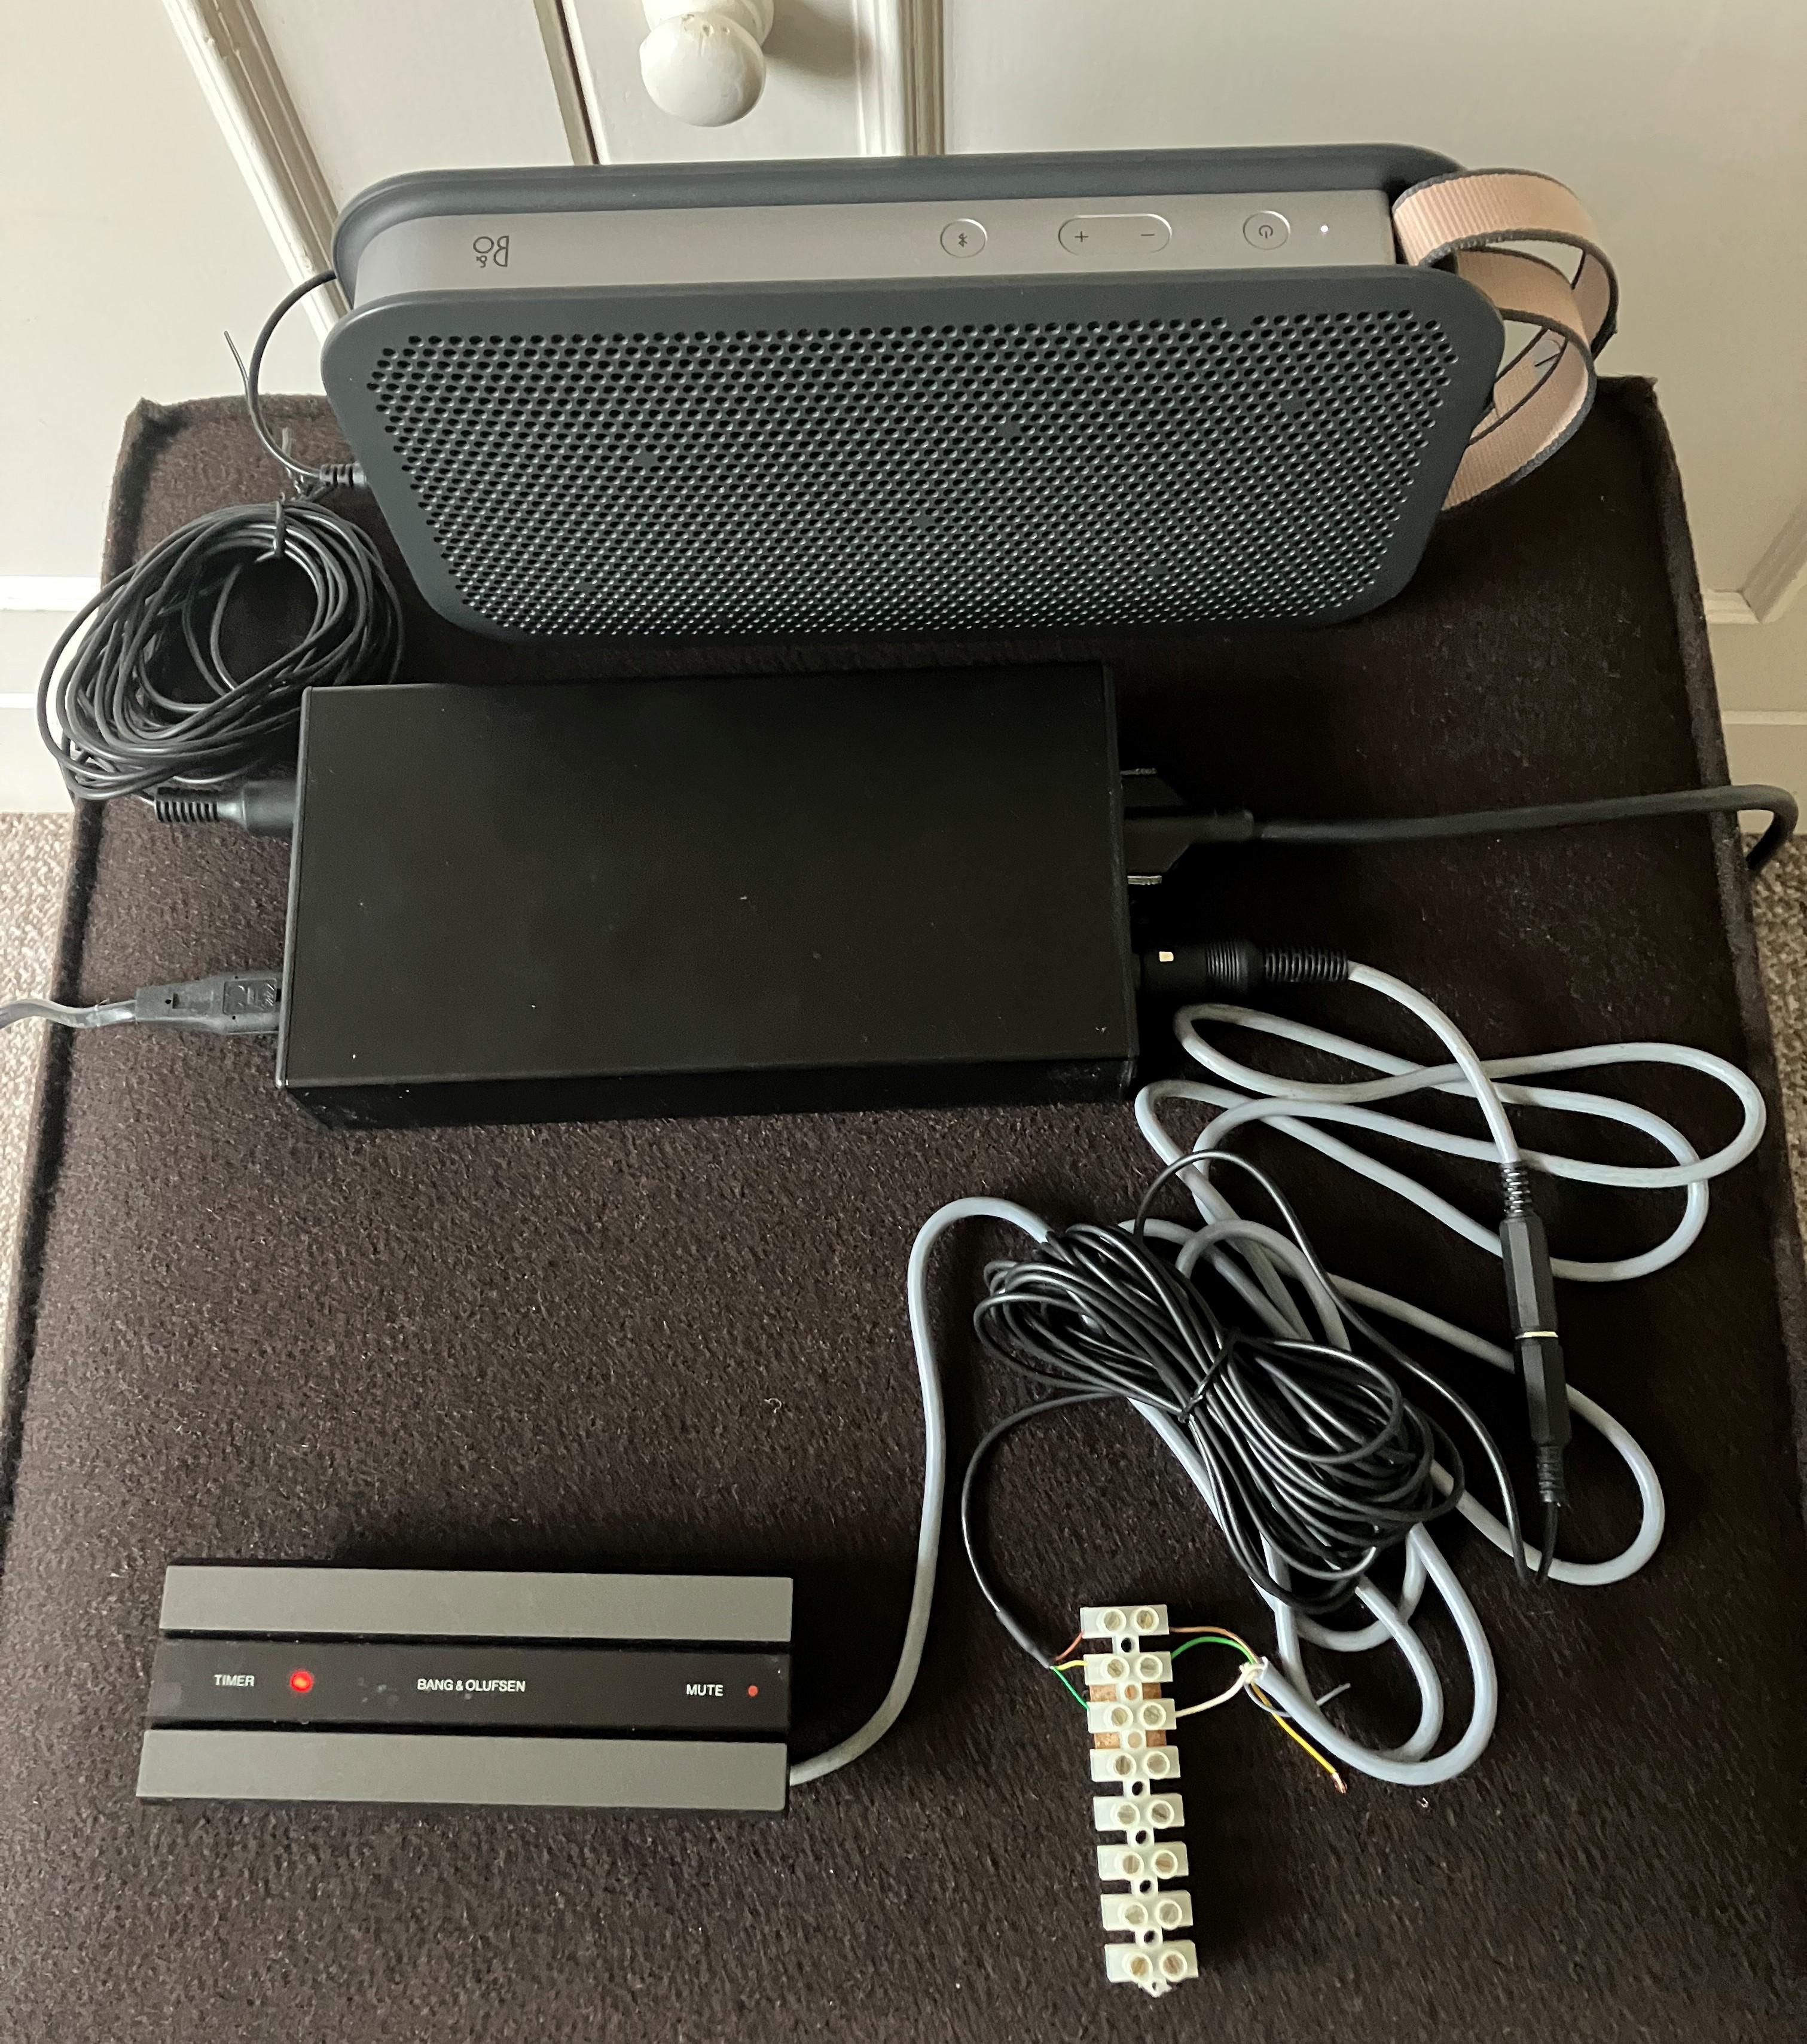
So I just carried out the sensor test using an MCL sensor with just three wires connected to the BL Active via a terminal block and adaptor. Brown->Gnd, Green->5V and White->IR data. (I initially confused myself and had Yellow to IR data, which is wrong and did nothing!)

Anyway, it worked fine as a sensor (light coming on with IR transmission), and the mute button worked. However, despite the Timer light going on/off, I could not get it to initiate when the BC9500 was programmed with a timer event. So it looks like the timer does not work with just the three wire connections in this setup.
The BC9500 goes back tomorrow, so no time to investigate further sadly (unless I unbox my BC9500 ?)
Location: Warwickshire, UK
My B&O Icons:
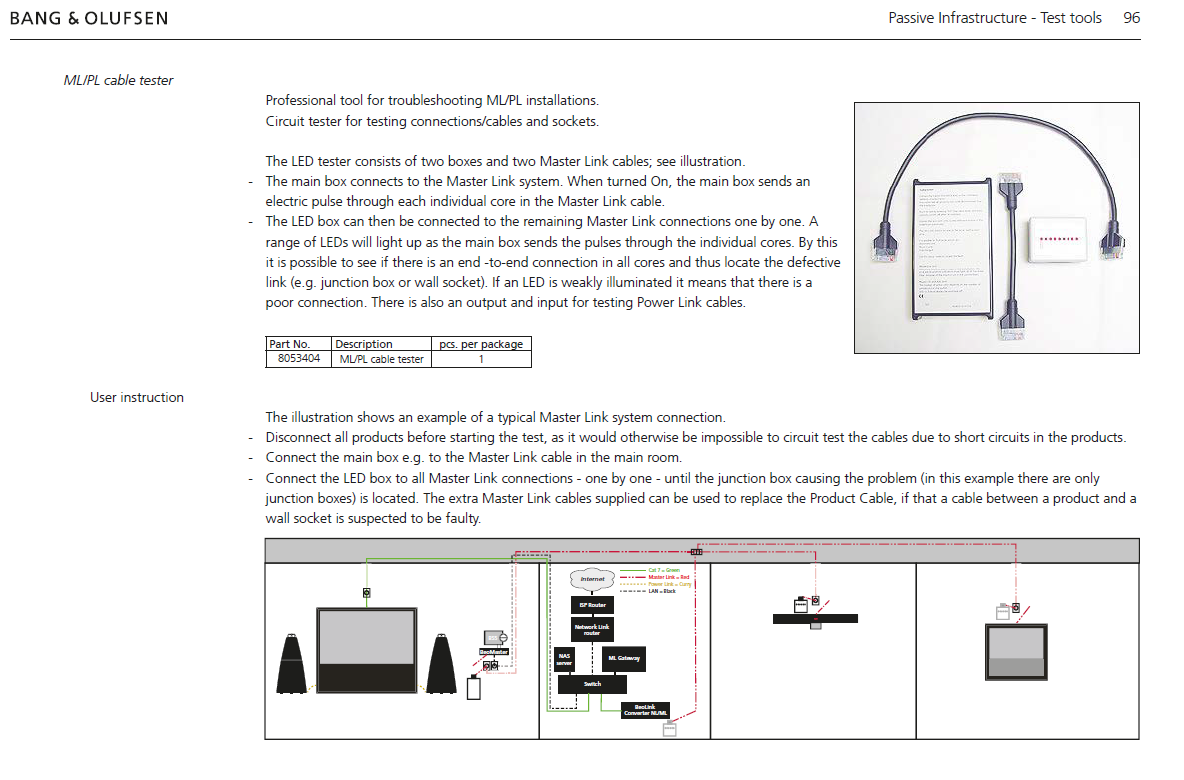
Great find – here’s the page from the Beolink Handbook v1-9:

Location: Warwickshire, UK
My B&O Icons:
Quick thread drift, but whilst the ML cable was deployed across the hallway I couldn’t resist a quick check of my BL3500 and BL2000 together with the BC9500/BL1611 combo.
All worked as expected, although it took a while for the BC9500 ‘time’ to be displayed in the BL3500 display (at first I thought it may be a limitation of the BL1611 converter), but after resetting the time on the BC9500 it suddenly appeared.


Location: Warwickshire, UK
My B&O Icons:
I just tried a few sensor tests (albeit with BL Active rather than Passive) whilst I have my mother in law’s BC9500 to play with as a source.
I connected BC9500 TV/AUX to BL1611 to ML cable to BL Active in another room. As usual, I used A2 Active as temporary Beolab.
Tested first with ML sensor – gives full functionality including buttons and Timer as expected:
Then tried with VX Sensor via 3.5mm to DIN adaptor. This gave full IR functionality, with just an LED indication when receiving an IR command. There are no buttons (even dummy ones) to test on this sensor:
Then with BS3 Sensor via the same 3.5mm to DIN adaptor. This gave full IR functionality, but there was no LED indication even when receiving an IR command. The buttons were non-functional, but of course only 3 of the possible 5 connections are made:
I can’t access my MCL sensors at the moment to try them, but maybe later in the week (the BC9500 goes back on Friday). I do want to test out the MCL button Timer function as raised by madskp earlier in the thread.
Location: Warwickshire, UK
My B&O Icons:
Great project but a frustrating problem!
I had a similar problem with DVI but in my case I was trying to feed an Apple TV (hdmi) into a BC6-26 DVI input – the picture would ‘blink’ every few minutes.
One thing you could try (although it didn’t work in my setup) is a ‘EDID Emulator’. I don’t know or understand much about them so you’d have to do your own research, but they are used to solve display incompatibilities in many applications and may be worth a try if you have exhausted other options.
Perhaps others have better knowledge of the use of BS3 with alternative (non-B&O) panels and can help further.
Good luck – please let us know how you get on.
Location: Warwickshire, UK
My B&O Icons:
Great news – thanks for letting us know!
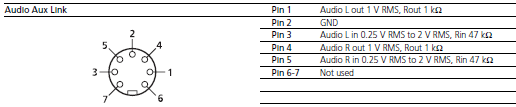
To be honest we should have solved this a bit quicker and Matador’s first ‘check adapter wiring’ was effectively the solution. I suspect that there is a short between pin 4 (right line out) and 2 (gnd) in the adaptor DIN plug. Mind you, if your aux cable is just a input (to the DIN end) then pins 1 and 4 should not be connected.
EDIT: Added Aux pin diagram below just to be clear – the image shown is when viewing the pins in the plug: (and I doubt that your adaptor has pins 6 and 7 as they are not needed)

Location: Warwickshire, UK
My B&O Icons:
Didn’t think of that. Unfortunately I still only hear one channel
I should have said earlier, when you did that headphone test, was the AUX connection disconnected also? If not, try headphones with both PL and Aux disconnected.
If you have a masterlink connection, try unplugging that as well. Check there is no dirt/debris in the ML socket (a small wire could short out the Right channel).
If a headphone channel is still missing then I think there is an internal problem. As far as I know there’s no simple fix (such as fuses) so you may need to look for a specialist.
Location: Warwickshire, UK
My B&O Icons:
One other thing – try the headphones whilst both Powerlink speakers are unplugged (from the BeoSystem PL sockets).
Location: Warwickshire, UK
My B&O Icons:
-
AuthorPosts