Forum Replies Created
-
AuthorPosts
-
 Moderator
Thank you. Not sure my hands are steady enough but I’ll try when needed!
Location: Paris France
To remove the old one you need to cut it longitudinally, if that makes sense.
Like the belly of a fish? But on a that thin tube how would you do that?
Location: Paris France
Thank you Chartz,
If I understand well, in SP’s the cantilever is “plugged” on the prong that protude from the cross, right? Then you would just need to “plug-in” a new hollow cantilever over it isn’t it?
Then how do you take out the cross and rubber part out of the SP shell? Is it glued or do you just need to push?
And to remove the previous cantilever you just need to pull it?
Location: Paris France
Terrific video Steve, really super interesting when it comes to the 90s and the various things they do to create their sound.
My two favorites moments: the Julia Roberts setting and the TLA’s, Three Letter Acronym!
Location: Paris France
but I think that shellac (+ limestone) 78s are harder than PVC 33s.
I thought it was the other way around but after further reading, you’re right!
Thank you for correcting me.Please let us now when you’re there and tell us how it worked.
Location: Paris France
Given the way I’ll be using this turntable (mostly with my 78 RPM disks) a DIY pickup rebuild would not be crazy.
Hi Geoff and thank you for your kind words.
I’m not sure of that but I think 78 RPM records are made of a softer material than modern records. Not a problem when the needle is new, but I’ve read scary things when the tip starts to wear. And sapphires wear quickly (less than 100 hours against 1000 for a diamond, I’ve read), even more when the tracking force is high like it was in old turntables.
I can’t find and old advert that says something like “worn stylus are chisel for your records” but in all case you should maybe check before dropping any needle on your disks.
Regards.
Location: Paris France
….driving by Det Kongelige Teater/Kgs Nytorv in the center of Copenhagen.
Actually, I really hope he’s parked!
Location: Paris France
The SP series are easy to do because they have a spigot on which you can attach the alu tube, with moderate force. No need for glue.
Hi Chartz, is this in all SP? I’ve looked at SP10 and SP12 and cant see anything?
Location: Paris France
Oh, God!
I was expecting all sort of reactions but absolutly not your curiosity Mr Martin!
To answer two quarters of it:
- Not need to measure: Sapphires are at best spherical so, in my understanding, less good than any other shape. They’re also softer so prone to wear quickly and therefore, damage the record (still after my google wisdom understanding). I don’t even talk about parameters I don’t master like stifness of the cantilever or anything like that (you may not be aware of, but there is a 20 pages “technical sound guide” about beograms, I’m not sure I’ve shotcuted with a 10€ trick!).
- The Chinese bulk sapphires are replacement parts for low cost record players that all use the same cheap needle. You find them on the bay, here in France “à la FNAC” and maybe in every similar tech store around the world. A little reading will teach anyone they share nothing with the lowest even not B&O tip.
And to answer the last bit:
- I’m still happy because despite all the above it did still work “not outrageously bad”.
It shows this is possible and be done better with better skills or care or money. For instance by replacing the cheap sapphire with a diamond or using a better strand or whatever else. Maybe just with more steady hands and a better magnification device.
One midway solution would be to be able to use that sapphire or any other tip if it could be glued strong but unglued easily.
In any case, I know this will be like a slap in the face of any well serviced Beogram, but experiments need to start somewhere!
Regards.
M.
Location: Paris France
Thank you RaMaBo, btw, happy to see you around!
I’ve ordered the caps and will report !
Location: Paris France
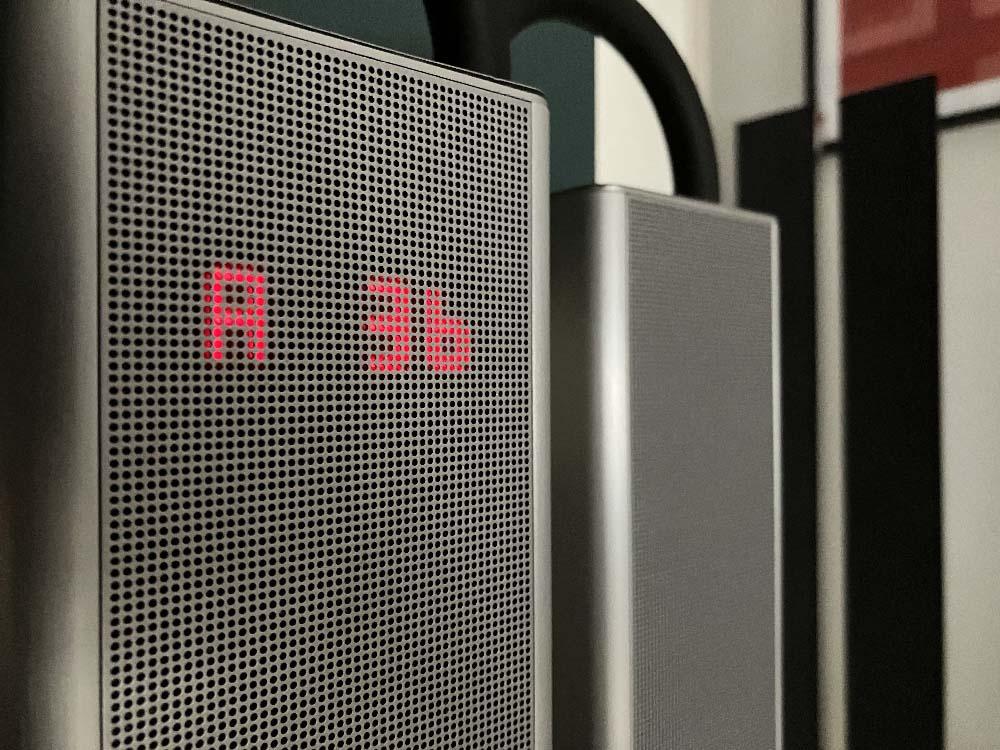
Four years after the first cleaning, the top panel of my Beosound 3 needed another round. Now playing again crappy mp3 files! Isn’t the world beautiful?

Location: Paris France
Sorry for my reply in english…
Out of curiosity, may I ask “why”?
Of course it’s a beautiful object, I got one just after a member posted a picture of the flying saucer comfortably charging on its stand with this magic ring of light underneath.
But honestly, once you have play a little bit with it, I’m sorry to say its sort of useless.
Anything will do better, SD cards are moody, files handling all the same even more if you are on Mac, If you have the chance of getting the iTunes plug-in, it dont work anymore on recent iTunes version, battery life is non-existant and about the beauty of the thing, anything but the wind will scratch it. What did you say? “Sound quality”? just check the specs read formats.Unless it’s for display or very (very) cheap, I’d like to know why?
– Still I keep mine 😉 –
Location: Paris France
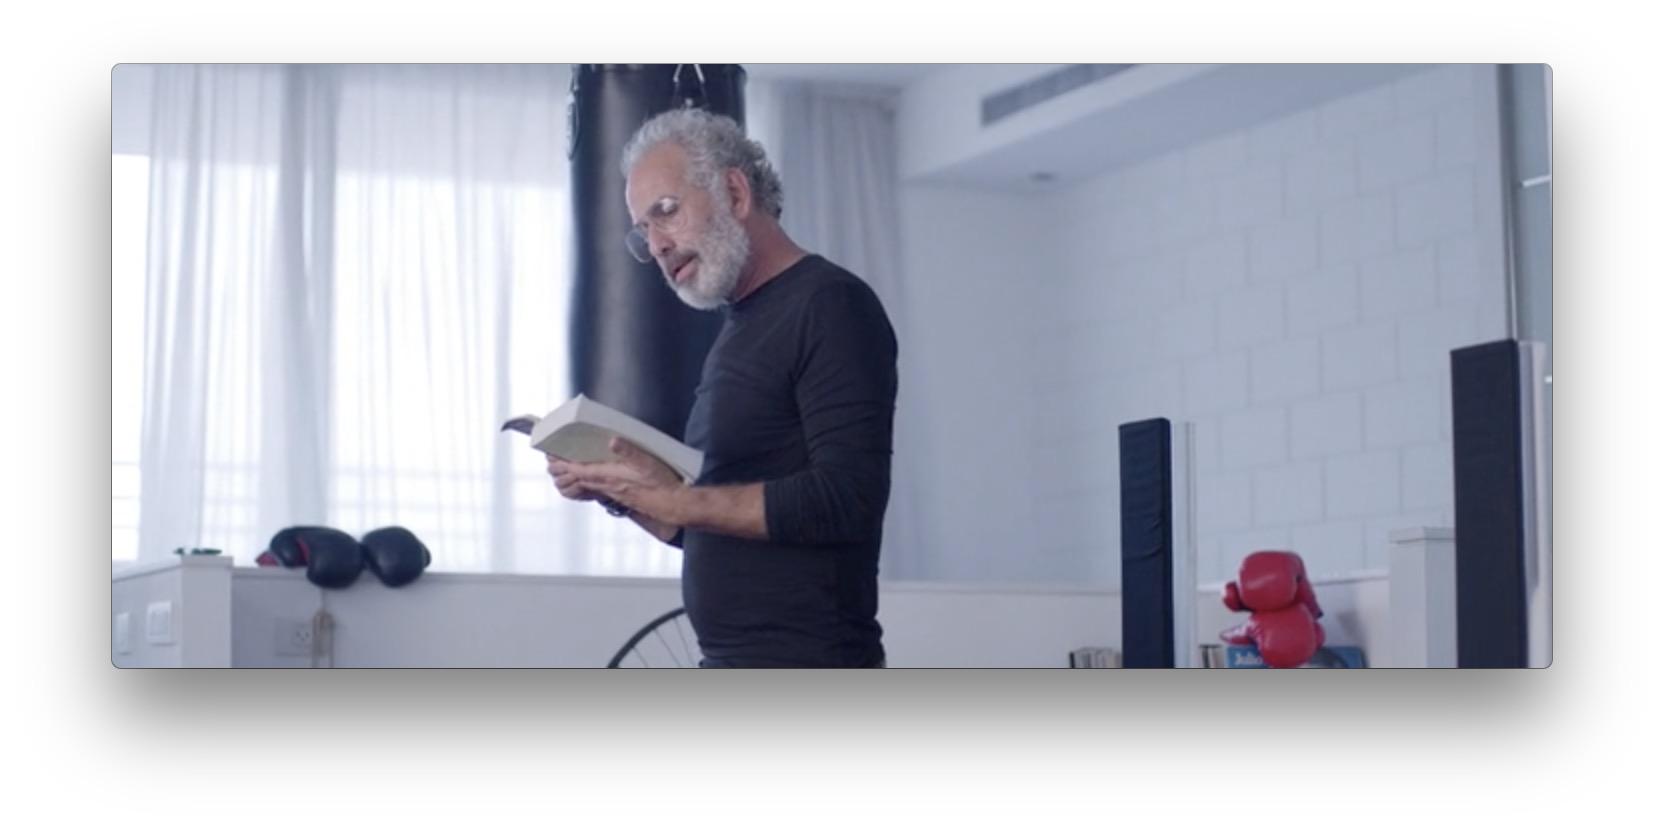
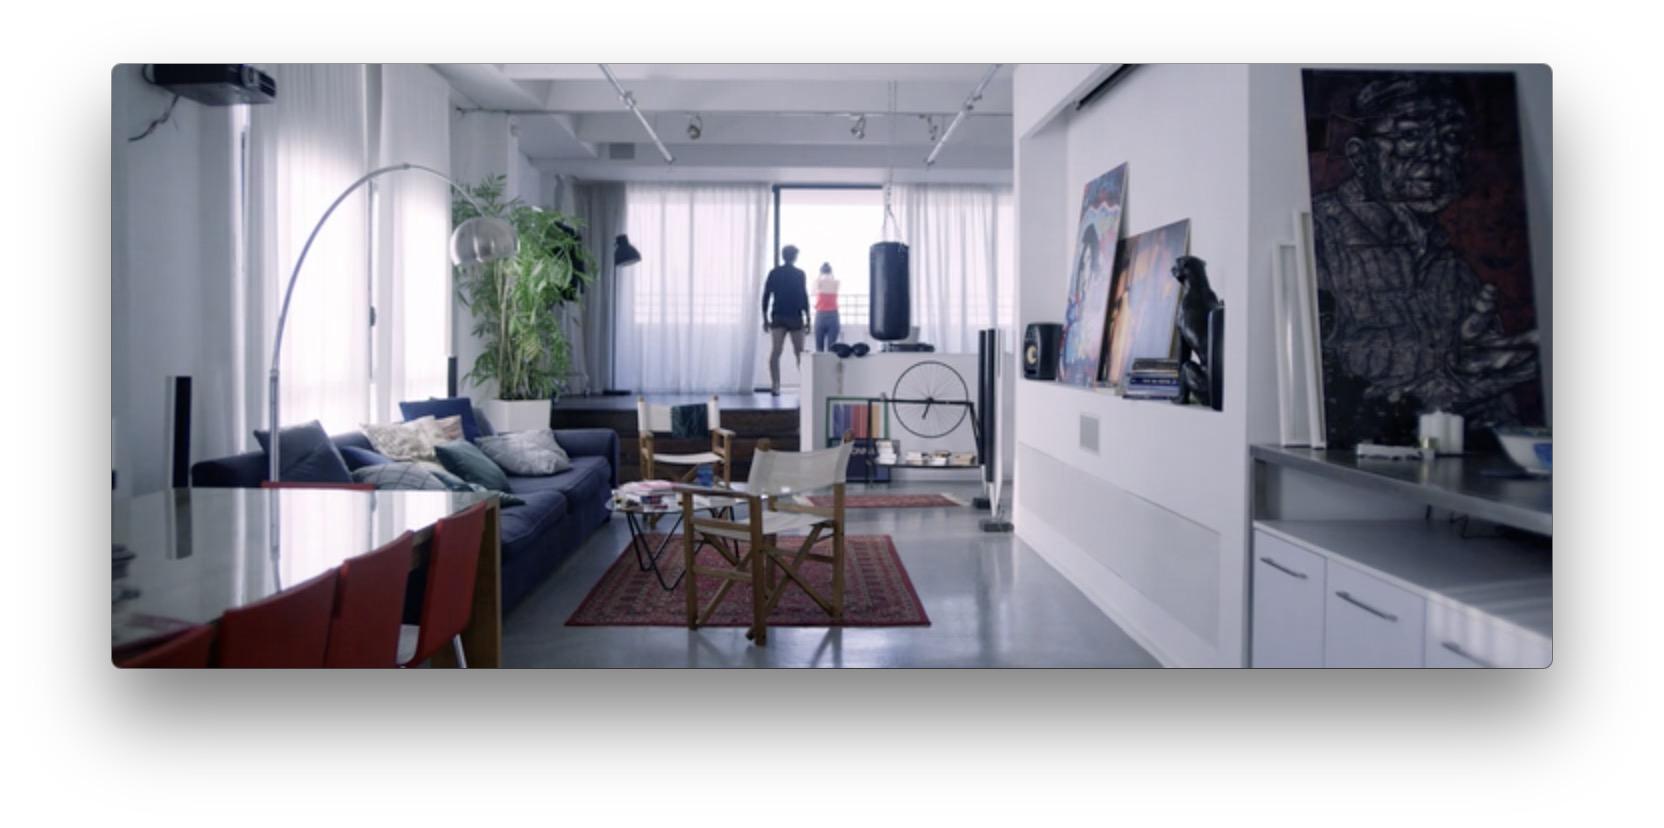
Losing Alice…
Very lifelike Beolab 8000 with wrinkled fabric (!) but too close one to each other and of centered with the 6000 in the back or even the video projector. There is also a pair of non B&O speakers, this guy must deal second hand hi-fi!

Location: Paris France
Hi Christian, Thanks for stoping by!
Yes, half an hour is enough to ruin all your holidays benefit!
To answer your post:
The BS9000 is regularly cleaned and the sensors can’t be (as far as I believe) incriminated.
The front panel is working fine at first startup.
When the IR operation is back, it IS back as normal.
The problem is really a delay between a cold start (after likely a week off) and the return of IR operation.
I, ignorantly, was expecting something like “you have a weak inside battery that hold settings and can’t remember you’re in A.Option 1 until it gets a little more juice in.” or similar, because I’m not aware of any capacitor that would need half an hour to charge.
But more seriously, I’d like to know if it is a symptom of a bigger fail to come or… it is just like that. And because I also have a Century wreck that as become my other IR challenge to fix, that I dont keep plug more than 10 minutes each time, I wonder if it could be a similar fault.
Thank you anyway for your interest.
Location: Paris France
Beautiful!
Now be sure to check the rubber feet! 🙂
Location: Paris France
Damn, I didn’t even think to look in the catalogs, stupid me.
Thank you Beozip!
Location: Paris France
Hi and welcome to Beoworld.
First of all, replacing the woofer surrounds on the CX100 is not that difficult if you’re a little bit handy or careful. If you’re good with you’re current setup, that would be the better option. The process is very well documented all around the internet, cheap, and kits come ith all you need to do it right.
If you don’t want to do this I’d look at the second hand market for old or less older Beovox: CX range (but be sure to check the surrounds and listen to the speakers) or depending on your tastes, RL, Pentas… On some models same checks apply than for the CX.
Unless you like the look of them, I don’t find BL18 (that I love) will look nice next to a BC8000, less than 8000 if you really want columns. Using standalone systems like levels, Balance or similar is to me, a waste and as you said, not a really convenient solution unless you reaaly want to use the wireless connection as main source.
Location: Paris France
I’m also hoping to meet with the Classics team to find out more about the Beogram 4000c
Hi Steve, I would like to know how they feel on the recreated Beogram being named “4000c” when any fan/user of the brand obviously can see it is a 4002 basis. Is it a marketing choice knowing it will “upset” any B&O lover (remember Dillen: “this is not a 4000!…”), but whatever… How do they feel from enthusiasts to enthusiast… Or is it a dark, not obvious but very relevant reason behind this weird choice.
Please ask.
Location: Paris France
16 June 2022 at 14:39 in reply to: Besound 4000 replacement cables / Light Stays On & CD won’t play #34707Looks like I can source the rubber and replace it without too much difficulty!
The rubber, “belt” if thats what you meaning as nothing to do with the symptoms you describe. If the CD load/unload but dont spin it’s more likely a faulty laser eye. Plenty of information about this on the old forum (search for “laser faulty” or similar since it something relvant for many beosound systems from ouverture to 9000).
I’m guessing the rubber had dried up or something and it started to fall off. Is this self-repairable, or what can I do for this? hoping for some good news, thanks!
Another common issue with beolabs 6000, the rubber surround falling appart. It’s a common repair for whoever has those speakers. Can be by yourself but depending on your skills, it can range from easy to nightmare. I consider myself as a handy and caring person but replacing surrounds on 6000’s woofer was not a sweet experience. Nevertheless, plenty of tutorials around, quite cheap repair and all in all, easy.
Good luck.
Location: Paris France
Hi.
I’m not sure to understand your issue well. But if it is something like “the solenoid makes a scratching noise when activated”, I think it’s a common failure for those decks to have the core of the solenoid, twisted and then seized into the coils. I remember something like that.
Google Beogram 5500 repair, and you should find more info on this.
SOrry if this is not related to your problem.
Location: Paris France
-
AuthorPosts