Forum Replies Created
-
AuthorPosts
-
ChristianHak
BRONZE MemberYour joint work is much better than B&O 4000c recreation wood trim joint.
Have you seen a 4000c in the flesh? Does anyone on this forum have a 4000c or know of anyone that has one? I have a few questions for them regarding the upgrades.
Also, has anyone had their 400x serviced with the upgrade kit?
ChristianHak
BRONZE MemberThanks for the kind words!
I would be open to making these for sale.
I was thinking that I could provide them unassembled (not glued together) as that way they can be shipped efficiently in a poster tube.
If shipping them assembled, it would cost a bit more for shipping, packaging and labour.
If anyone is interested, I can make them in walnut, oak, ash and can likely source rosewood, teak and other timbers.
ChristianHak
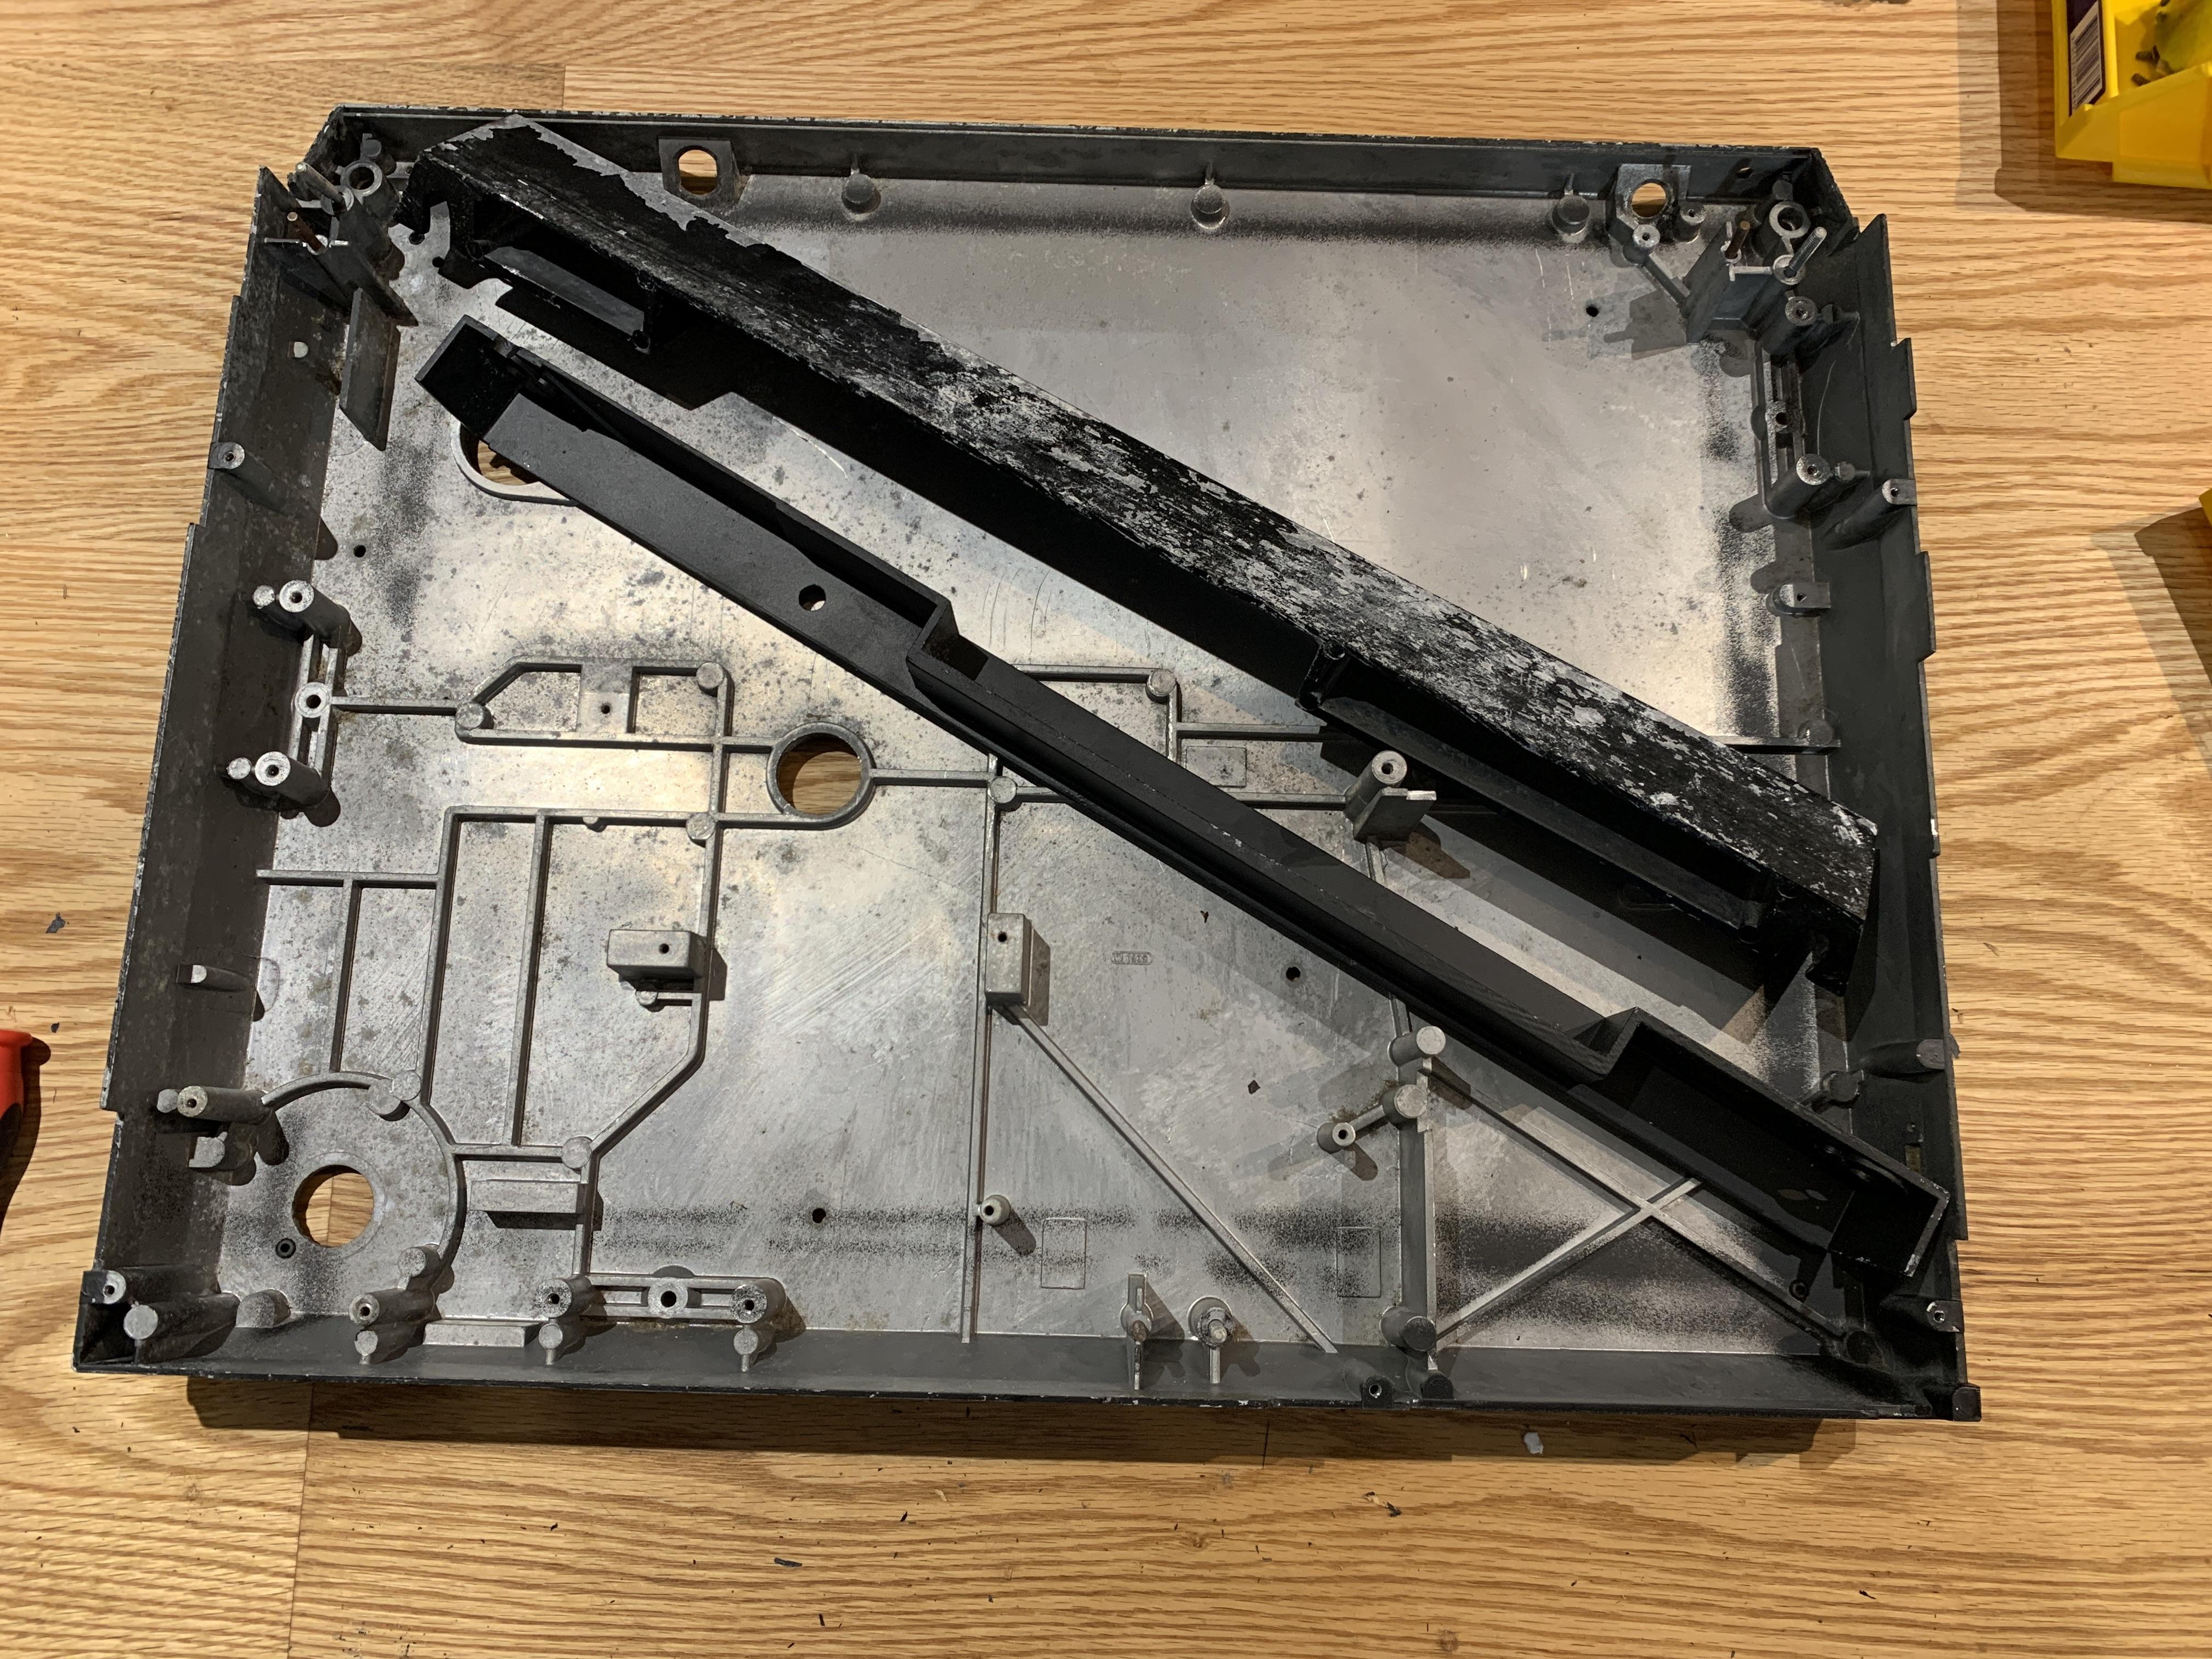
BRONZE MemberNext step was to disassemble everything from the chassis and the back piece of the dust hood. The current condition is horrible. The previous owner had made an attempt at starting a restoration and it seem he had tried to sand off the paint.
It was very interesting disassembling the turntable. I enjoy seeing how things are put together and work. I made sure to label everything and take a million photos of how it goes back together. I removed the old sticker labels so that I can adhere them again after it has been refinished.
My plan is to have these pieces sand blasted to remove the old paint before refinishing it myself. I have sent off a few emails to get some quotes on the sand blasting. Has anyone got any experience with restoring the chassis?
ChristianHak
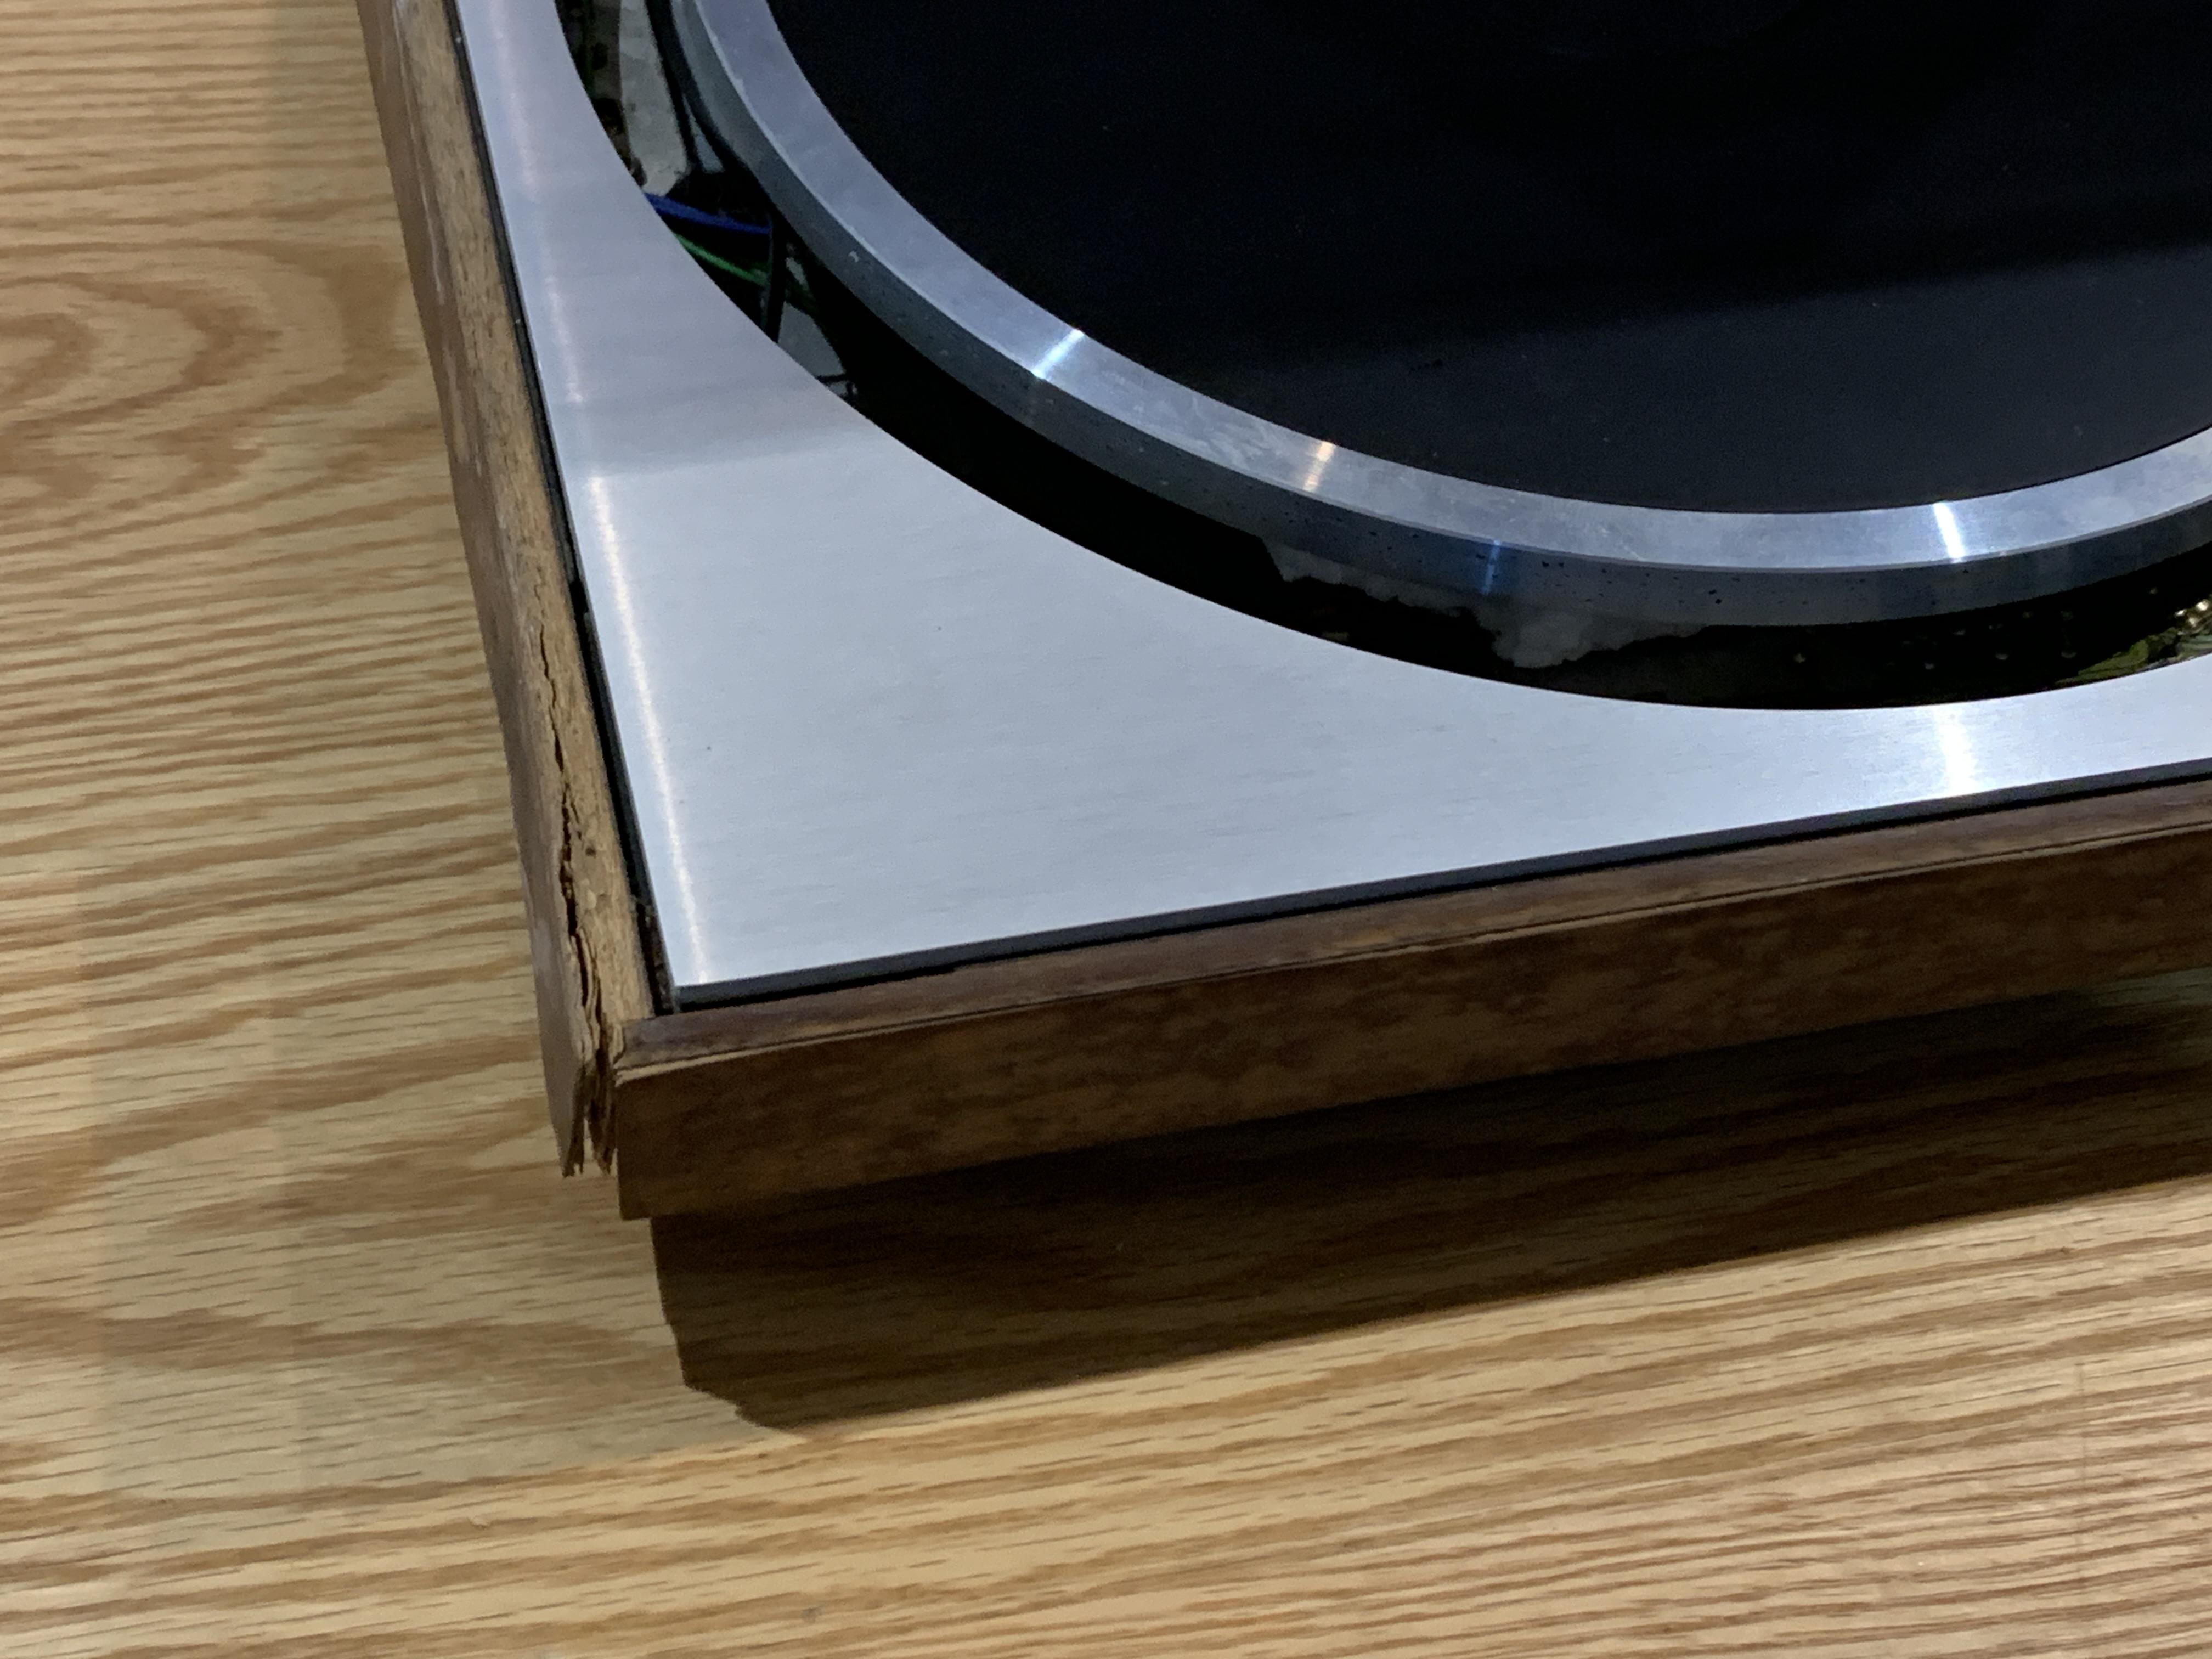
BRONZE MemberFirst step was to remove the plinth to make a new one. The original was chipboard with rosewood veneer. I assume it has been exposed to water at some point as the chipboard was swollen, and the metal was rusted in parts.
I decided to remake the plinth in oak to match the furniture at home.
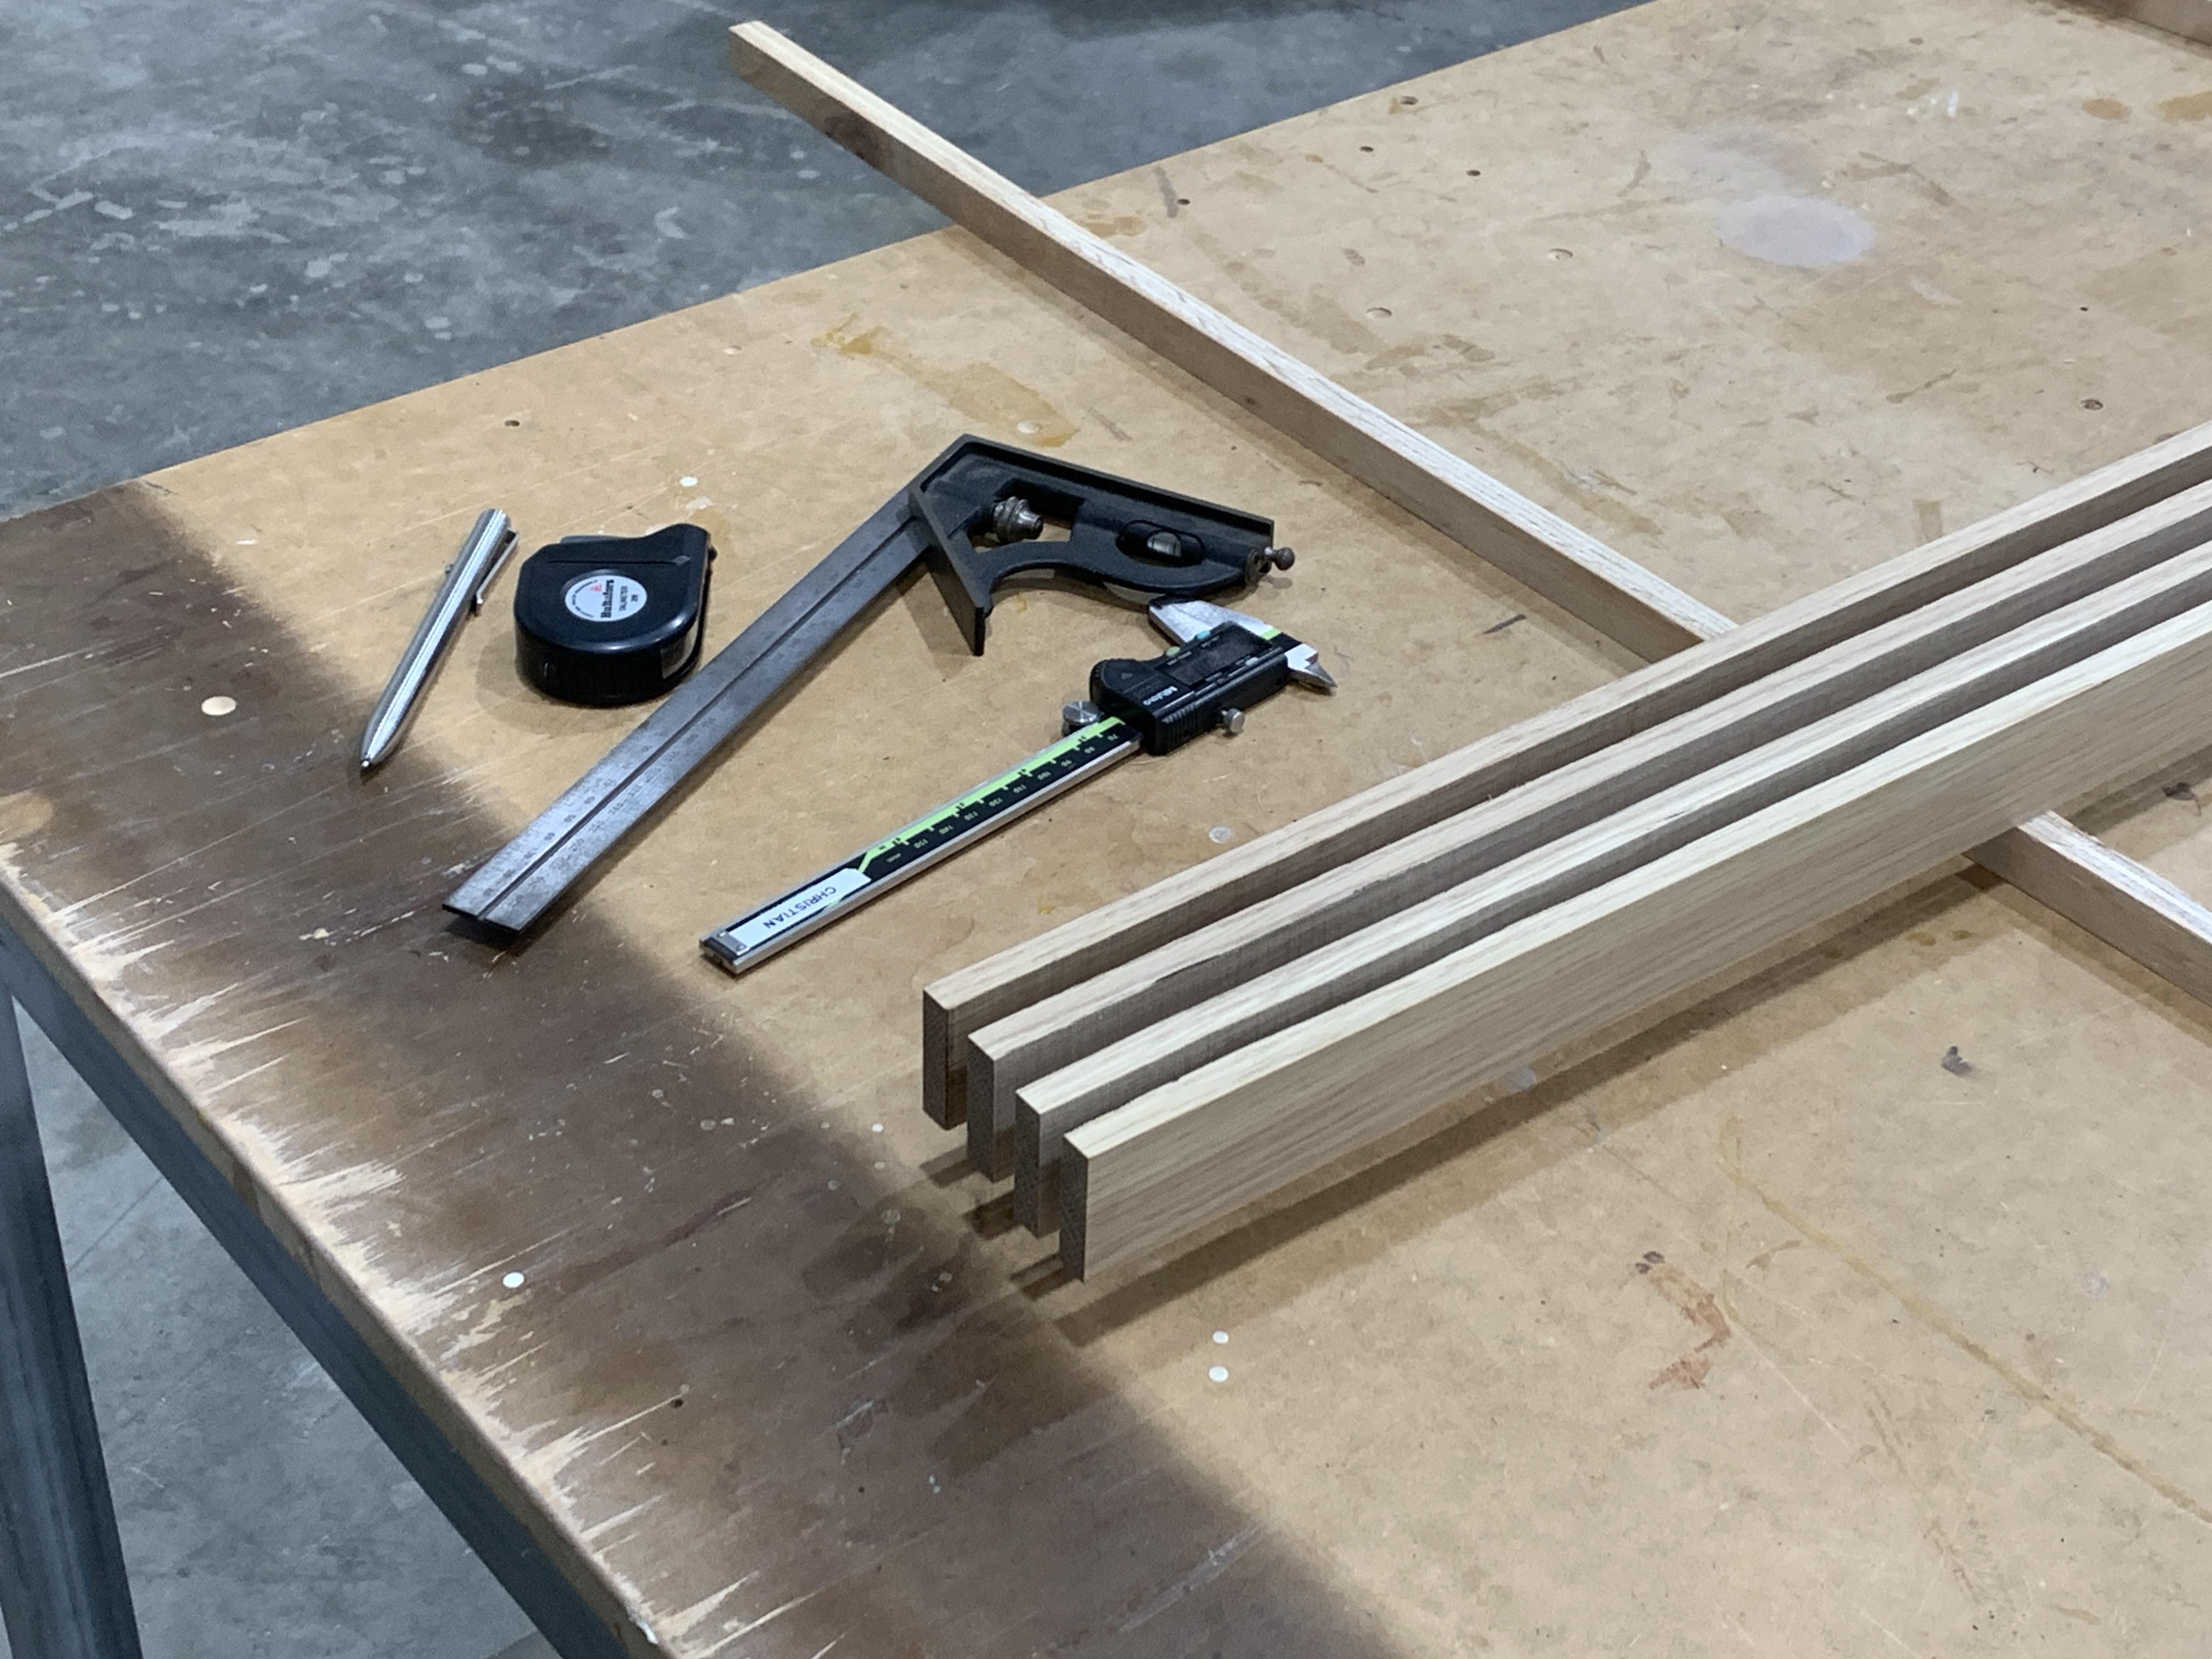
I milled a few oversize pieces of oak and let them sit for a few days to relieve any tension in the timber before milling them to their final size. I milled up a few extra pieces in case I made any mistakes and so I can test a few different finishes. Each strip of timber will make one plinth so that the grain will be continuous.
I have seen a few restored plinths made with a mitre and splines but I think I prefer the original joinery so decided to go with that instead. I programmed the CNC to do all the joinery. I had to make a vacuum hold-down jig as the parts are so small and difficult to secure when milling.
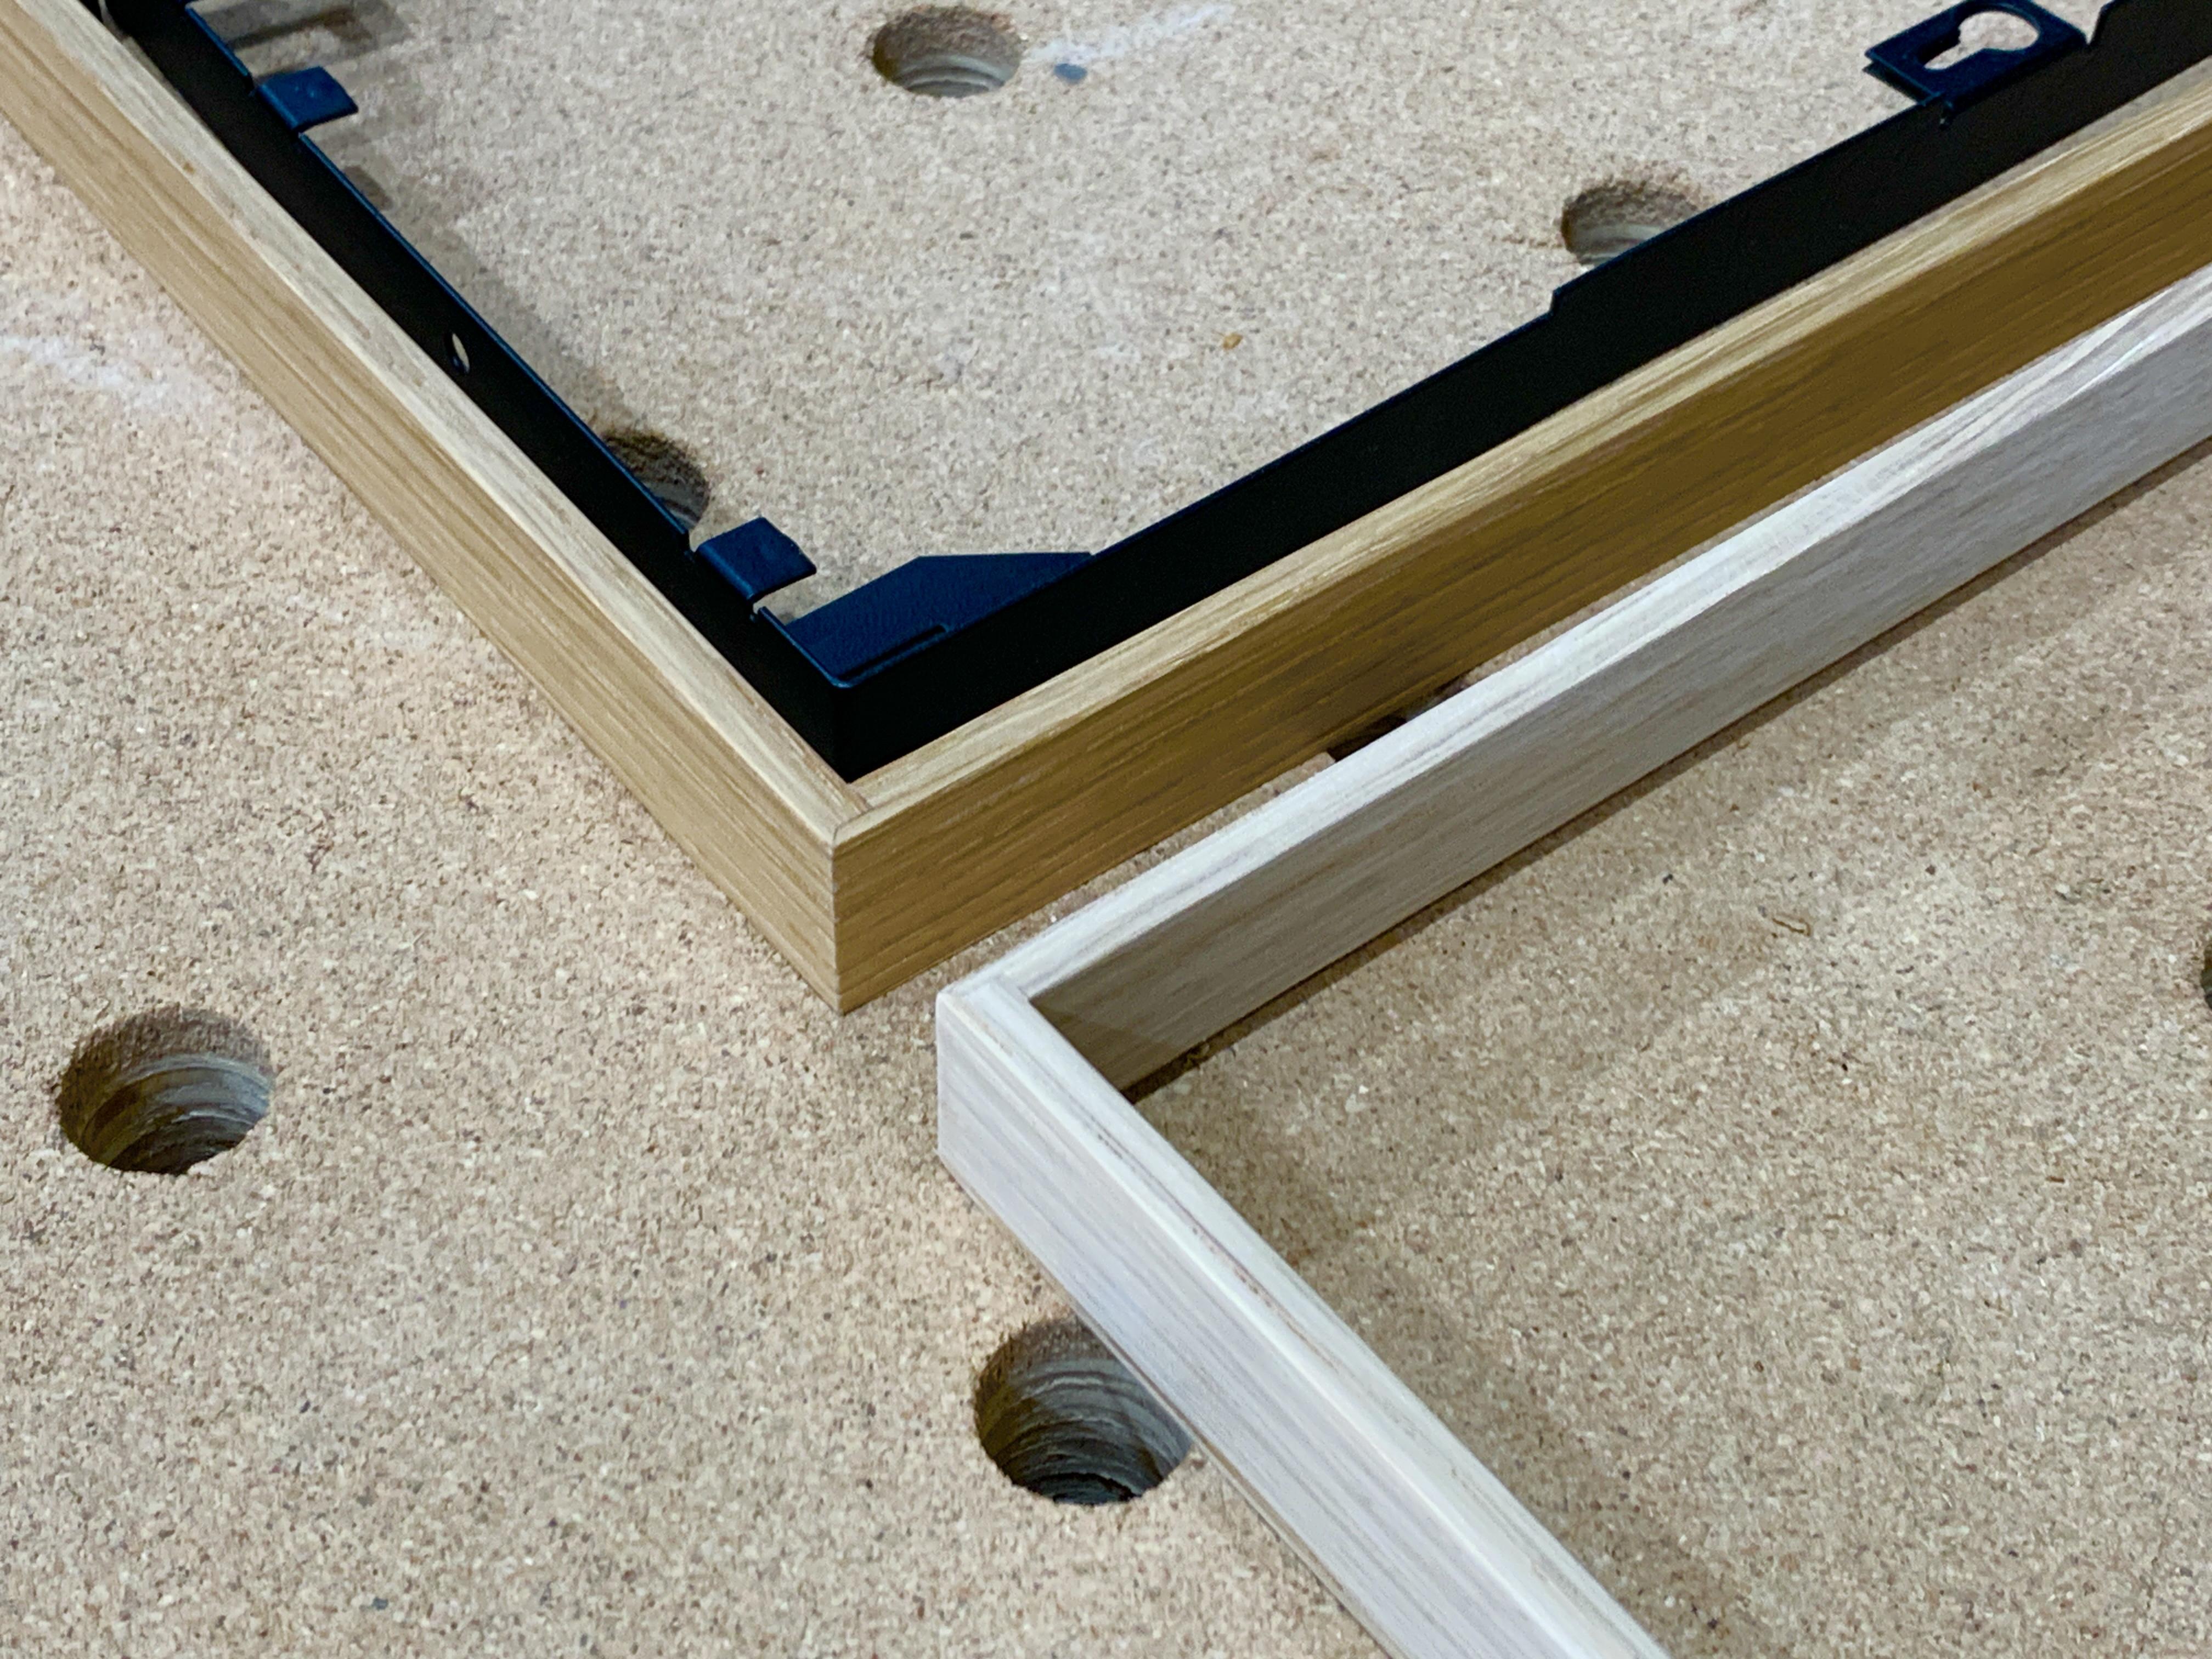
The joinery ended up really well. The small details look great and are a nod to the original. This is what it looked like before gluing.
Here is the end result. I have oiled one (the darker looking one). I will spray the other one with lacquer. Afterwards I will decide which one I like the best.
The metal fixtures had some chipped paint and surface rust so I removed the rust, sanded them down and refinished them with flat black paint. They turned out great!
ChristianHak
BRONZE MemberHey mate,
How much are you selling your RIAA upgrade for?
Mvh,
ChristianChristianHak
BRONZE MemberWhat is it about the 4000sc’s wiring that you find desirable? I have custom-wired several hundred Beogram 4000x’s in my time so could provide guidance if you’d like.
I would like to the change signal cable to RCA, and I quite like to the look of the black fabric cable – it looks robust and elegant. It may be a bit superficial of me, but the unparalleled design of the Beogram 400X is what drew me to them and in my opinion, the original grey cables are the only part of the turntable that divulges its age. The Beogram can sit beside a modern Beoplay A9 and look just as sleek, modern, and timeless.
ChristianHak
BRONZE MemberWhich country is it located in?
ChristianHak
BRONZE MemberHi Gerard,
I would suggest the Beogram 4002. It is as beautiful to listen to as it is to look at. From my understanding, there are plenty of them out there in the wild and there is a lot of resources in regards to maintenance and repairs. I was lucky and bought my 4002 in excellent condition for about 300EUR, but here in Australia, I have seen them sell for upwards of 1200EUR. Condition and price seems to vary a lot from seller to seller.
I only have a 4002 and a 4000 so I can’t speak for any other of the series in terms of series to avoid. But the 400X series is by far the most beautiful record player ever made.
Best of luck!
Christian
ChristianHak
BRONZE MemberThanks for the reply, Mark. I will take your advice.
Anyone Beogram enthusiasts here from Brisbane, Australia?
-
AuthorPosts


