Forum Replies Created
-
AuthorPosts
-
jfrancis49
SILVER MemberHello Madskp,
Sorry for the slow reply, I have had trouble connecting to Beoworld. I do appreciate the reply. There are a couple of copper wires that connect the main board to the “chassis” of the BM 2400 which I unsoldered while replacing the parts, and soldered them back after I finished. I will check the other cables that run to that board. From the two comments I have received so far, the fault does not seem to be connected to me trying to get the front panel touch pad connected correctly.
jfrancis49
SILVER MemberHello Pindsen,
Thank you for your reply. Yes I replaced the large capacitors as well as the rectifier you mention. I am not sure if the rating was a 6A rectifier, it says 3A,6A on the data sheet. Were your symptoms the same as I described? Could the rectifier have been defective although new?
John
jfrancis49
SILVER MemberHello Pepps and Millemis,
Thank you for your replies. Pepps, I will take those recommendation to heart. And I have been helped by Martin’s kits many times over the years. Currently I am using his BM 2400 kit to hopefully restore a receiver to use a CD player with, to answer Millemis’ question. I also just got a BM 6000 donated type 22XXx to me I will try to restore. Thank you both!
John
jfrancis49
SILVER MemberMartin, I do agree with Glitch the cabinet looks striking. Had I not known that it was not an original option, I would think it were.
And I will preserve any larger pieces I can if I remove them from the BG 8000.
John
jfrancis49
SILVER MemberHello Glitch,
My thoughts on the recreated Beogram 4000c as an example, is that it is manufactured by B & O so that gives legitimacy to the change if Rosewood wasn’t an option now. And honestly if B & O had used solid wood on their older equipment on their products like the newer 4000c, there would be a lot more of that equipment worth restoring. I know it would have added to the cost, but there have always been less expensive equipment alternatives in the if cost were a determining factor. And this is coming from someone who isn’t or wasn’t financially well endowed. My mother always said I had champagne tastes, on a beer budget.
John
jfrancis49
SILVER MemberThanks Glitch, for the post. I had to chuckle at the comment about restoring a “parts” table. It does seem a shame to not get them all working again but some obviously are best used as donors when the cabinets are beyond repair. I am not matching the BG 8000 to anything, I am just not fond of modifying the look if I can help it, so am looking for a close match.
jfrancis49
SILVER MemberHello Glitch,
Thank you for the reply. I am looking to completely redo a Beogram 8000 base.
John
jfrancis49
SILVER MemberThanks Martin!
John
jfrancis49
SILVER MemberHello,
I am not very electronic savvy but do investigate how to make the B & O equipment I do have look as good as possible, and I have learned by my mistakes in the process. Like don’t clean your matte finish Beogram platters with anything stronger than water.
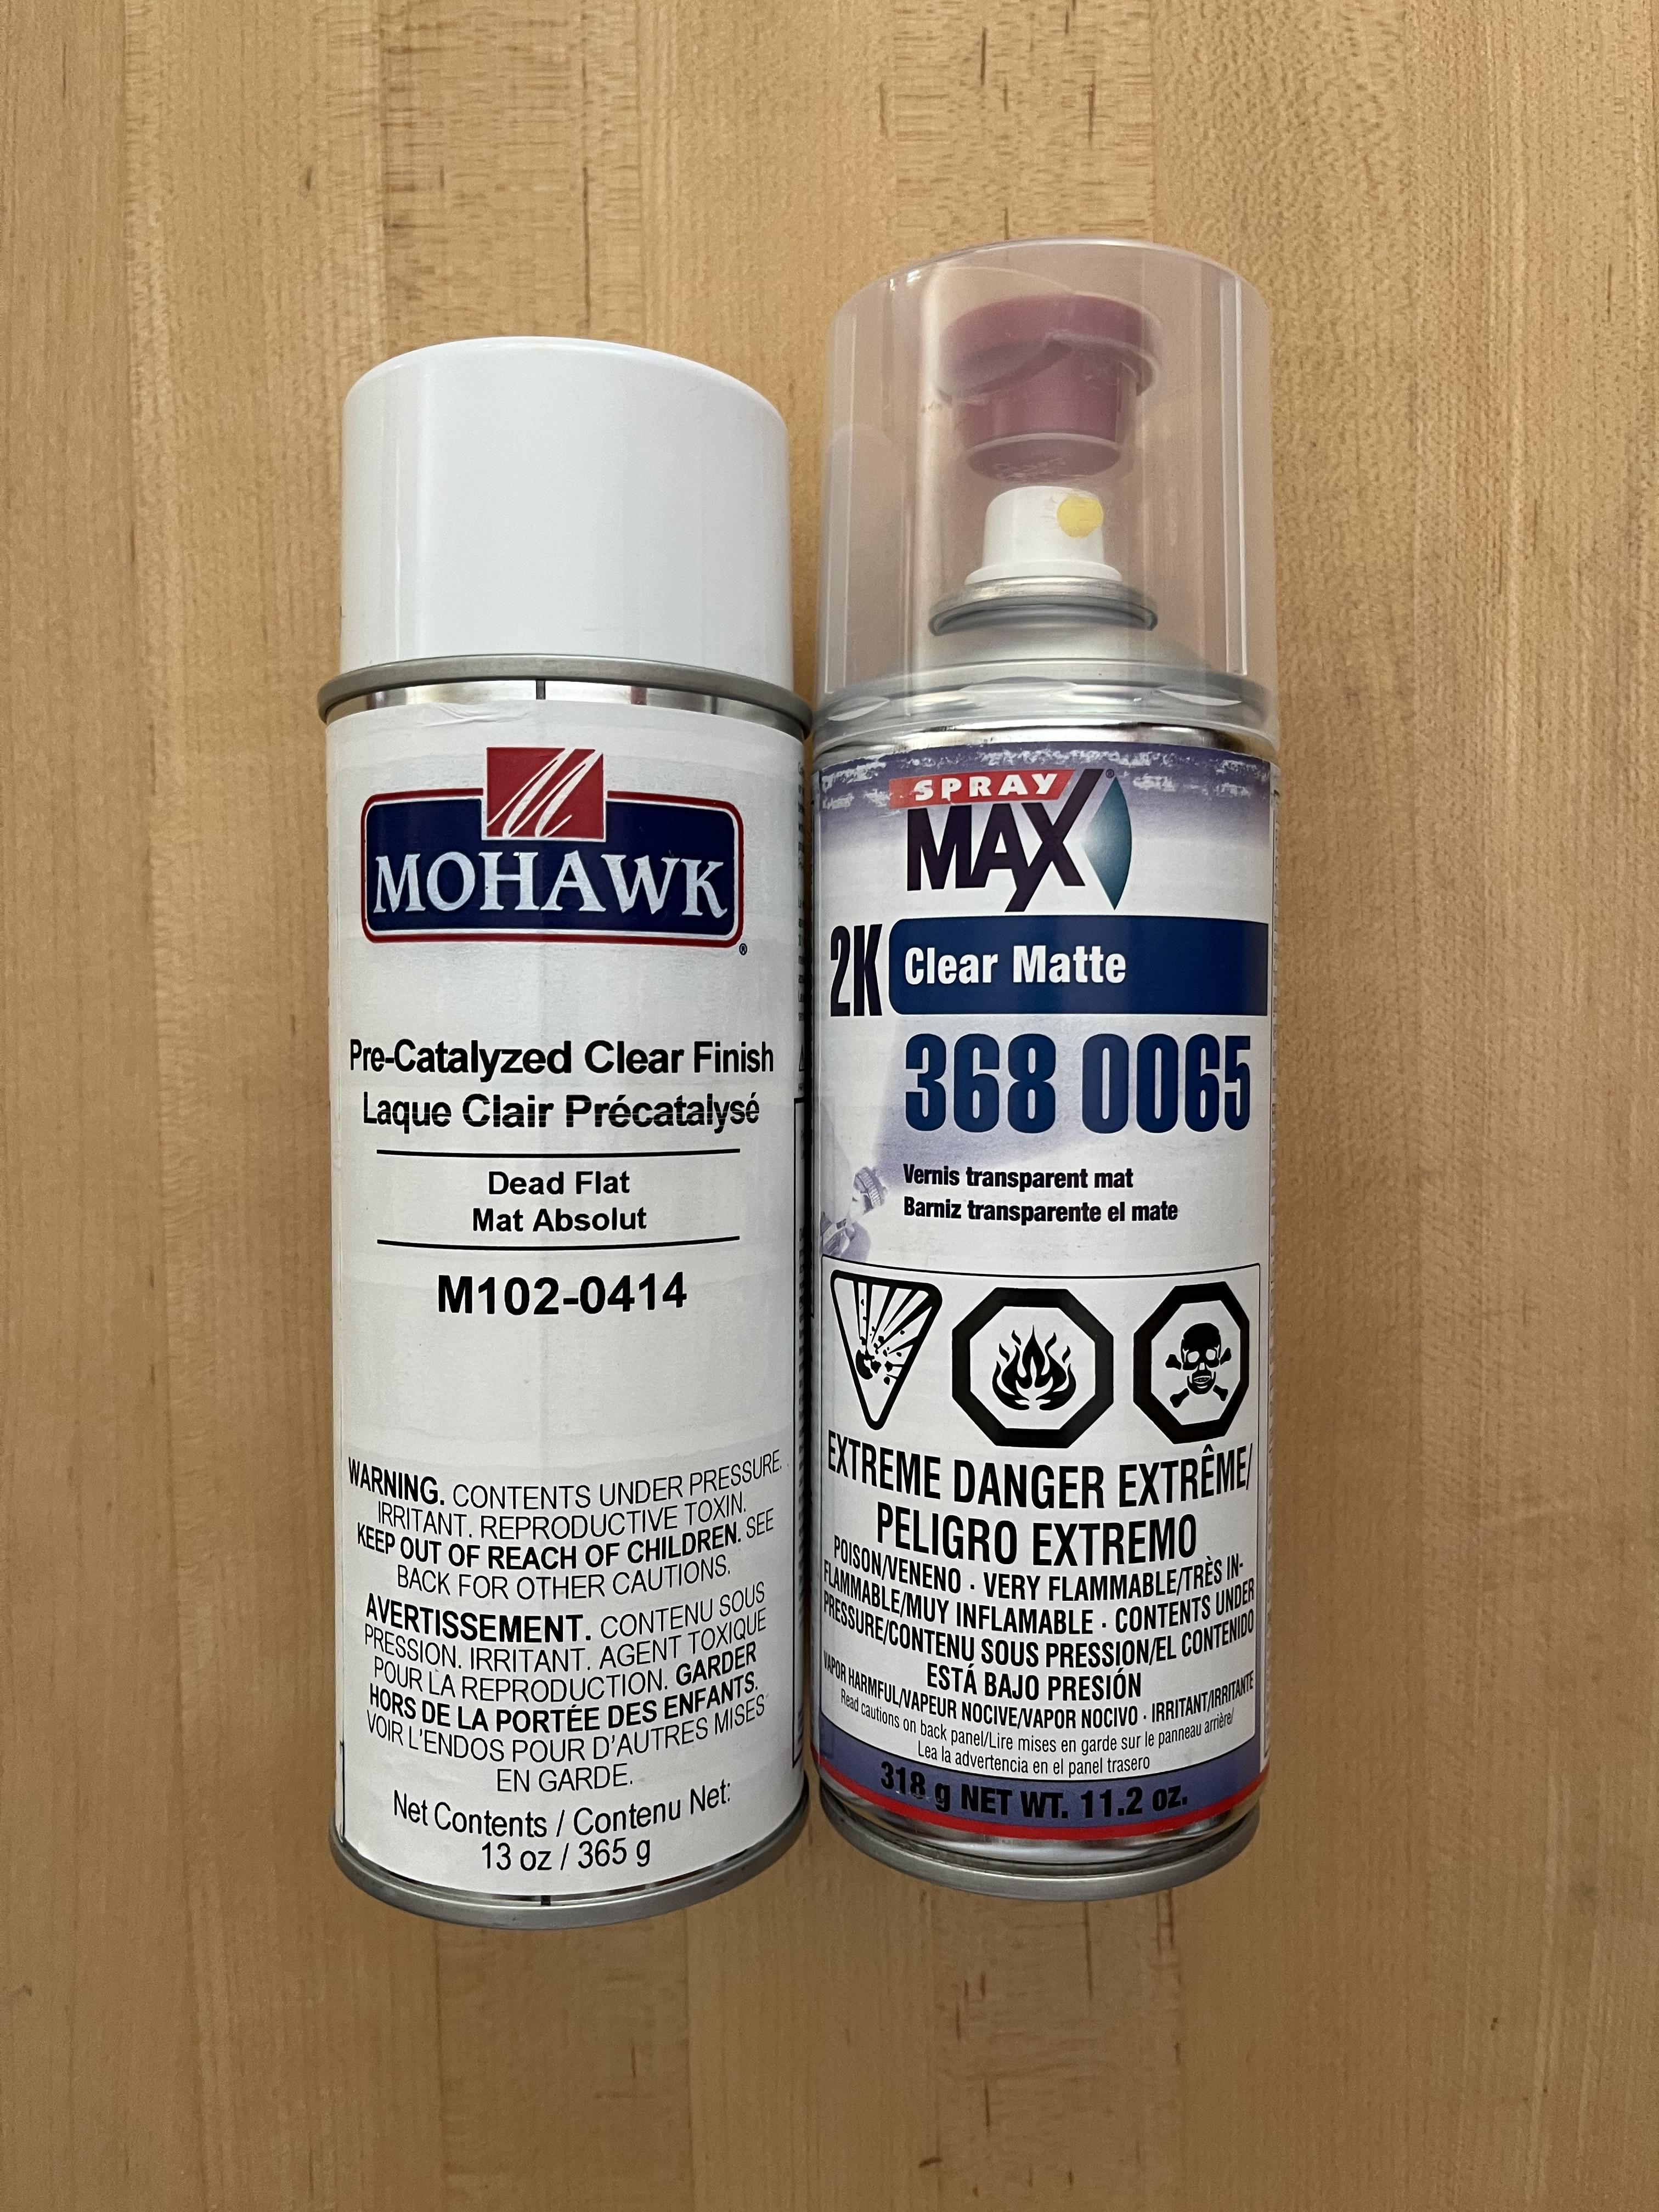
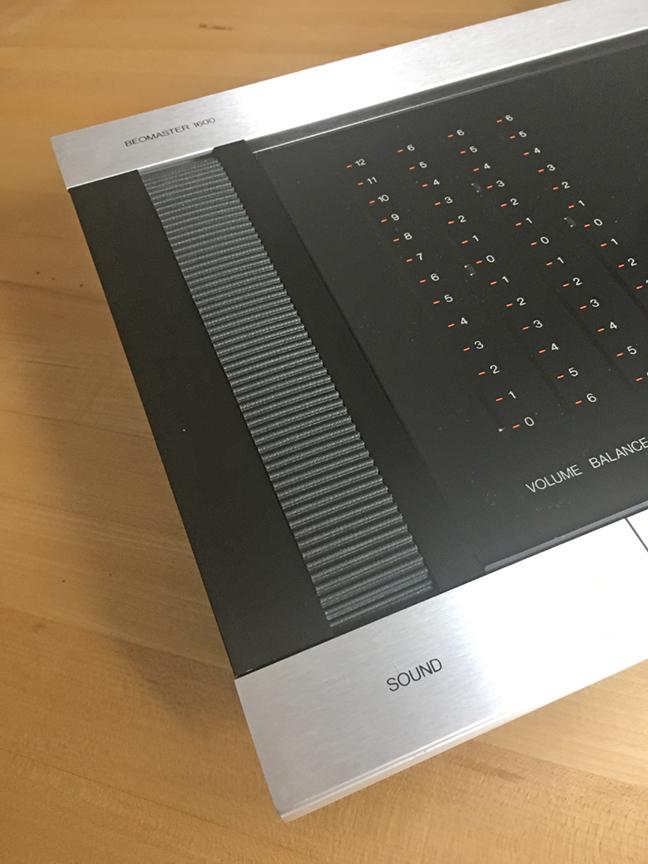
So regarding the keypad, have used Mohawk Dead Flat lacquer spray on the 4002 keypad with excellent visual results. The downside is it isn’t very durable over time if touched with your bare hands.
This was my process. You can do one of two things, completely strip the old coating off or spray over it. The first is if you want to completely strip off the old finish, tape off everything but your keypad, after removing the back control panel. In a well ventilated area get a cloth or cotton pads and use acetone to remove the old finish. Dampened the cloth don’t use excess acetone. The metal will end up looking shiny and you might think it has destroyed the look but it hasn’t. After removing the visible finish remove the tape and clean everything with warm soapy water. I have then carefully gone over the stepped metal with alcohol on a cloth to remove any streaks or you can use acetone again if careful.
After is dry I then tape off the frame and pads and spray the black areas with matte black where there is a gap at the top and bottom of the metal keypad. After several light coats of the black I remove the tape from the stripped keypad. Mask off any of the frame showing, but don’t worry about the black gaps you painted, those can be sprayed with the matte clear lacquer paint. You then can use the matte paint to spray the keypad, using several light coats. If you don’t want to strip off the old finish on the keypad, skip that step and go to painting the black areas first and follow the rest of the steps
This process worked for me and looked brand new, but won’t last too long under a lot of direct contact with oils from your fingers. You can use a cloth to touch the keypad when using your turntable or get a remote with plug-in panel from Beolover (Google him) or search eBay.
I chose the Mohawk spray lacquer because I read it was used to coat musical instruments which get a lot of handling. In my photo you will also see a can of epoxy matte. Epoxy is harder and more durable than lacquer but I am told by an automotive paint shop that any matte finish will get shiny over time with use. I have a keypad I completely removed from the control frame,that I plan on recoating with the epoxy. I advise extreme caution should you try to completely remove the metal keypad from the frame and the plastic keys behind it, it is easily bent and realignment of everything is tricky.
4 February 2024 at 19:56 in reply to: Beogram 4002 Solenoid Engages When Power Cord Plugged In #52600jfrancis49
SILVER MemberThanks Martin!
4 February 2024 at 16:34 in reply to: Beogram 4002 Solenoid Engages When Power Cord Plugged In #52598jfrancis49
SILVER MemberThanks for the suggestion Martin. Just to be clear are you referring to IC2?
John
29 December 2023 at 20:05 in reply to: Bepgram 4004 – tone arm doesn’t proceed – stop button doesn’t work #51586jfrancis49
SILVER MemberHello Luigi,
If this turntable has not been used for sometime it probably needs at the least be cleaned and lubricated. As you know these are not simple machines and depending on your skill level you may need someone to do someone familiar with servicing it. There is a service manual you can download from this site that can be of help for many tonearm and servo tracking adjustments after cleaning and lubricating. The keypad has copper contacts that may be oxidized and causing your stop key function. If you take the keypad out it can be cleaned by inserting a small strip of sandpaper between the contacts. Ideally the sensor arm should be removed and the tone arm linkage cleaned and lubricated.
If you have not had a capacitor replacement, that needs to be done as well, look up Beoparts on the web to see if they can help. There are electronic faults that unless you have experience with electronics will not be solved by cleaning, lubricating or adjustment.
I am not an electronics technician. These are great turntables but take it from someone who basically can solder and follow guidance from a lot more experienced people on this website, there are a lot of things to sort out before a simple answer can be given to your turntable issues. But maybe one of the more experienced people here will give you a more specific solution to your problems.
Good luck.
John
jfrancis49
SILVER MemberJust in case you meant tracking force for a record, 1.2 grams is a good starting place. Different cartridges have different recommended tracking forces.
John
jfrancis49
SILVER MemberThanks to all of you for the advice and feedback. I went ahead and placed the capacitor according to the spare parts board, I think that placement was consistent with Martin’s advice. I had some confusion tracing the circuit.
The receiver is now working, and I am not connecting a turntable to it anyway so maybe the polarity is immaterial.
Not an audiophile receiver as Martin pointed out, but a nice unit to have as a secondary sound system.
Happy Holdays!
jfrancis49
SILVER MemberSorry to sound so dense, but can someone tell me if the positive polarity of C110 is then correctly connected to R110 as is on the parts board?
Thanks!
jfrancis49
SILVER MemberHello Martin,
I am hopefully tracing from TR100/R111 correctly and the circuit goes through R110 to C110. I have your capacitor replacement kit for the 1600 and the photo for that looks like the positive end of C110 goes to the outside of the board. It is the capacitor that is furthest top right and is 2.2uf. Does that sound correct?
Ps. Thanks Glitch!
jfrancis49
SILVER MemberThank you Martin, that was very helpful!
John
jfrancis49
SILVER MemberThanks for that Martin. Does it matter with the grey power wires which goes right or left?
John
jfrancis49
SILVER MemberHere are images of the belts I made. The idea of 3D printing belts sounds like an interesting one. I don’t have that skill at this point or the equipment. Maybe someone else might take on that challenge.
John
jfrancis49
SILVER MemberHello Tomas,
It is probably not likely you are going to find easily find original B & O replacement belts in good condition for the 1700/1600 receiver. After a long time of searching I did find a source for making my own replacement belts. The belt is not the exact width and needs to be trimmed down and spliced to make it a loop. But if done carefully looks better than the original and is much more durable. I would rather have the originals but that is an unlikely option.
There are different places on the internet you can find them. If you do a search for “Industrial Drive Timing Belts HTD 3M Pitch Timing Belt Width 30mm Open-Ended Transmission Synchronous Belts” you will find several sources, it is branded 3M but made most likely in China. It is available in different lengths and I would get more than you think you need. You will have to cut the 30mm to around 27-28mm width and cut the length based on an old 1600 belt. Getting a clean cut between the belt ribs for a good splice is the tricky part. That is why I would get more than I need. If done cleanly and straight you then use Gorilla Super Glue Gel and clamp it for 24 hours. I have done two belts and the seam is invisible. You can use WD-40 and a cotton swab to remove small amounts of the visible glue.
John
-
AuthorPosts


