Forum Replies Created
-
AuthorPosts
-
 hcraig244SILVER Member
Ive had to think hard about this reply so as not to offend anyone who has been good enough to give you the technical advice your currently in receipt of, however it appears said advice is condemning a valuable deck in a somewhat off hand manner. The power supply stabilisers and associated reed relays are a little daunting but they can be repaired/restored…even the relay coils can be rewound….I have no doubt Nick is the man for the job…..given his B&O service engineer background ;¬)
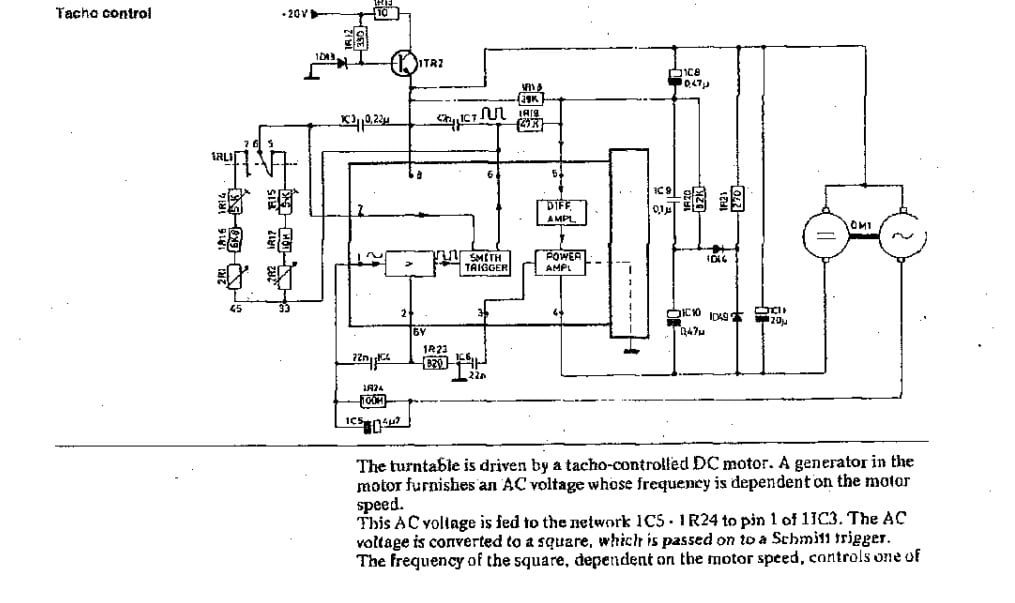
hcraig244SILVER MemberOk….I dont have a manual for the type 5521, however the image you posted of the 5513 position sensor suggest to me that it may be very similar….the speed control is via 1RL1
 hcraig244SILVER Member
I dont understand that last post?
hcraig244SILVER MemberOk…..when you press start does the turn table rotate?…..also as Mark suggests does the transport motor drive with the belt removed, if so this would prove a fair amount of the unit is operational….hopefully it is an issue withthe belt slipping as this will be an easy fix for you…
Craig
hcraig244SILVER MemberIts unlikely that lubricating the carriage drive screw and associated wheel would cause the problems you describe, I would take a close look at the carriage position sensor and ensure it hasn’t become detached or damaged..see the attached blog from the beolover….his issue was different to yours but i suspect it could be related…send some pics of your unit for us to view
https://beolover.blogspot.com/2016/04/beogram-4002-5513-non-working-end-groove-detection.html
hcraig244SILVER MemberStephen
where are you located….
craig
hcraig244SILVER MemberMark
I wondered about that when I noticed it on your avatar,…..very innovative, im impressed
craig
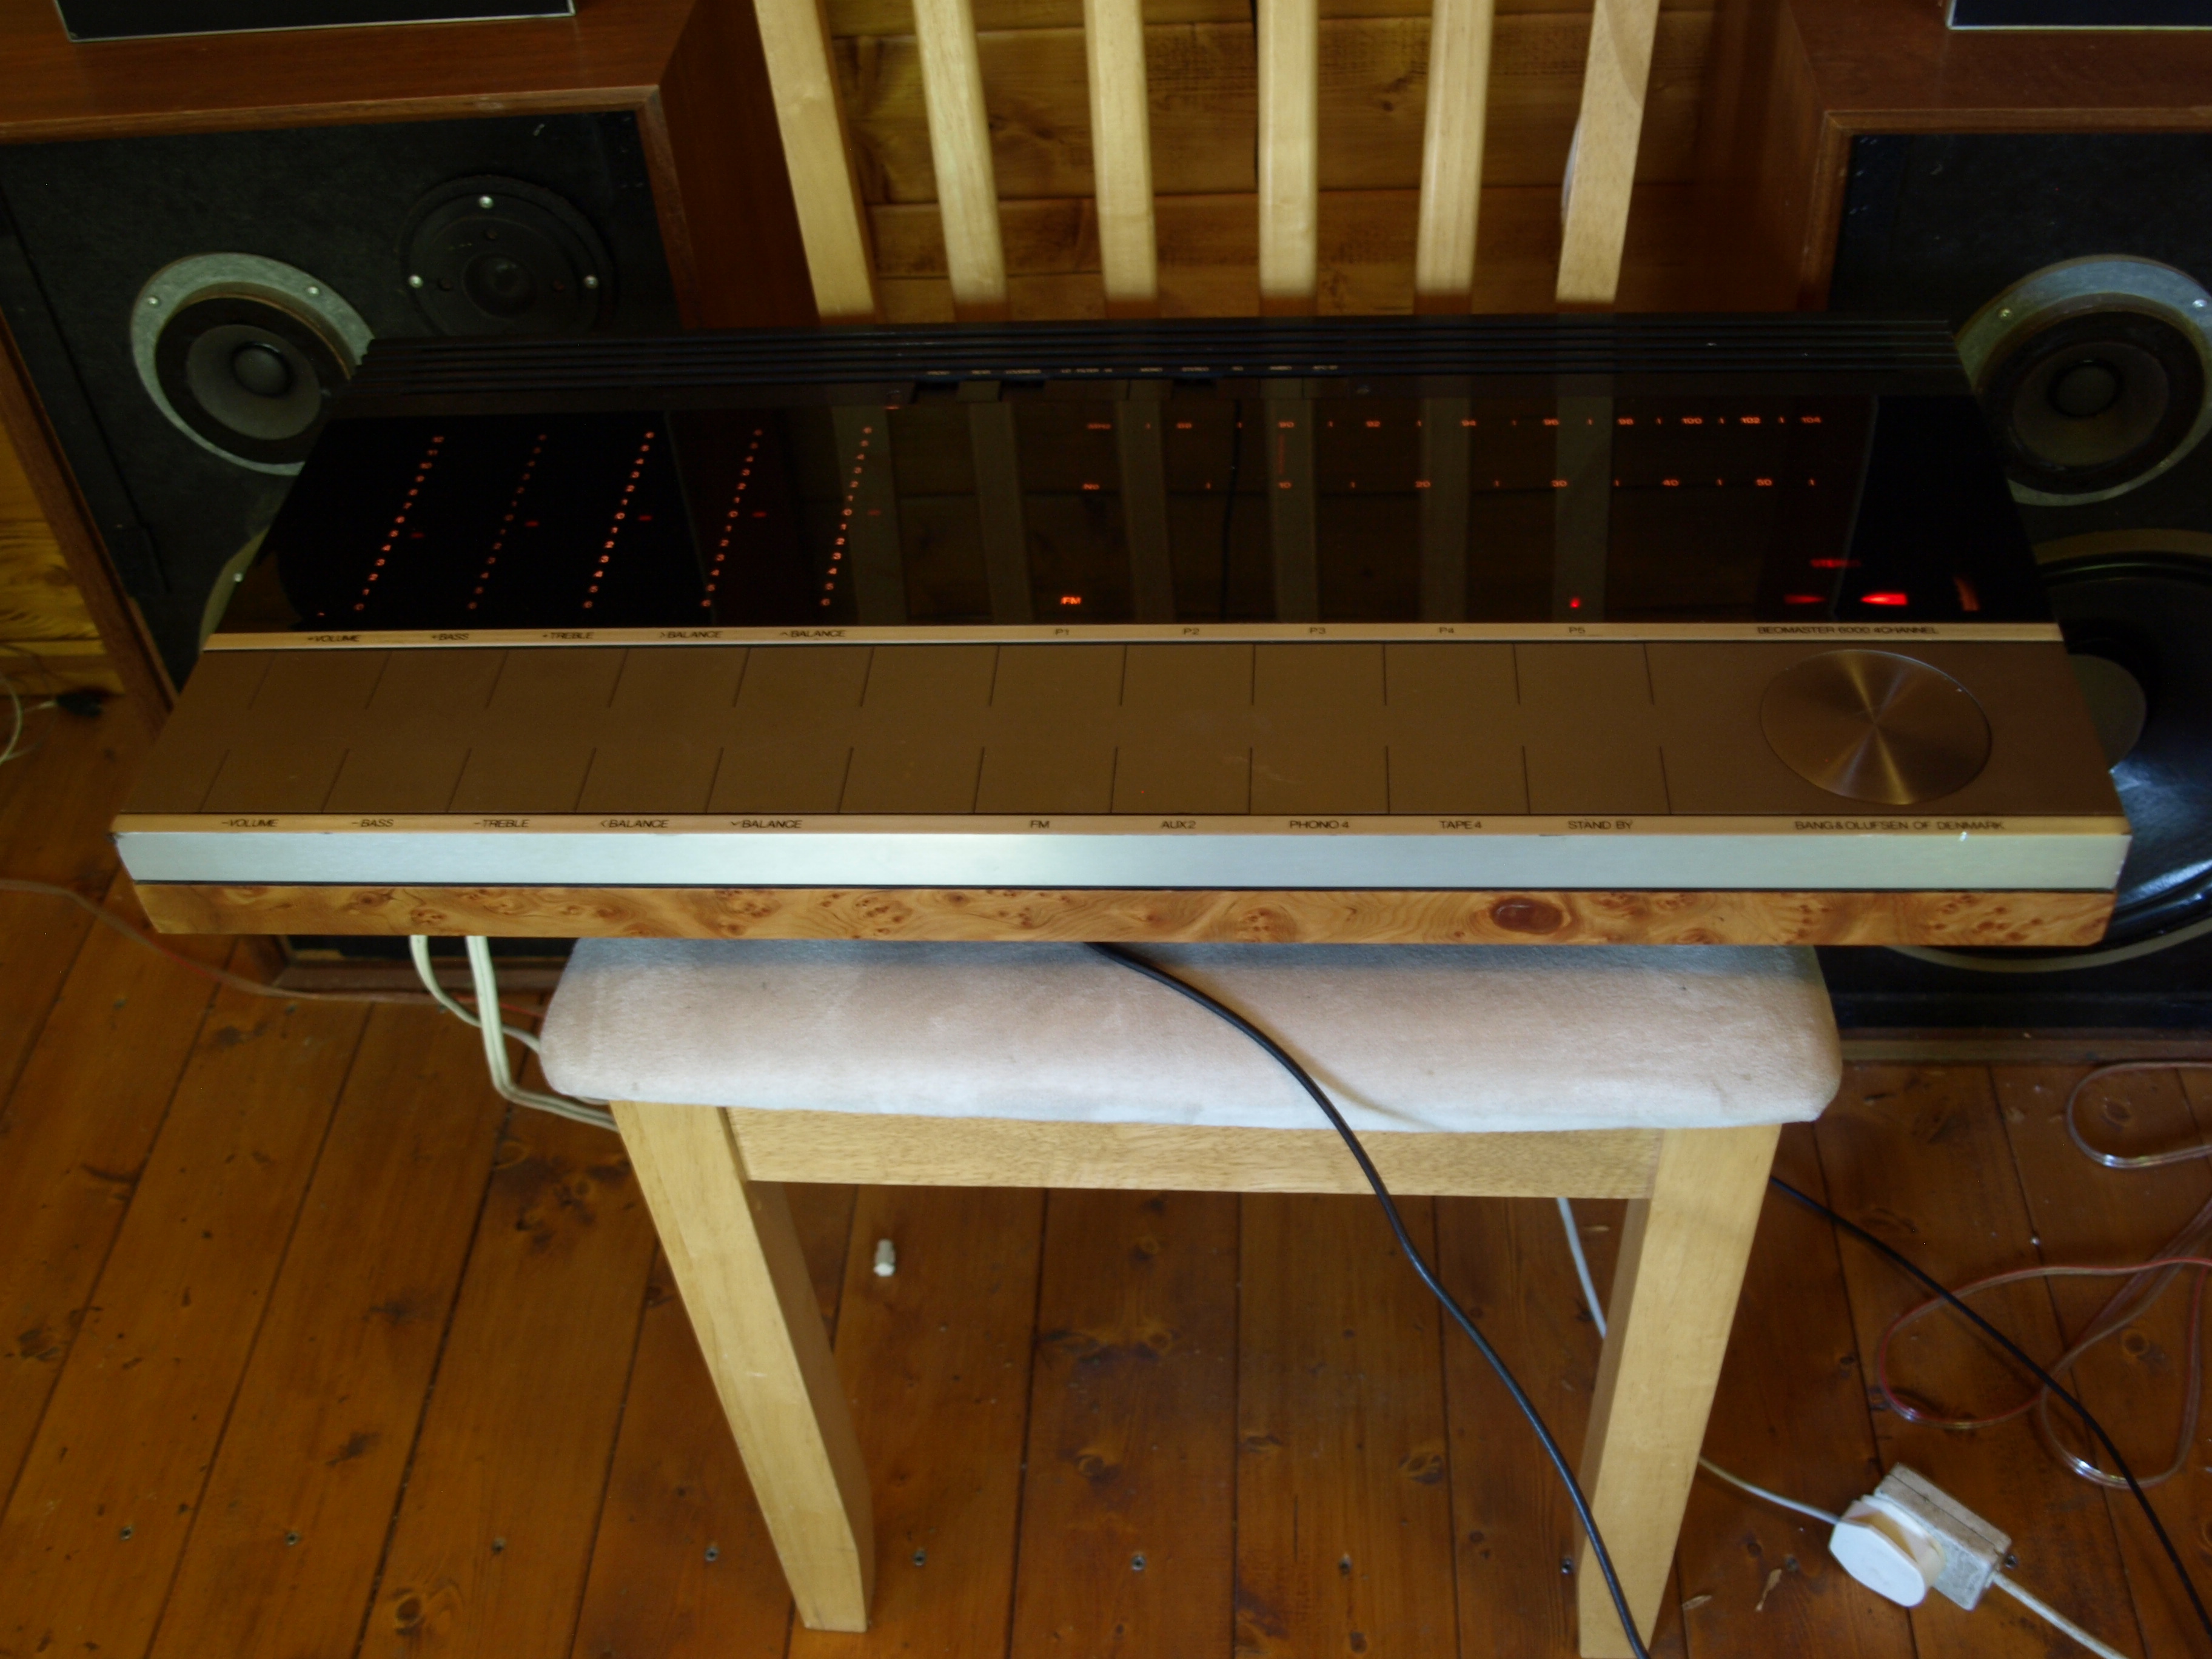
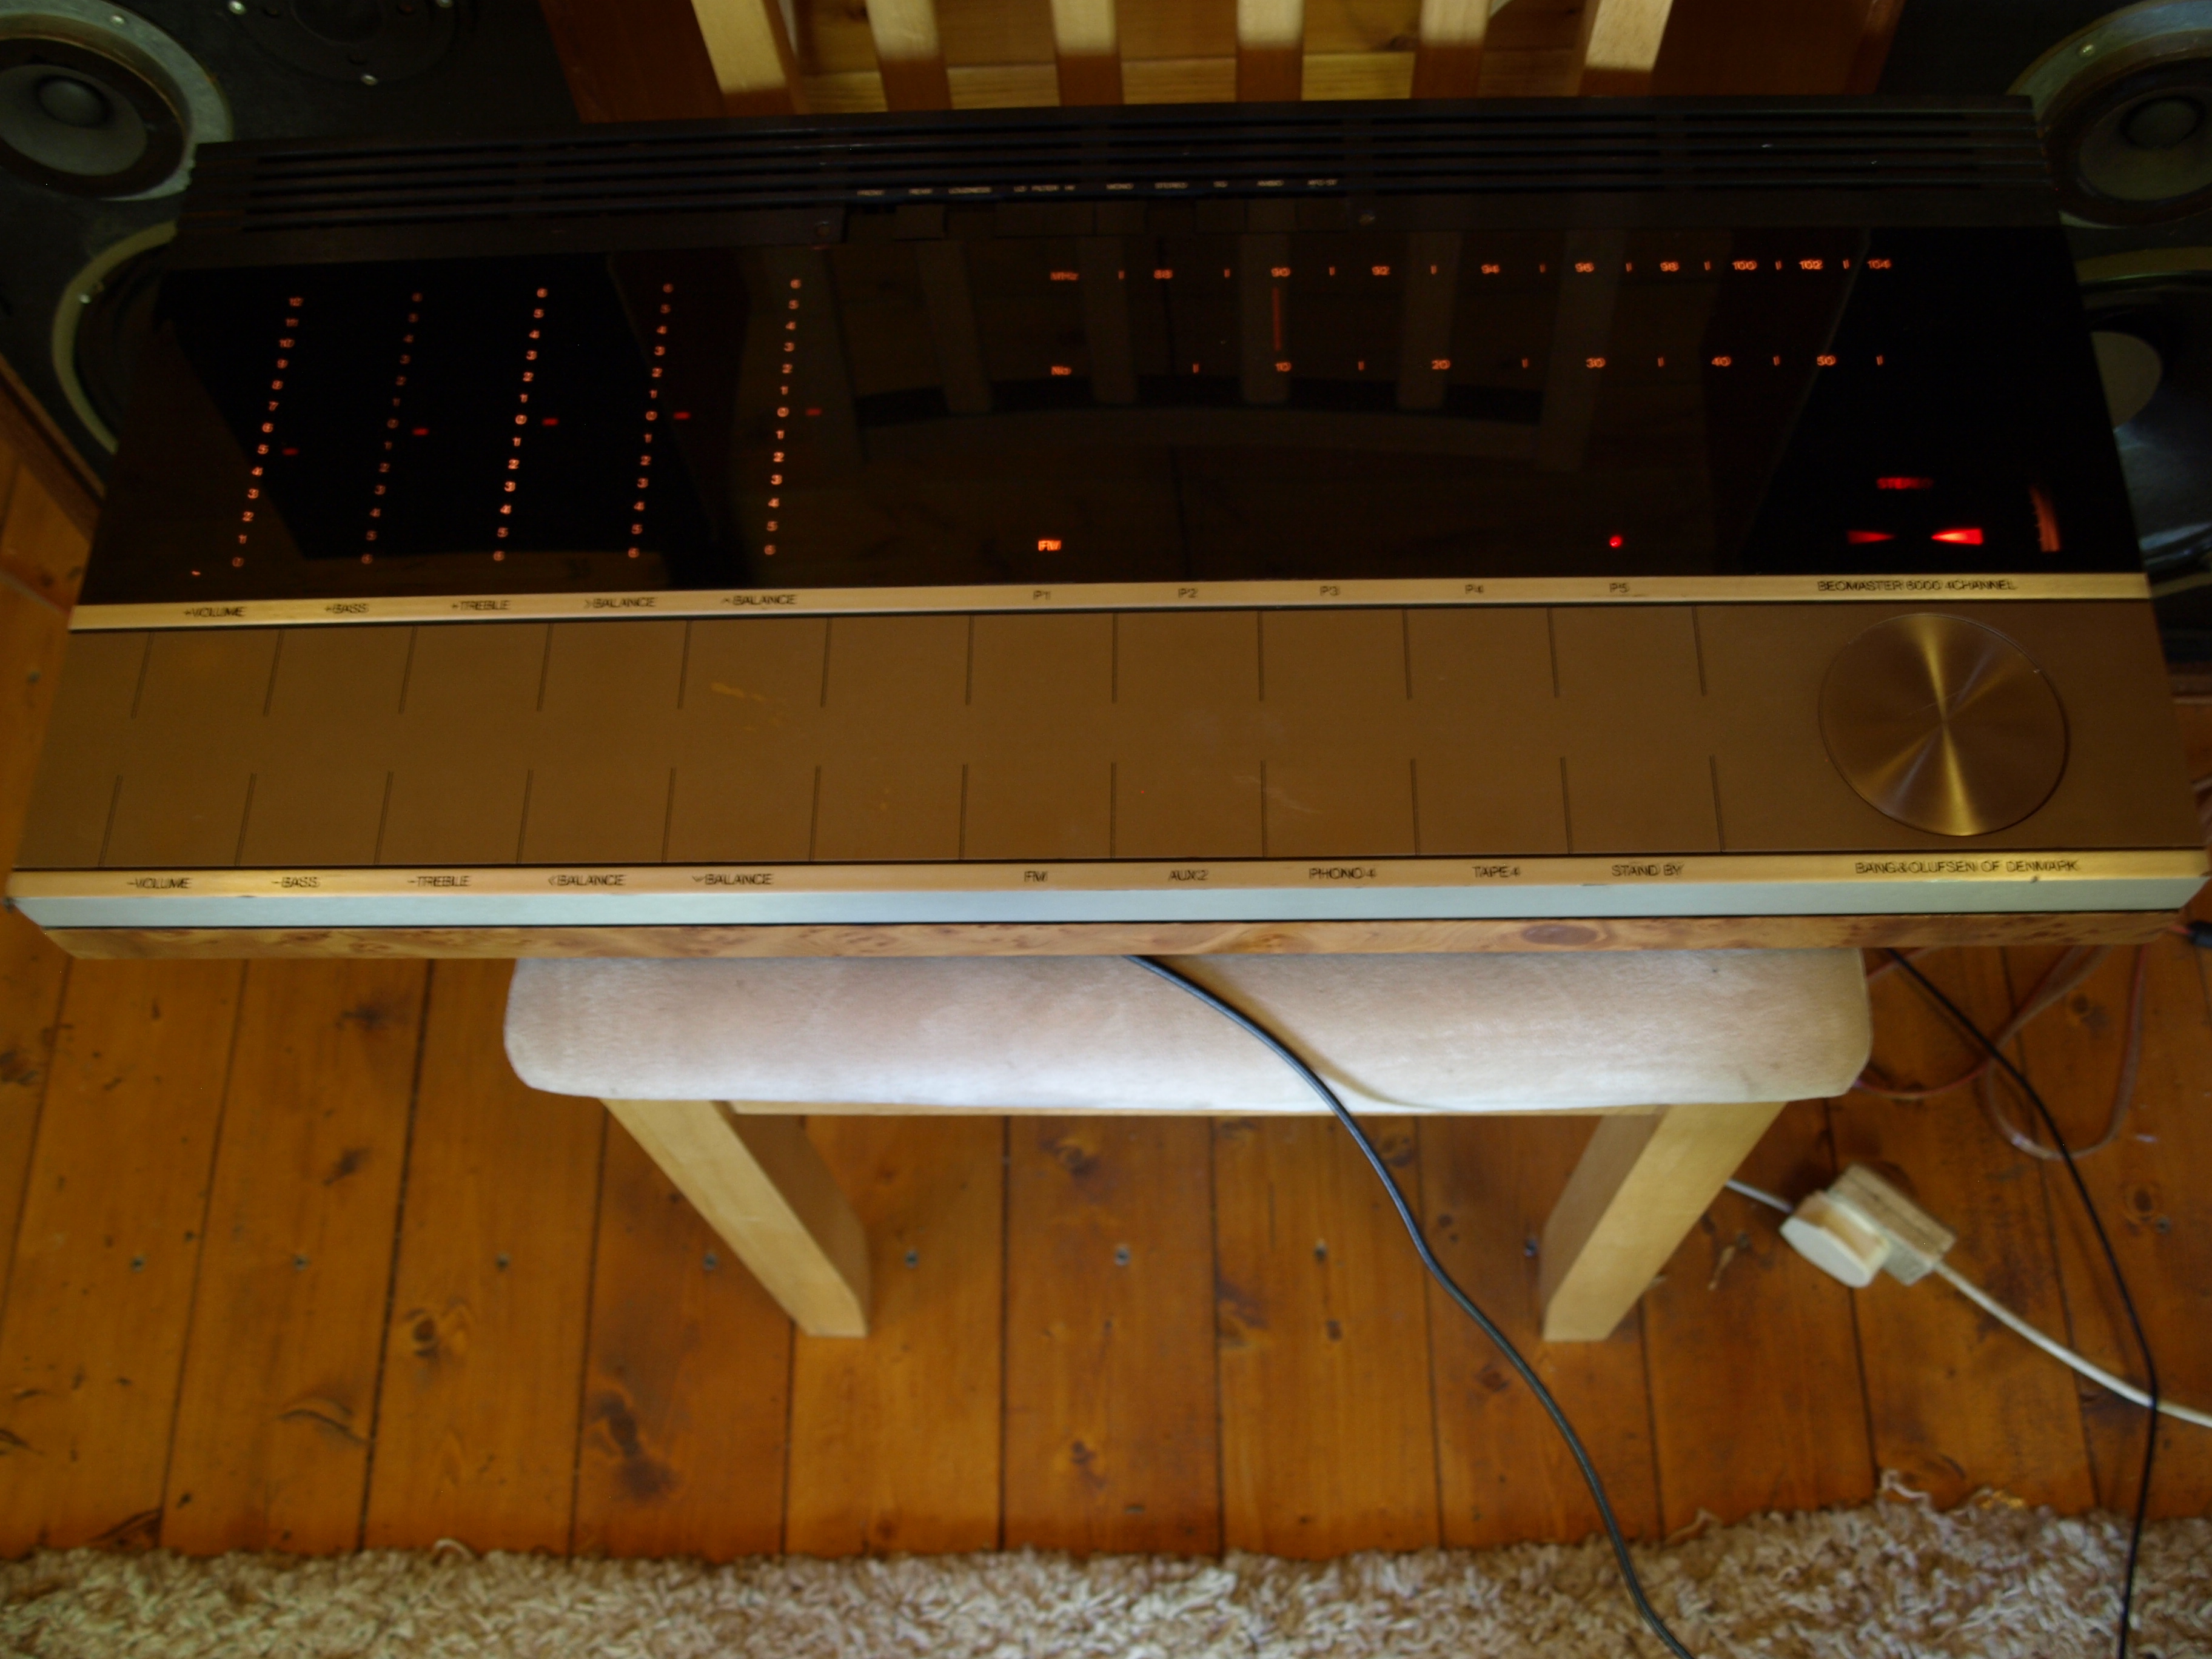
hcraig244SILVER MemberClosed this up today and powered up in the workshop……considering its 50yrs on the planet, and some not inconsiderable restoration….some members may remember its condition when it came into my possession for a £60 outlay…..it still sounds extraordinarily good.
Attachments:
You must be logged in to view attached files.hcraig244SILVER Memberhttps://beolover.blogspot.com/2016/03/beogram-400040024004-relays.html
Rudy above supplies some…they are pricey as they come from the USA, I’m pretty sure I bought some from someone in the UK a couple of years ago…..look around.
Craig
hcraig244SILVER MemberI would start with the relay that switches between the two speeds….the contacts suffer over time with age, replacements are readily available but will require soldering……it may not be your issue but given the age of these units I would change it out just to eliminate it…..
hcraig244SILVER MemberNo worries Steve…..we like a bit of a challenge in here, 4.7vdc is very low for the supply to the logic IC’s I can’t remember the actual min voltage for them but 5.something comes to mind for reliable operation send pics 👍
hcraig244SILVER MemberI can see your a bronze member….upgrade to silver and download the Beogram_4000_training_course_notes.pdf which where gifted to the site by a former B&O service engineer, they are very helpful and informative…a little clipped in places but mostly complete…..
Can you confirm that the platter still spins and the control panel indicates a start at 33rpm ? …..also measure the 24vdc and 6vdc power supplies as the unit starts up and look for a drop in voltage…often the voltage regulator 2TR6 can read good but can be pulled down on load…..Have you changed out the power supply capacitors? these should be replaced as a matter of course in any event.
craig
hcraig244SILVER MemberI agree with Mark…
Been down that rabbit hole myself, those IC’s are very reliable, I did source some originals at the time which where expensive and as it turned out not required….this followed the removal of a number of them for testing and they all worked as designed, there is a post in the archives of this site detailing that particular journey but I cant seem to get to the archived files and pictures, anyone know the secret to accessing them?..
The IC’s provide OR and AND gates making up the very complex boolean logic control board that the early engineers decided was required to drop a stylus onto a rotating platter ;¬) and other safeguards it has to be said. Seems that back in the day these engineers where in competition to devise the most complex solutions for decks and amplifiers ie the BM6000 Quad……..I love them and the associated complexities. In my case the cause I discovered to my issue, the deck regularly started up in 45rpm speed as soon as the deck was powered up, was that the carriage slider switch plastic actuator for the 45rpm position was sticking intermittently giving a out of sequence signal to the control logic which was playing hell with everything…. SolderRon advised at the time to confirm the 6vdc supply to the IC’s as if that drops too low the logic goes to rat shit just the same…..
Enjoy
hcraig244SILVER MemberDahiyas
Yes I resolved my problem, very simply due to sitting unused for a period of time the grease on the worm gear of the motor which drives the solenoid operated clutch for each of the VOL/BASS/TREBLE/L/R potentiometers had gone very stiff, I used silicone grease which was probably not a good choice….operated by hand a couple of times and its now running free.
Regarding your post above….during one of my restorations Henrik (site member), I think it was Henrik AKA Square Four, advised that the PC11 board will over time bow significantly in its mountings and has been known to do so to the extent that the solder side can contact the chassis and cause a short. Looking at this board on mine….its very long and narrow, i could actually see a bow. Not had a problem myself but as a precaution I installed a strip of thin mylar strip the same size as the board between the solder side and the chassis……
Just a thought ;¬)
hcraig244SILVER MemberSorry Alf
in my response I have stated that the contacts should close when the tone arm drops, this should read open. The contacts ground the signal from the stylus until the tone arm is on the disc then open to allow the signal to pass into your amp thus eliminating any noise from the initial contact with said disc, in my view should the noise your hearing be generated by any other way turning down your volume would not eliminate it…..hope this helps
craig
hcraig244SILVER MemberI didn’t know that earlier versions of the BG4000 came without this adjustment……this is yet another example that everyday is a school day ;¬)
However….should your version have been supplied complete with this adjustment the attached gives an explanation how to achieve the correct setting via adjustments contacts D&E…..however it should be noted that the author has confused the contacts F and its adjustment screws G with contacts D&E in his opening description
Attachments:
You must be logged in to view attached files.hcraig244SILVER MemberAlf
Sounds to me if the thumping noise disappears when you turn down the volume check the muting circuit contacts that close when the solenoid damper closes fully and allows the signal from the stylus to pass into the output cable, this is designed to eliminate the thump noise when the tone arm drops onto the disc…..if the contacts are closed all the time or are closing too soon you will get the thump……take a look
Craig
hcraig244SILVER MemberI have left the machine opened up in case there is anything else you need……good luck
Attachments:
You must be logged in to view attached files.hcraig244SILVER Memberthe left hand side is the same….not as good a picture but you can see whats required…..remove these two screws and the panel can be lifted into the vertical position….this will make it easier to replace the top lamps
Attachments:
You must be logged in to view attached files.hcraig244SILVER MemberTo lift the panel into the vertical position there are two screws located at each side, these screws sit between two other screws located above and below the ones you need to undo, the other two are used to raise or lower the panel and wont need to be touched….the right hand side screw sitting in the middle can be seen here…dont touch the upper or lower ones
Attachments:
You must be logged in to view attached files. -
AuthorPosts