Forum Replies Created
-
AuthorPosts
-
 EvanGOLD Member
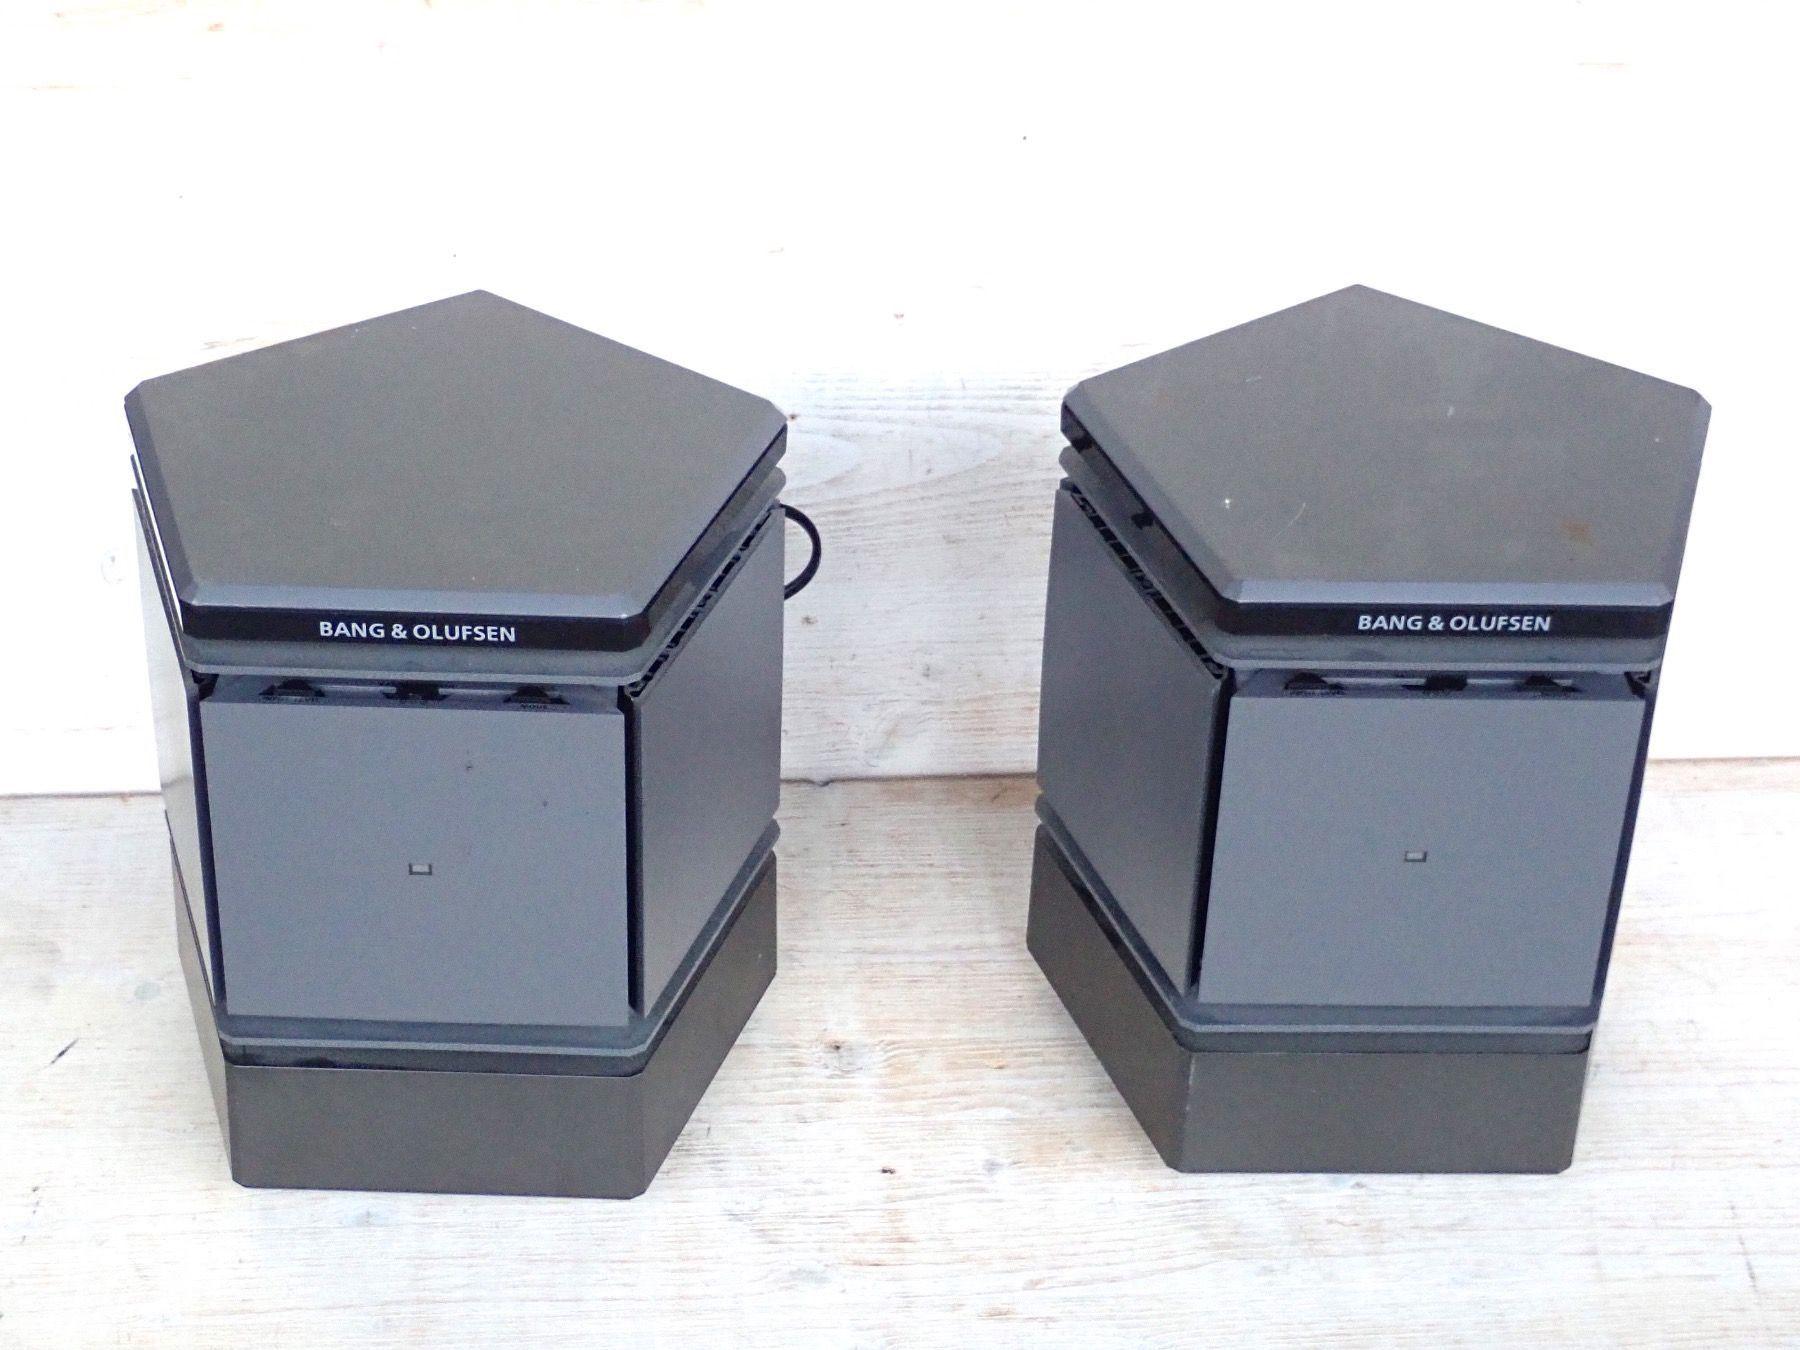
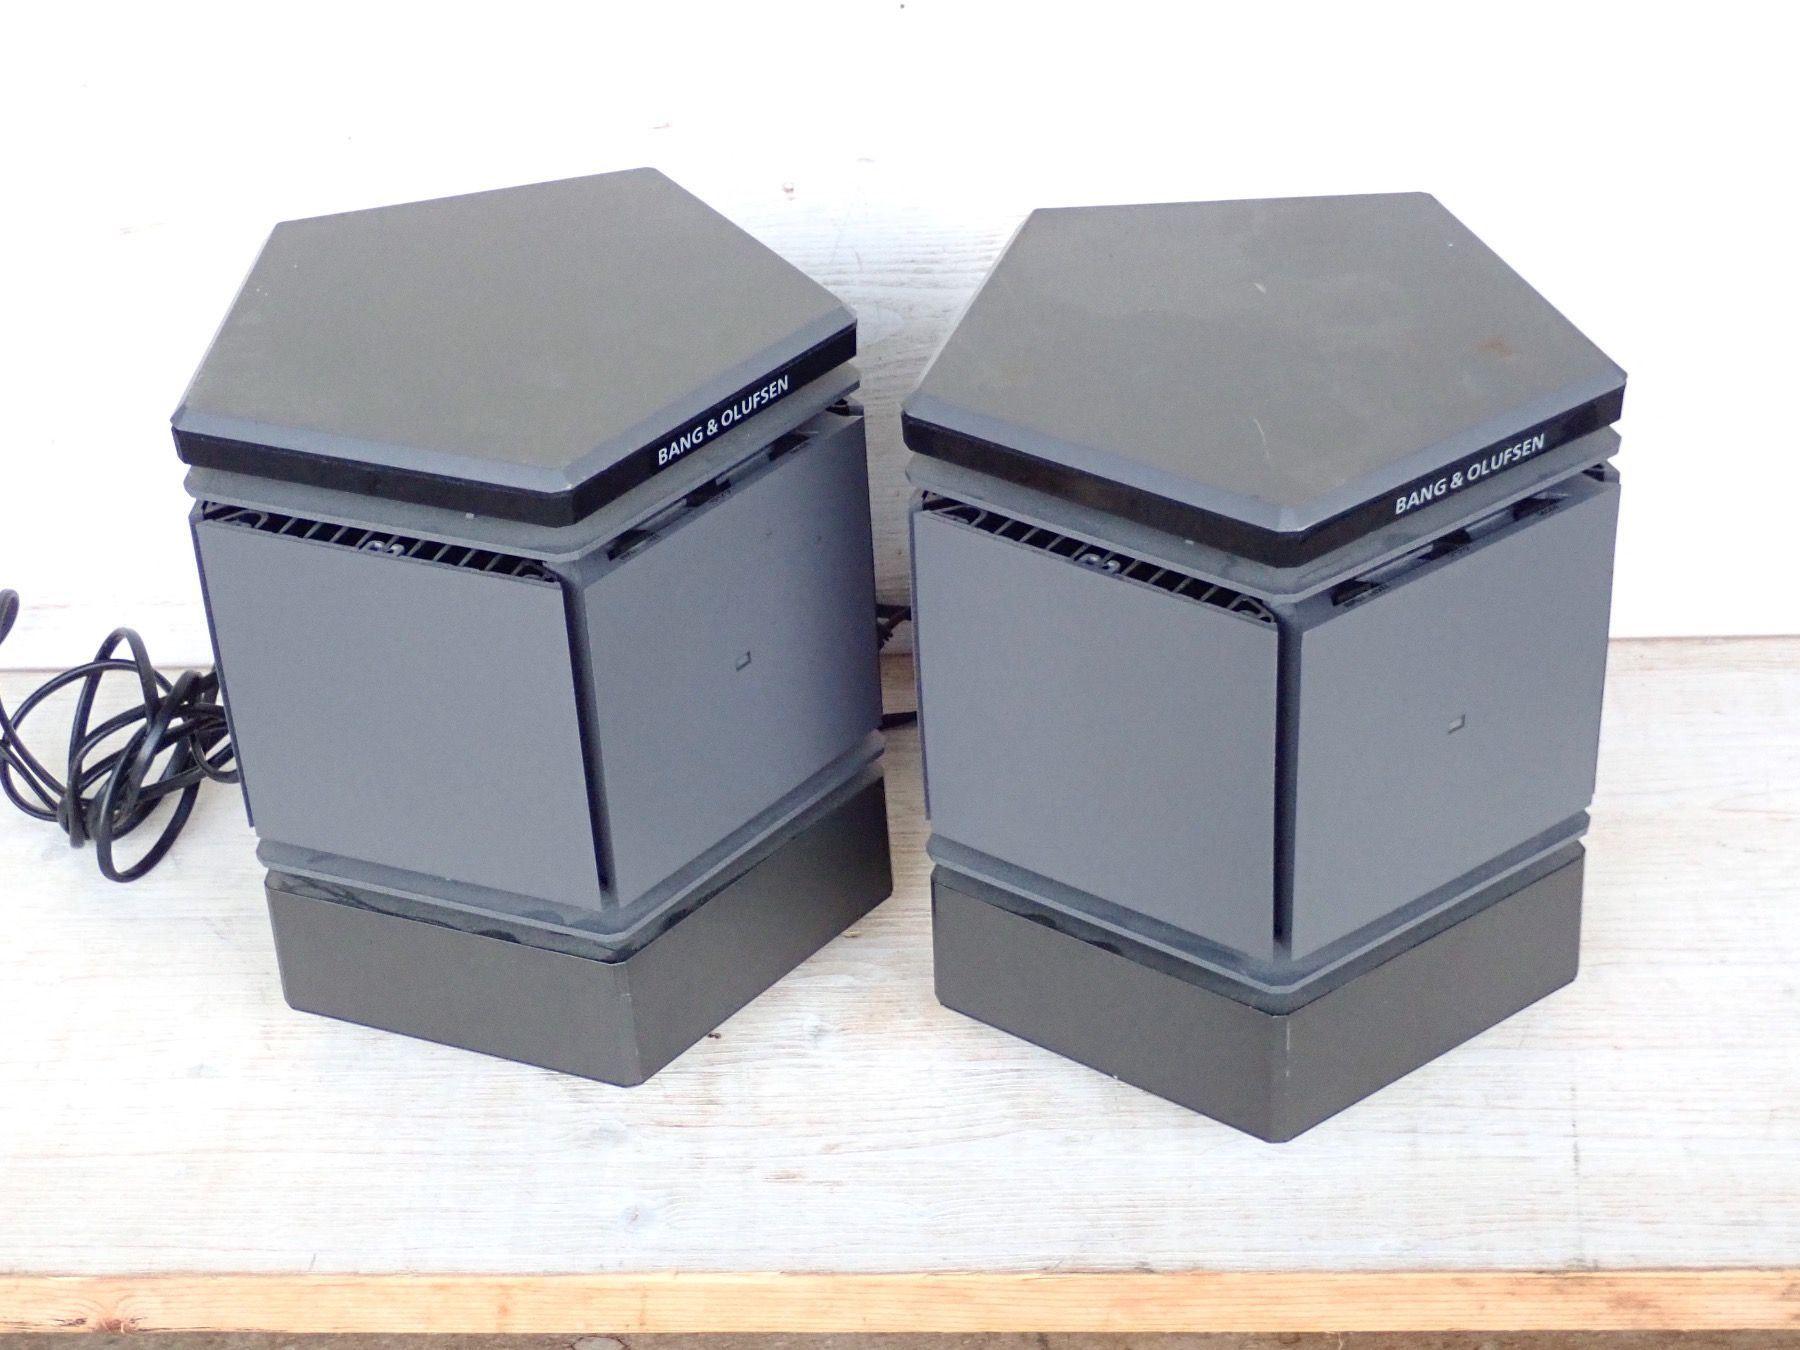
Guys, if you haven’t thought to wash out your speakers, I highly recommend it. This particular pair were mega gross. Keen eyes will spot the frequent occurrence of critters here and there throughout the photos.

Location: San Francisco
EvanGOLD MemberOk now that most of the leaks are stopped up long enough / well enough for this test, we continued…
Location: San Francisco
EvanGOLD MemberGlad to hear it!
There’s more where that came from, I just had to pause to take care of some actual work haha!
Location: San Francisco
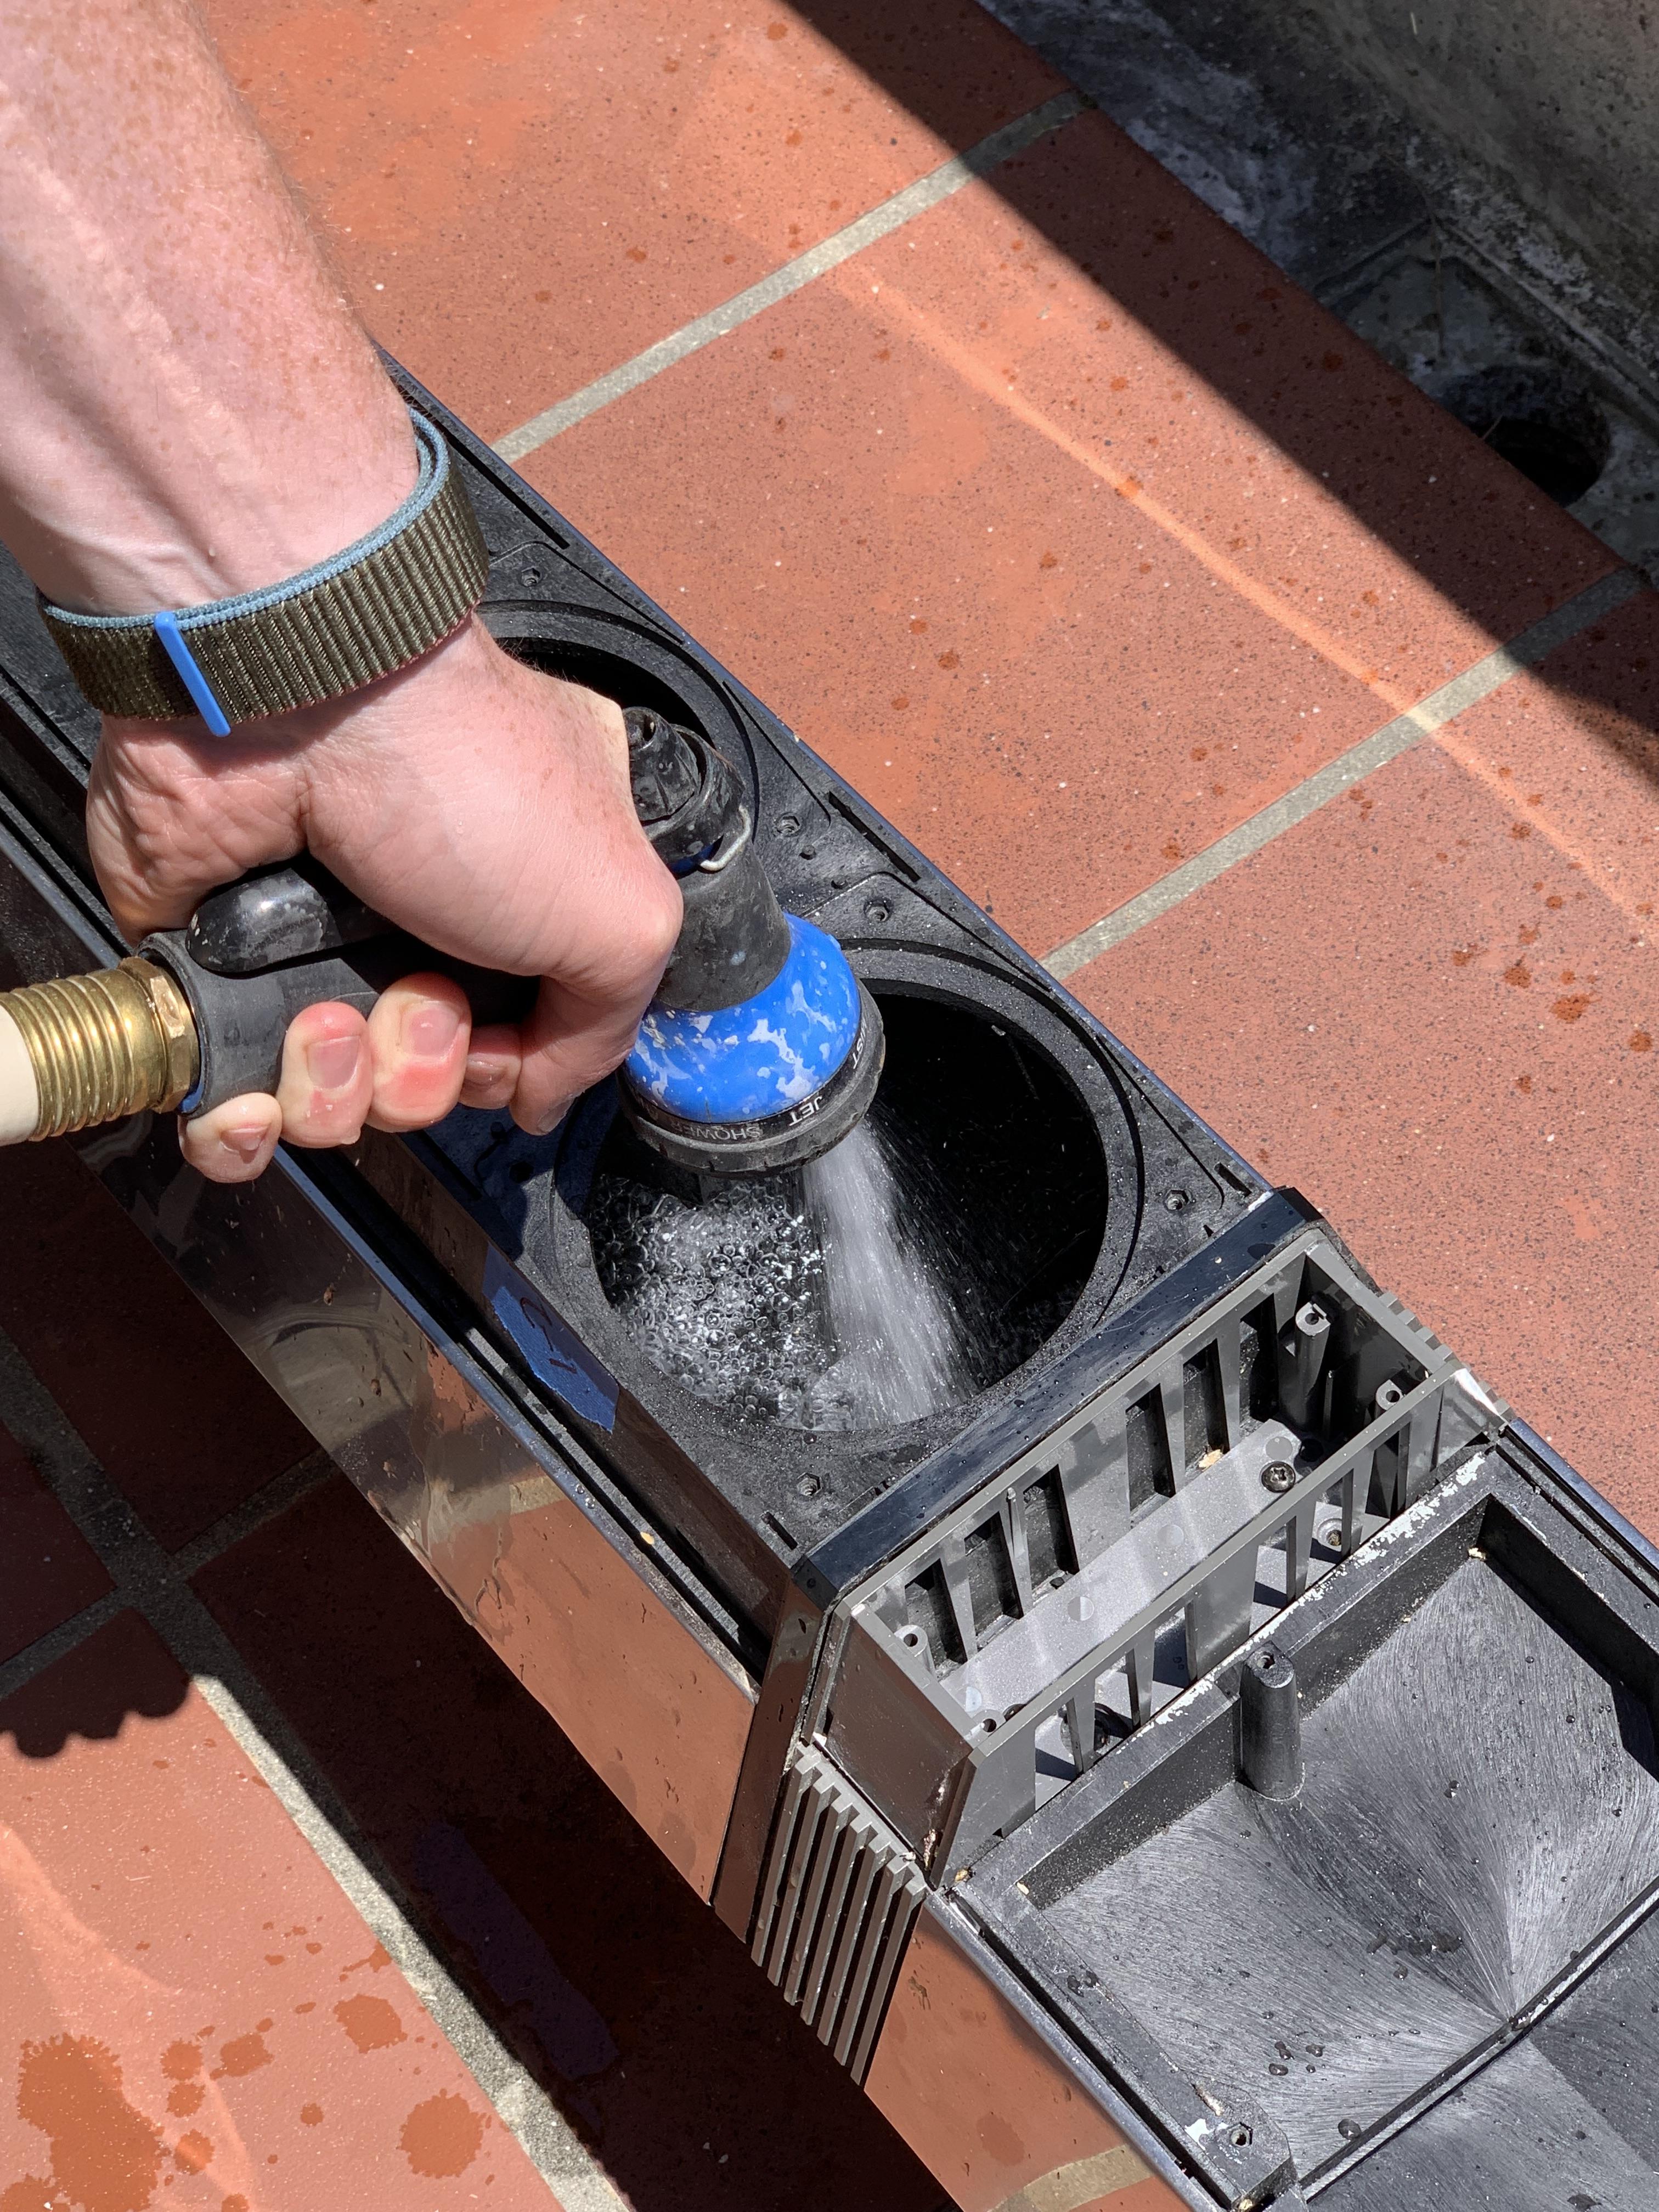
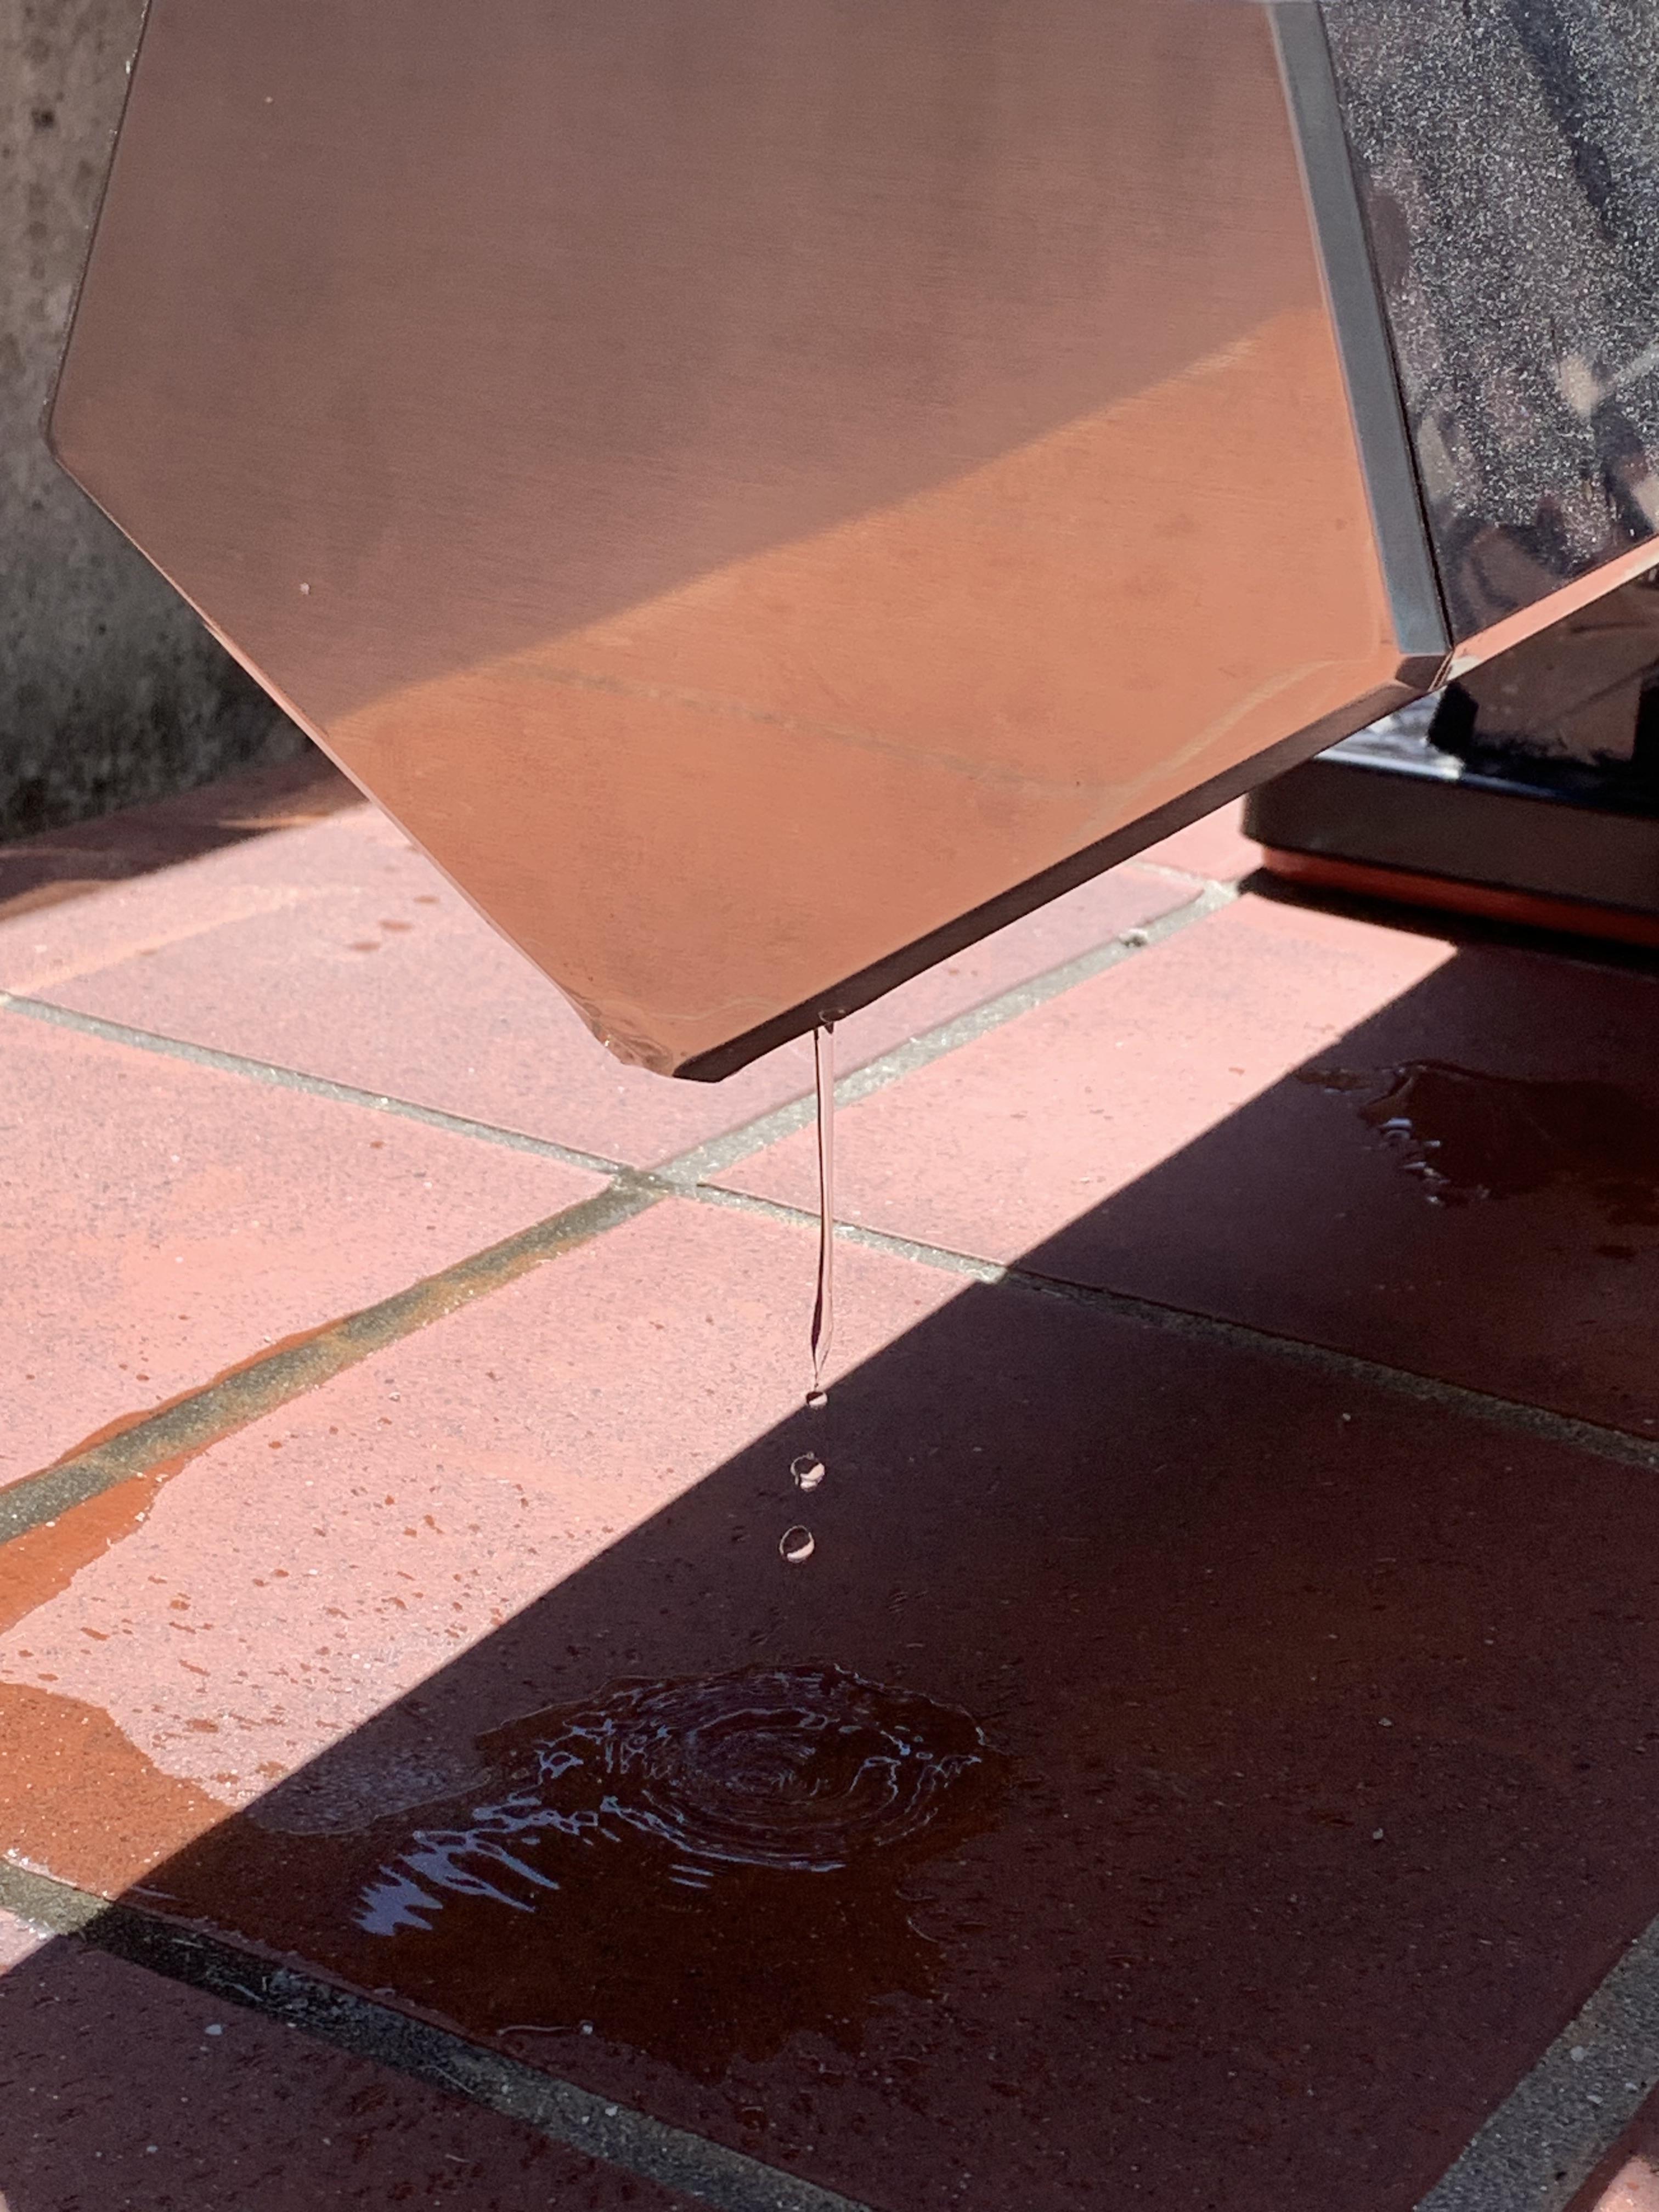
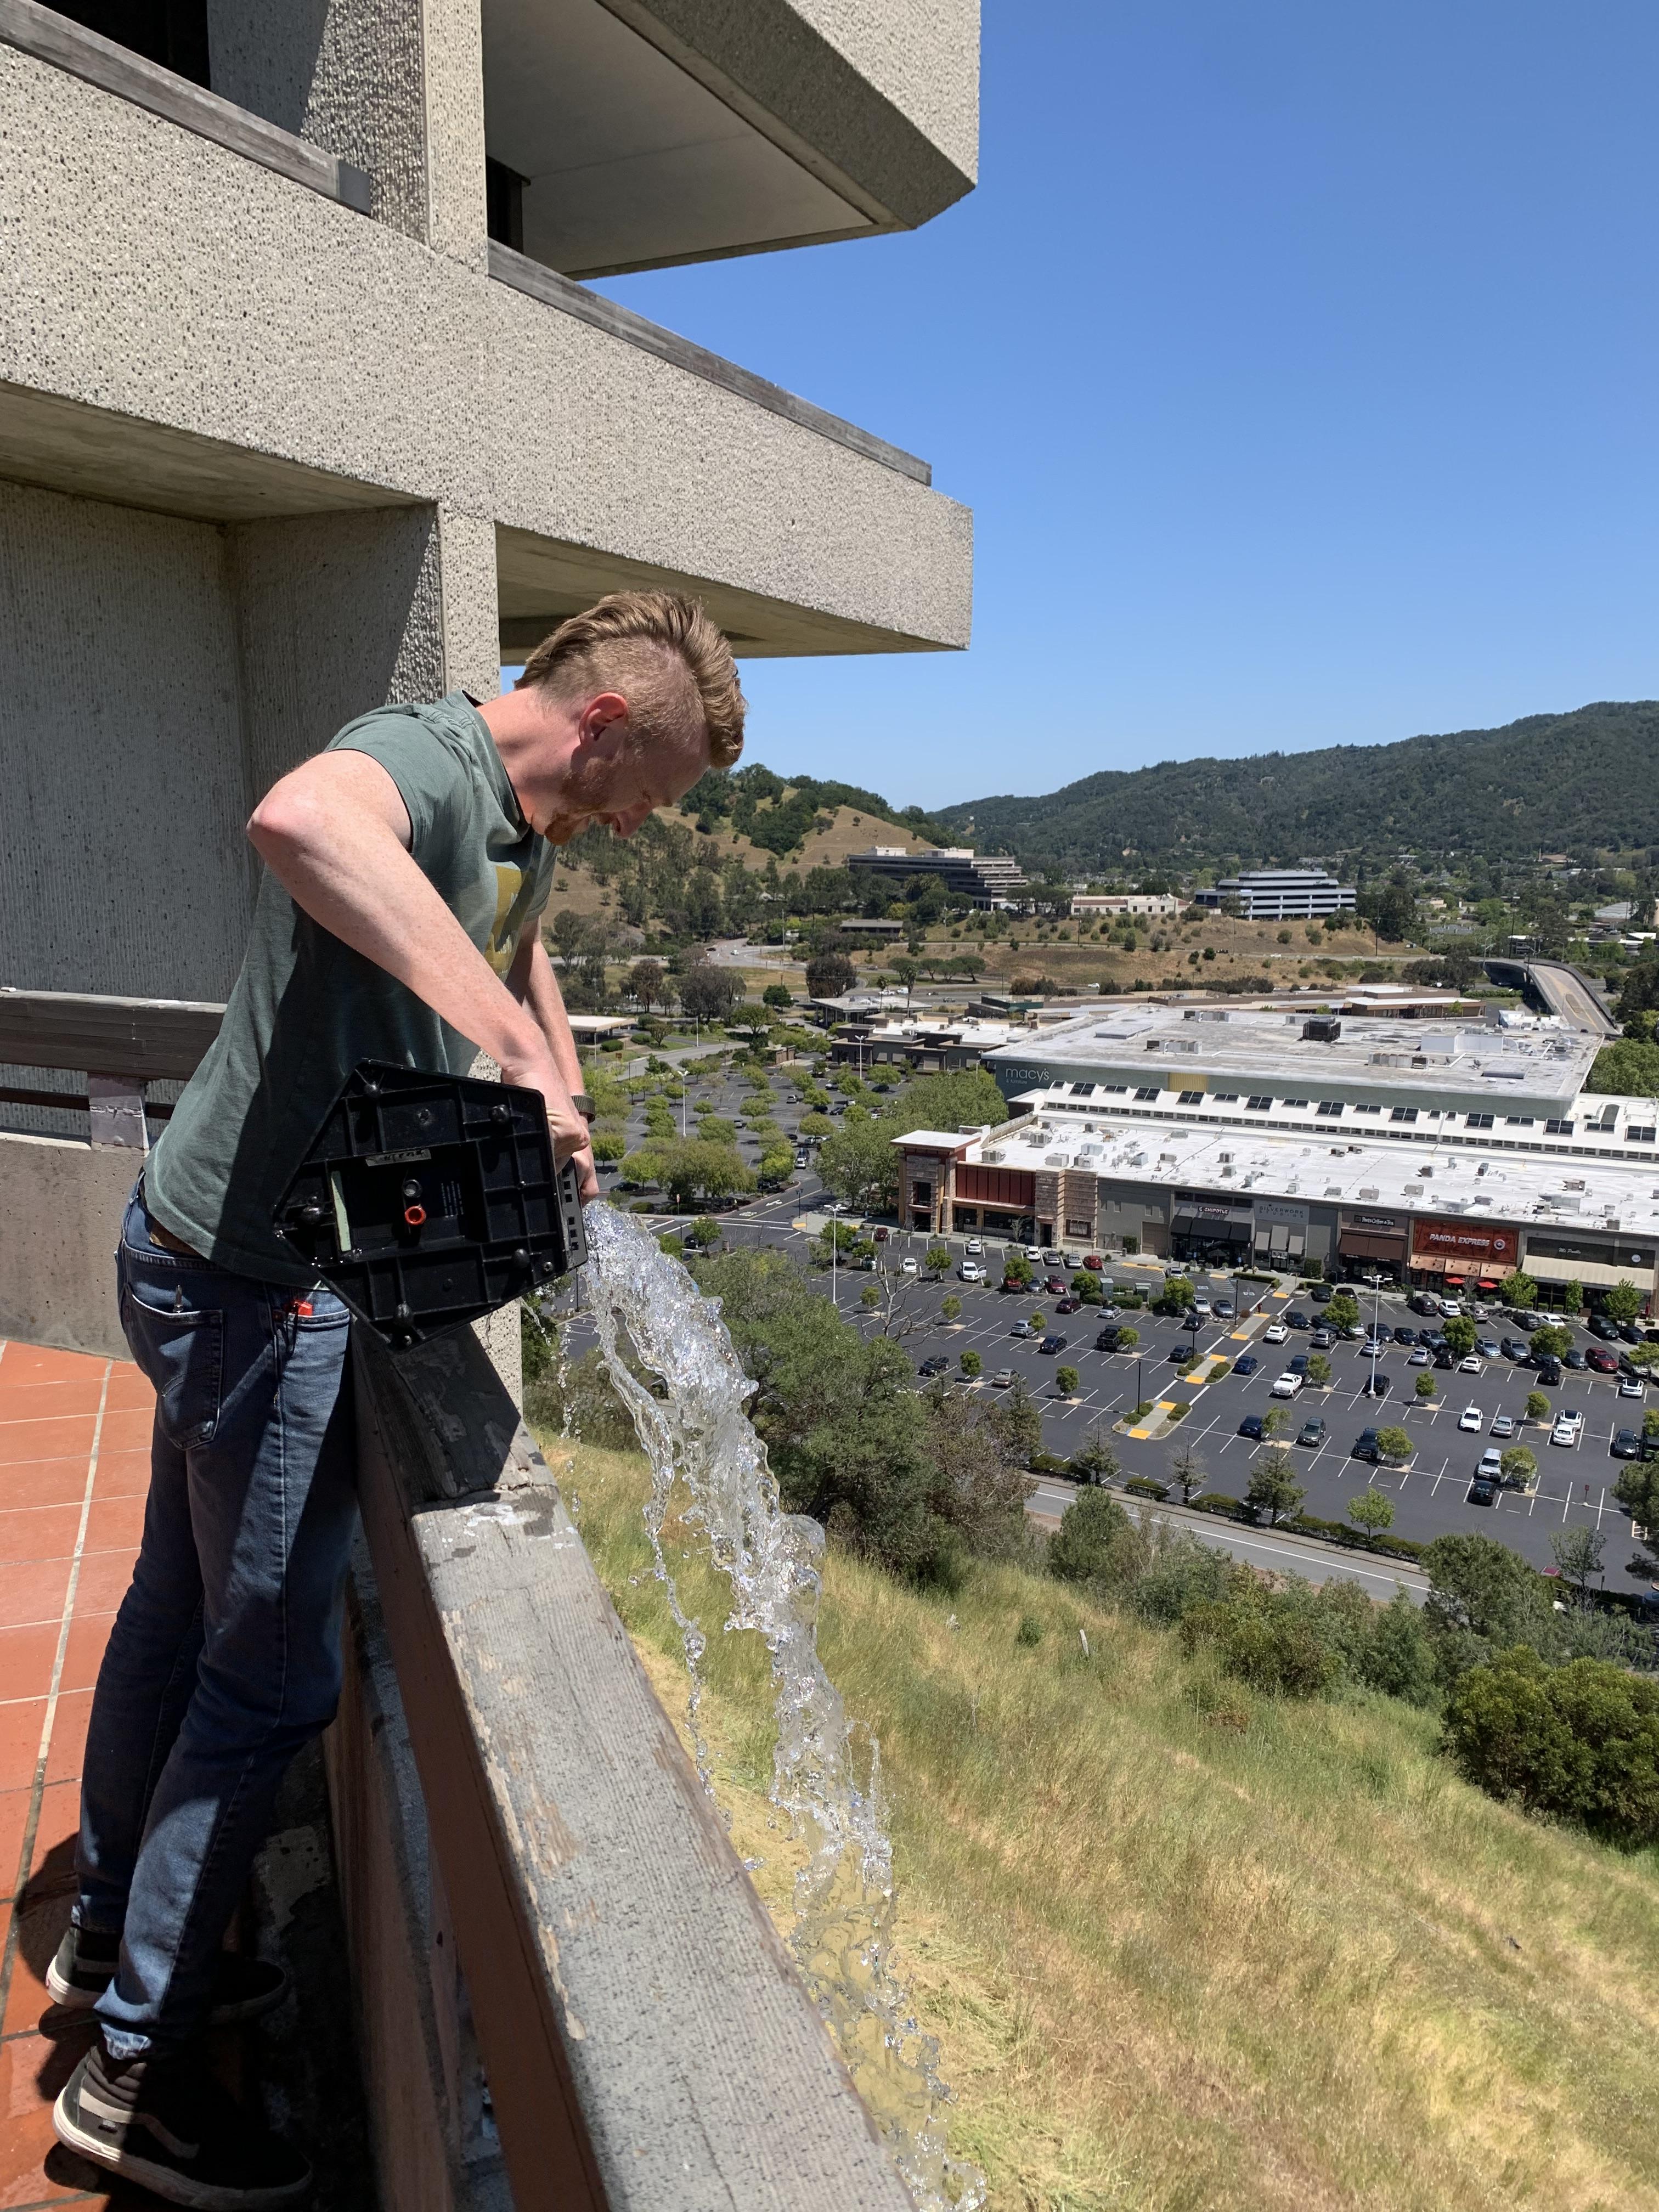
EvanGOLD MemberAfter a few minutes of filling we started to notice some spots that were leaking. This expected but I did miss some big ones – I forgot to patch the pass-throughs for the tweemids and the display. So pause and go for a reset! The grass around the office could use it honestly.
Location: San Francisco
EvanGOLD MemberHere goes nothing! The thought of becoming “that guy” who filled a penta with water was starting to sink in haha.
Location: San Francisco
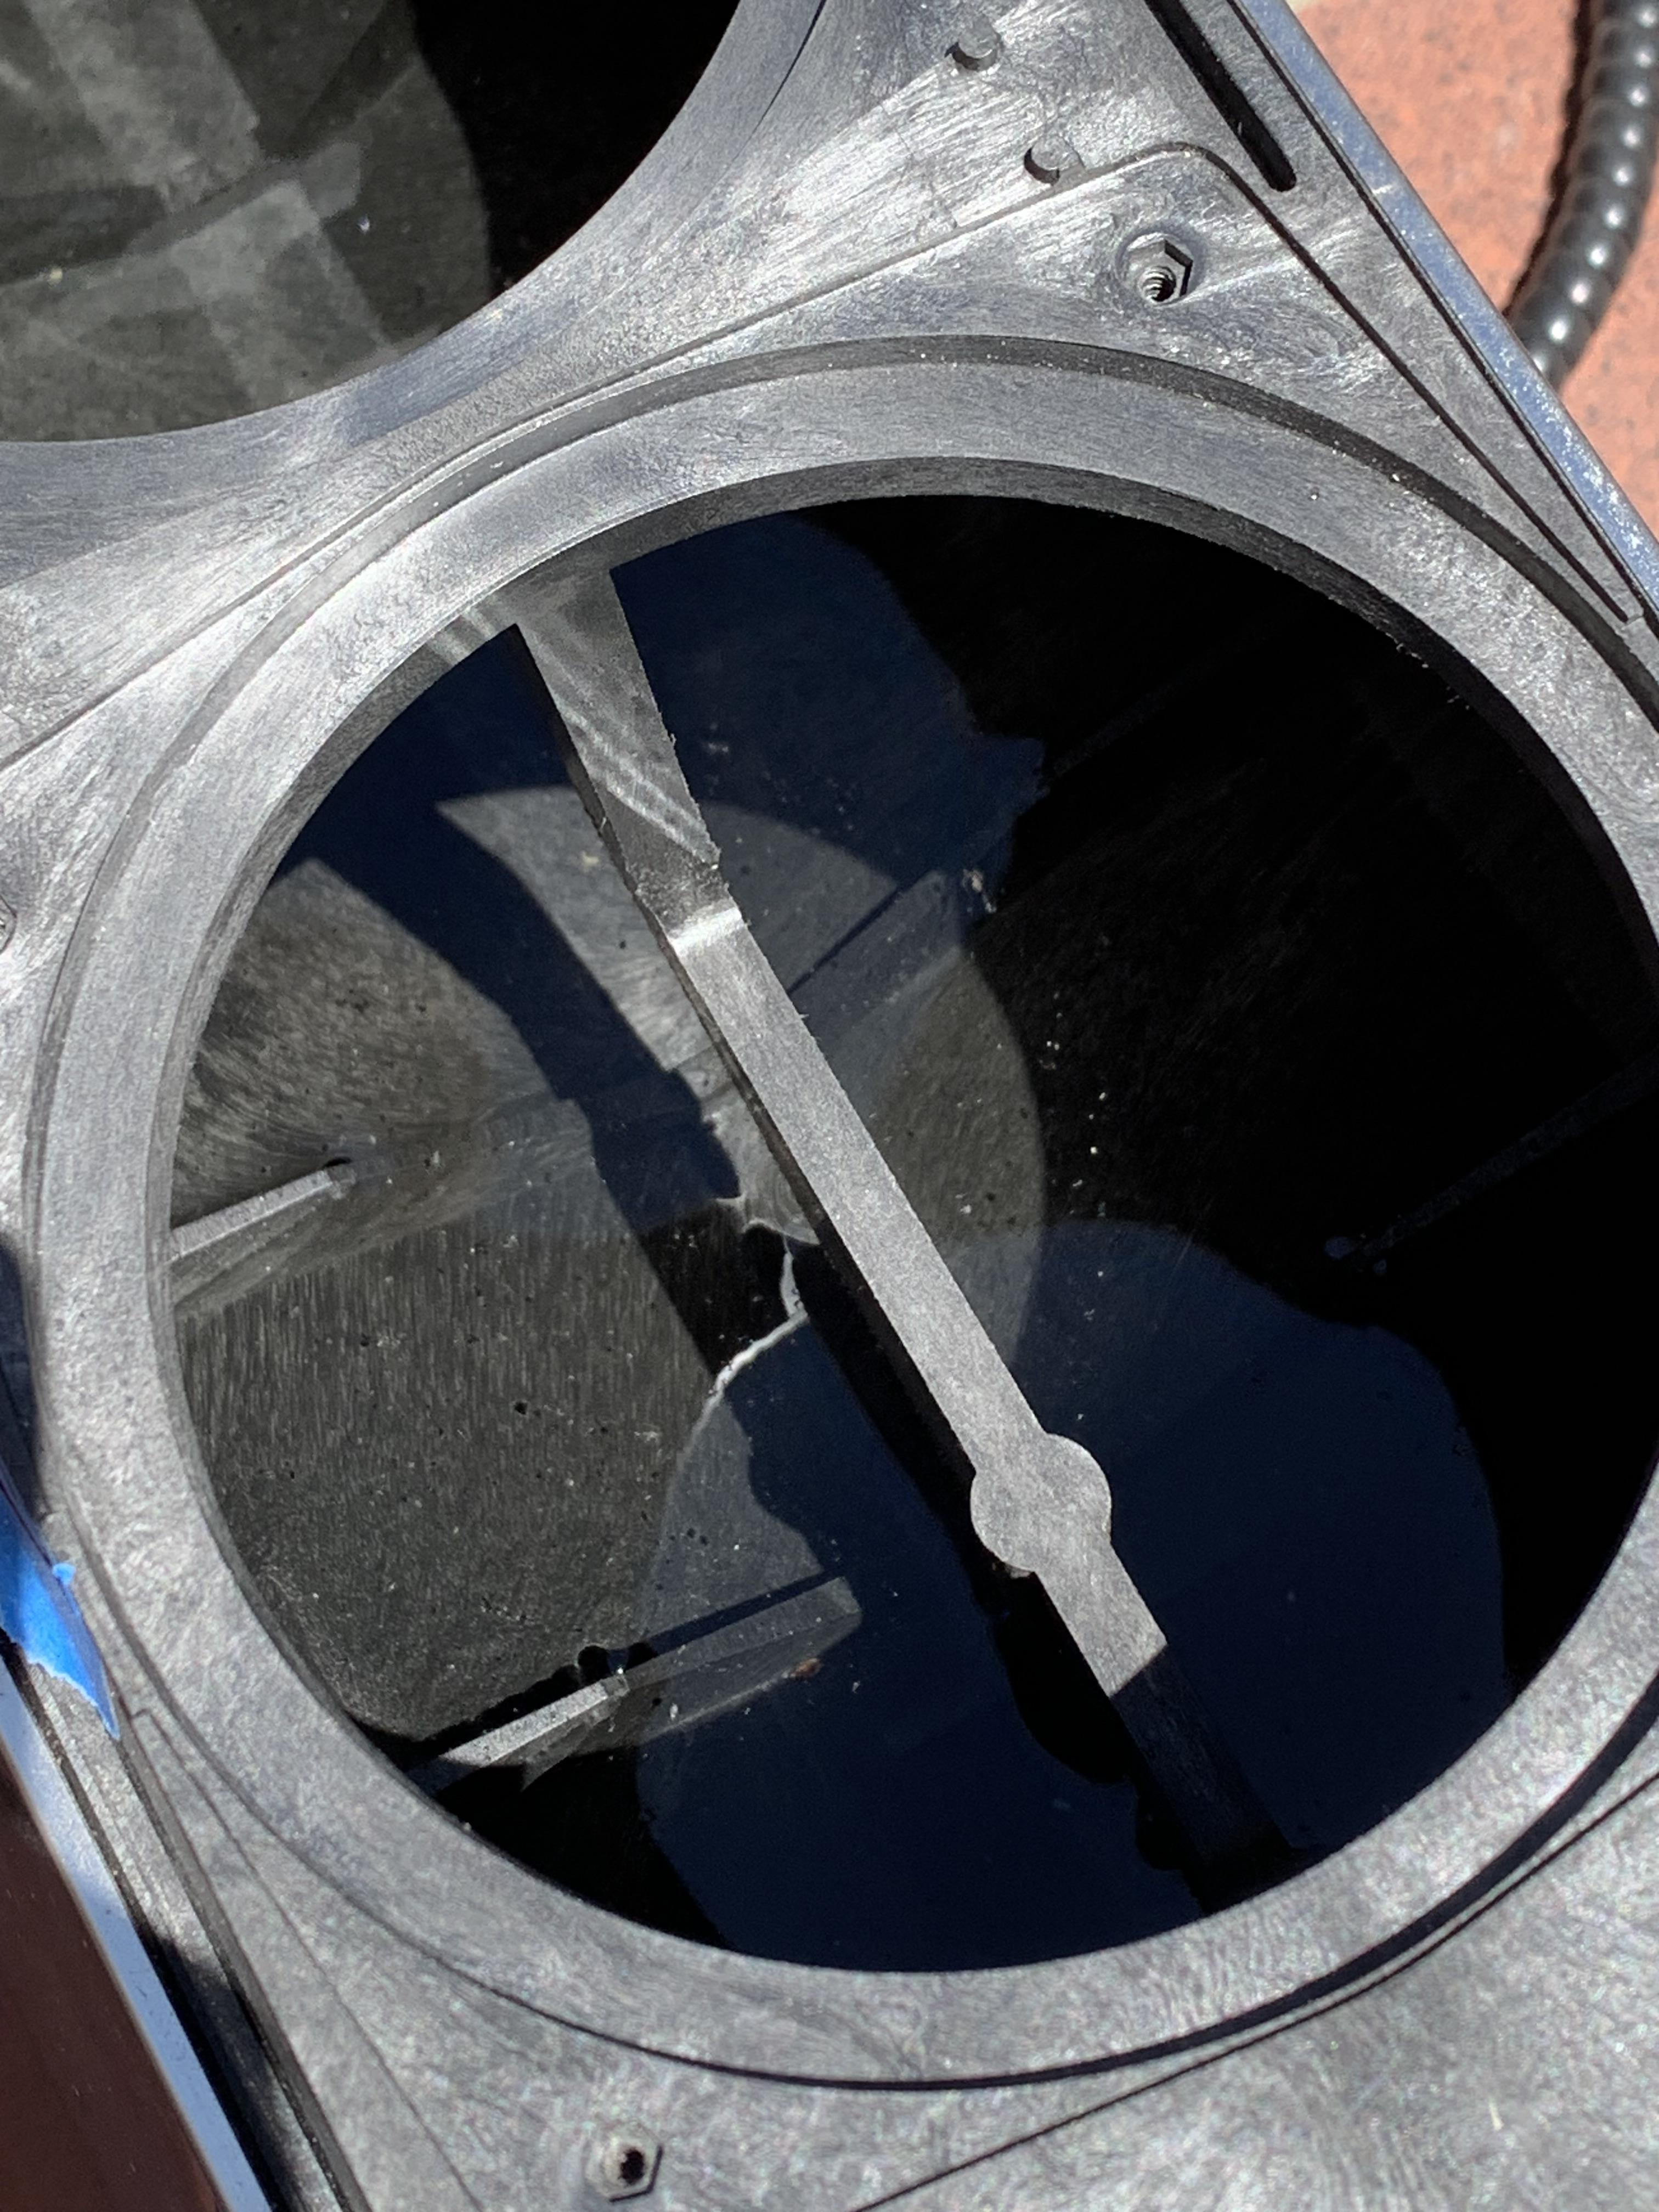
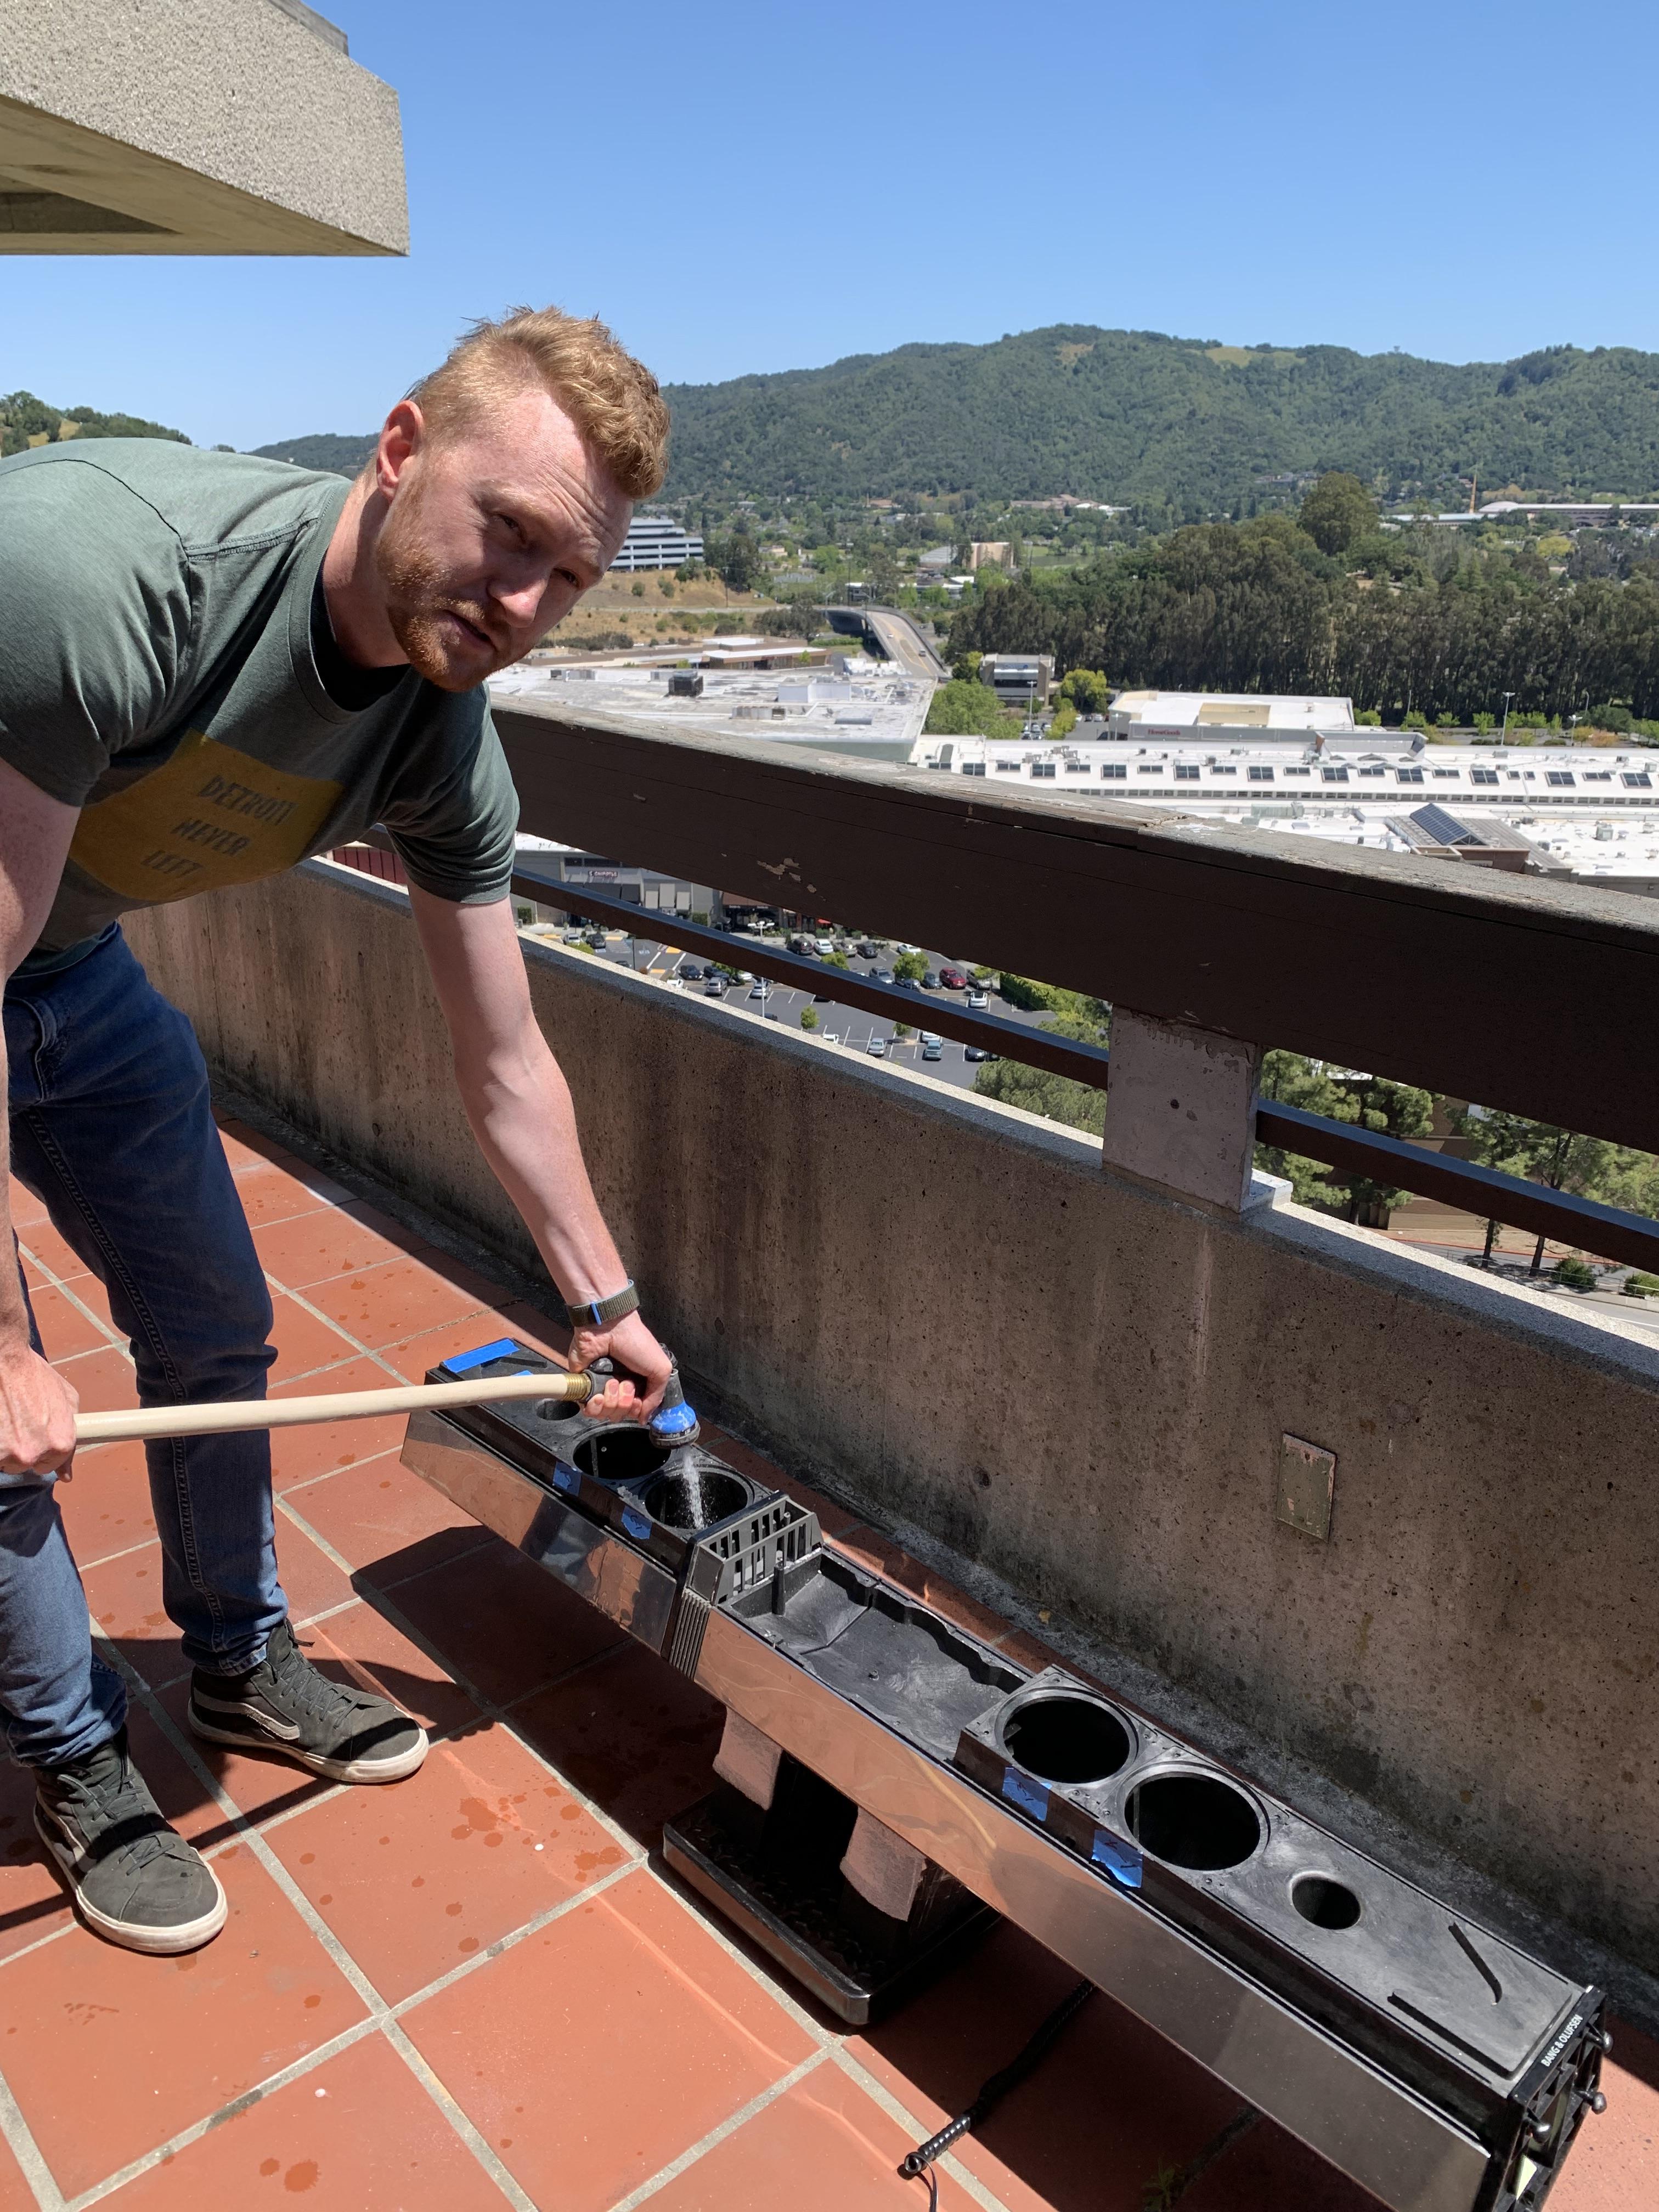
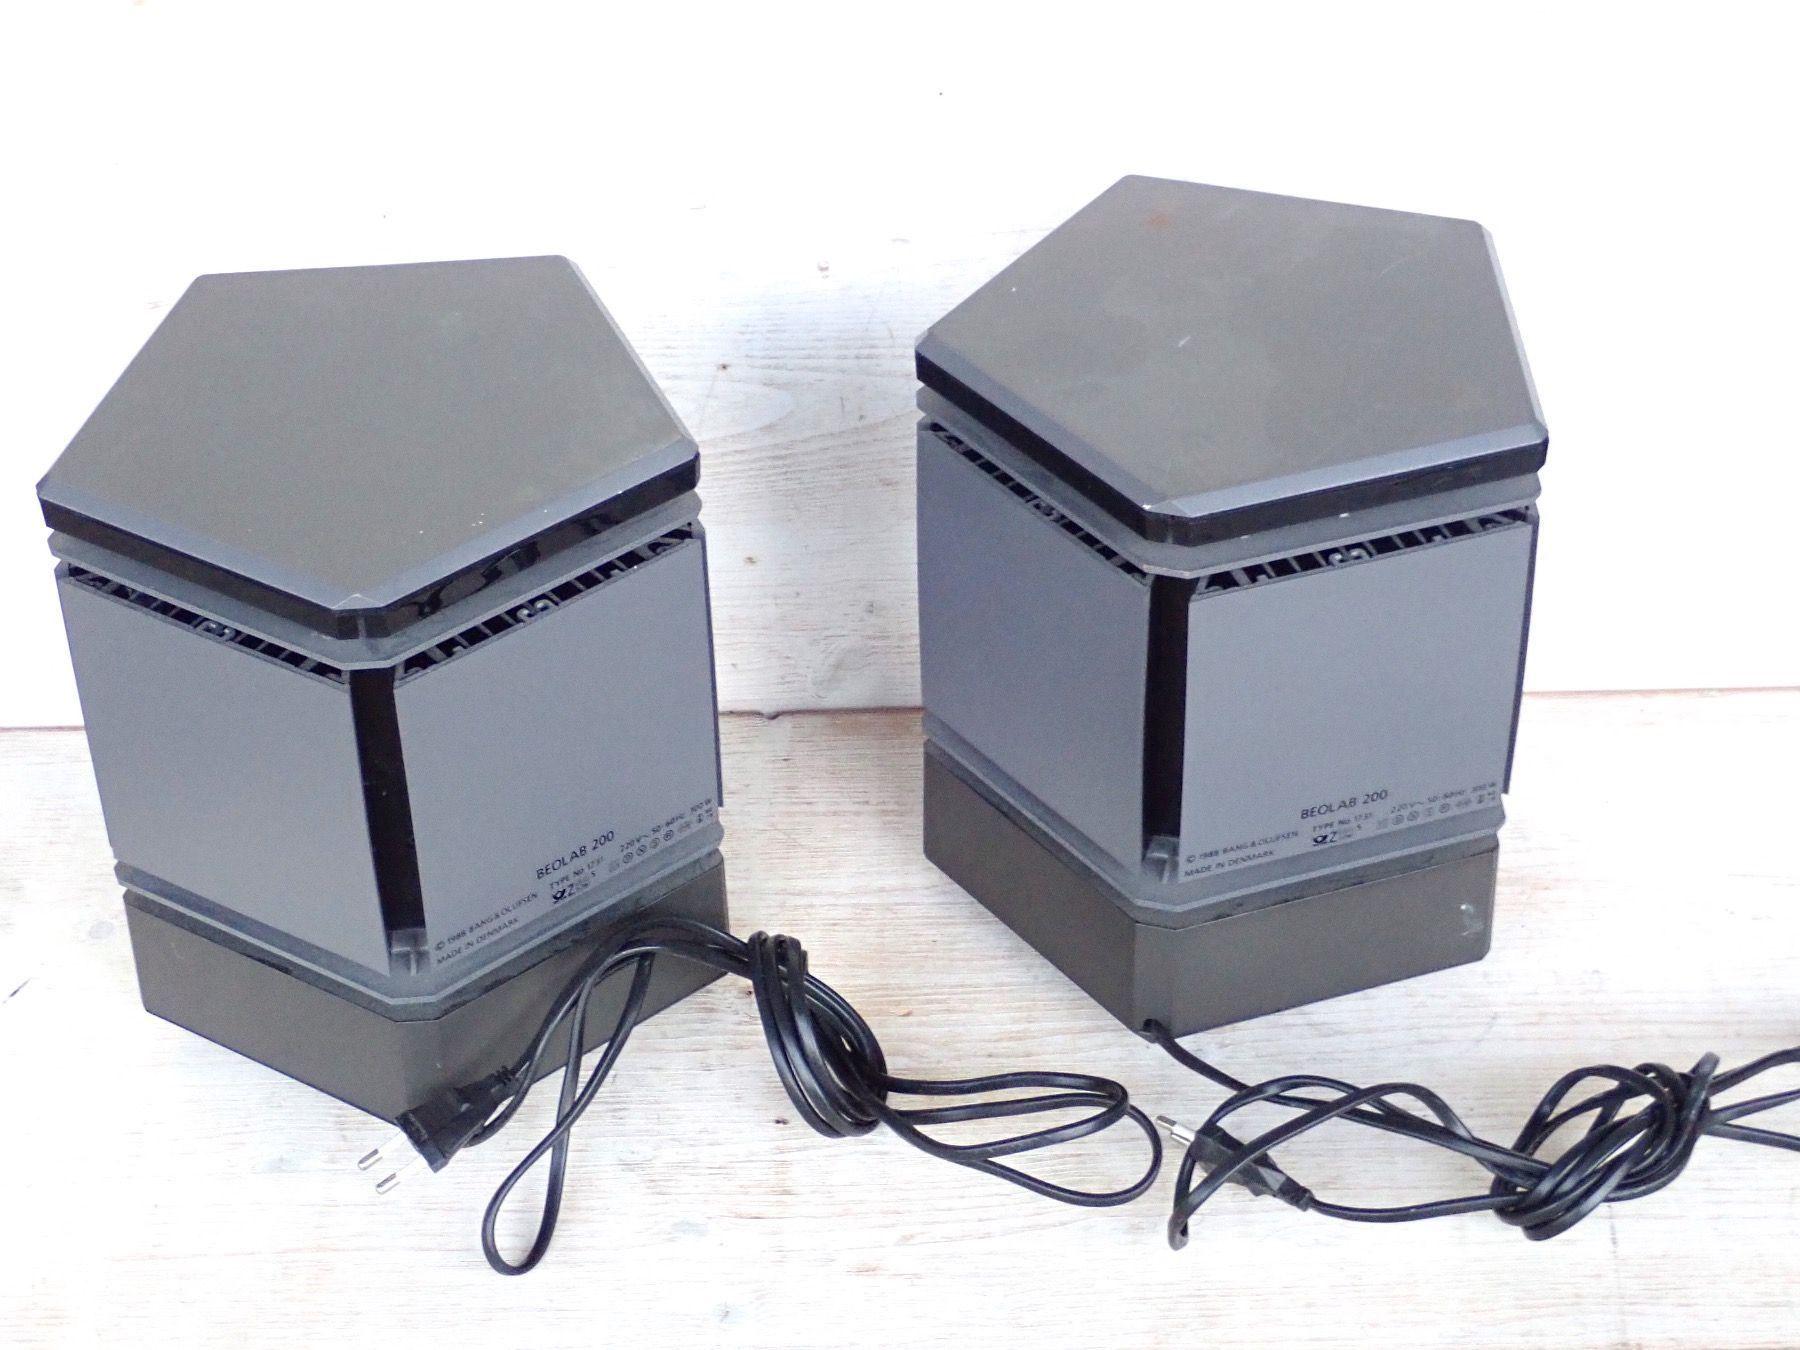
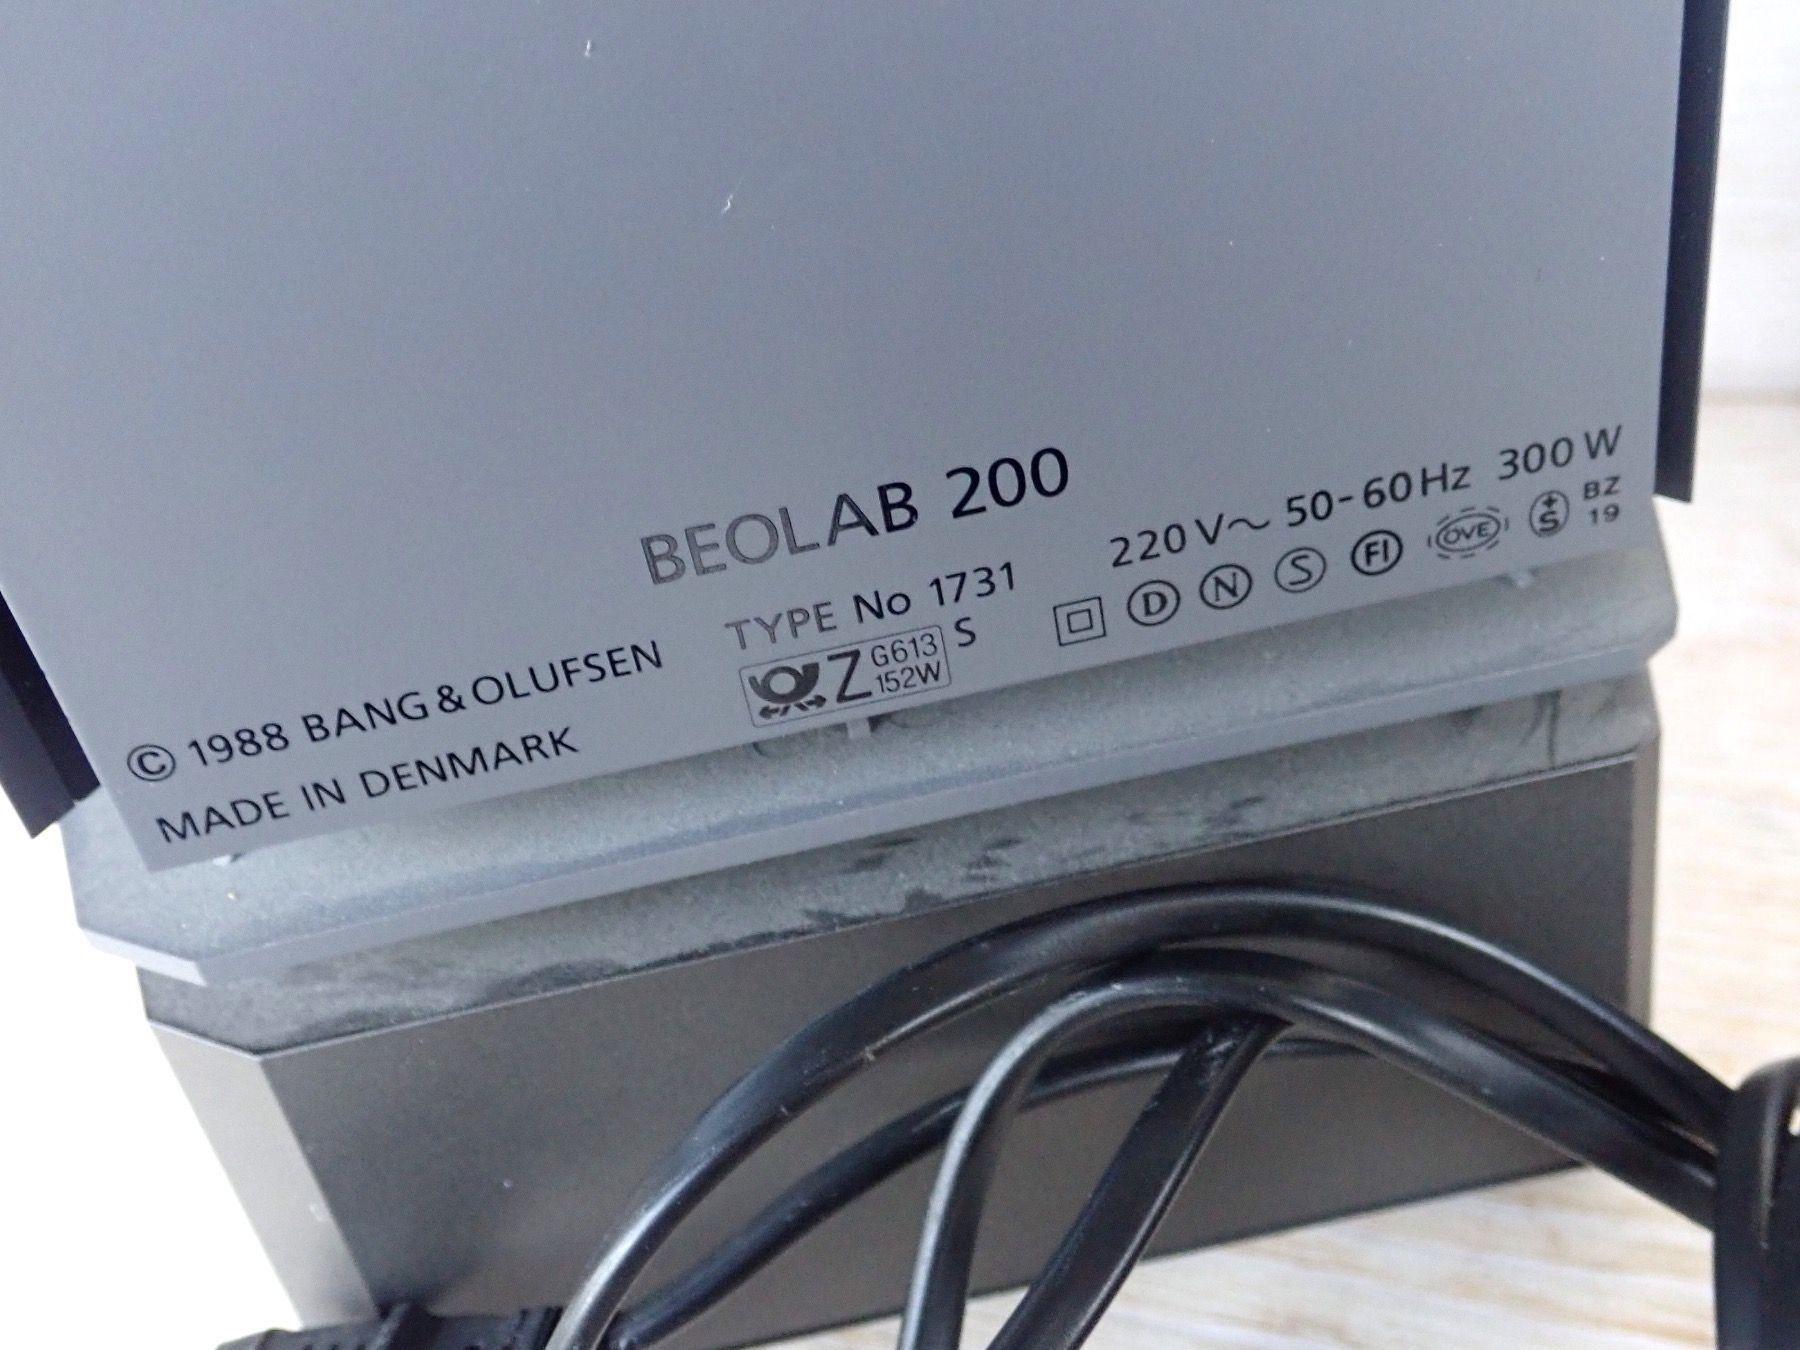
EvanGOLD MemberOk everybody, the moment has finally arrived. Time to tackle the silliest task of this project! Its time to measure the internal volume of the cabinet.
The dry weight is 9kg.

Usually when reverse engineering speakers, the office gang and I use uncooked beans of some kind. This time we decided to use water.
Location: San Francisco
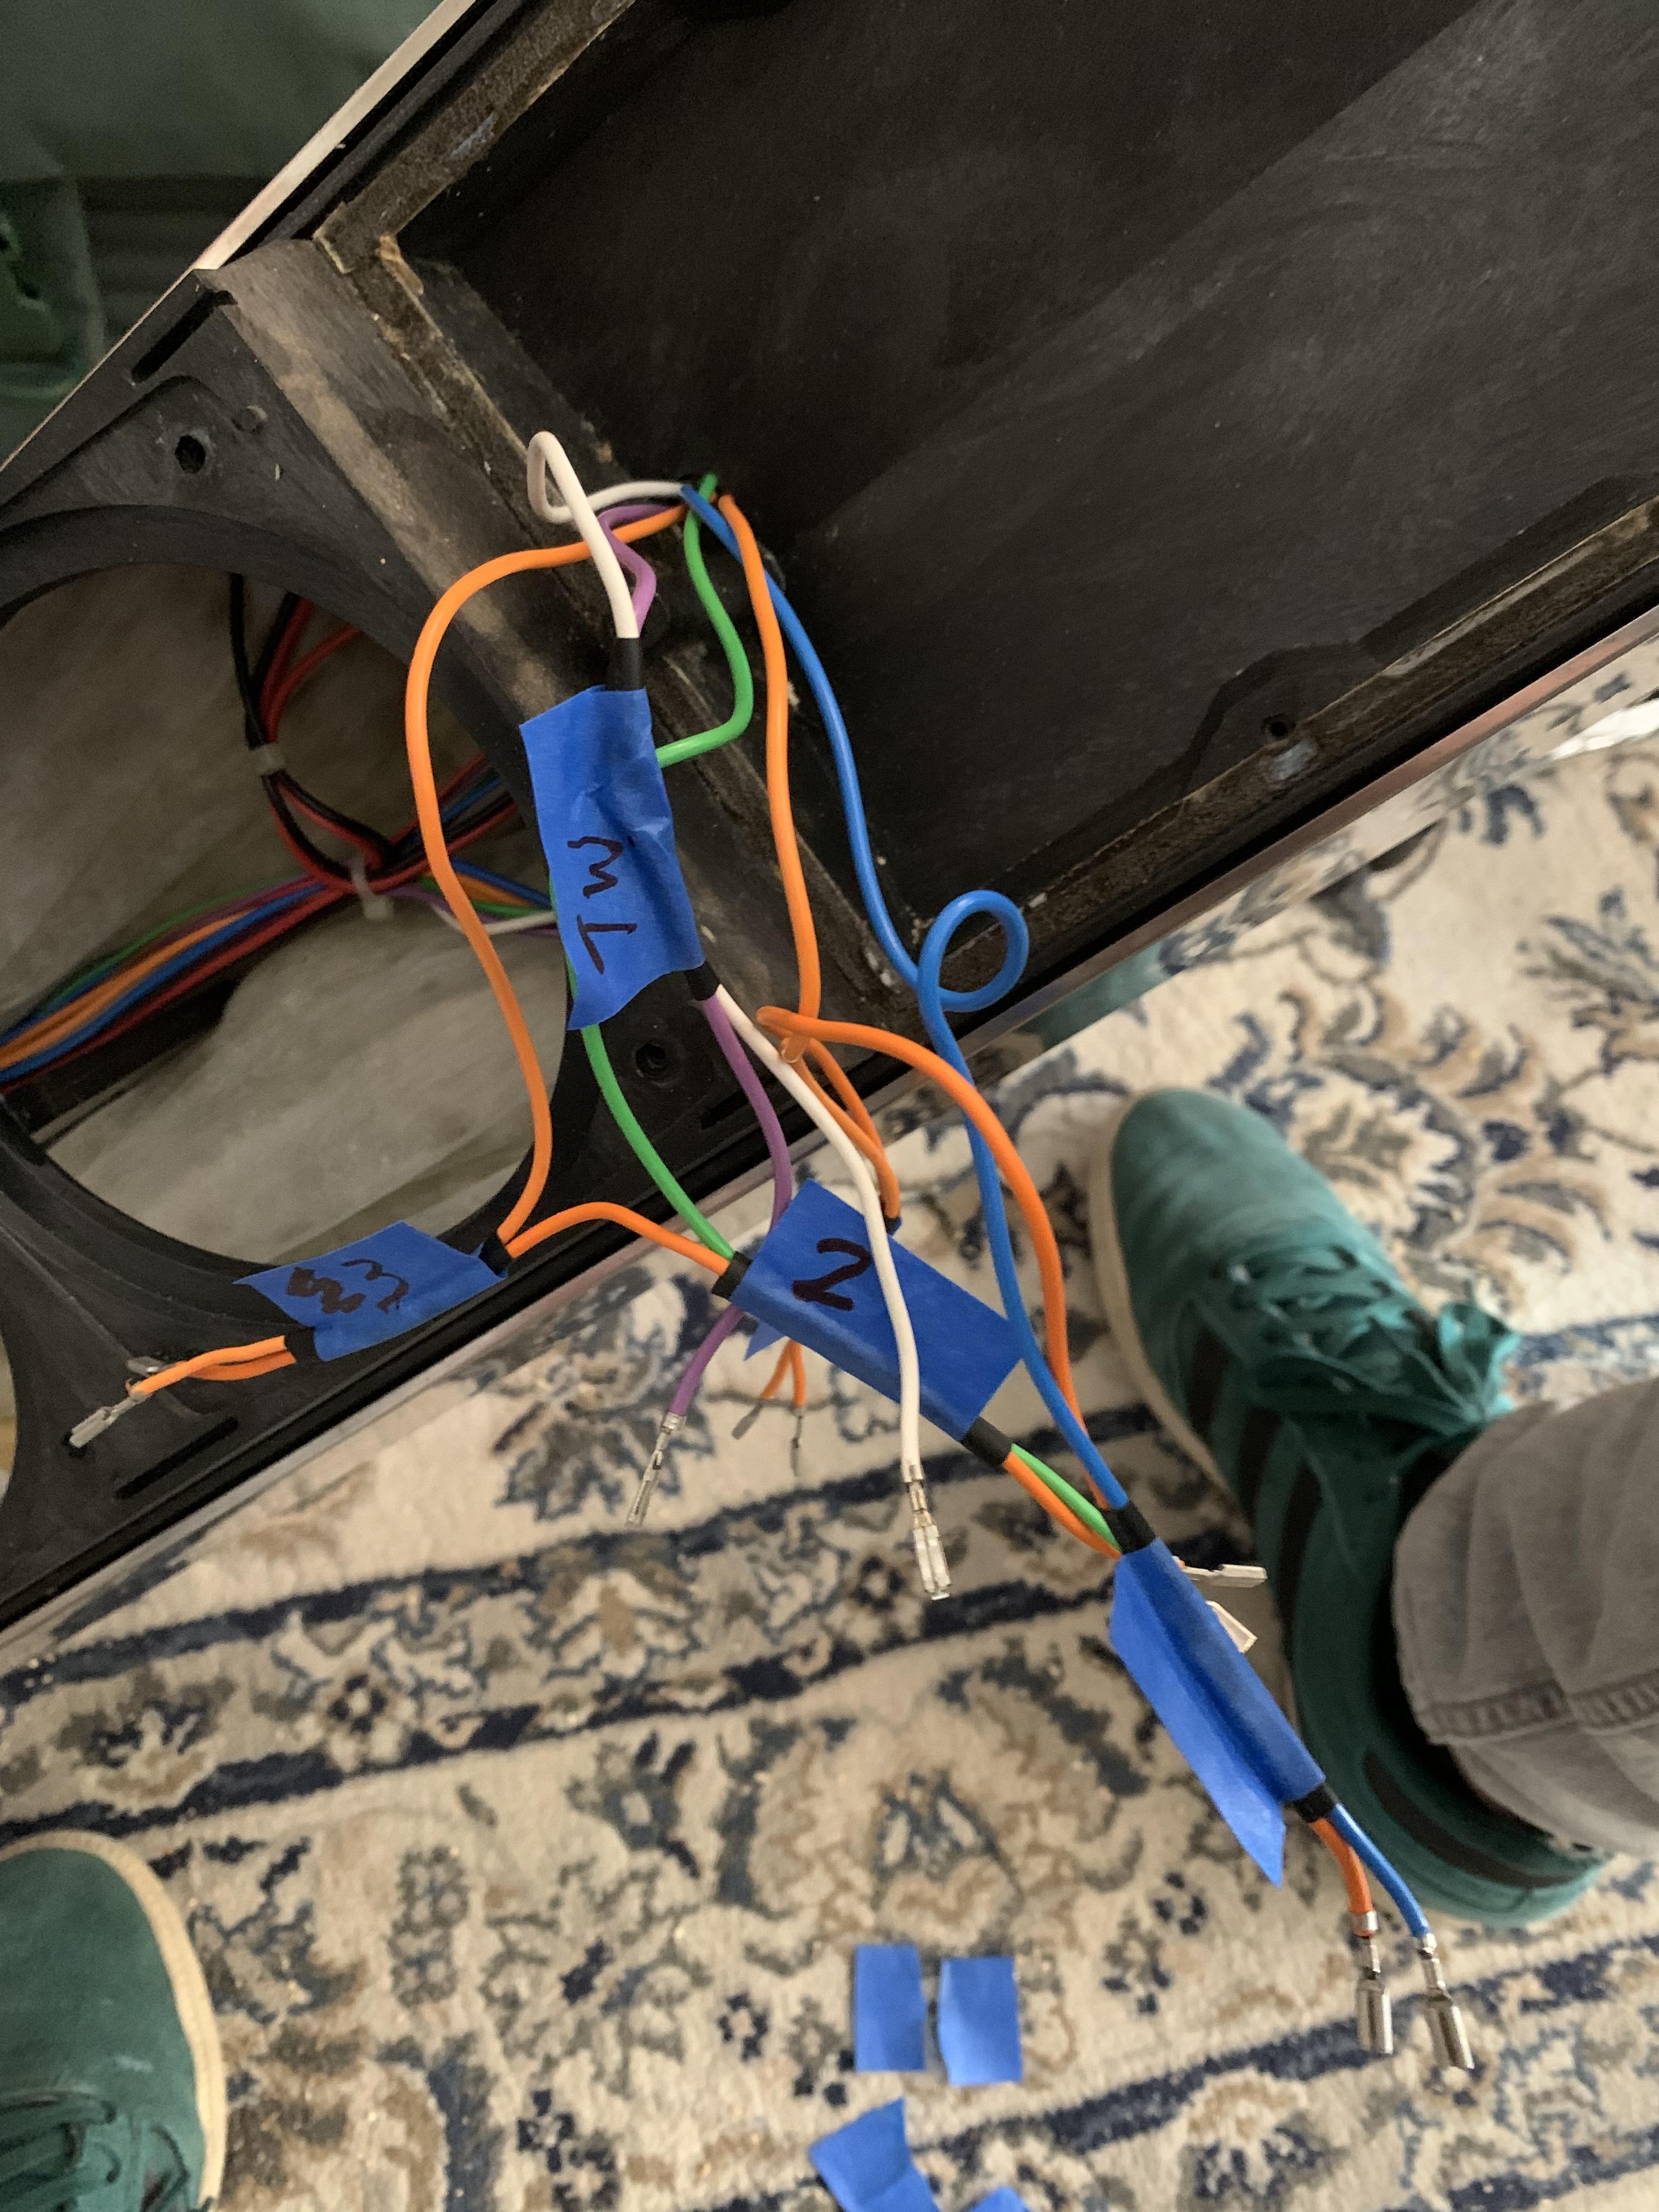
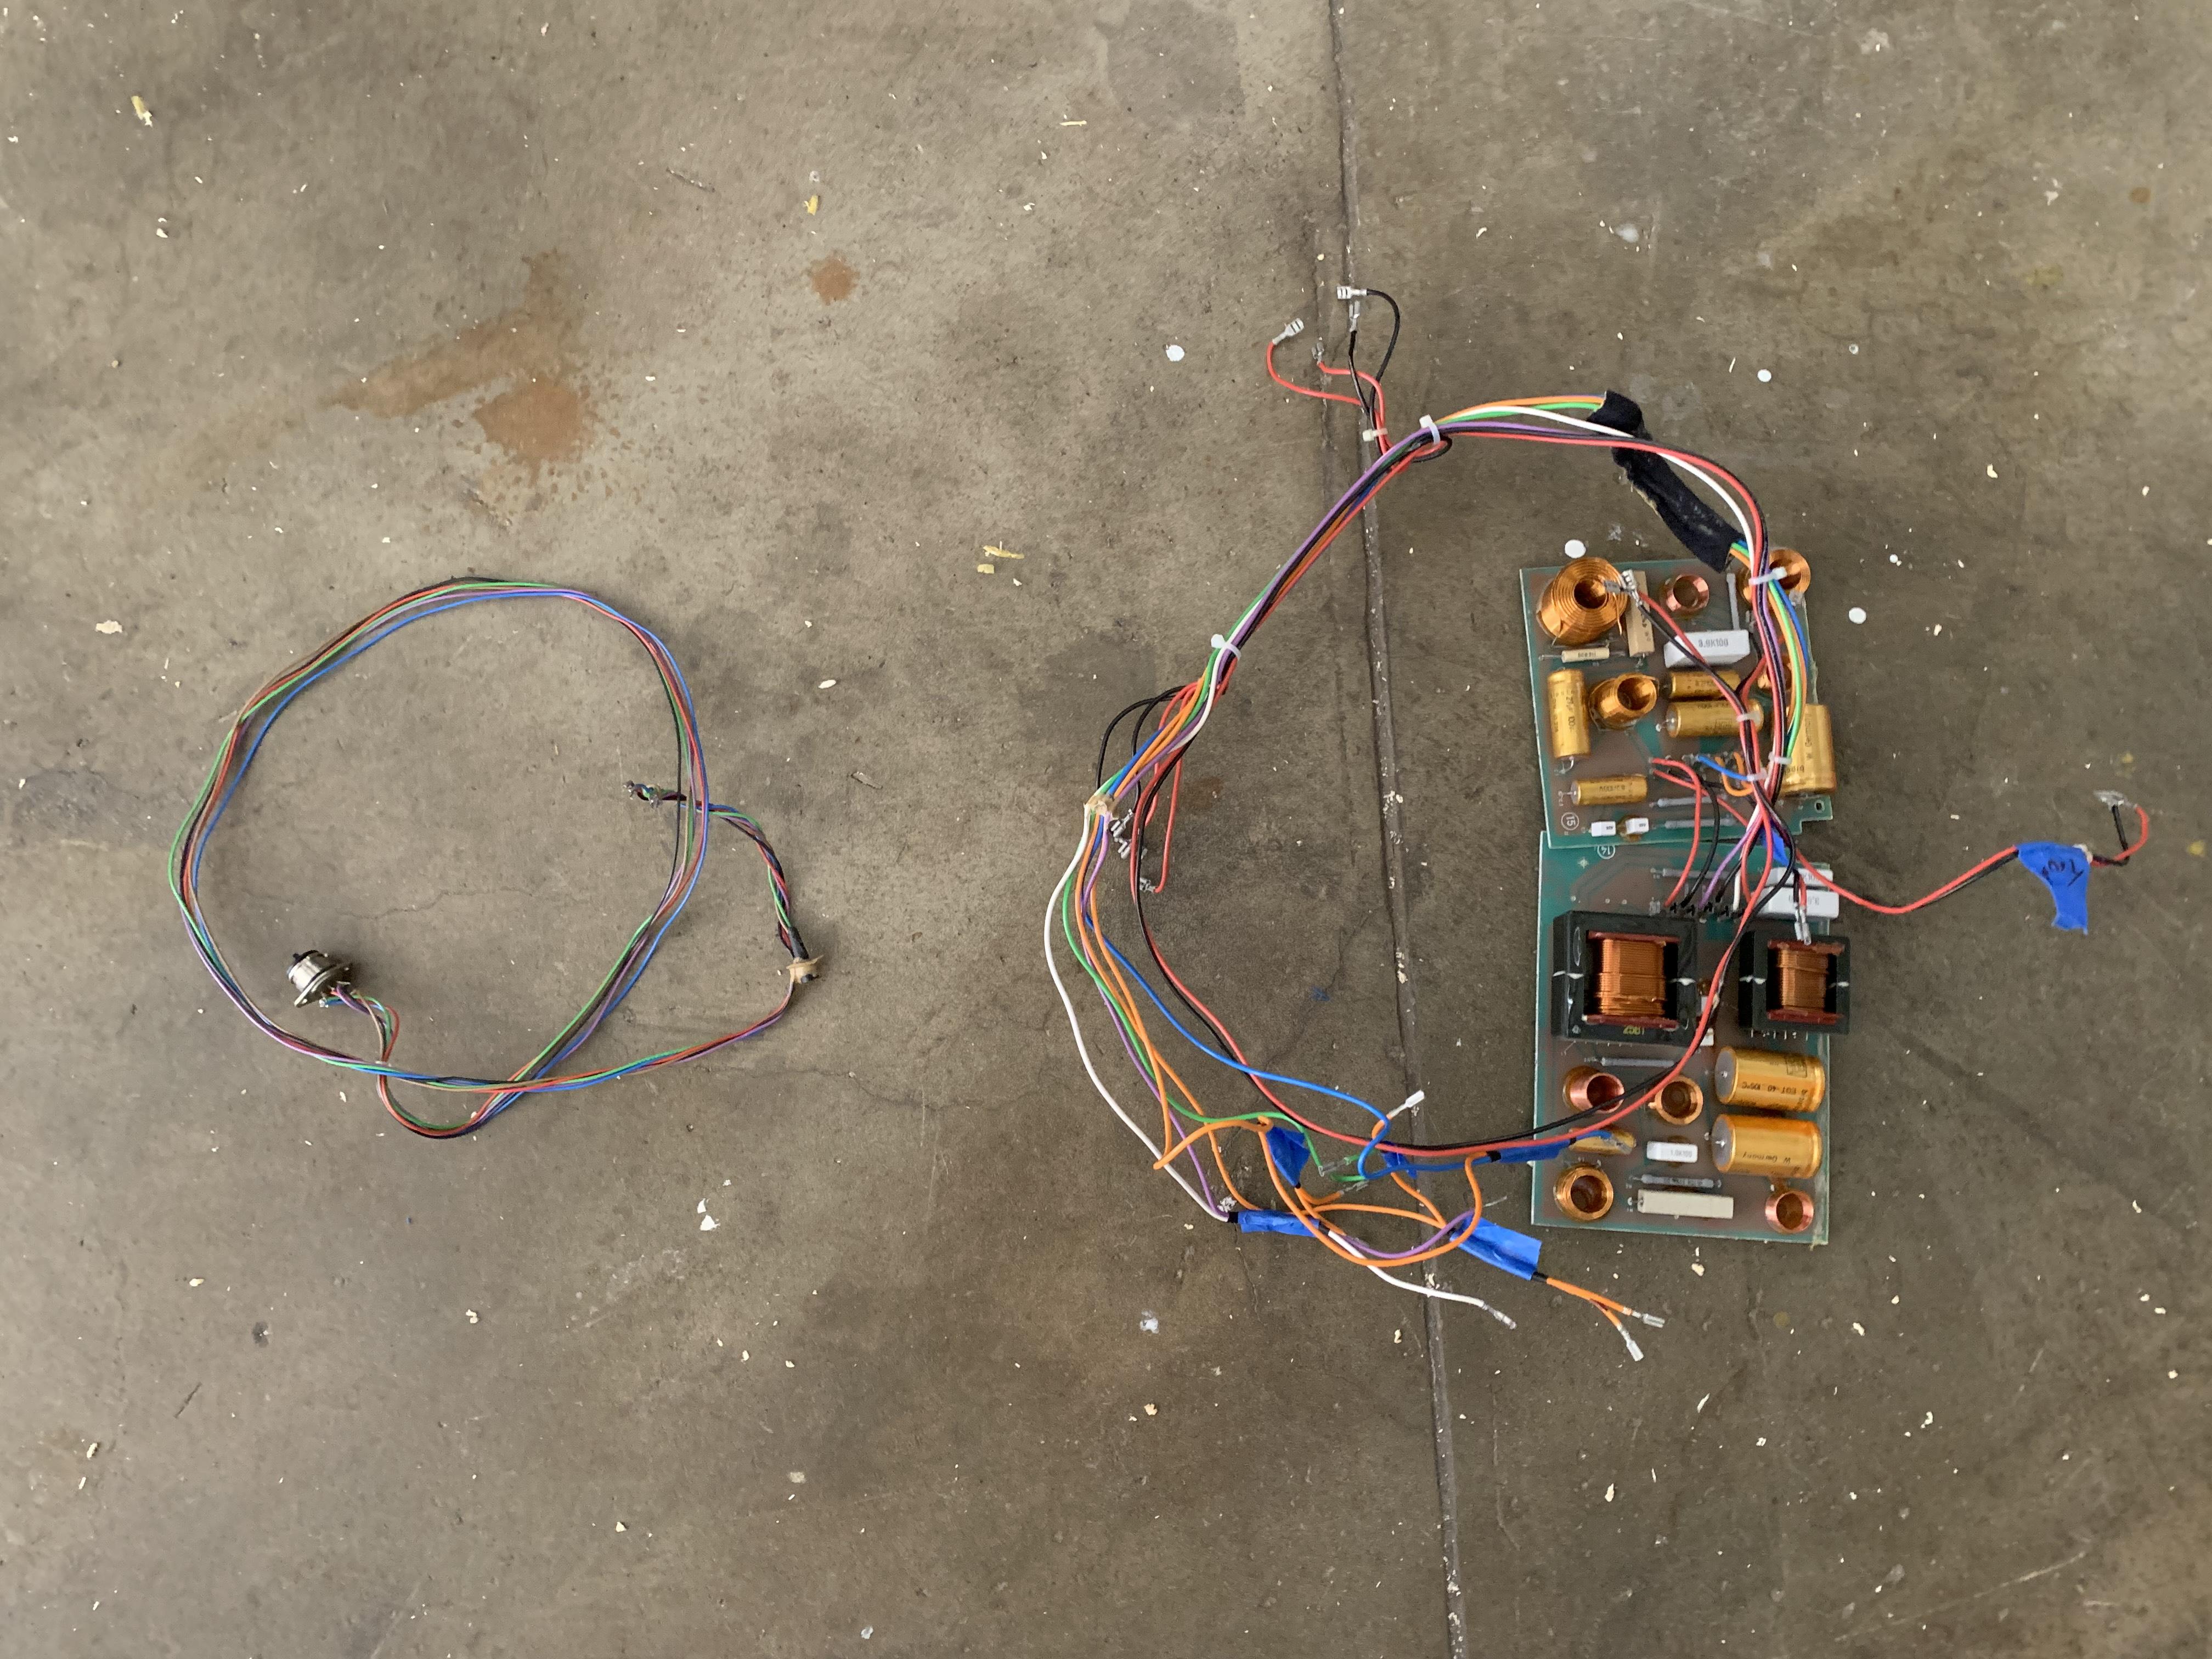
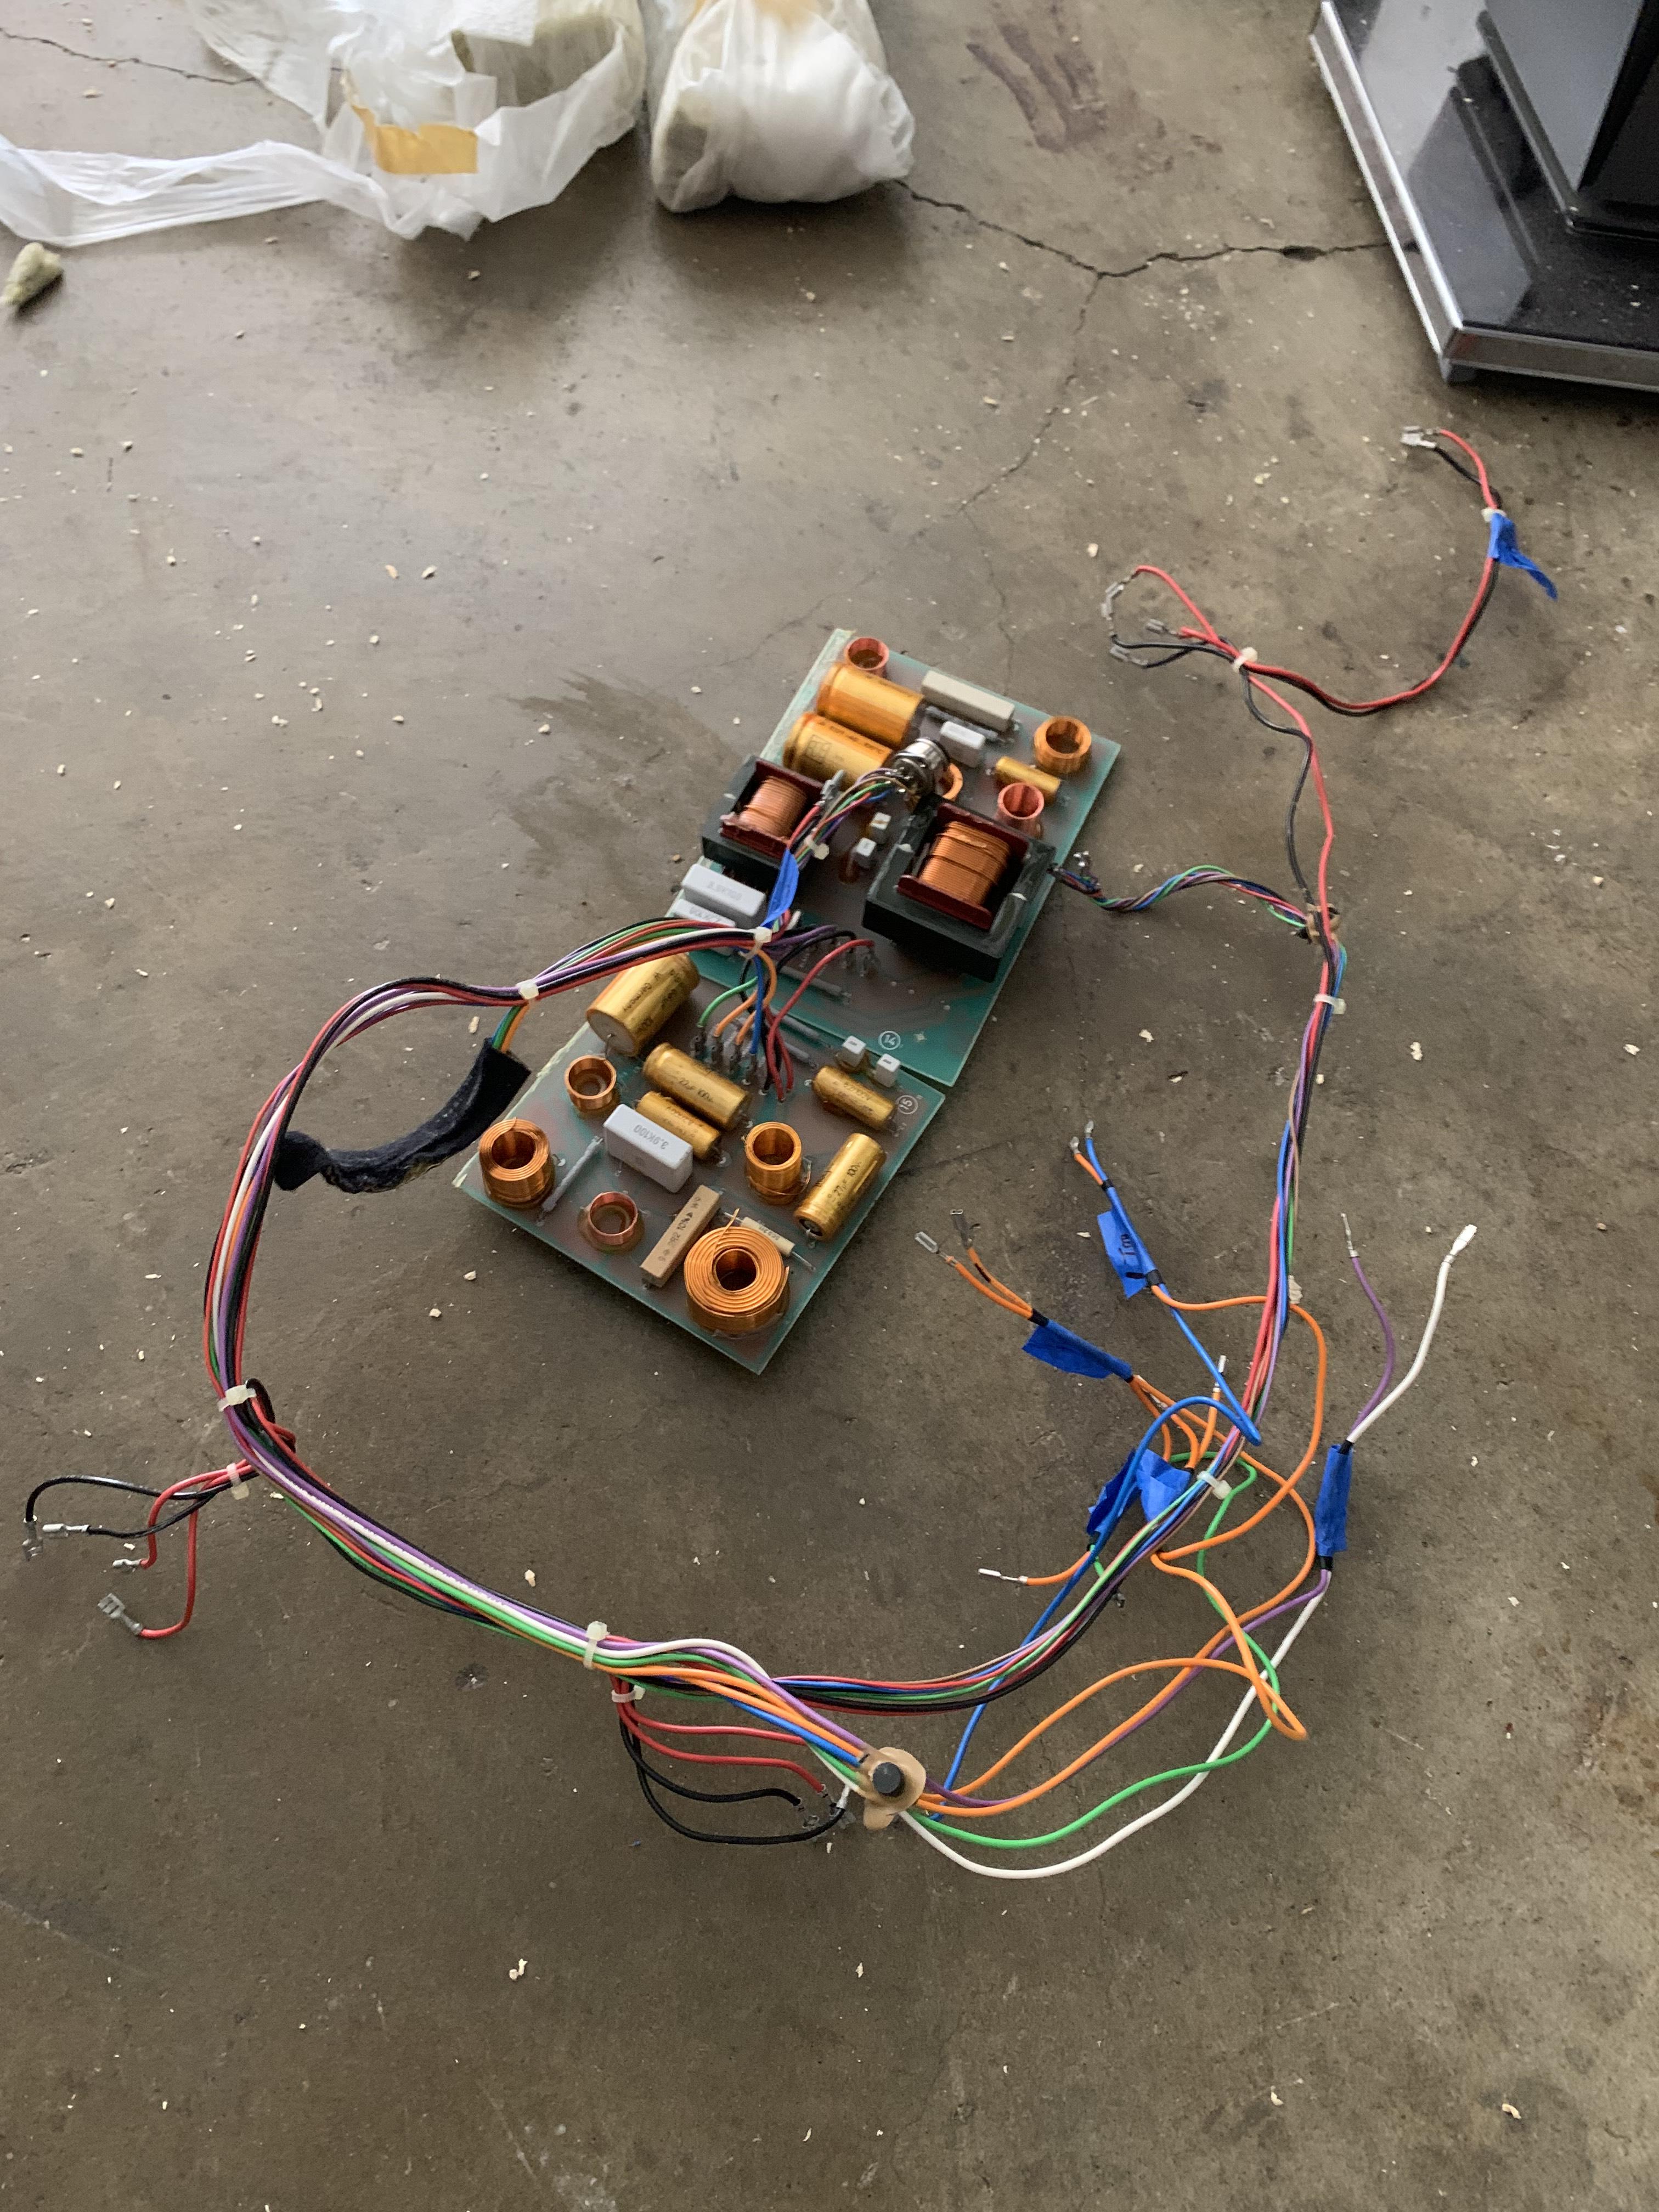
EvanGOLD MemberLastly is the progress on the teardown of the donor speaker. I have finally de-wired the cabinet and pulled the stuffing out.
Of course the crossover and wiring harness will get reused but we need to get the cabinet empty in order to reverse engineer the volume. Stay tuned for this!
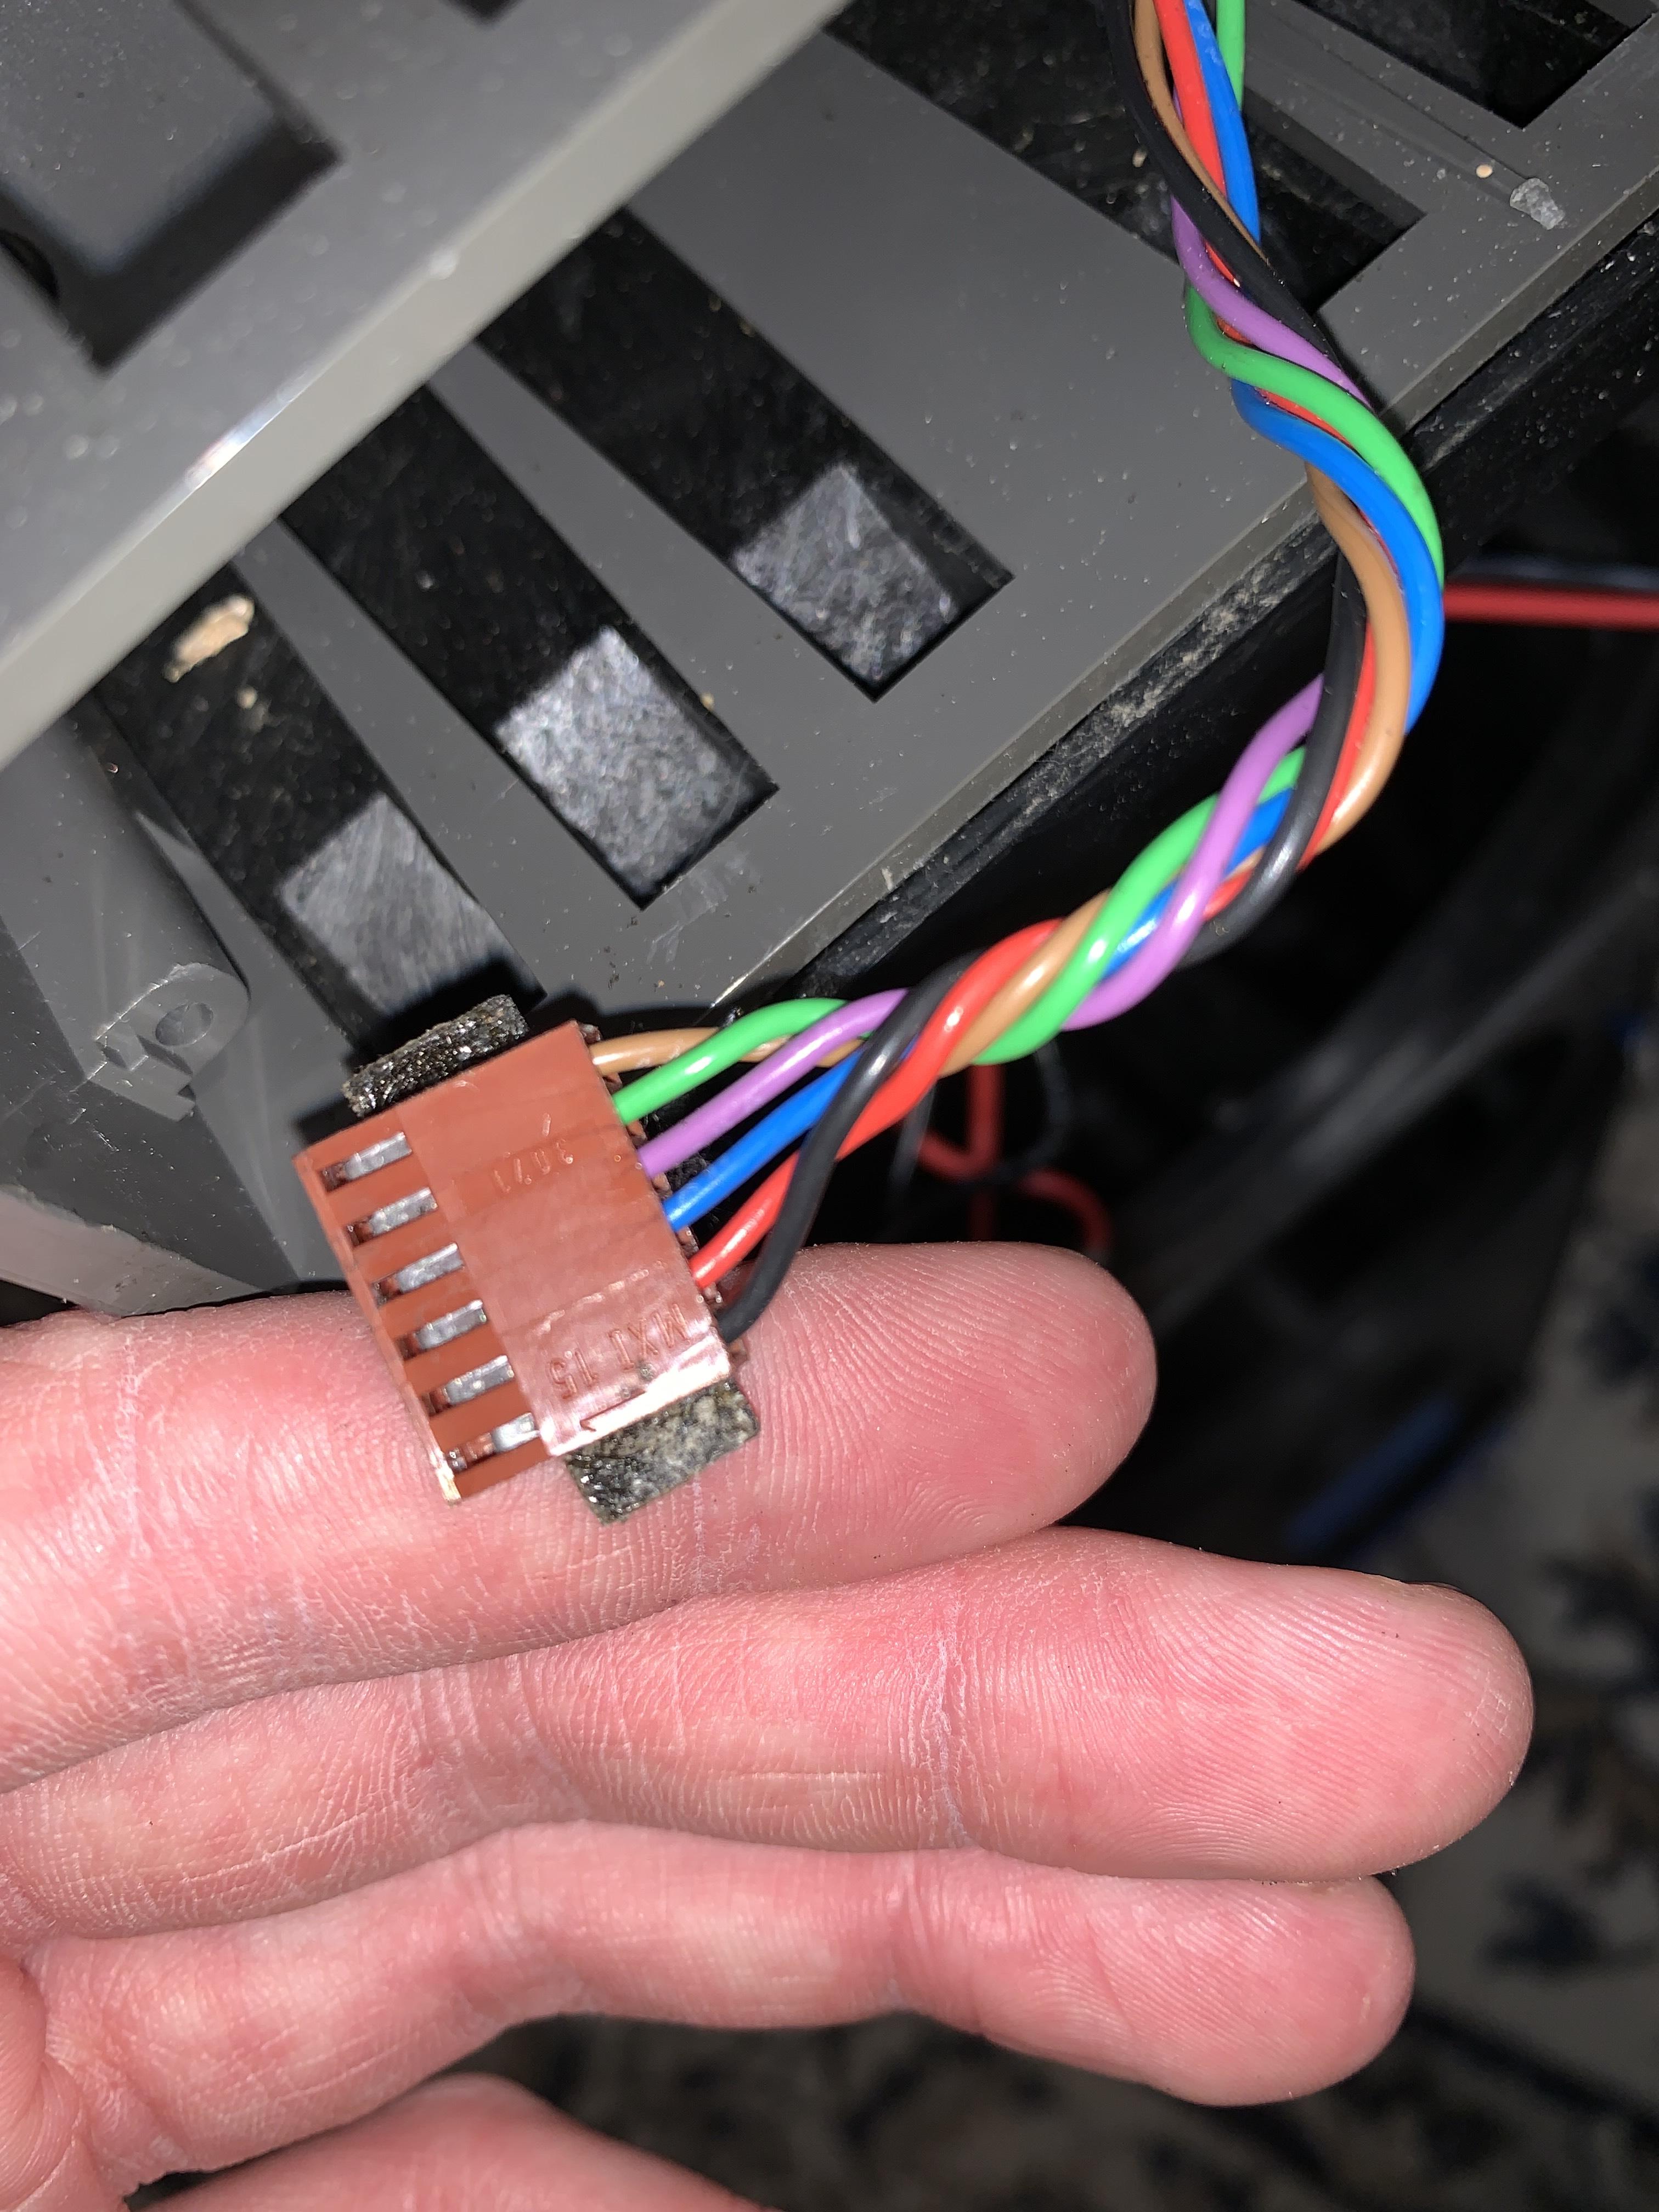
De-pinned the display connector in order to pull the cables back through the baffle.

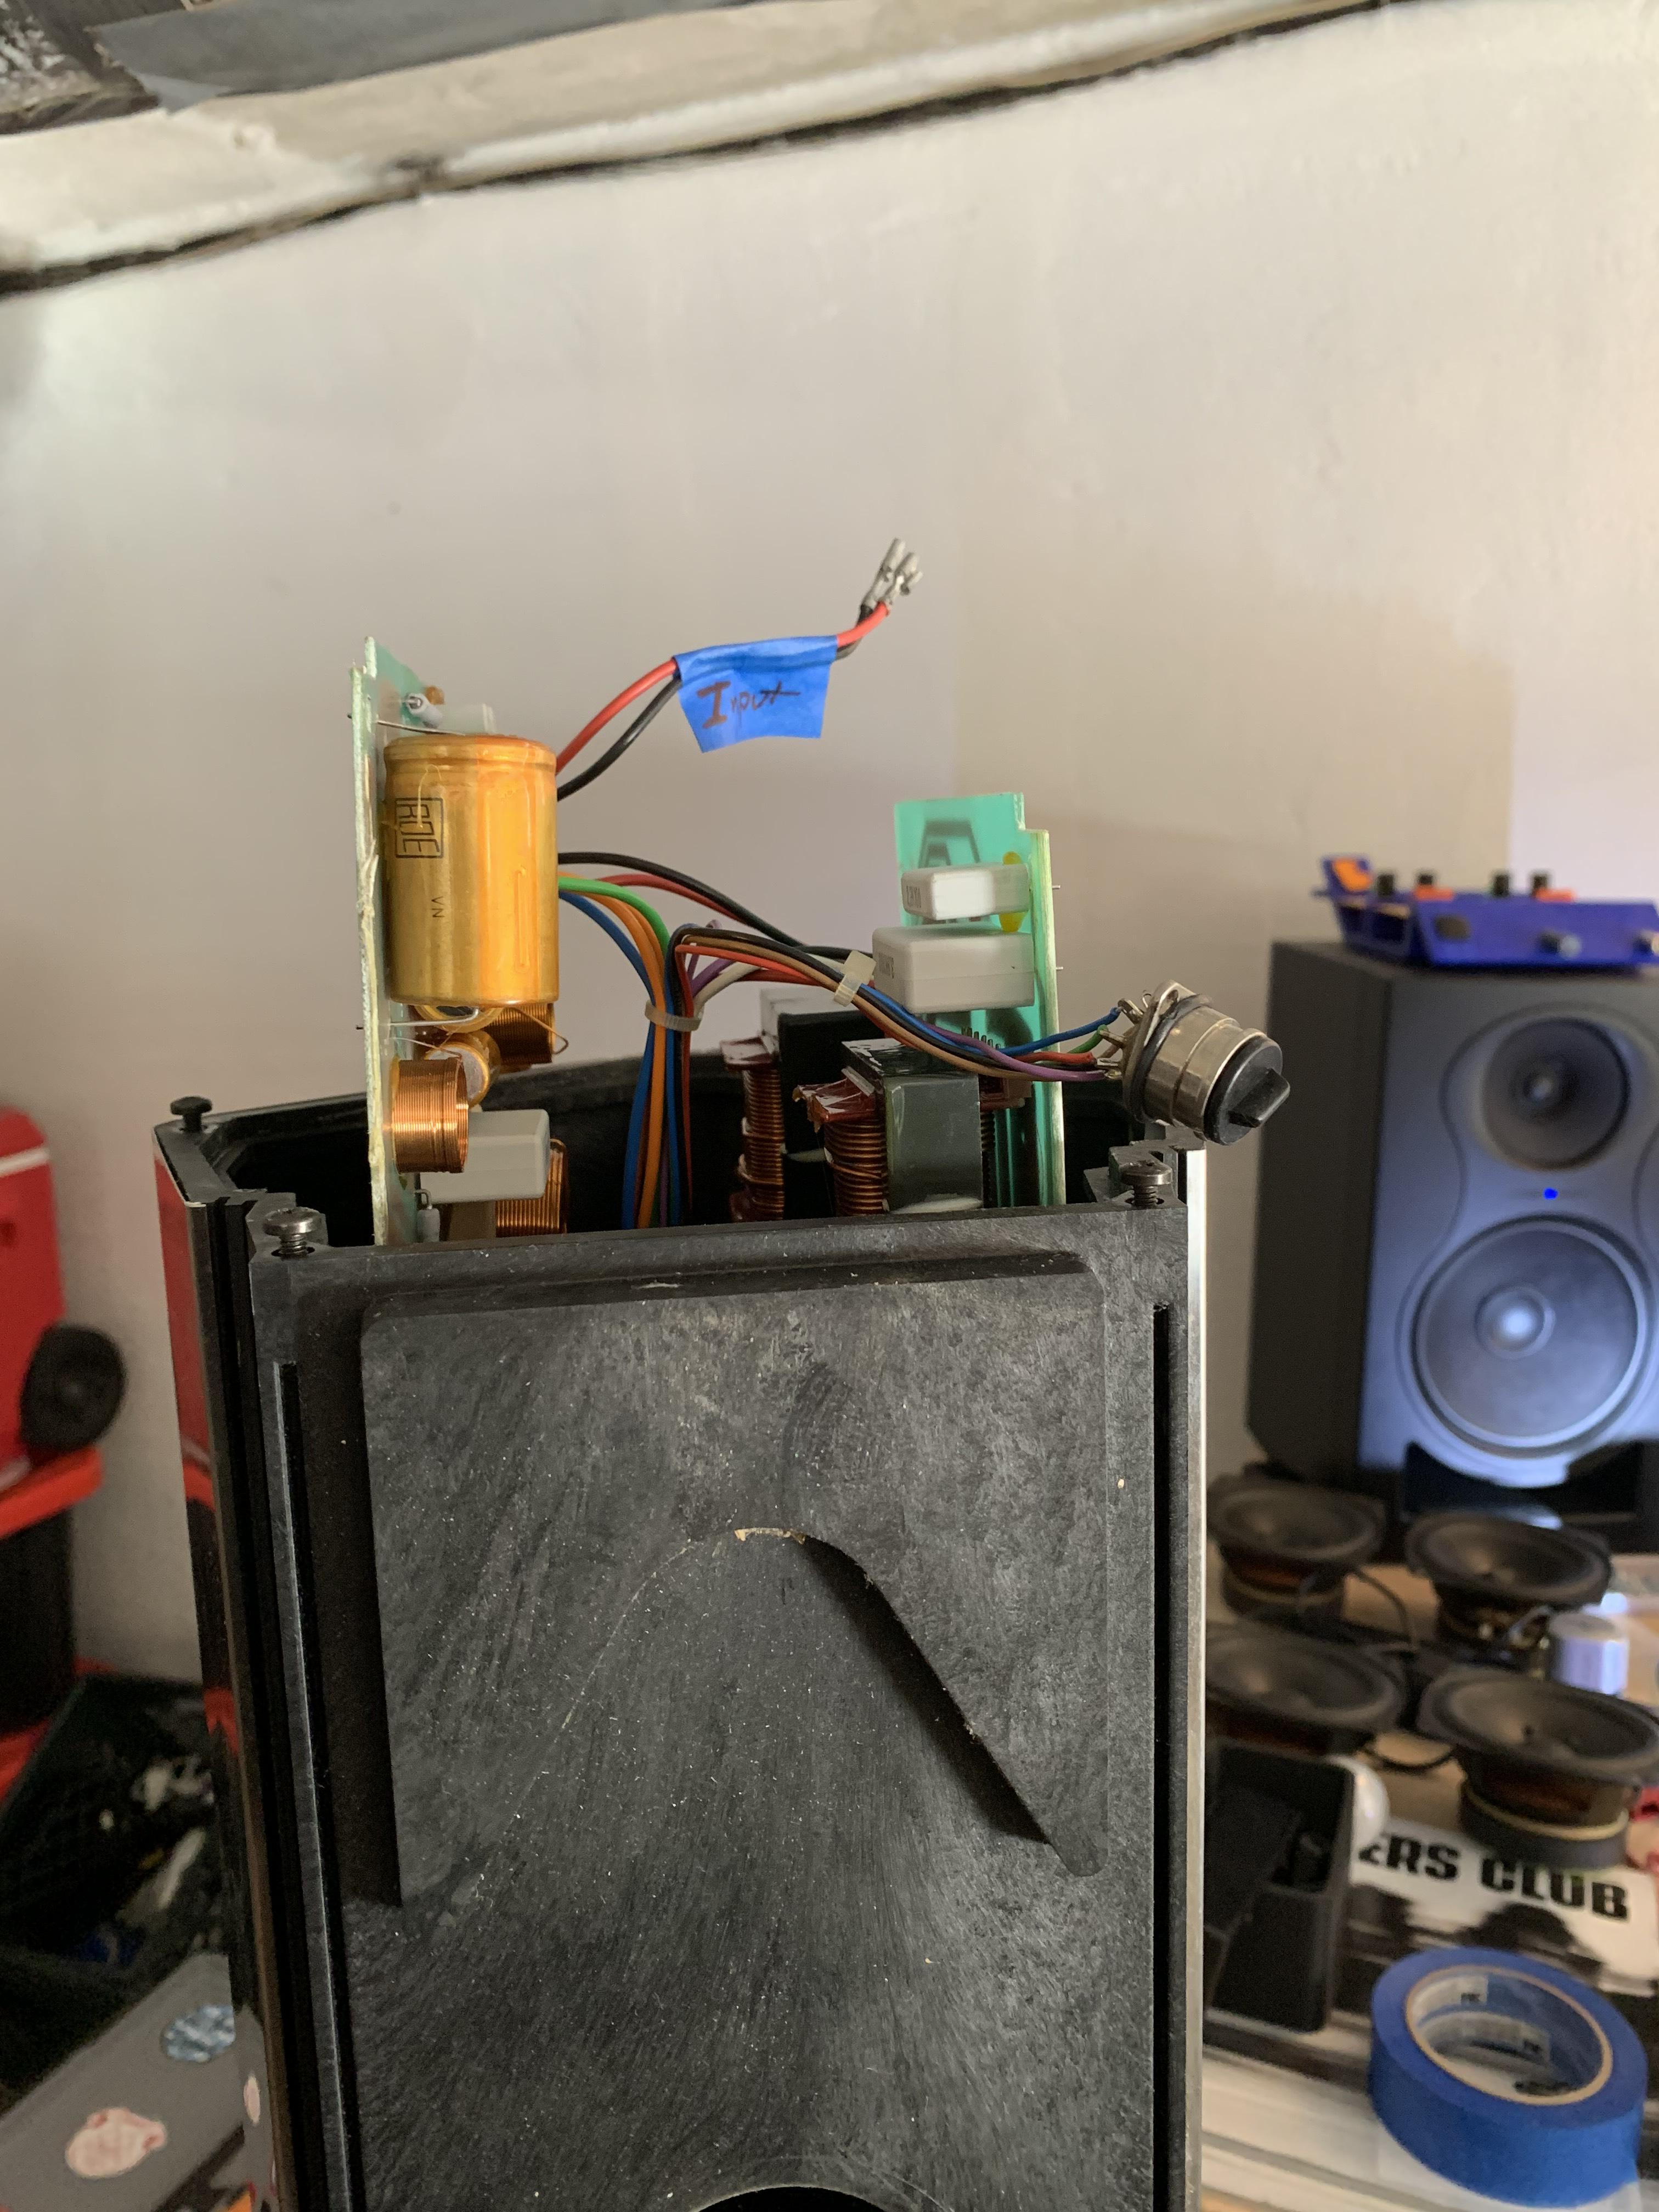
Making sure everything gets labeled before I forget where everything goes! Pictures (and other Pentas) will serve as back up resources haha.

Slowly easing out the stuck-in crossover boards.

Separating the display harness from the speaker harness (no need for it here, at least this time around).

What the full harness looks together (speaker and display harness combined, as it is built in the speakers).

Location: San Francisco
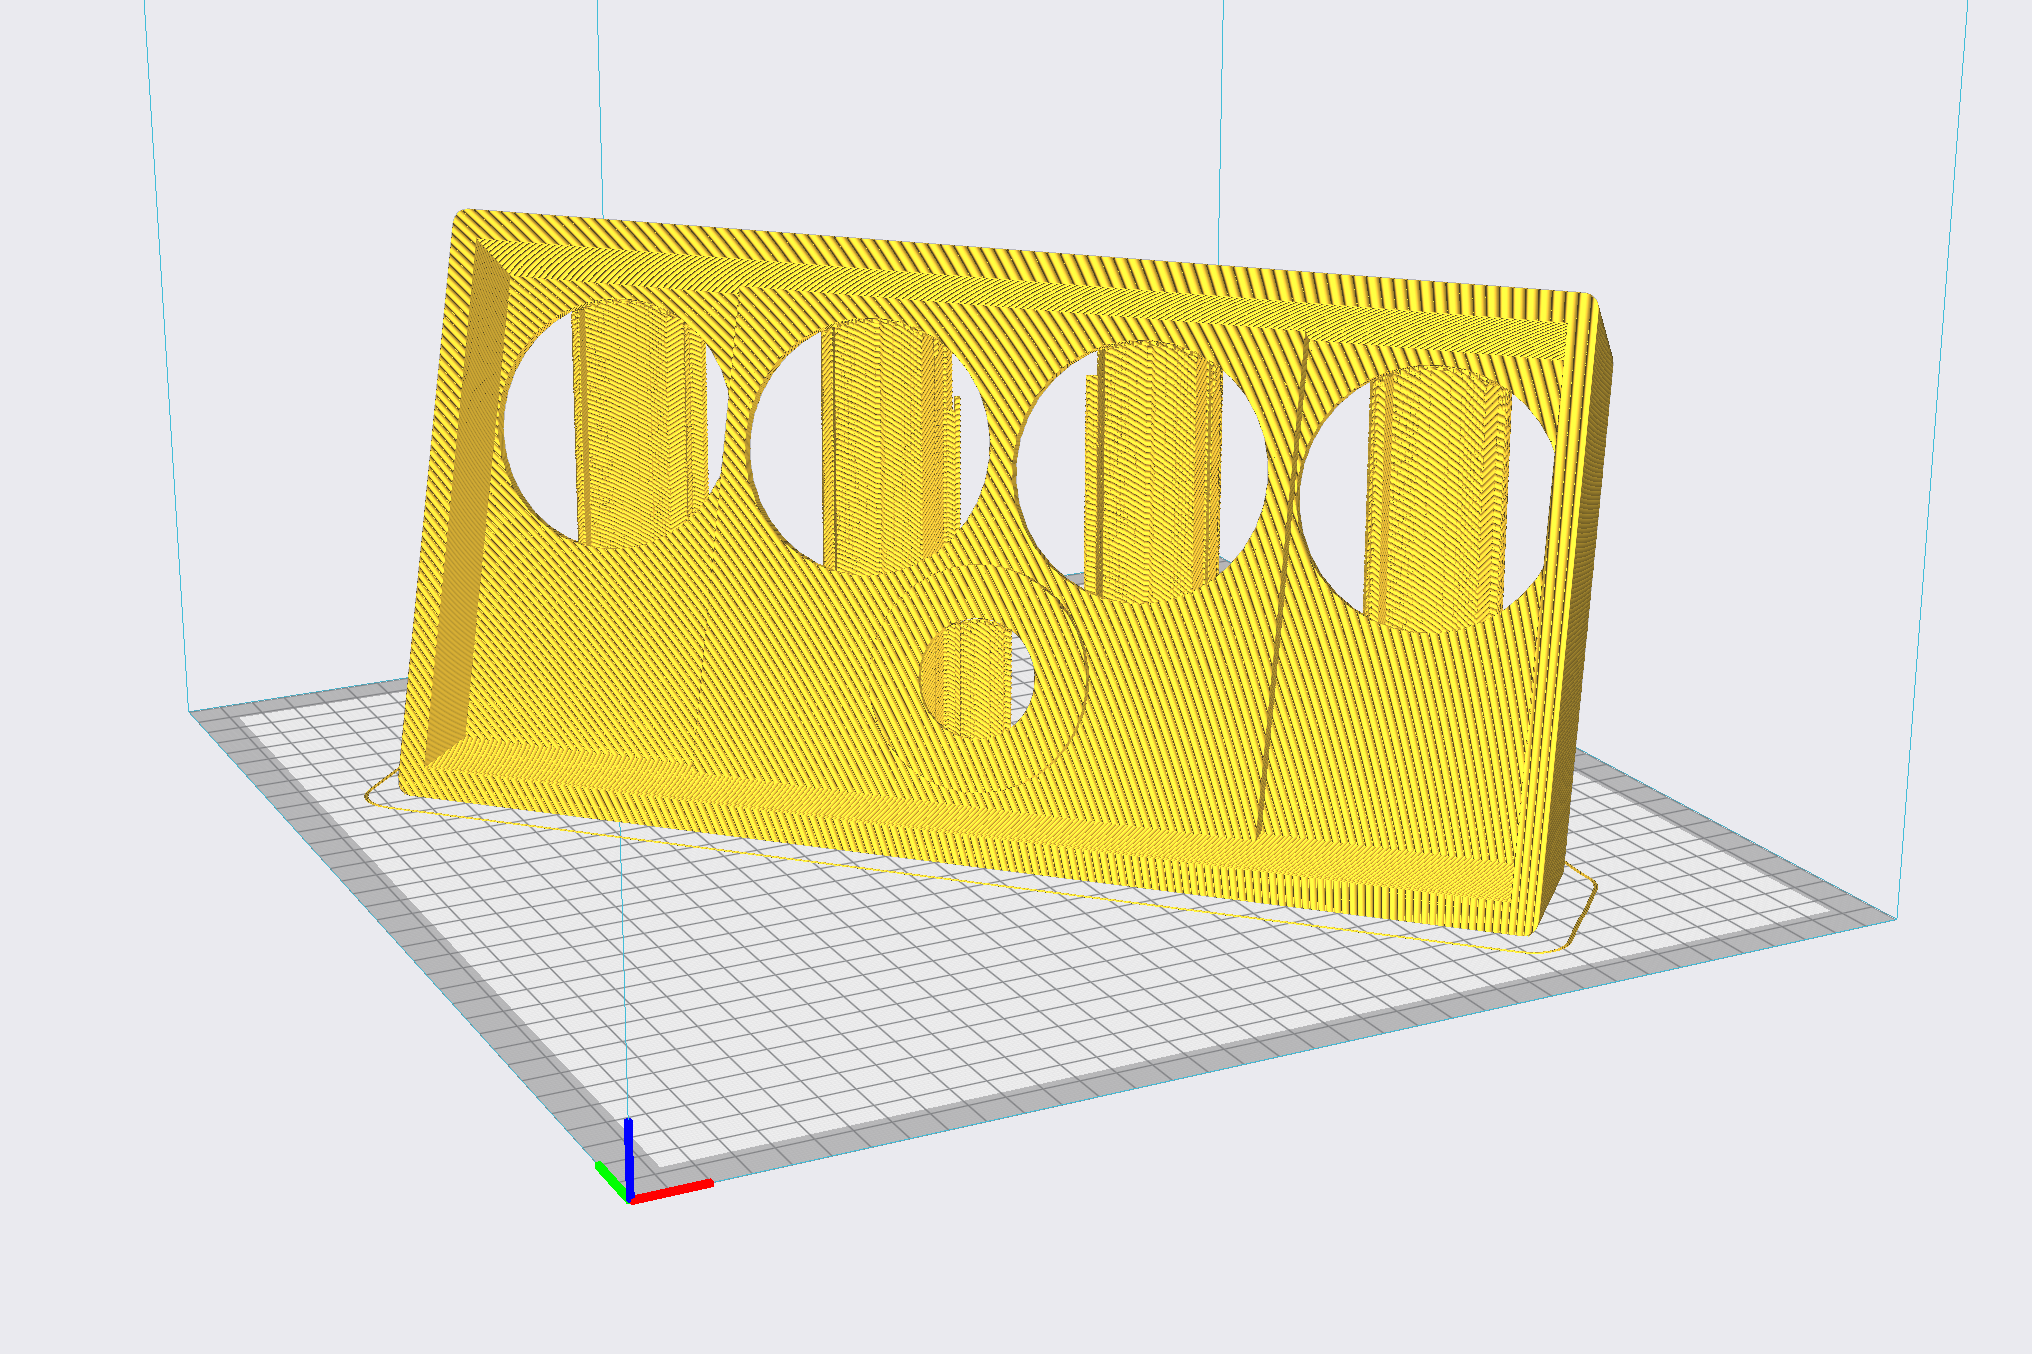
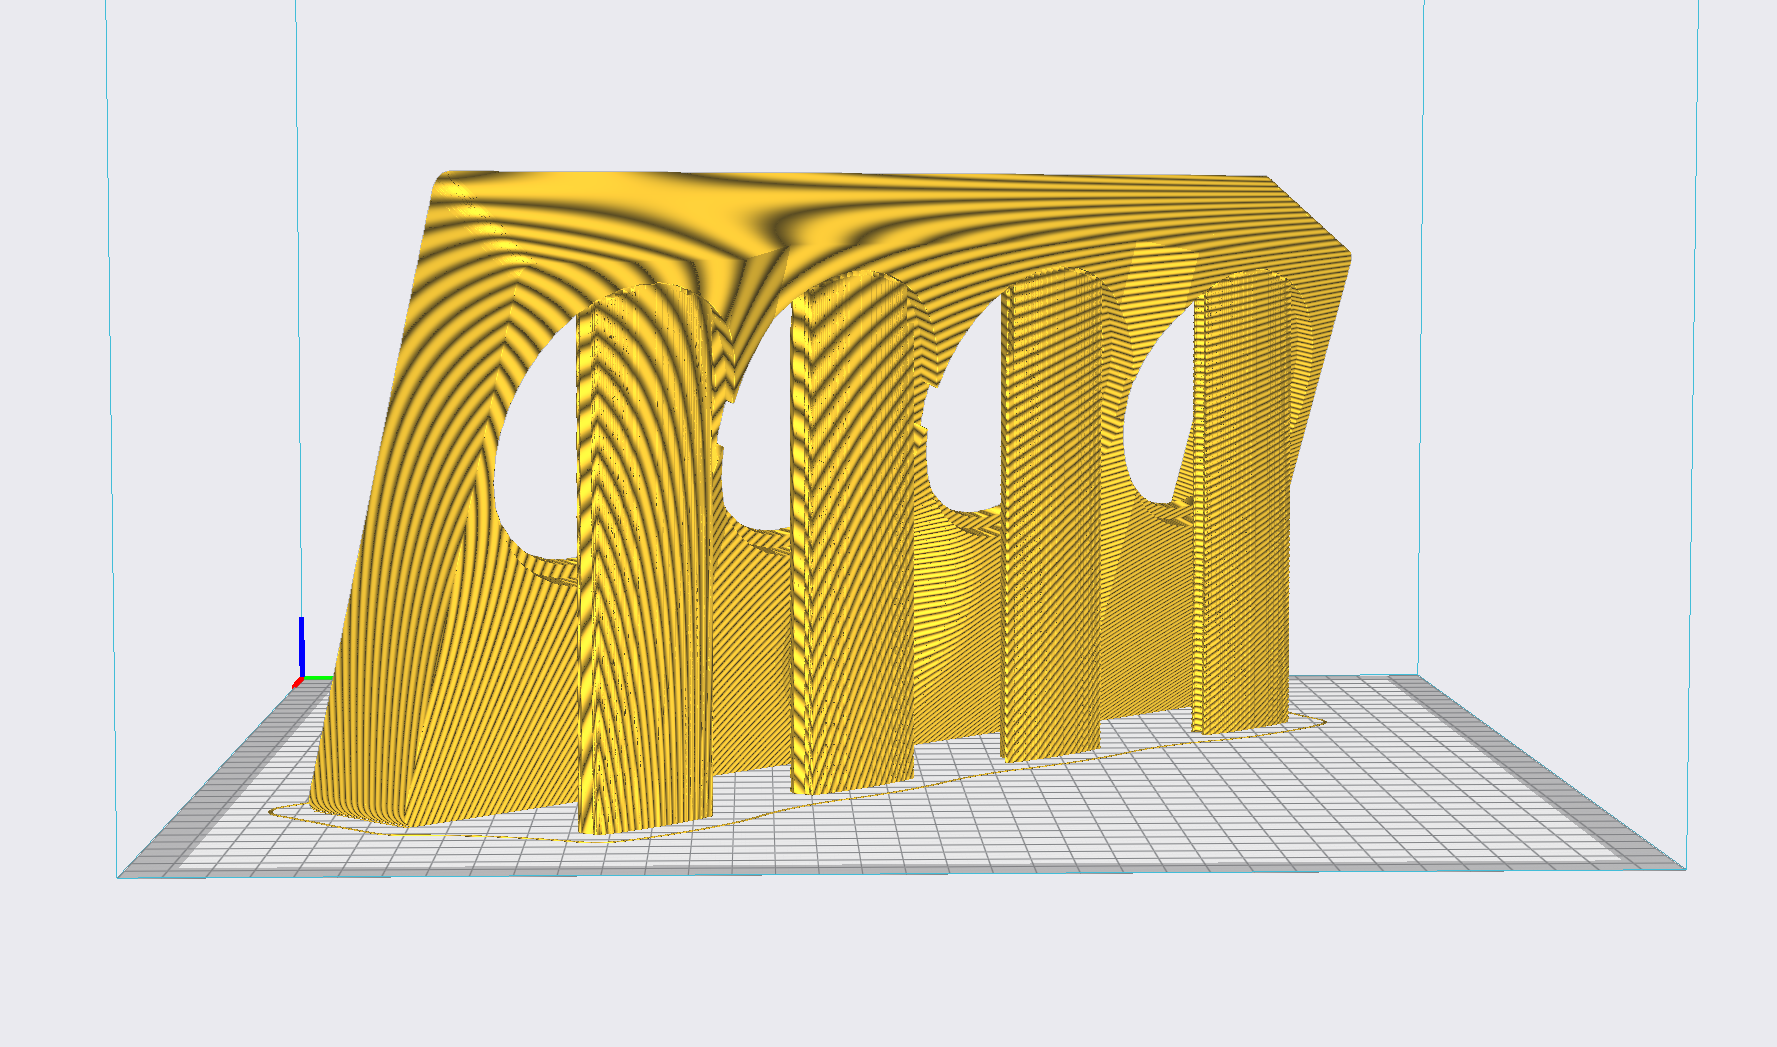
EvanGOLD MemberSpeaking of printing, here are the first goes at attempting an orientation for a build on an FDM style machine.
Sadly my Ender 5 Plus is currently down for repairs but I’ll be running a test soon. Currently sliced at 0.25mm layer and 0.4mm nozzle for now. Might bump the nozzle up after the machine repair but haven’t decided yet. Currently at 36hr print time with healthy build parameters for strength!


Location: San Francisco
EvanGOLD MemberWell everyone, lots of random updates for you since BeoWorld went dark during the transition to the new forum so here goes….
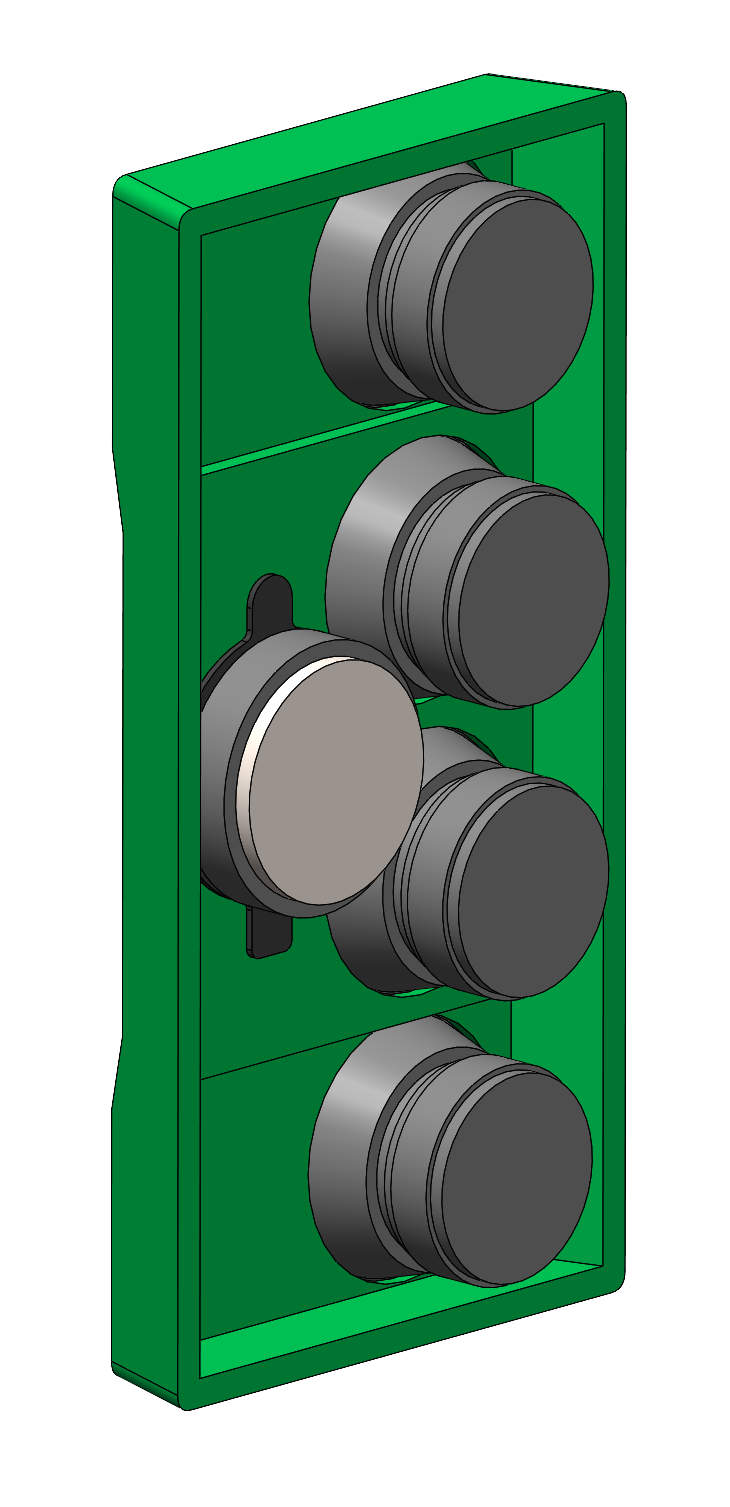
First up is the updates on the twee mid module – slowly getting the module modeled up. Had to model the tweeter and now all that’s left is to get the bosses and fixings modeled in so I can take it for a test print.


Location: San Francisco
EvanGOLD MemberMy first post on the new forum! Glad its up and running again!
Location: San Francisco
EvanGOLD MemberHey Glitch – congrats on such an awesome result!
Great project and I’m glad that BeoMaster ended up working out for you. I guess the temp issues ended up getting solved with your overhaul? Last time I used it it was just scorching hot to the touch even when in stand by.
Location: San Francisco
EvanGOLD MemberThanks, Ed! Many unexpected little details hiding in there.
Edit: Adding the photos here for posterity.

Location: San Francisco
EvanGOLD MemberMake it more symmetric, move 2 of the woofers to the other side.
If this is of interest, to anyone reading this, I will offer this design configuration separately.
Location: San Francisco
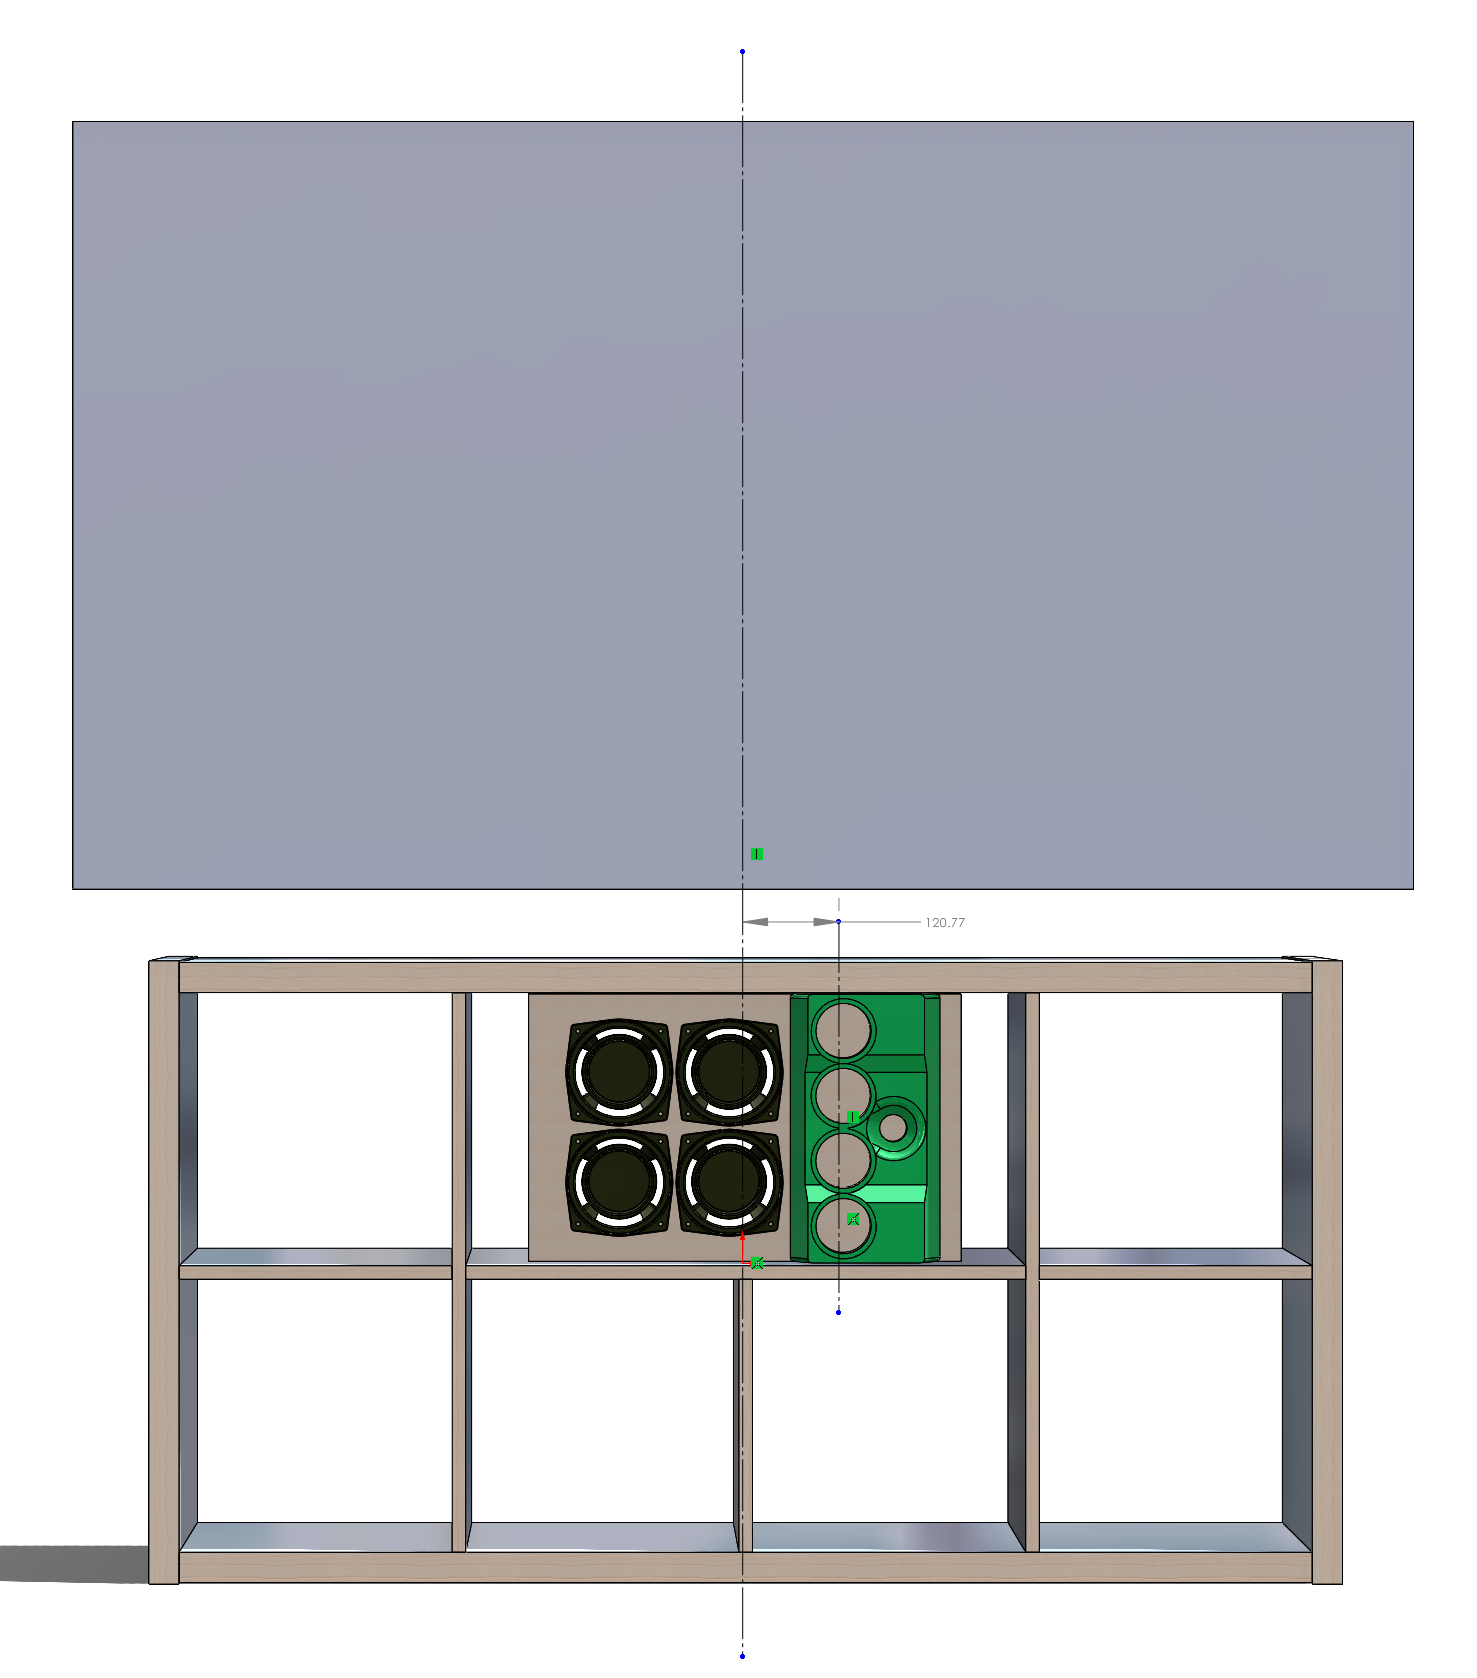
EvanGOLD MemberFlipping the tweemid module over I can get that misalignment to 120-ish mm. Seems pretty reasonably to me.
Also I recently learned that the crossovers are 700Hz and 3kHz. 700Hz is pretty high (for voice) so the 2×2 woofer config is here to stay I think.

Location: San Francisco
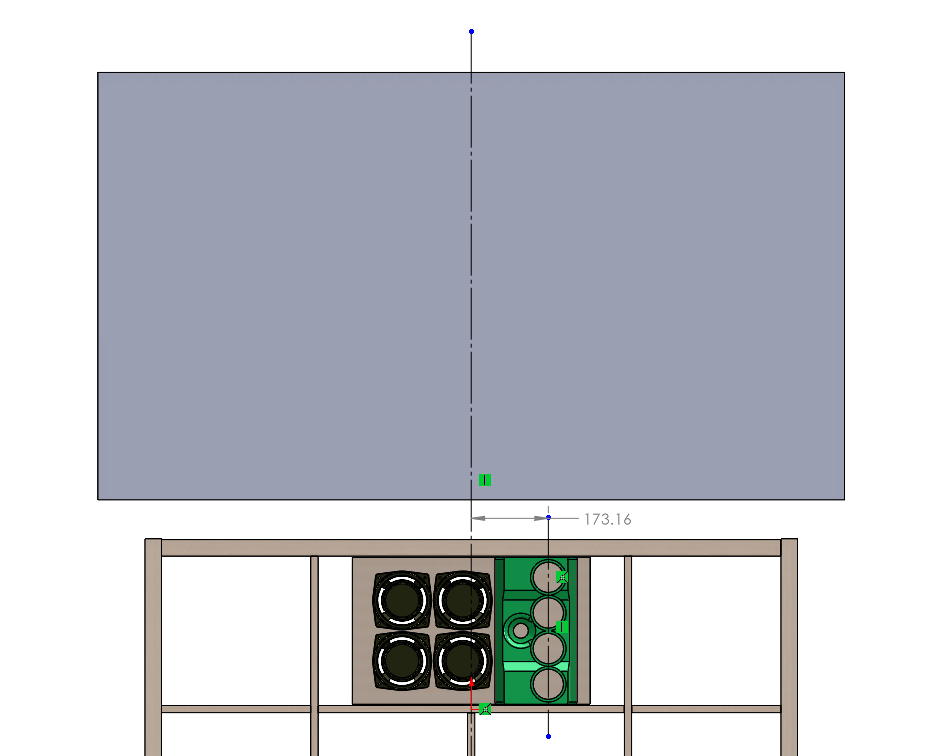
EvanGOLD MemberThe woofers are placed together in order to reduce any comb filtering. I don’t currently have a bunch of off-axis listening positions in the room yet but we are still decorating and the couch is about to be swapped out for a much larger one where one might be seated very far off axis.
I did a quick sketch showing the current alignment. Currently the midrange array is only 173mm off axis. The listening/viewing distance is quite long (I’ll measure it later) so I don’t think this misalignment is significant at the moment.
I should add, my TV is quite large – 75 inch nominal size.

Location: San Francisco
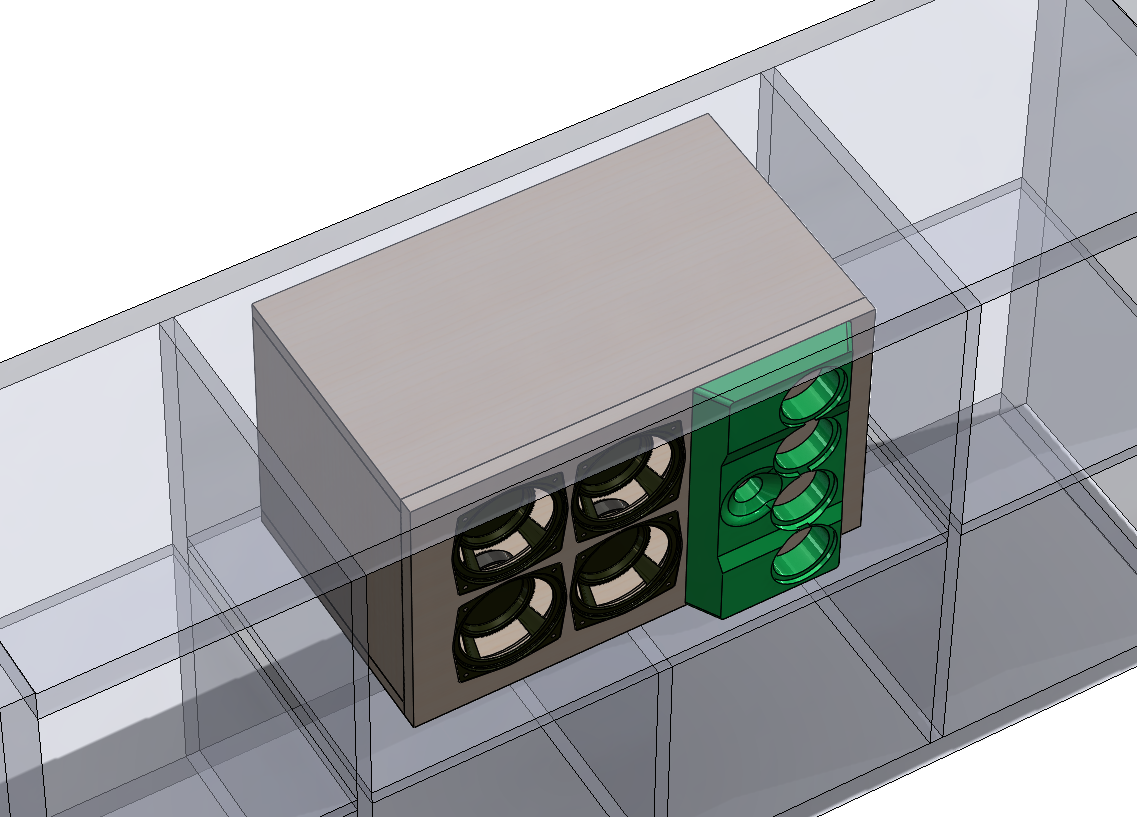
EvanGOLD MemberFirst sketch of the box. Plenty of room to spare, inside volume is 43L at the moment. According the BeoWorld the Penta has a “net volume of 32L”.
Not including the tweemid sticking out, the box dimensions are 534W*319L*330H. It will shrink in the next few iterations as I learn more about the original but I’d love to hear if it should morph one way or the other proportionally (for non Ikea Kallax applications for example).

Location: San Francisco
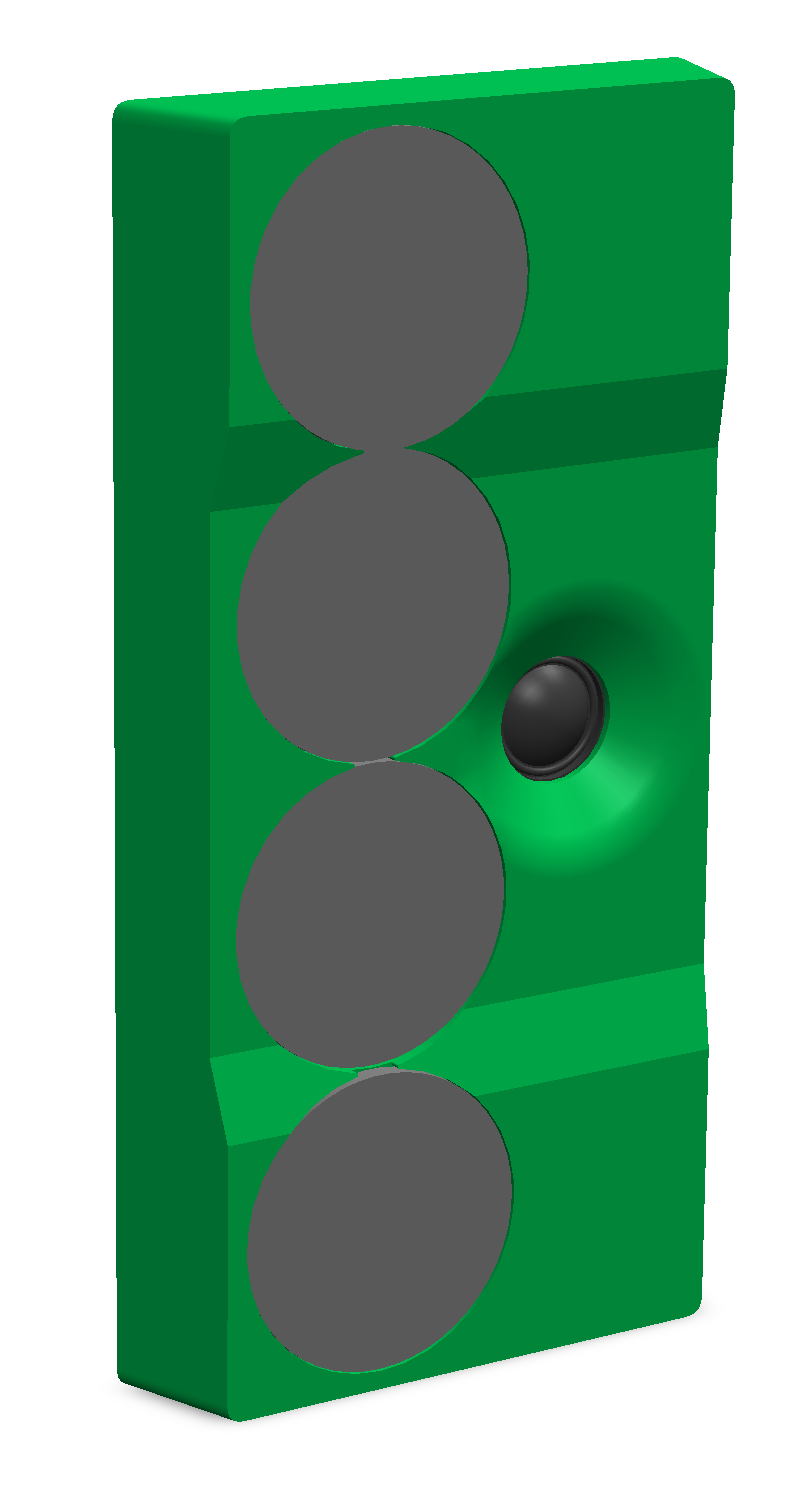
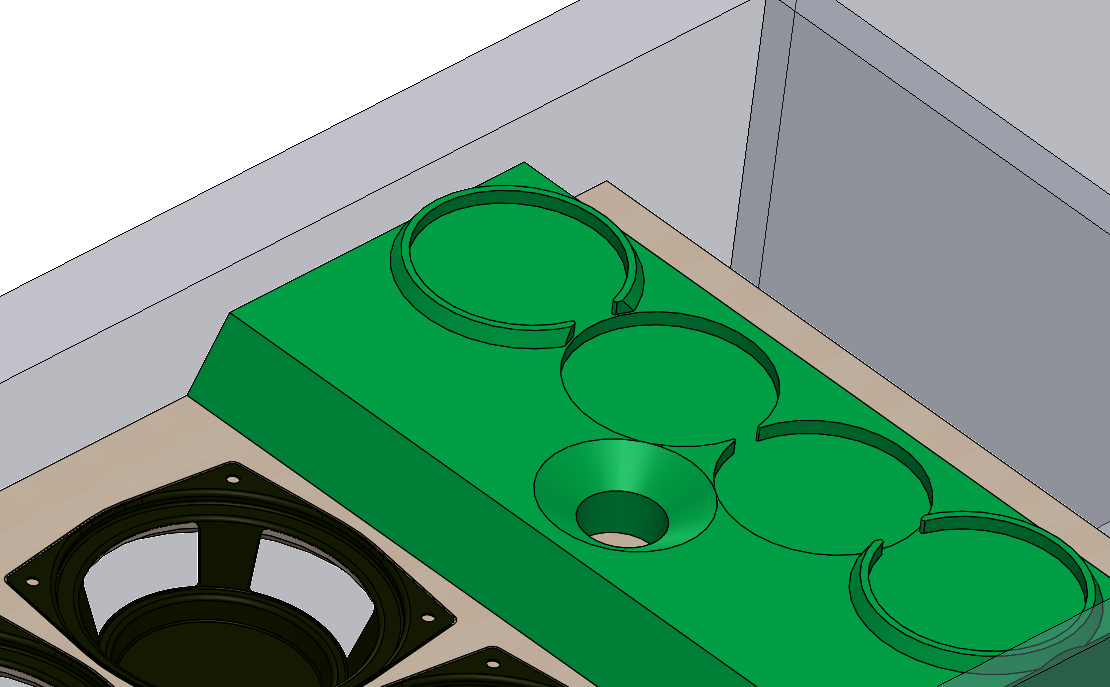
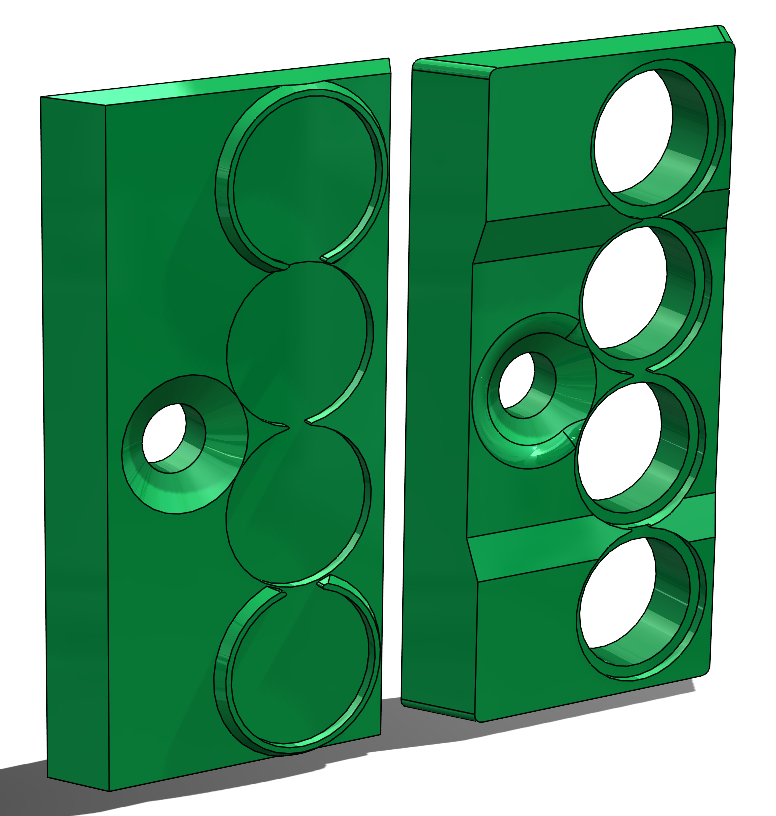
EvanGOLD MemberReally didn’t like the look of the thin chamfered ring elements on the two outer most midranges. I lifted these, roughly, from the original tweemid module.

Decided to redesign the whole module with a bit more of an integrated appearance in the surfacing department. Still working out some details but this new version seems easier on the eyes.

Location: San Francisco
EvanGOLD MemberI’m getting into this now! The twee-mid baffle is starting to take shape and I’m definitely going to be printing my own instead of carrying over the original module from the Penta. For many reasons related to design, color (will be printed in color) and geometry in general.

Location: San Francisco
EvanGOLD MemberNormally I listen to lots of chillout music when working/doing CAD work but lately when I’m designing audio hardware for fun and not so much work-related, I often listen to some of my most favorite tunes to keep me hyped up and motivated to keep going. Usually my excitement to build crazy / new audio hardware comes from music that I want to be better immersed in or connected to. Here’s some of the stuff driving me these days:


Location: San Francisco
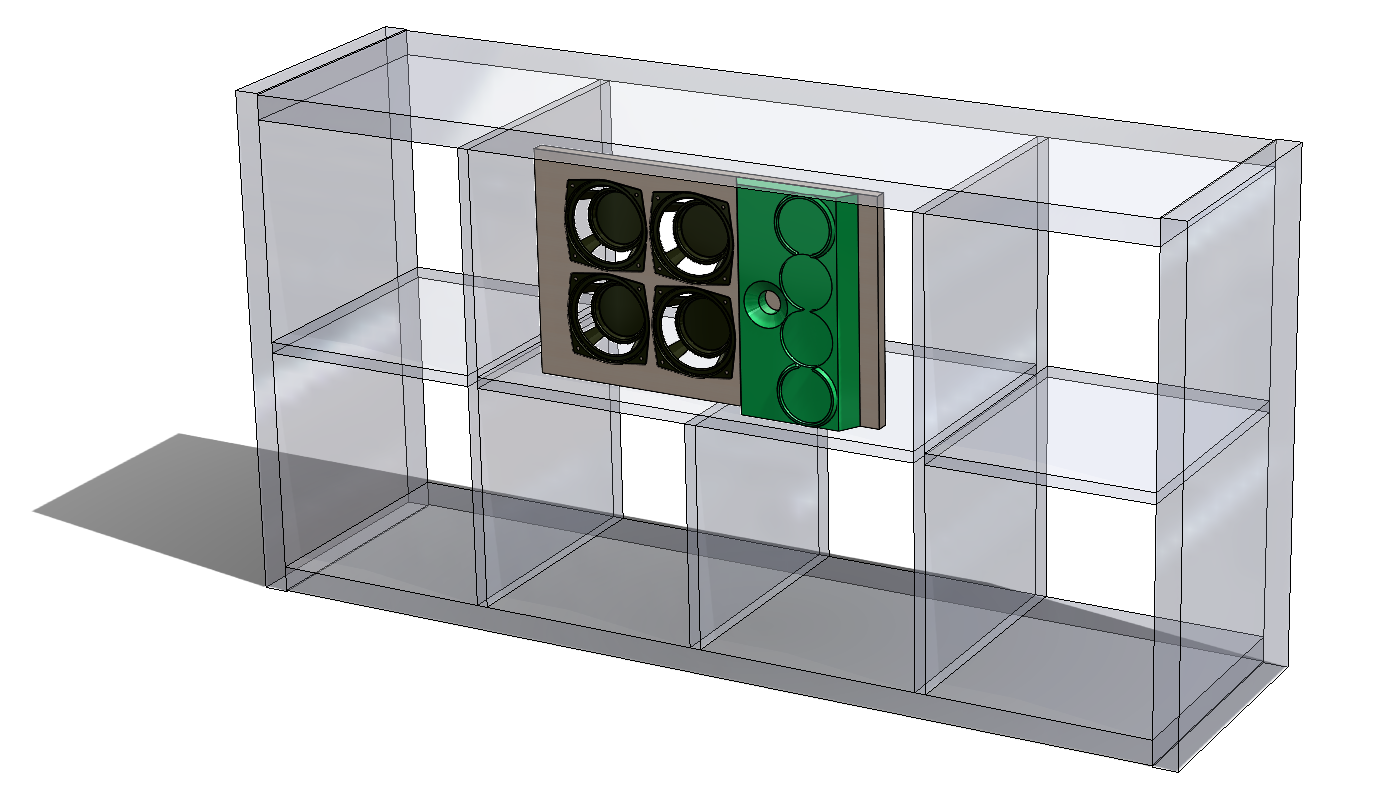
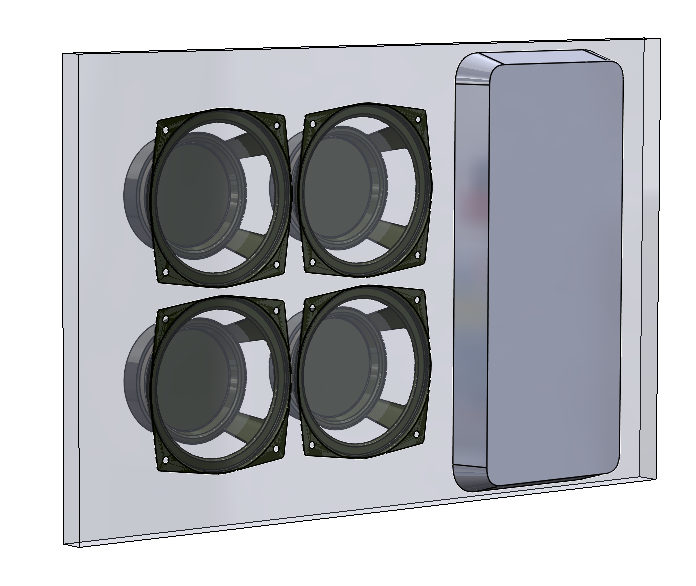
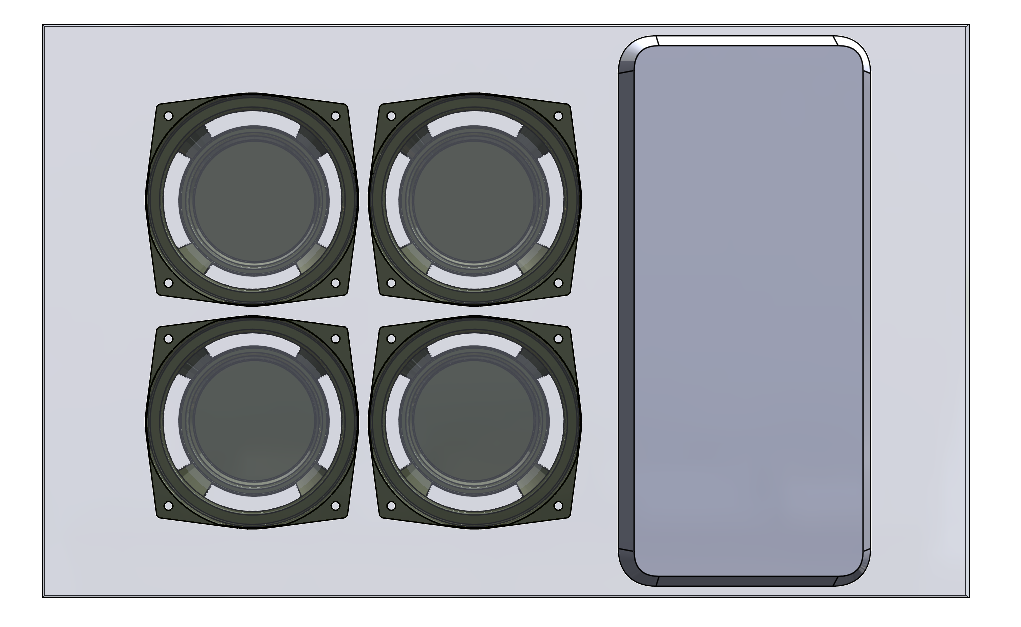
EvanGOLD MemberA quick sketch after drafting in a basic twee-mid baffle to start to package everything. Interestingly I had planned in my head that the twee-mid baffle would live on top of the main baffle surface but in reality the pentas see a baffle step in the other direction (duh). May have to rise the woofers up to match. We will see.
Also contemplating printing my own twee-mid chassis as the original is just so hard to seal. Has very thin geometries at various points and is pretty ugly if left uncovered.
This baffle uses a golden ratio factor but the long axis of the twee-mid module seems to be dominating the baffle shape. Tons of space left over around the woofers. This would be good if I planned on keeping the ports but right now I am planning on ditching them, this is plan of record right now but subject to change once I get into some simulations and measurements.


Location: San Francisco
-
AuthorPosts