


Home › Forums › Product Discussion & Questions › BeoLab › Help with Beolab 1
Tagged: Beolab 1
- This topic has 13 replies, 6 voices, and was last updated 1 year, 5 months ago by

-
AuthorPosts
-
12 September 2024 at 02:29 #59019
 garibaldi70BRONZE Member
Hi
have a set of Beolab 1’s that stopped working about 4 years ago so decided to try fix.
failure was over a few weeks where both would turn on but only tweeter/mod would make sound and then after 10-15 seconds when warm the woofers would crackle and then start. Ordered new powerlink and thought this had fixed but few weeks later now woofers won’t start at all.
tried 2 different B and O inputs and a laptop with speaker on Line I out setting and only the tweet/mid will give sound.
speakers appear to turn on ok with green light and click each time input applied .
opened up 1 speaker. Bit of loose foam but not much . On inspection no real sign of short circuit damage etc.
gave 1 speaker to local elec engineer who was daunted by complexity so did a few simple tests and inspection and not sure .
as in Australia – sending overseas prob not financially viable- especially as I just saw a set for sale with a Beolab 2 for $500 but was on other side of country and shipping massive nightmare so lost them.
hoping can get some input on where to focus attention on component failure so can maybe spot the fault and then direct local guy to swap out components.
i thought it may have been simple capacitor problem but they look fine and elec guy tested those .
have some isopropyl alcohol 100% coming so will clean pcb but if a miracle doesn’t happen – what are the chief failure culprits ??
speakers owned since 2004 but not really used that much due to a massively temperamental Beocentre 2 making it annoying to get working every time .(that’s another story!)!
Attachments:
You must be logged in to view attached files.12 September 2024 at 02:37 #59022garibaldi70BRONZE MemberJust adding a few photos of pcb’s prior to cleaning .
any experienced guys think this qualifies as potential causes of faults or more likely components damaged ?
Attachments:
You must be logged in to view attached files.16 September 2024 at 06:26 #59125Valve1GOLD MemberIf there are any B&O repair places in Oz, you could just post the amplifiers to them and then focus on the individual speakers after.
My B&O Icons:
 16 September 2024 at 15:07 #59135GlitchBRONZE Member
Were the schematics for the Beolab 1 ever released?
It seems like the need for secrecy, for both the OEM and secondary repair businesses, has long passed.
garibaldi70: In your 8845 picture, it appears like the corrosion may have eaten through the copper traces. Cleaning these with something like a scratch pen would be one of the first steps in debugging. This kind of repair, and Class-D amplifiers in general, can be difficult if you don’t have the proper equipment.
Glitch
22 September 2024 at 06:29 #59284ElephantsinthecloudsBRONZE MemberTwo things:
1. Copper ink pens for drawing up and closing connections on pcbs are on amazon
2. “kose trading” located in Kobenhaben / copenhagen may have the parts and board you need if you prefer to consult with a guy who knows many of these products inside and out. It is a pleasure to work with the guy there. Highly recommend!
let us know how you fair. Also ive heard that capacitors on pcbs are sometimes an issue and can be replaced over time with some skill, time and at minimum cost.
Links on forum regarding replacing and ordering capacitors:
2. https://forum.beoworld.org/forums/topic/beosound-9000-ir-repair-pcb-14/#post-55674
3. https://forum.beoworld.org/forums/topic/beosound-ouverture-cd-not-working/
22 September 2024 at 06:31 #59285ElephantsinthecloudsBRONZE MemberSchematics would be awesome.
also note im a novice and my suggestion regarding replacing or checking the health of yoir capacitors and board with a Multimeter is simply that: a suggestion 🙂
Keep at it, things will turn in your favor for you and the BL1s!
23 September 2024 at 15:23 #59327GlitchBRONZE Member1. Copper ink pens for drawing up and closing connections on pcbs
I don’t think that conductive ink pens are good for this kind of repair. The conductivity of the repaired trace is questionable. I prefer solder bridges for small, low current gaps, copper wire reinforced solder bridges for larger gaps/current, and bypass/jumper wires for really bad or high current traces.
garibaldi70: Getting your BL1’s working again may be as simple as repairing the corroded traces. I hope you can find a good repair technician. Finding someone that is willing and able to do the repair might the hardest step in the process.
Consider practicing on something less valuable if you want to try the BL1 repair yourself. A good candidate for practice is any piece of working electronics that is destined for the recycle center or trash. Intentionally cut some traces, then try to repair them and see if the device still functions when you are done. This is also a good way to practice on removing and replacing parts.
Be warned that a botched repair is much harder to fix than something that failed naturally. I know that as a (serious) hobbyist that I try to avoid anything that was previously worked on by an amateur. I assume that many repair shops feel the same way.
Glitch
25 September 2024 at 08:32 #59383Luckily the Beolab 1 can still be repaired by Bang & Olufsen.
Had this a few weeks ago as one of them was destroyed after a thunderstorm.
Handling:
The Chassis containing the electronics needs to be removed from the speakers and will be shipped to the good guys in Struer and they where fast, too. 🙂
Repair costed me about ~ 630 Euro plus shipping to the dealer.That’s a much more convenient option than sending the complete speaker. If you have a B&O dealer somewhere around he should know the procedure.
25 September 2024 at 16:40 #59398What about this workshop? Maybe he can help.
https://ettechnical.com.au/Location: Norway
My B&O Icons:
26 September 2024 at 03:02 #59411garibaldi70BRONZE MemberThanks for advice guys.
dismantled the pcb’s and with help of a new set of headband magnifiers, inspected the board closely and cleaned with isopropyl alcohol. The only slightly abnormal capacitor I could see was a tiny SMD 3mm x 1.5mm one with some blackening on the top so not sure this could cause such a catastrophic failure but you never know as could mean the chip next to it is faulty .All other capacitors seemed to look fine and ones I could access I performed some simple continuity tests with a multimeter. Haven’t been to trouble of taking any off for full test . Was hoping it would have been simple capacitor problem and easy to see but that’s next step.
ive ordered a cheap thermal camera to see if any chips show signs of shorting/ excessive heat and that’s probably as far as i can take it myself as it’s been 30 years since my physics degree when I last really played with electronics !
trying to repair these as cheaply as possible – running on fumes here due to a long ongoing legal dispute with major tech companies over patent infringement but that’s another story altogether !
I did see a pair of Beolab 1’s with a Beolab 2 for sale for A$500 and advert was only 5 hours old but as Aus is a large country it would have cost me $1k to ship it by time appropriate packaging had been made. By time I figured could be cheap to just use the boards they were gone . Damn
Will see if can find fault myself in meantime- sent a few emails out but nobody really responding. Spoke to B and O a few years back who gave me a guys number but he wasn’t really interested in a pcb fix- just said best to replace whole amp board .
wont give up yet !
Attachments:
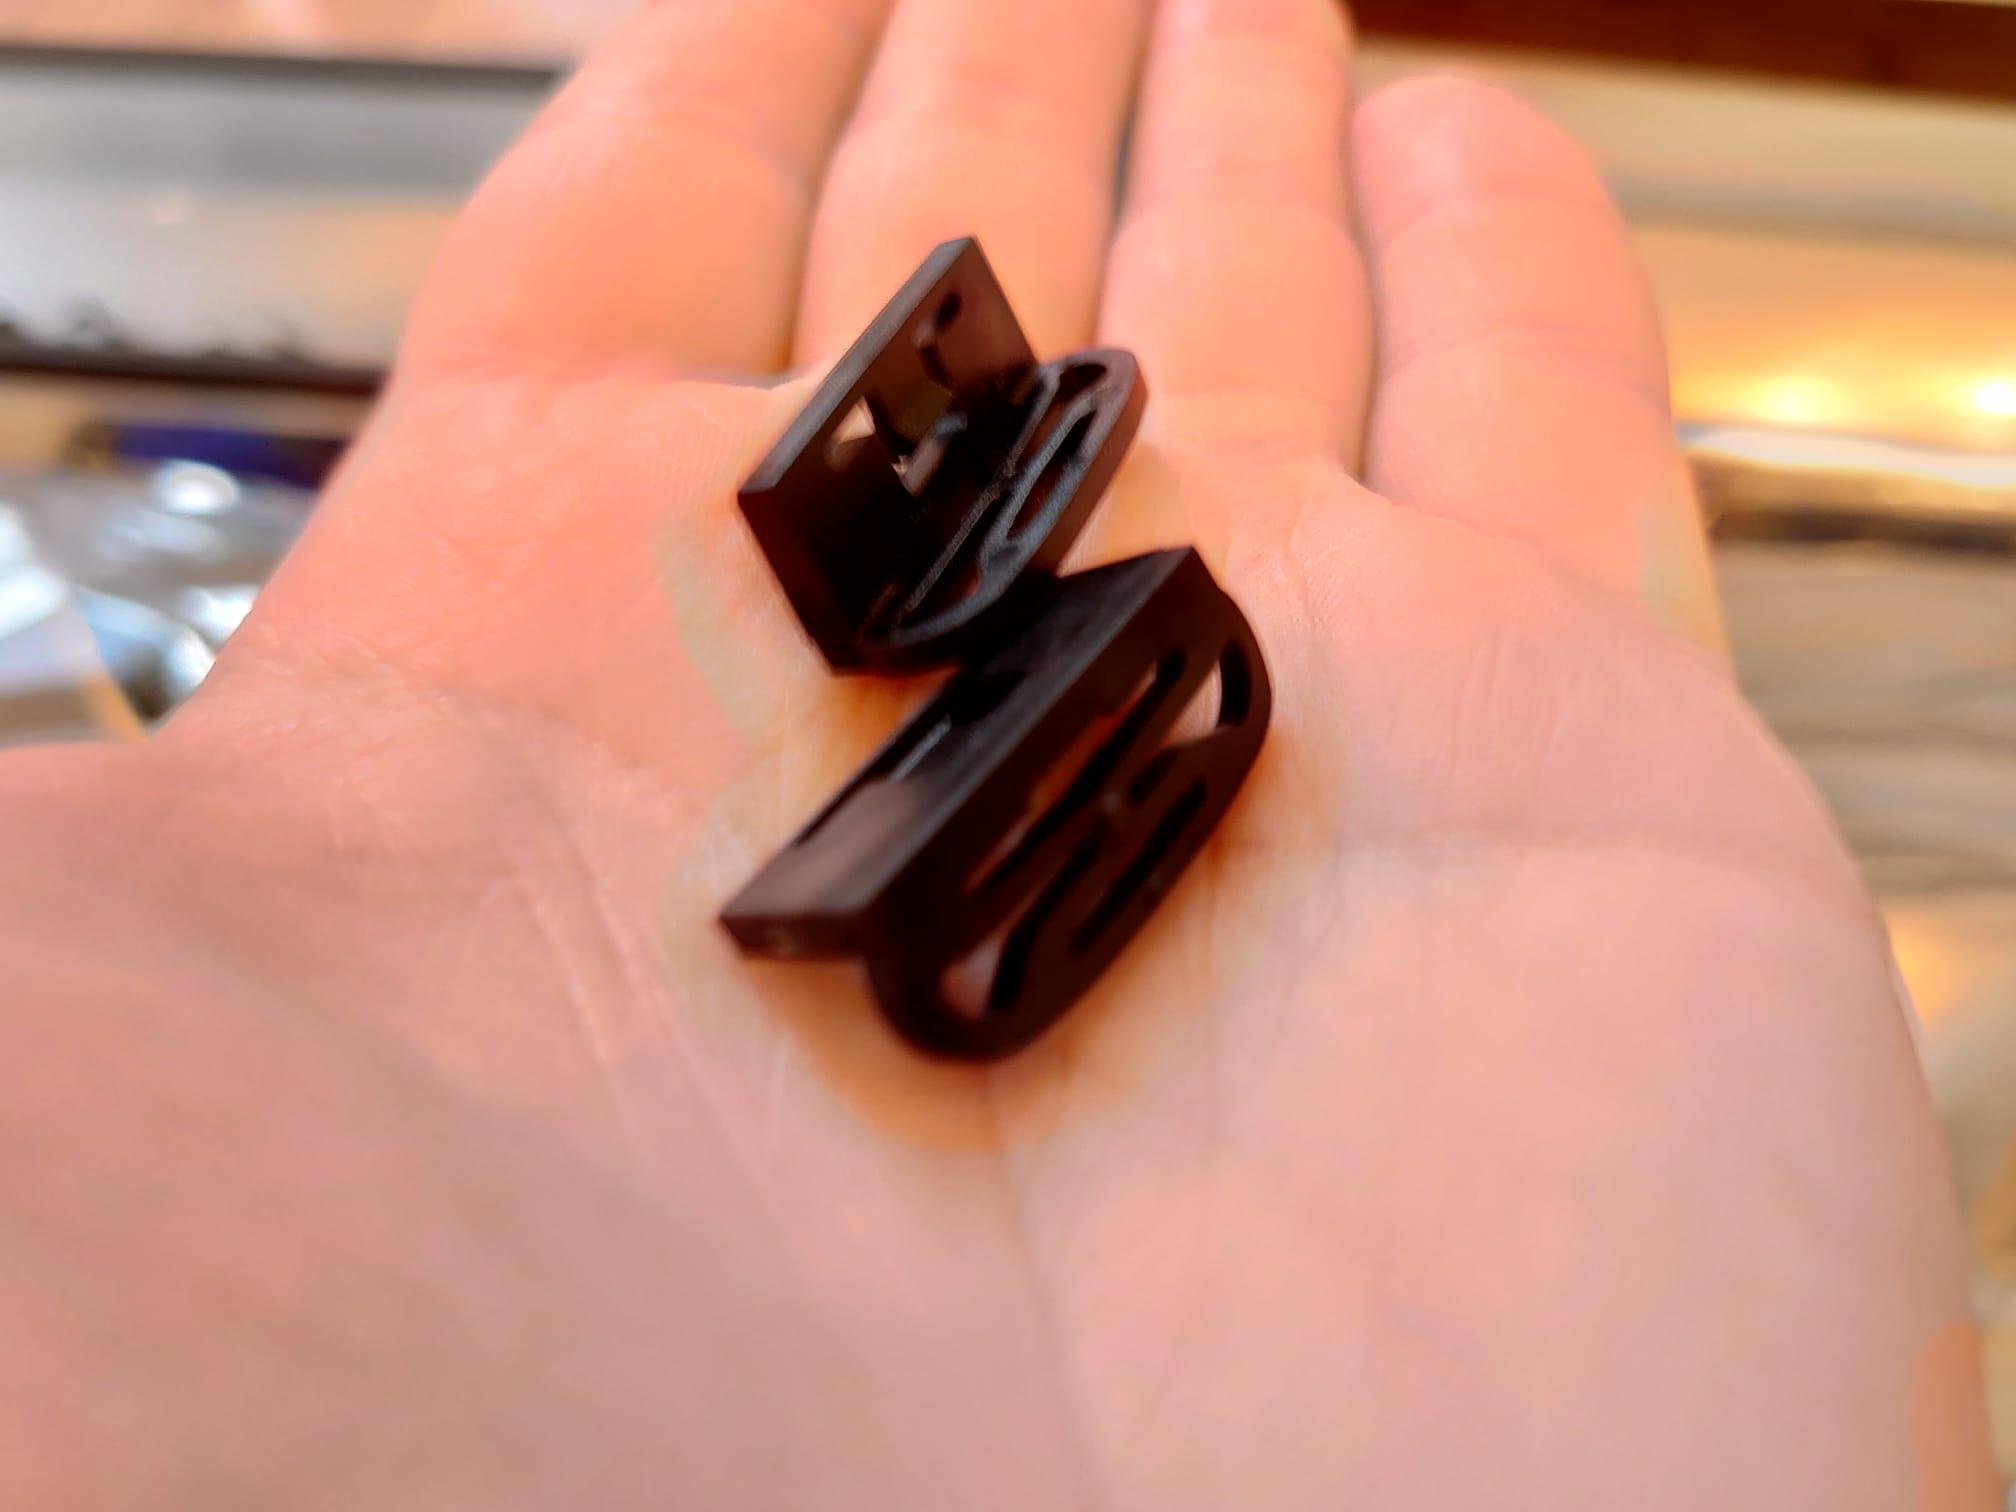
You must be logged in to view attached files.3 October 2024 at 13:10 #59730Does anybody know where exactly these 2 parts belong on the Beolab 1?

Unfortunately they approached me spontaneously while removing the amplifier module.
I didn’t see them in the Beolab 1 service manual and I don’t want to take apart the second Beolab 1 just to have a look.Attachments:
You must be logged in to view attached files.3 October 2024 at 13:29 #59732garibaldi70BRONZE MemberI took a photo of these a couple of weeks ago when mine flew off too. I put it back on a took a photo of which way around it was but exact location may be slightly further to the end
Attachments:
You must be logged in to view attached files.3 October 2024 at 13:39 #59734garibaldi70BRONZE MemberAs an update- I had a quote to repair of A$1200 each amp plus shipping so it’s probably beyond a price where it’s worth it so I’m attempting to really find the faulty components .
had a look with a thermal camera but nothing overly hot – maybe because the bass aren’t working so that part of the circuit associated with them aren’t showing their faults . Wondering if there’s an inbuilt protection mode that shuts down just the bass etc ???there’s so many capacitors in the amp – electrolytic , ceramic and blue poly ones . Wondering if I should start by ordering and replacing the electrolytic ones and see if that does anything but to be honest – they don’t show any signs of age as I was hoping I’d simply see .
It’s really hard as there just isn’t much info out there and haven’t found any B and O elec diagrams or heard from anybody that can say where most probable place is to look .At the moment these speakers are just a rather chunky pair of coat hangers !
3 October 2024 at 14:05 #59735garibaldi70 wrote:
I took a photo of these a couple of weeks ago when mine flew off too. I put it back on a took a photo of which way around it was but exact location may be slightly further to the endThank you very much! 🙂
-
AuthorPosts


- You must be logged in to reply to this topic.