Home › Forums › Product Discussion & Questions › BeoVox › CX100’s Resto-Mod
- This topic has 13 replies, 4 voices, and was last updated 1 year, 6 months ago by
xschop.
-
AuthorPosts
-
28 February 2024 at 10:41 #53119
xschop
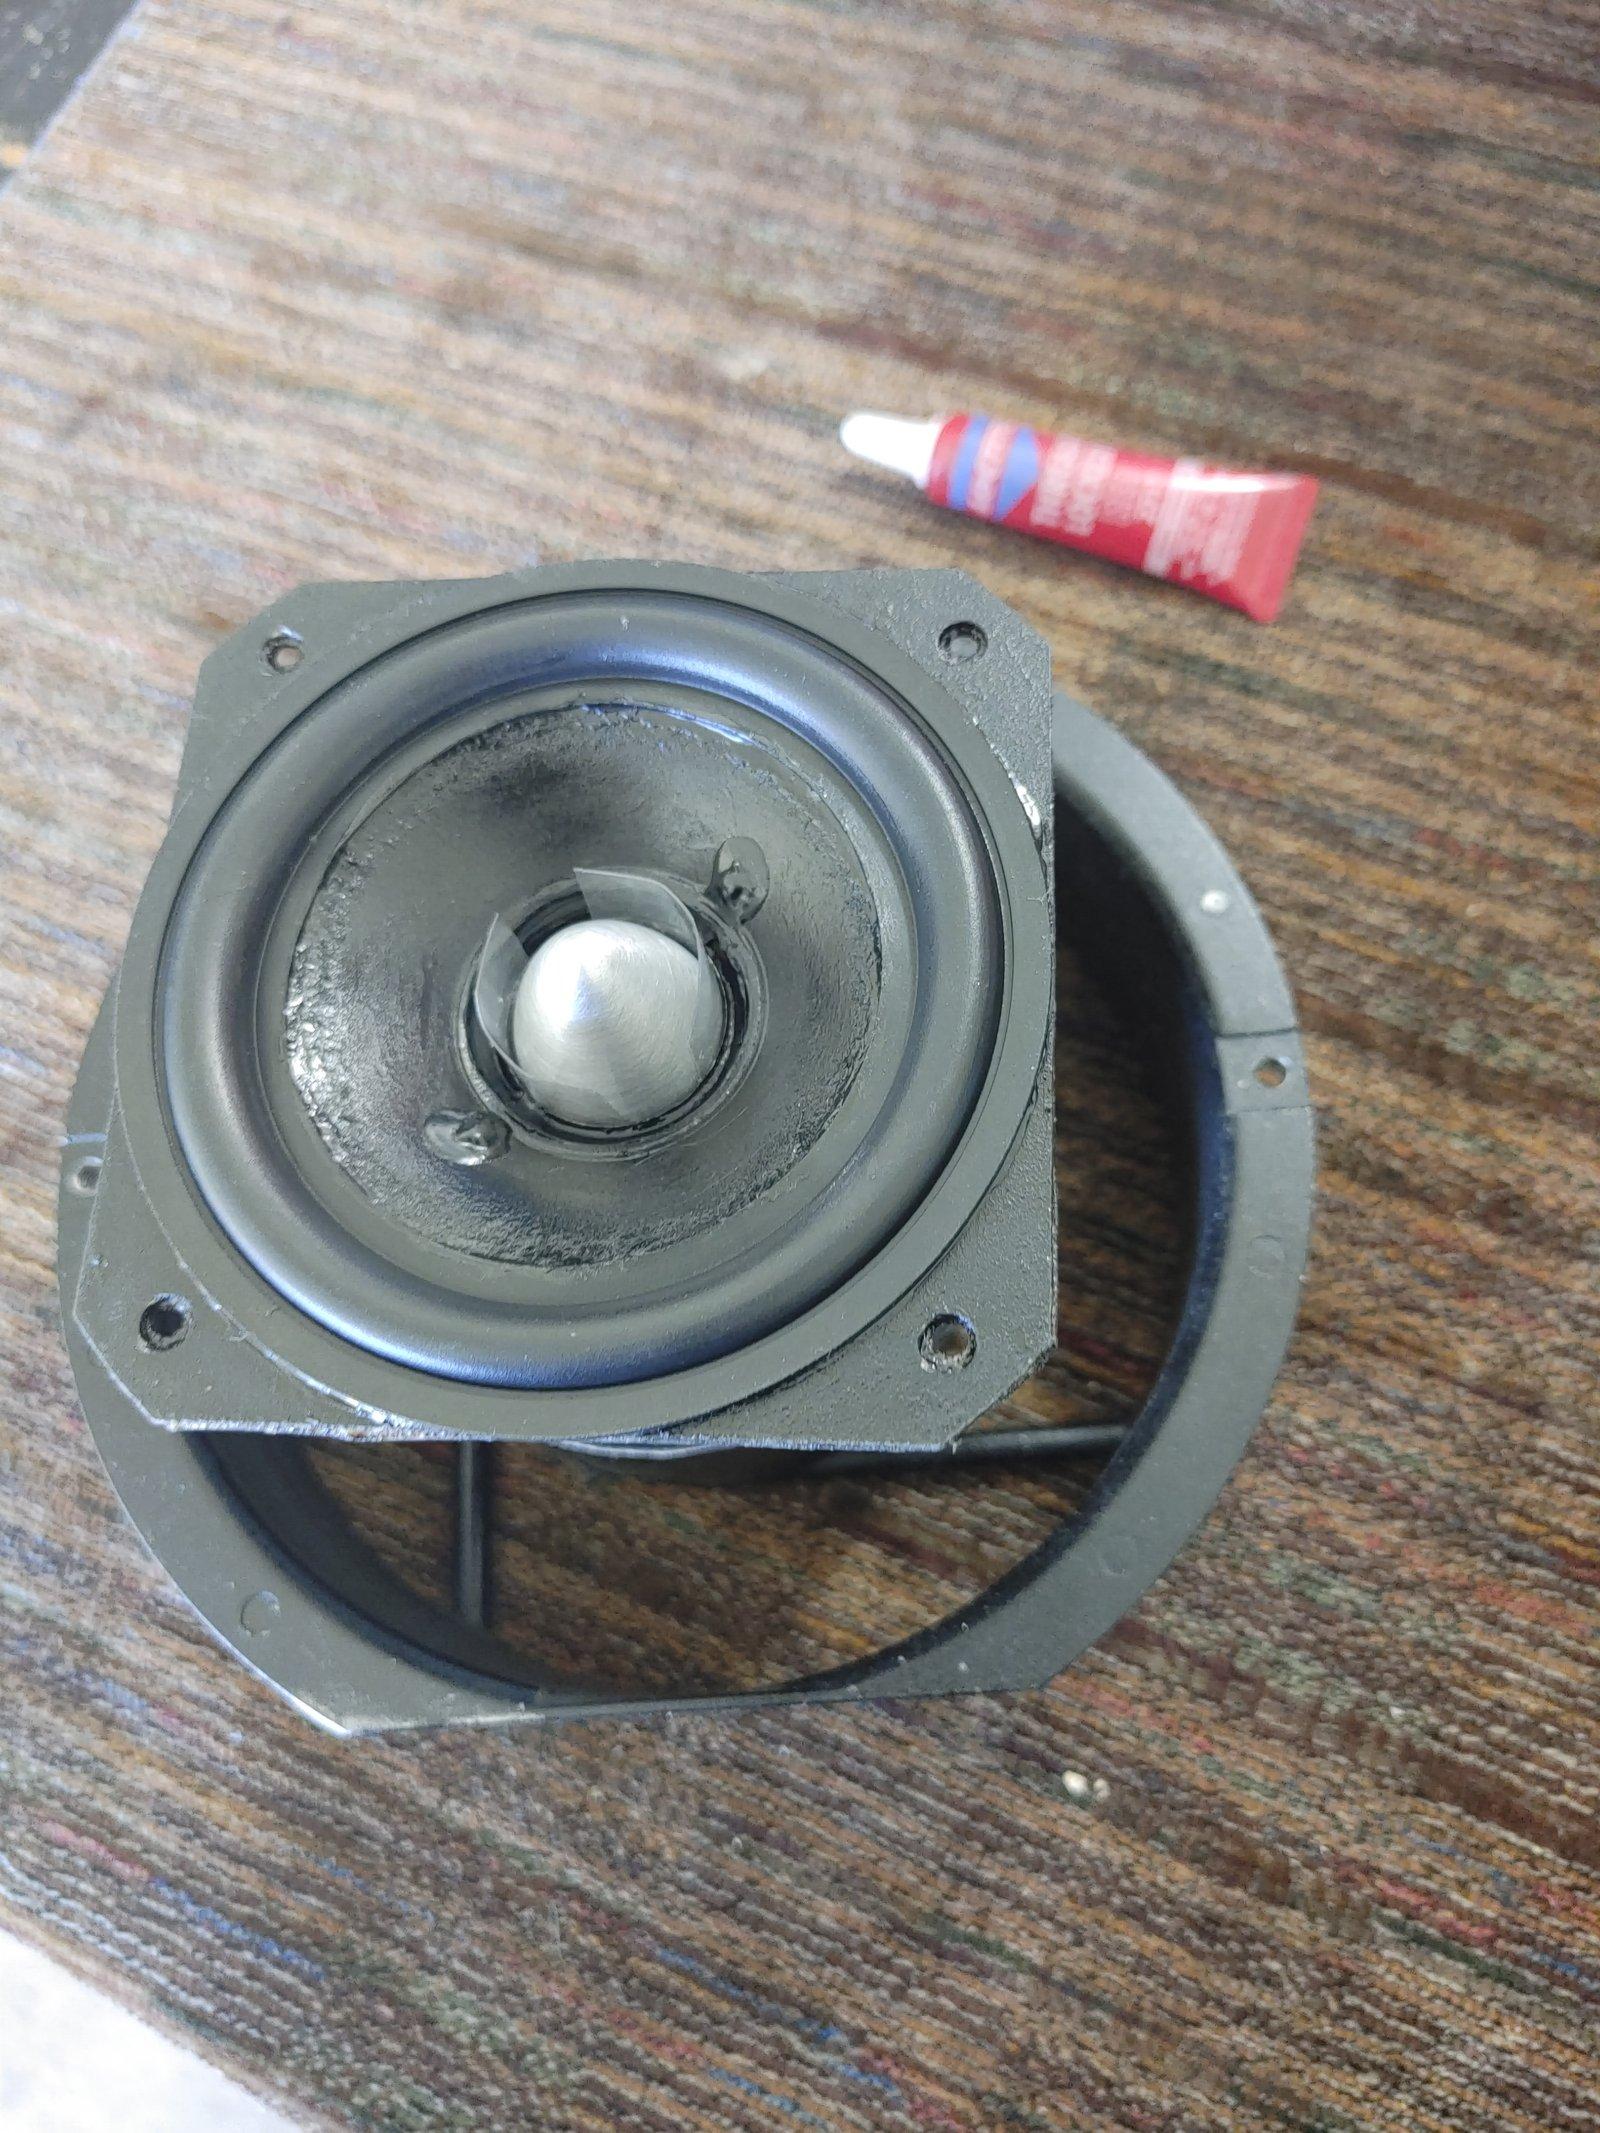
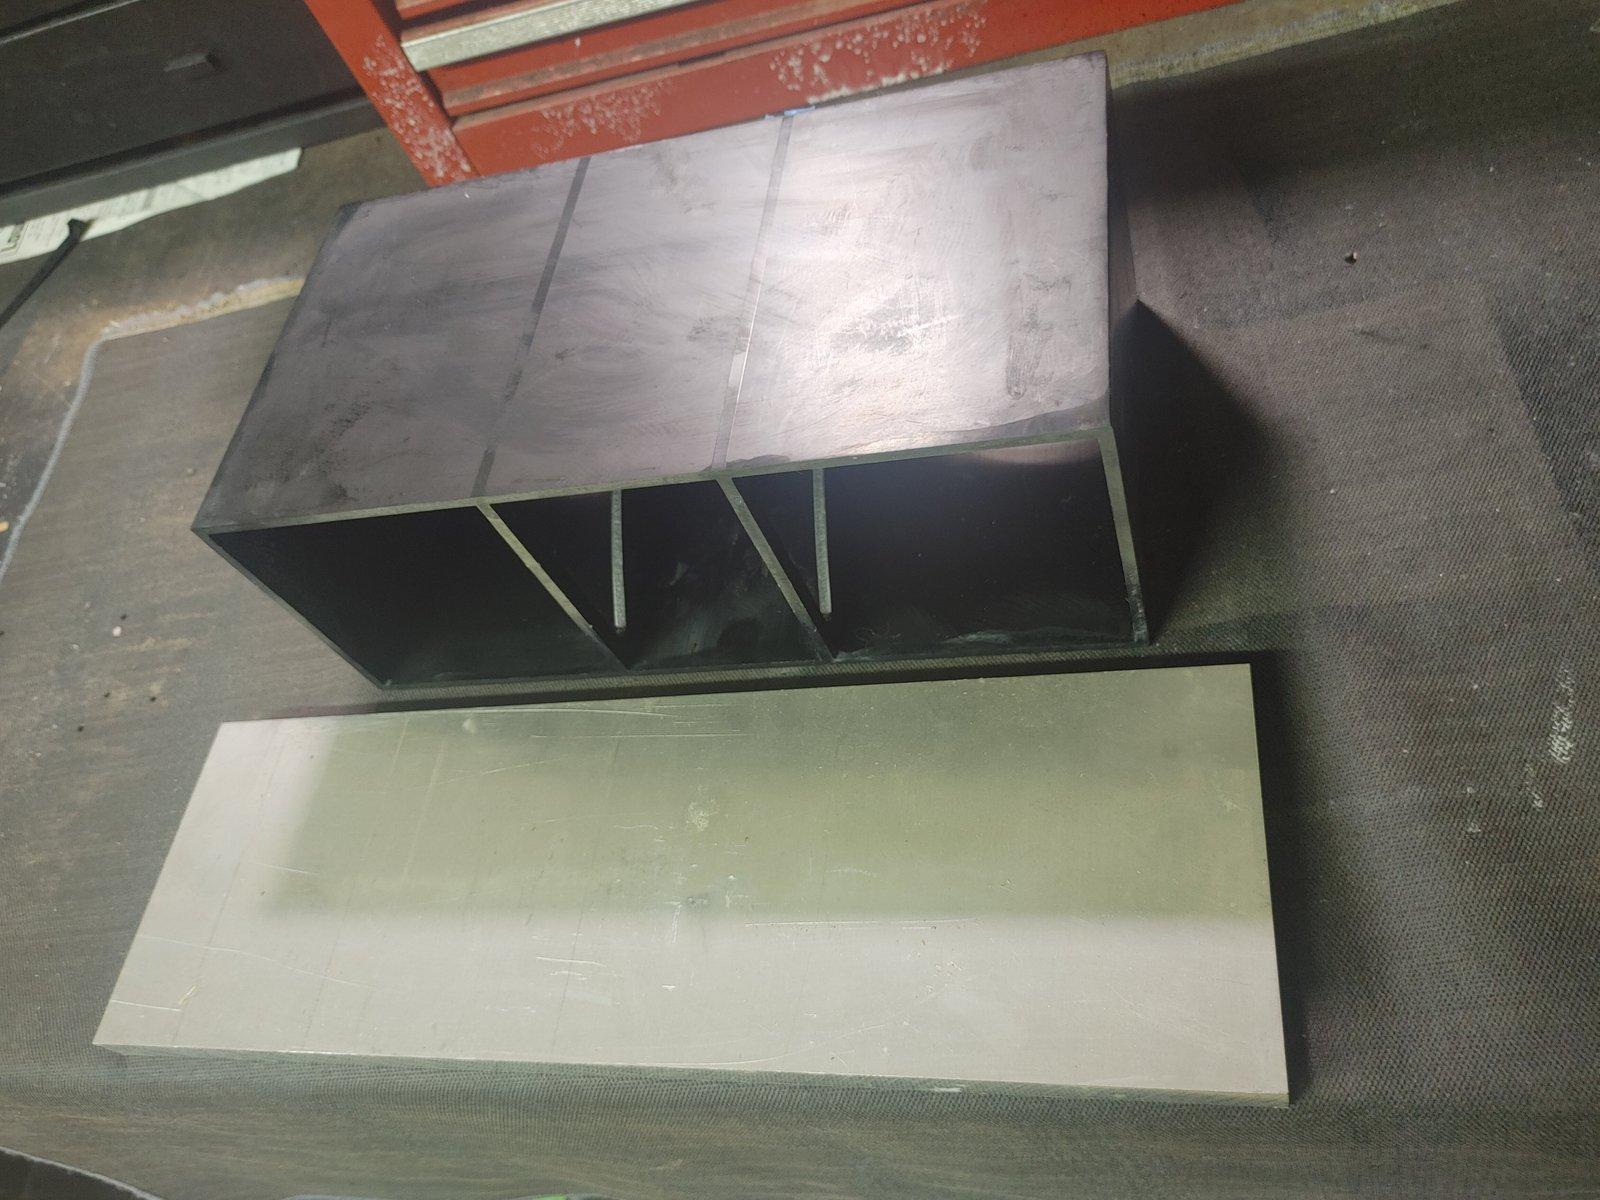
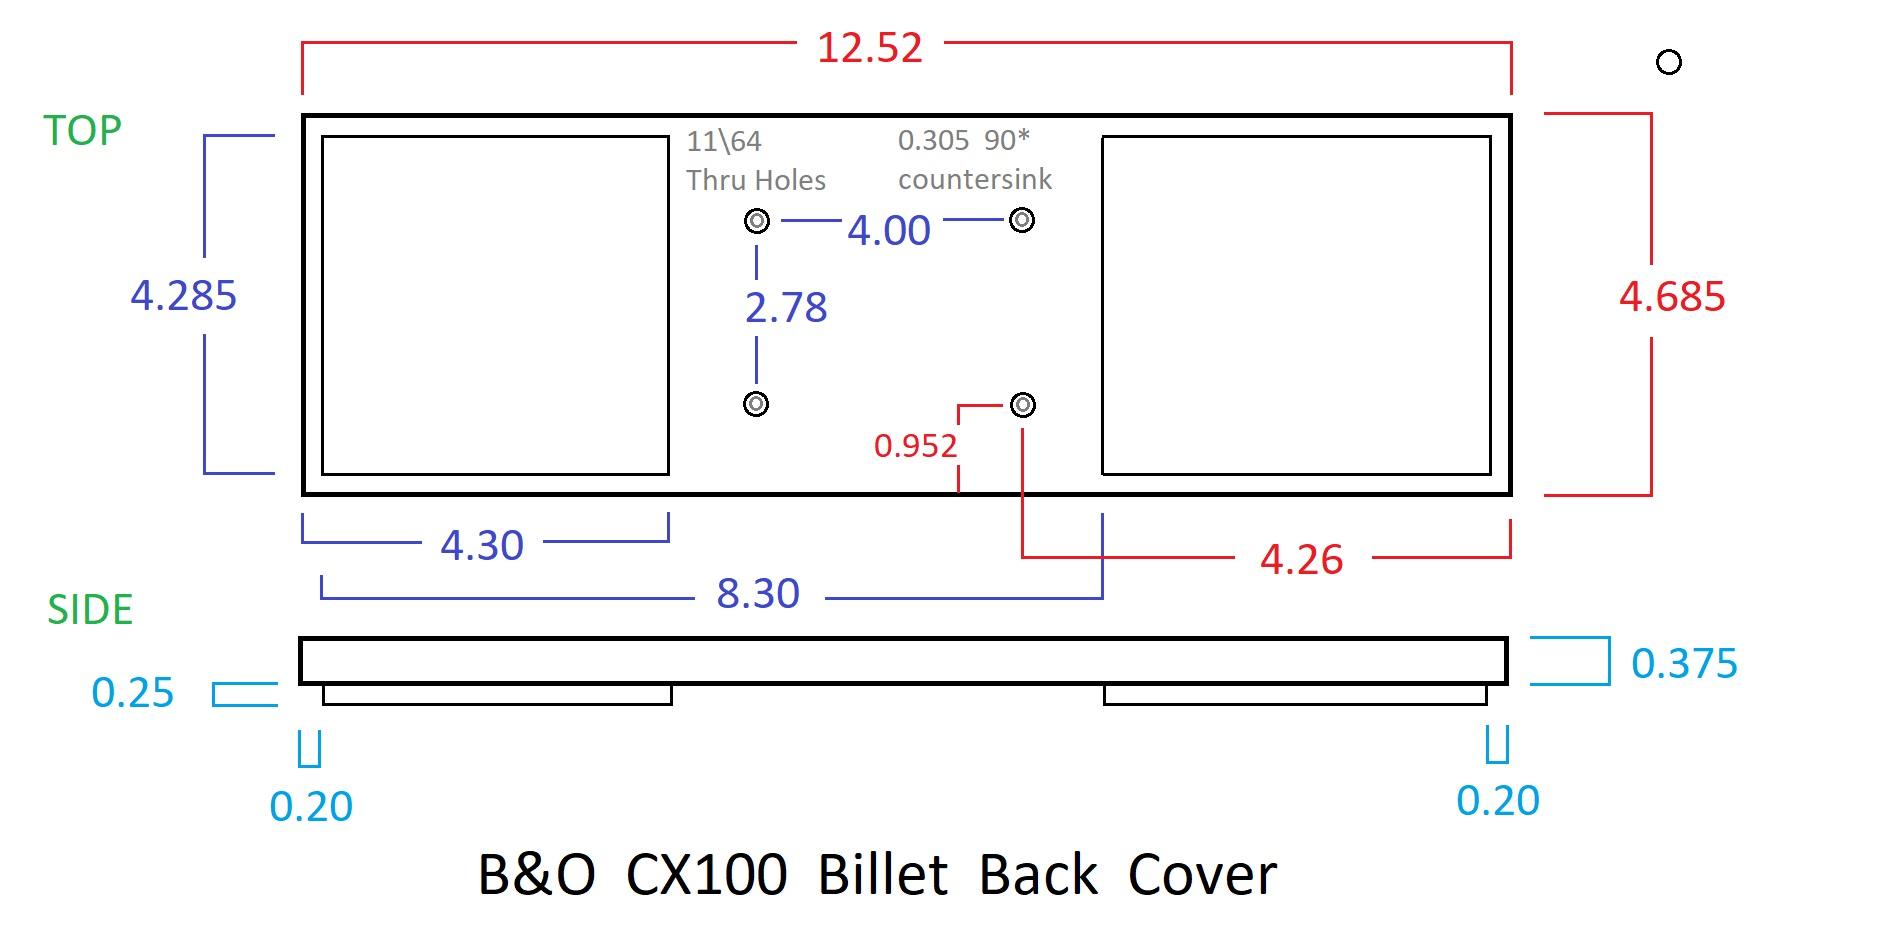
BRONZE MemberA little preview of my next pair of CX100’s repair and modifications. I’ll chronicle here…
 29 February 2024 at 21:12 #53120
 GOLD Member
Curious to see how much love these good old CX100s are going to get xschop!
Location: Netherlands
My B&O Icons:
1 March 2024 at 21:35 #53121xschop
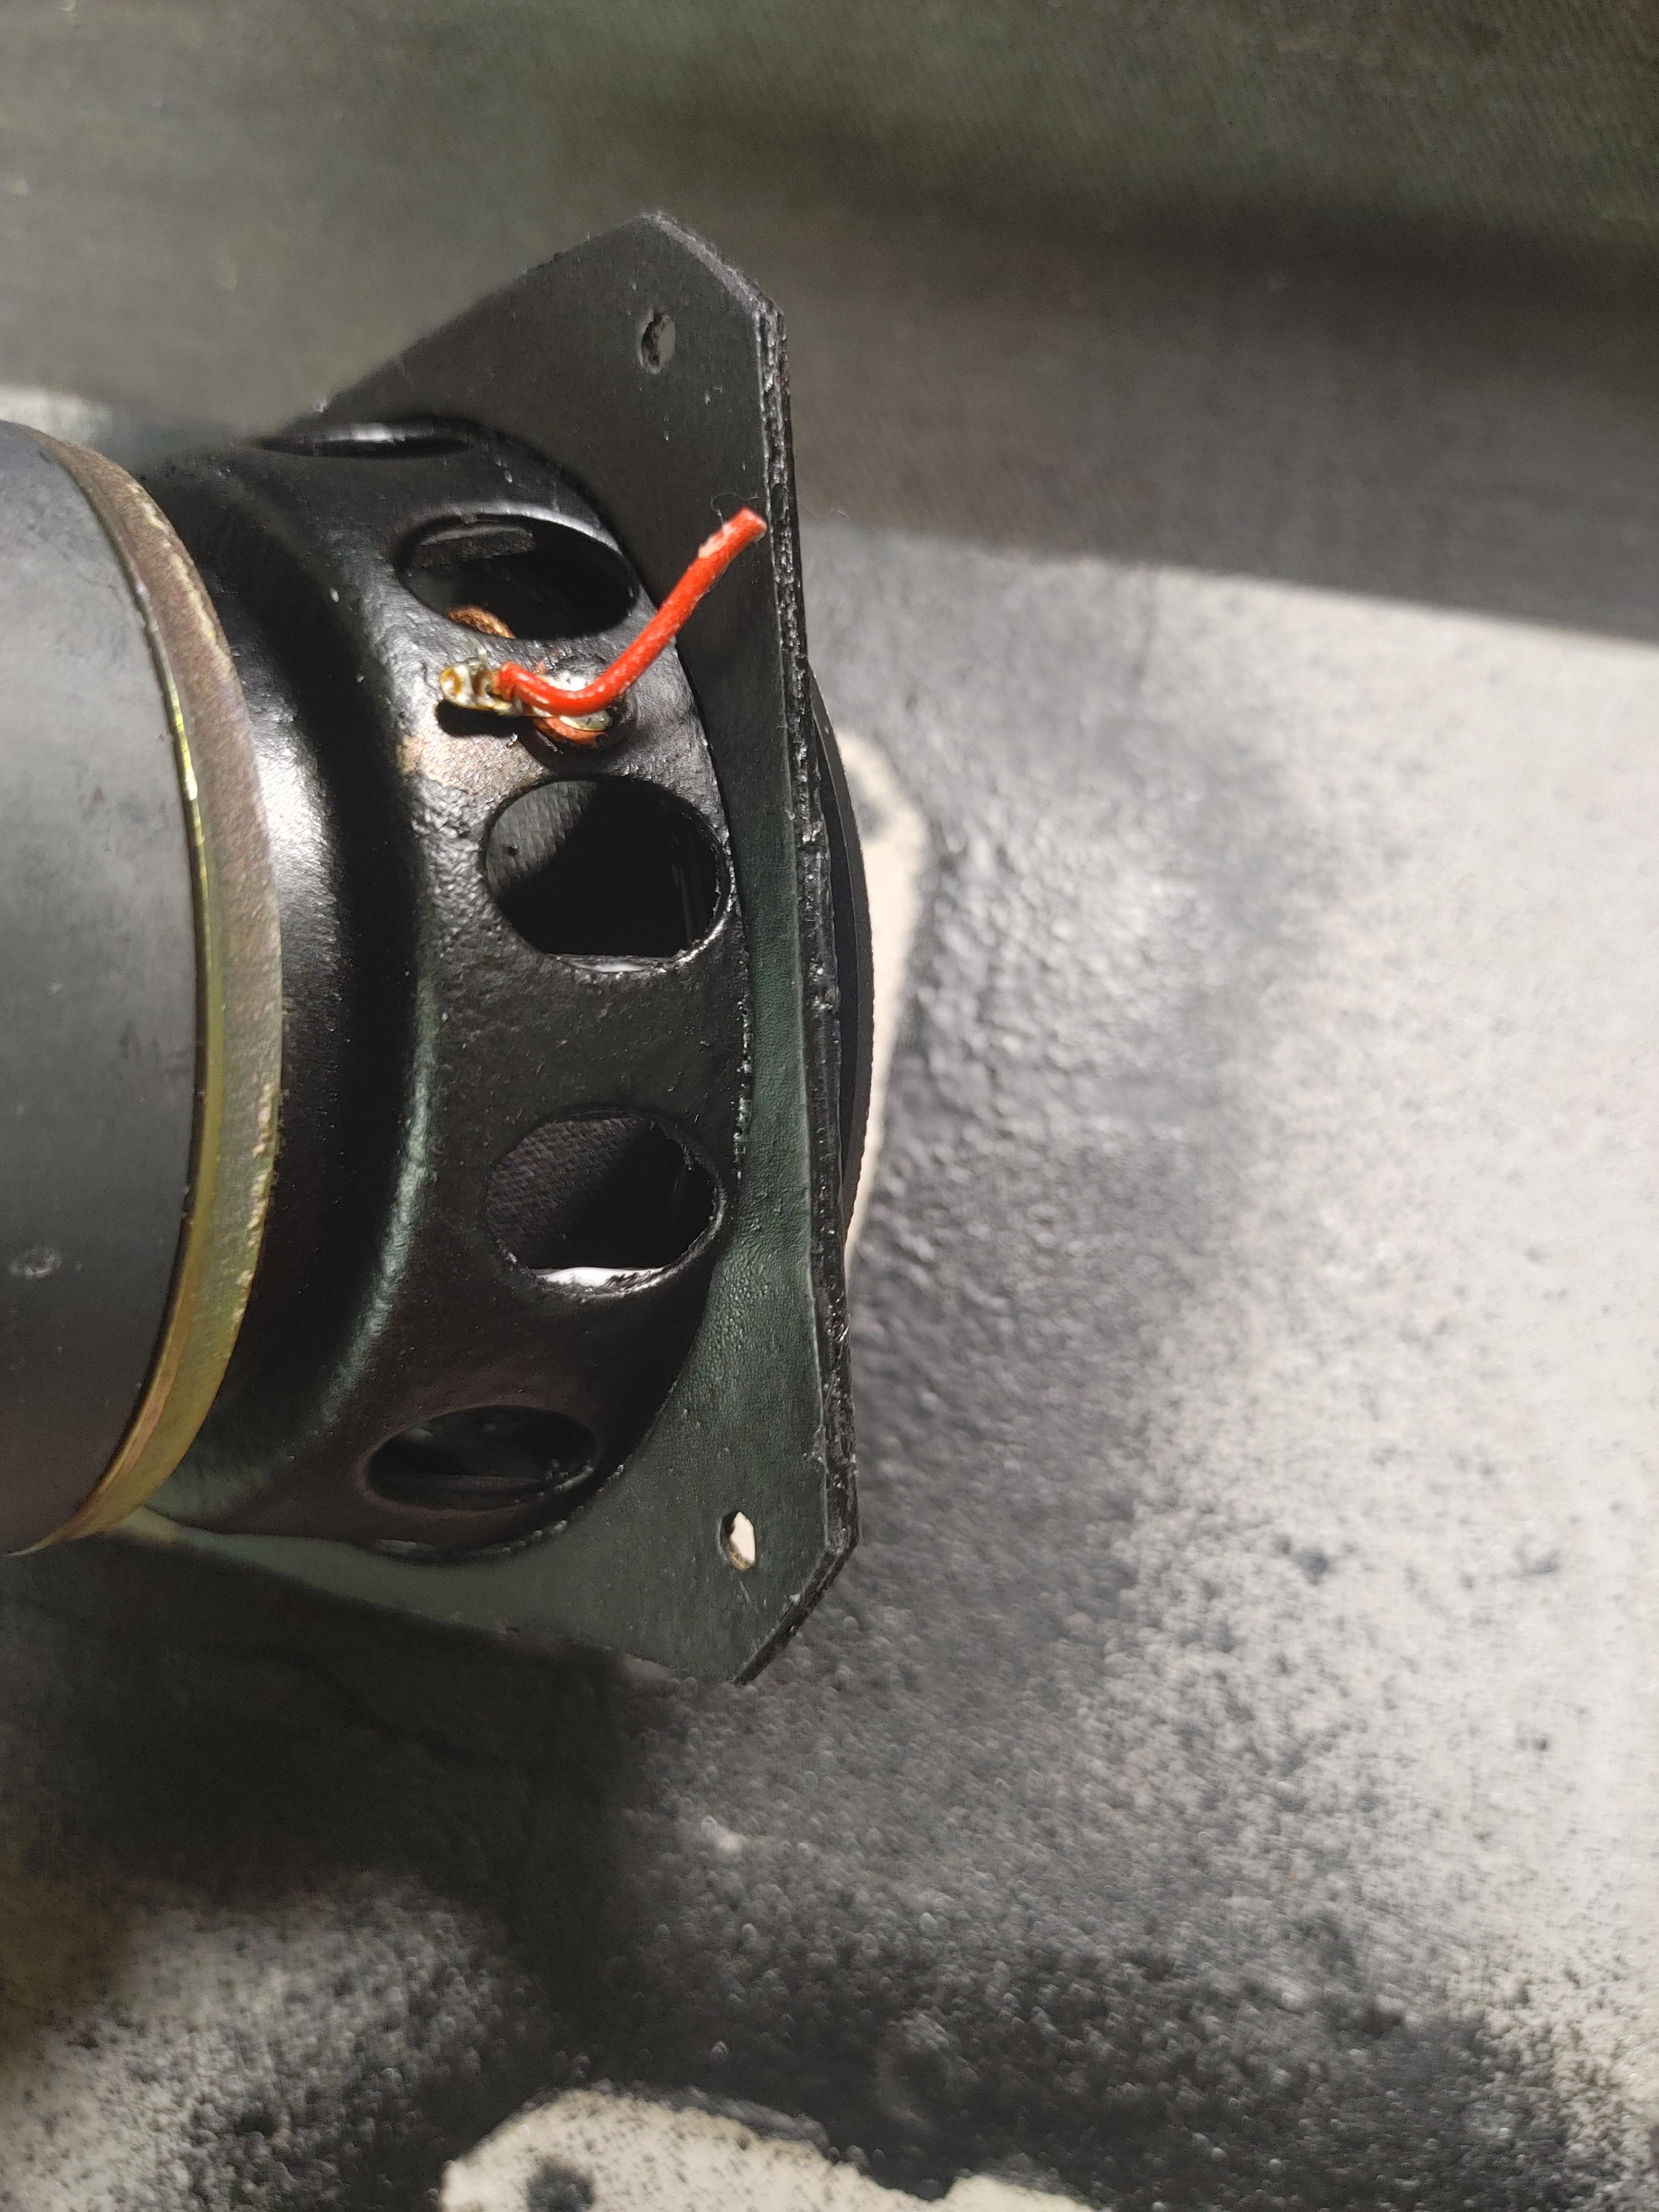
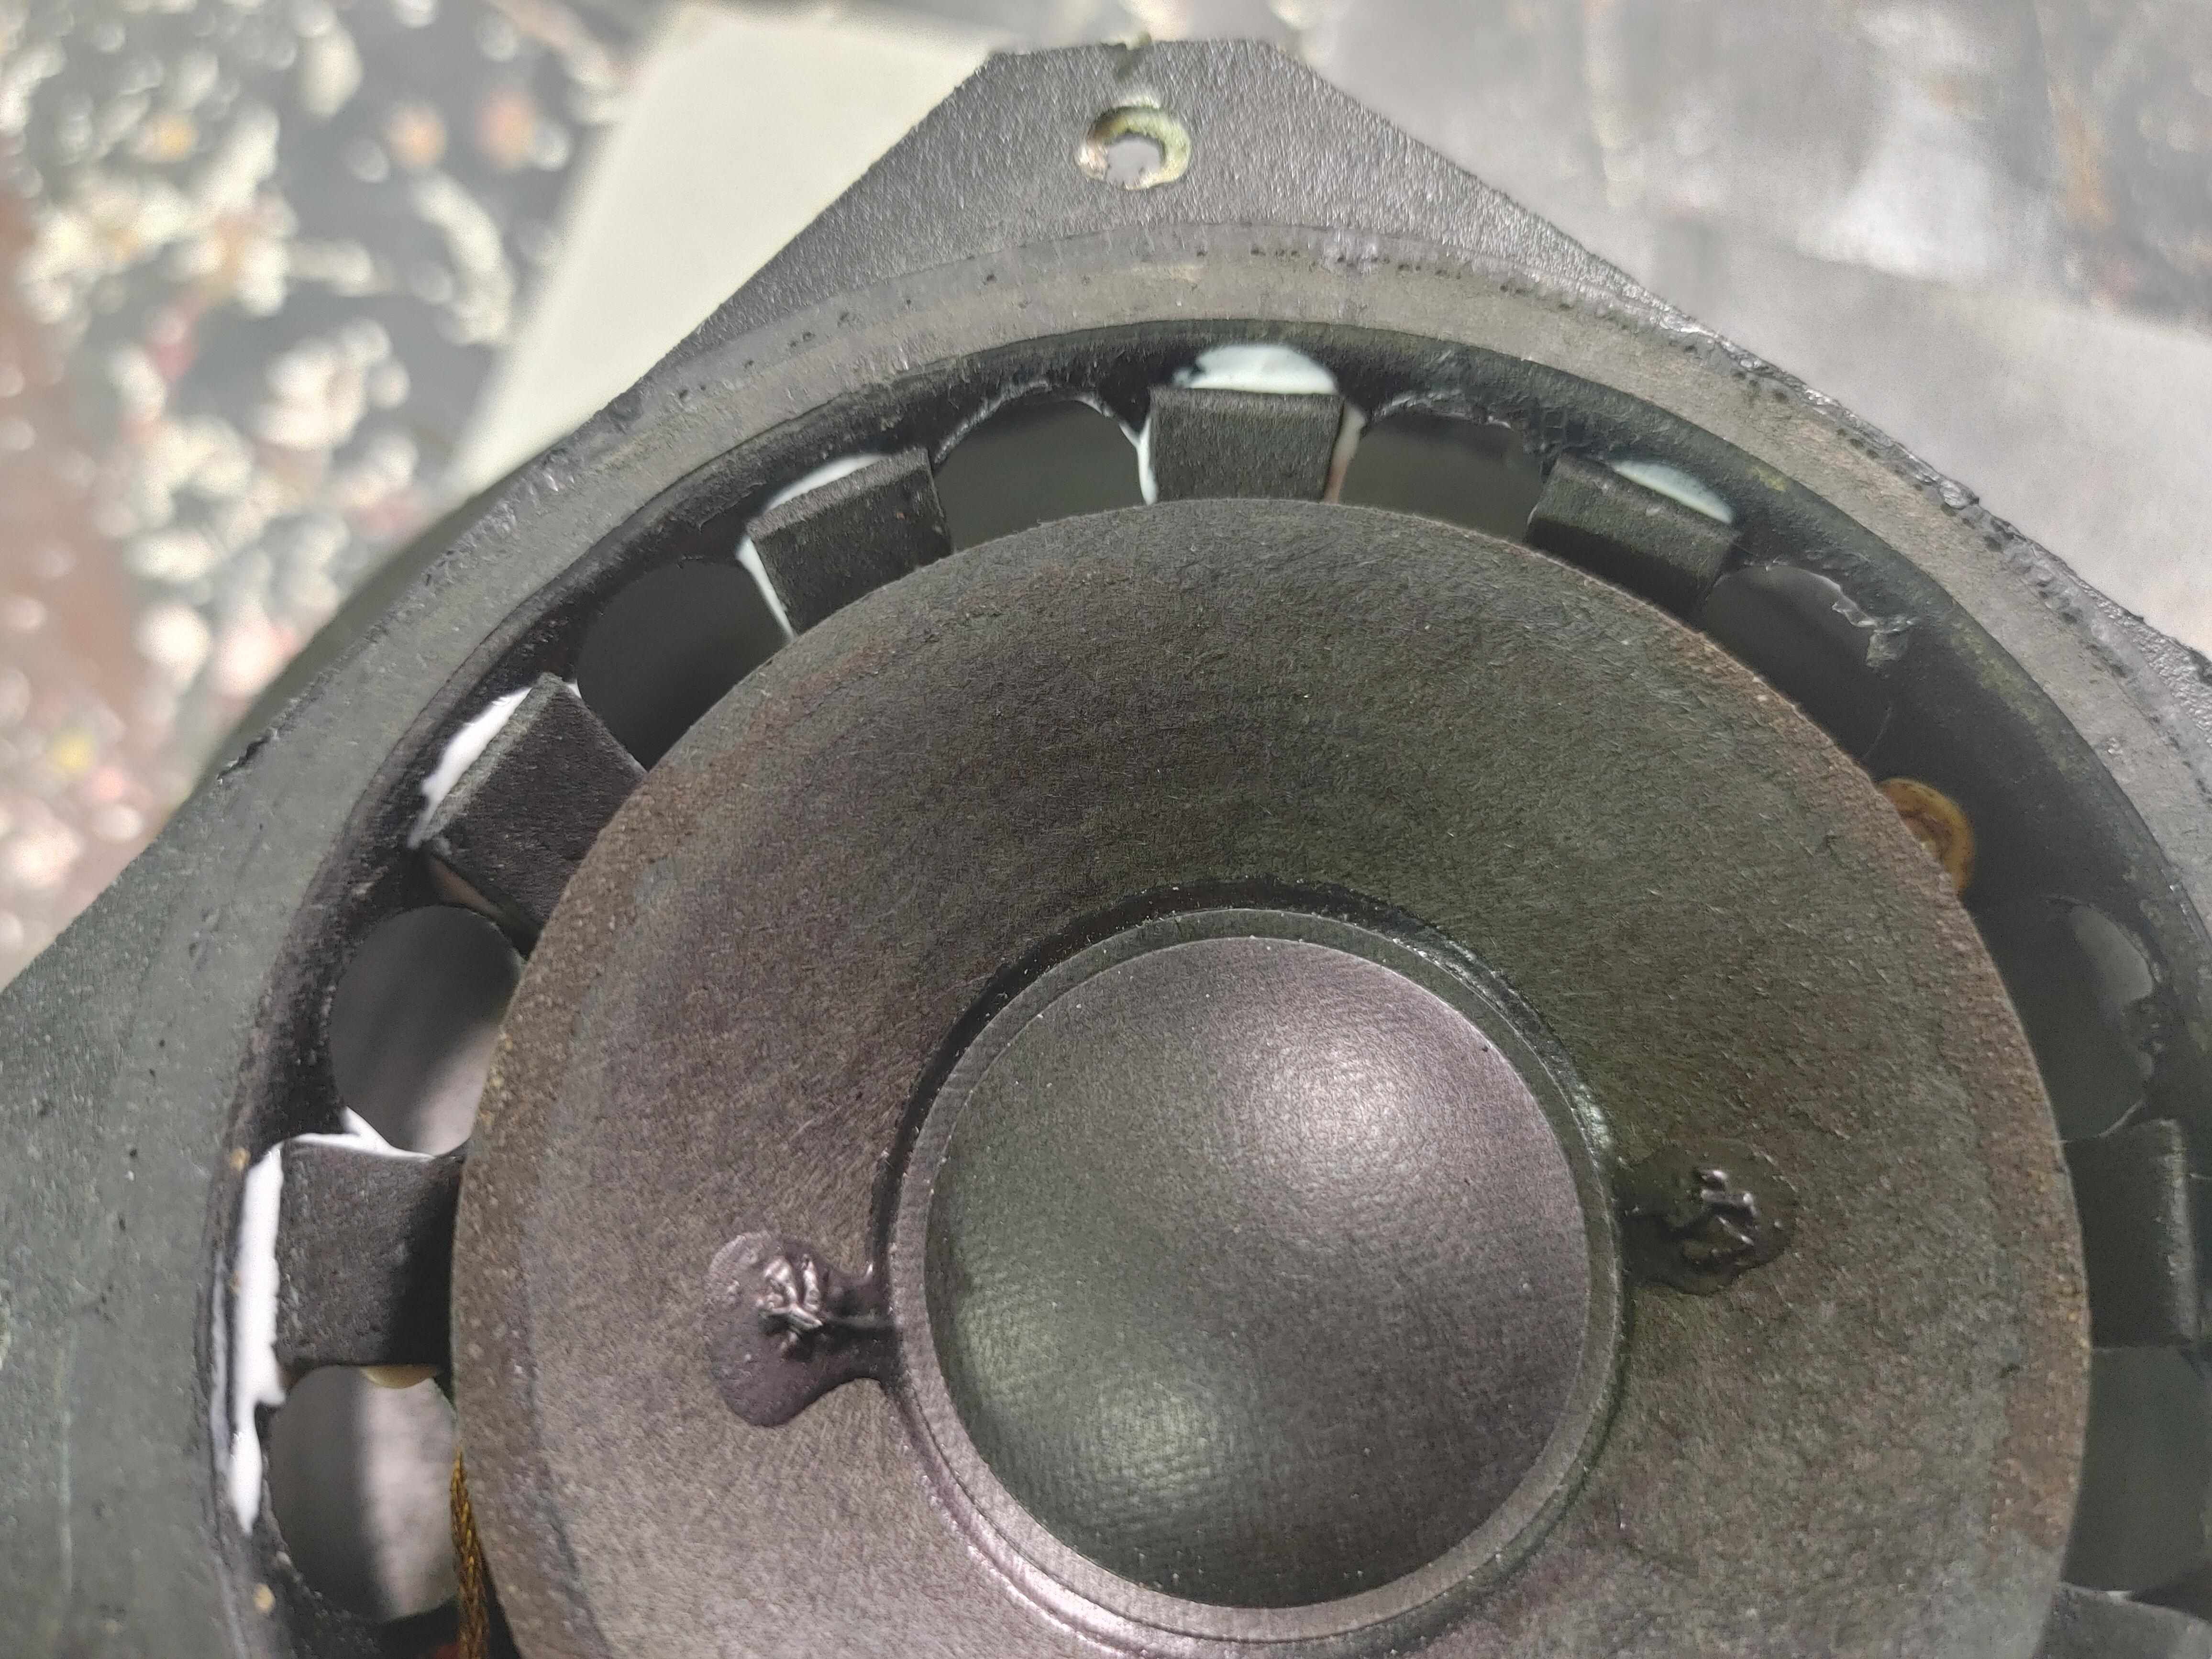
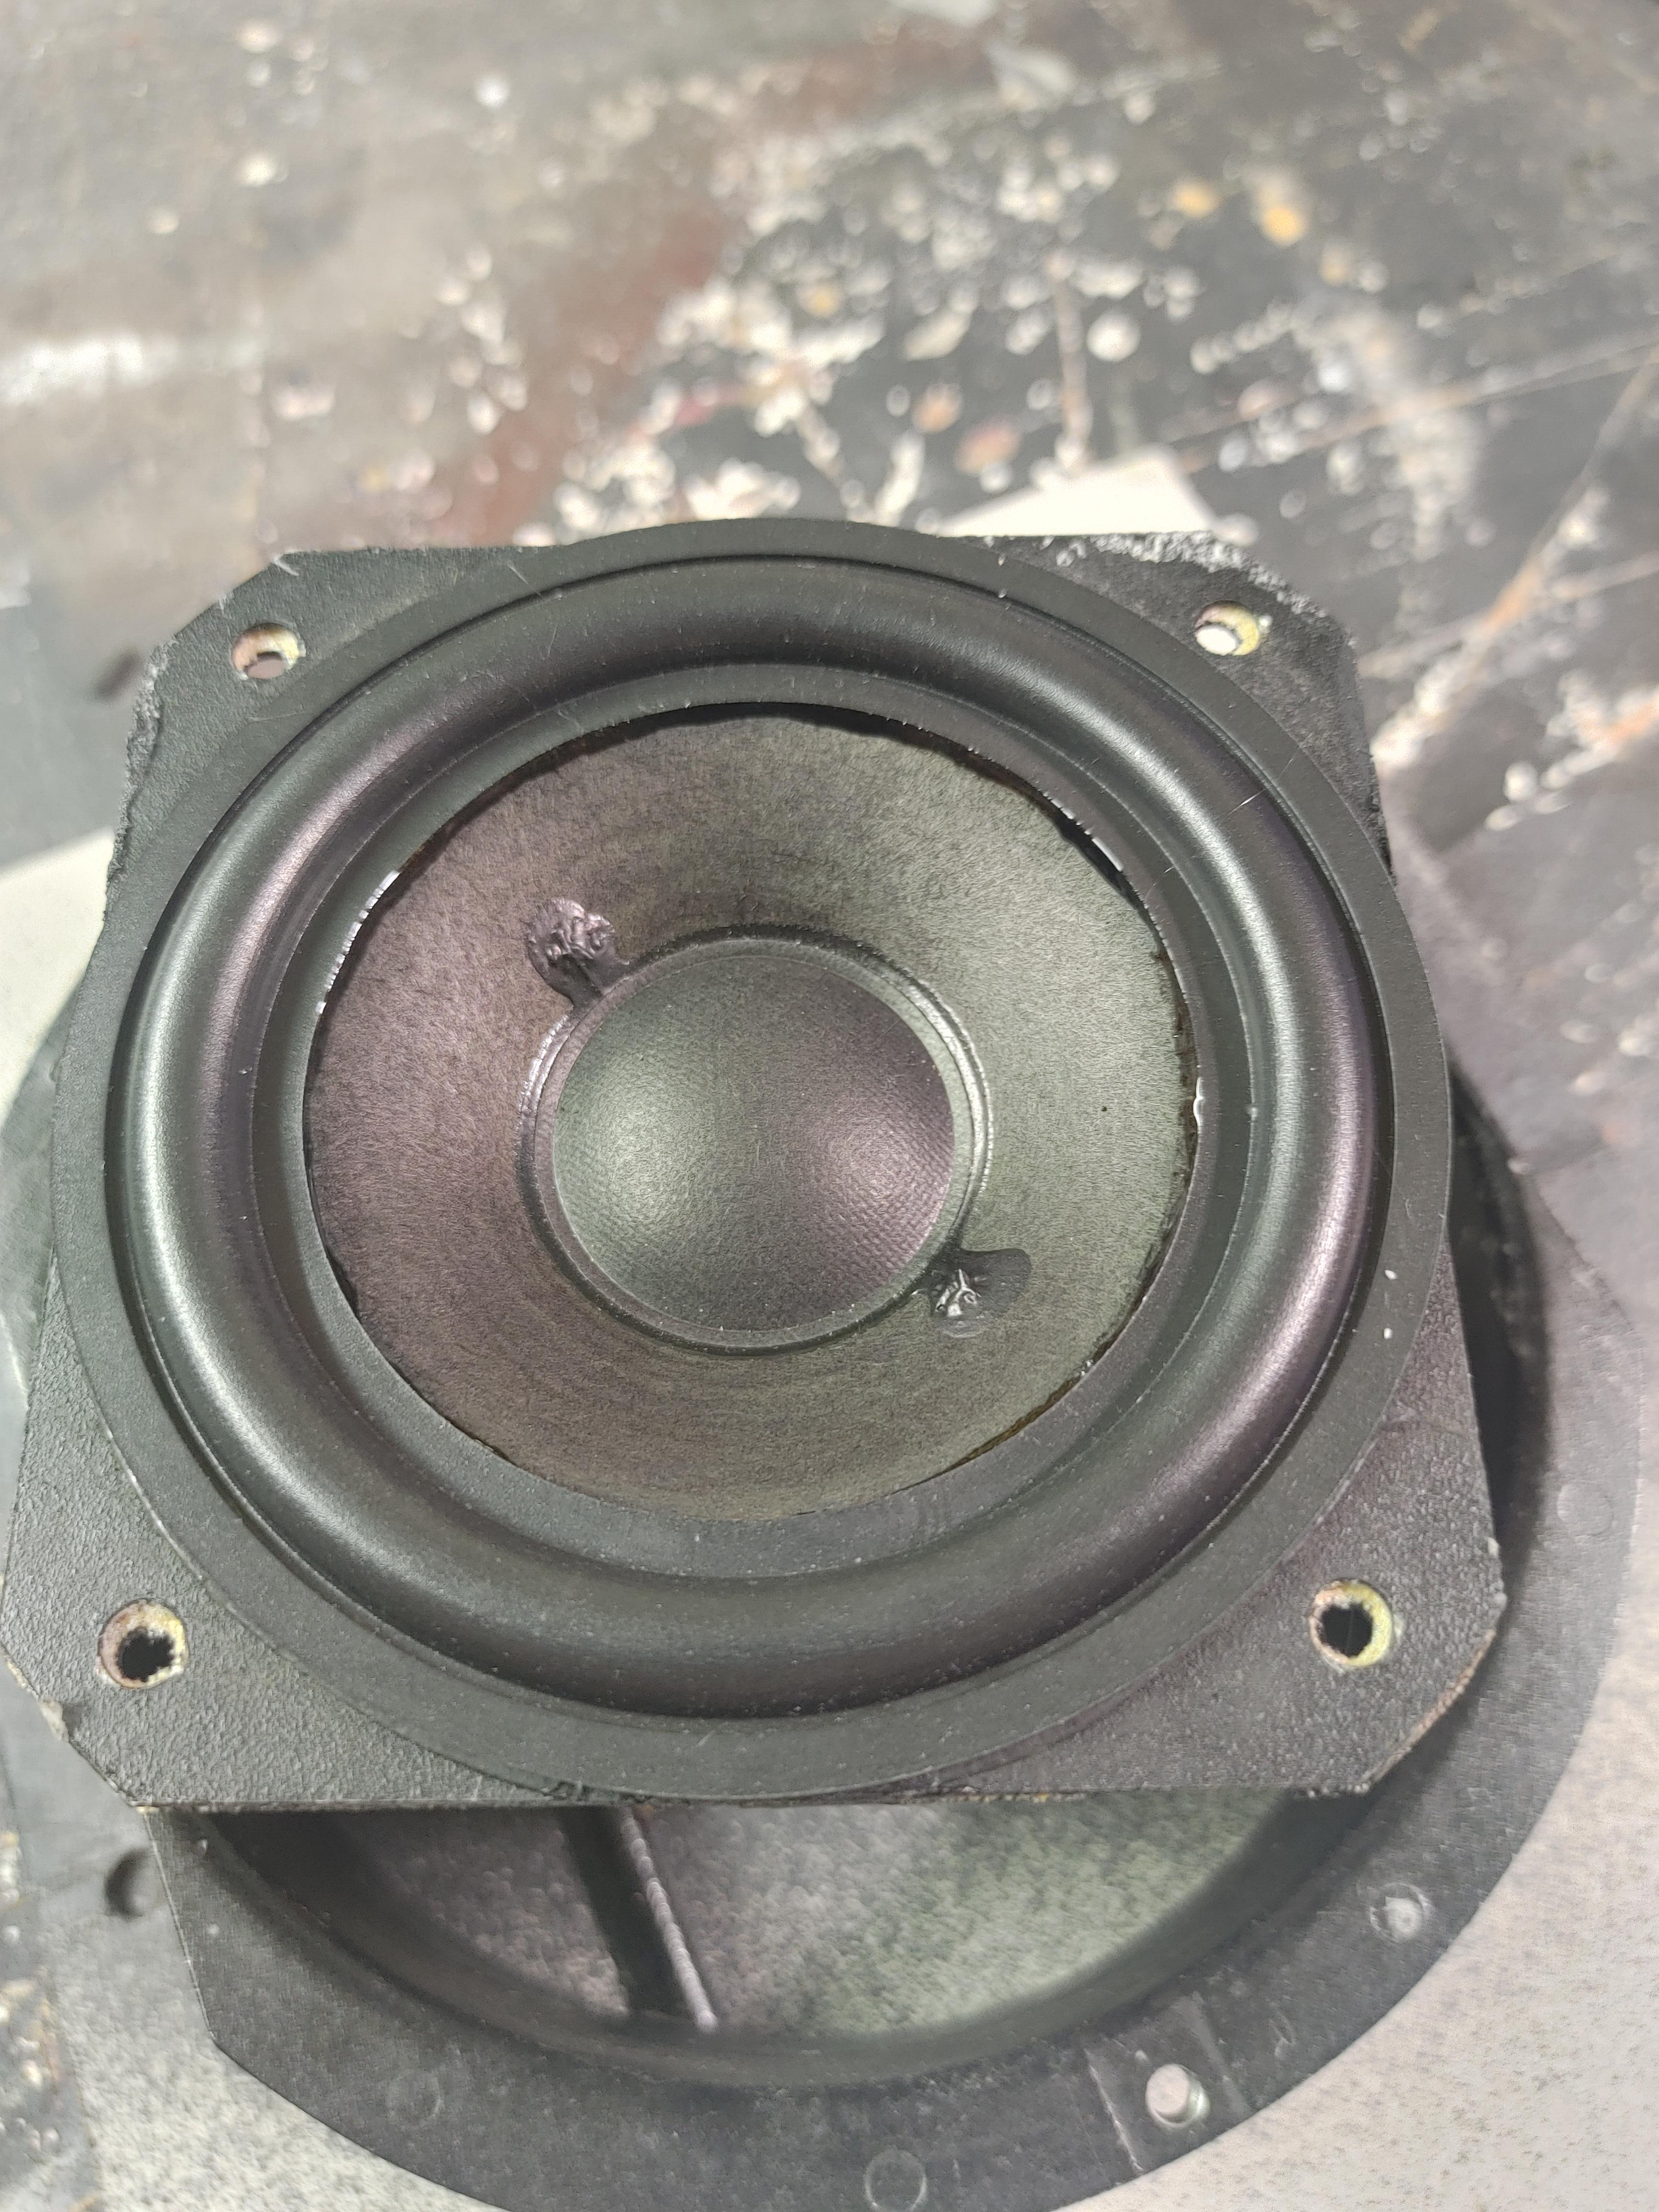
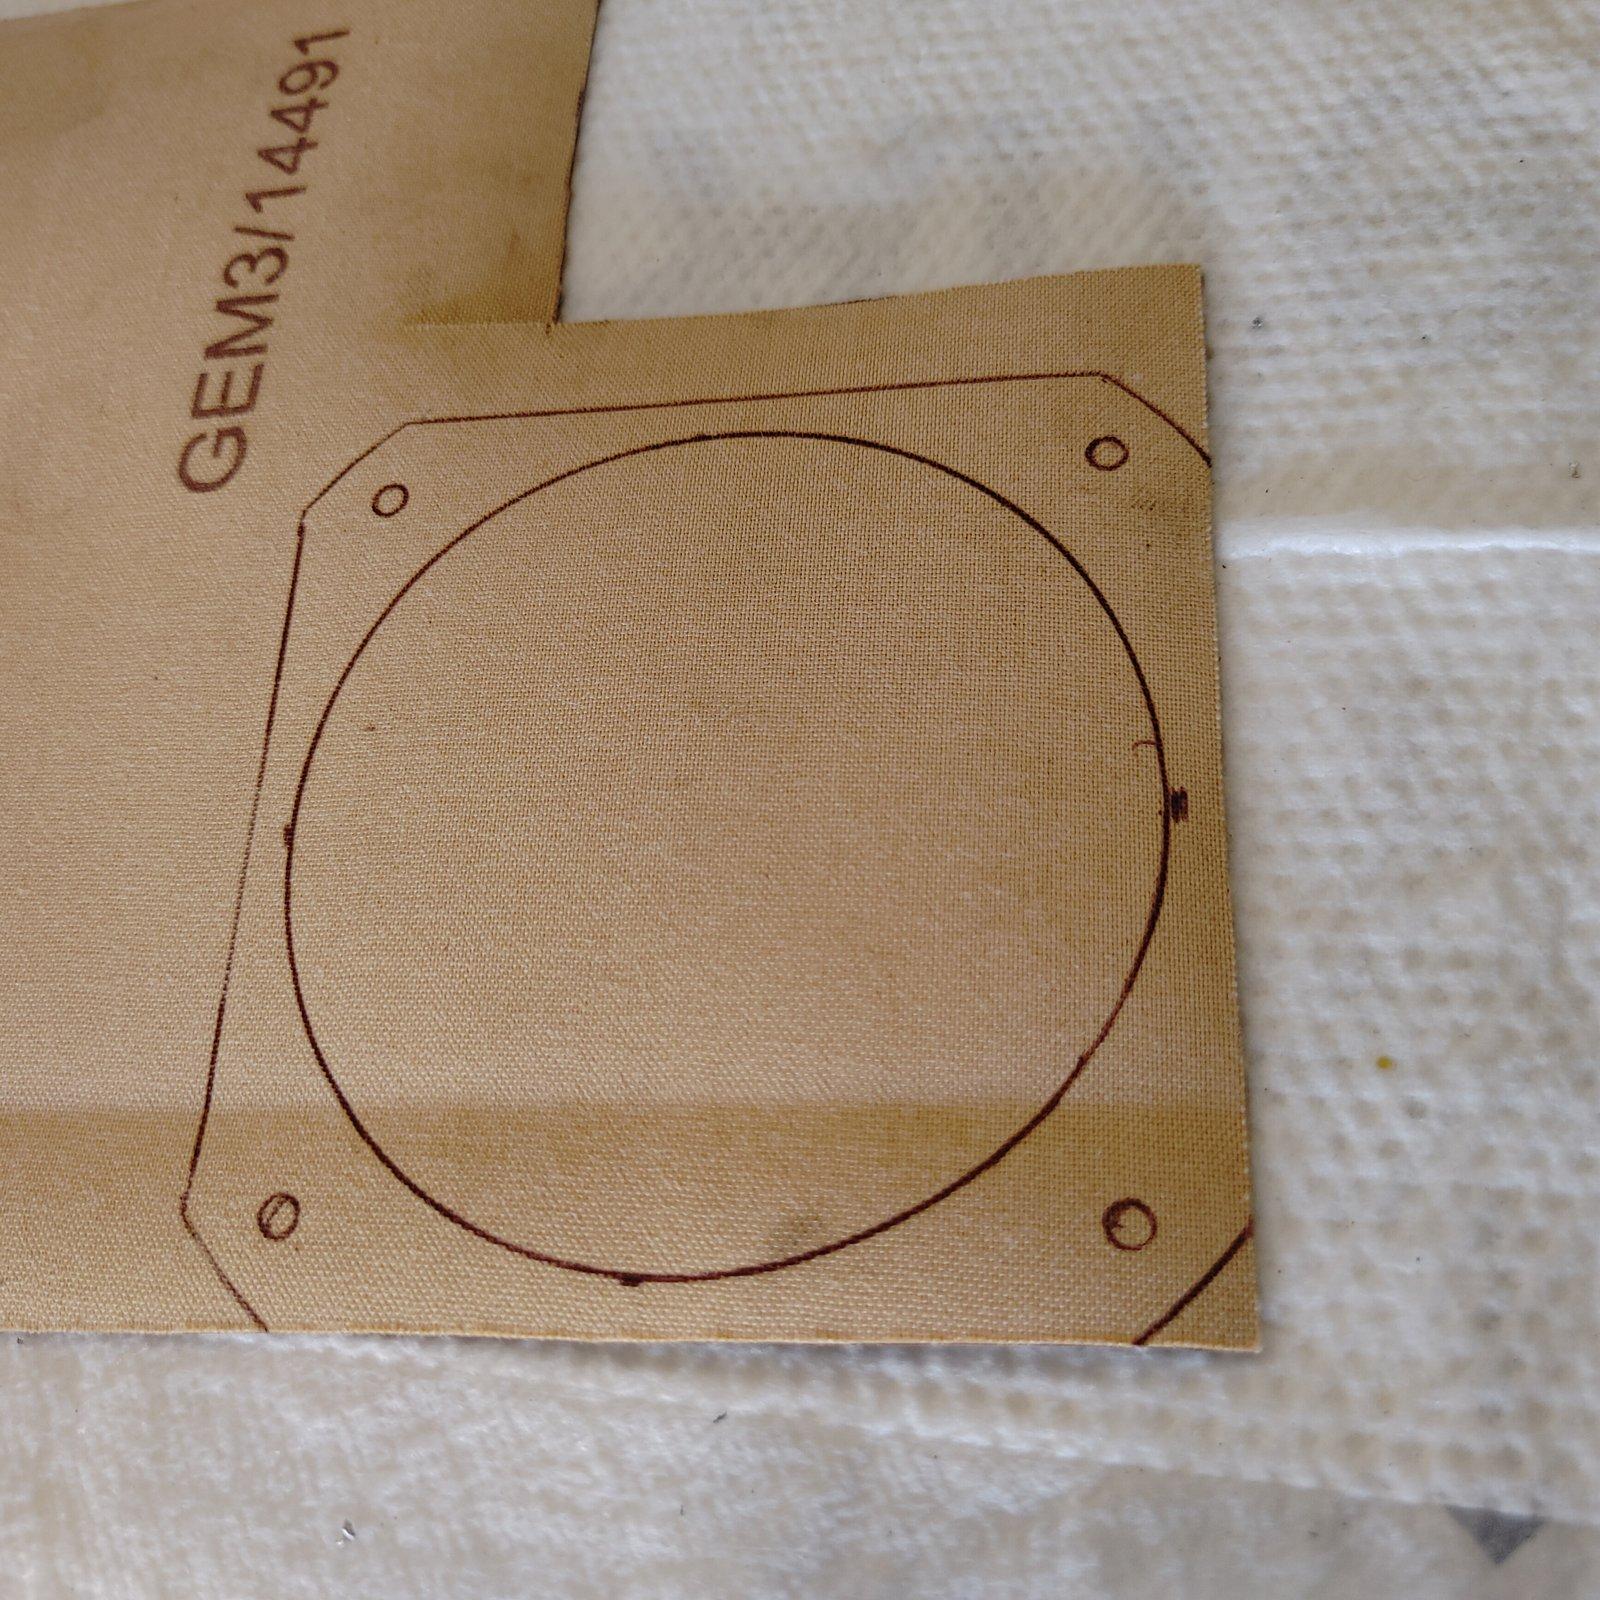
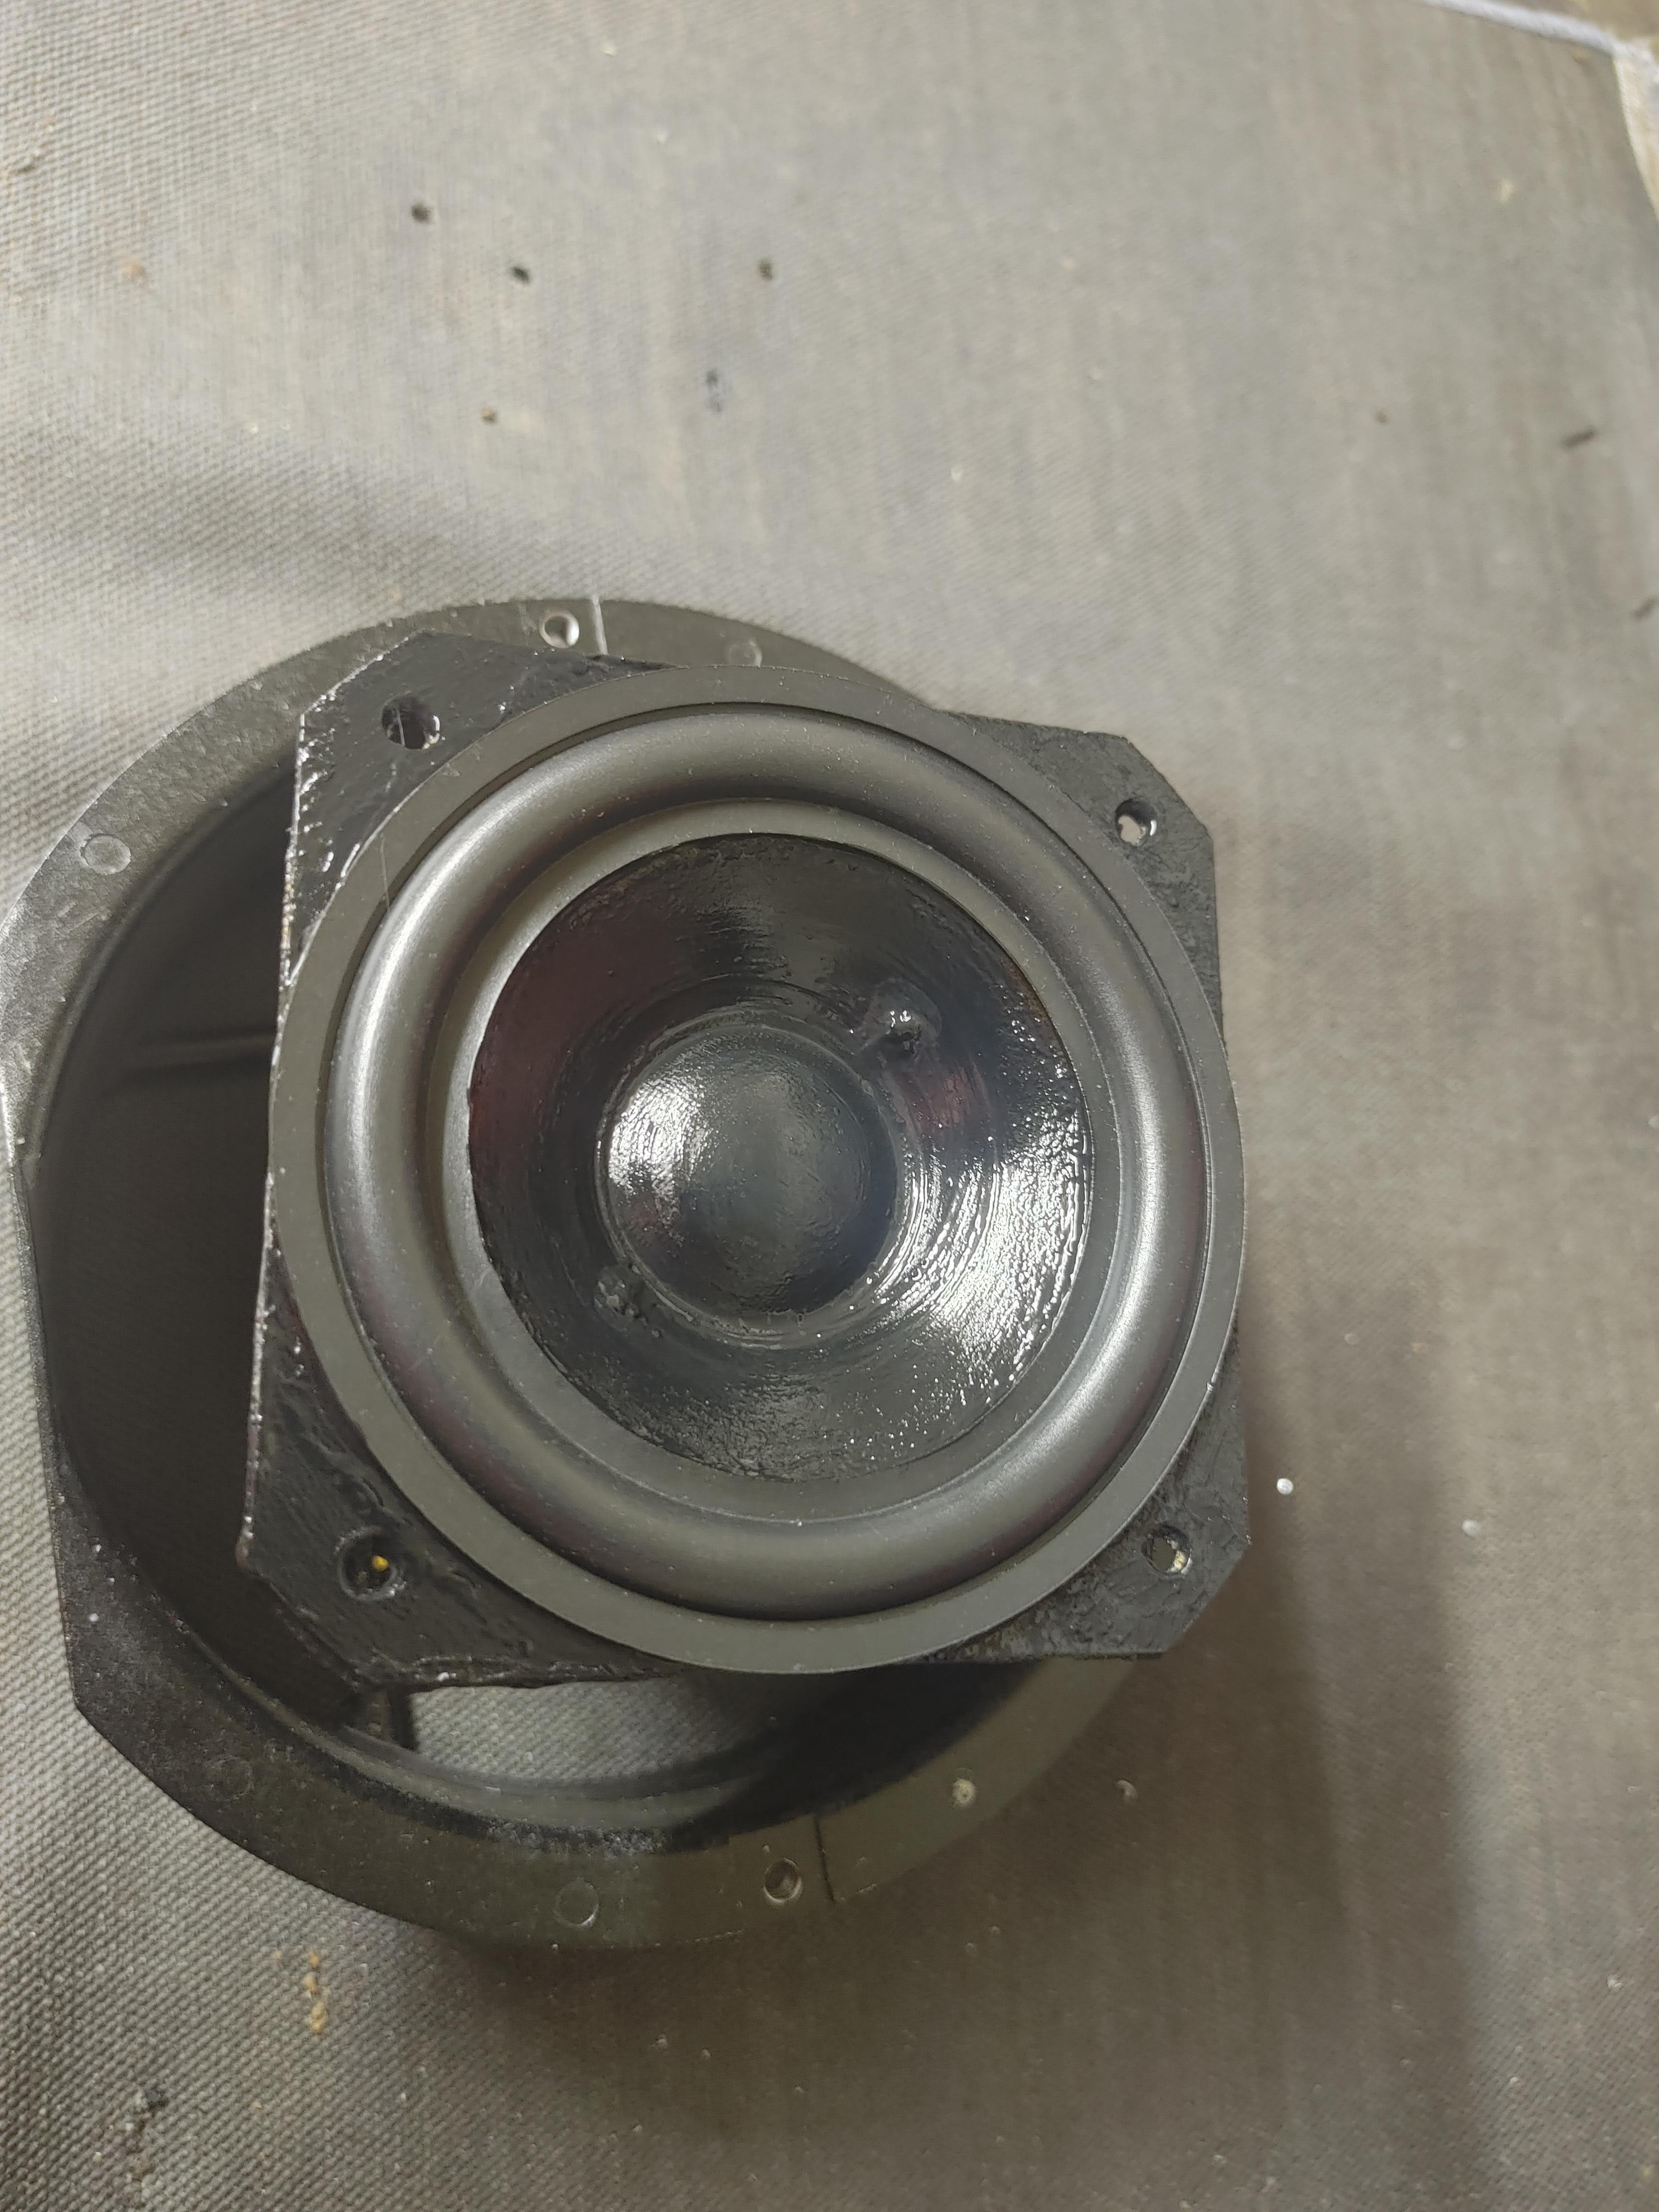
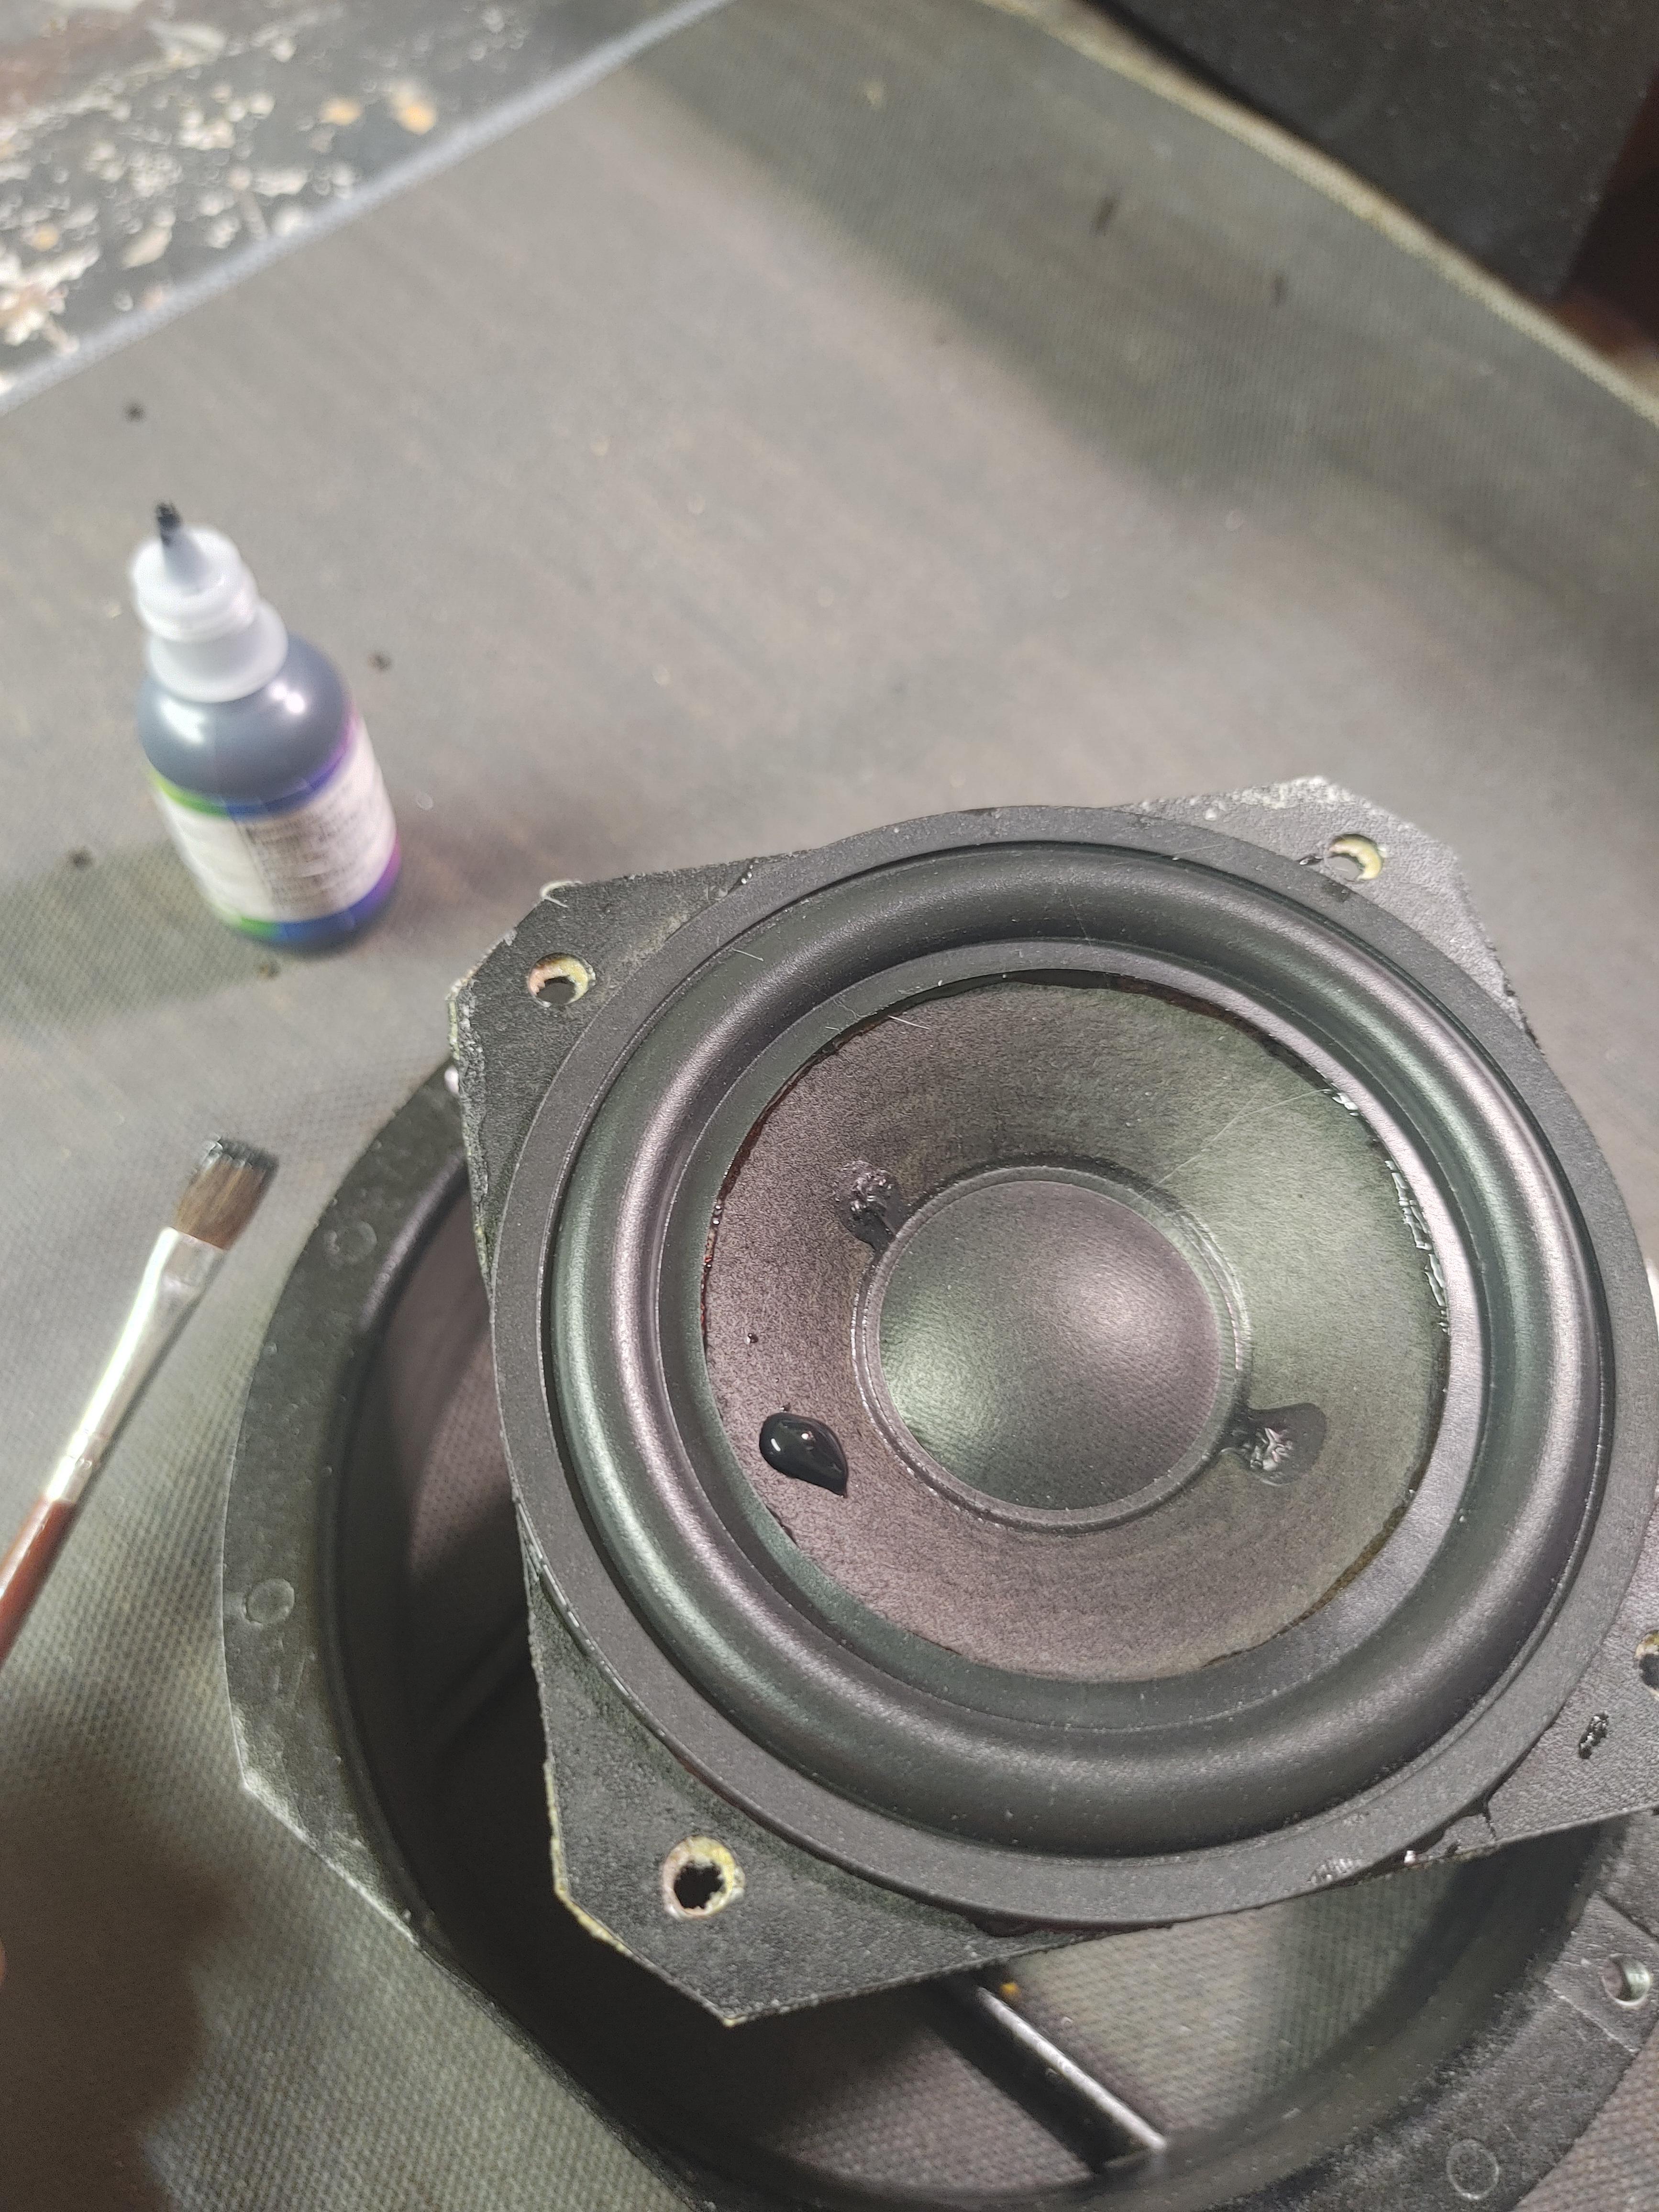
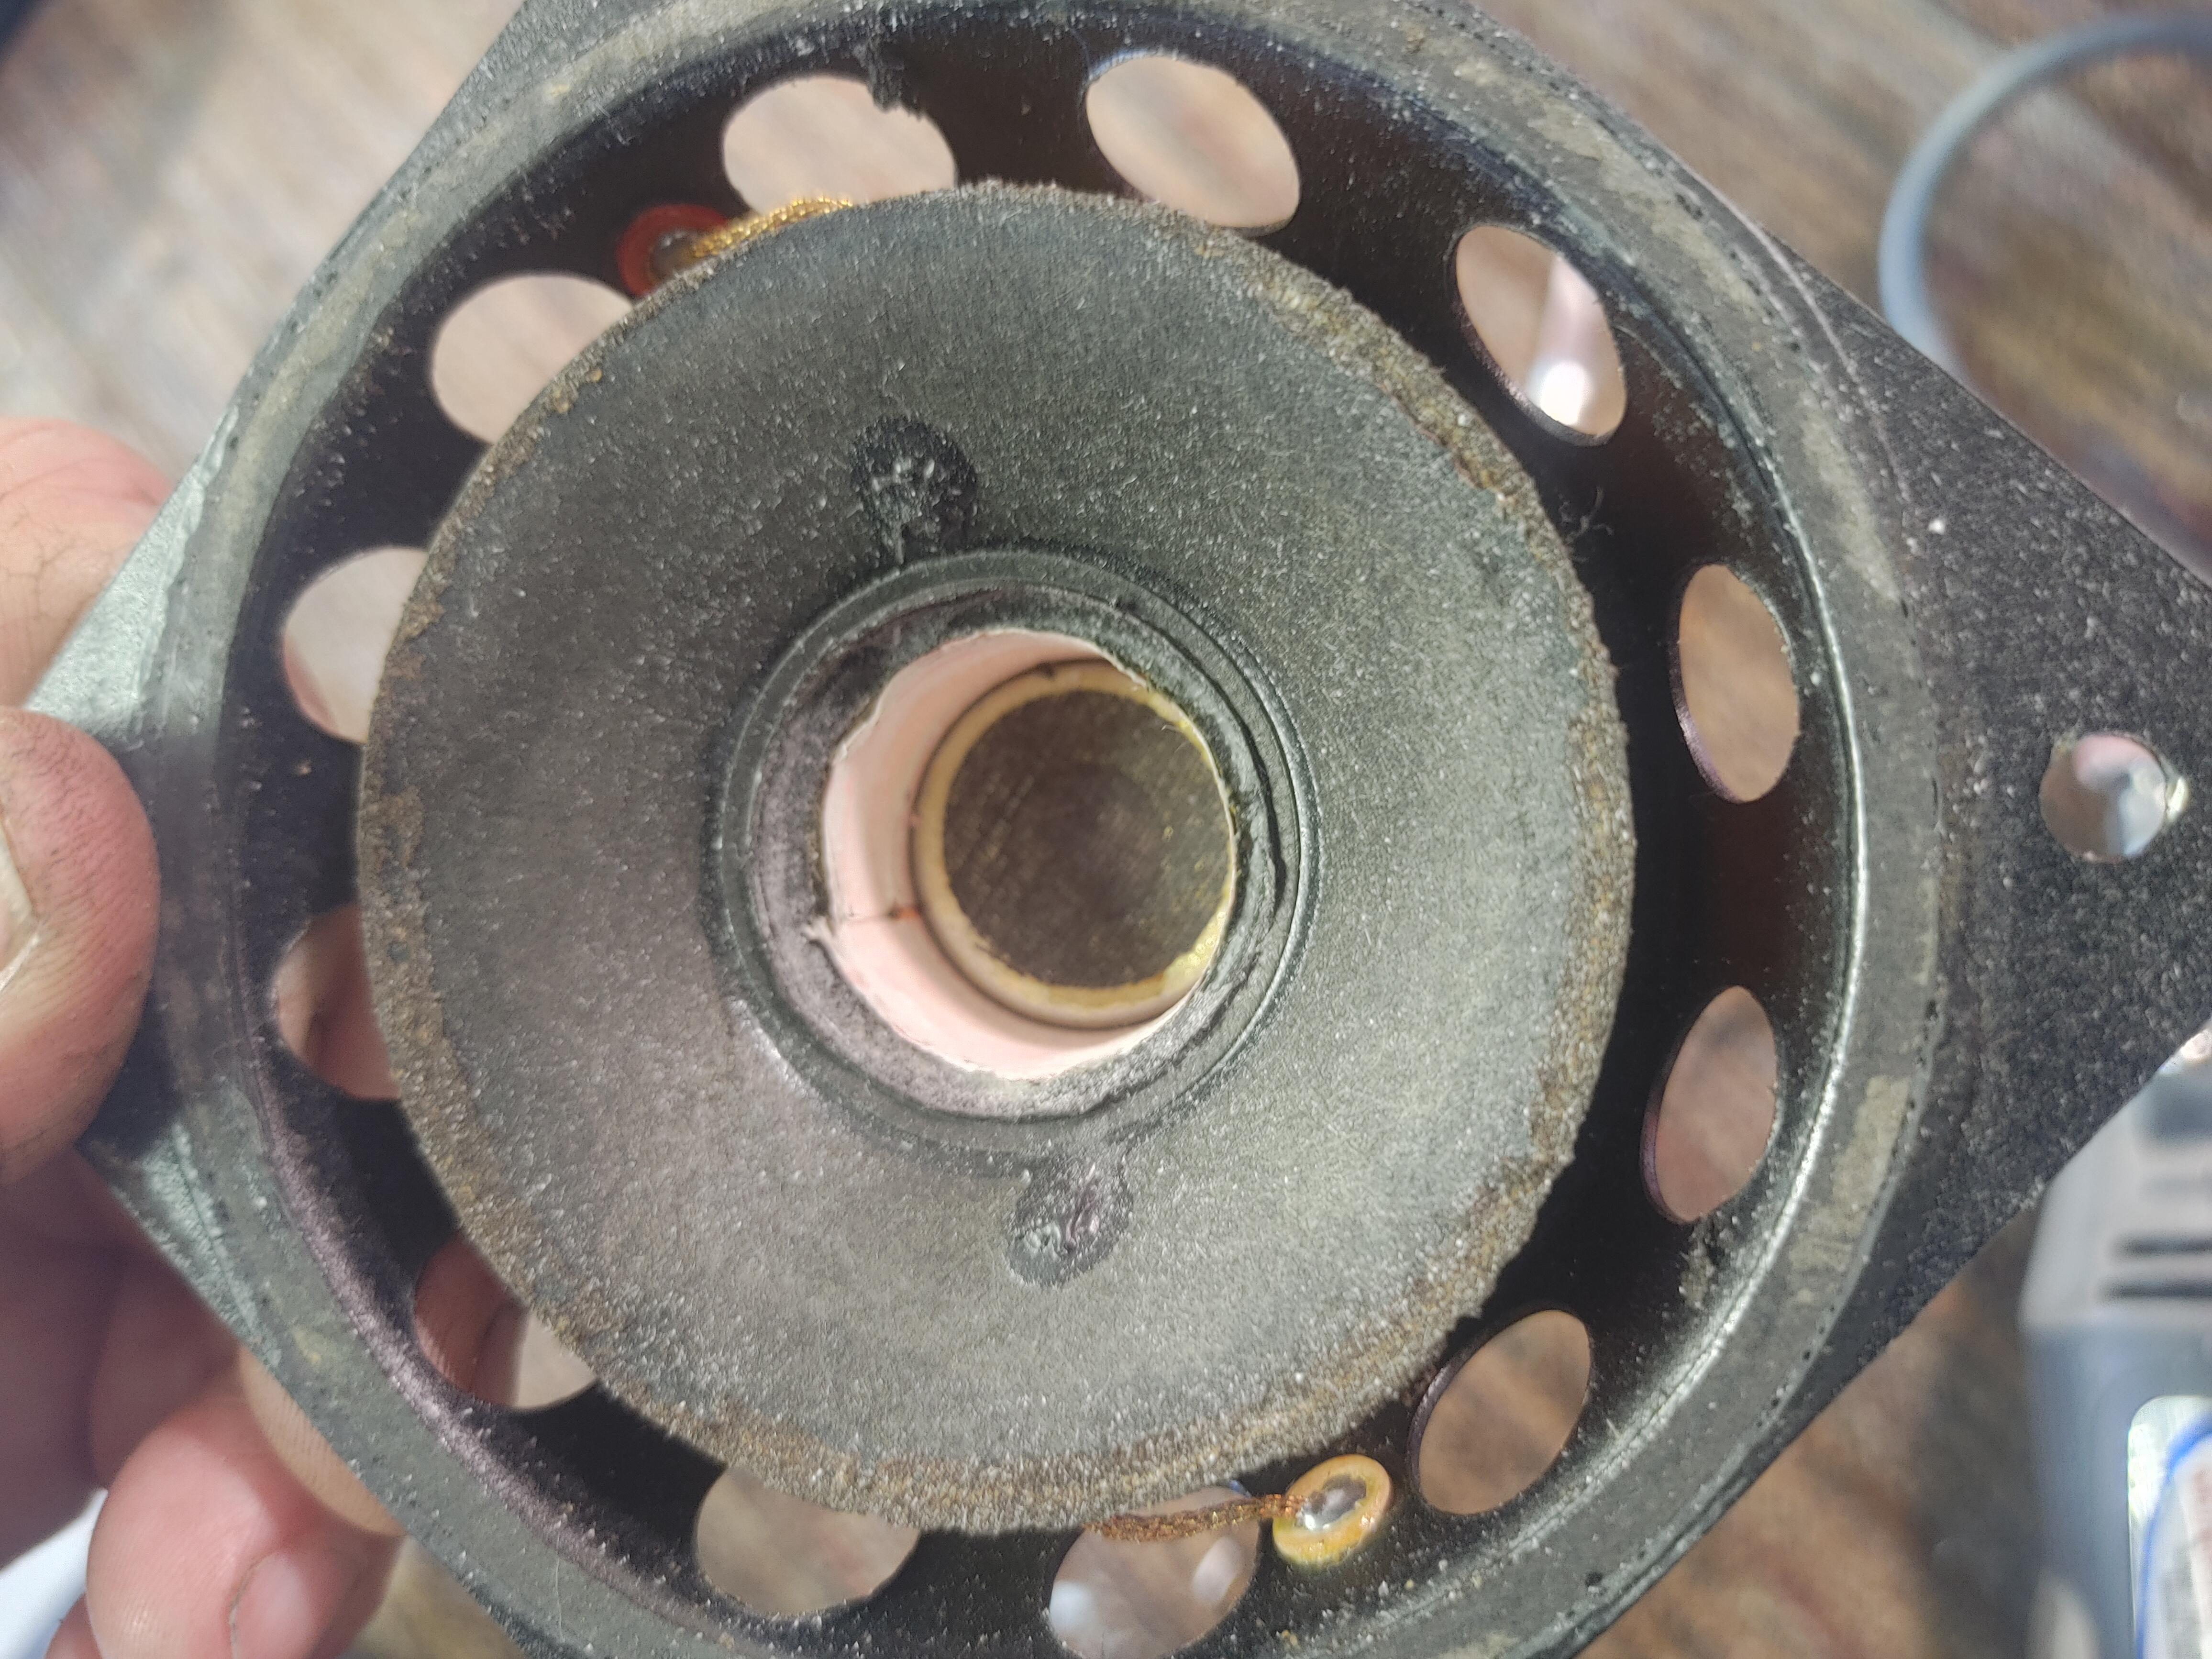
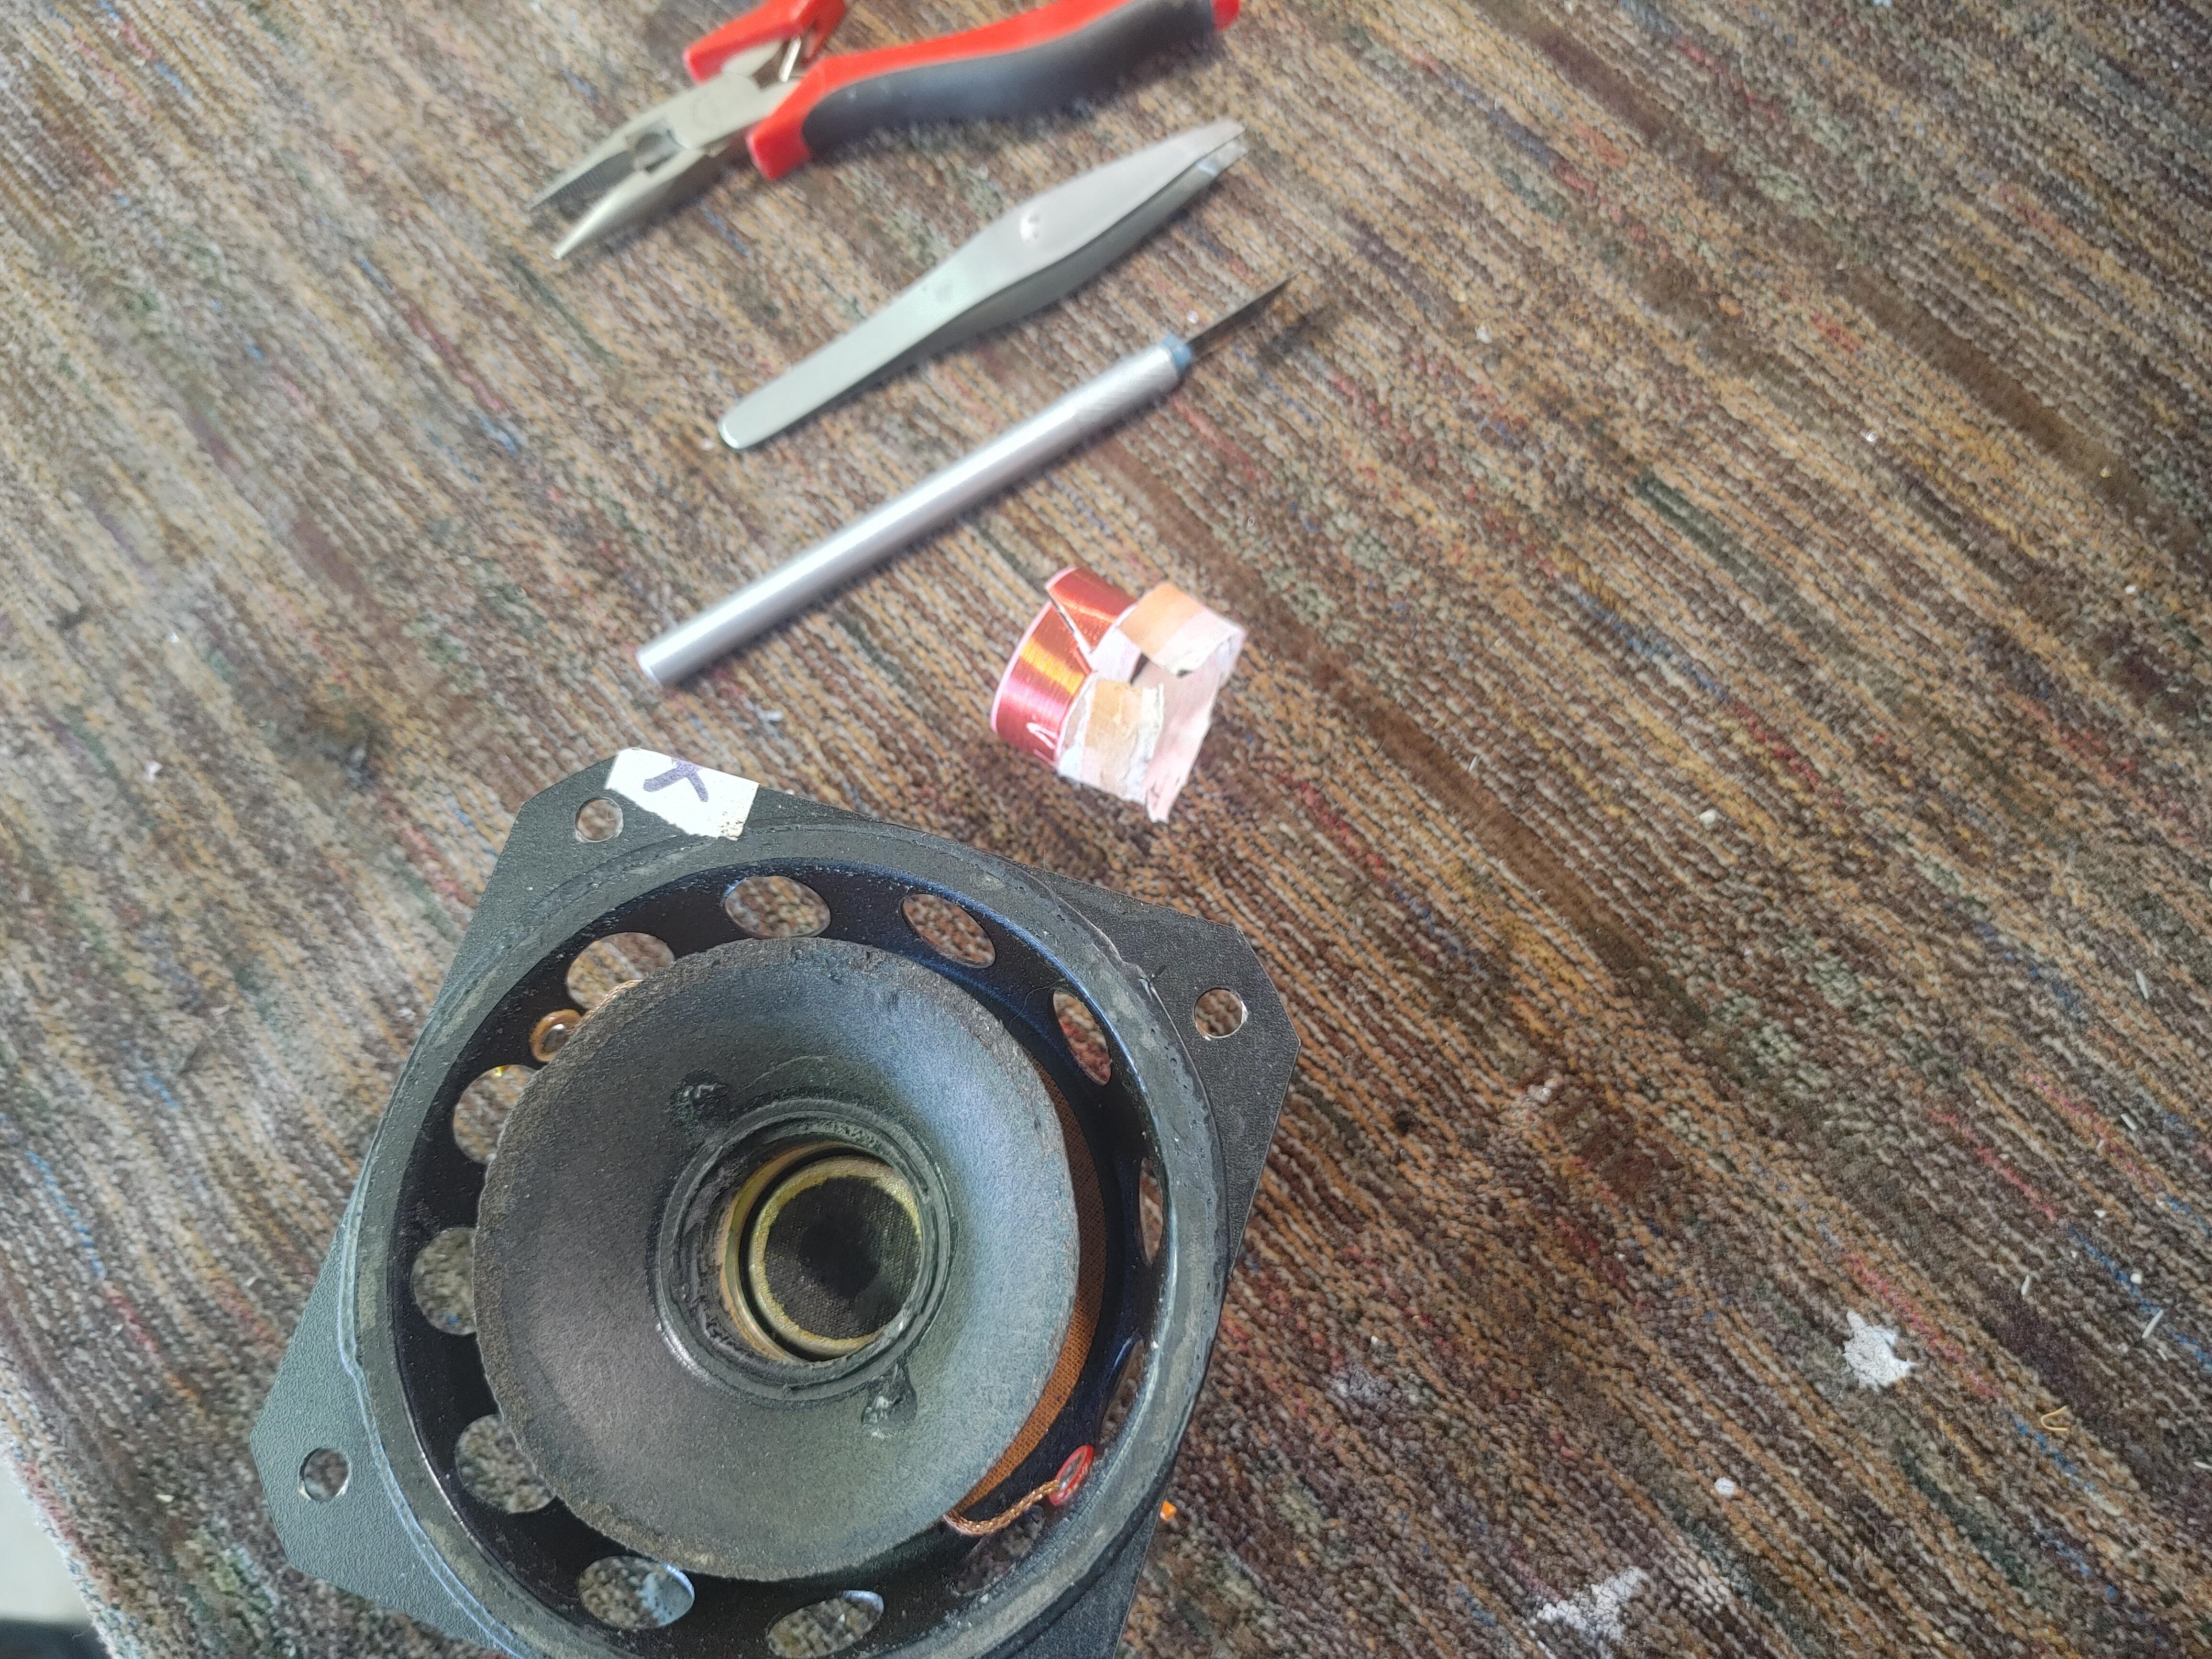
BRONZE MemberI foamed (1/8″ thick open-cell) the inner frames and applied 2 layers of thick polyurethane adhesive to the outer frame baskets first thing after removing old rotten foam from cones with mineral spirits. I protected the rear cones with a curled strip of bubble-wrap, and terminals with electric wire nuts. I also made fiber-cloth reinforced rubber gaskets and glued directly to frames, rubber side facing towards cabinet openings for positive driver sealing. After polyurethane, foam glue and new frame gaskets dried, I glued the inner cone perimeter and attached new butyl surrounds there first.
2 March 2024 at 01:08 #53122xschop
BRONZE MemberAfter new surround is glued and dried to basket frame flange, I use just a drop off black latex paint to dampen the cones and dust cap. It dries to a miniscule added weight and rejuvenates the dried paper cones as well. I go ahead and black out the frame edges too while I’m at it….
2 March 2024 at 04:57 #53123Great progress! I would measure the woofers as the doped cones will likely change the parameters causing a crossover modification.
2 March 2024 at 15:41 #53124Dillen
ModeratorGreat progress! I would measure the woofers as the doped cones will likely change the parameters causing a crossover modification.
I agree. Even a few grams usually make quite a difference.
– And even more so will the change to rubber surrounds.
I tried it a few times, but when I measured and compared T/S I found them
to be far out compared to the original specs, so I ripped the rubber off
again and changed it back to foam. After a few hours playing time, allowing
the new foam to losen up a bit, everything was spot on, back where it belongs.
I never used rubber again, where foam was used originally.But of course it can be done if you really MUST have rubber.
A compensation for the lack of cabinet volume
needed to satisfy the T/S with rubber (I seem to remember them requiring
8-10 liters) could perhaps be made by introducing a filler driver of some sort, though
driving it right phase-wise could be quite a task and would almost
definitely require a bit of signal processing – not least because it would
almost definitely need to be rear-facing due to lack of front area.
A passive radiator would require a too large area to have any effect, – far
more than what is available – as would surely a bass reflex system,
– and we must not forget that if both the midrange and woofer drivers
are changed to rubber surrounds, both will need compensating, and
not necessarily in the same way.
But why? – When you can just fit foam.I am looking forward to seeing the frequency response and new filter calculations.
Martin
11 March 2024 at 13:42 #53125xschop
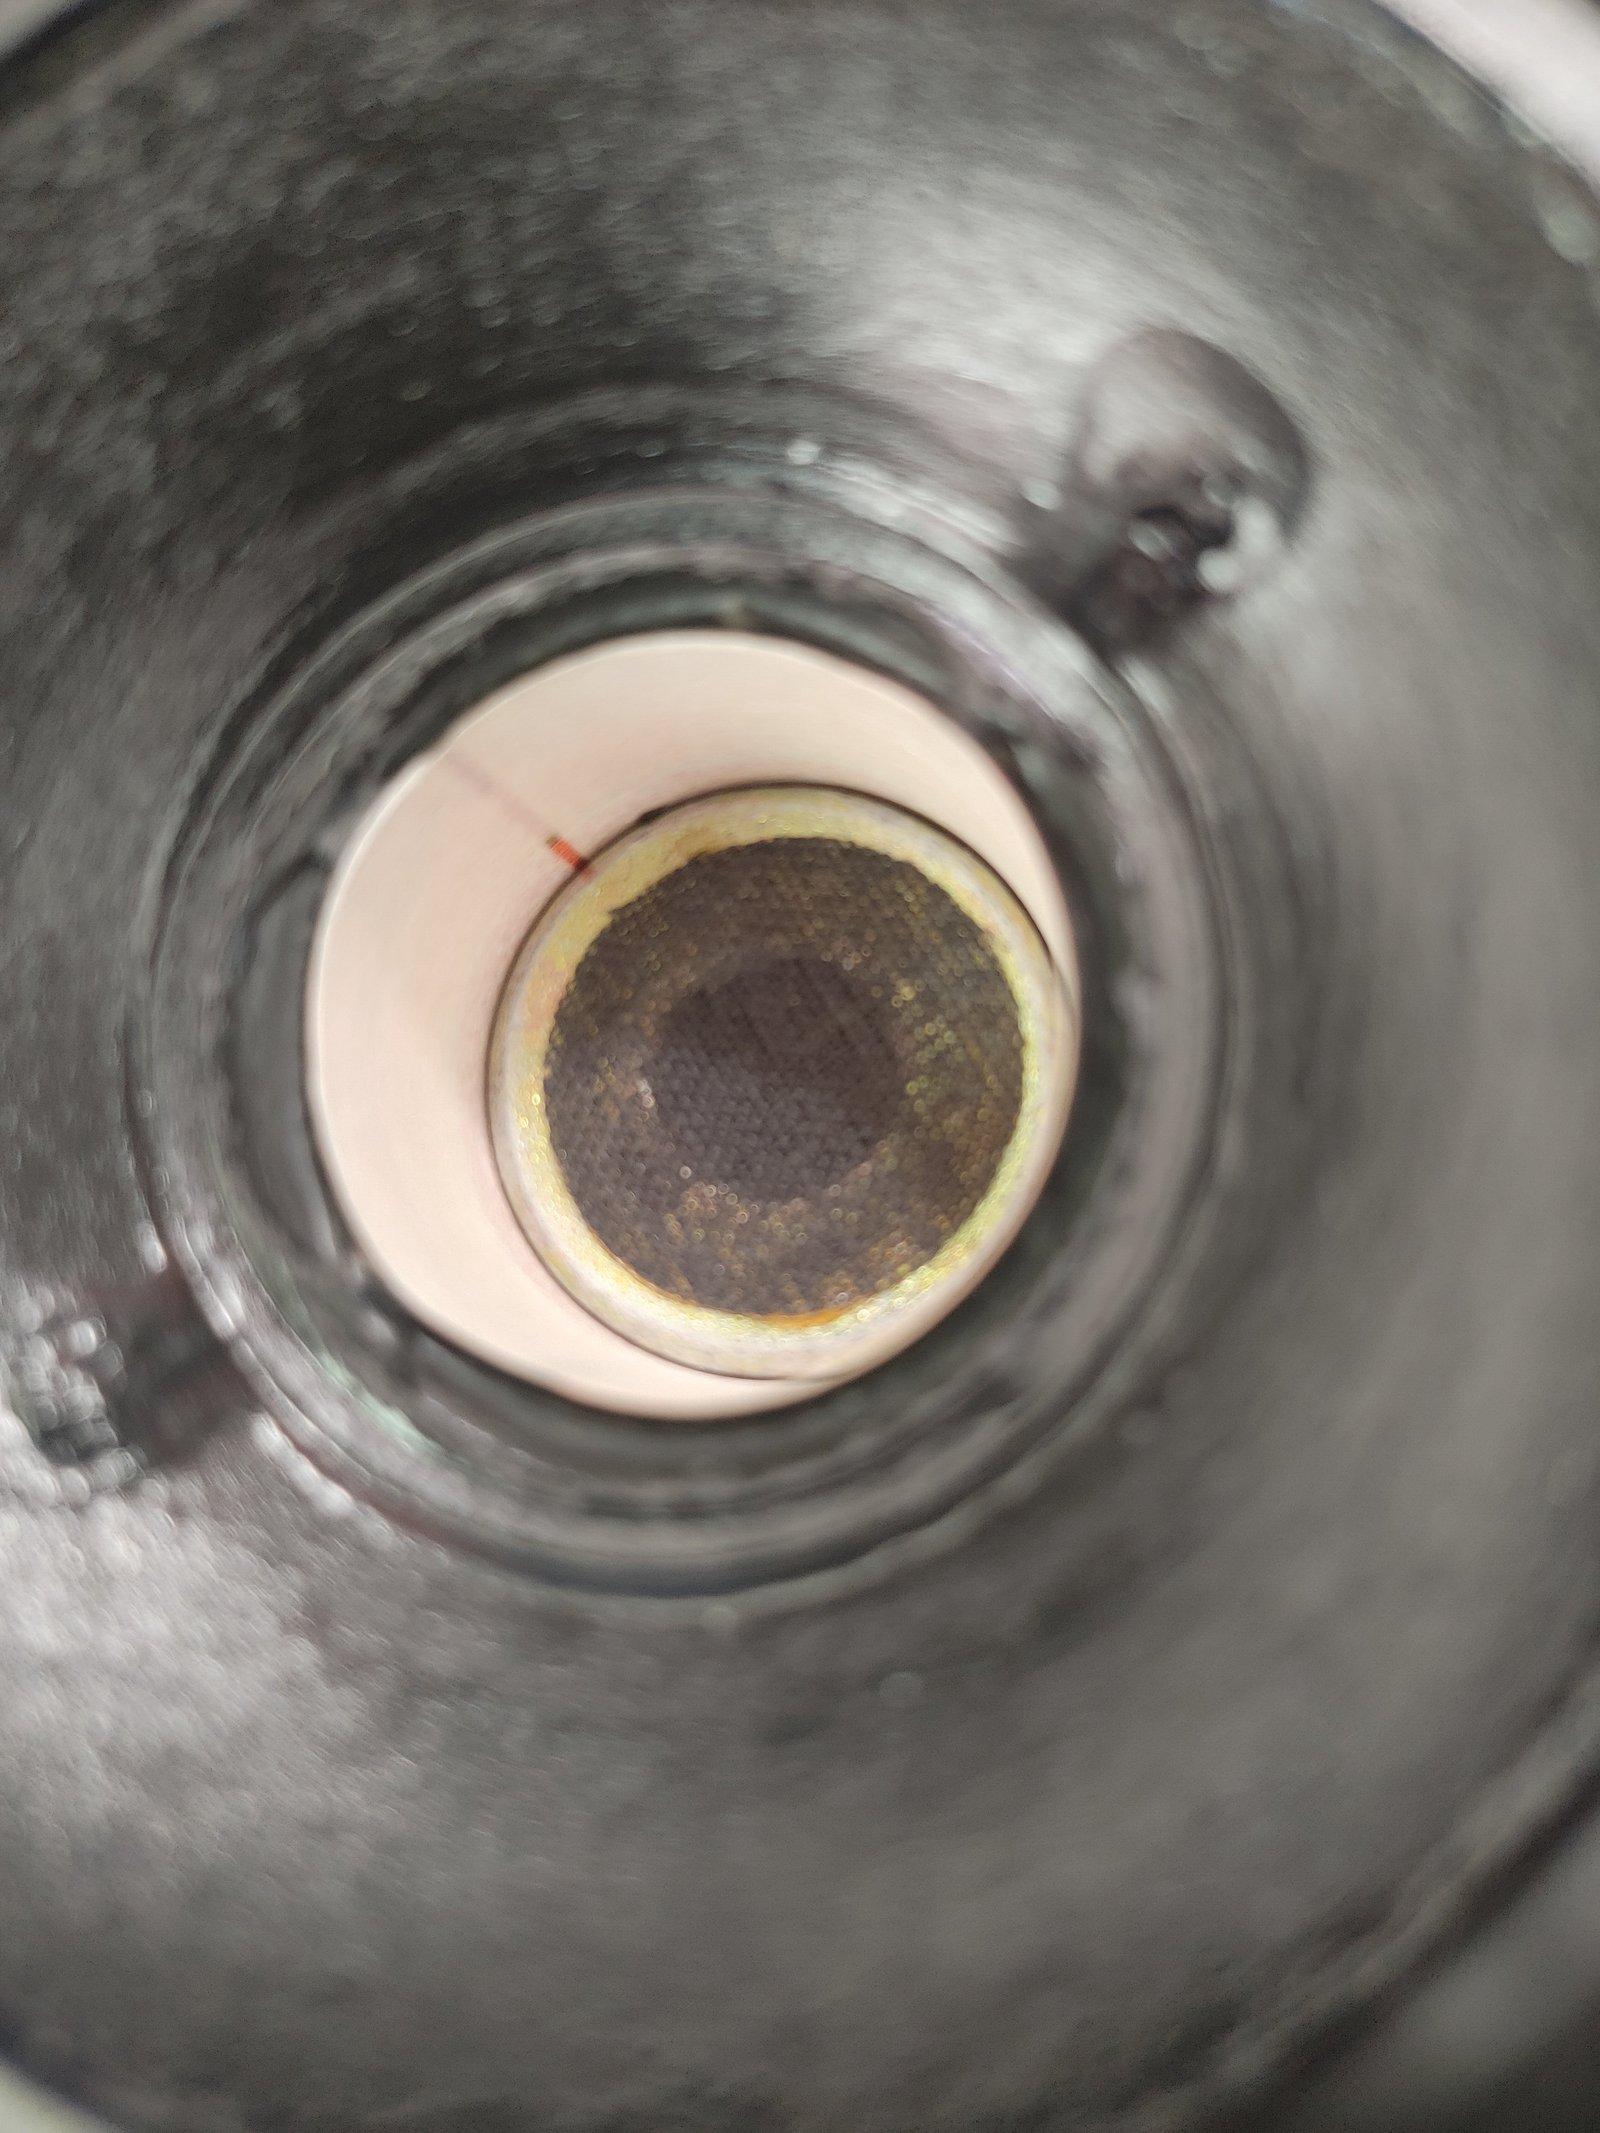
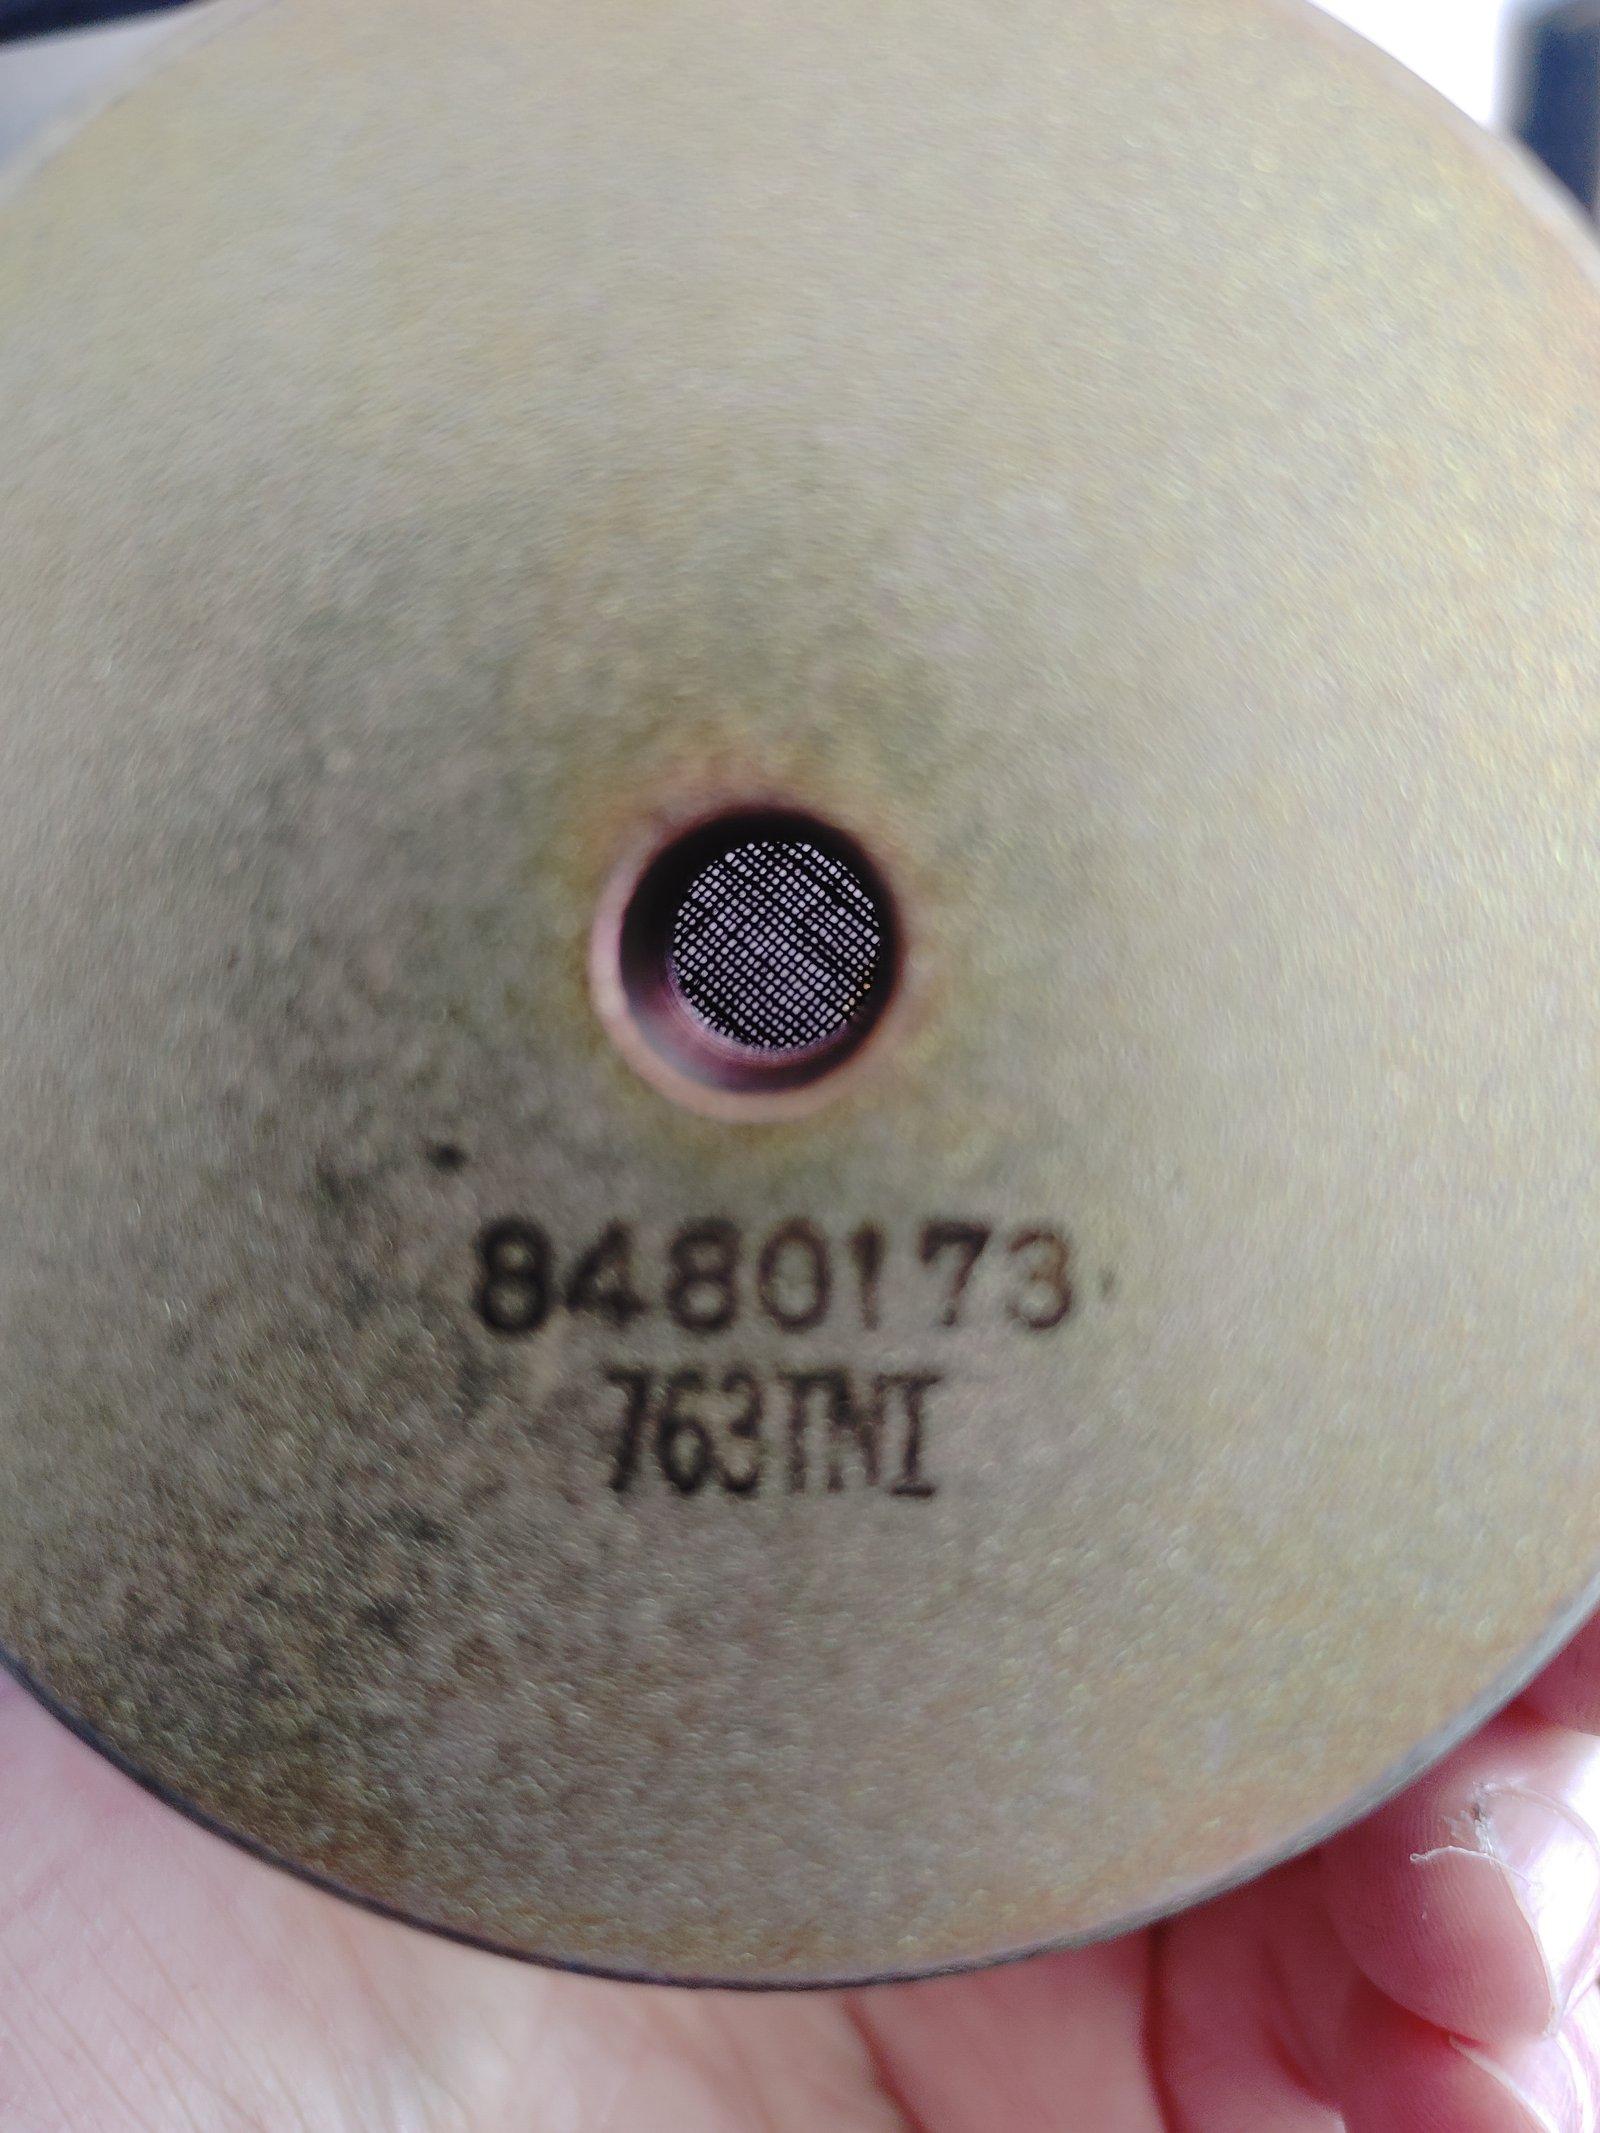
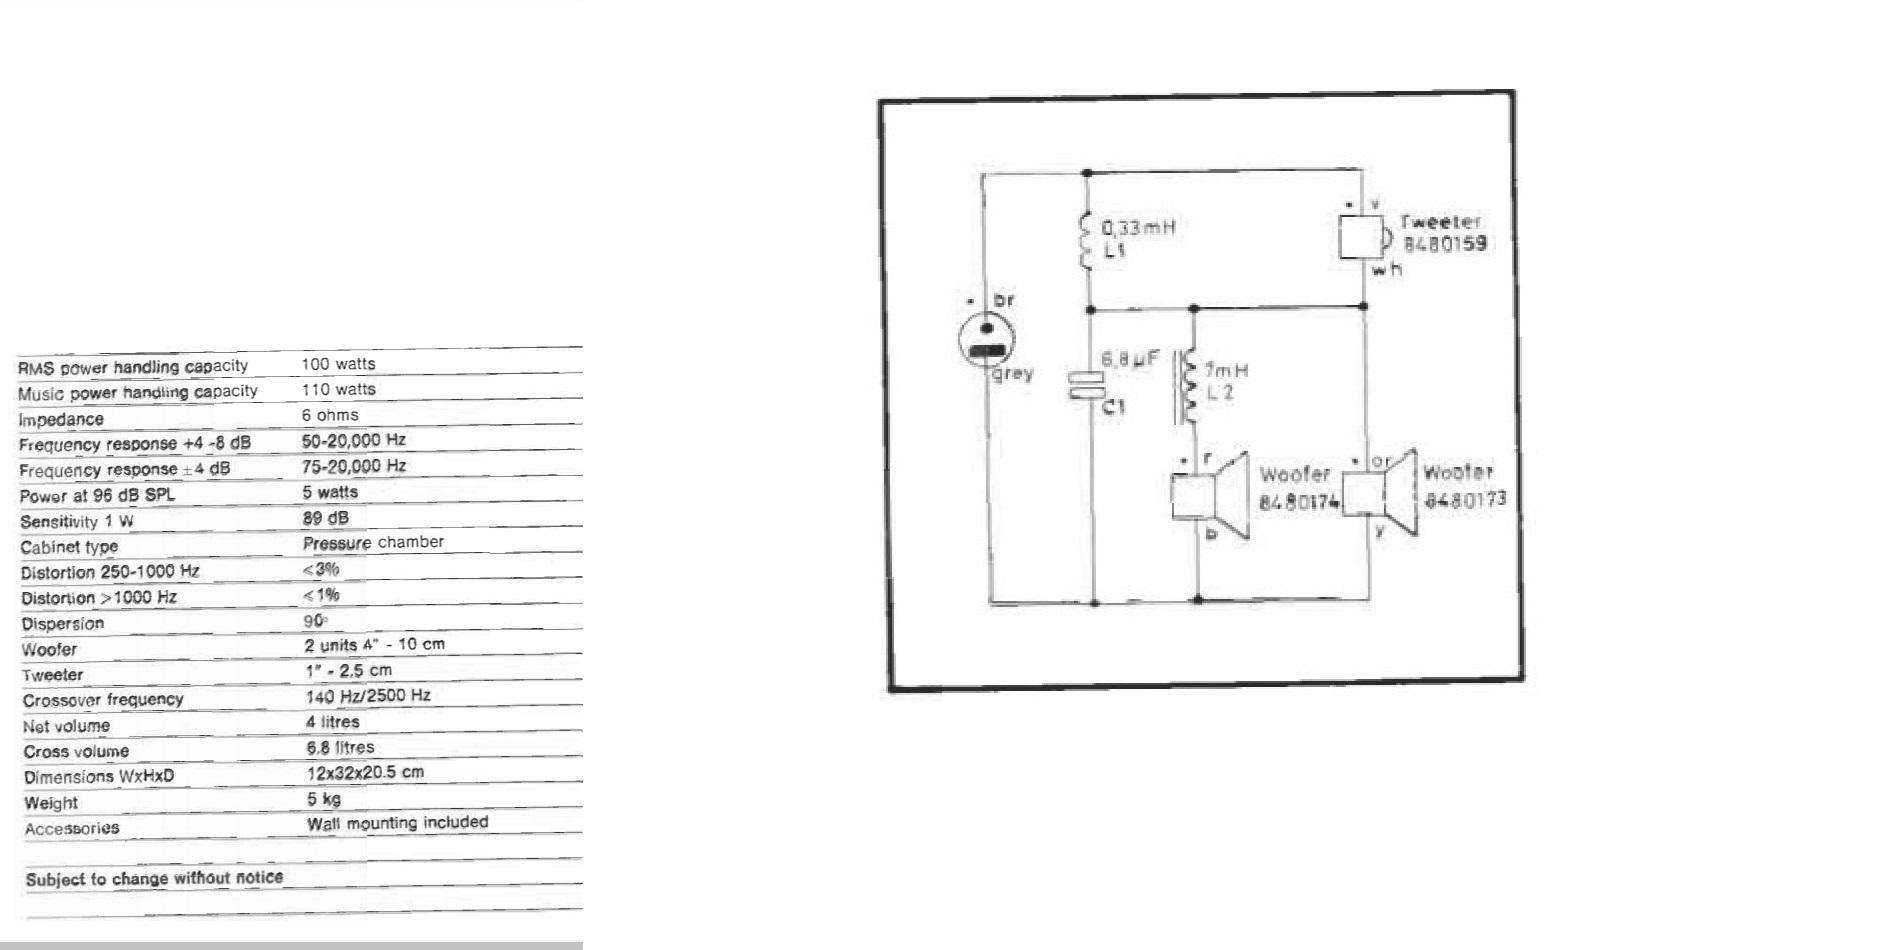
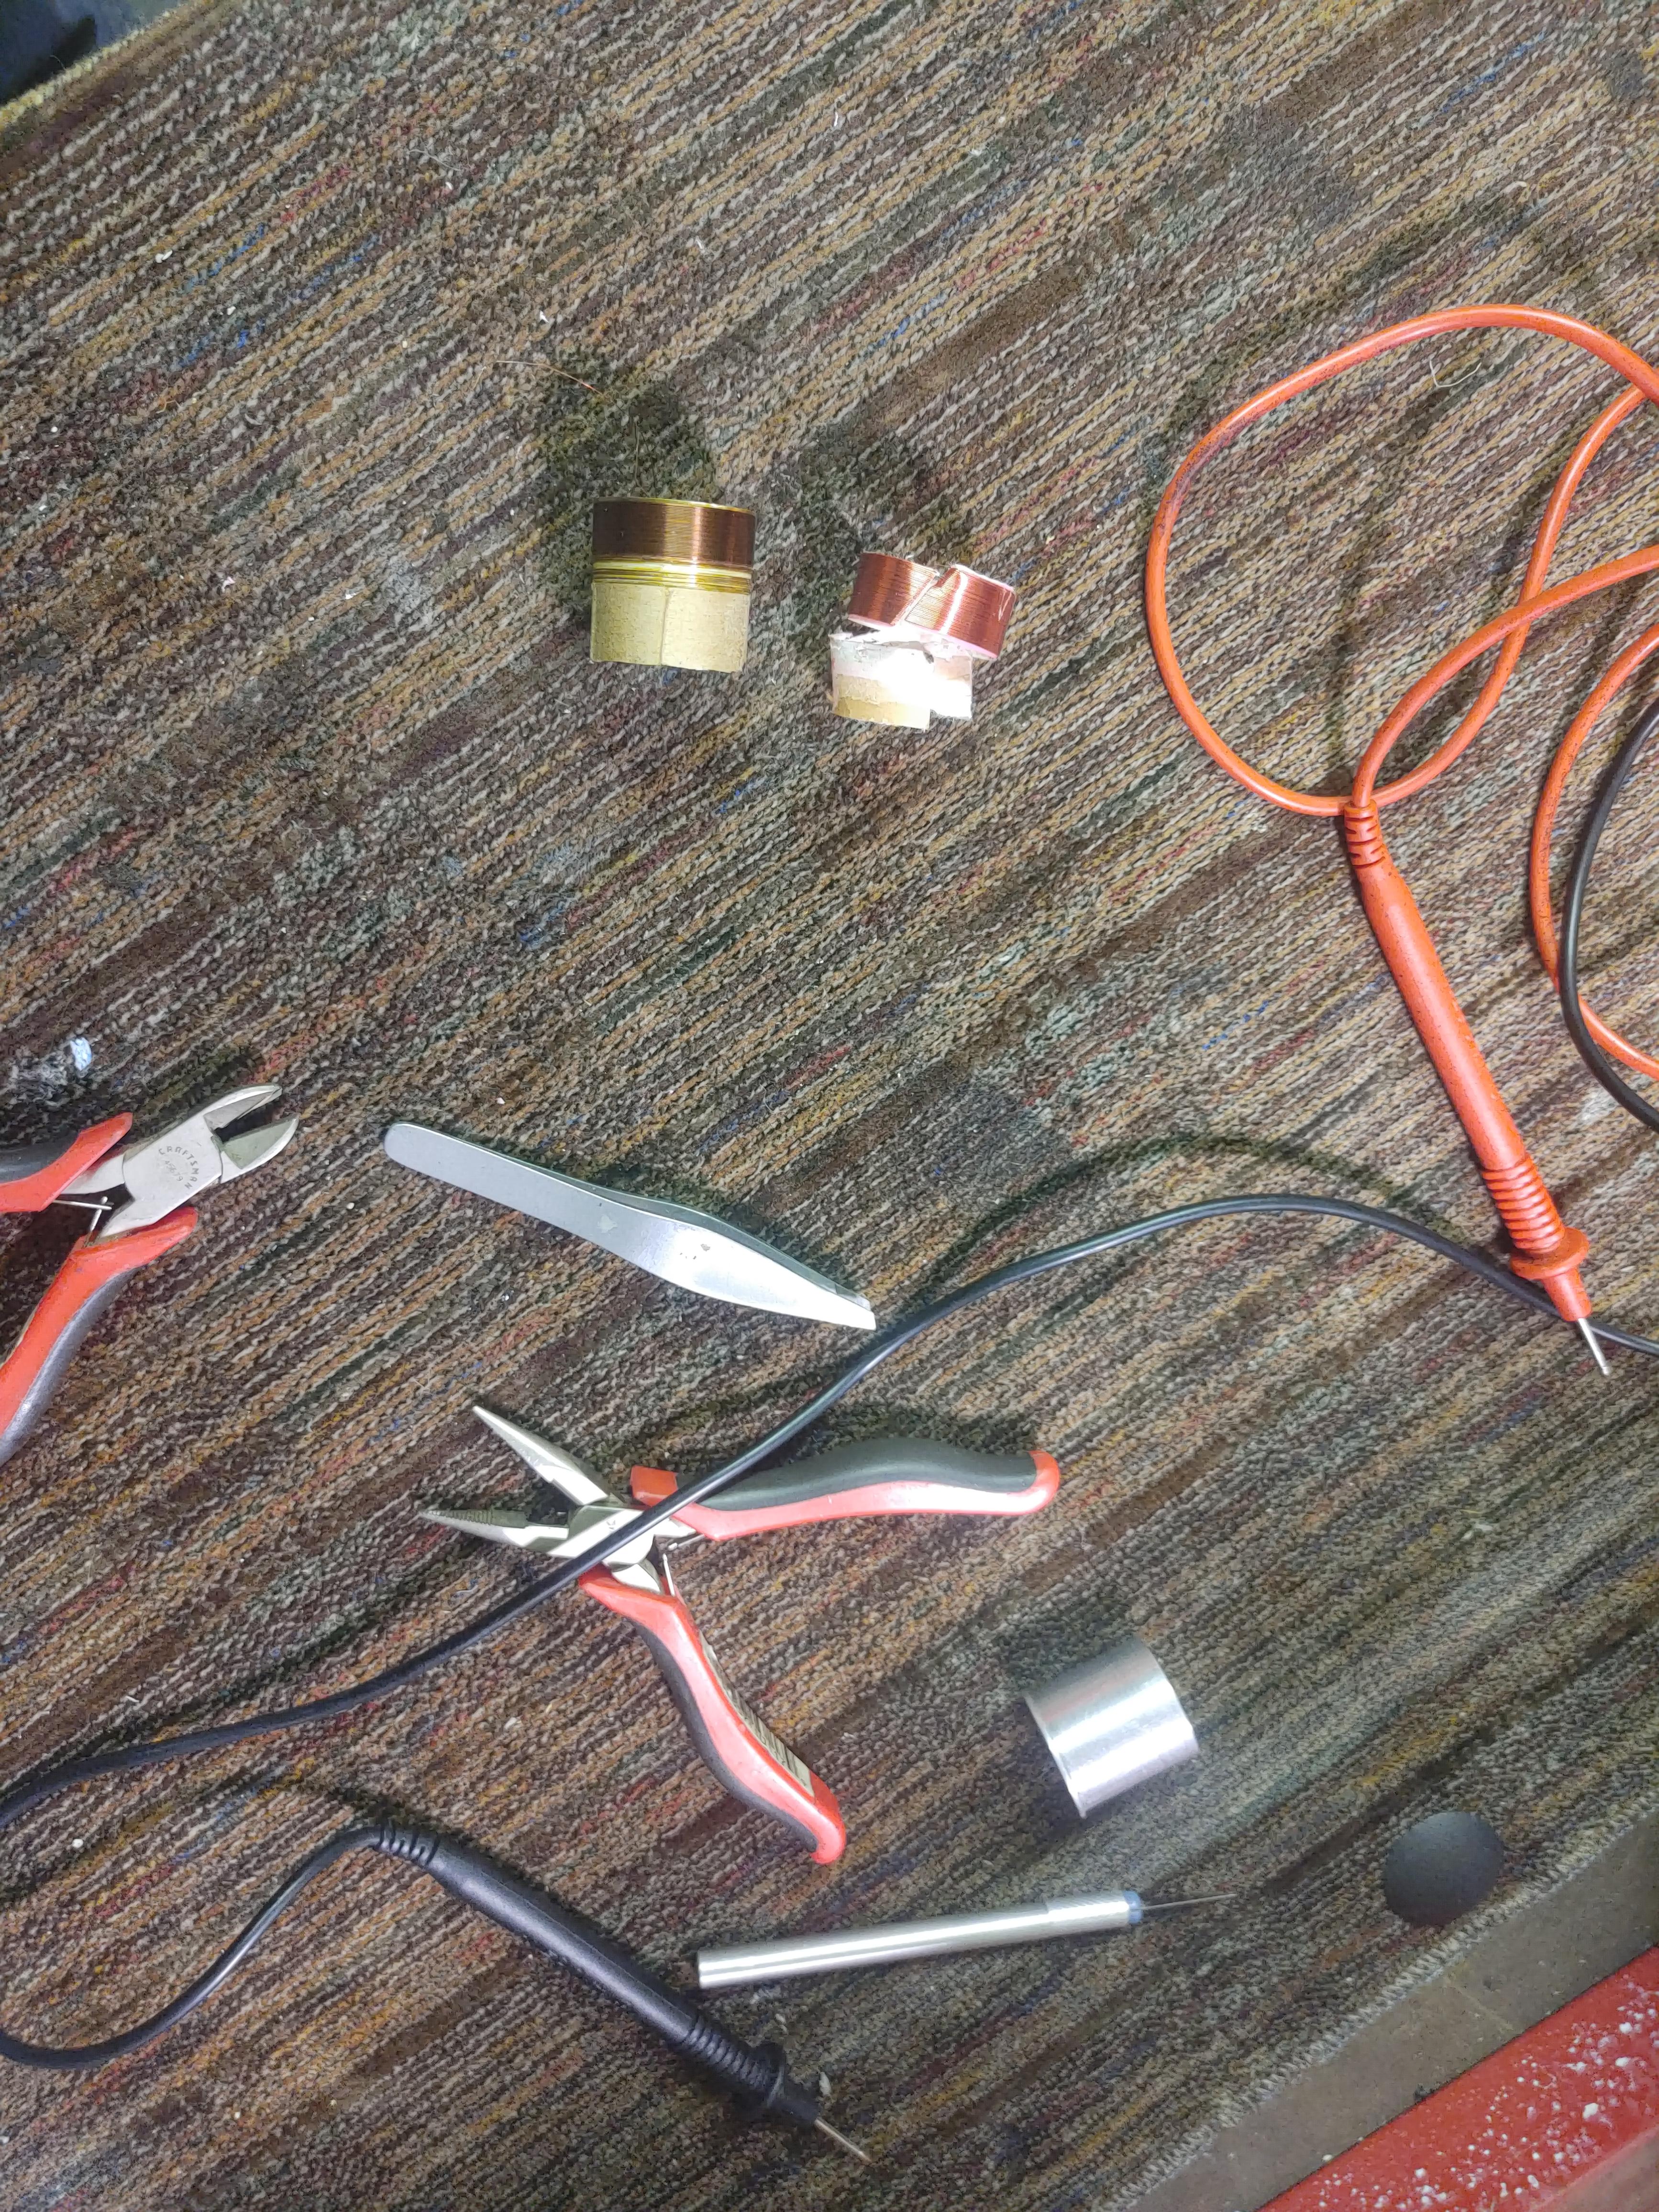
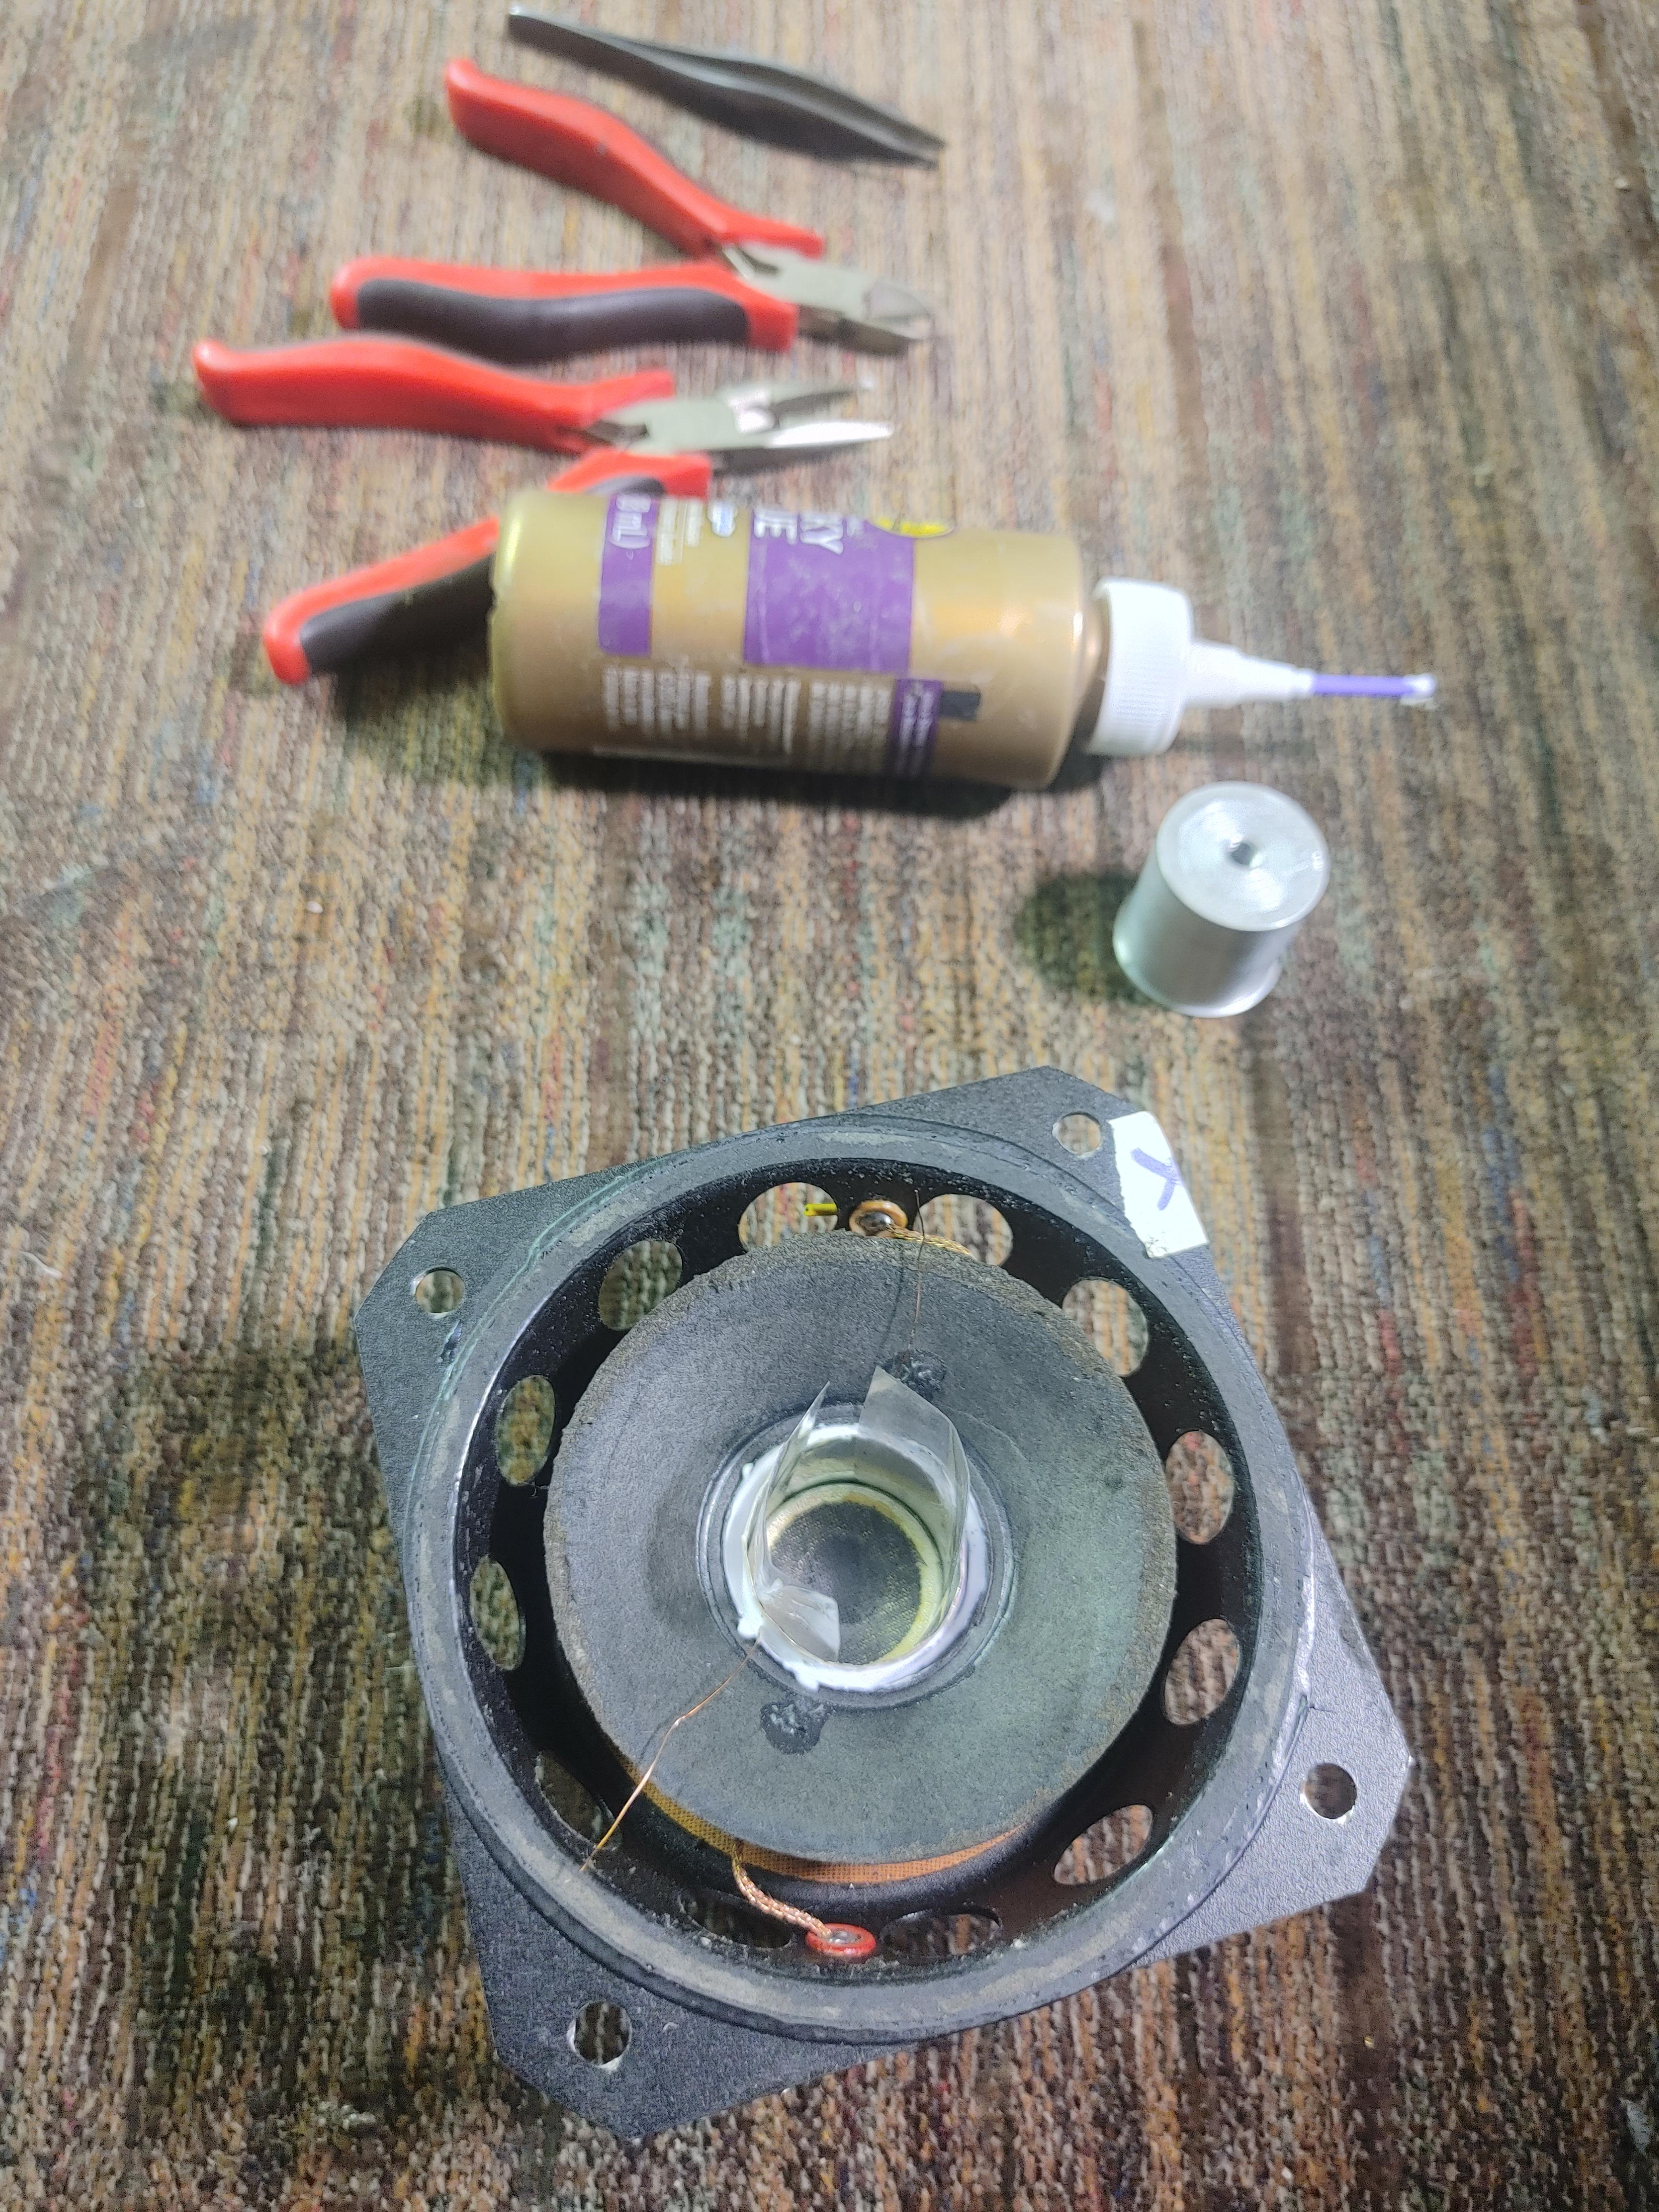
BRONZE MemberAgain, I removed more mass from the moving dust cap than what was added from the thin layer of dried latex (for cone damping). The speed increase of the lighter moving cone translates to better transients. Here’s what B&O did to ameliorate the resonance of the air chamber created under the hard dust cap of their midrange, which is just the same woofer, just modified pole-piece. A phase-plug would have also solved that problem, as well as fix any center cone signal cancellations…
11 March 2024 at 17:42 #53126Dillen
Moderator…Here’s what B&O did to ameliorate the resonance of the air chamber created under the hard dust cap of their midrange, which is just the same woofer, just modified pole-piece.
The driver with the ventilated magnet is not a midrange!
Both drivers were custom produced to each their specific jobs here.
Personally, I don’t believe much of it before I see some form of documentation.
No, you cannot just listen. – You can measure much more than you can hear.
If you sat down and took some readings, you will see that
the midrange and woofer drivers have quite unique T/S parameters, and you would also see that those parameters go out the door, when you fit rubber surrounds.
It’s a fact. It can be measured and calculated – but most people will actually be able to hear that something is out of normal.
Look at a scope, enlarge waveforms, analyze distortion and its source.
And that comes based on decades of experience with all matters B&O audio
and lots of speaker experiments, measurements and whatnots.
All facts.And – as a moderator – I have also been weeding out posts that went into audiophoolery.
Beoworld forum is not for buying or selling snake-oil.Why don’t you give us the readings, so we can see, that what you are doing are in fact improvements?
Martin
11 March 2024 at 19:10 #53127xschop
BRONZE MemberIf the driver with the hole in it is NOT the midrange, then B&0 factory installed both my CX100’s backwards and got the wiring WRONG….
I’m only going by ears for the sound improvement. As I stated in another thread that YES INDEED, TS parameters were changed by going from the loose foam to the stiifer rubber. I knew so going in on the first build because it improved midrange performance at the cost of lower frequency SPL. They still went down to @40-50 HZ doing a HZ tone sweep, albeit with lower spl. It was a win-win situation, as I paired them with a passive sub that cuts off @ 200Hz any way. I’ll be doing the same for this set. Just incredible midrange reproduction doing these modifications.
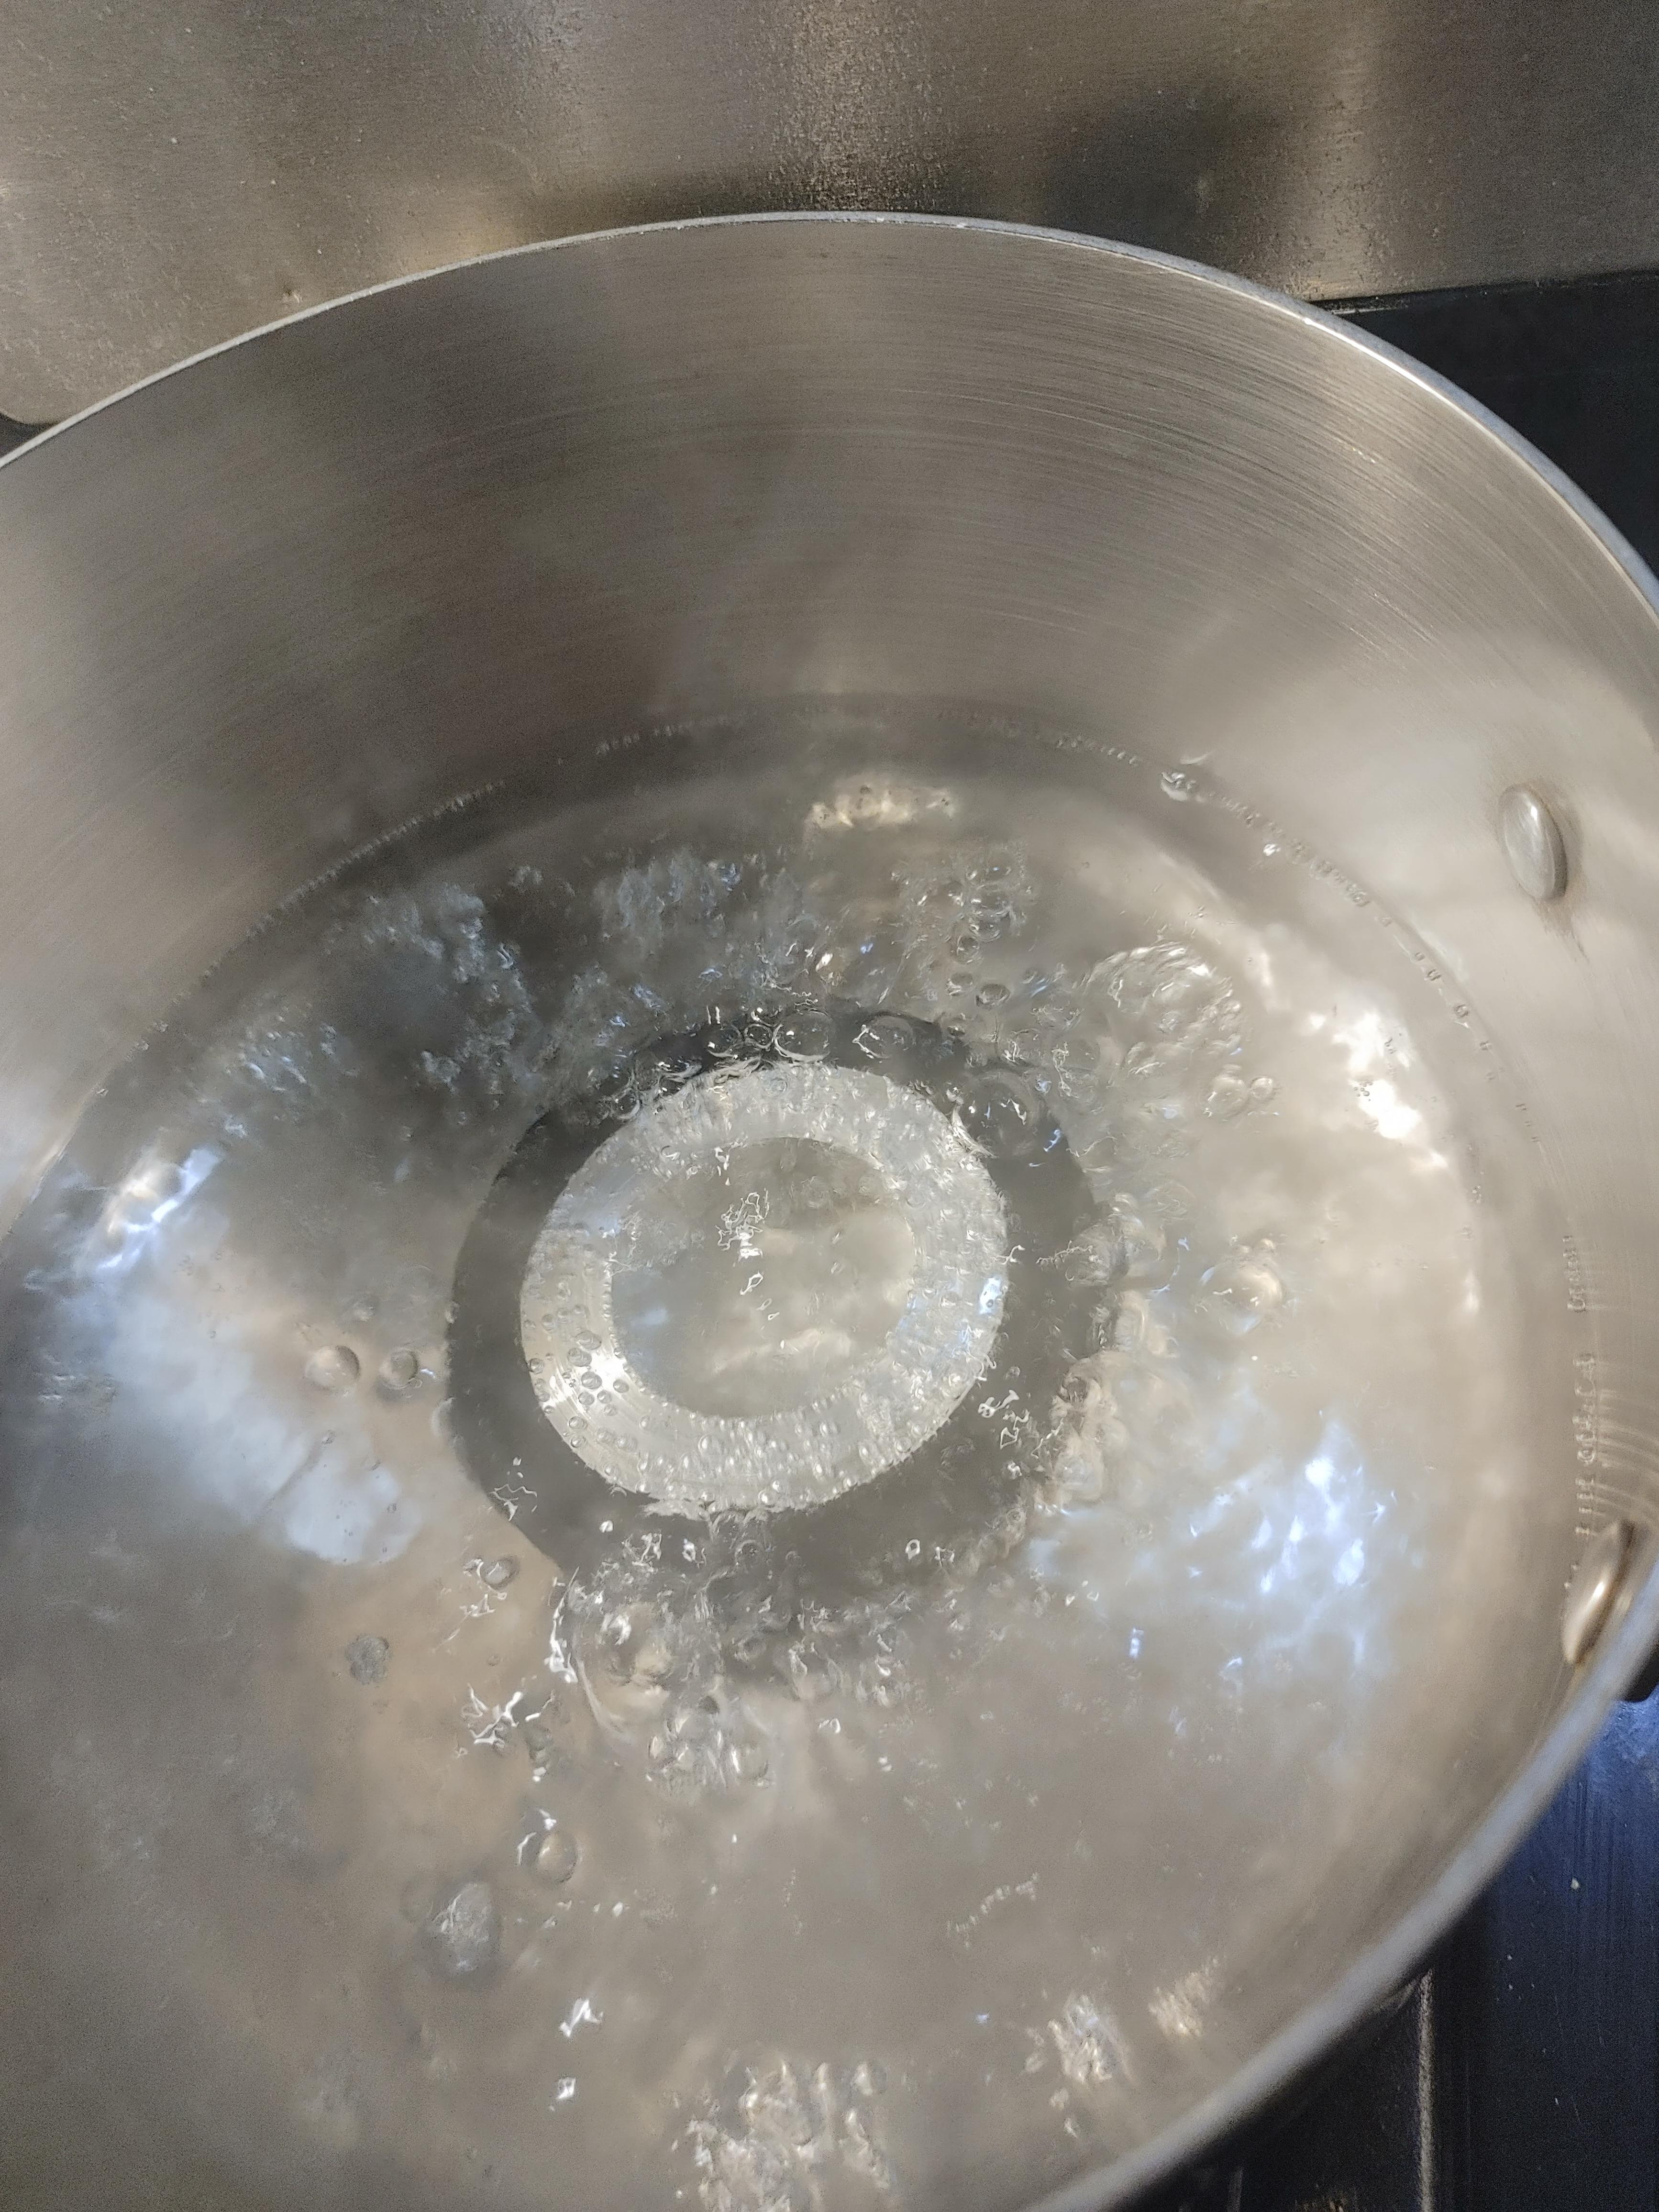
That said, being an experimenter with a biochem degree and many years of industry experience, I loosened these next set of butyl surrounds with a high dilution of methyl salicylate in boiling water for 10min. This was to improve their deformation for cone edge gluing, but indeed also relaxed the butyl rubber nicely…
12 March 2024 at 12:14 #53128xschop
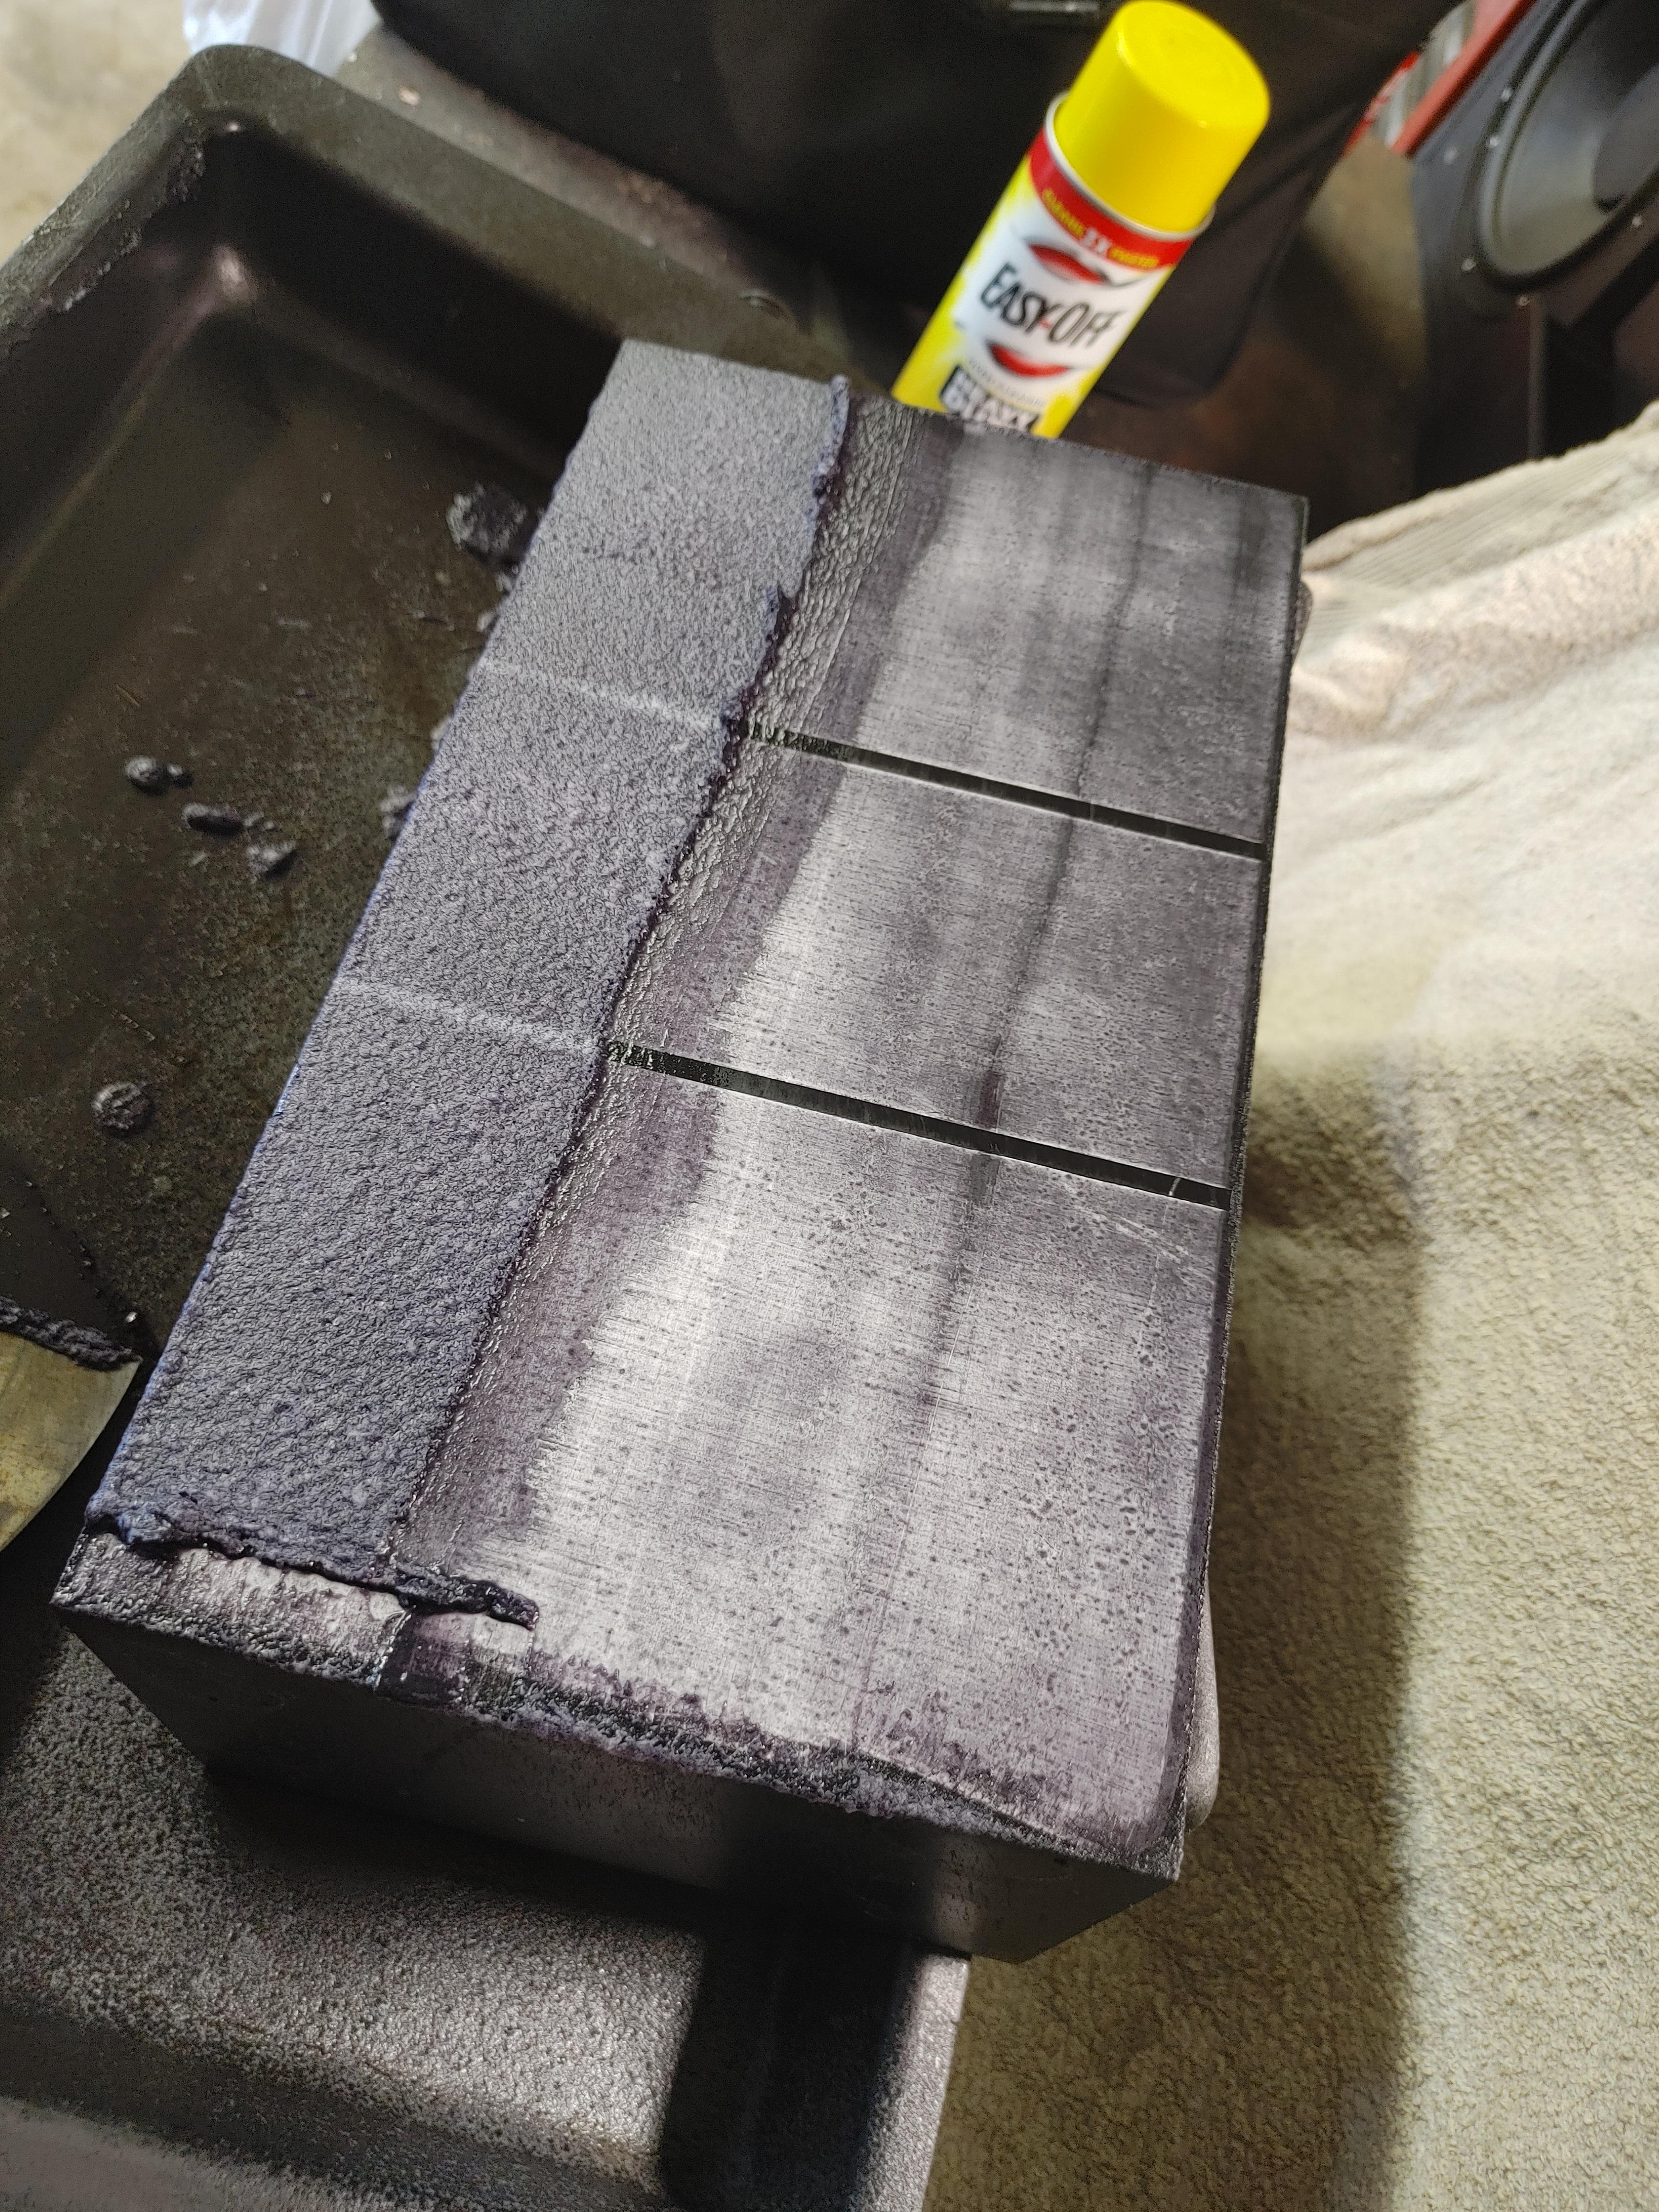
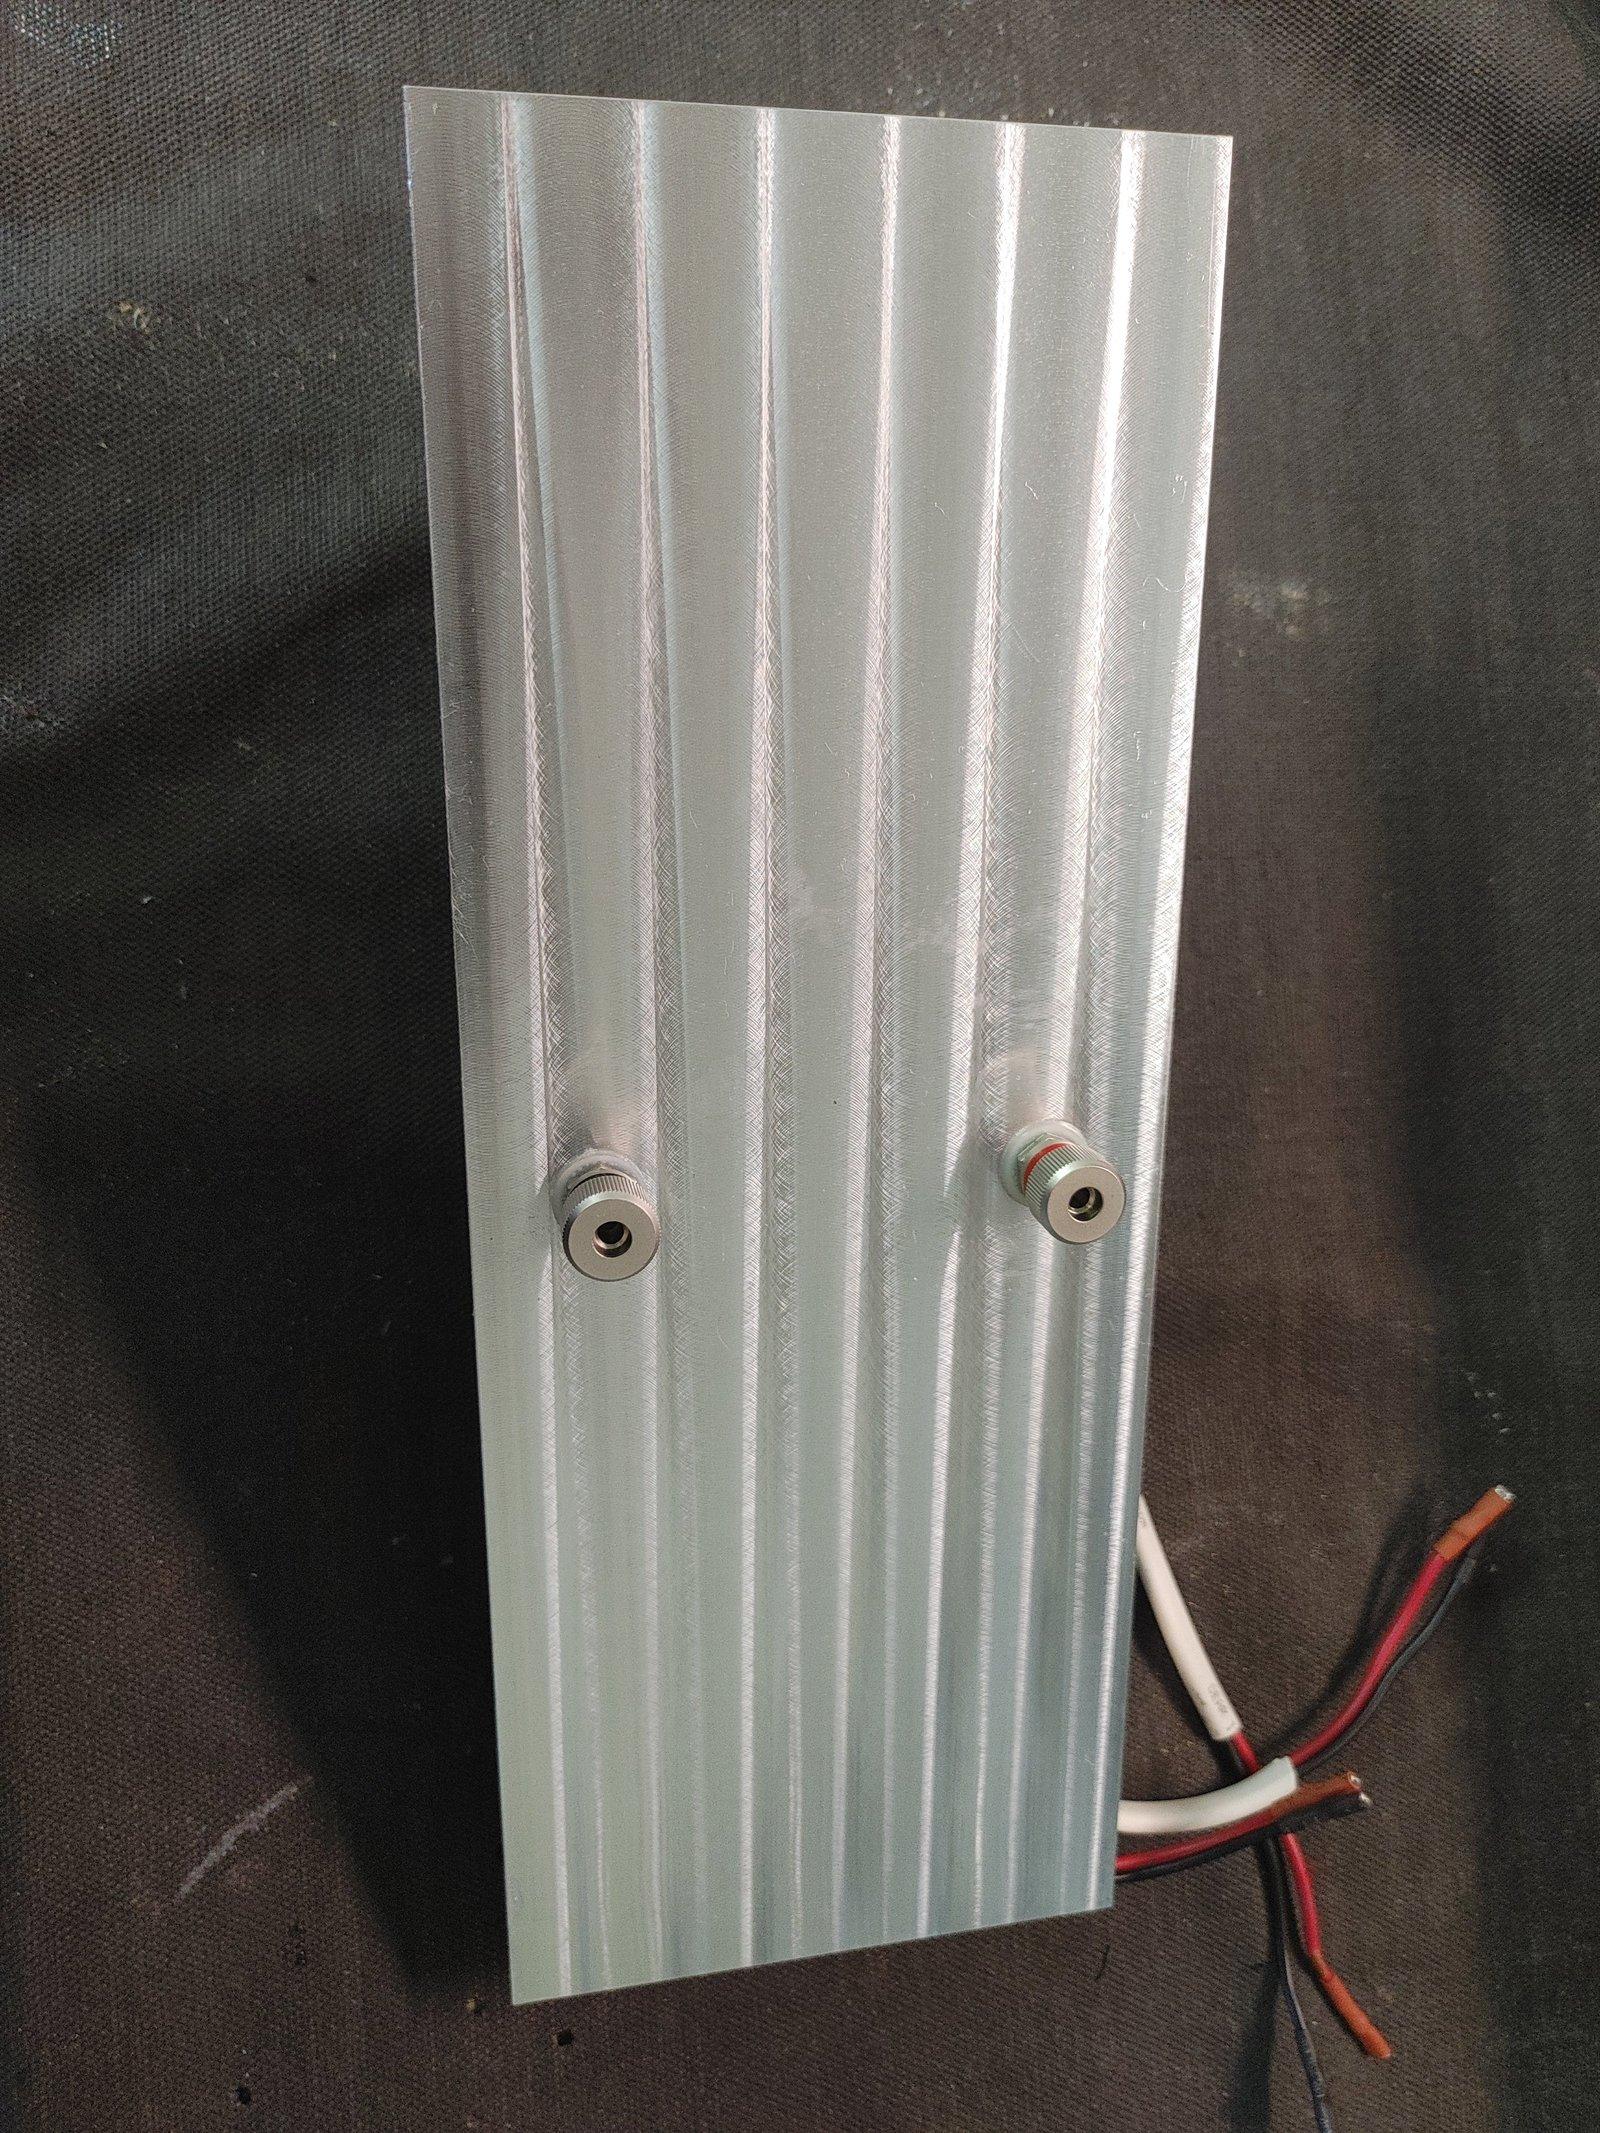
BRONZE MemberThe black anodizing on this particular set was damaged by previous owner, so I’ll make them with the brushed alloy patina… Over the years I’ve used NaOH solutions, but have found heavy duty oven clean works great with 2 applications…
13 March 2024 at 01:38 #53129xschop
BRONZE Member26 March 2024 at 18:44 #53130xschop
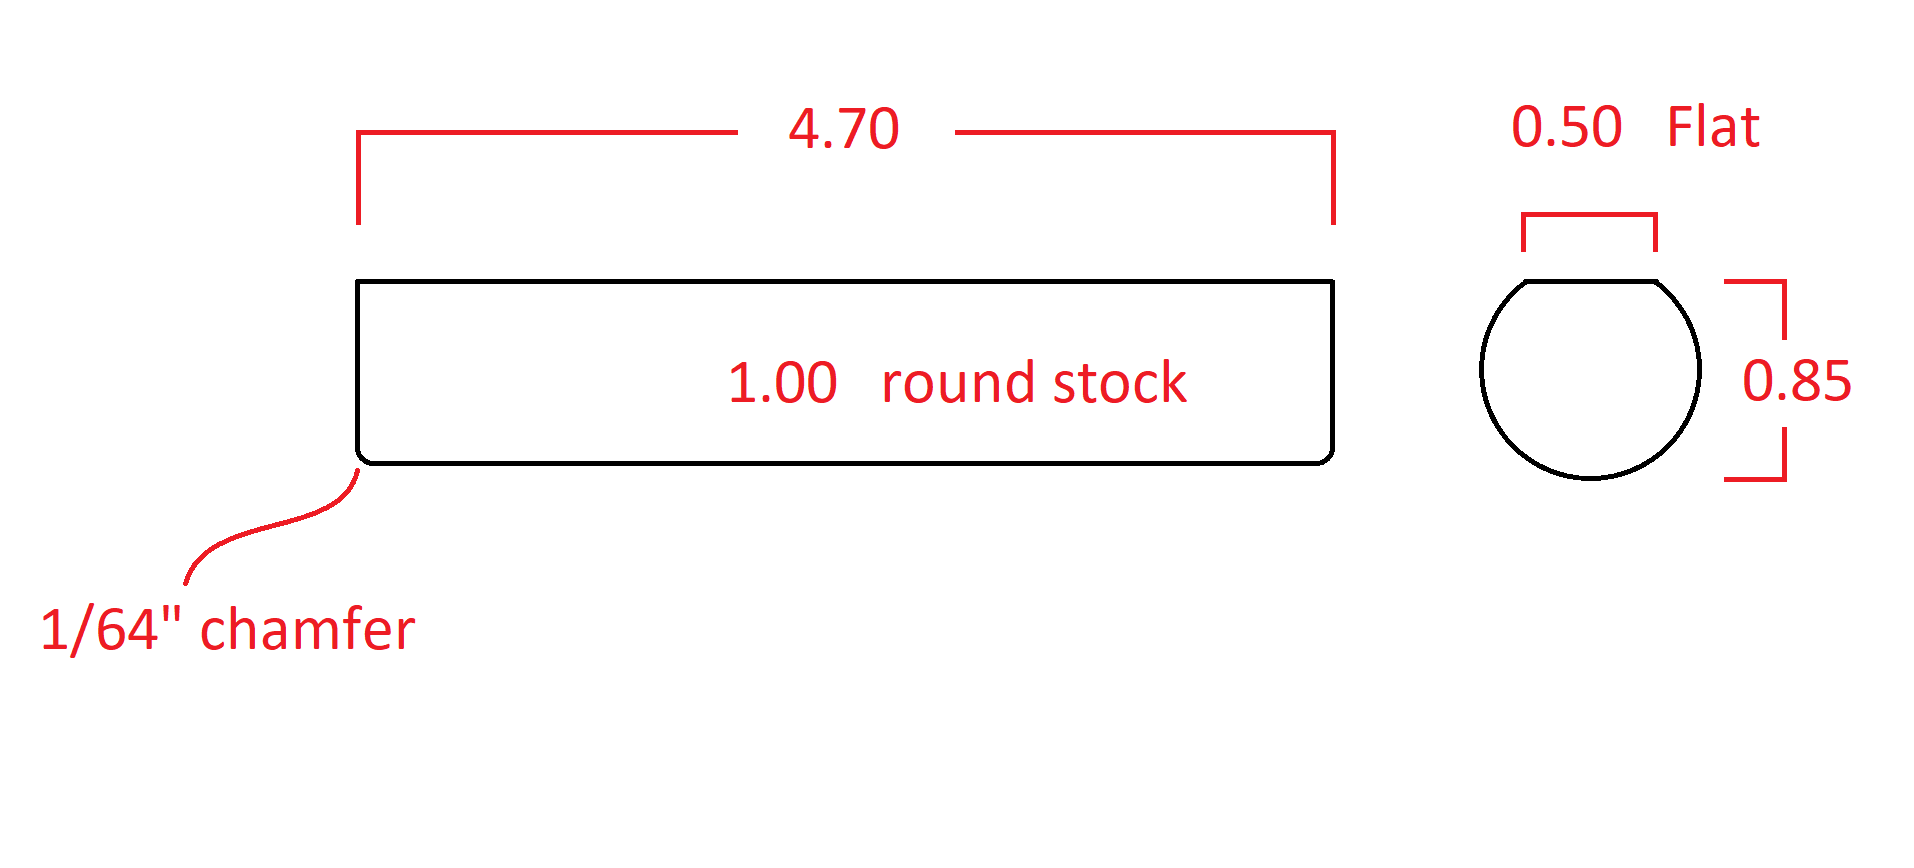
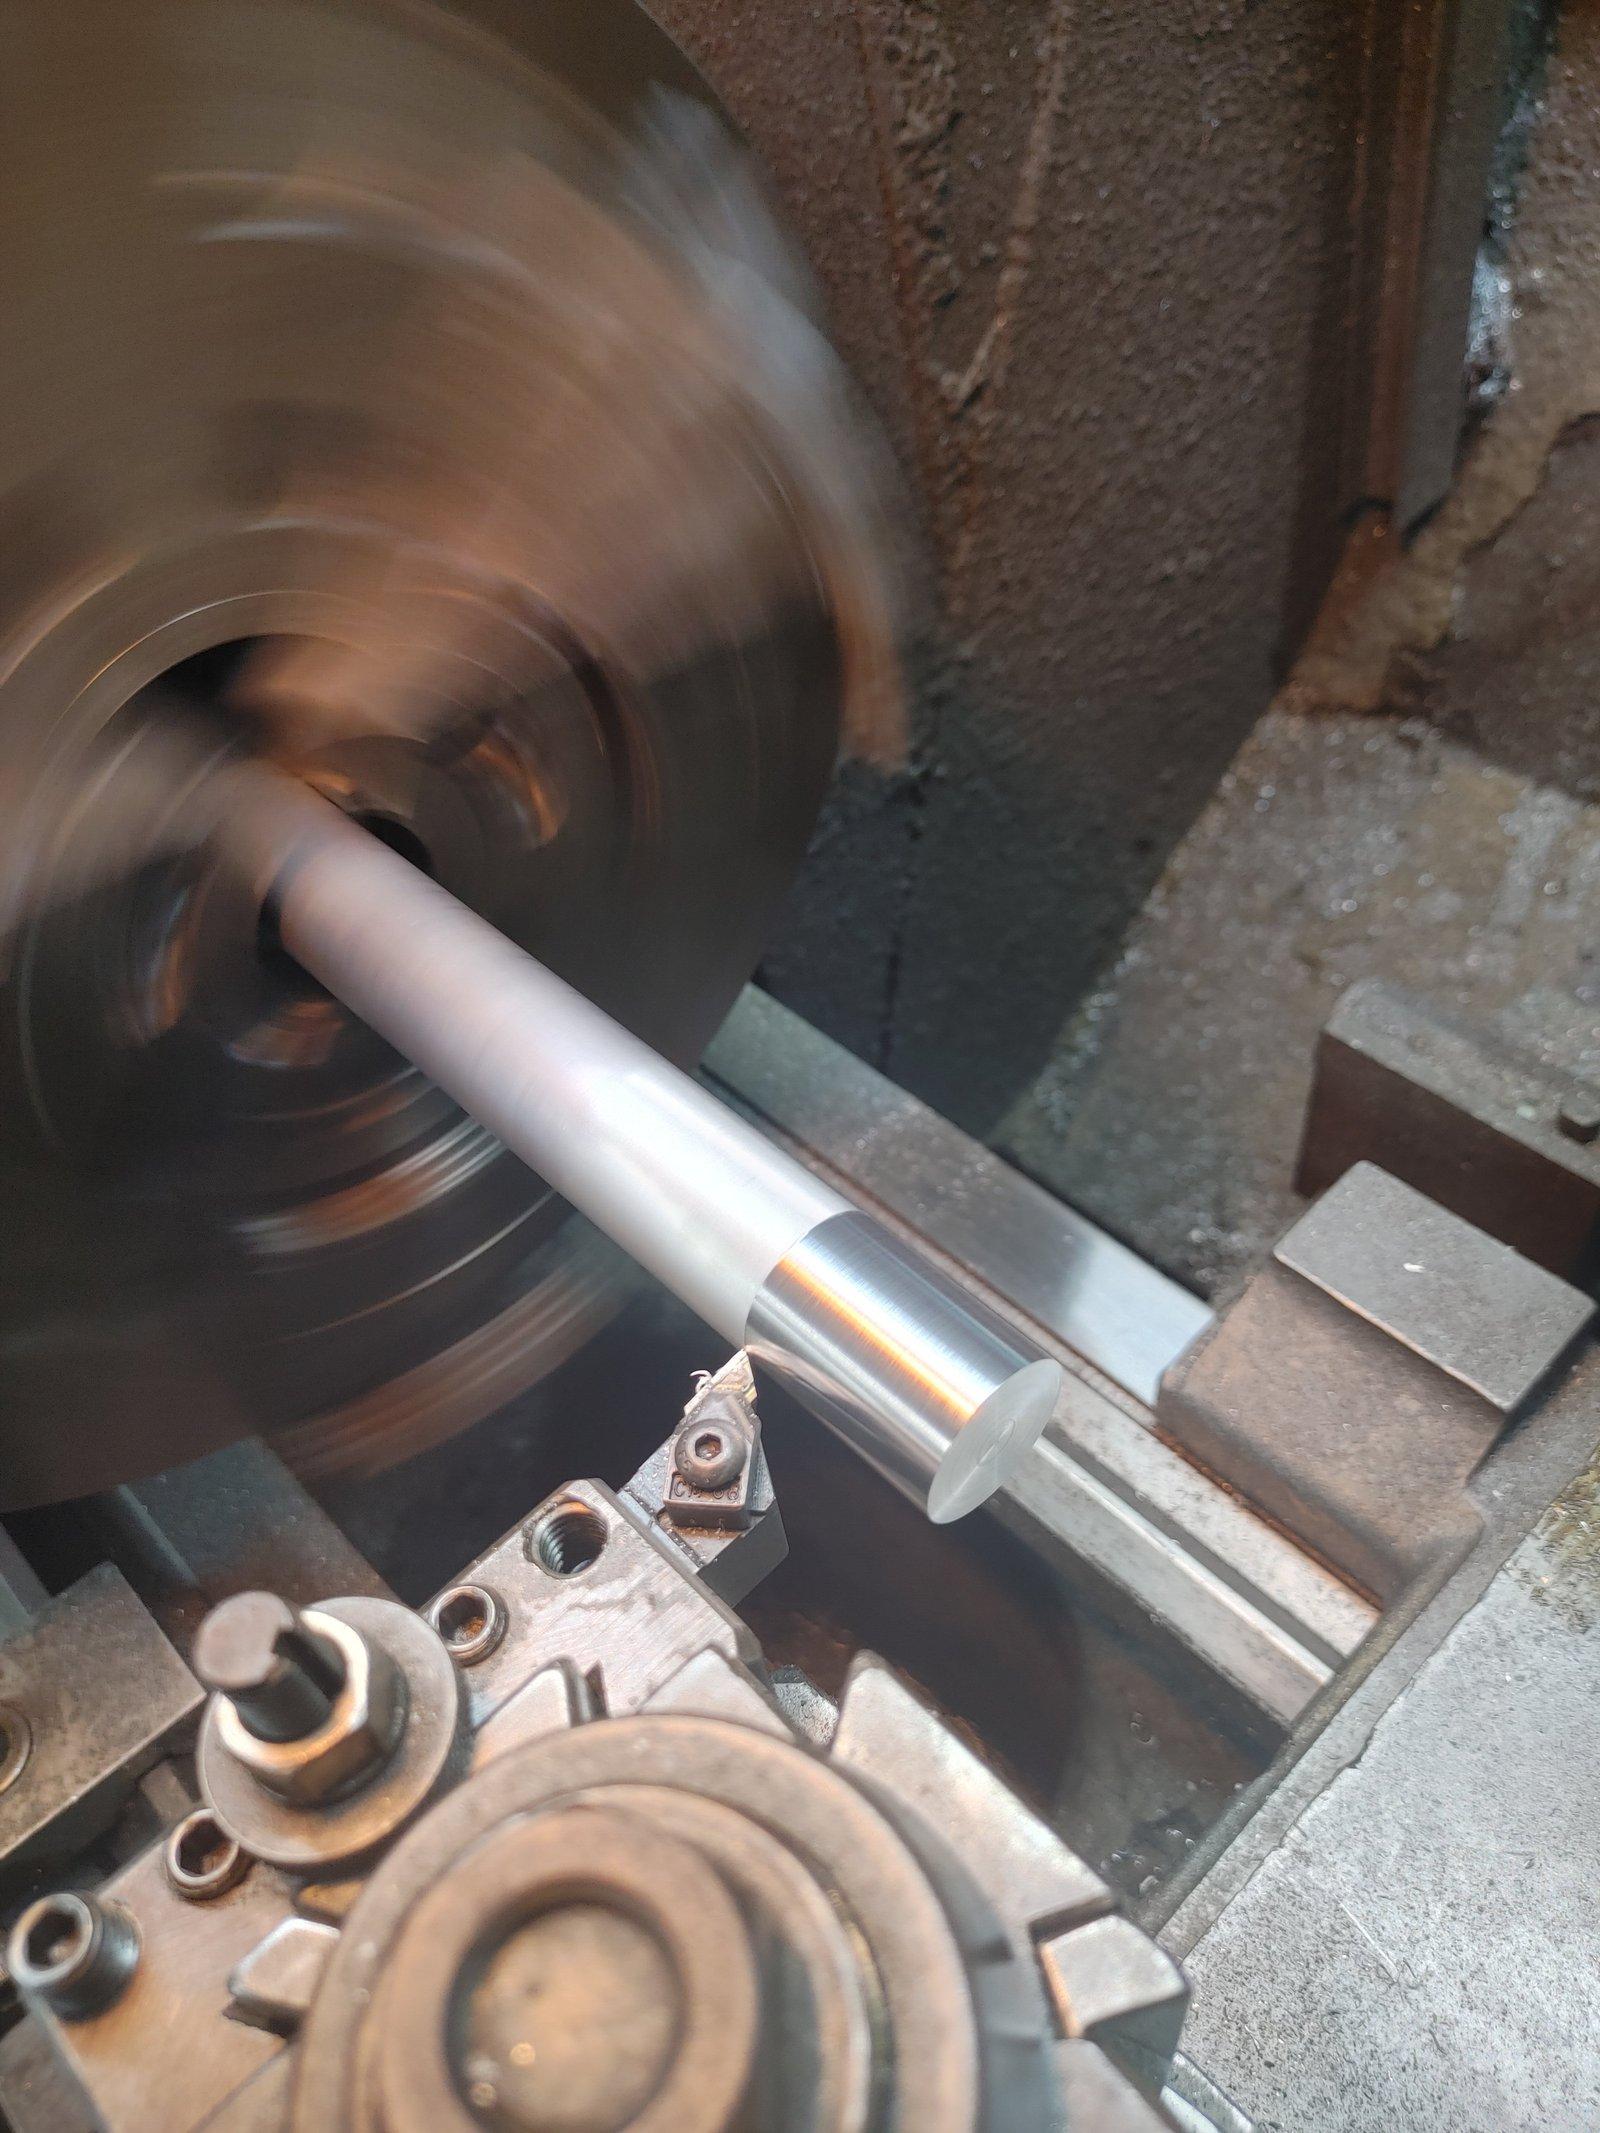
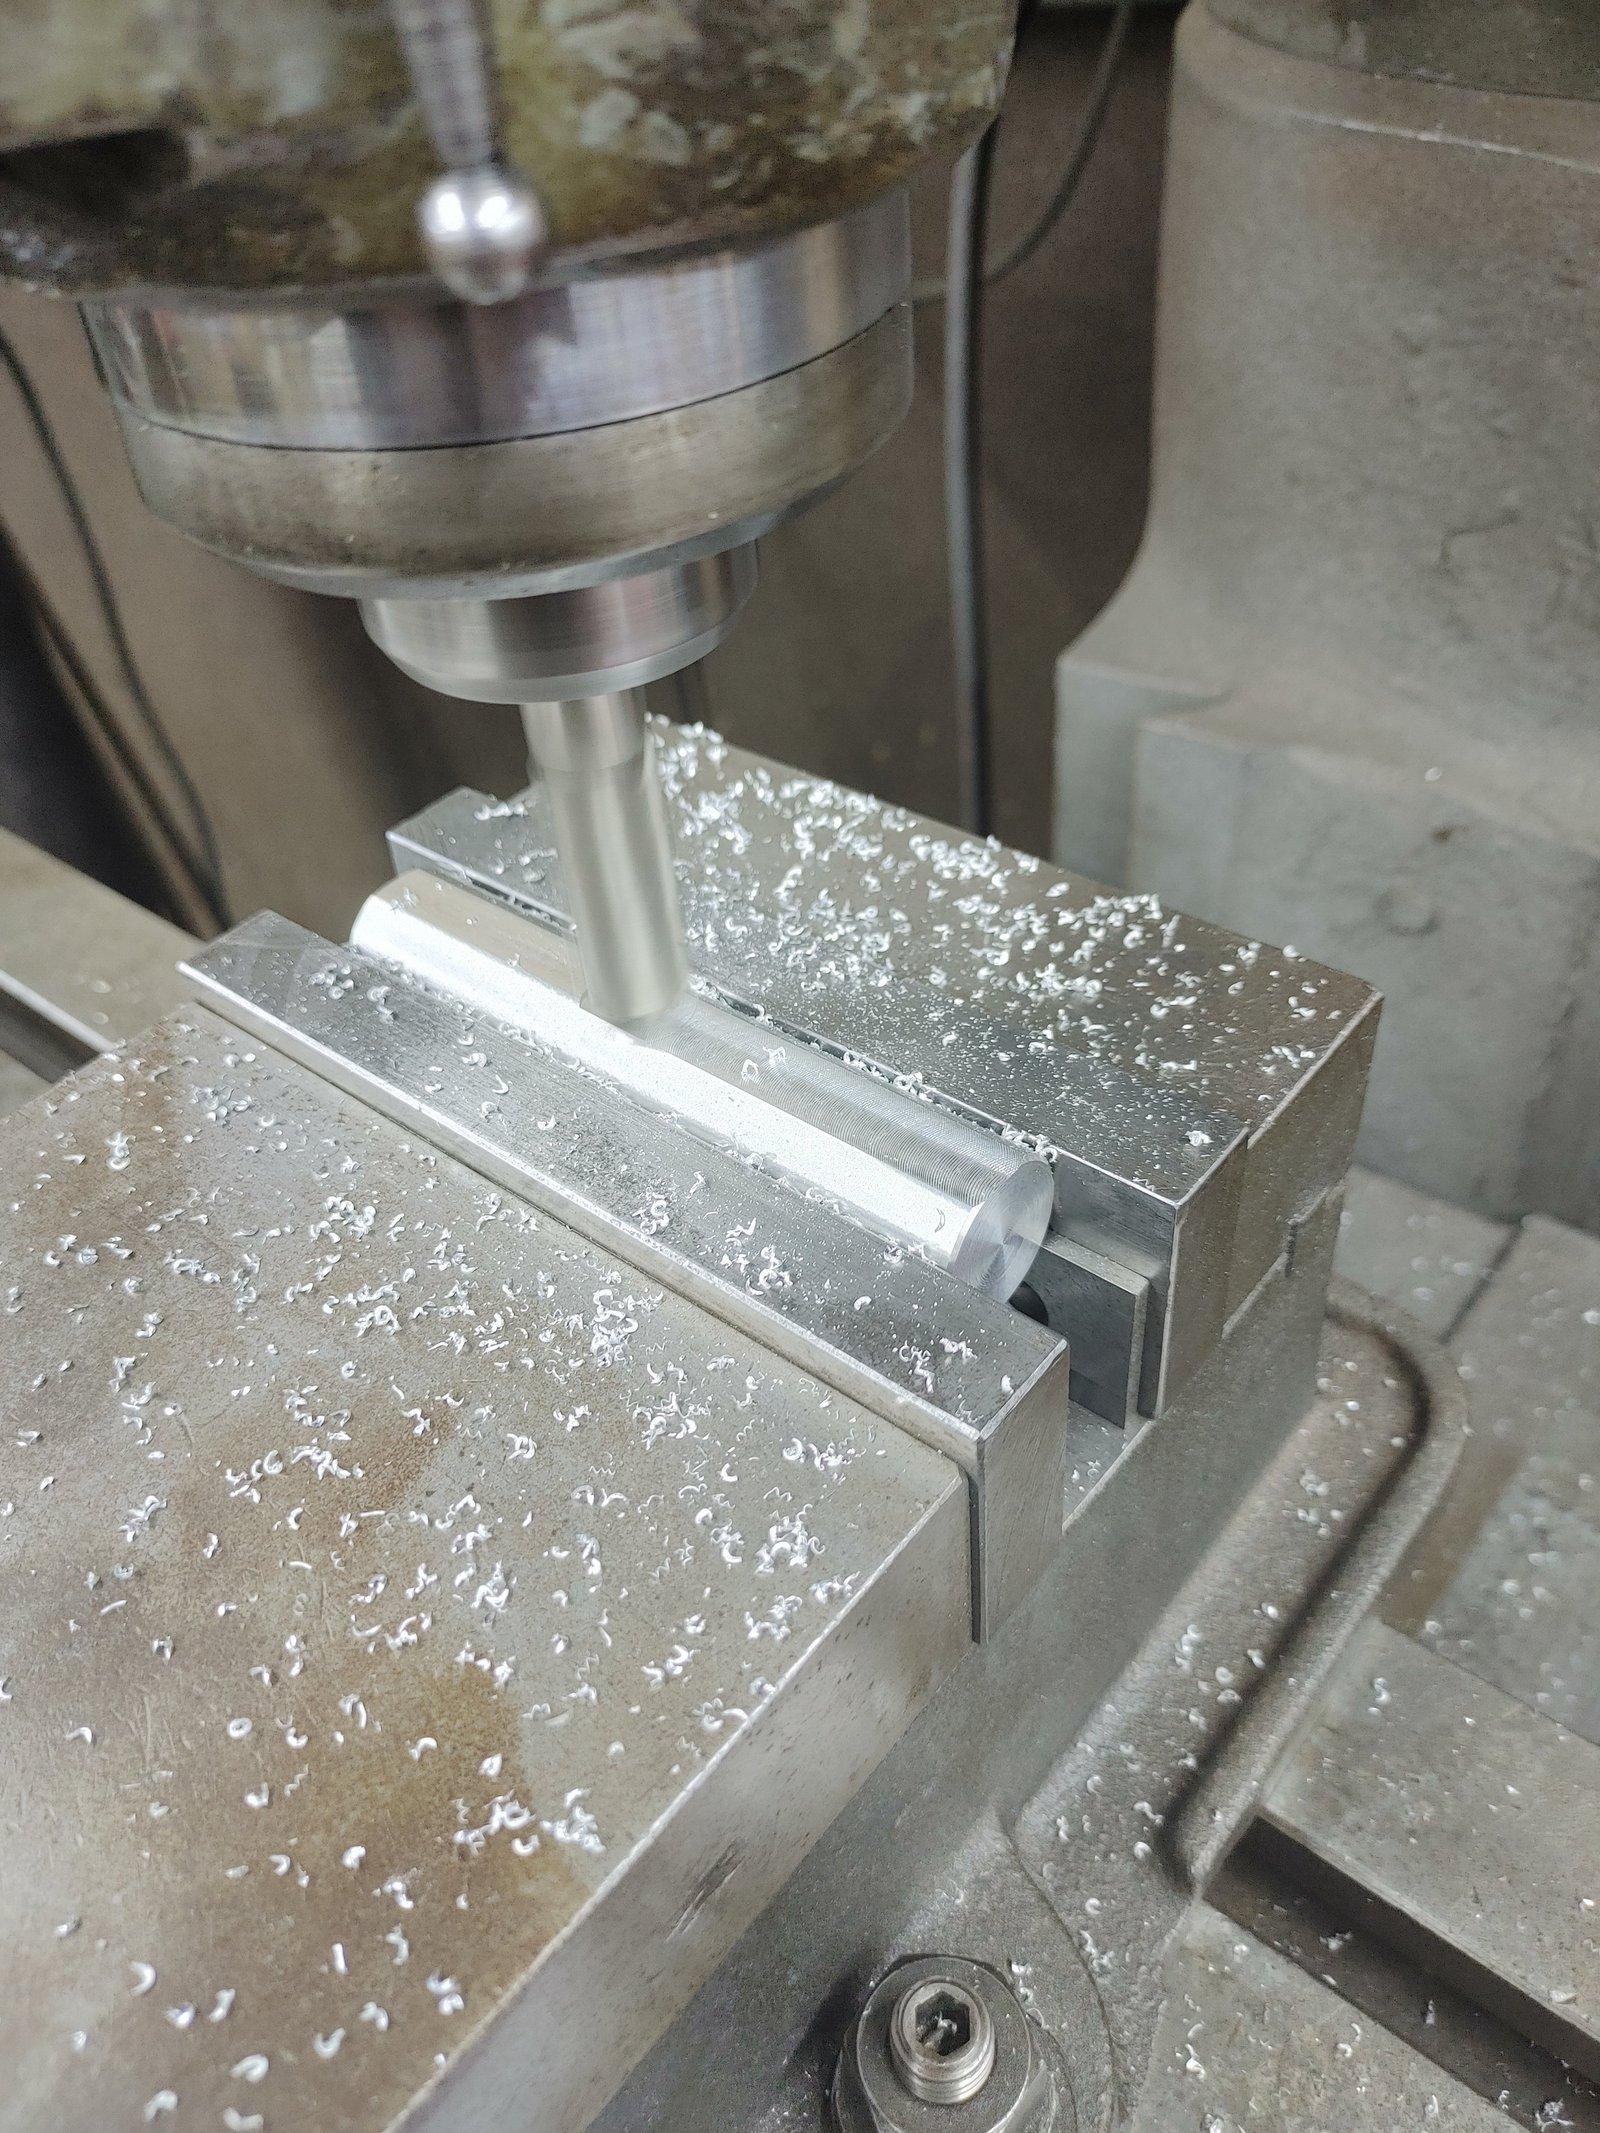
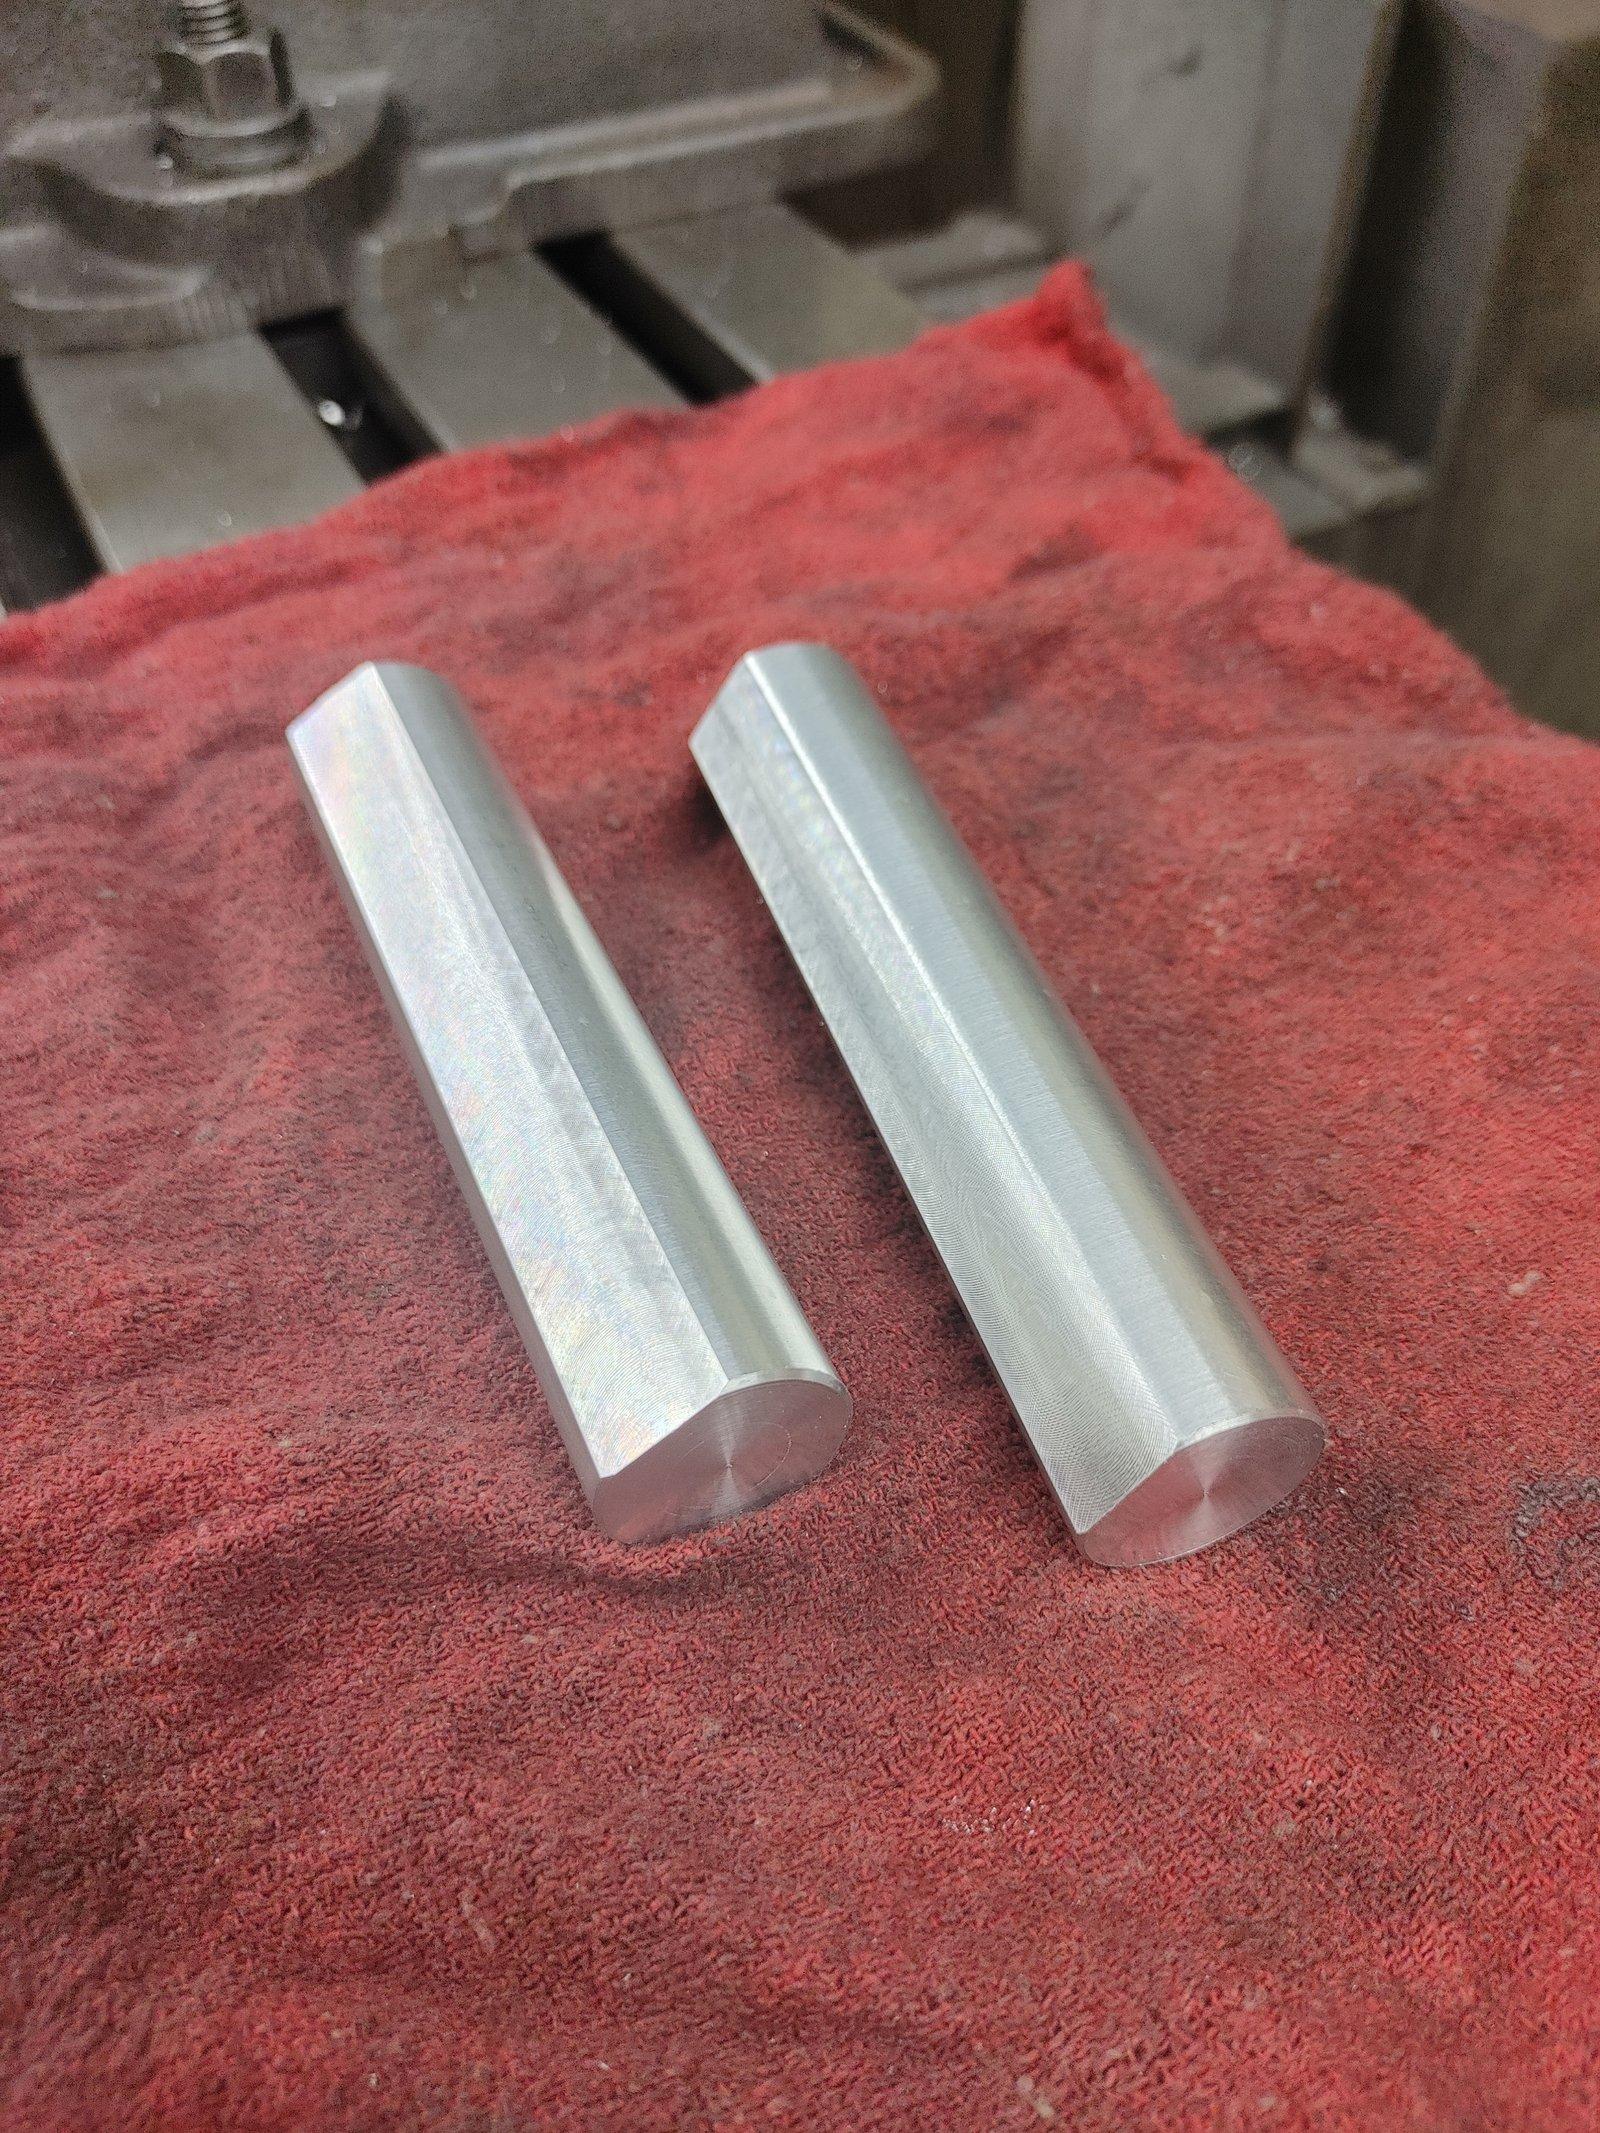
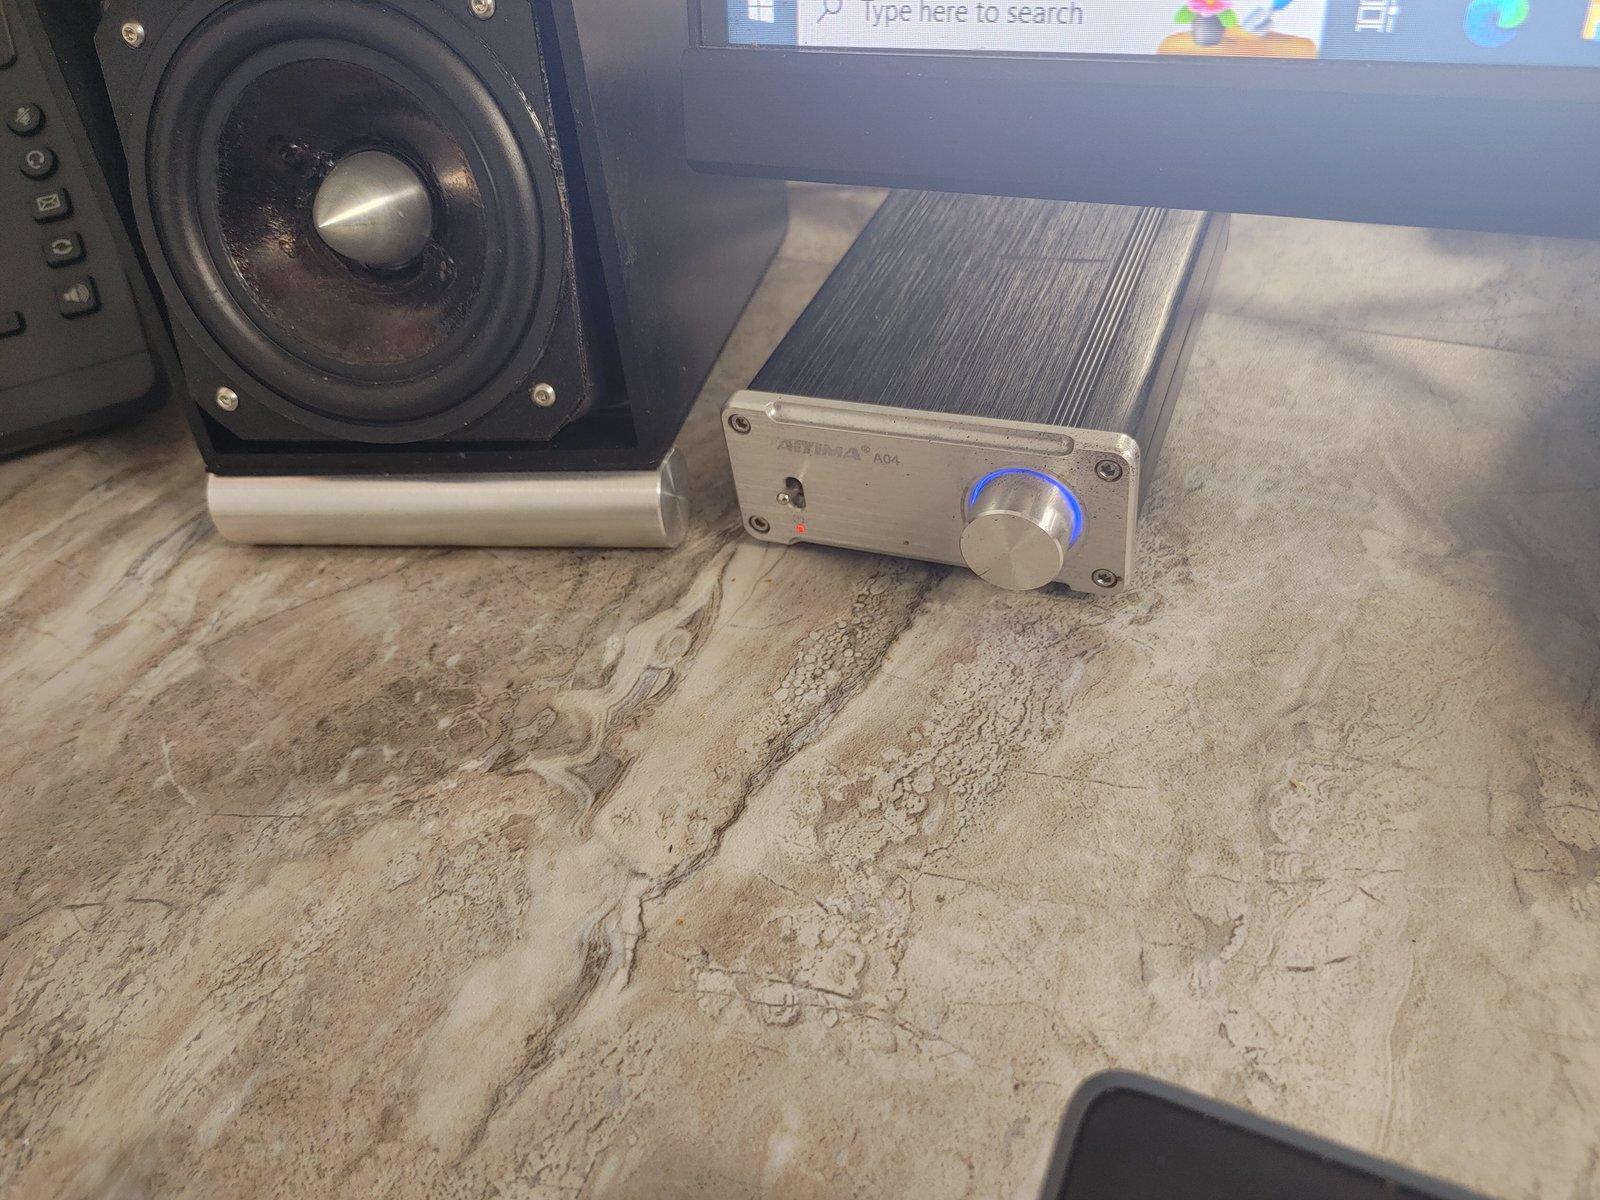
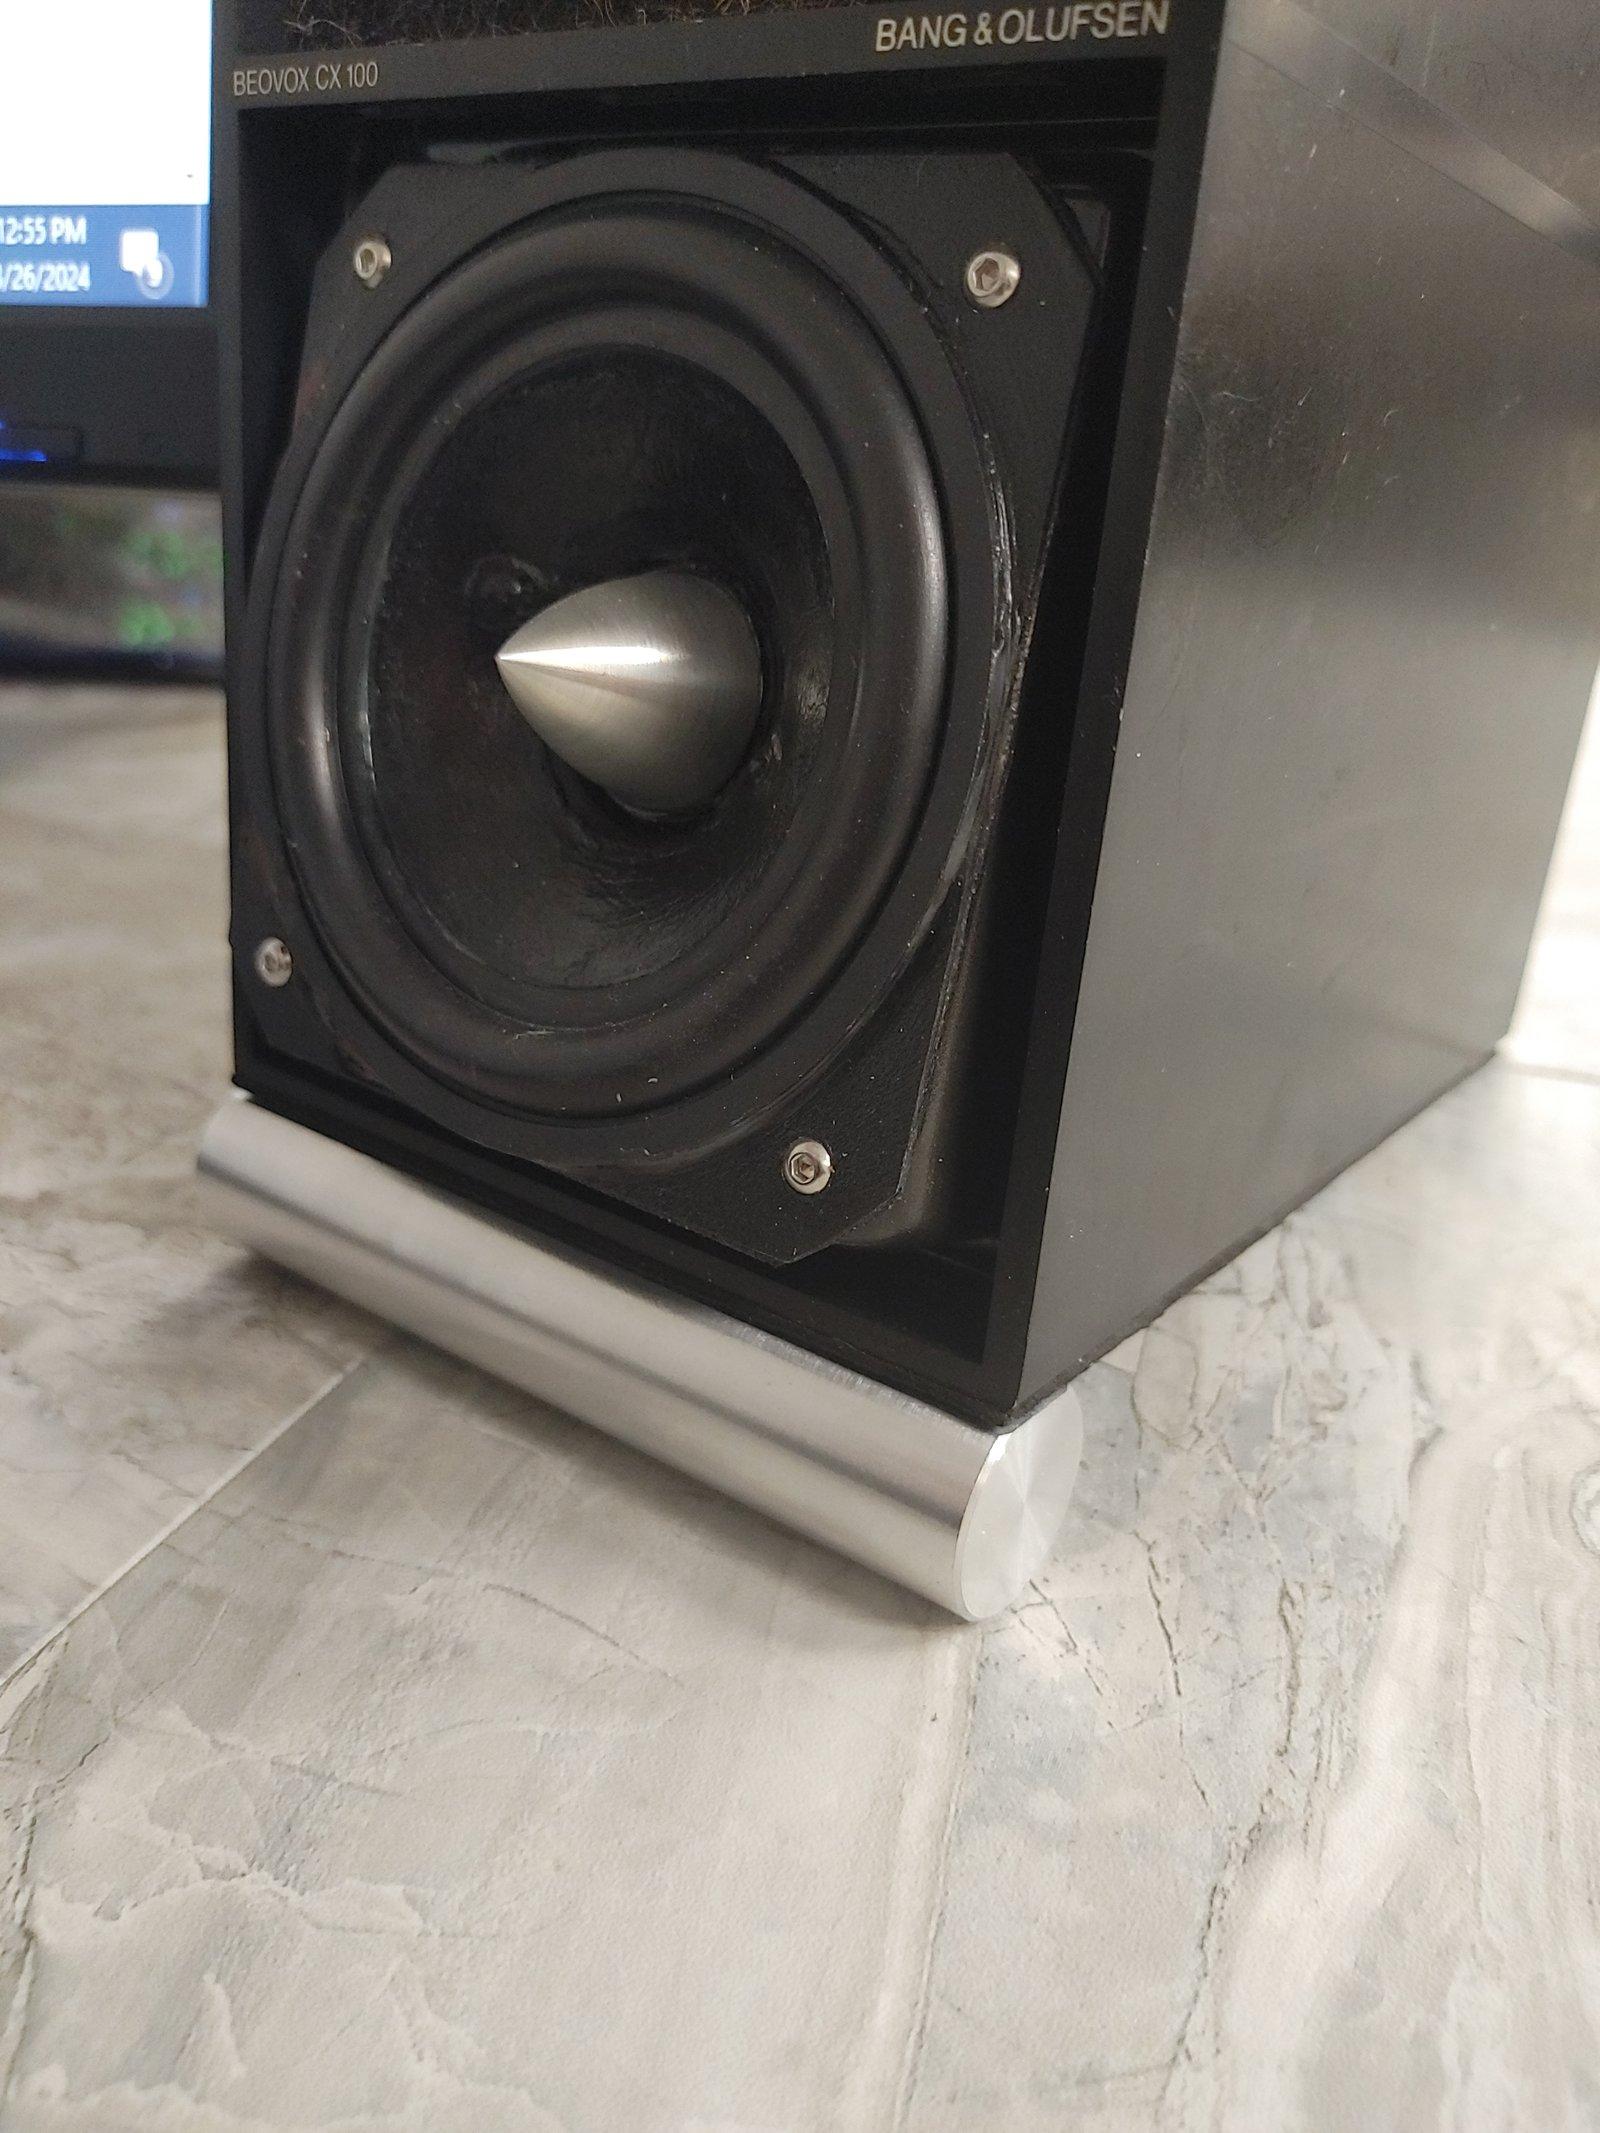
BRONZE MemberTired of the foam I had under them to angle up at the desk….
19 June 2024 at 12:25 #56589xschop
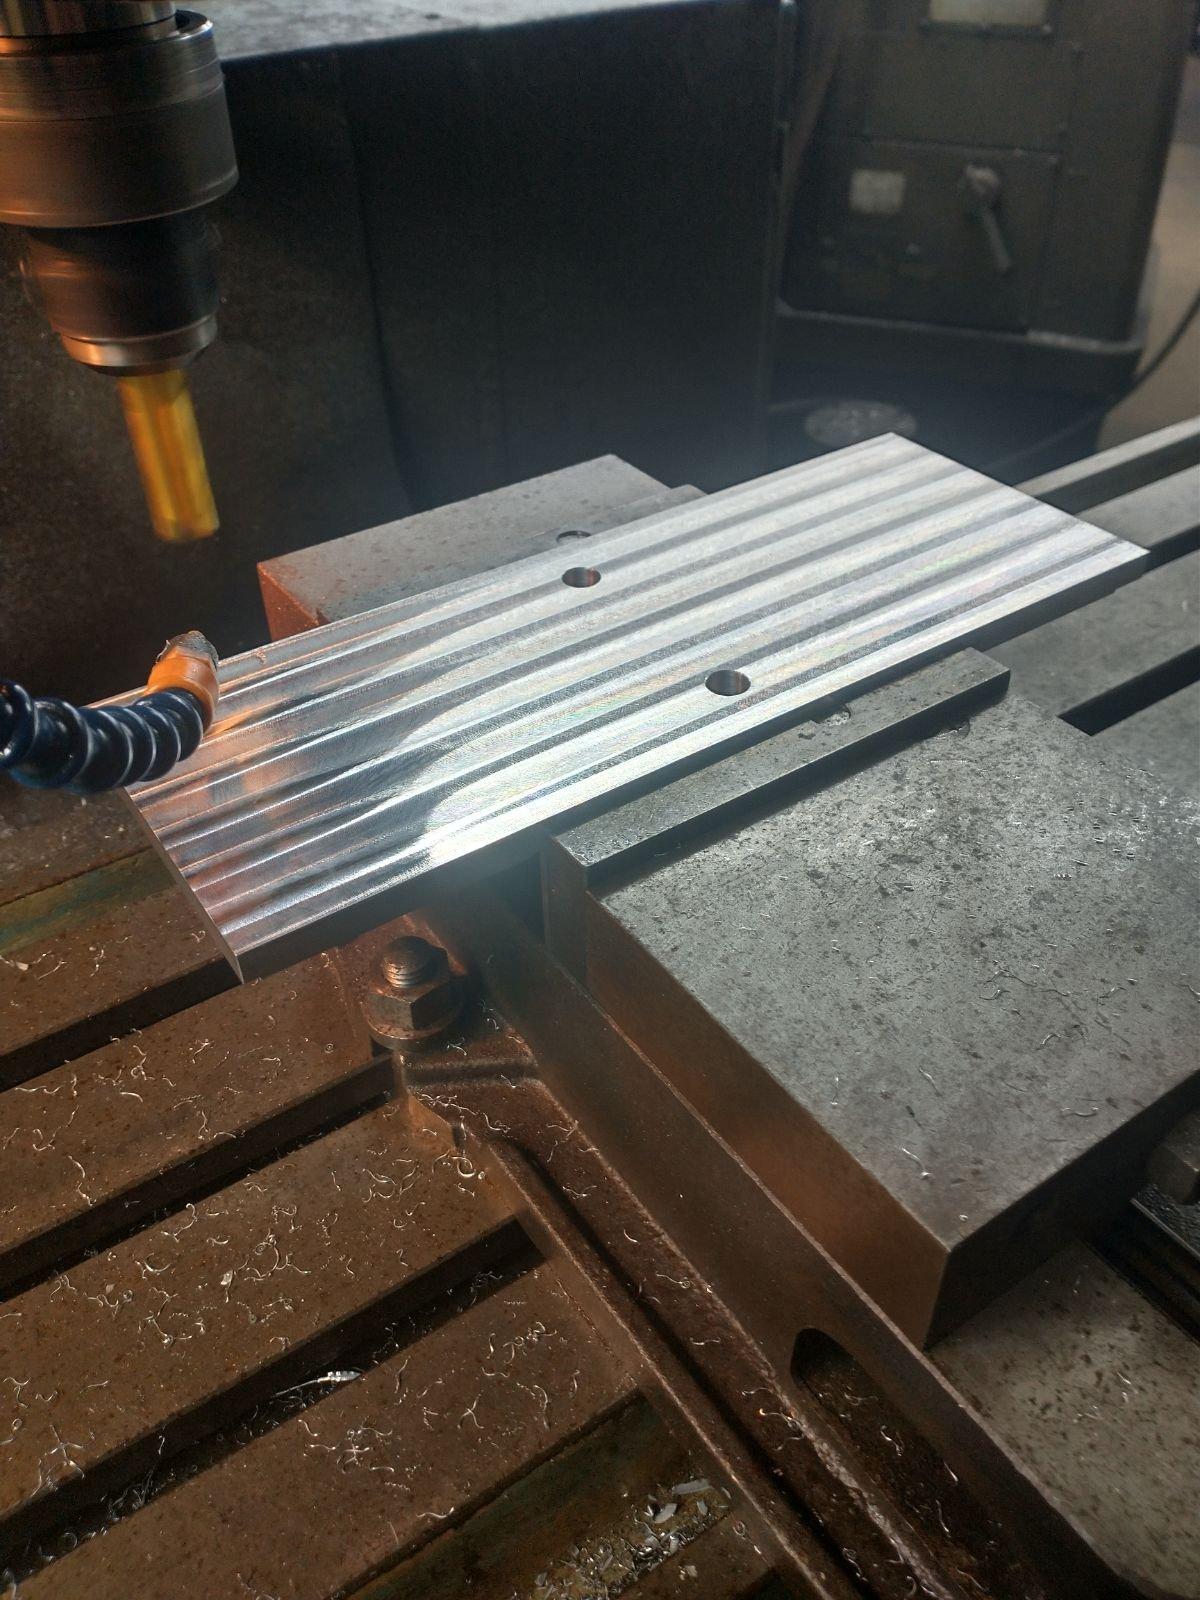
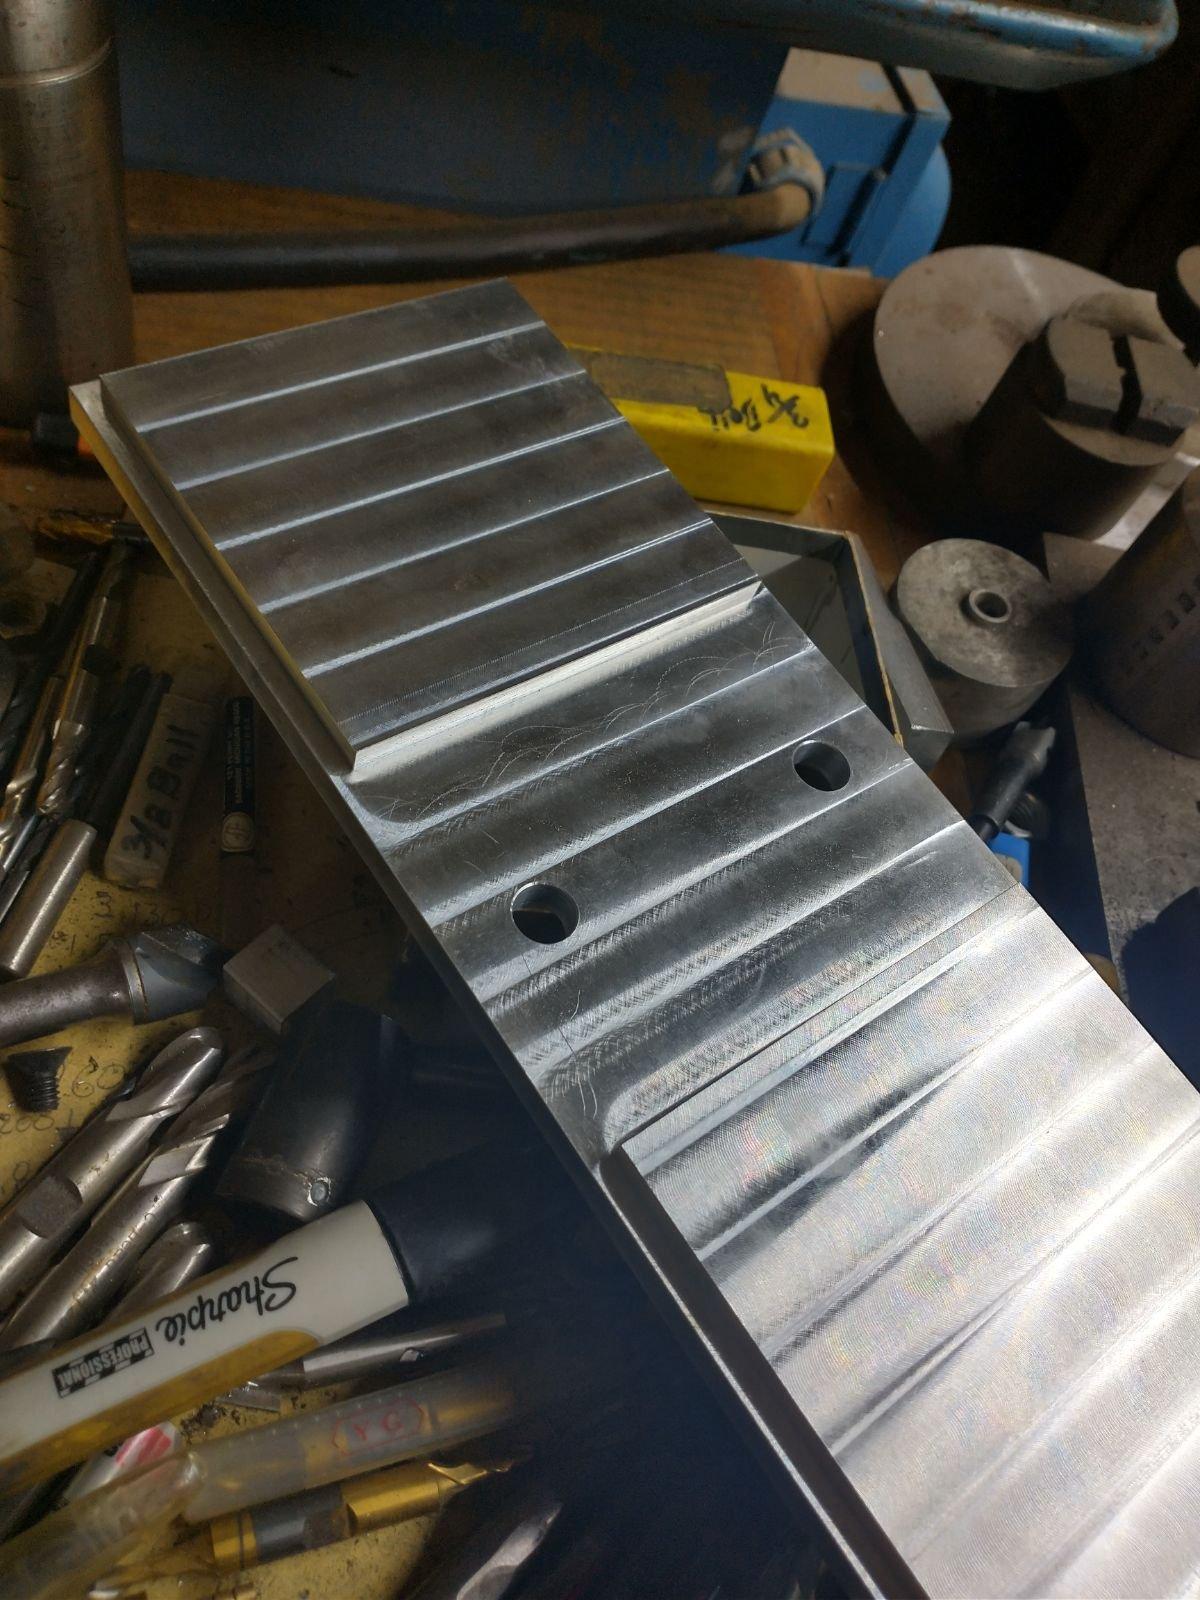
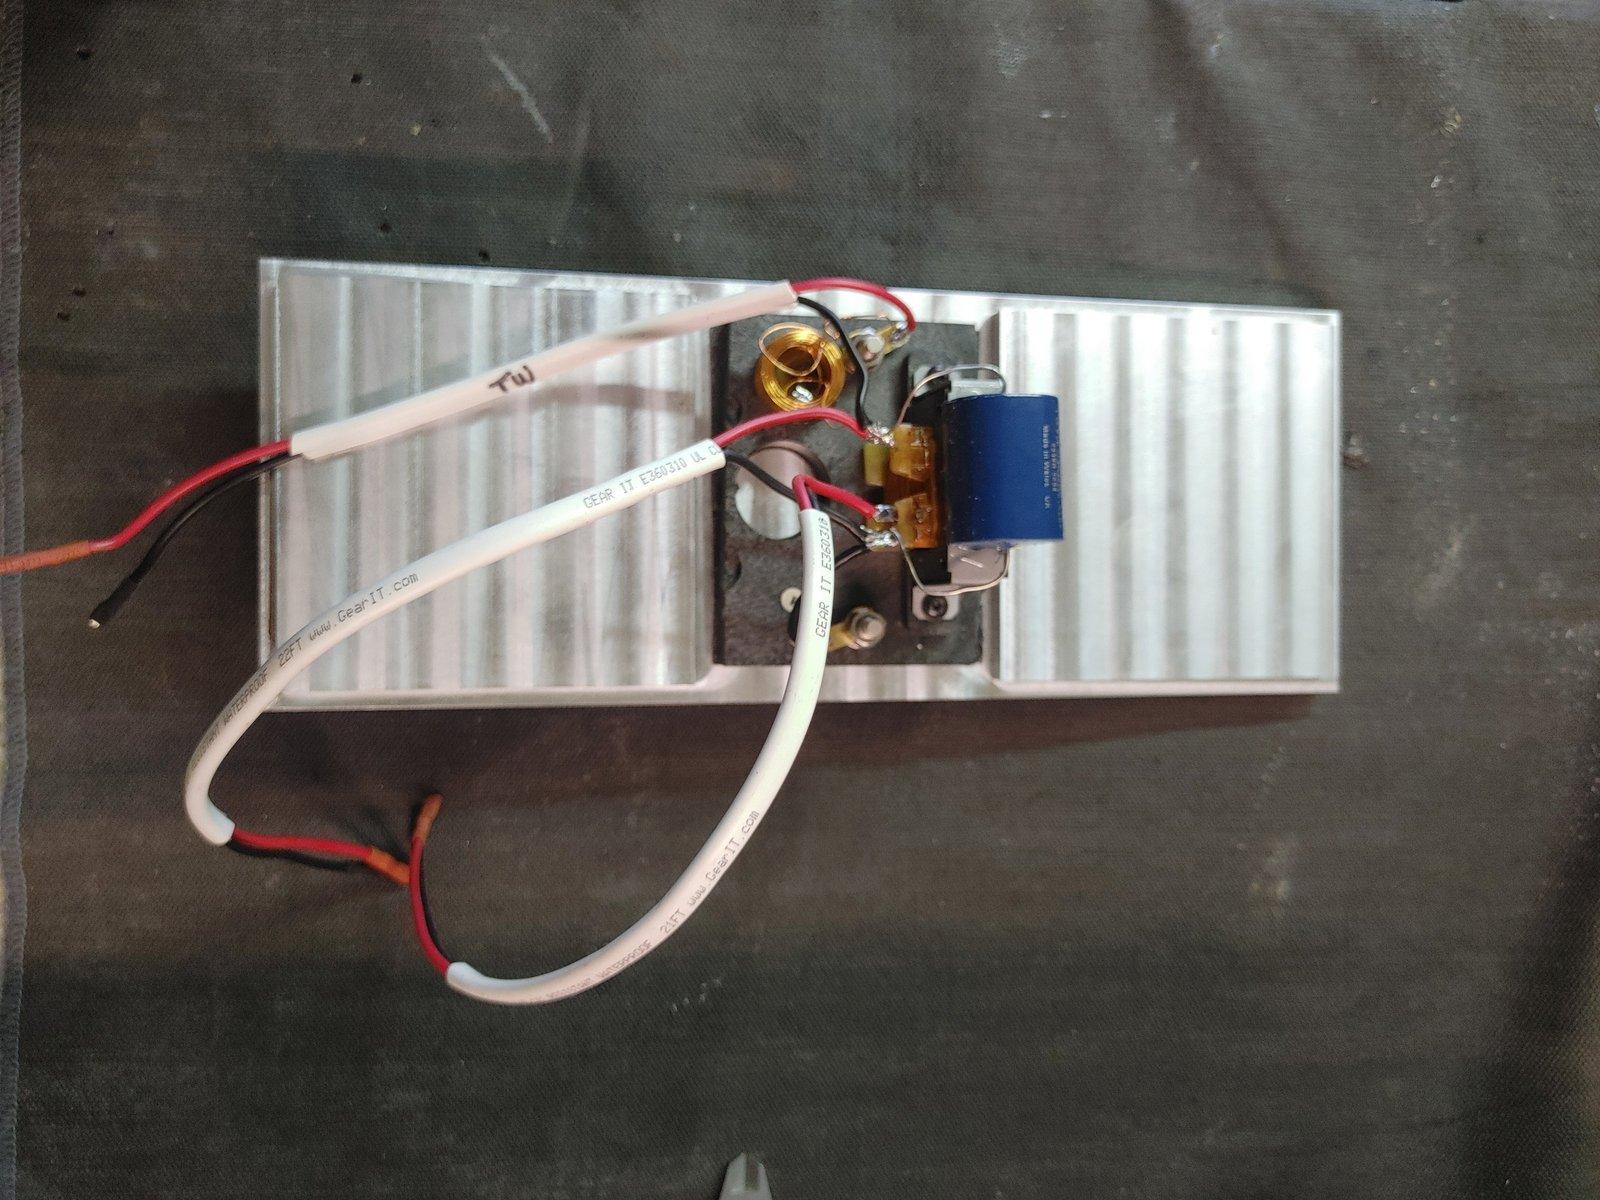
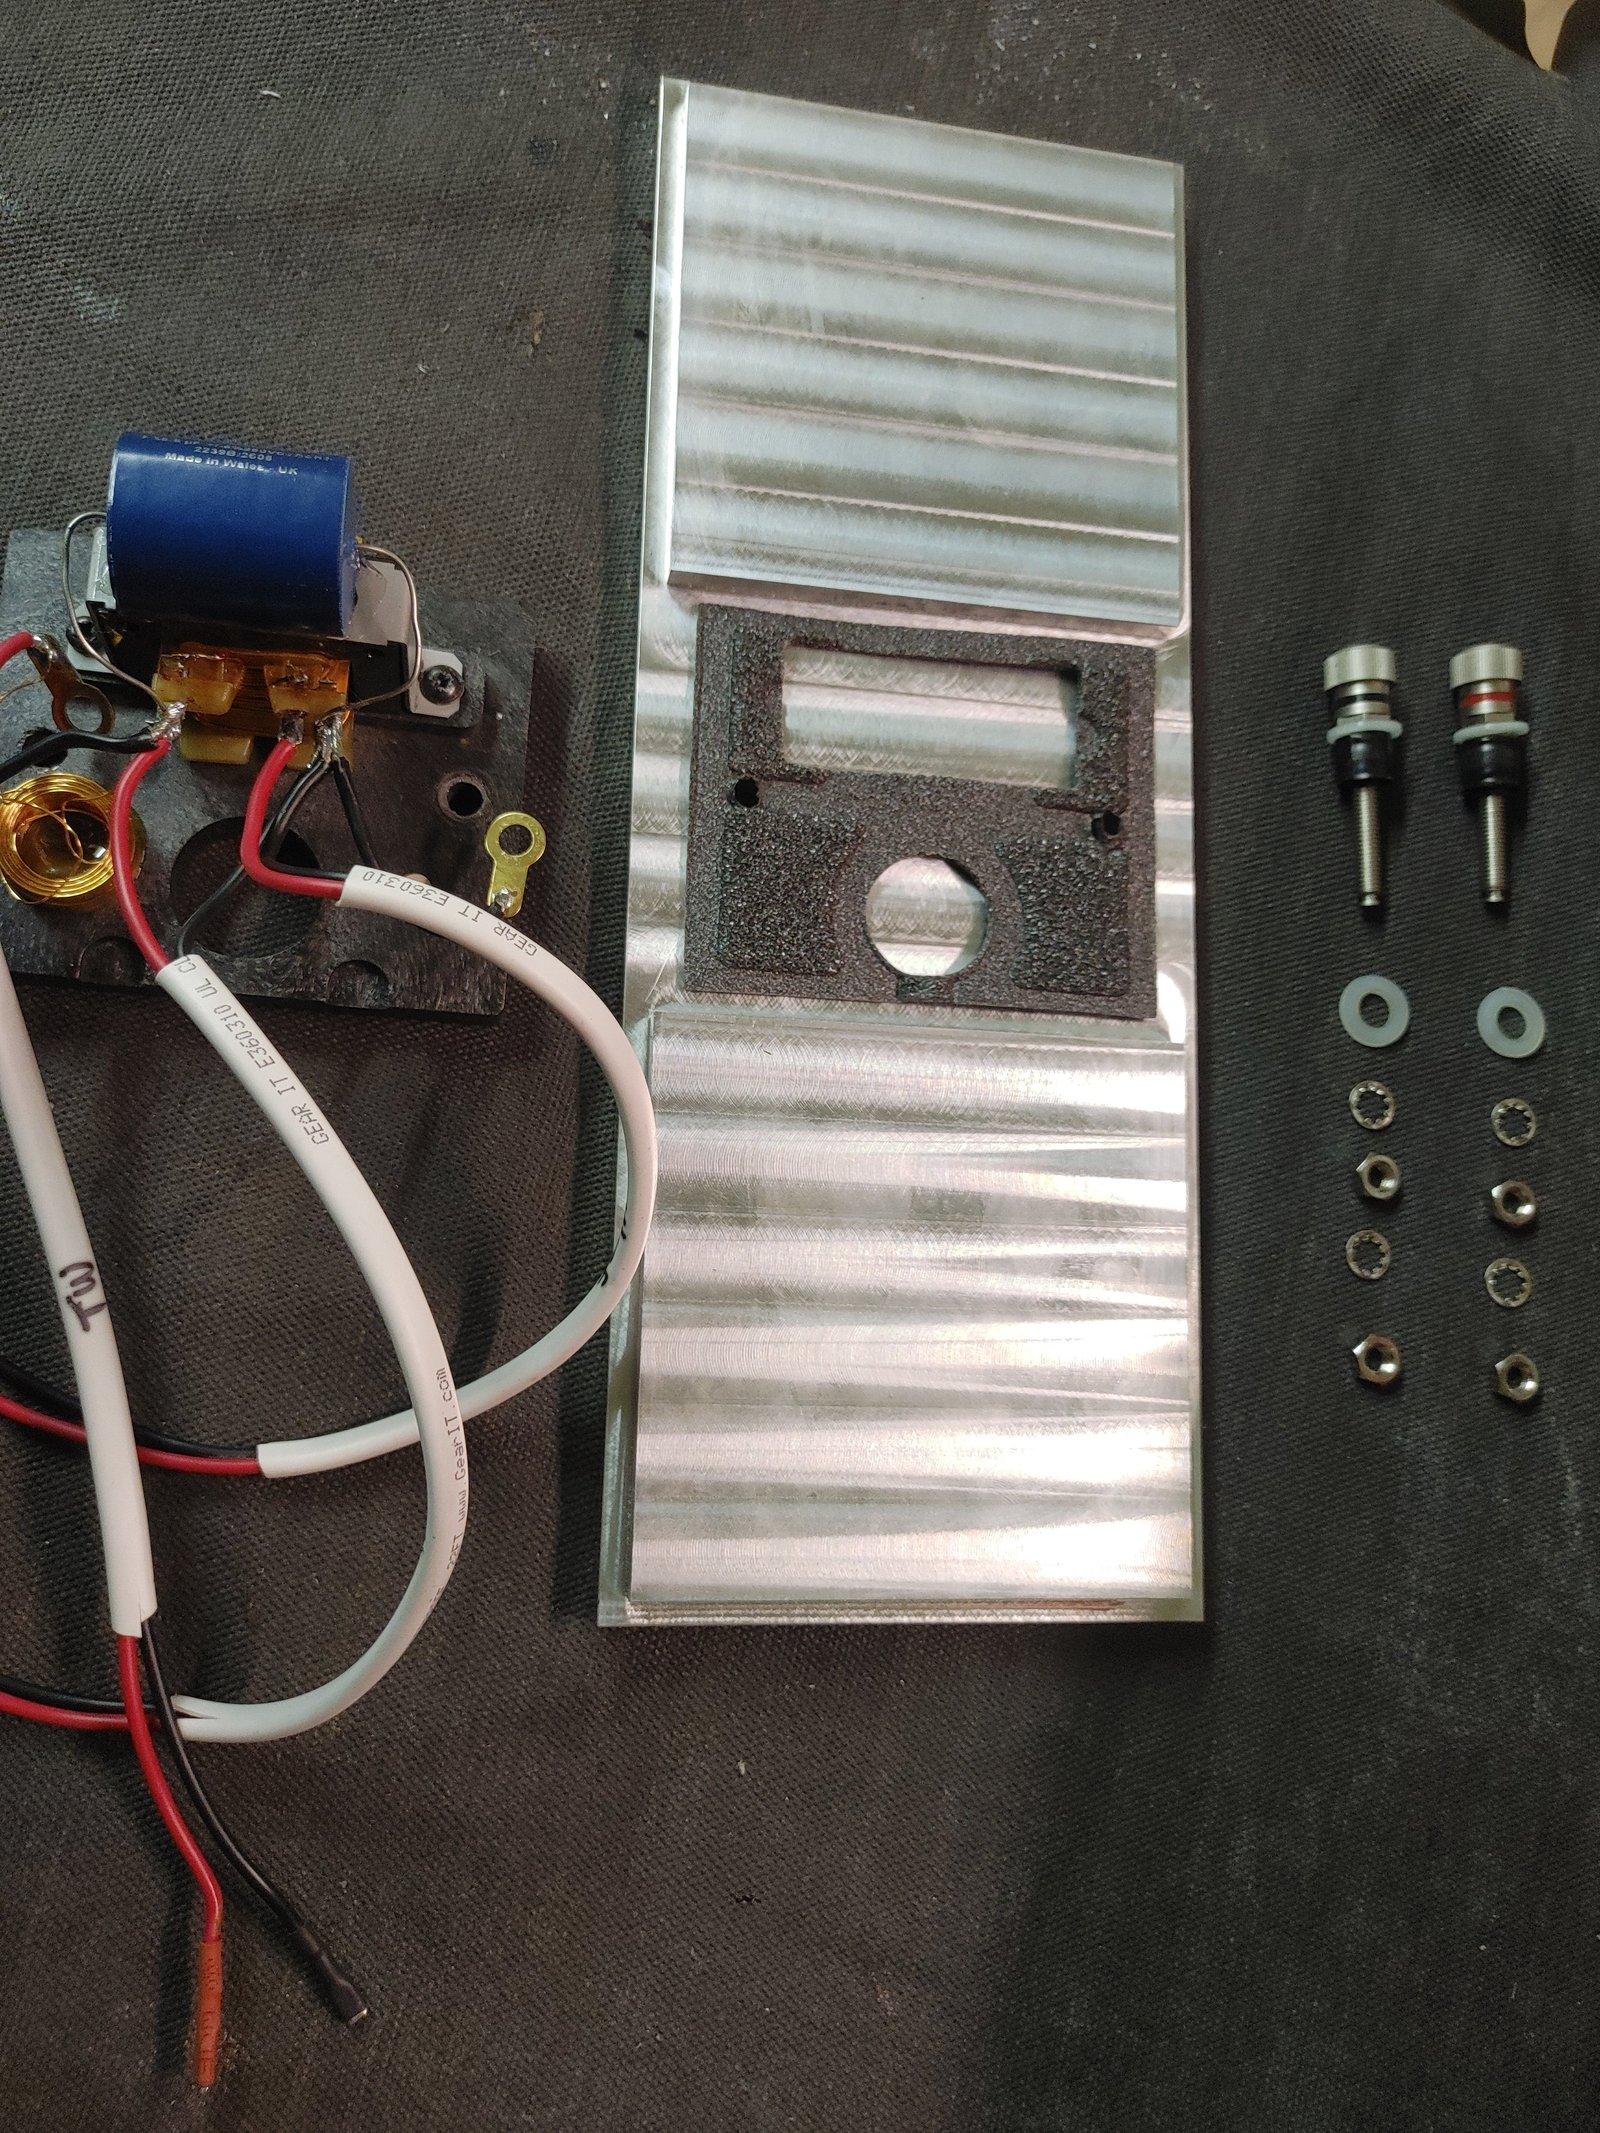
BRONZE MemberFinalized with fly-cut cross-hatch machining and omitted the thin sheet metal bracket mounts as they’ll be attached and sealed with polyurethane rubber adhesive. This will mitigate any resonance at the highest volumes….
7 July 2024 at 17:31 #57294xschop
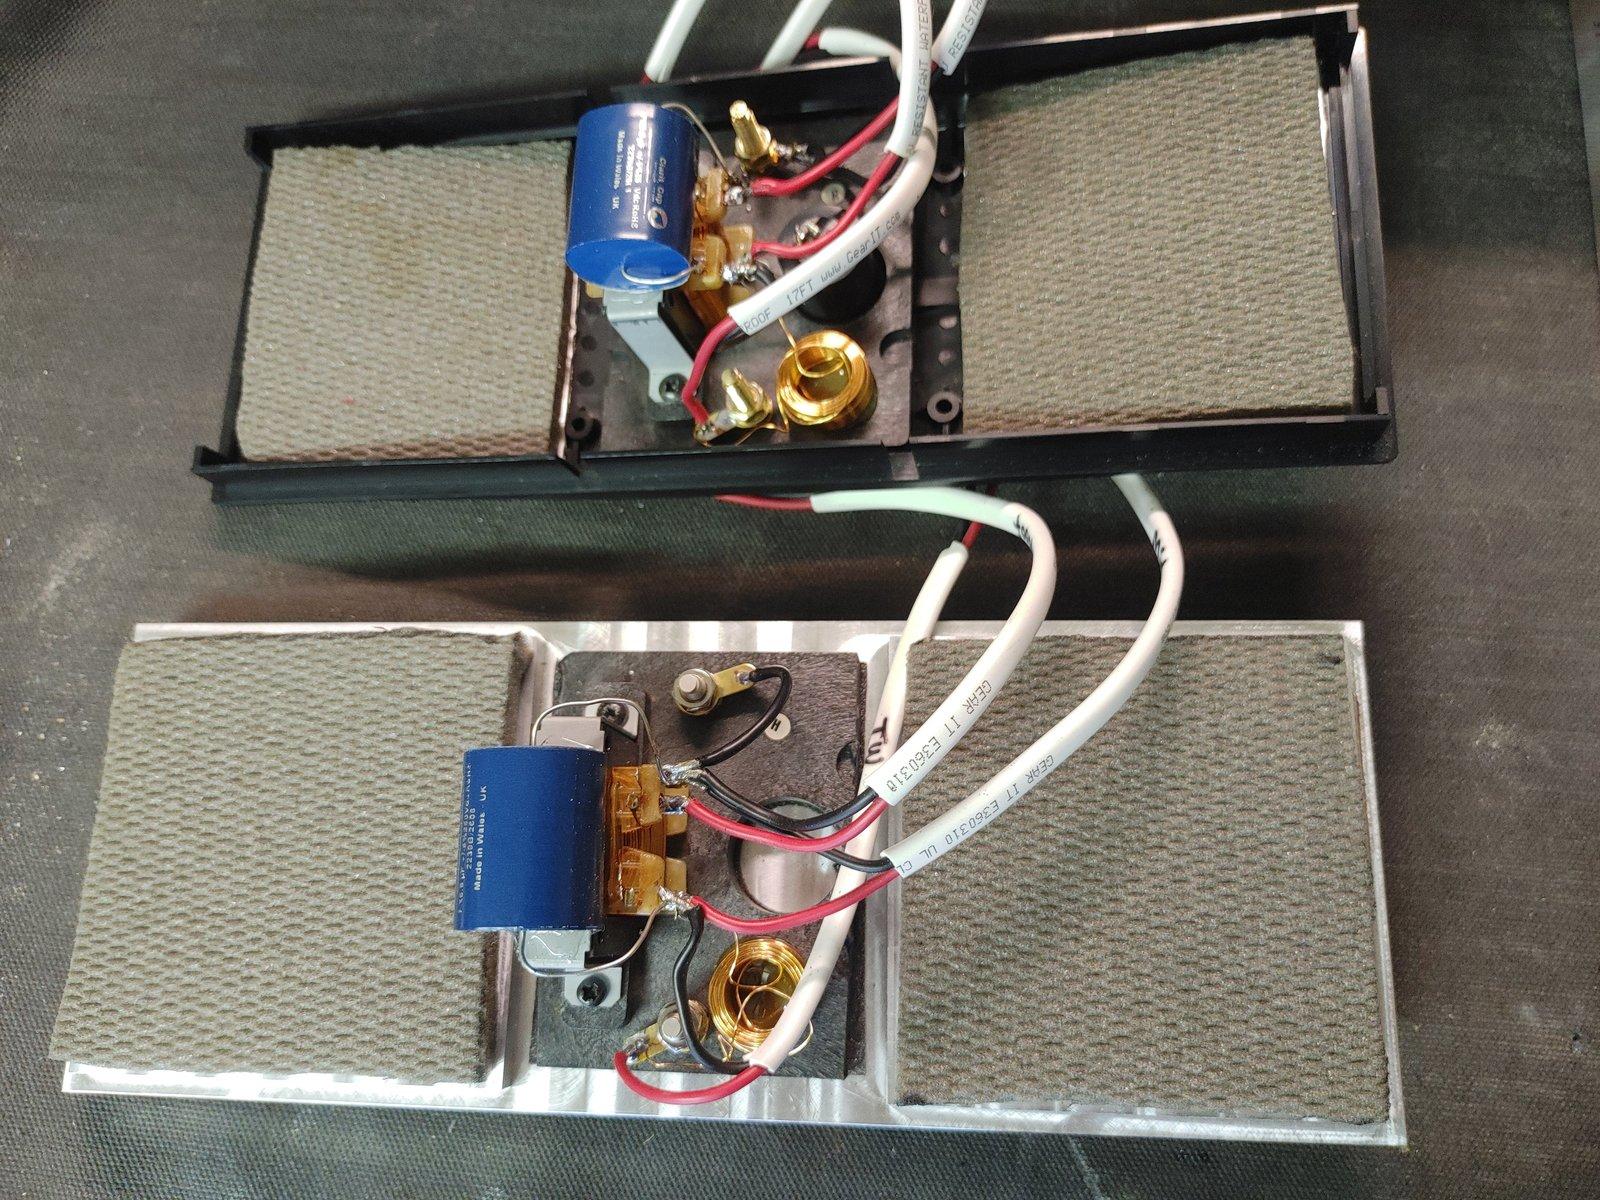
BRONZE MemberFinally got a weekend day to reassemble the new covers. Had to grind down the factory ABS crossover mounts to clear the alloy crossbraces.
I like the nickel plated binding posts with the patina. Added 4×4×5/8″ open cell foam top and bottom directly behind mids as well. These added a couple lbs. to the build. -
AuthorPosts
- You must be logged in to reply to this topic.


