


Home › Forums › Product Discussion & Questions › BeoMaster › Beomaster 5000
- This topic has 32 replies, 2 voices, and was last updated 2 years, 4 months ago by
 hcraig244.
-
AuthorPosts
-
23 April 2022 at 16:11 #33944
 hcraig244SILVER Member
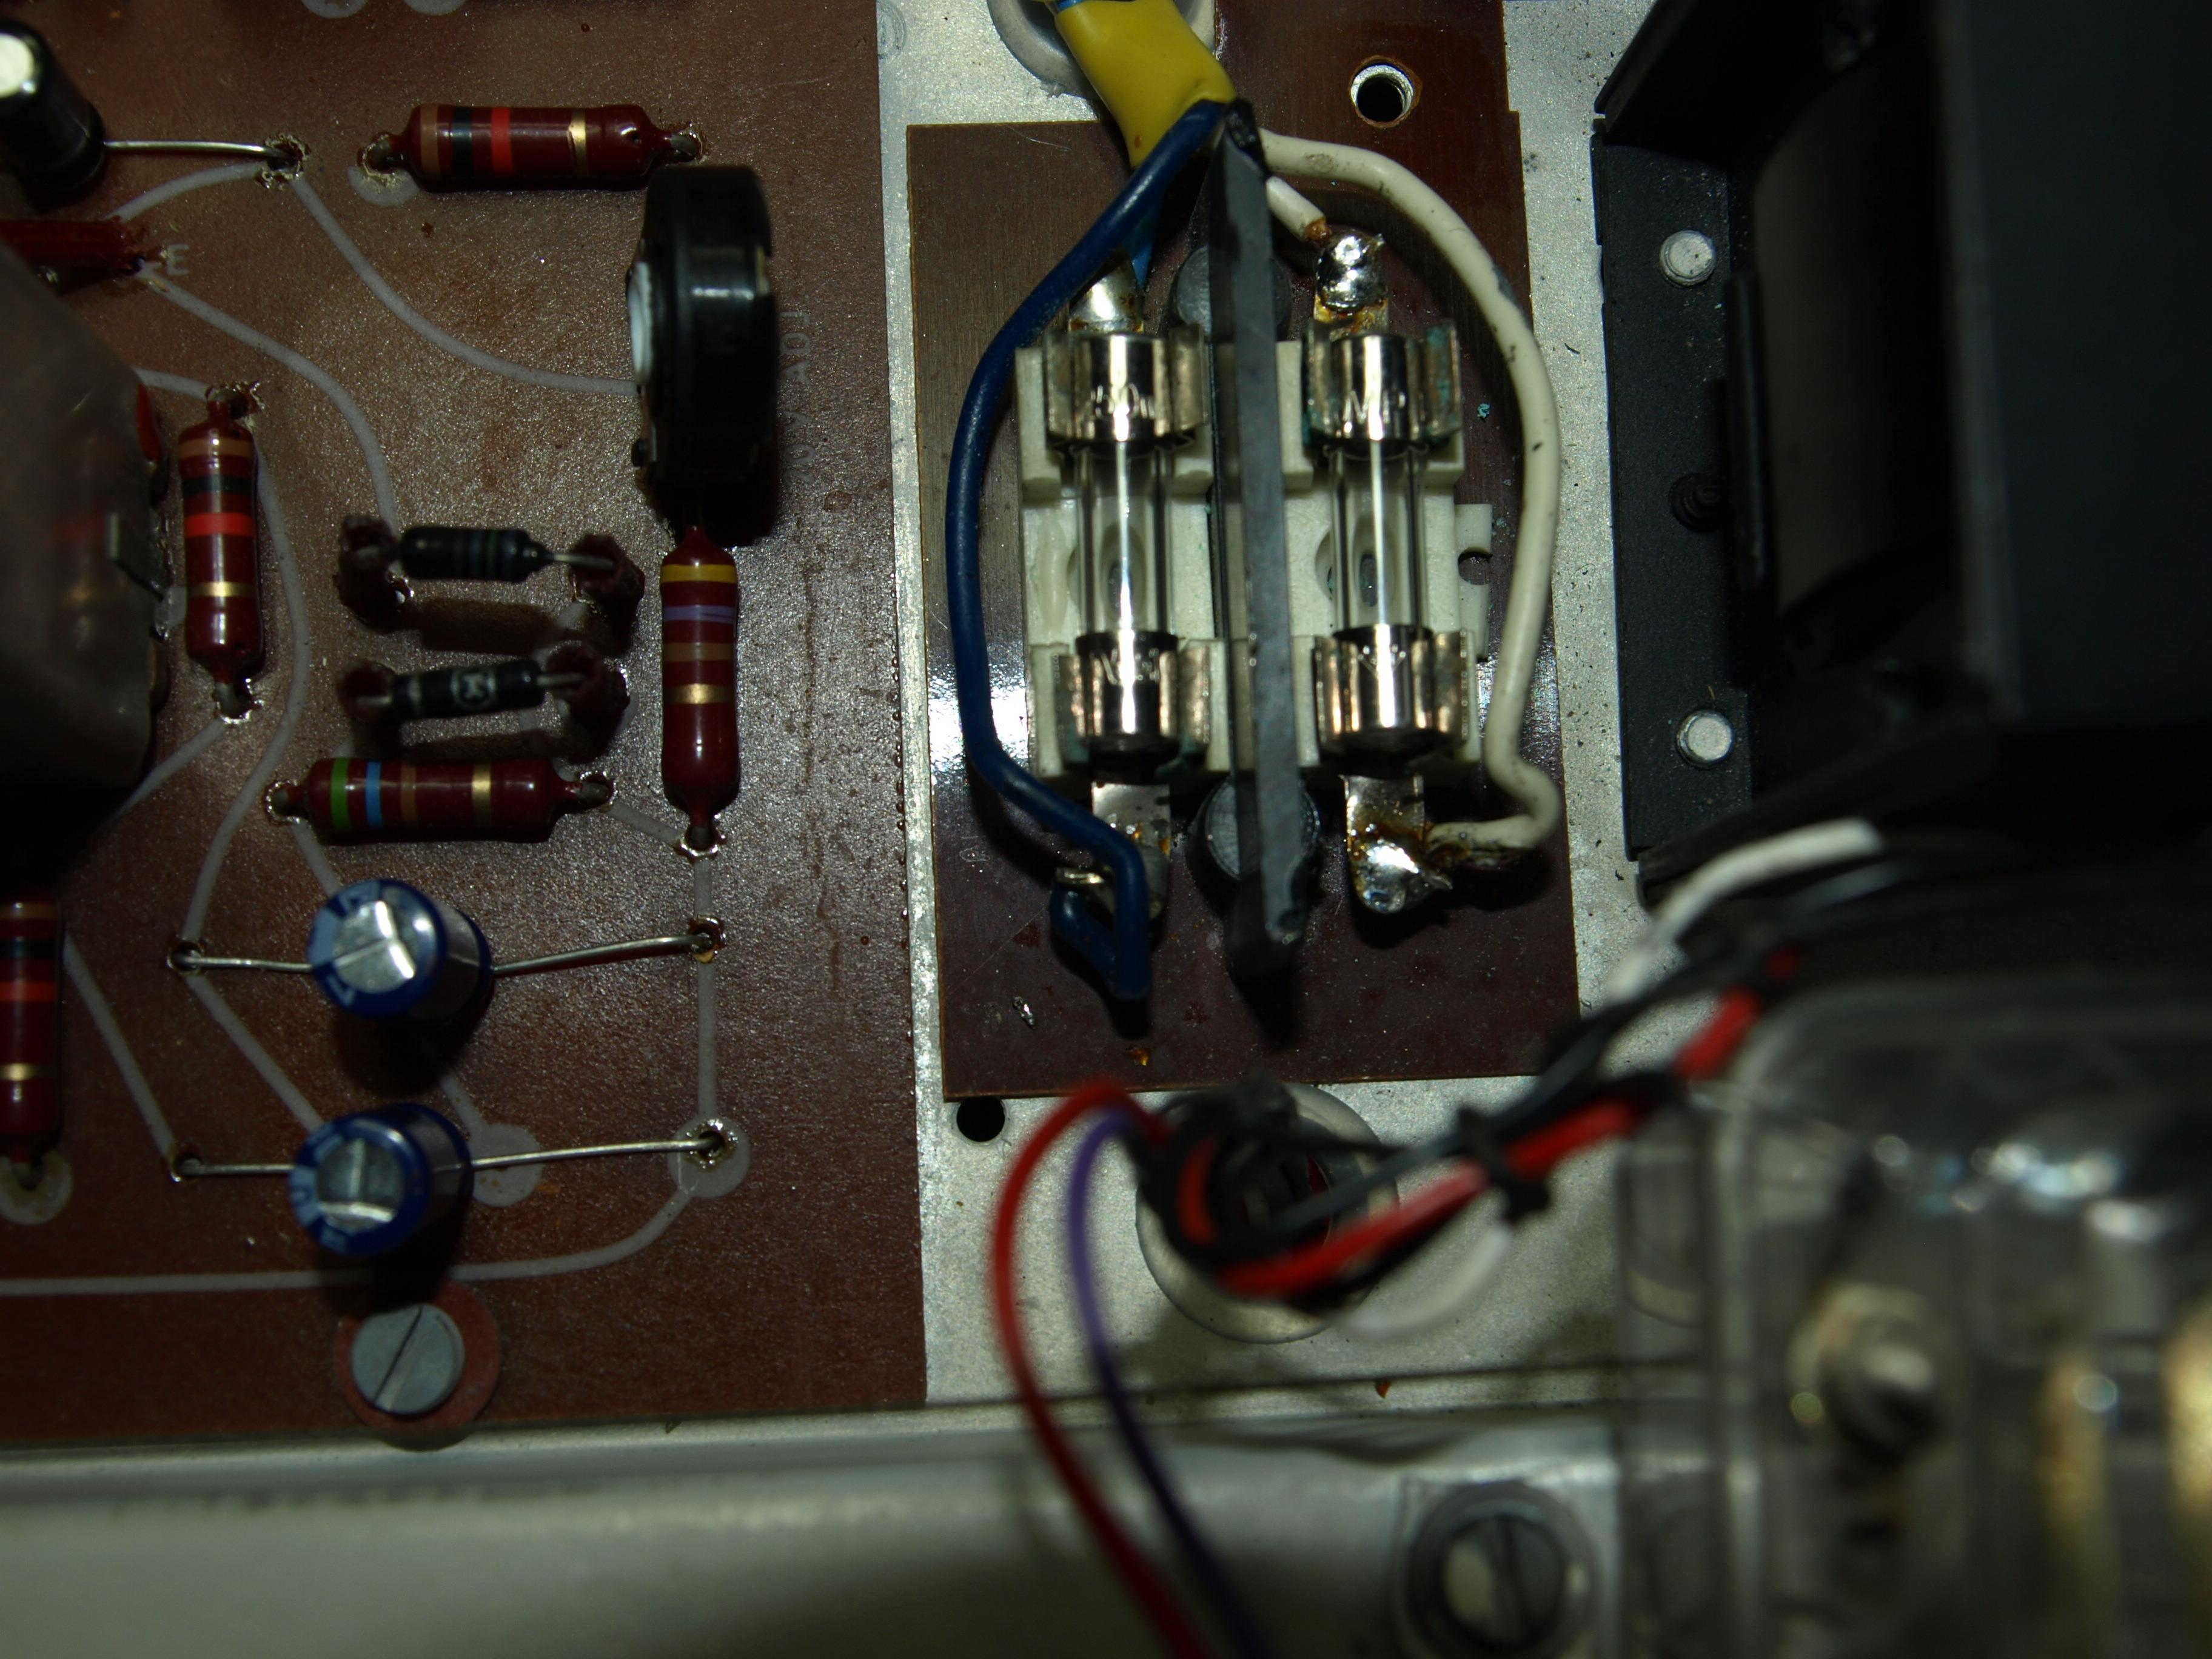
Removed the link and cleaned up the fuseholder…new fuses installed. Gingerly applied power from the variac up to 220v……and nothing happened, not necessarily a bad thing…there was no smoke or sudden popping of new fuses…..so a little fault finding exercise required….as for now a glass of wine is called for
 23 April 2022 at 16:40 #33945
Keep them coming, I like your work, think about chancing the Fairchild (black drop) transistors, Frede, Classic Audio recommend changing them
Location: Mexico city
24 April 2022 at 08:08 #33946hcraig244SILVER MemberThis is true Soren….I received this from Frede some time ago:
Craigh,
It is actually a ”short list” ?
BC 550B for npn
BC560B for pnp
When the Beolab was designed (before 1967) only a few transistors were available is really low noise versions – therefore B&O have chosen a number of different types of coarse also being able to be used and meeting the actual voltage level. But I have for many years used the above type in the pre-amplifiers.
And I am using the transistors type B because higher gain in classic electronics design is not a good idea (this is my opinion ?)
B U T — for the power amplifier and the power supply – I only use the original RCA types !!!
For the output power transistors and psu transistors — I am only using the original Motorola or RCA (there are to many “fake” 2N3055 out there).
When I am writing the original it is actually the original because I re-use these transistors from Beolab 5000 which is scrapped.
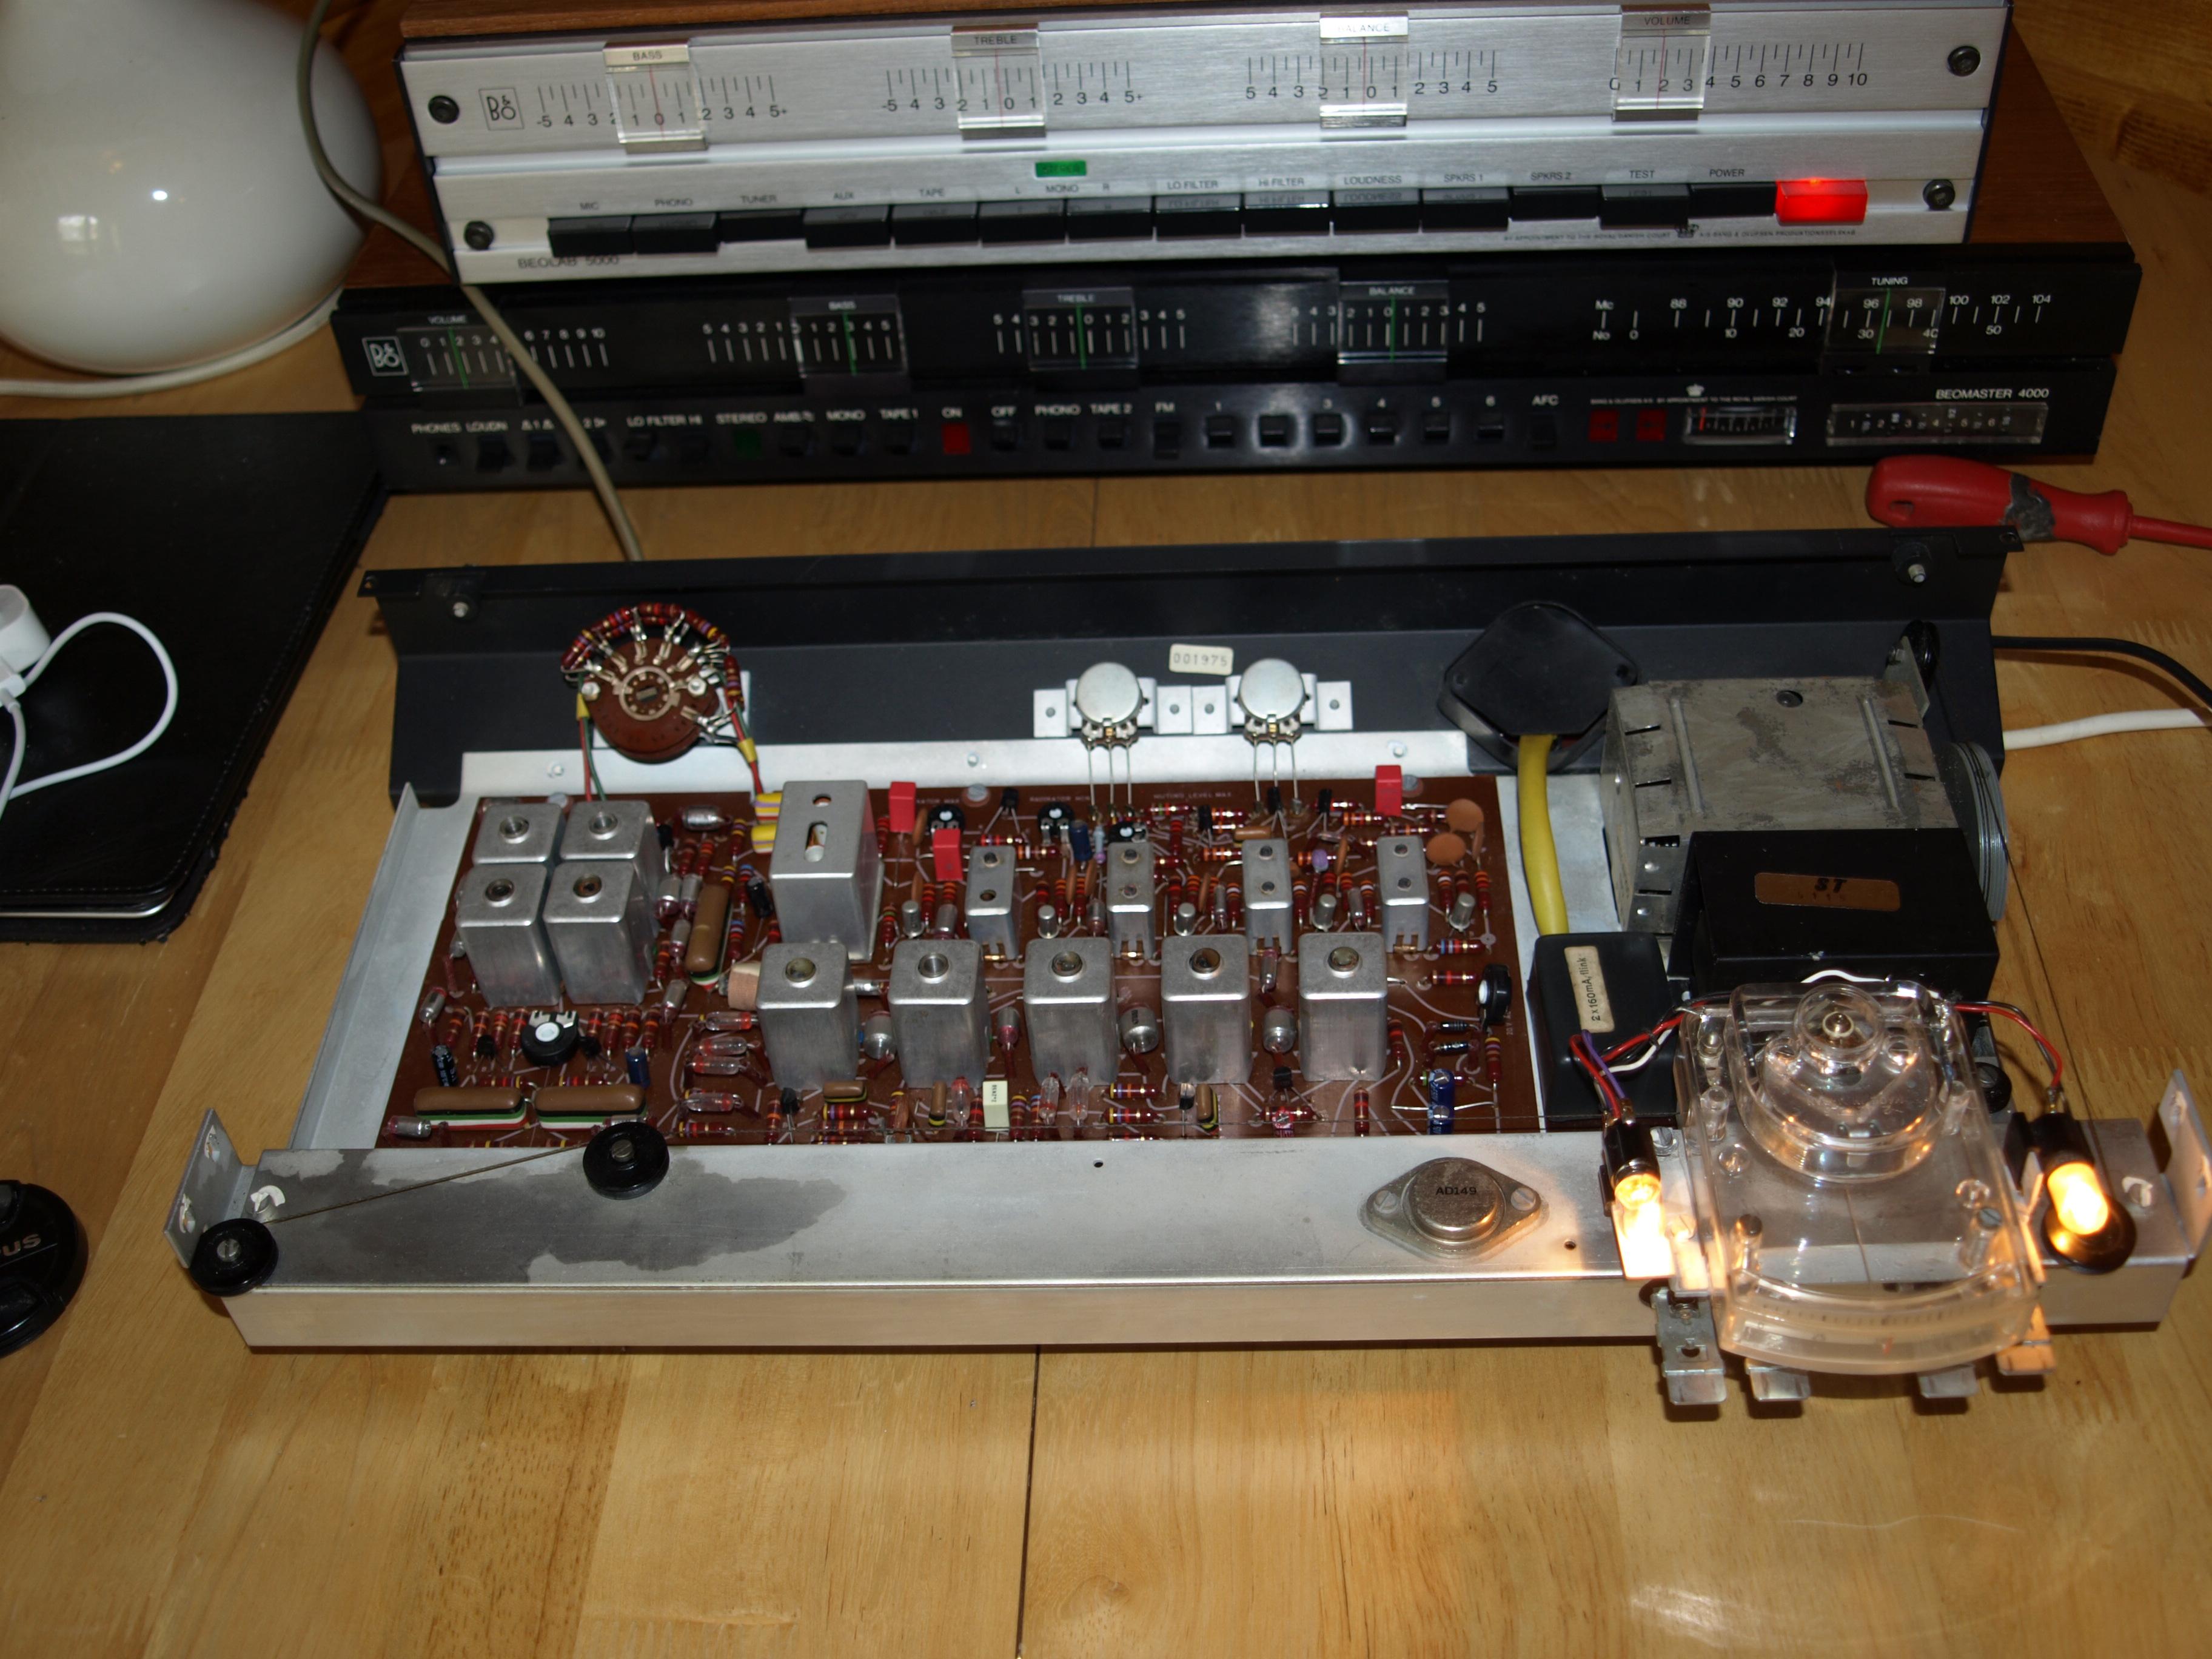
24 April 2022 at 10:25 #33947hcraig244SILVER MemberStarted by checking the 240v supply to the transformer…..all good, 32v output to the new rectifier and around 40vdc out of the rectifier. Checked the 20vdc supply and found it was around 29vdc…adjusted the new trimmer I installed and brought it back to 20vdc……checked the voltage to the power ON lamp and that was good too…..so replaced the lamp and of course it illuminated ;¬)
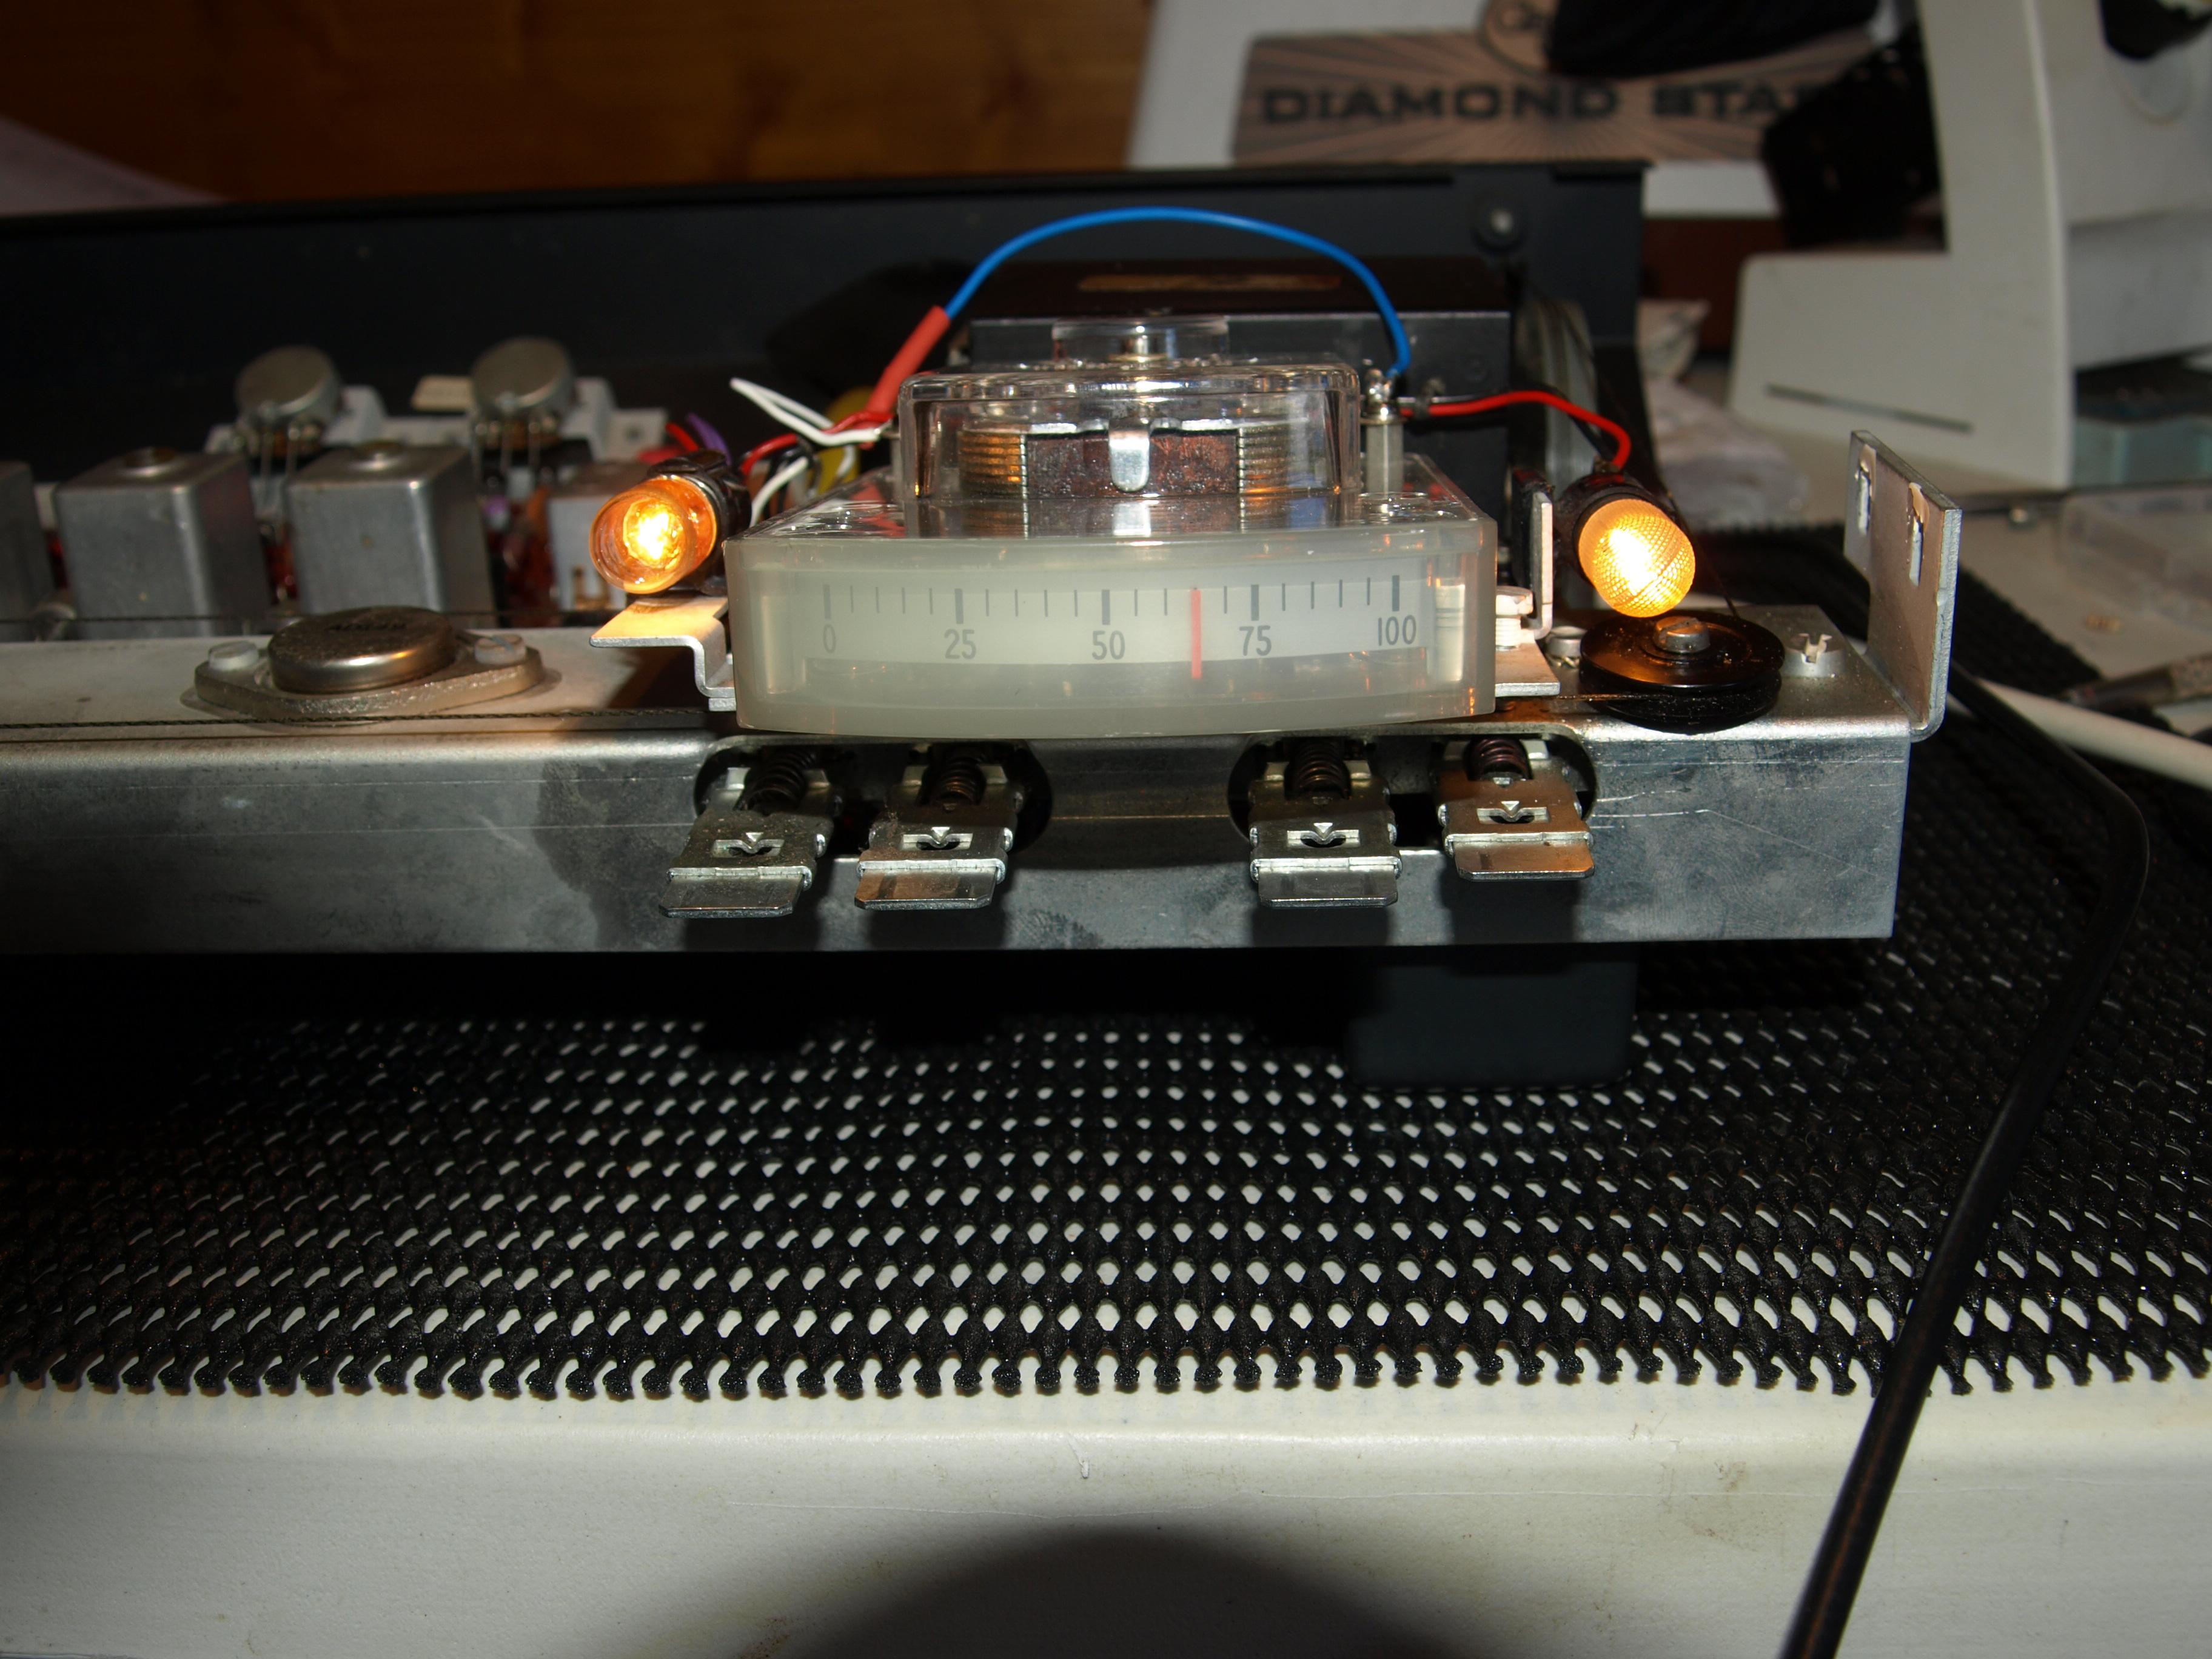
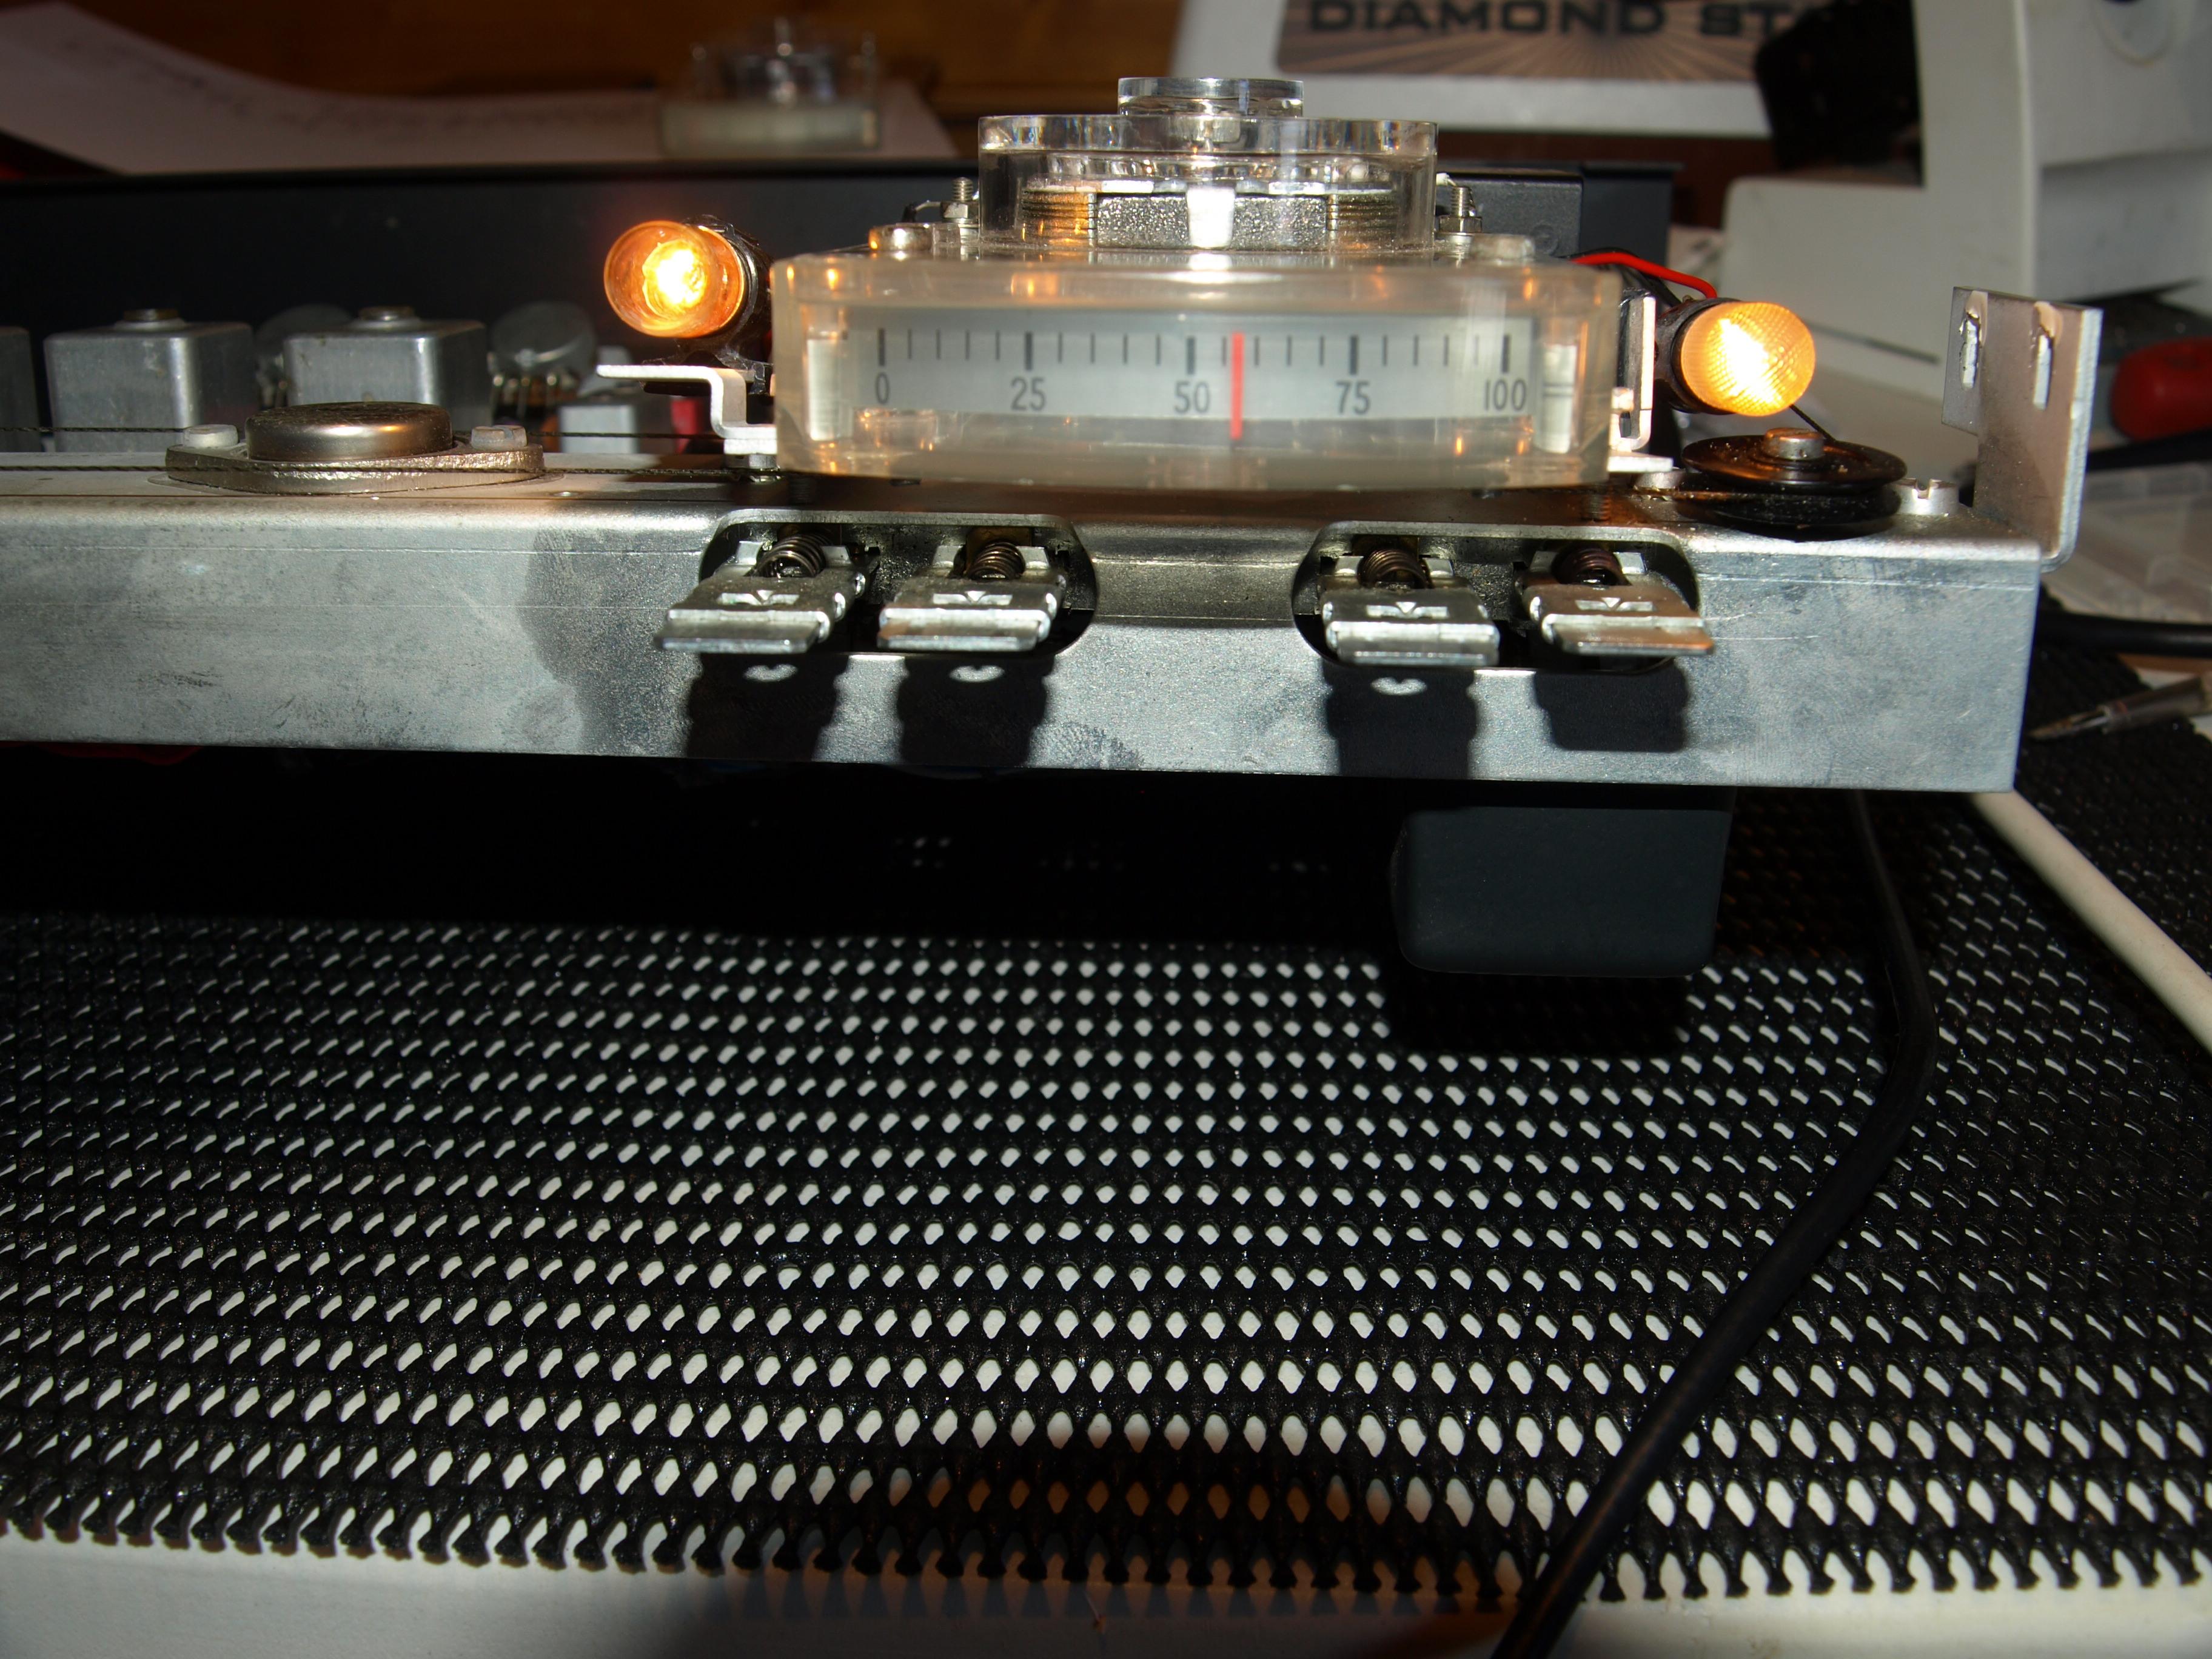
Connected a antenna and adjusted the tuning dial, the stereo lamp flickered as it passed through live broadcasts which was very encouraging…..however the tuning meter stayed hard down throughout.
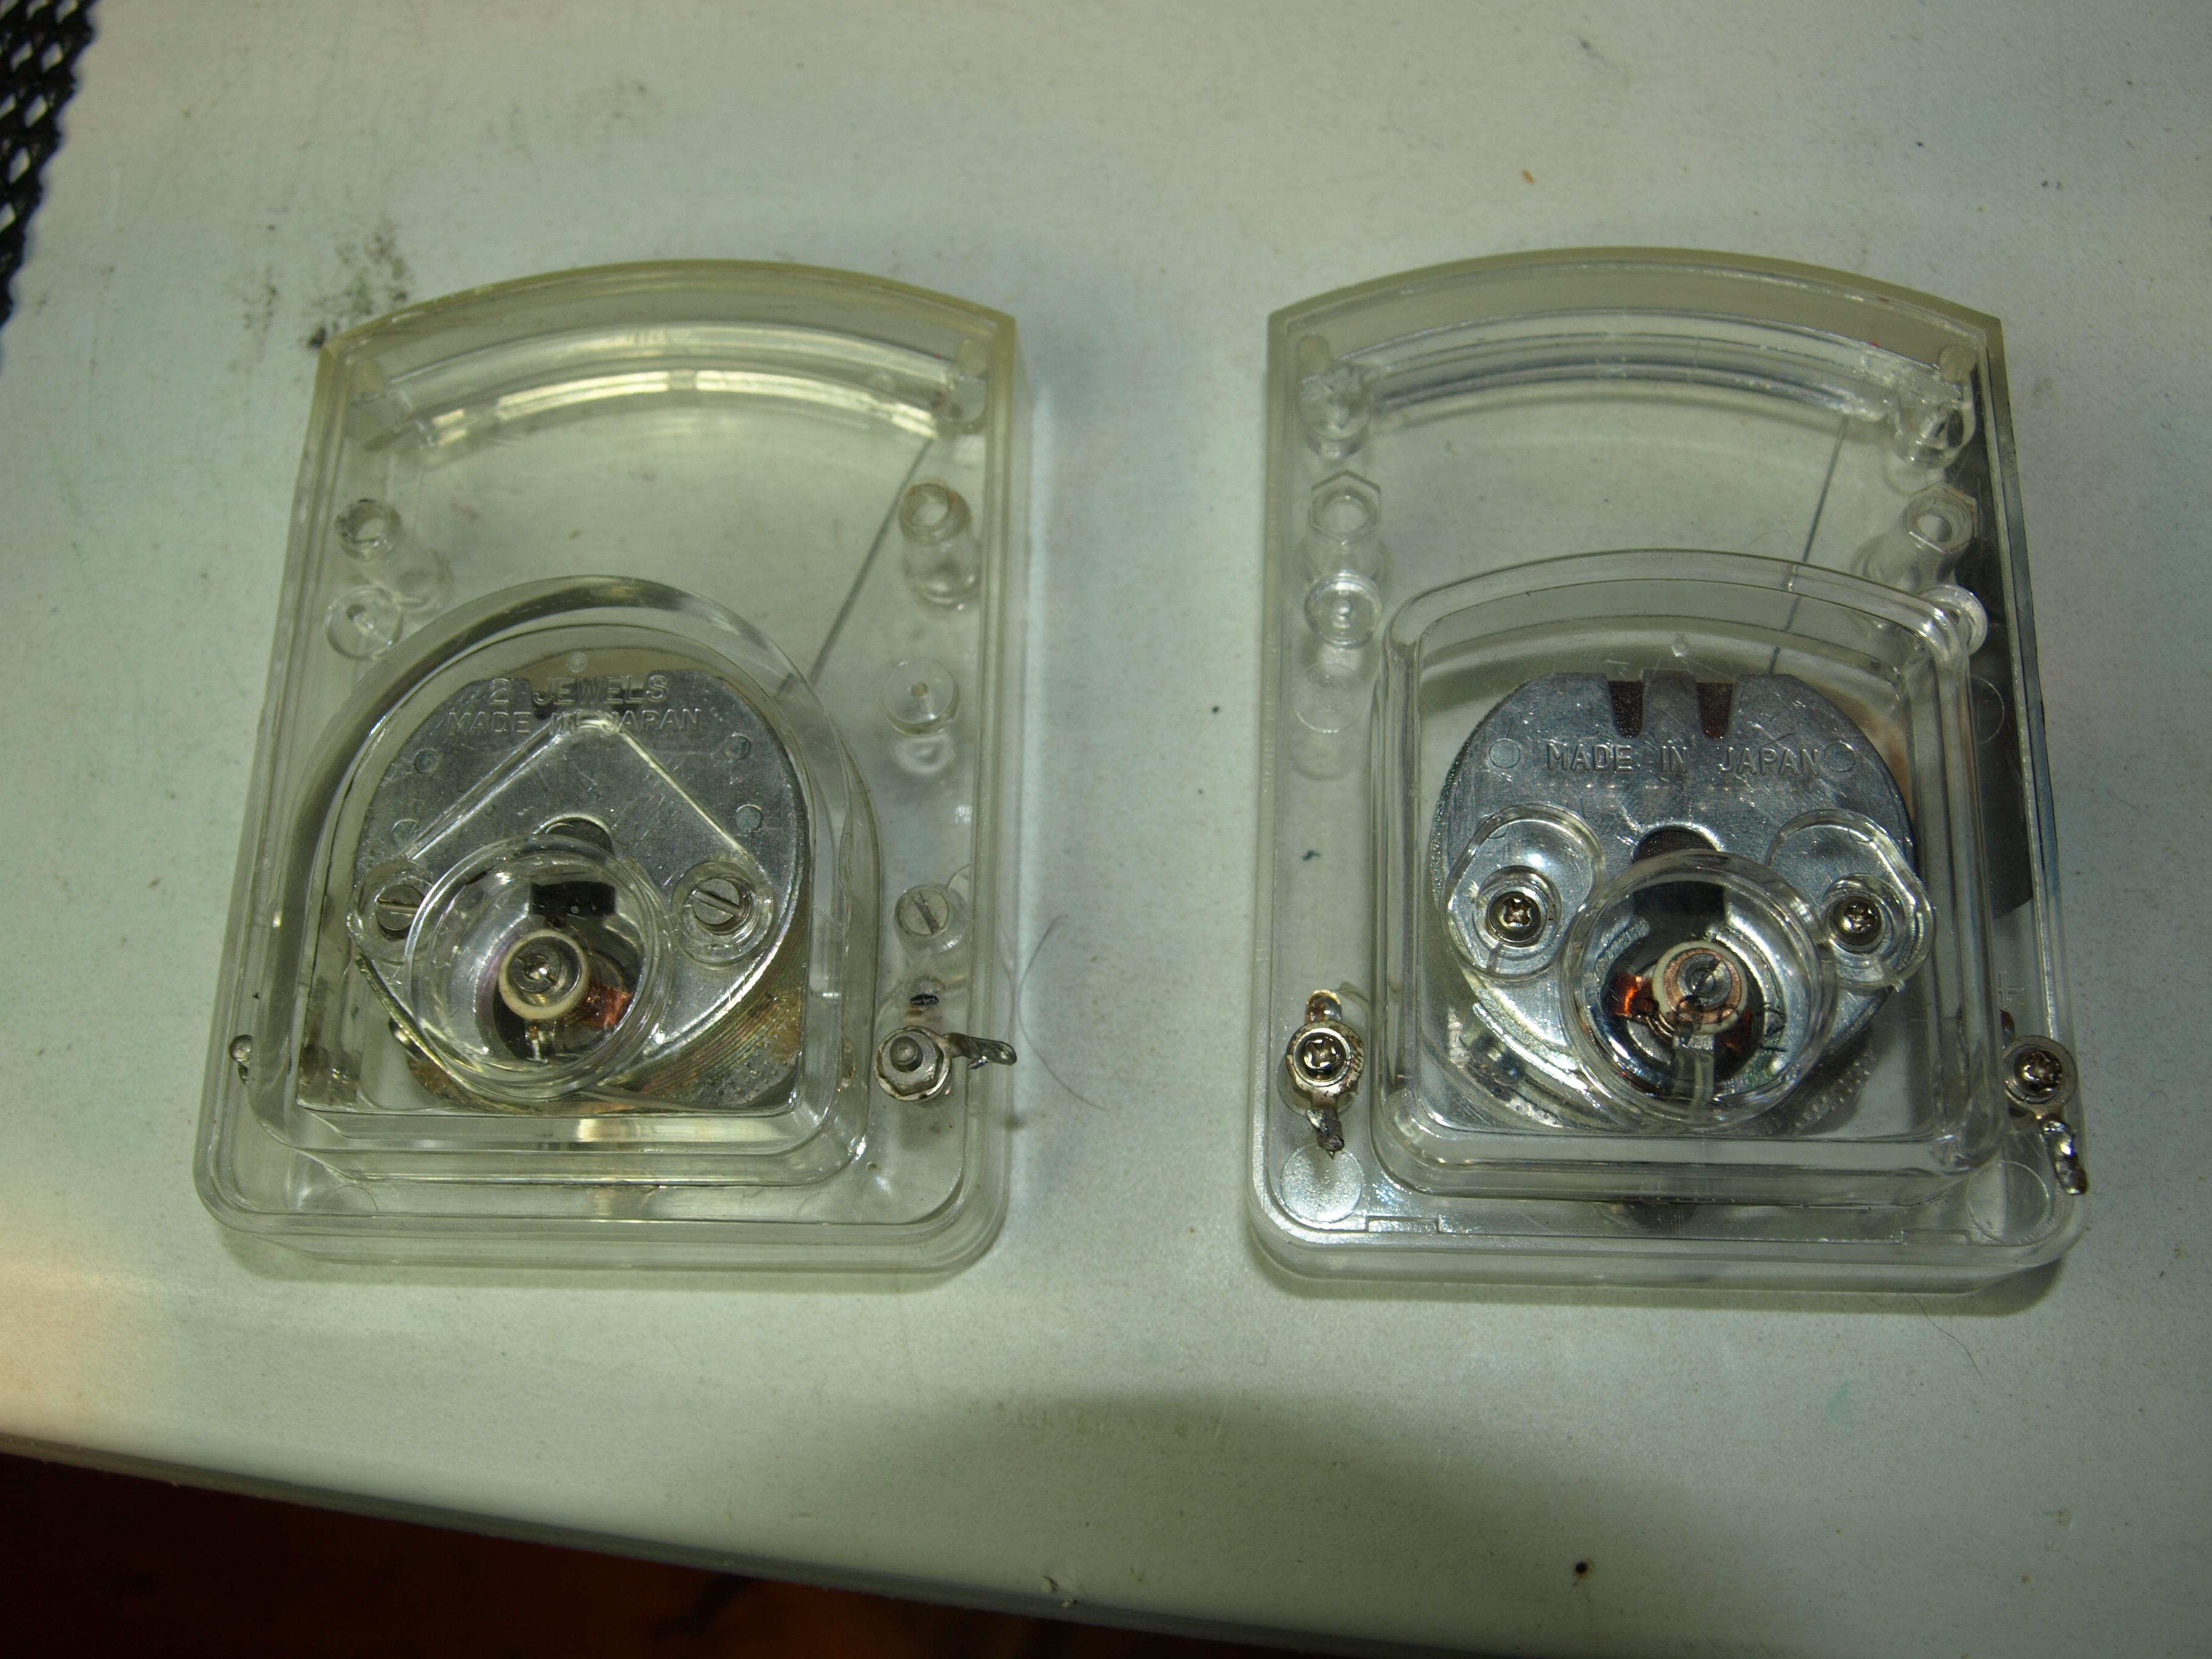
24 April 2022 at 10:30 #33948hcraig244SILVER MemberThinking I may have damaged it during cleaning I took it out, looked ok and when I put my multimeter across it to check the moving coil continuity the needle deflected 3/4 up scale, as you would expect from the current from the meter set to ohms. I got out a meter I recently replaced due to severe clouding of the lens to compare….and found this curious thing……
24 April 2022 at 10:38 #33949hcraig244SILVER MemberThe polarity of the meters are opposite, someone has erased the + / – markings from the left hand side meter and marked them up opposite to what they where…….the right hand side meter is the one with the milky lens and still has the + / – markings unchanged,
The negative marking can be seen against the right side post, the meters have different shapes too….change in design down the years I expect.
24 April 2022 at 10:47 #33950hcraig244SILVER MemberHowever I extended the + wire and soldered the cloudy meter in place and ran another test, all worked fine
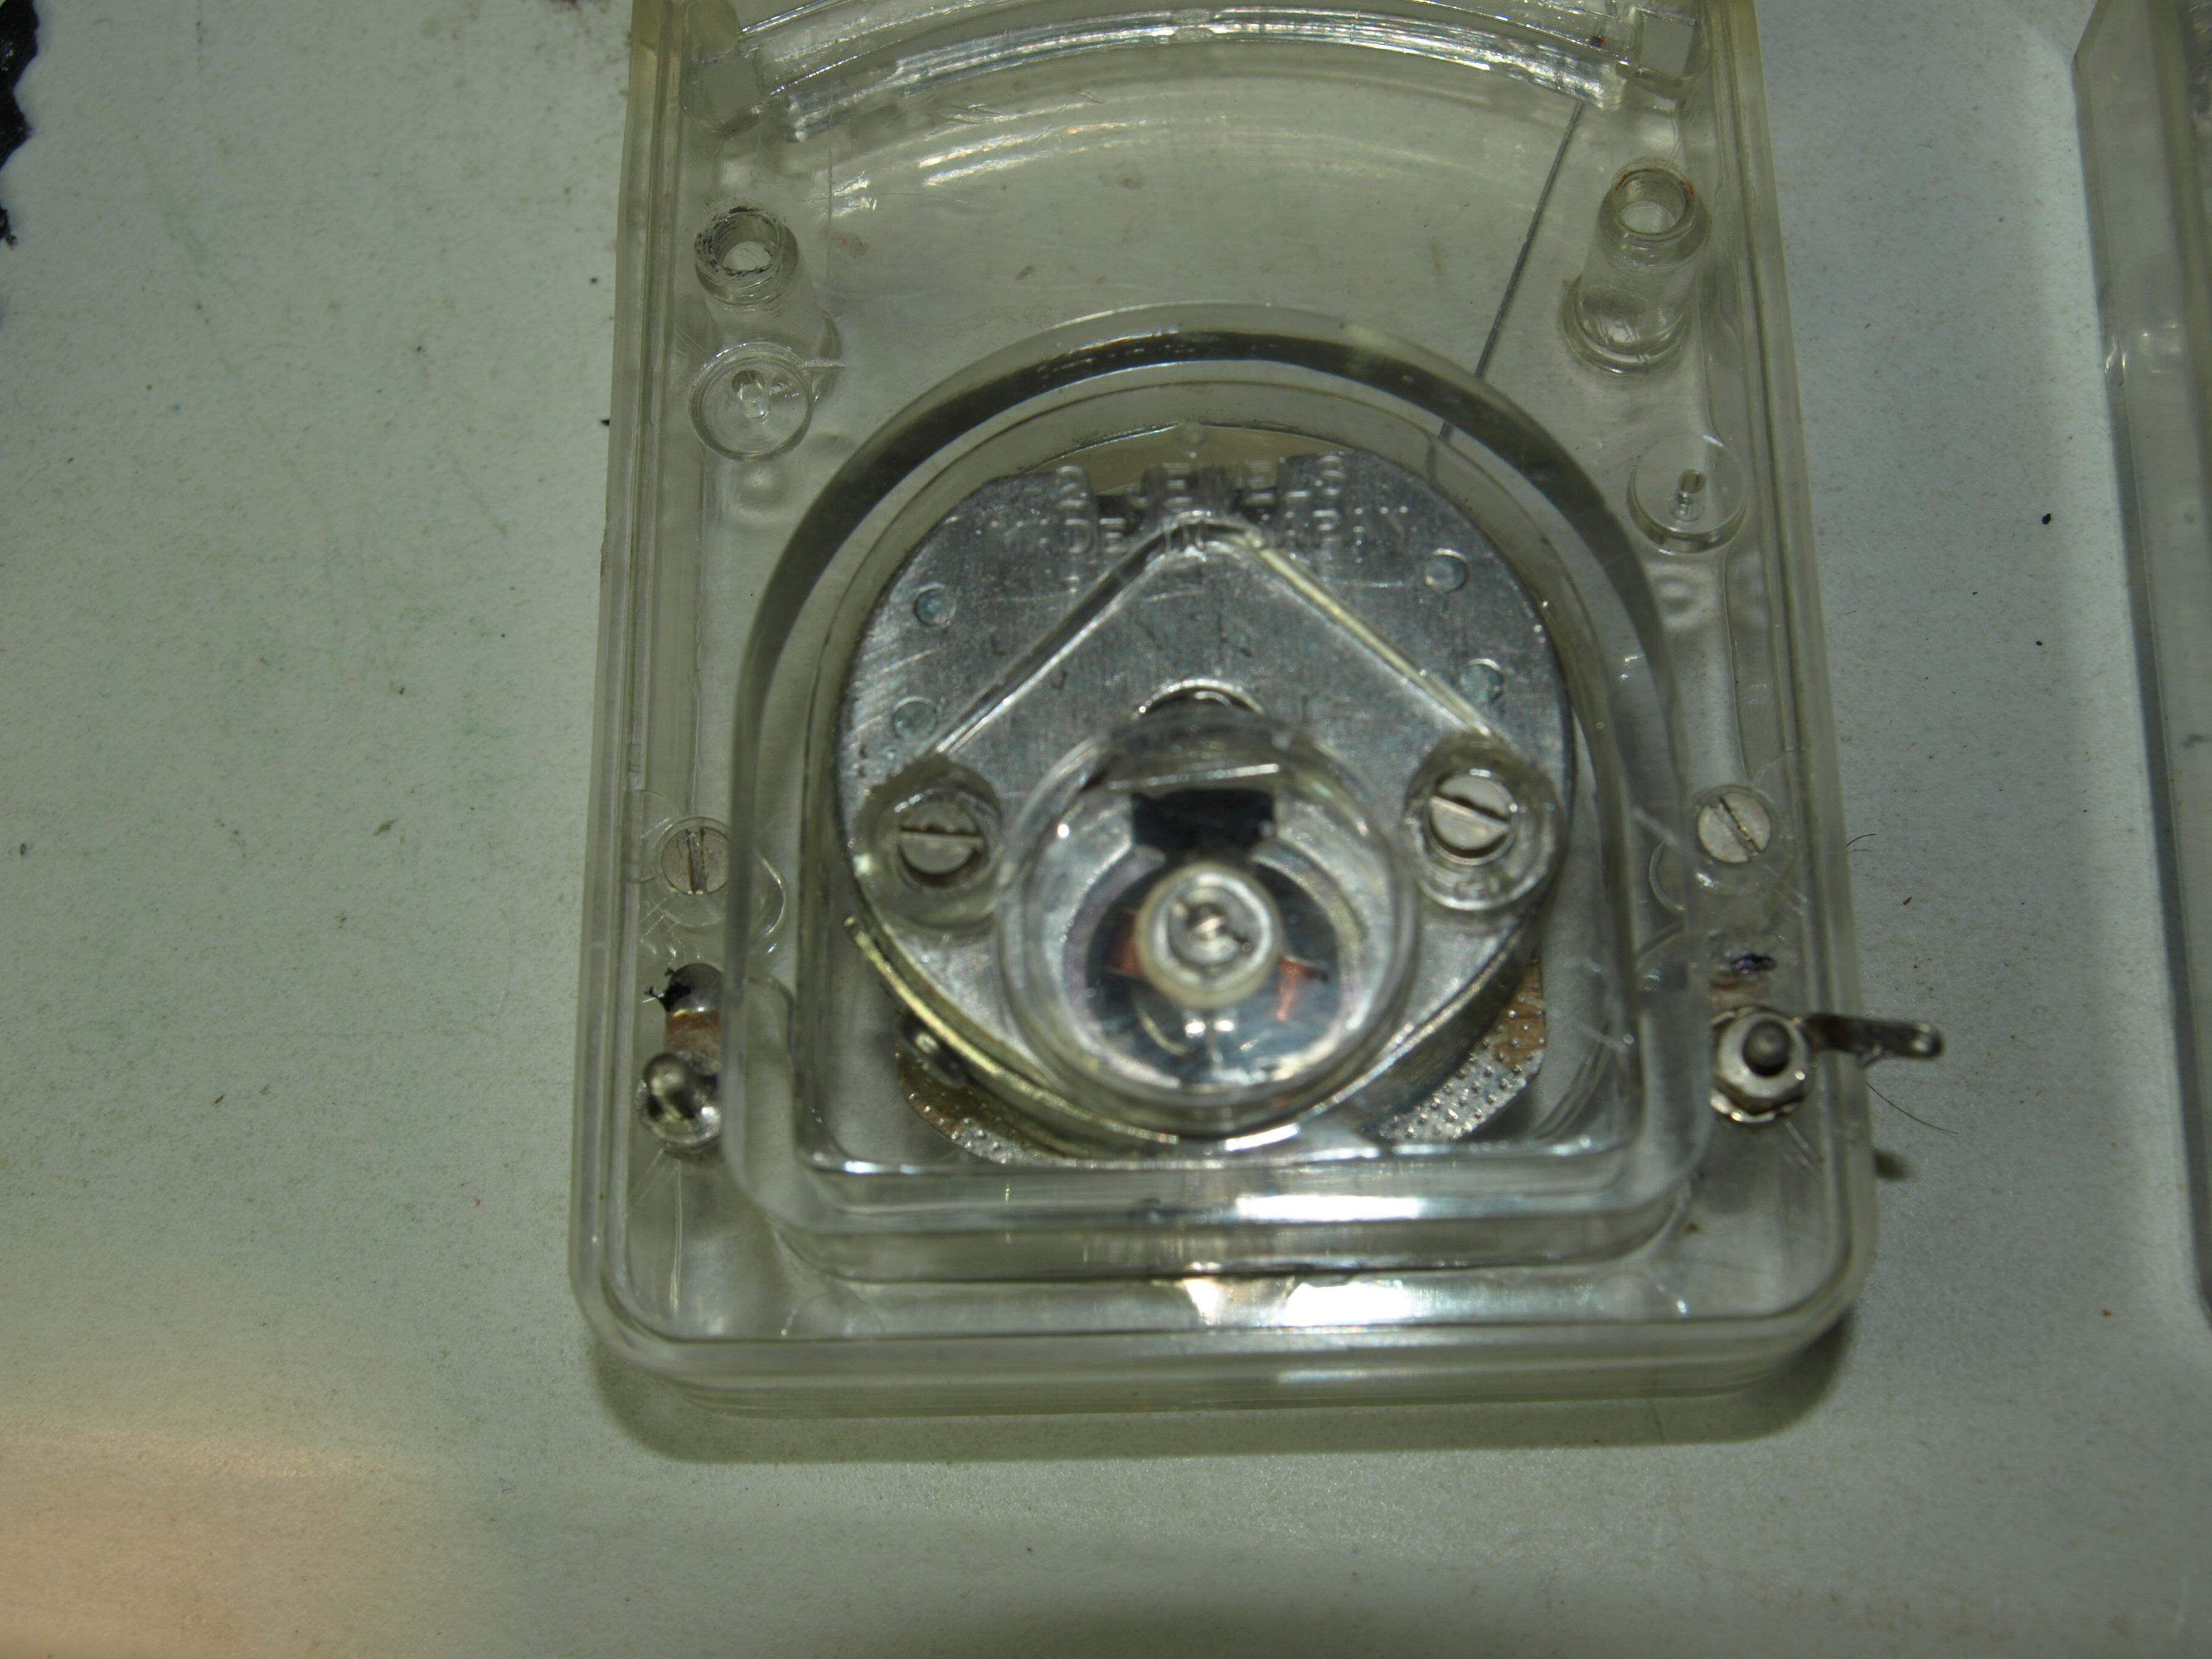
24 April 2022 at 10:52 #33951hcraig244SILVER MemberDeciding the way forward was to replace the cloudy lens with the not so cloudy lens on the one I had just installed I set about dismantling the not so cloudy meter and discovered the internal connection from the + post was loose….tightened it up put it back together and having removed the newly extended + wire I soldered it back in place…..and yes everything worked fine!……spent a couple of hours on this
25 April 2022 at 17:25 #33952hcraig244SILVER MemberCompleted all the component replacements….including the “fairchild black blobs”, fitted BC550B’s.
25 April 2022 at 17:29 #33953hcraig244SILVER MemberHooked up to a Beolab 5000 and an antenna, and I have to say that in spite of the occasional unexpected minor issue this tuner sounds tremendous….crystal clear and very stable….all that remains is to put it all back together ;¬)
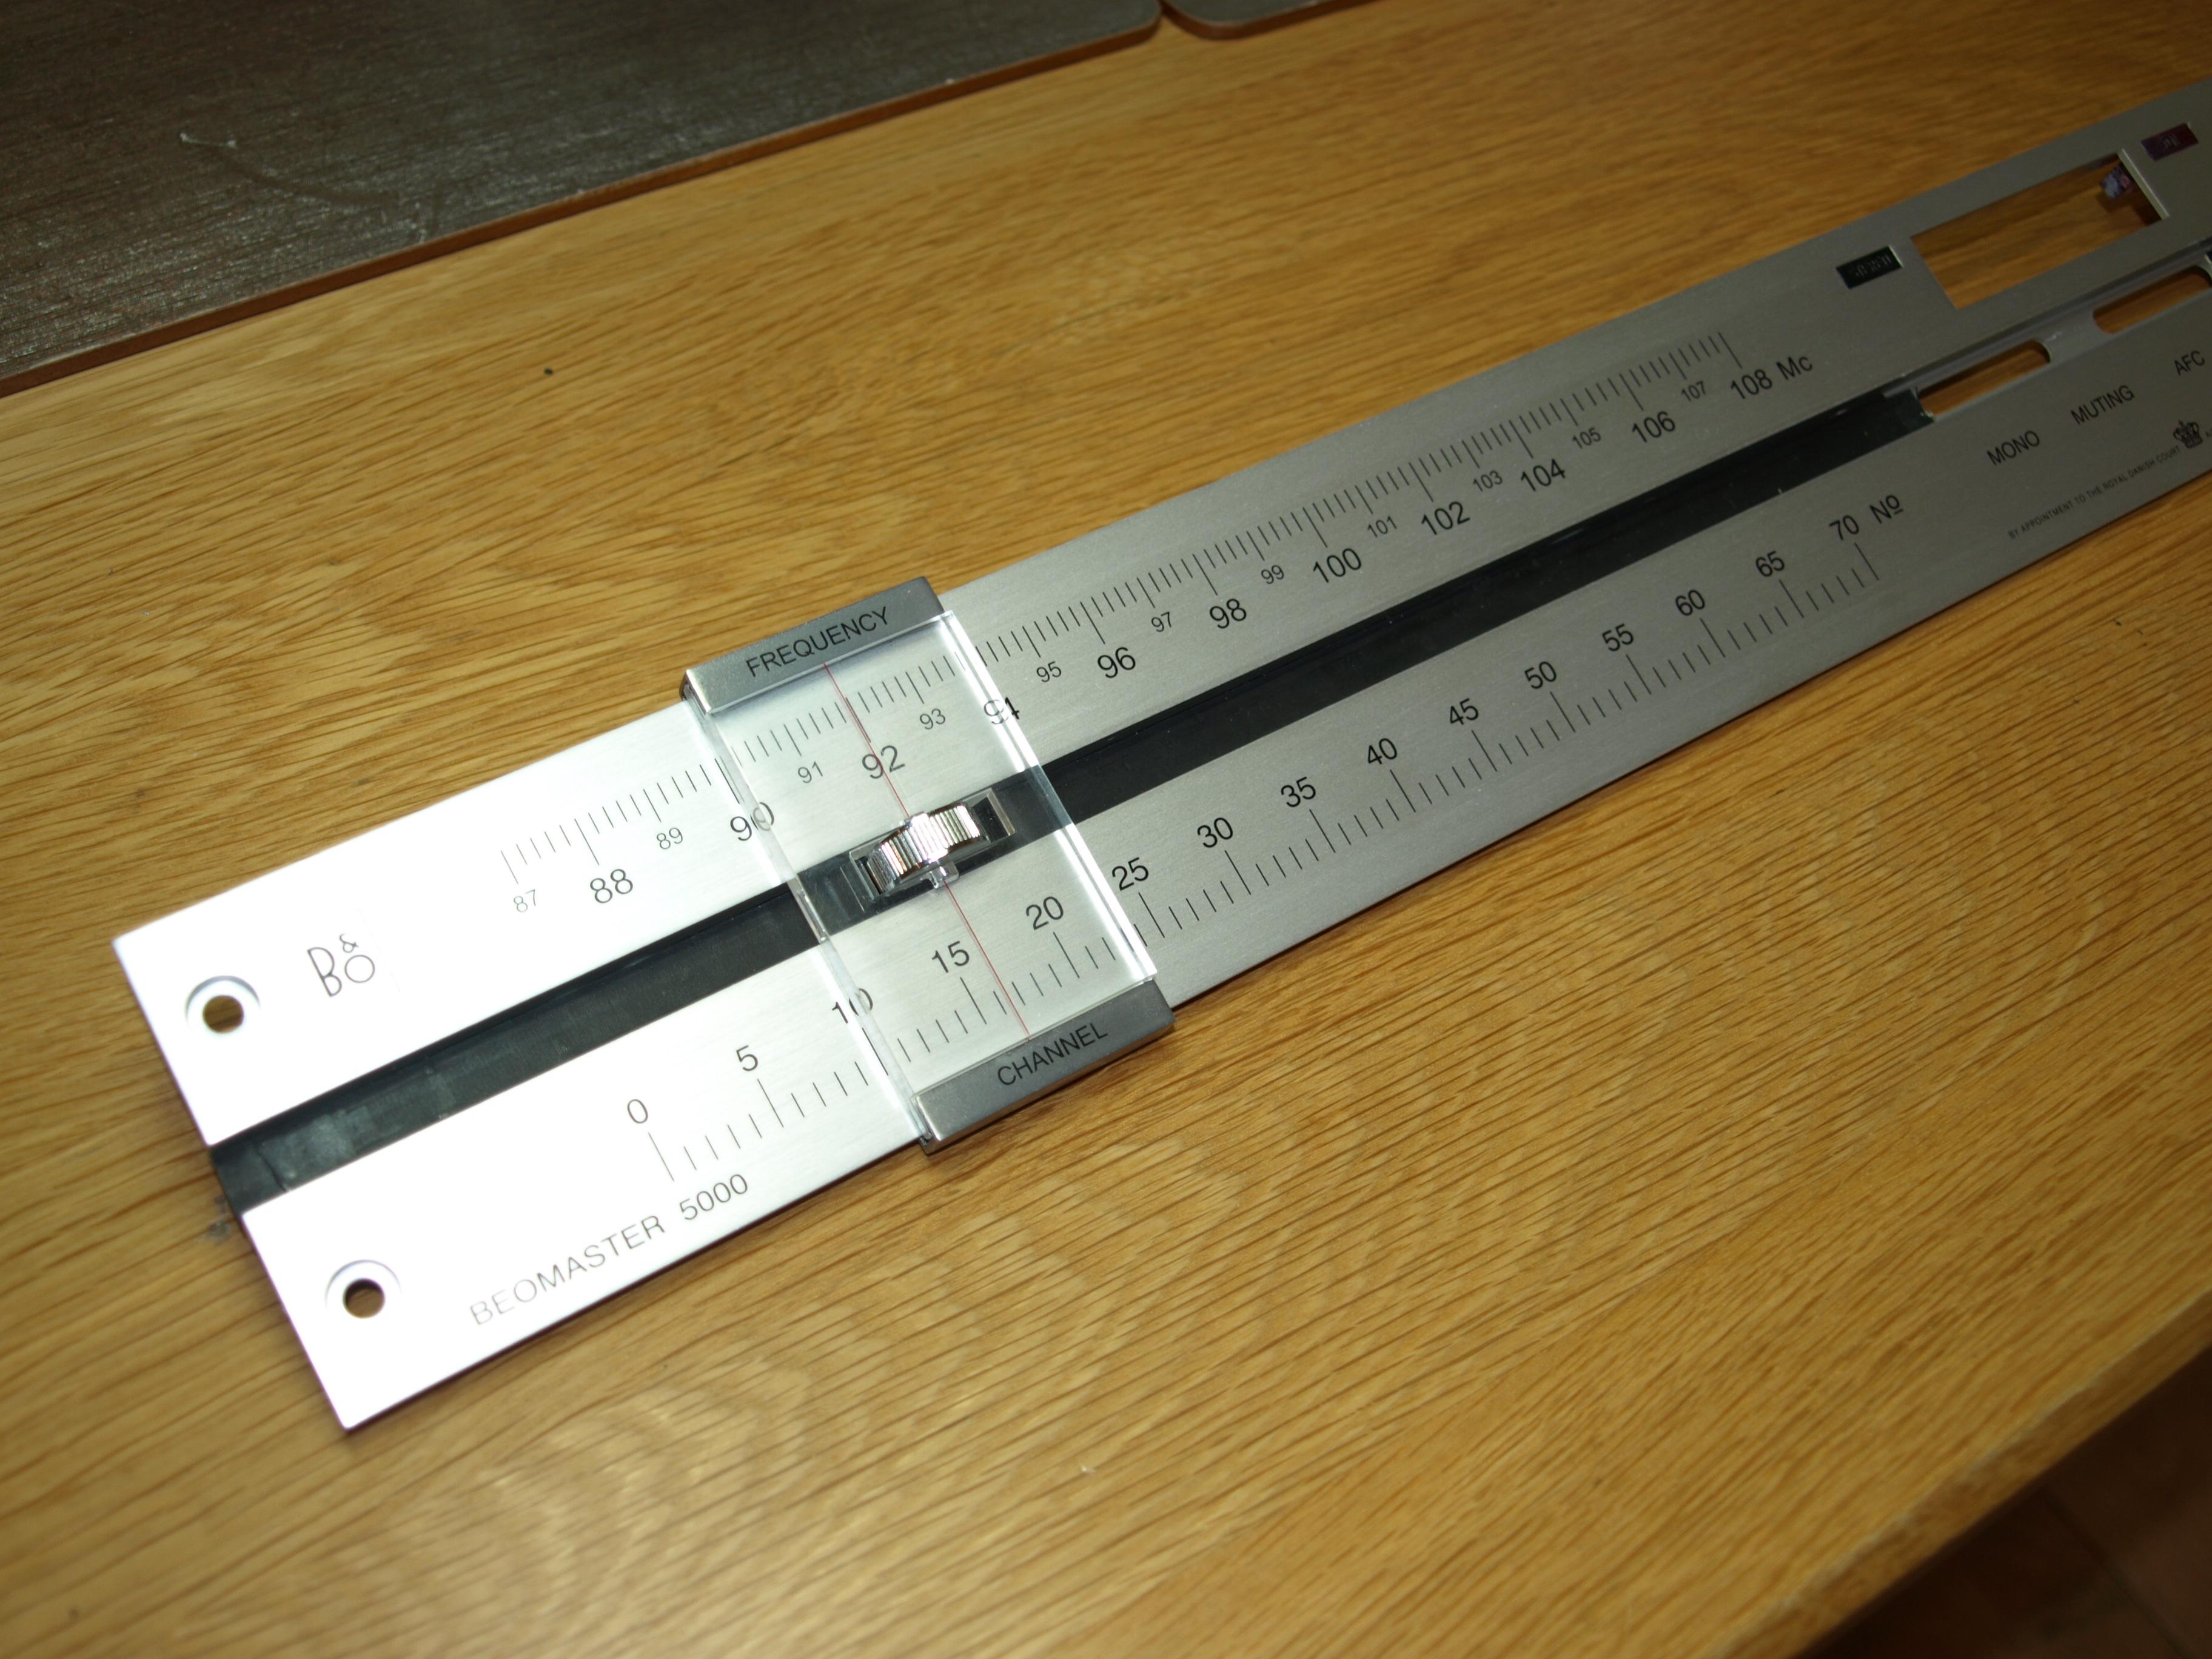
26 April 2022 at 10:44 #33954hcraig244SILVER MemberMade a start on the front panel and curser…..takes quite a bit of fiddling around to get the felt pads back in along with the nylon studs on which the curser rides…..
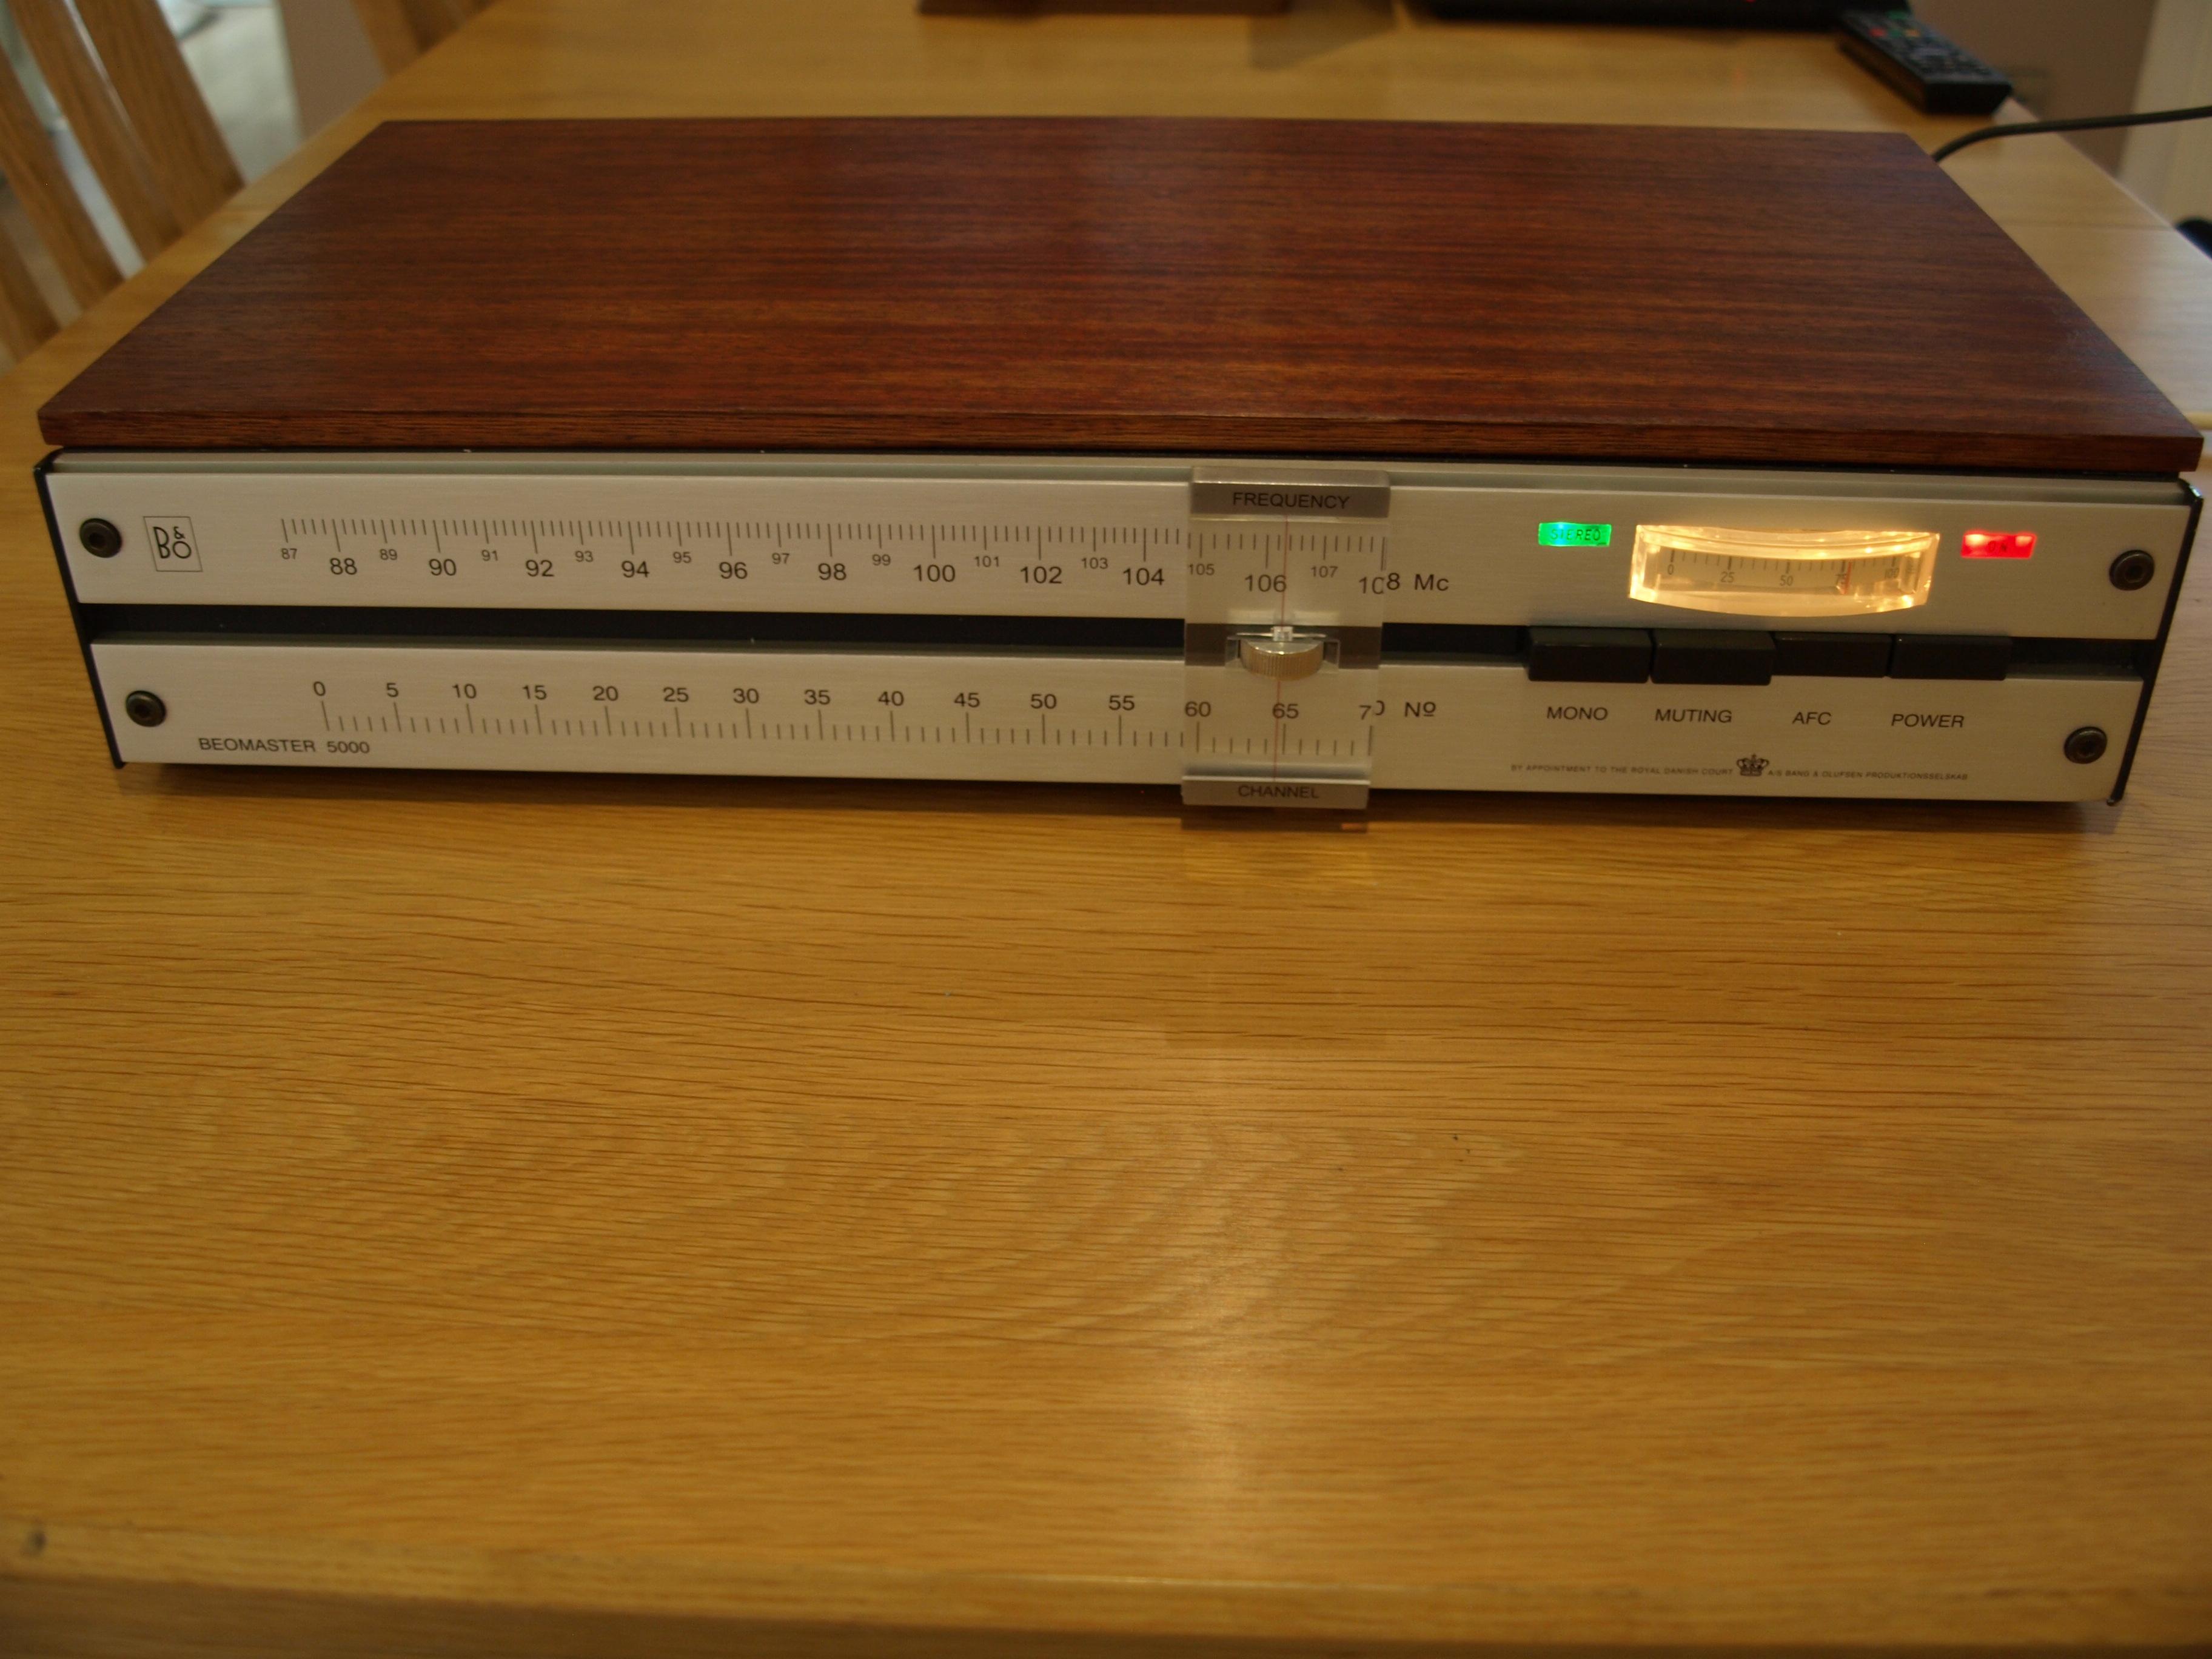
27 April 2022 at 10:09 #33955hcraig244SILVER MemberAll complete and fully tested…..does sound very good for an old girl, I think it can now be identified as restored……
1 March 2024 at 16:32 #33928hcraig244SILVER Member -
AuthorPosts

- You must be logged in to reply to this topic.