Home › Forums › Product Discussion & Questions › BeoGram › Beogram 4002 Restoration
Tagged: Beogram 4002 4000c plinth frame restoration record player cabinet woodworking furniture making
- This topic has 46 replies, 15 voices, and was last updated 6 months, 3 weeks ago by
alf.
-
AuthorPosts
-
15 April 2024 at 20:53 #54000
ChristianHak
BRONZE MemberVery nice indeed. For shipping considerations, it would also be good to know where you ship from. Martin
Hi Martin,
These will be shipped from Brisbane, Australia. Currently, the best price I can find for shipping is ~$45 (Australian dollars) which includes tracking. This is roughly 30USD, 30EUR, 24GBP.
I also thought I would note that I studied furniture making in Copenhagen, Denmark and make fine furniture for a living, so I will make sure that these are perfect before I send them off to the wider world 🙂
15 April 2024 at 21:00 #54001ChristianHak
BRONZE MemberA minor improvement would be to add some support between the ends of the “U” (i.e. make it structurally more like an “O”). This would reduce the chance that the plinth breaks due to its own mass during a hard impact. I’m always a bit surprised by how brutal shipping can be. When I pack something for shipping, I imagine it being dropped off a moving vehicle, then sat on by a toddler. ? Glitch
Hi Glitch,
Yes, shipping can be brutal! I was contemplating doing a few drop and bump tests but I didn’t want to destroy some perfectly good packaging (the honeycomb cardboard isn’t the cheapest) haha.I will take on board your suggestion and incorporate a support between the open end of the plinth by gluing in a spacer.
16 April 2024 at 12:43 #54002etype76
BRONZE MemberI’ll check the dimensions of the 4000 this weekend and post pics.
4 May 2024 at 23:11 #54795ChristianHak
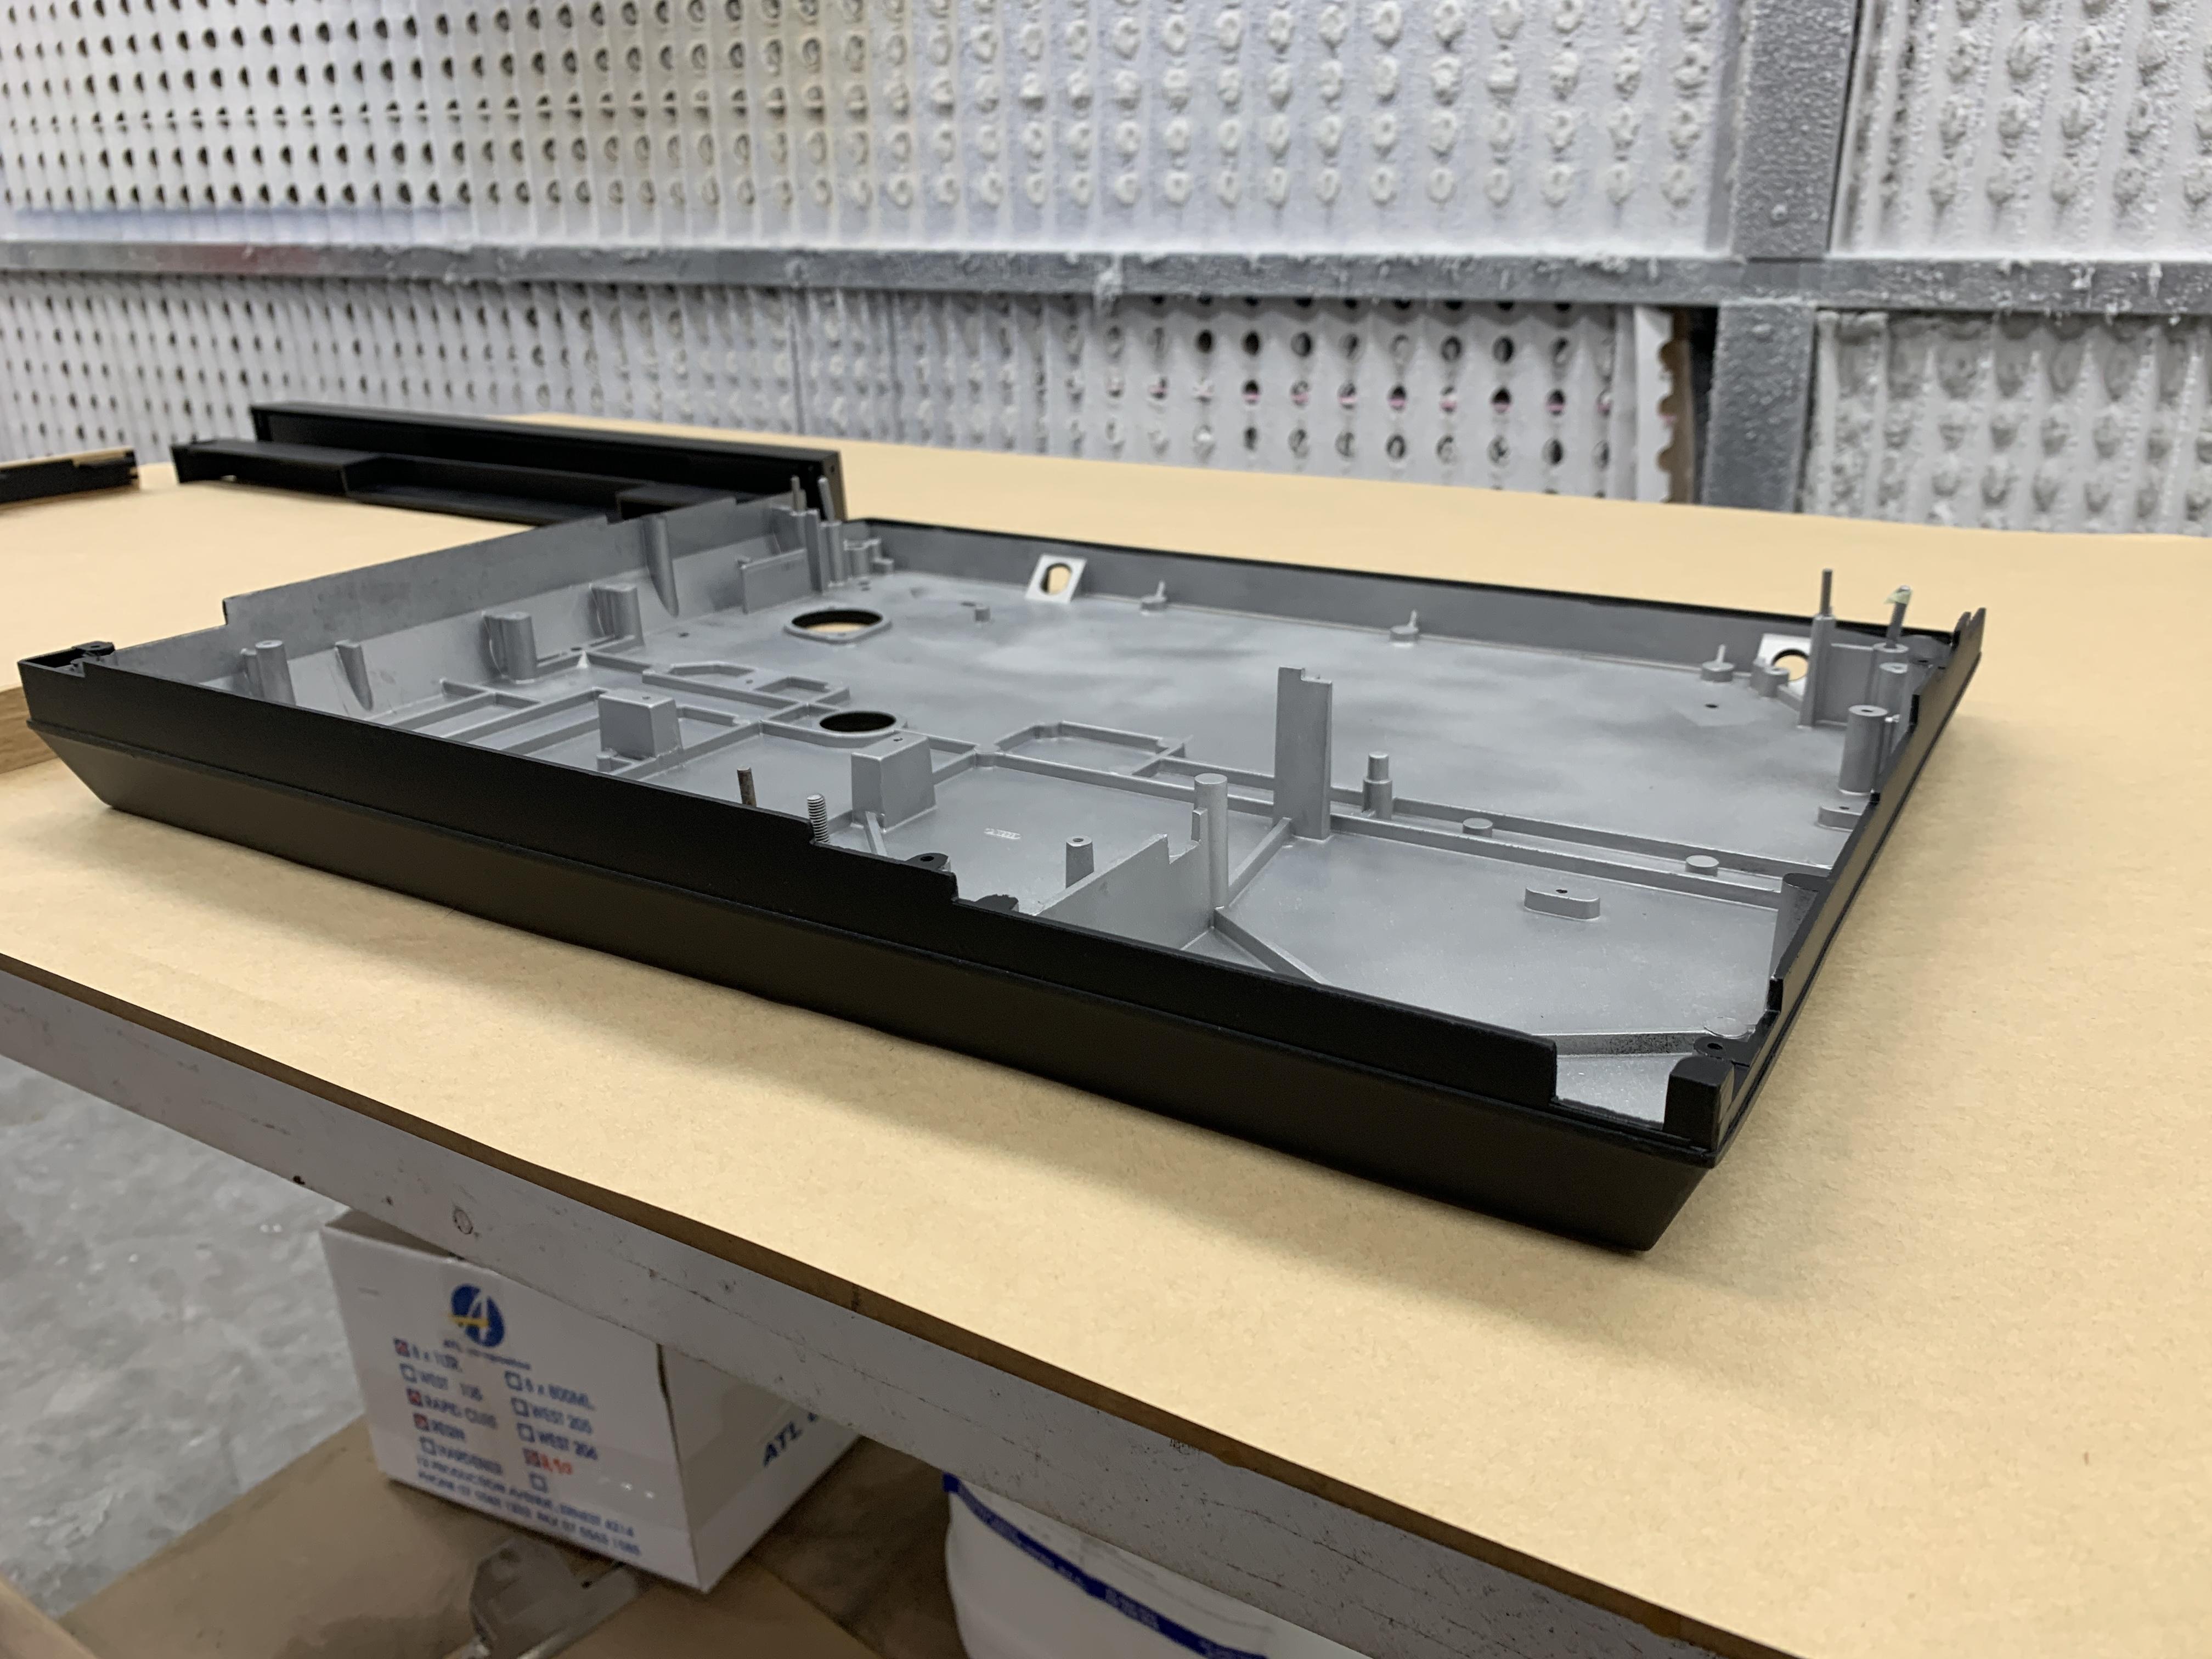
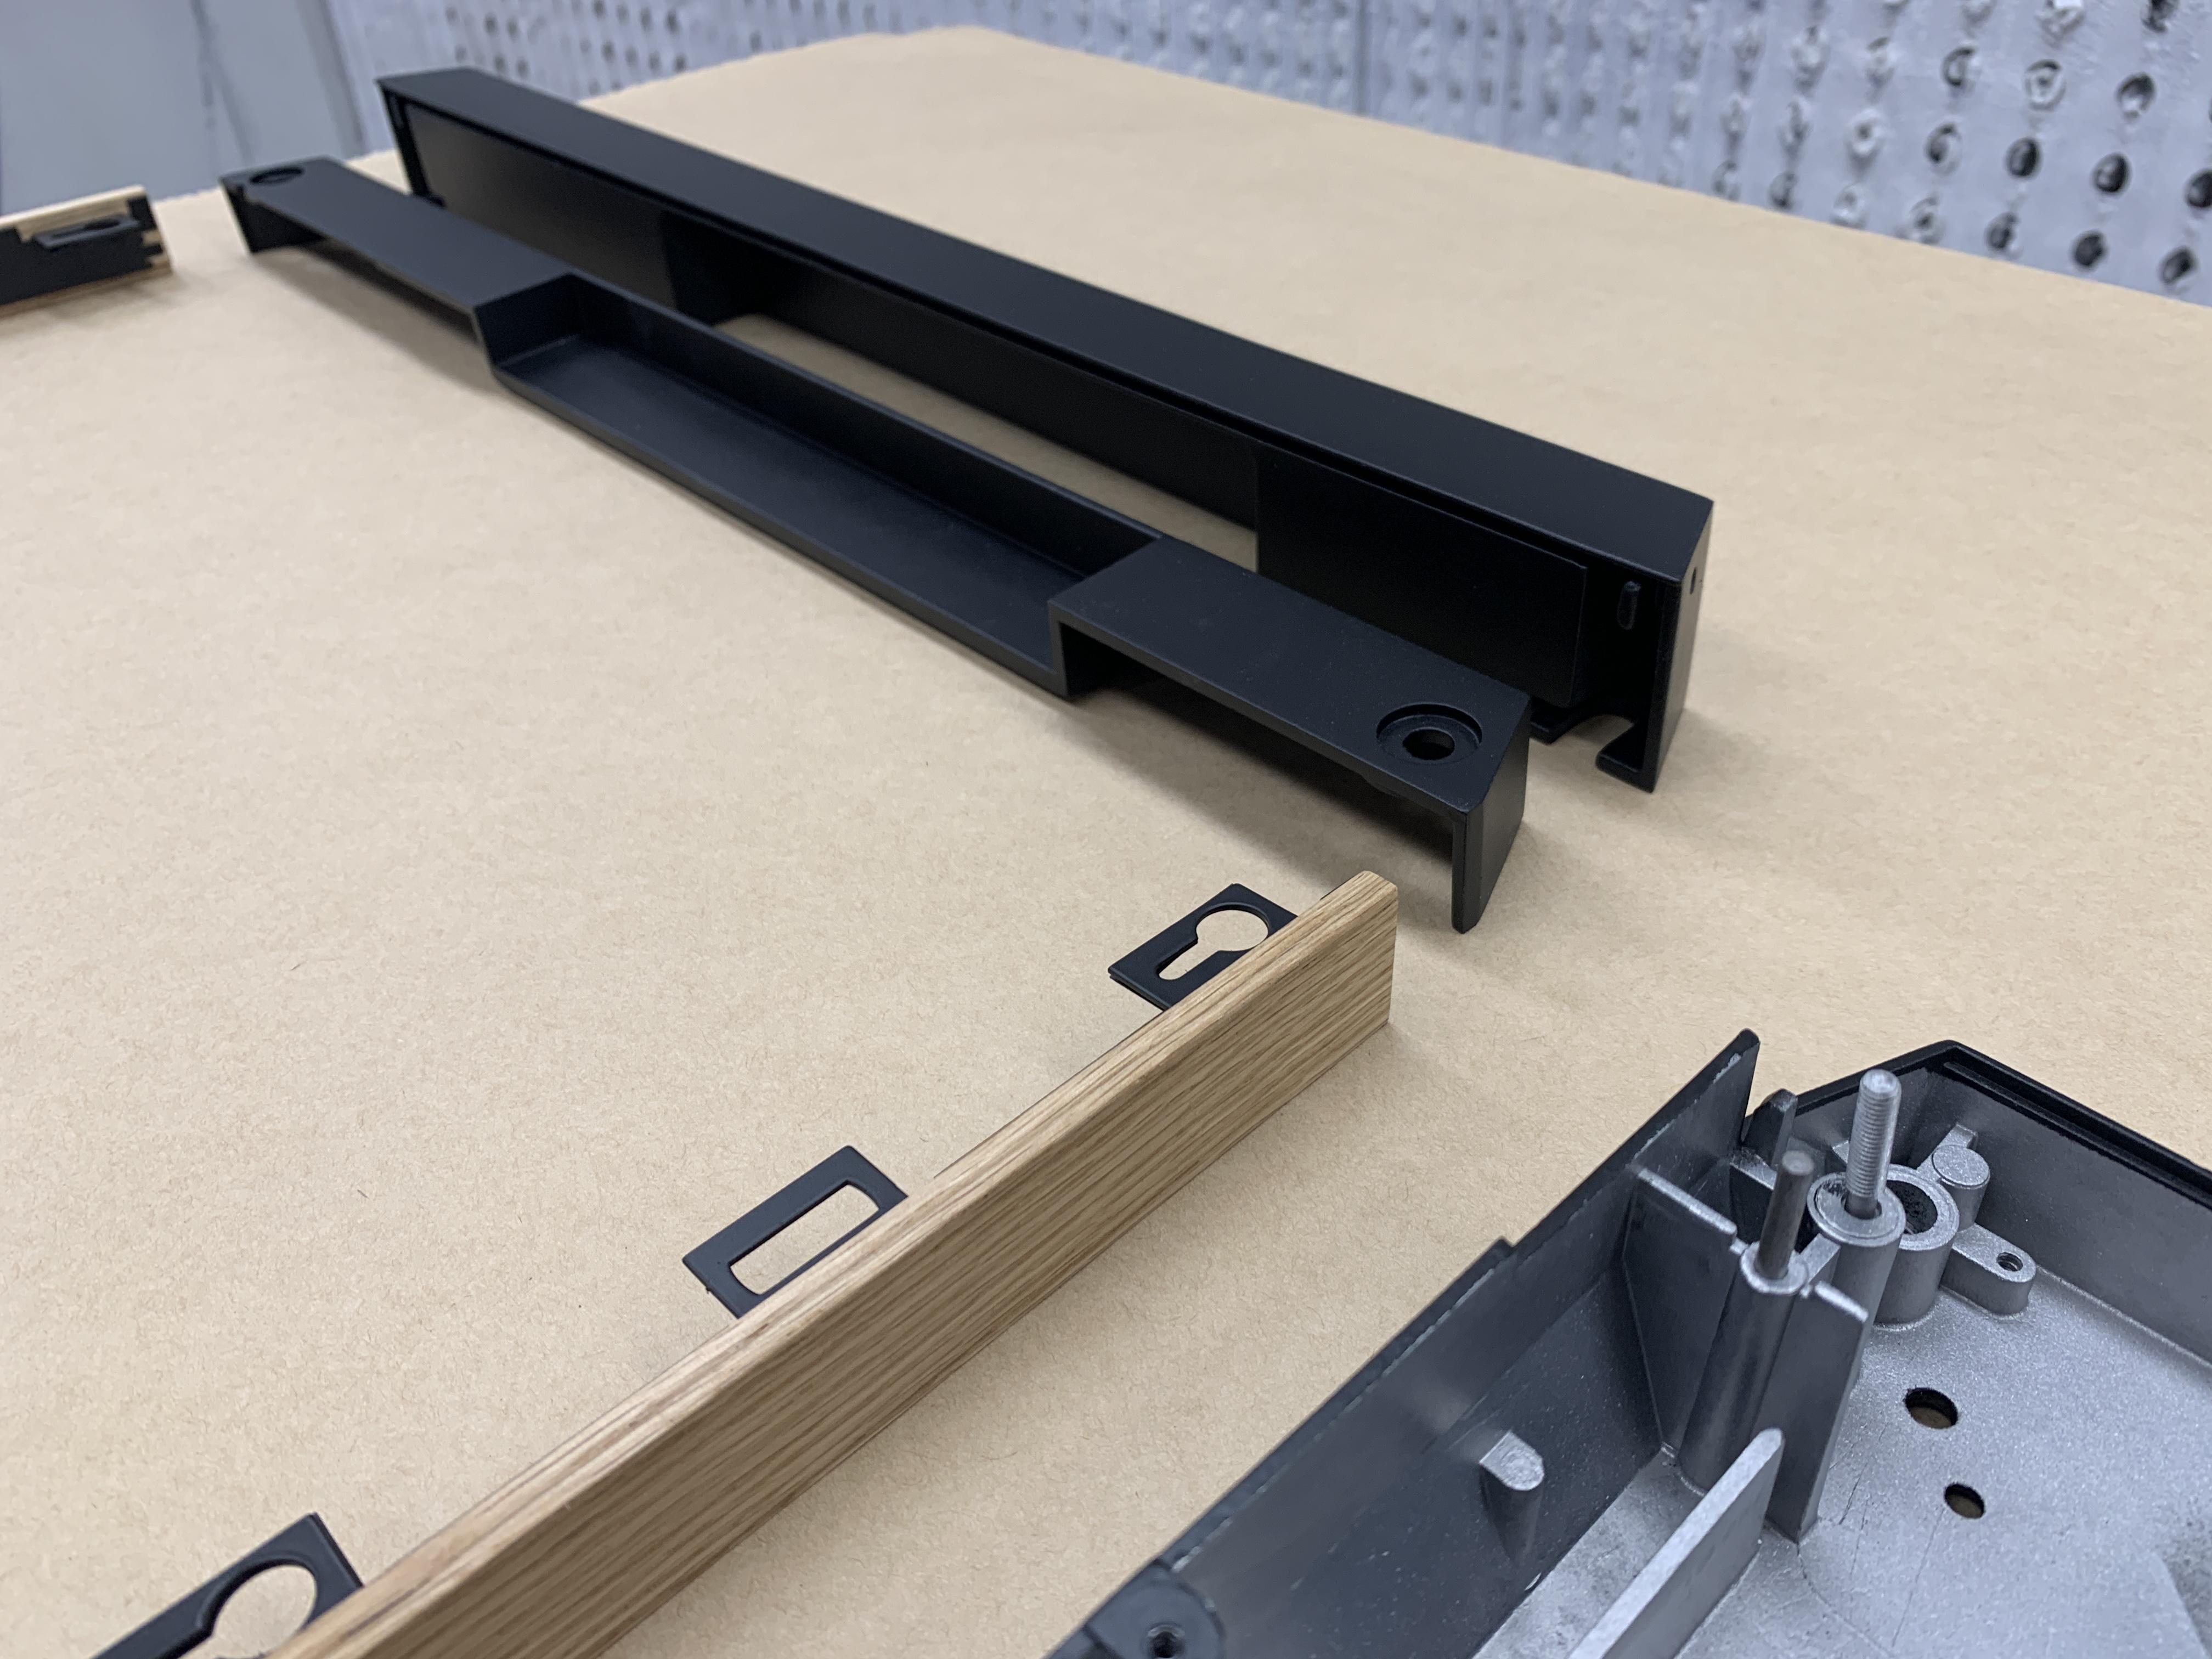
BRONZE MemberI have received a great reception to offering the new plinths for sale. Over the past few weeks I have been busy making and shipping them off to people in the US, Denmark, UK, France and Germany. As such my restoration has been taken a back seat for a little bit. Here are a few photos.
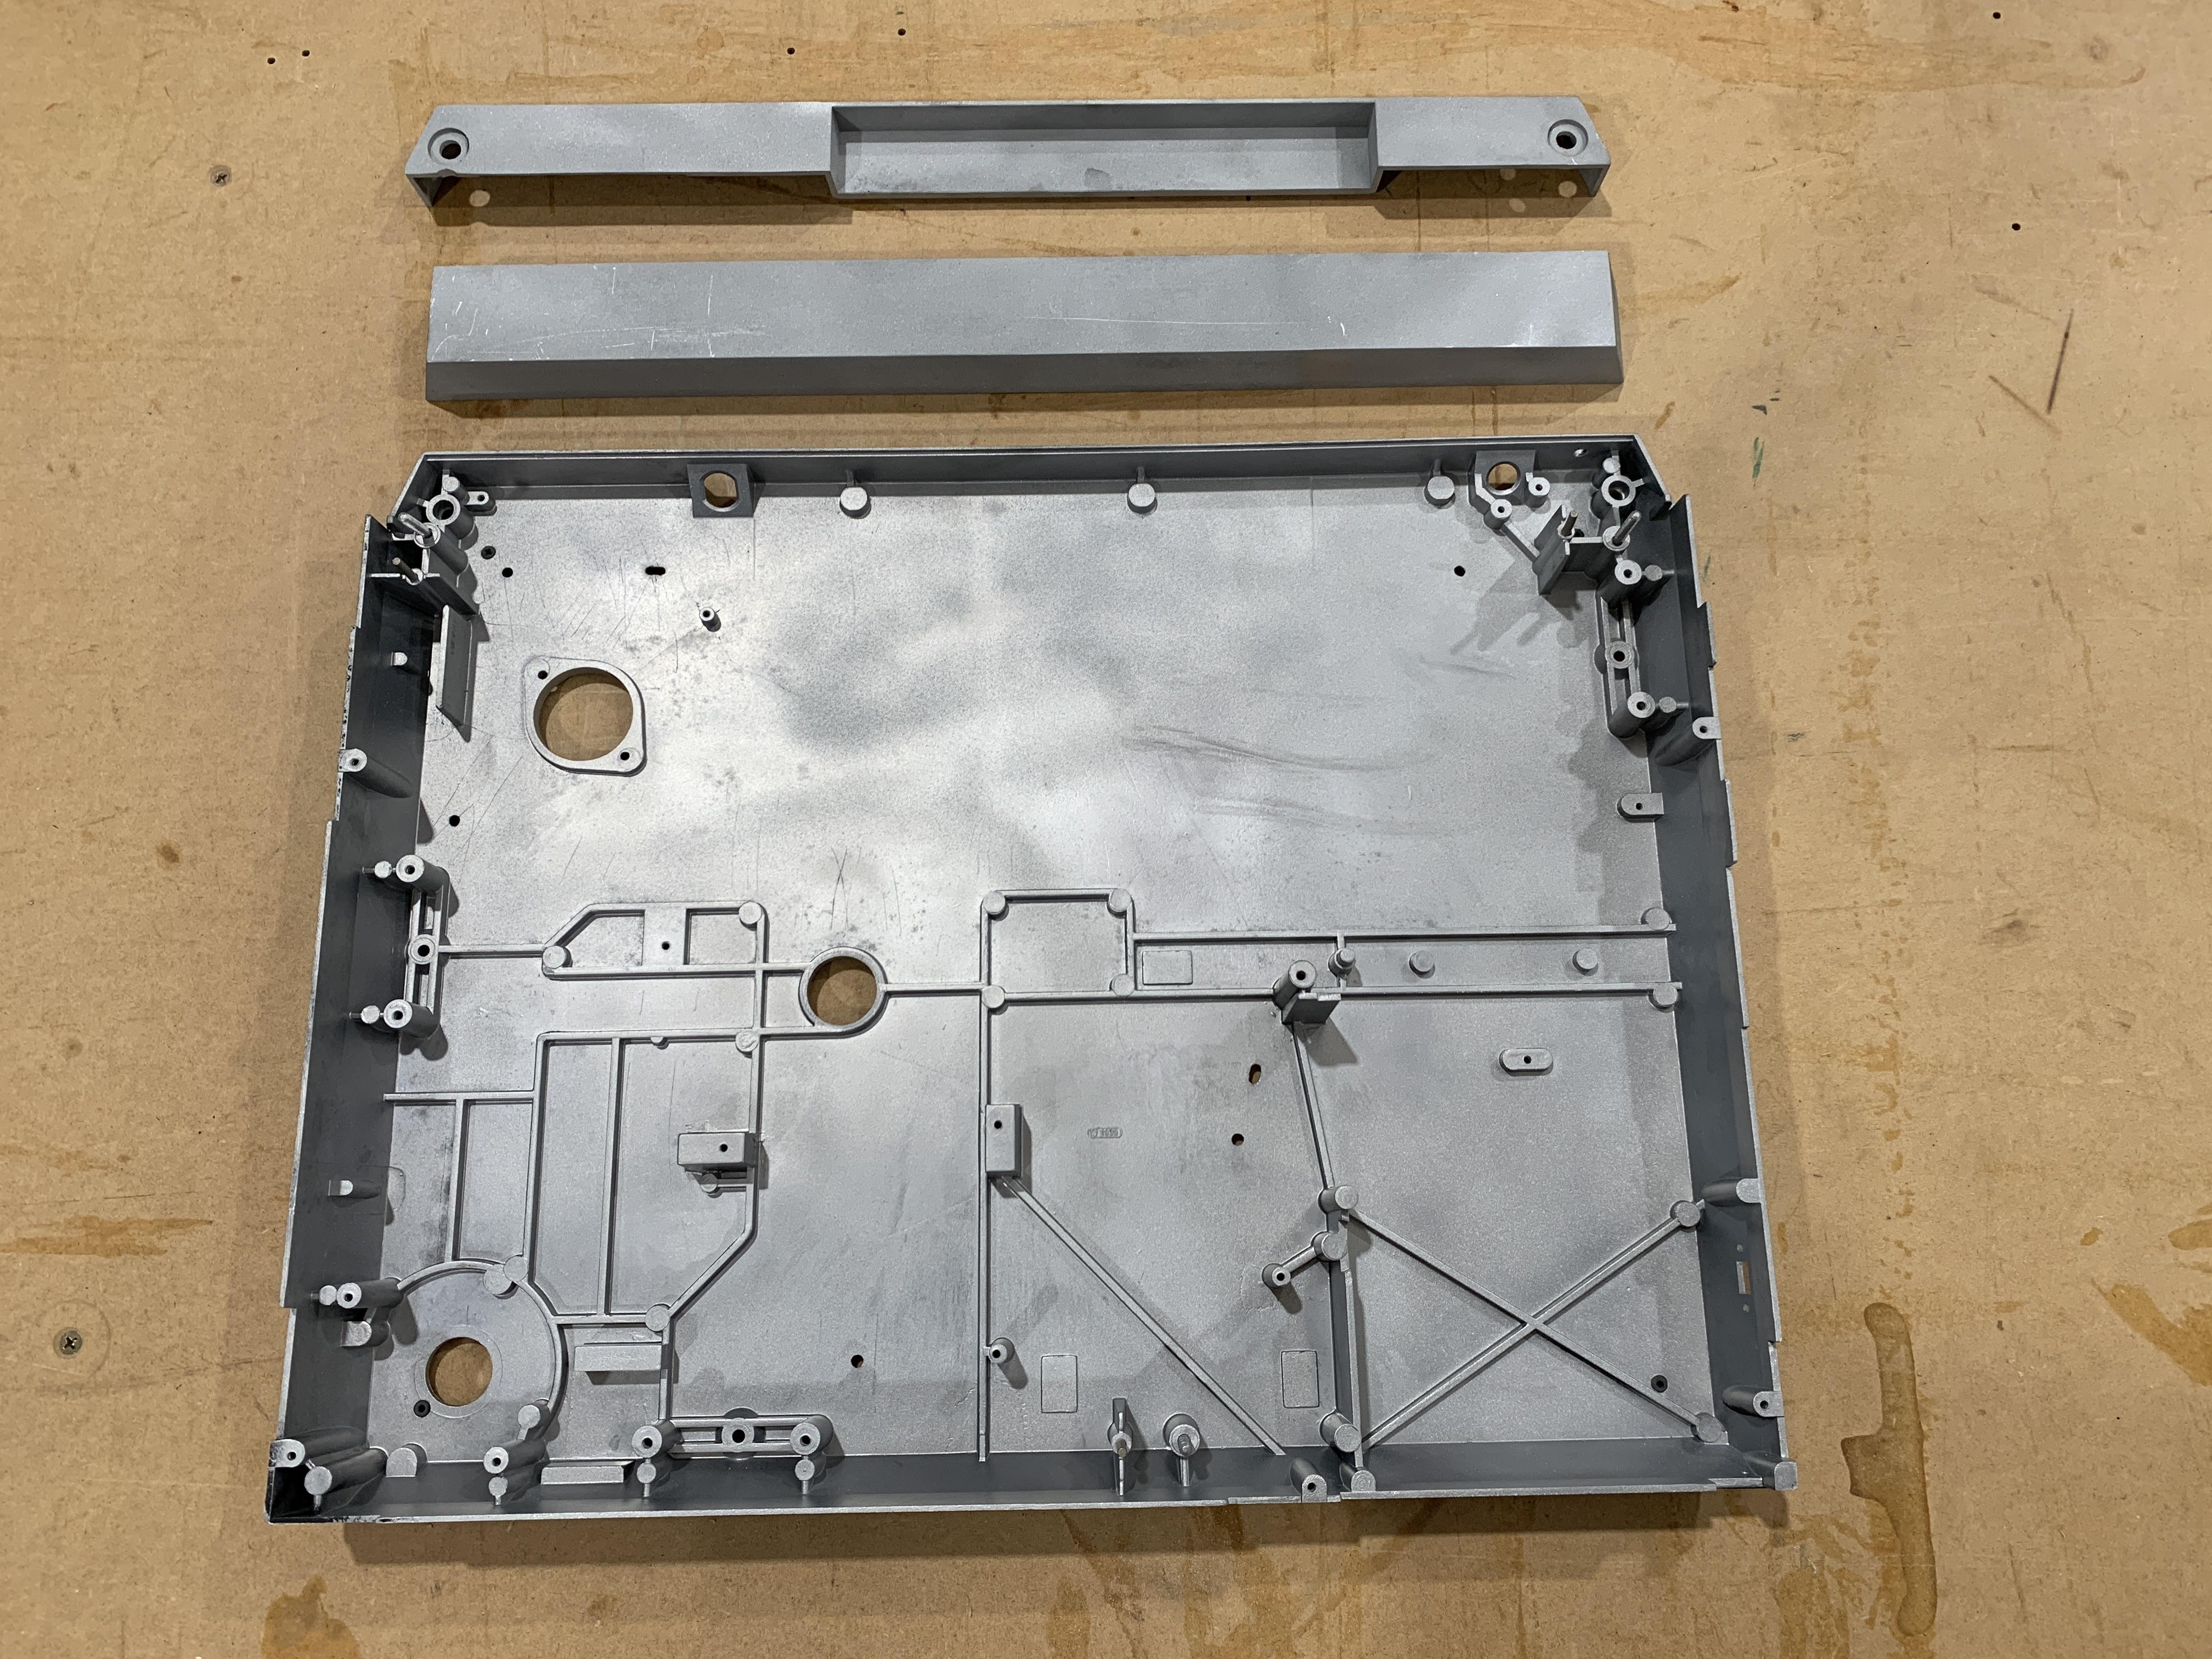
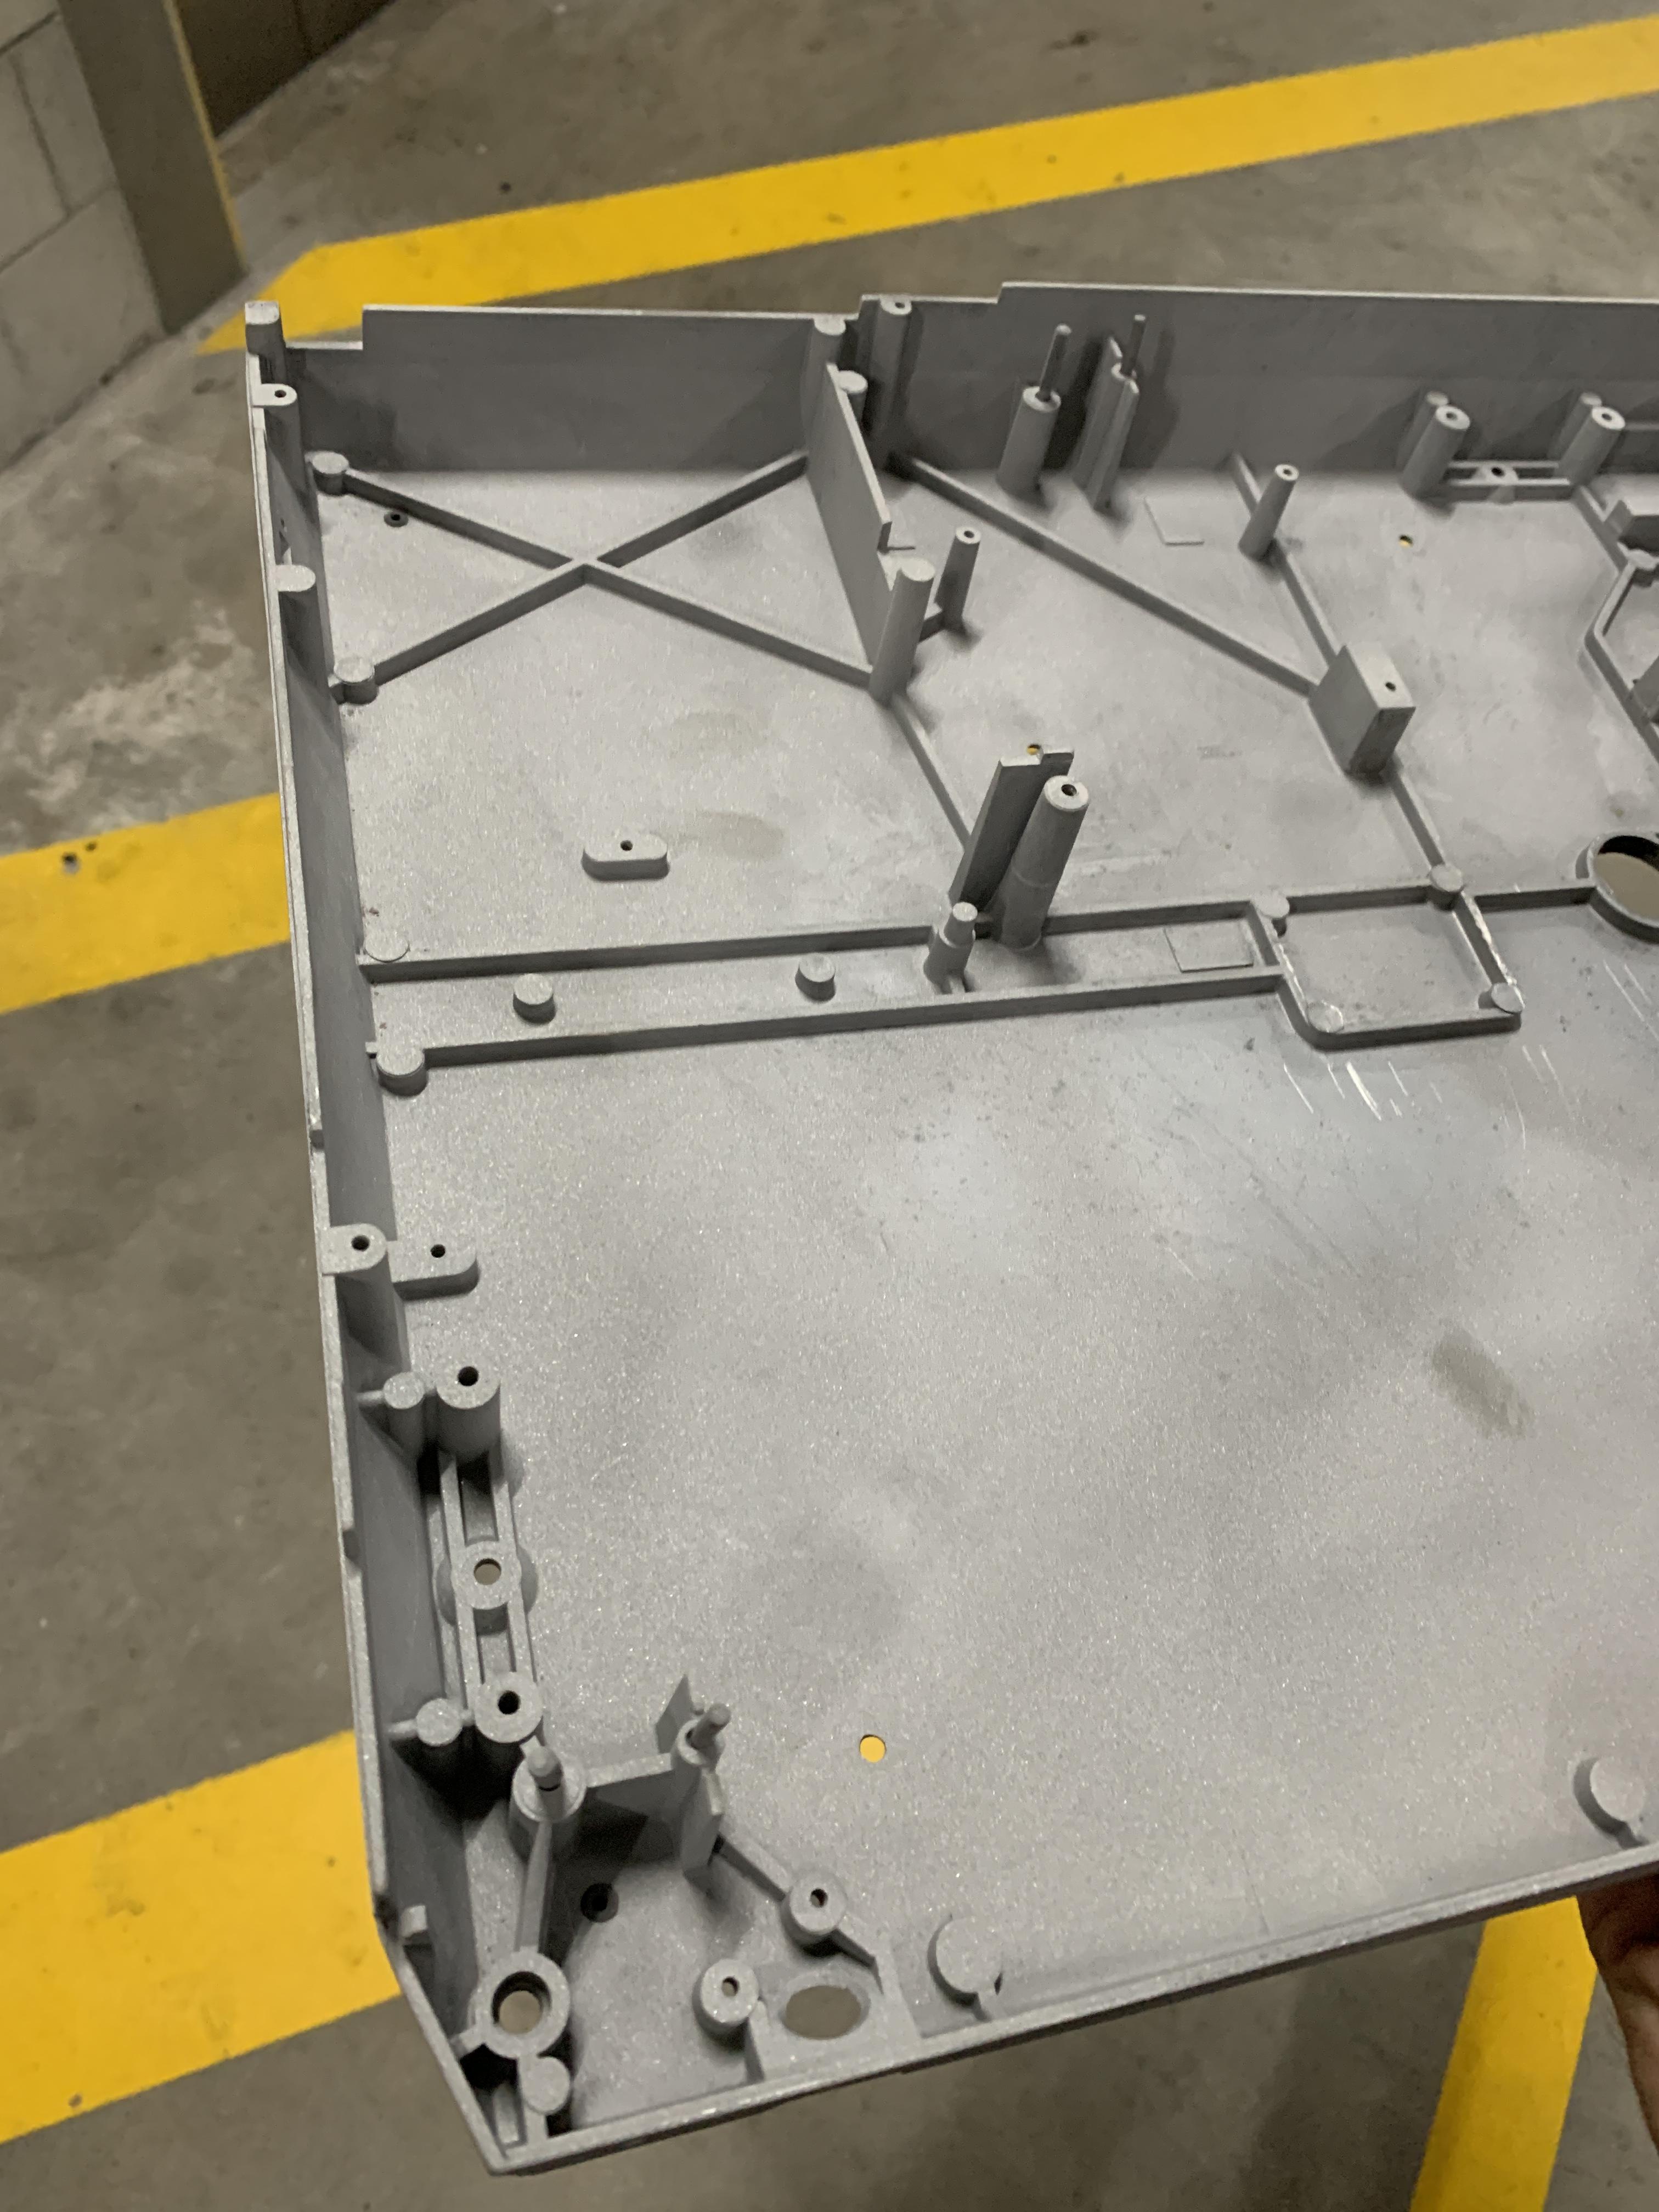
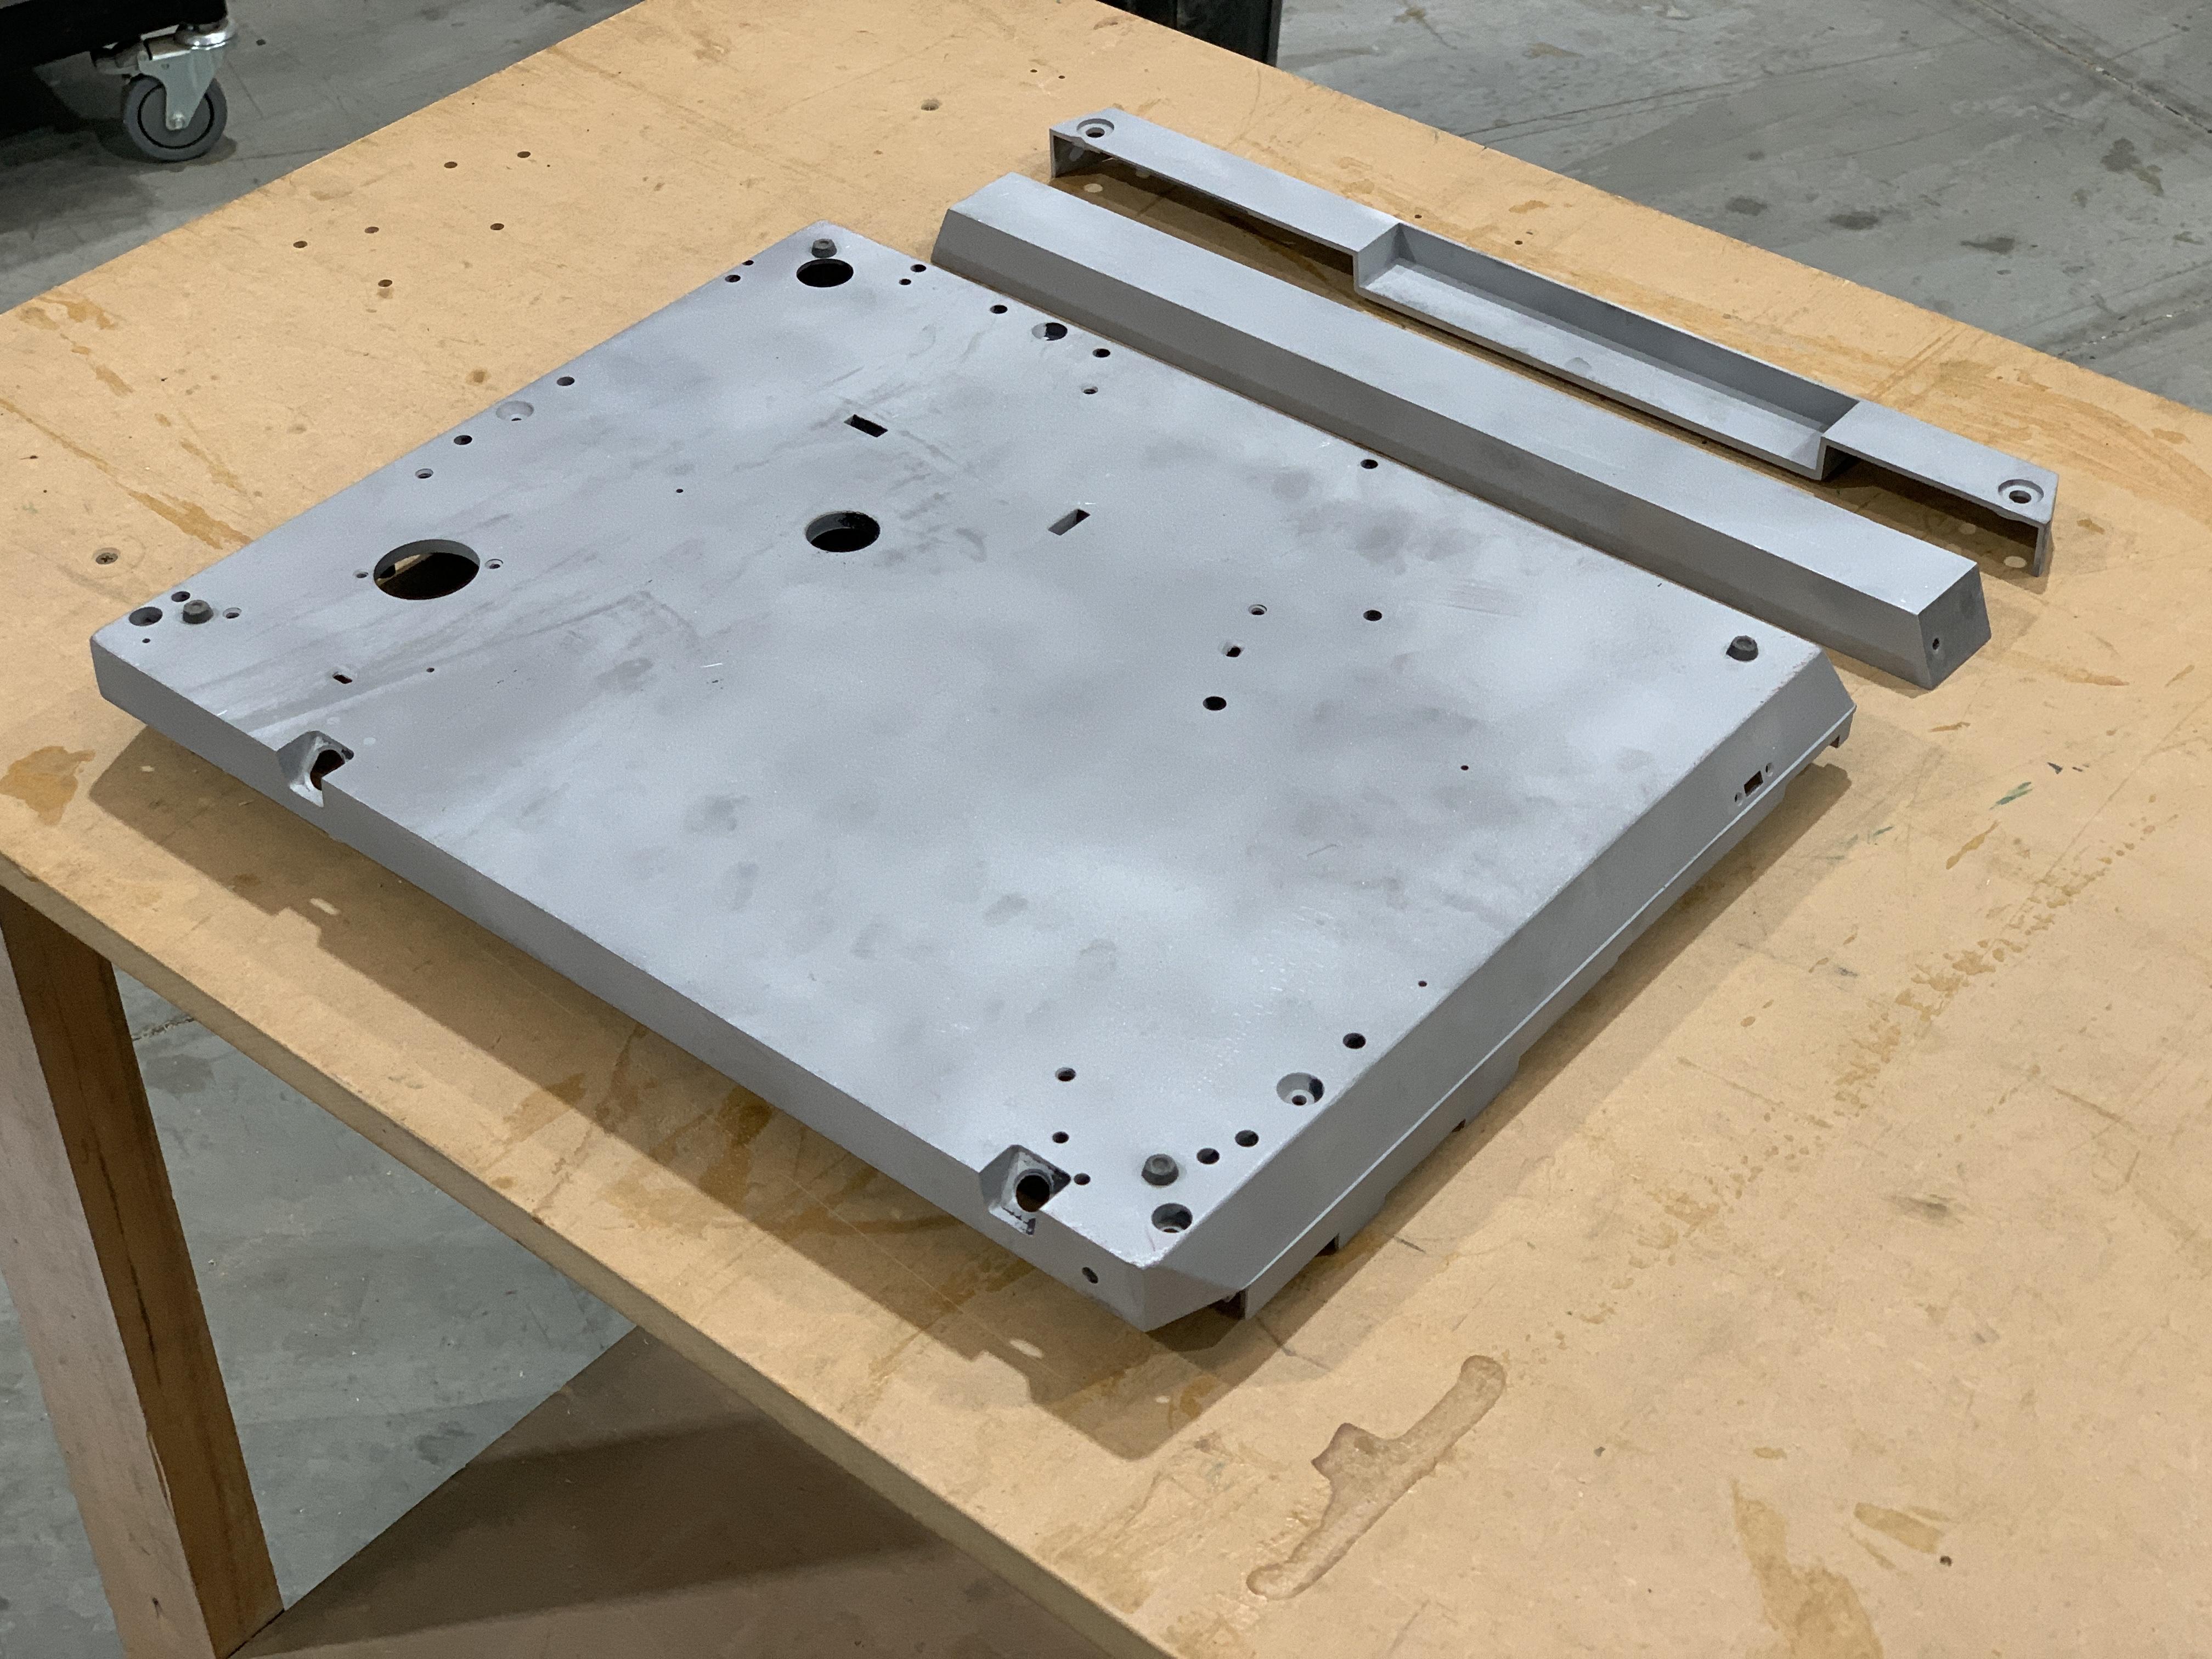
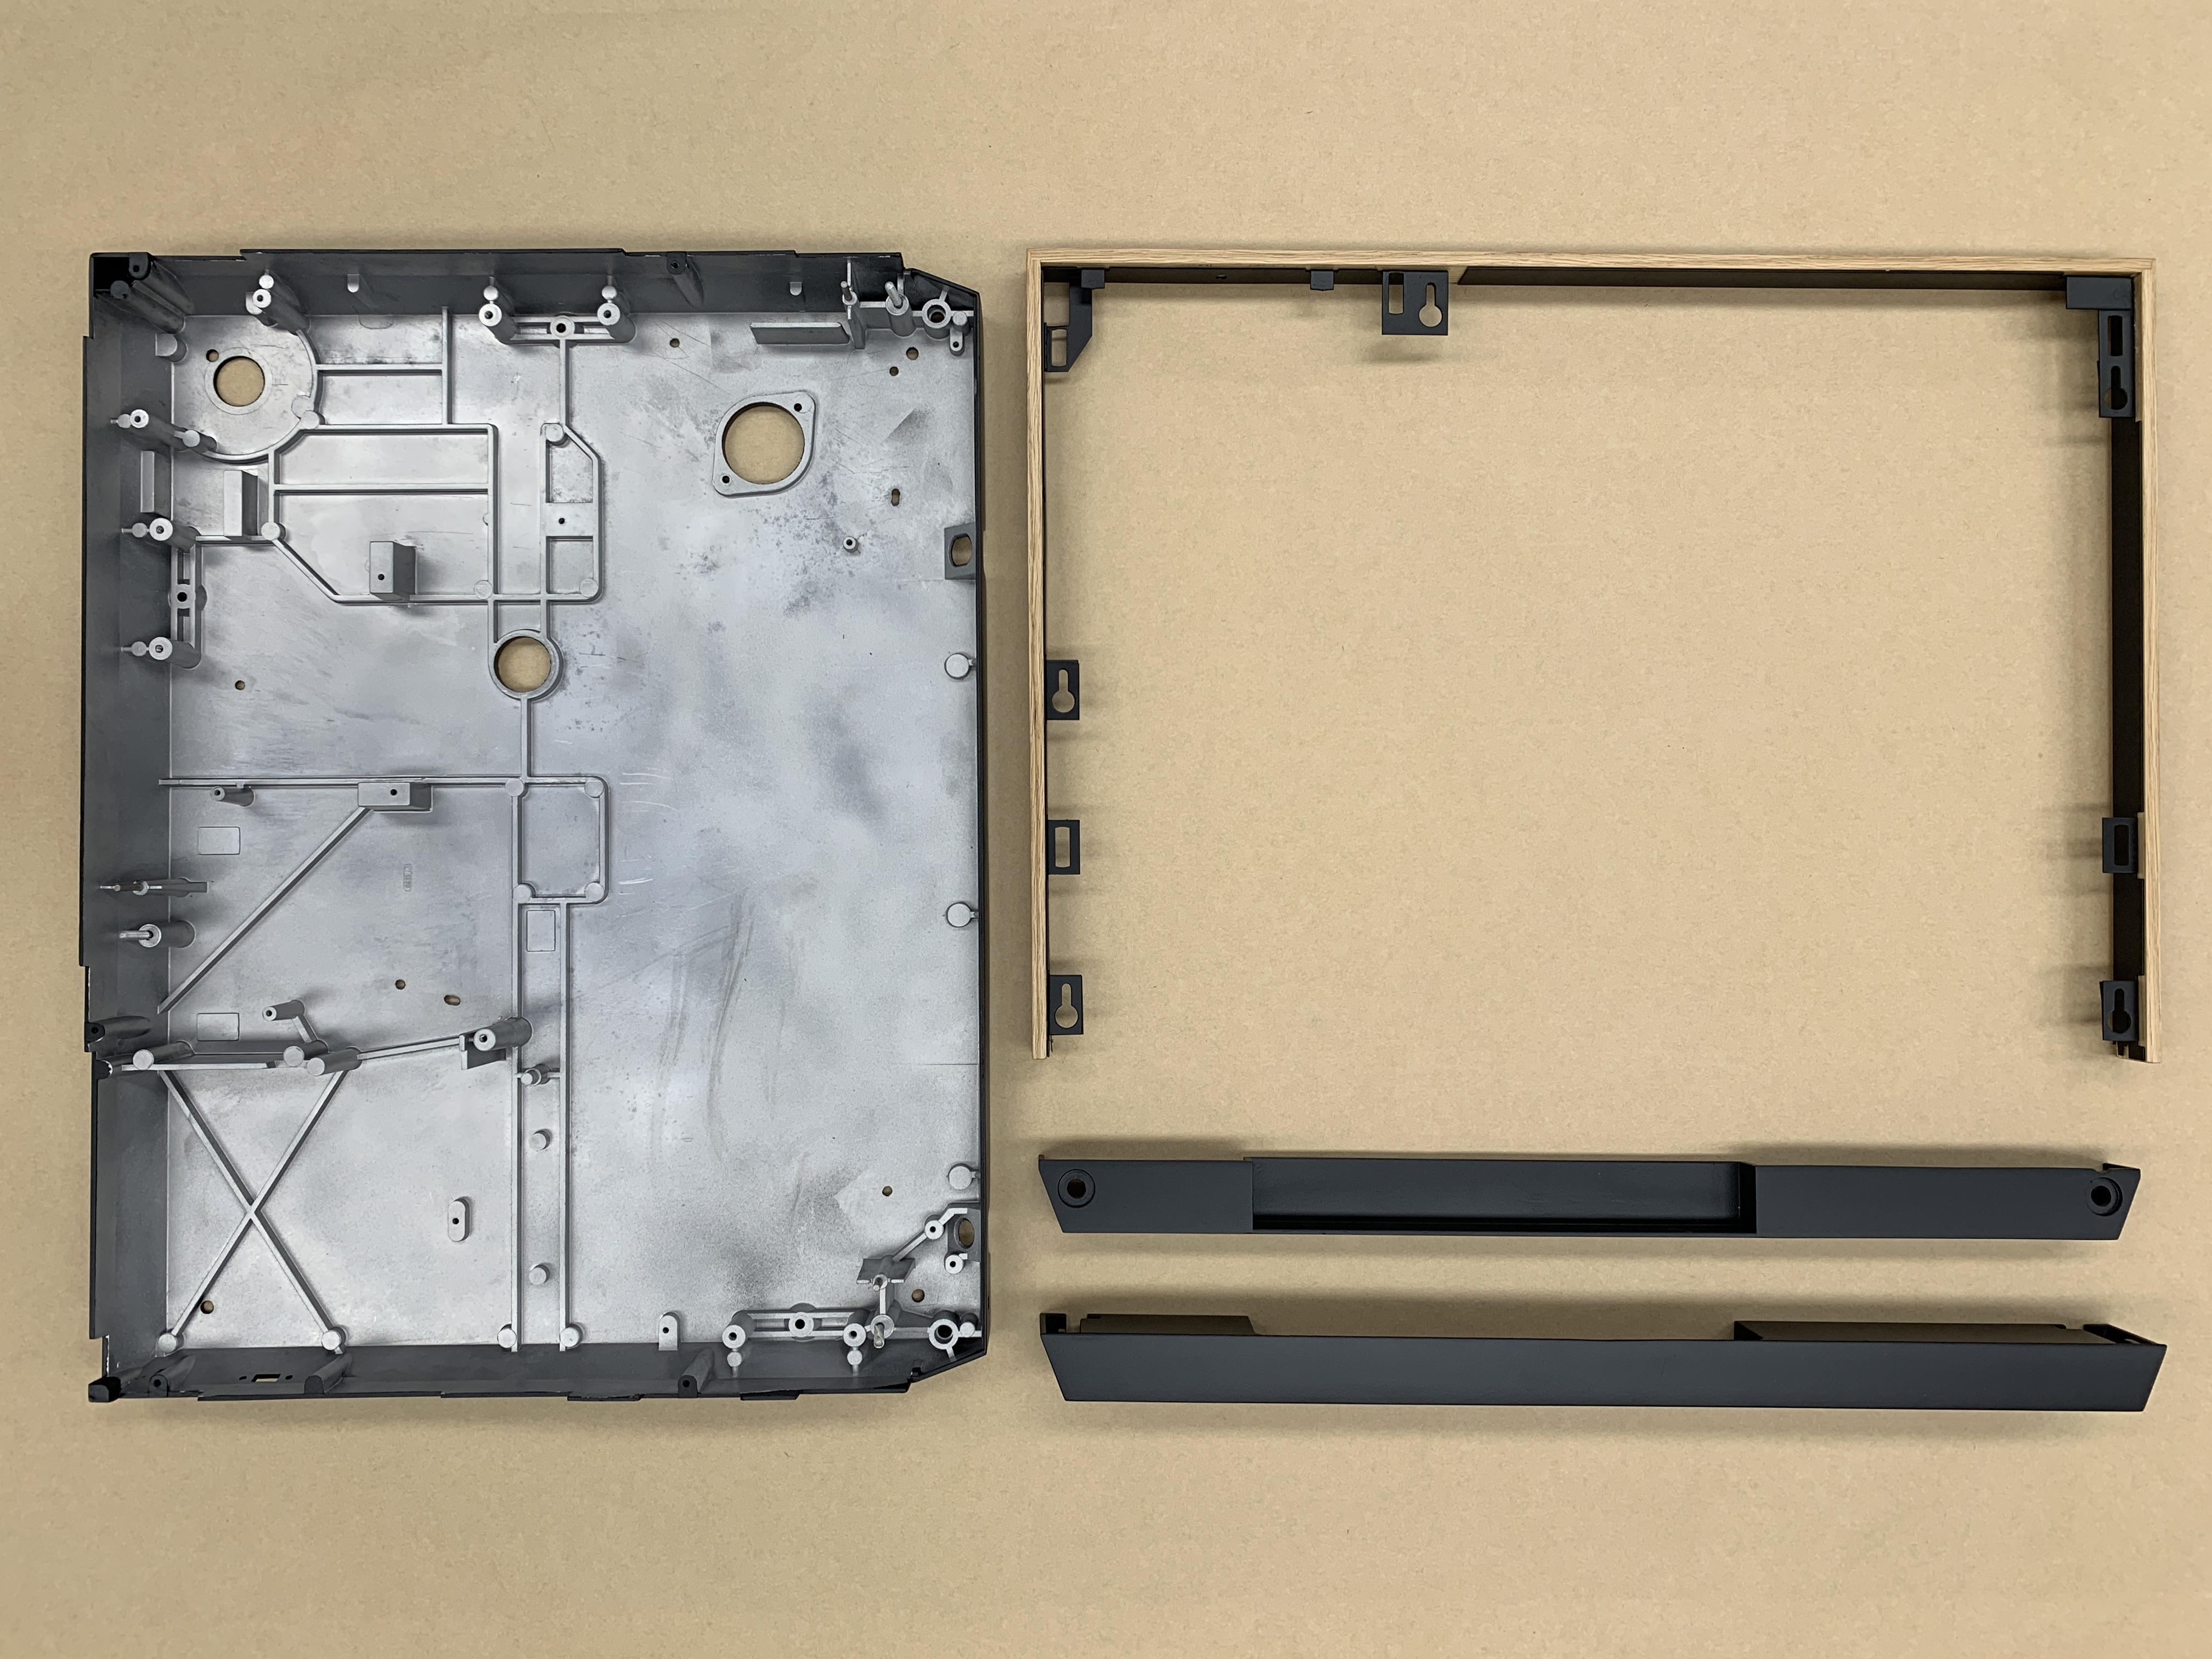
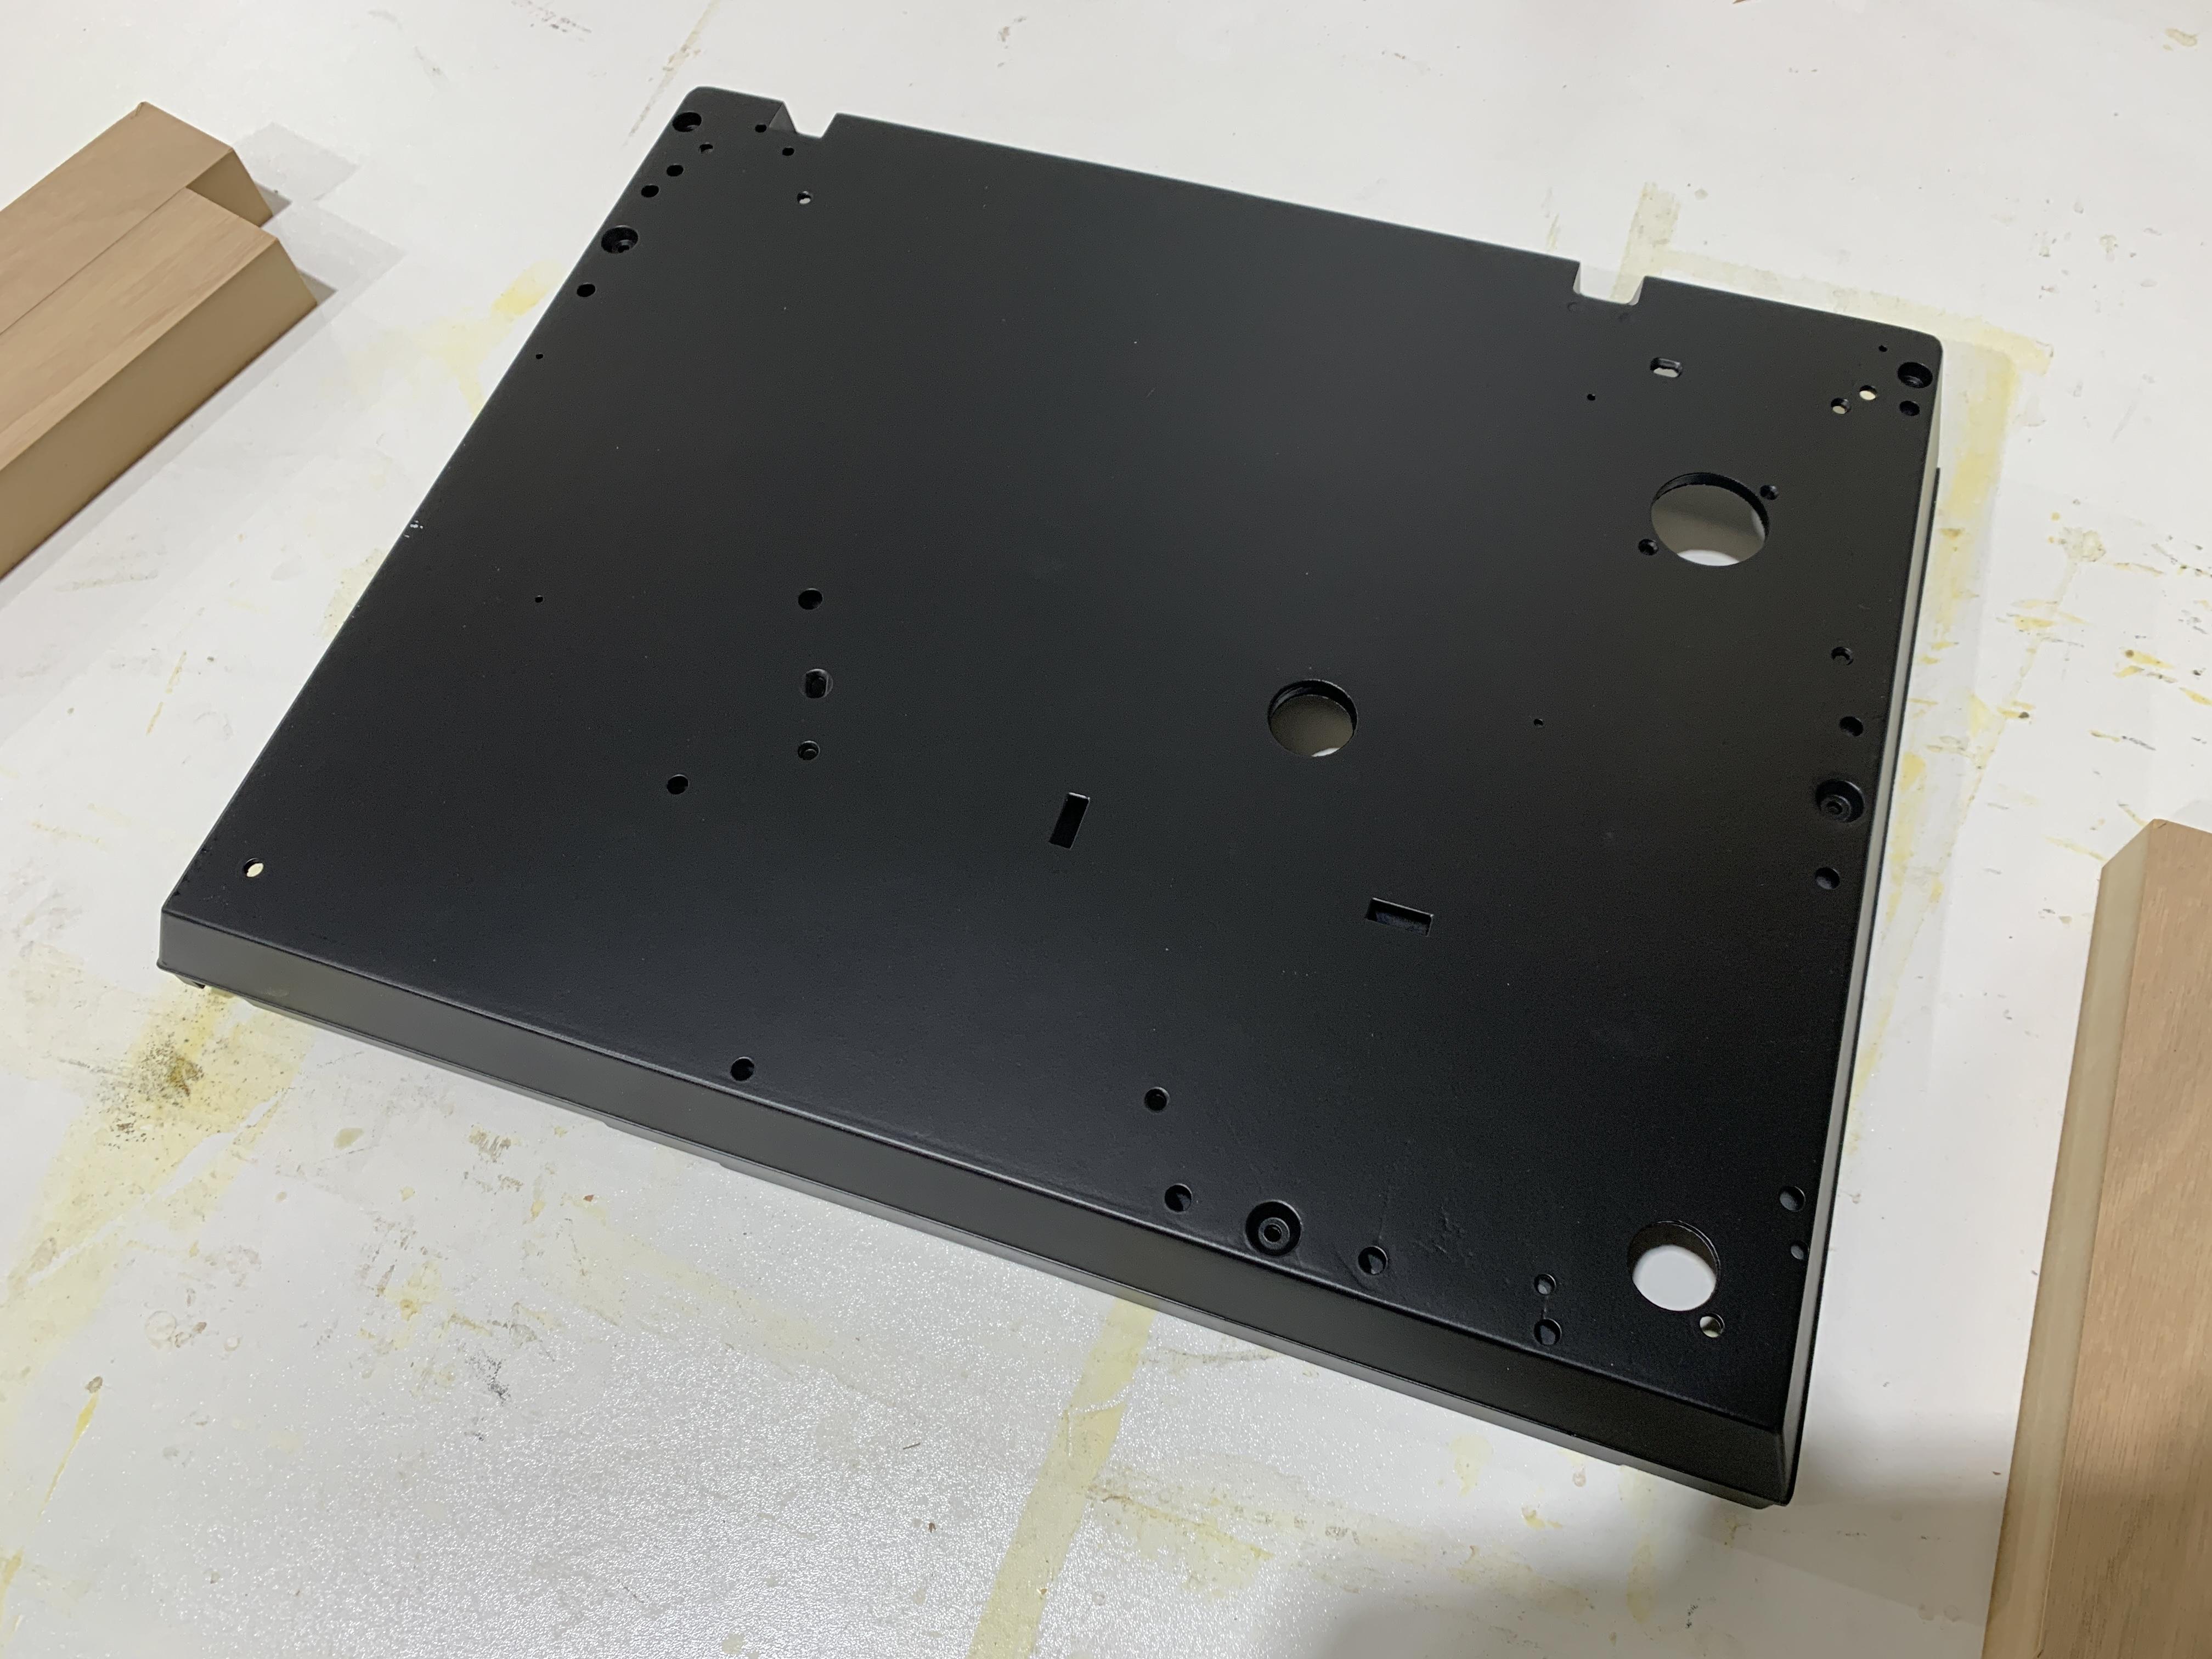
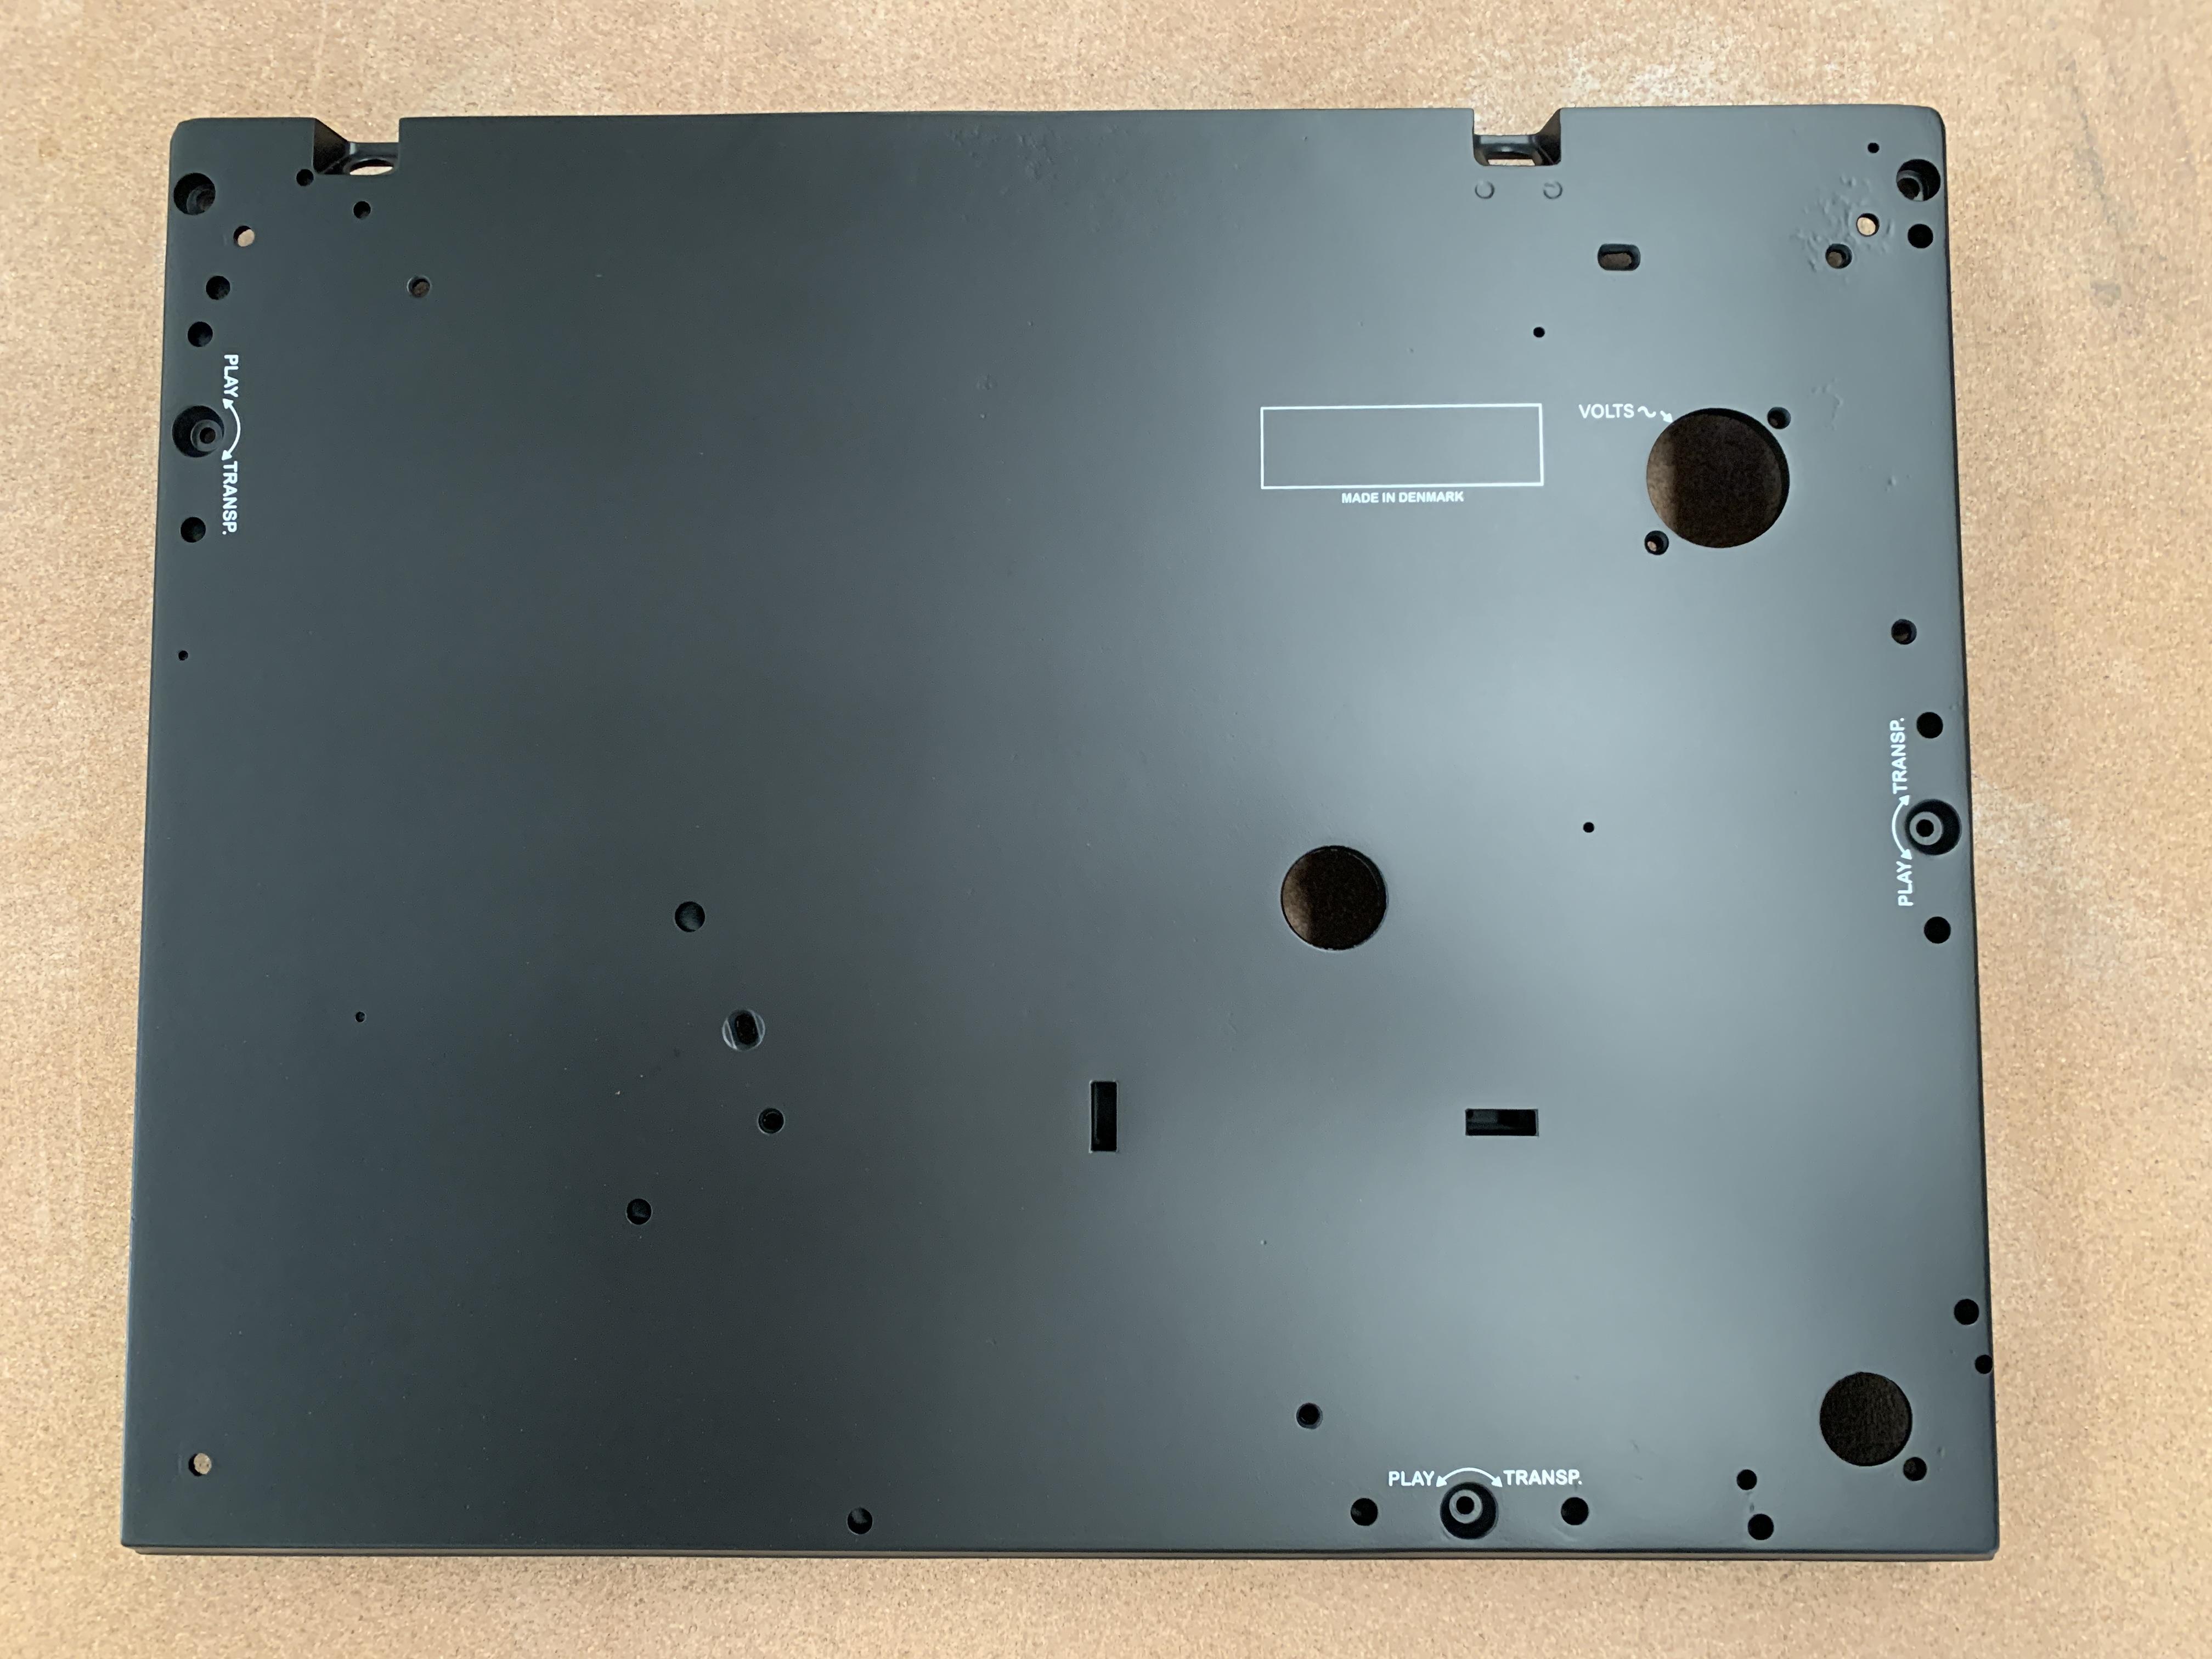
I had the chassis and back parts sand blasted to remove all the old paint. The surface finish was quite rough on the inside so I had it wet blasted to bring back some shine. I then primed and painted it black. I used a spray can which was quite difficult to get a good finish but I got there in the end. On my next restoration I will use a proper spray gun as it will be way easier and get a better result.
4 May 2024 at 23:24 #54808ChristianHak
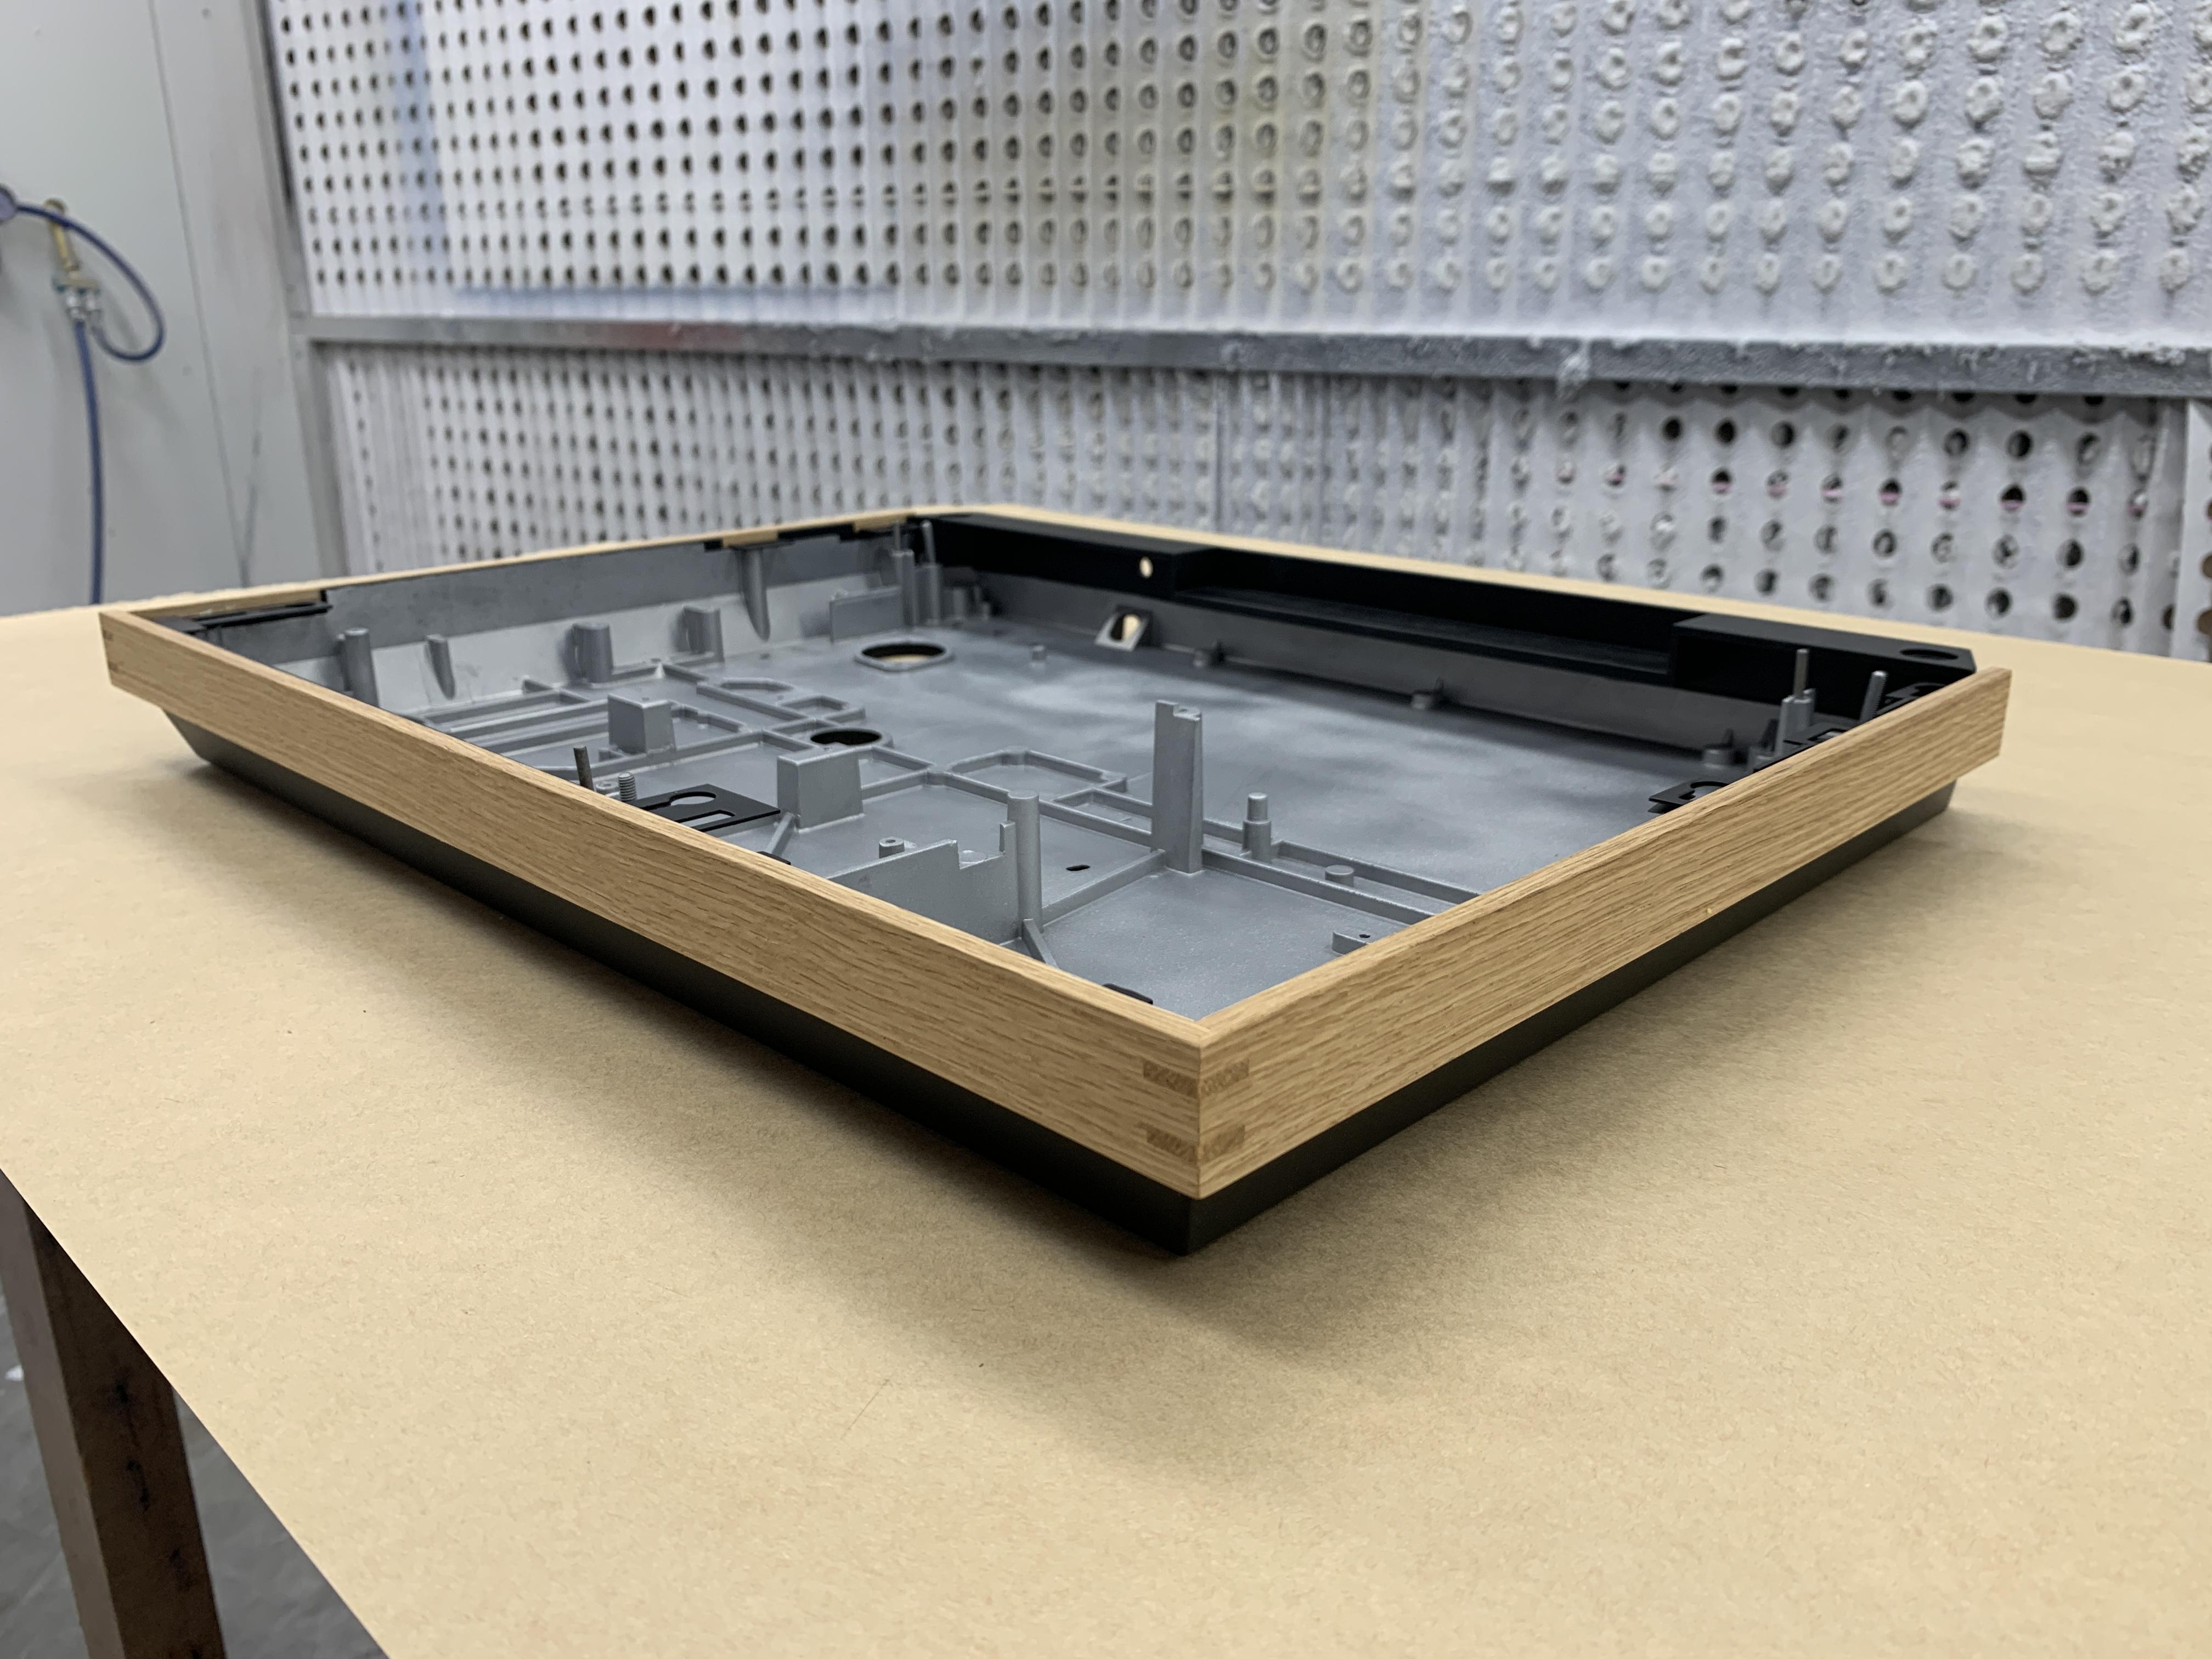
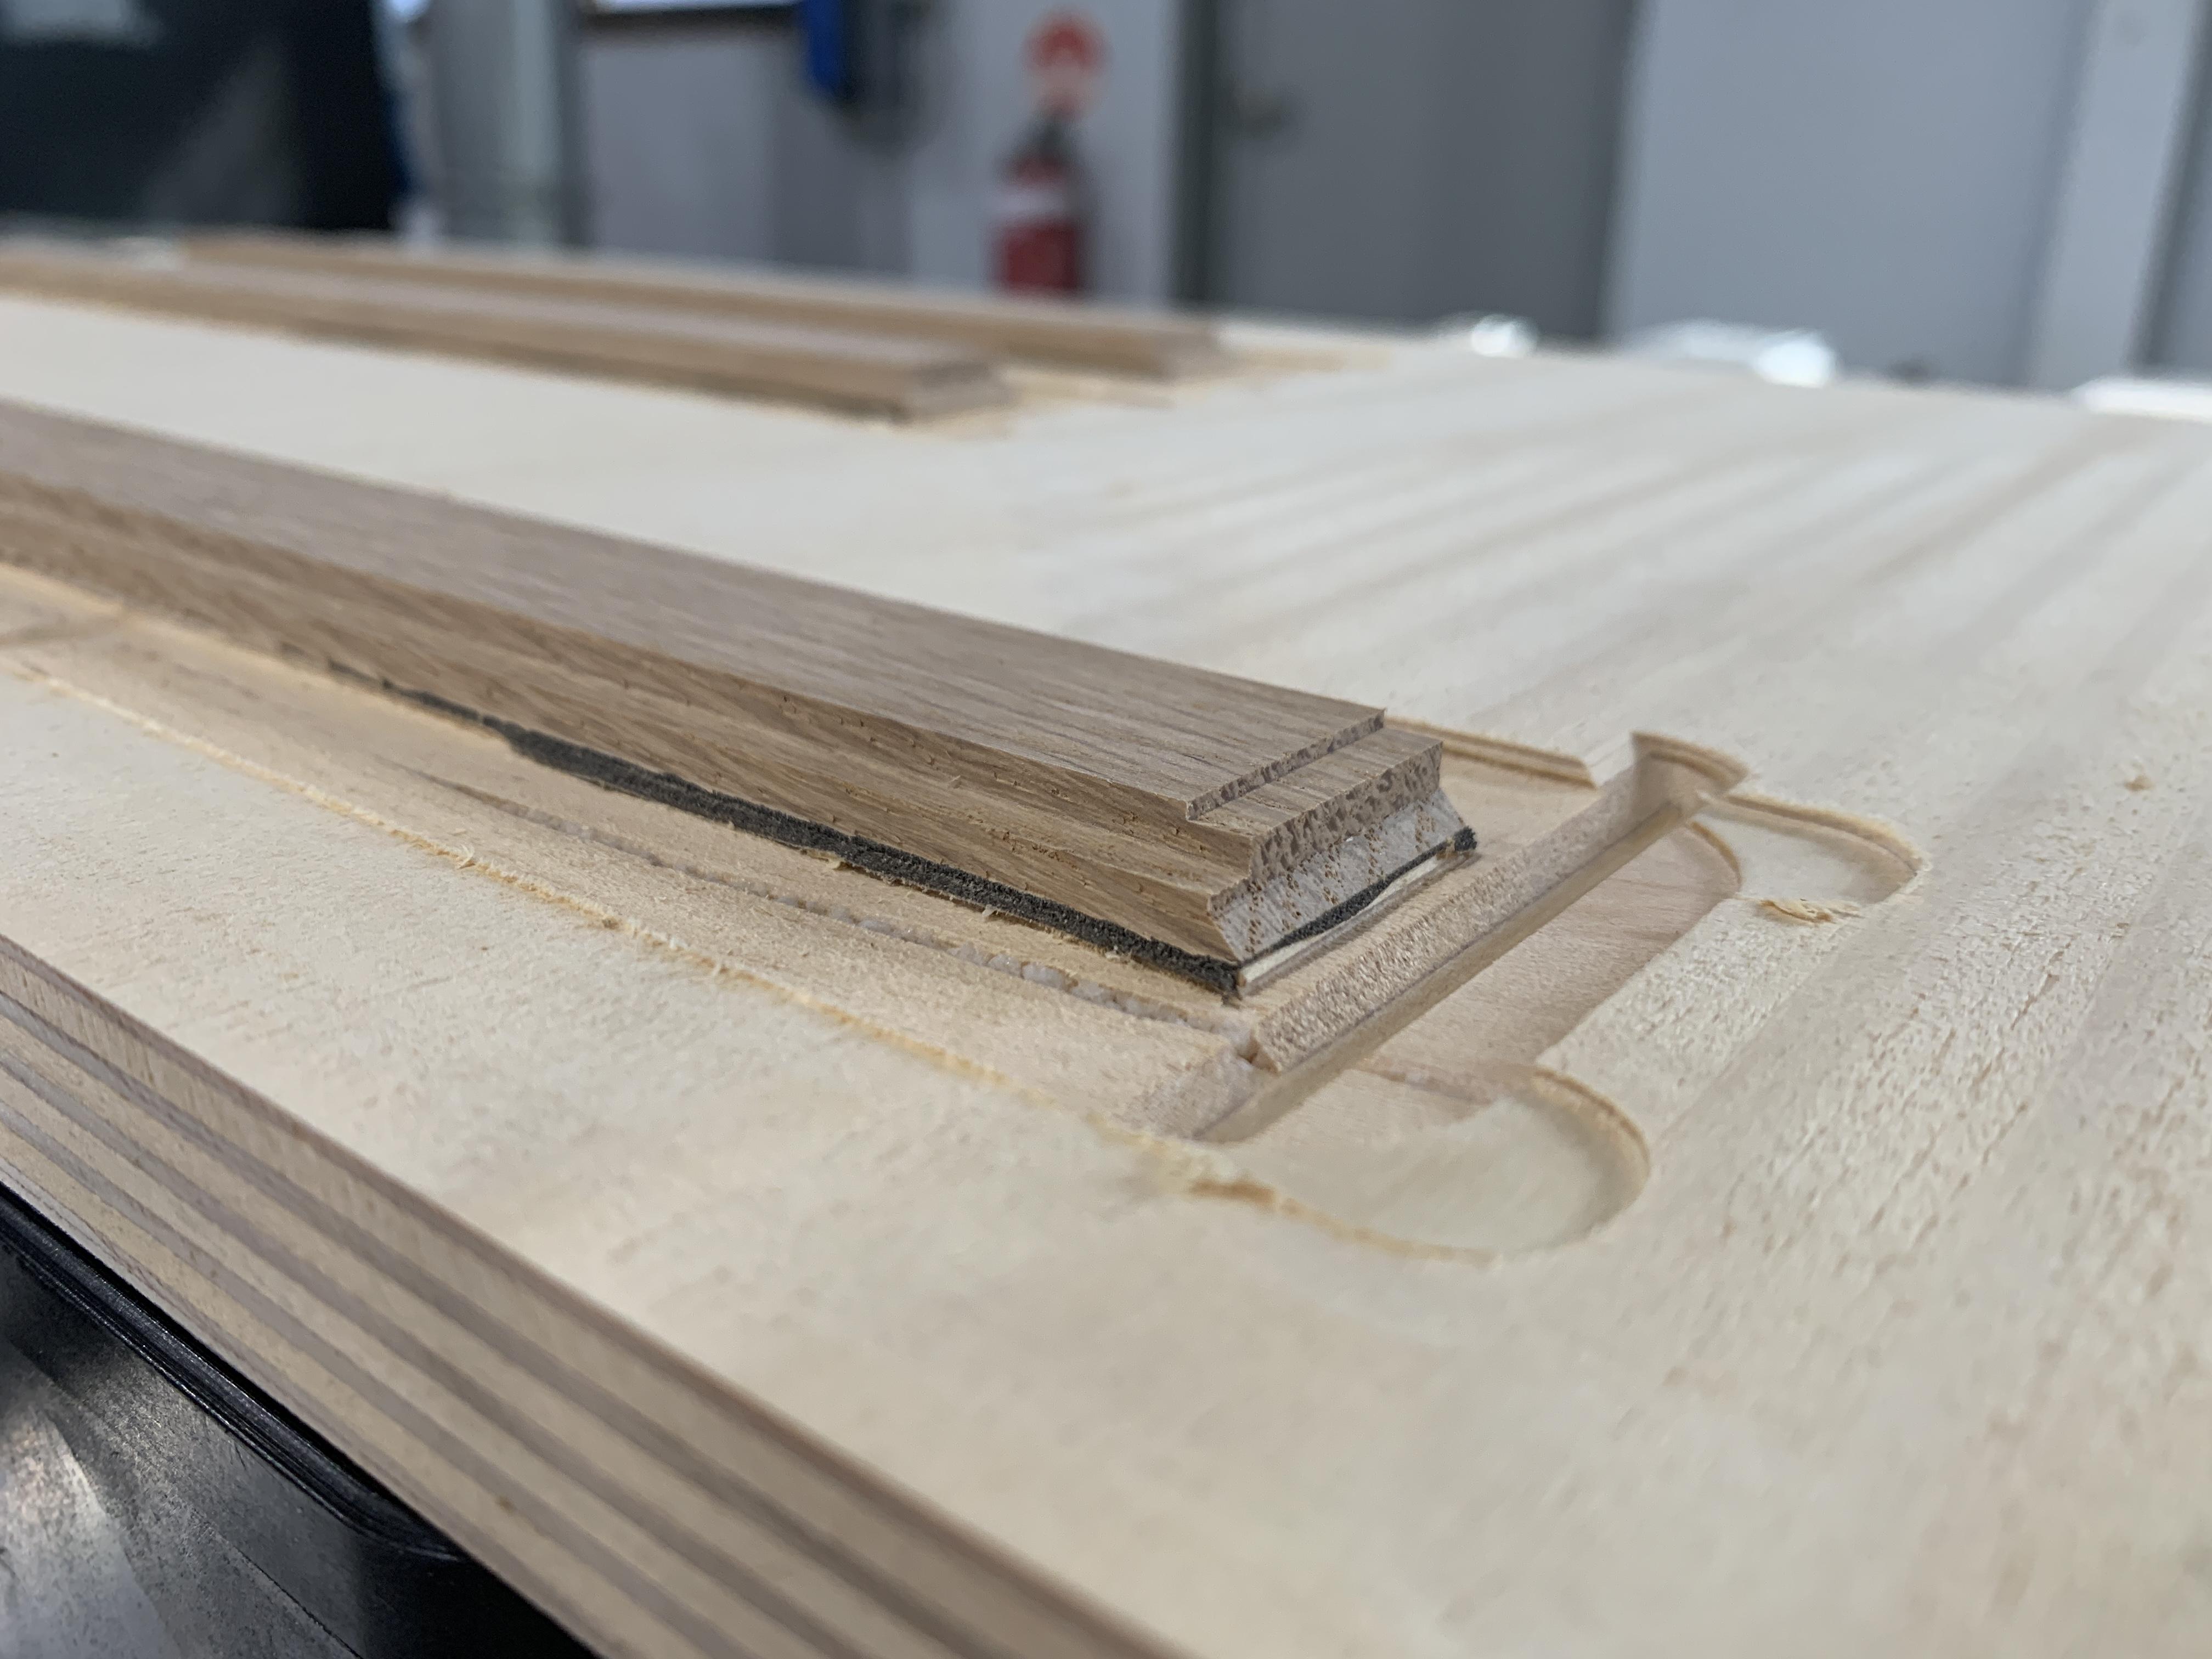
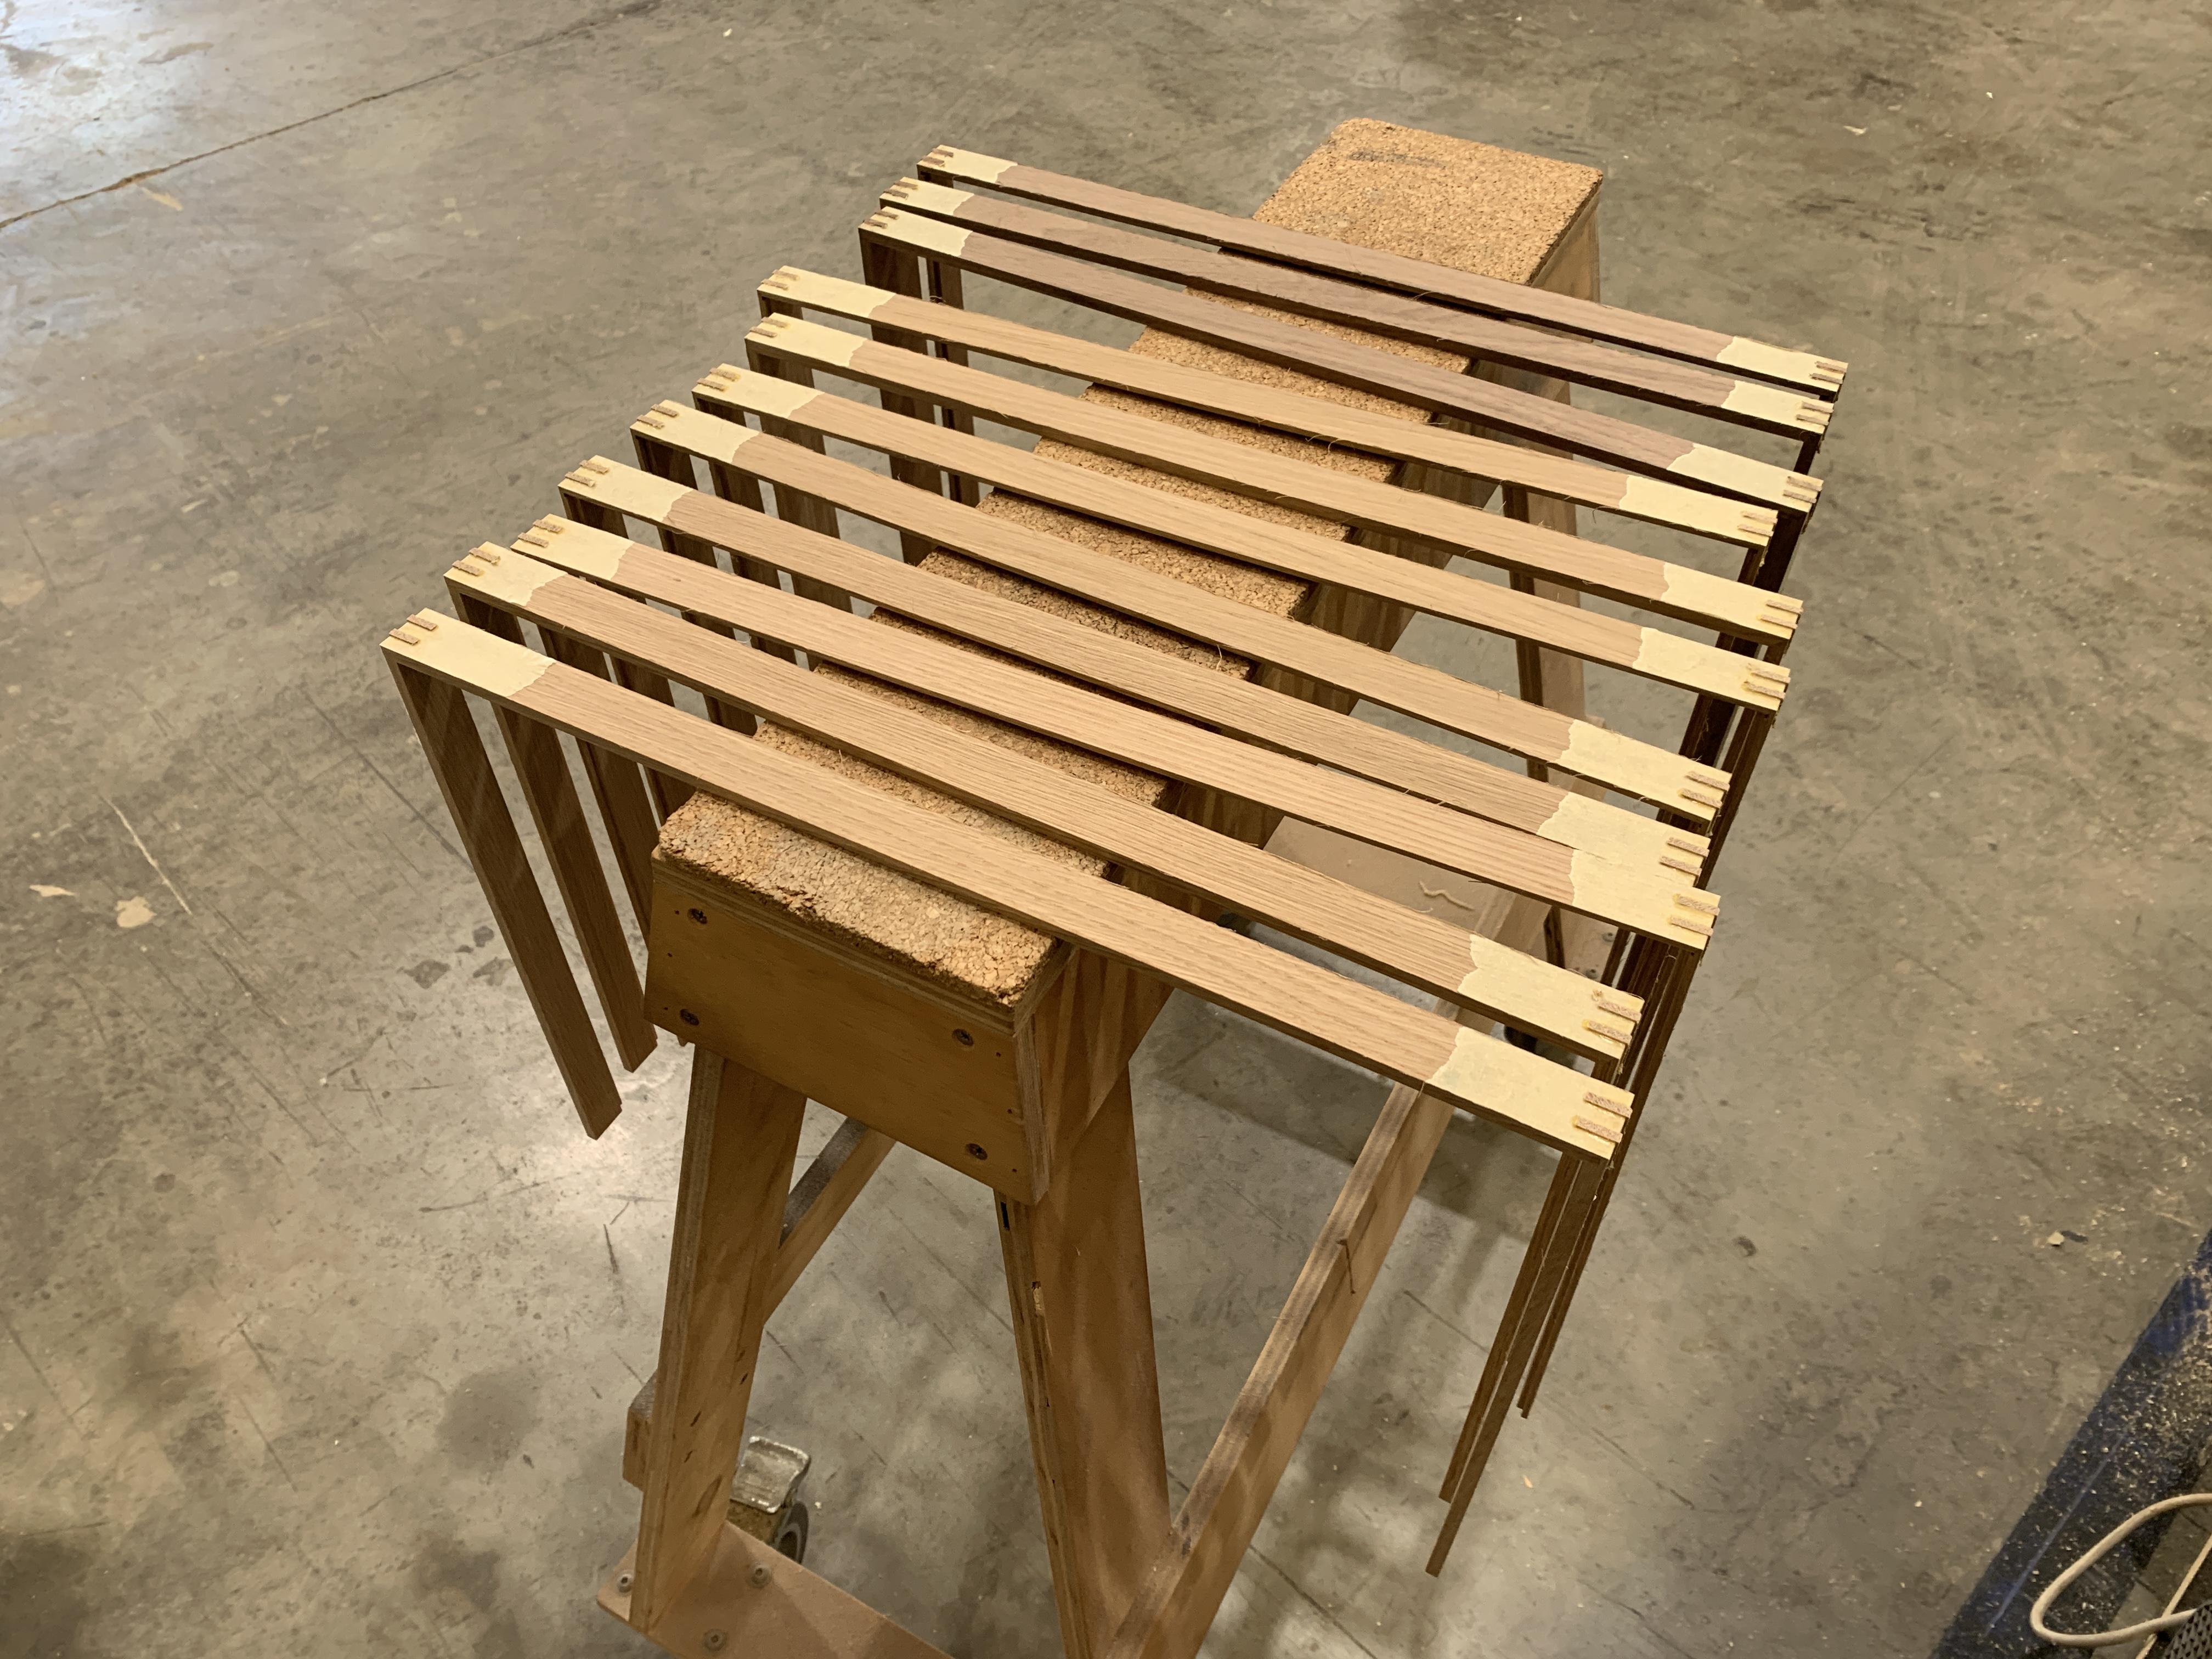
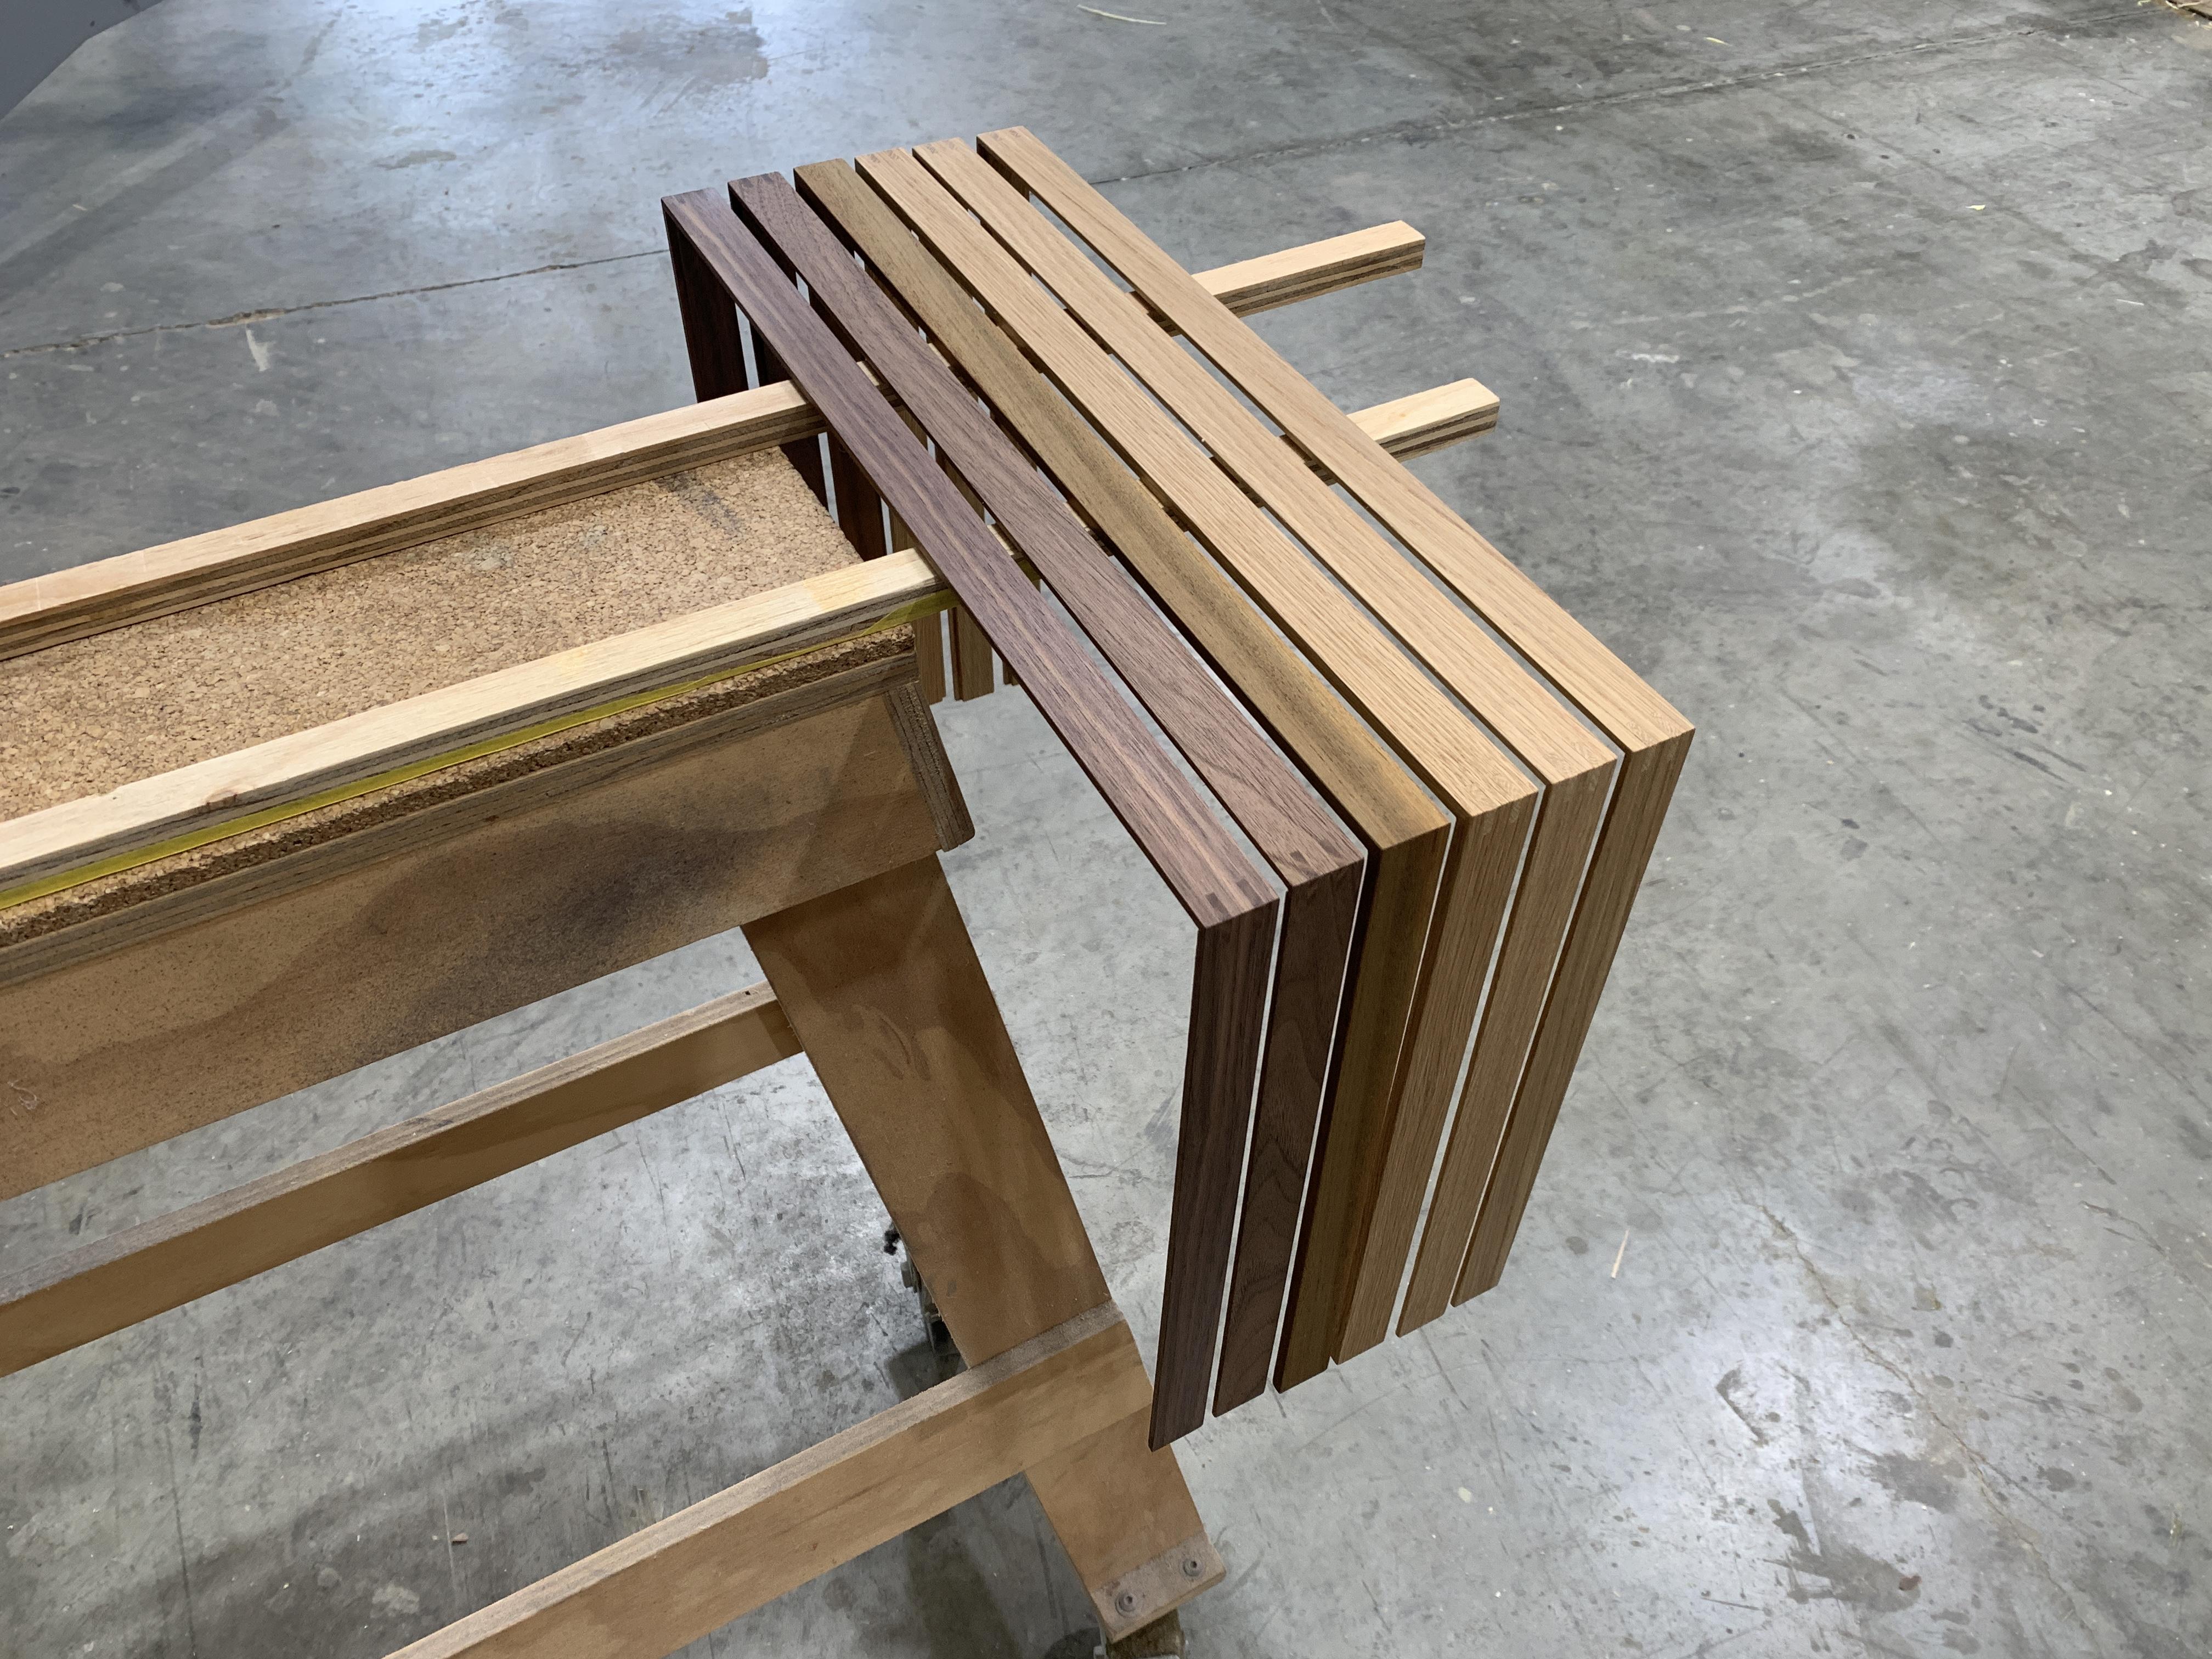
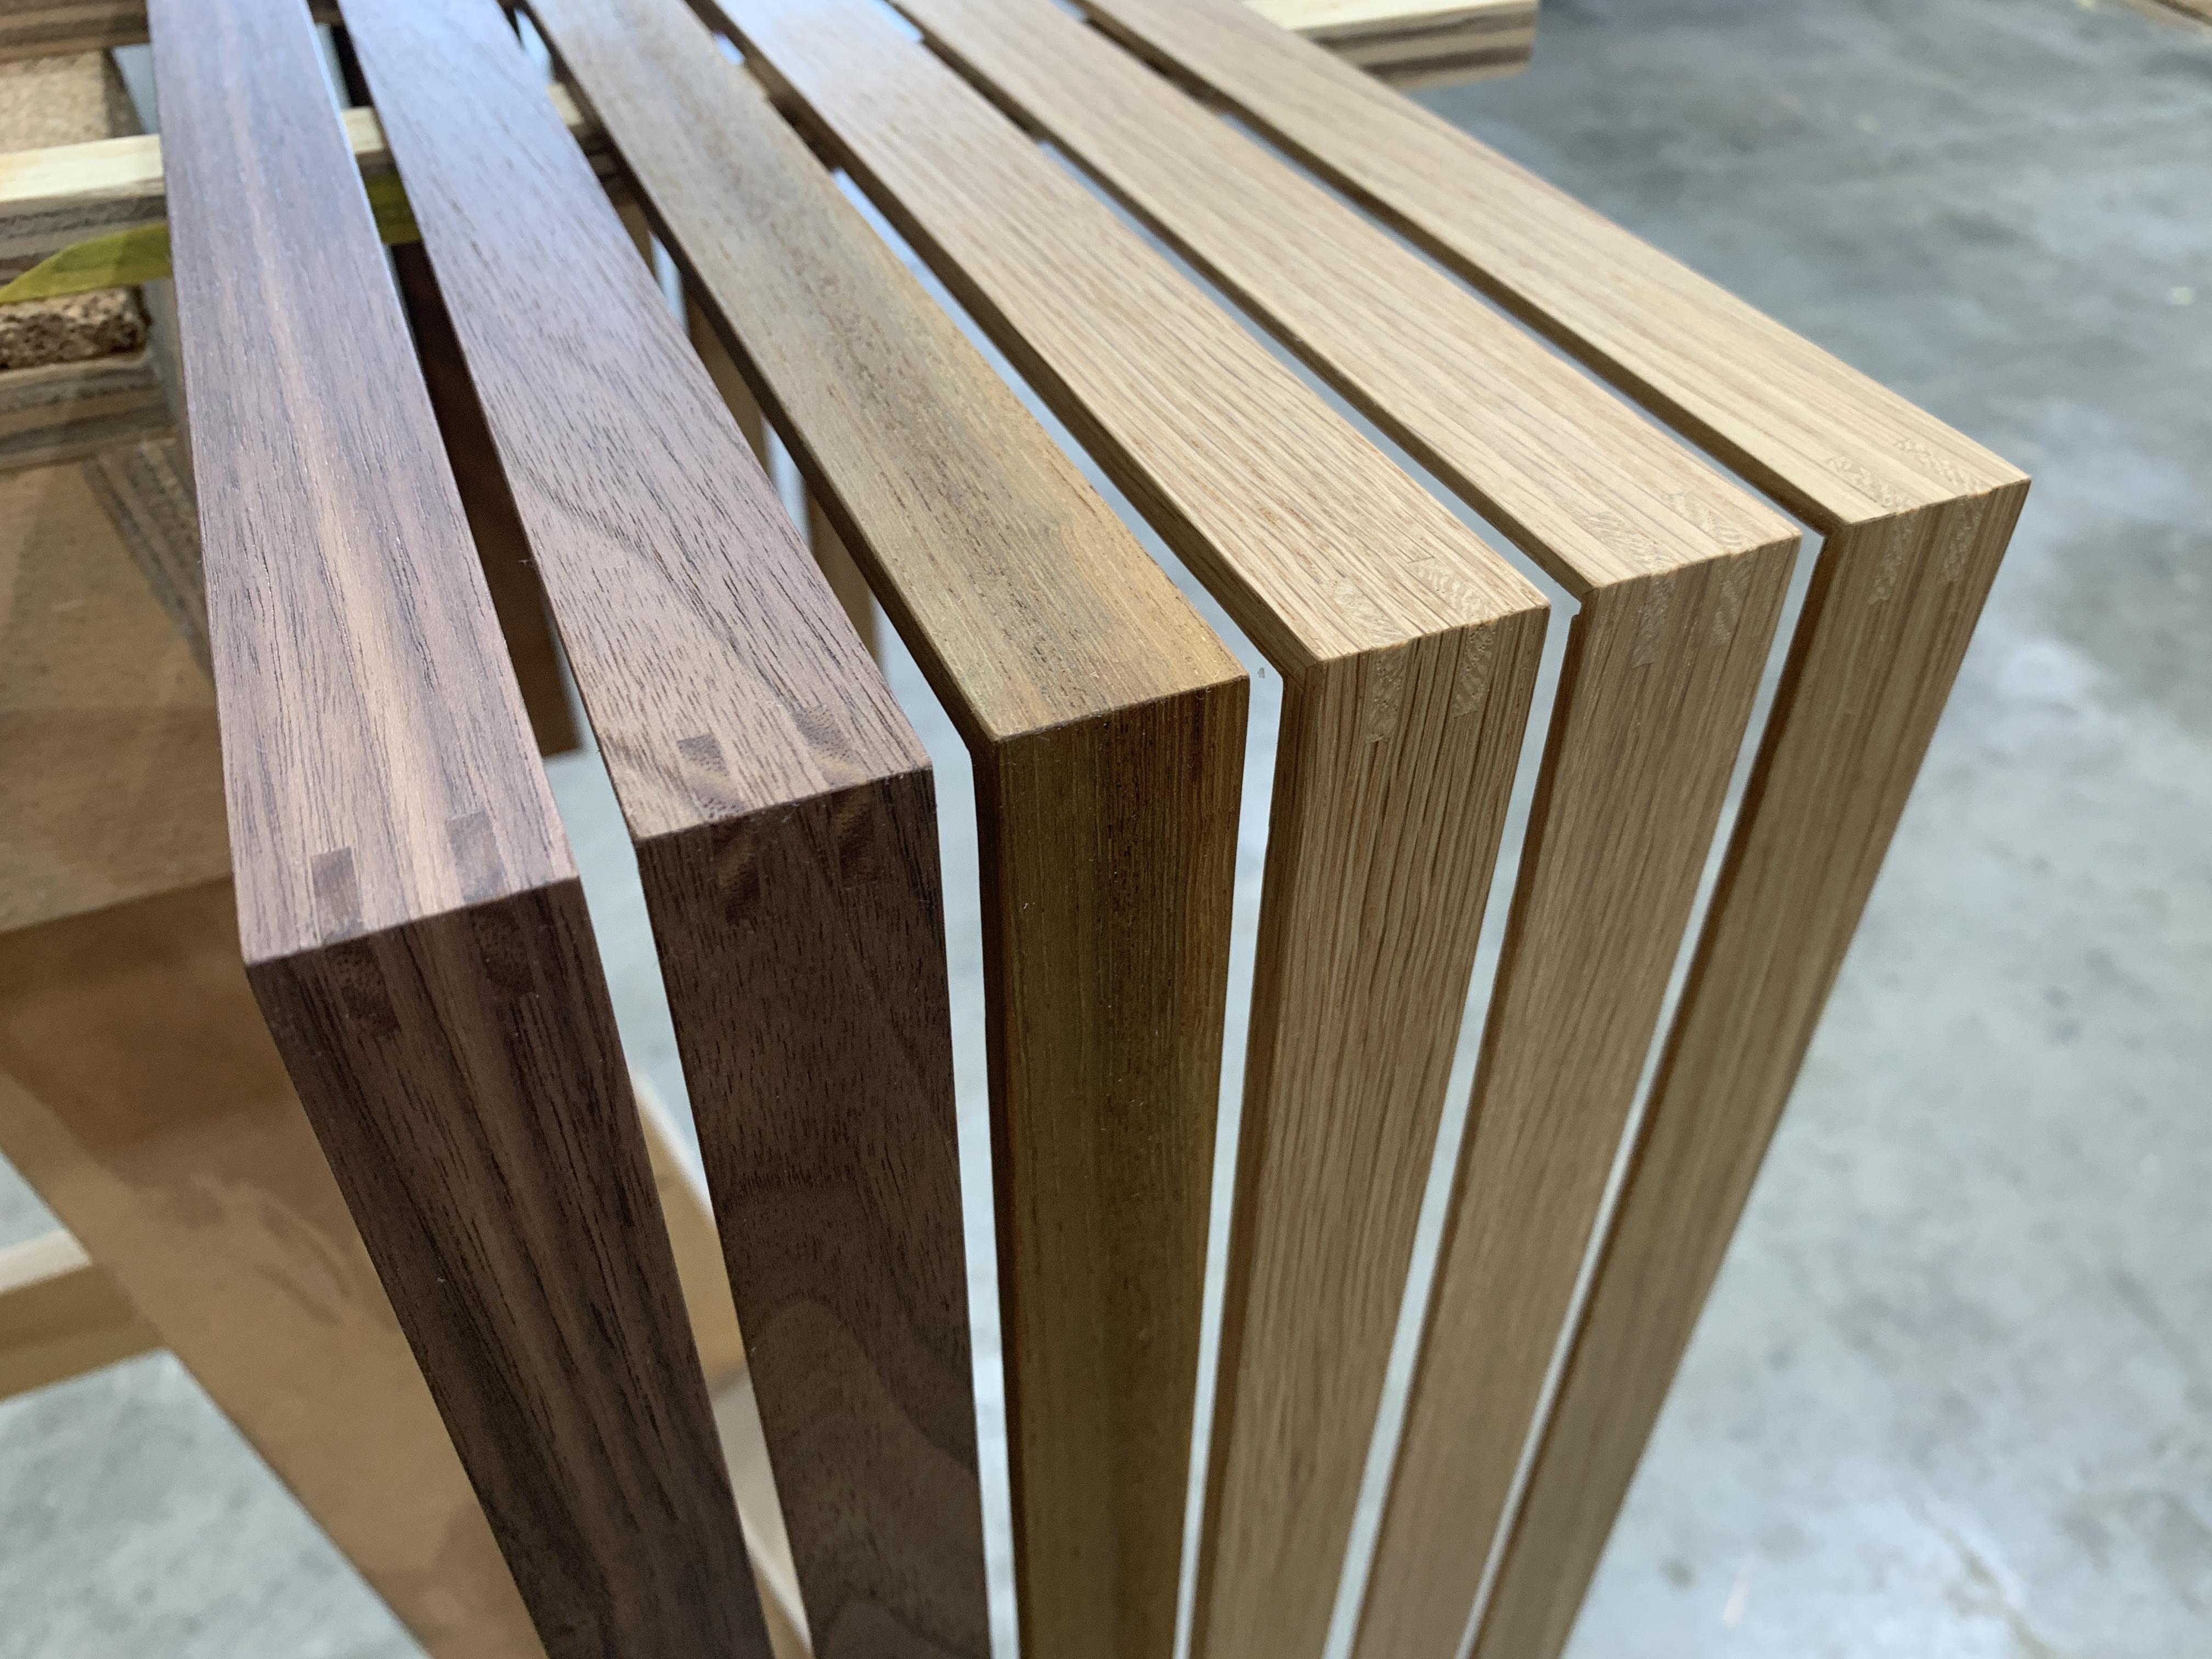
BRONZE MemberHere are some photos of the 4000c style plinths I have been making for people. Each plinth is made from one length of timber so that the grain matches and flows around the whole plinth. From what I have seen of the plinths on the 4000c from B&O, I would say that my quality is as good, if not better than theirs. There is a lot of attention to detail on these. All joints are tight, edges crisp etc.
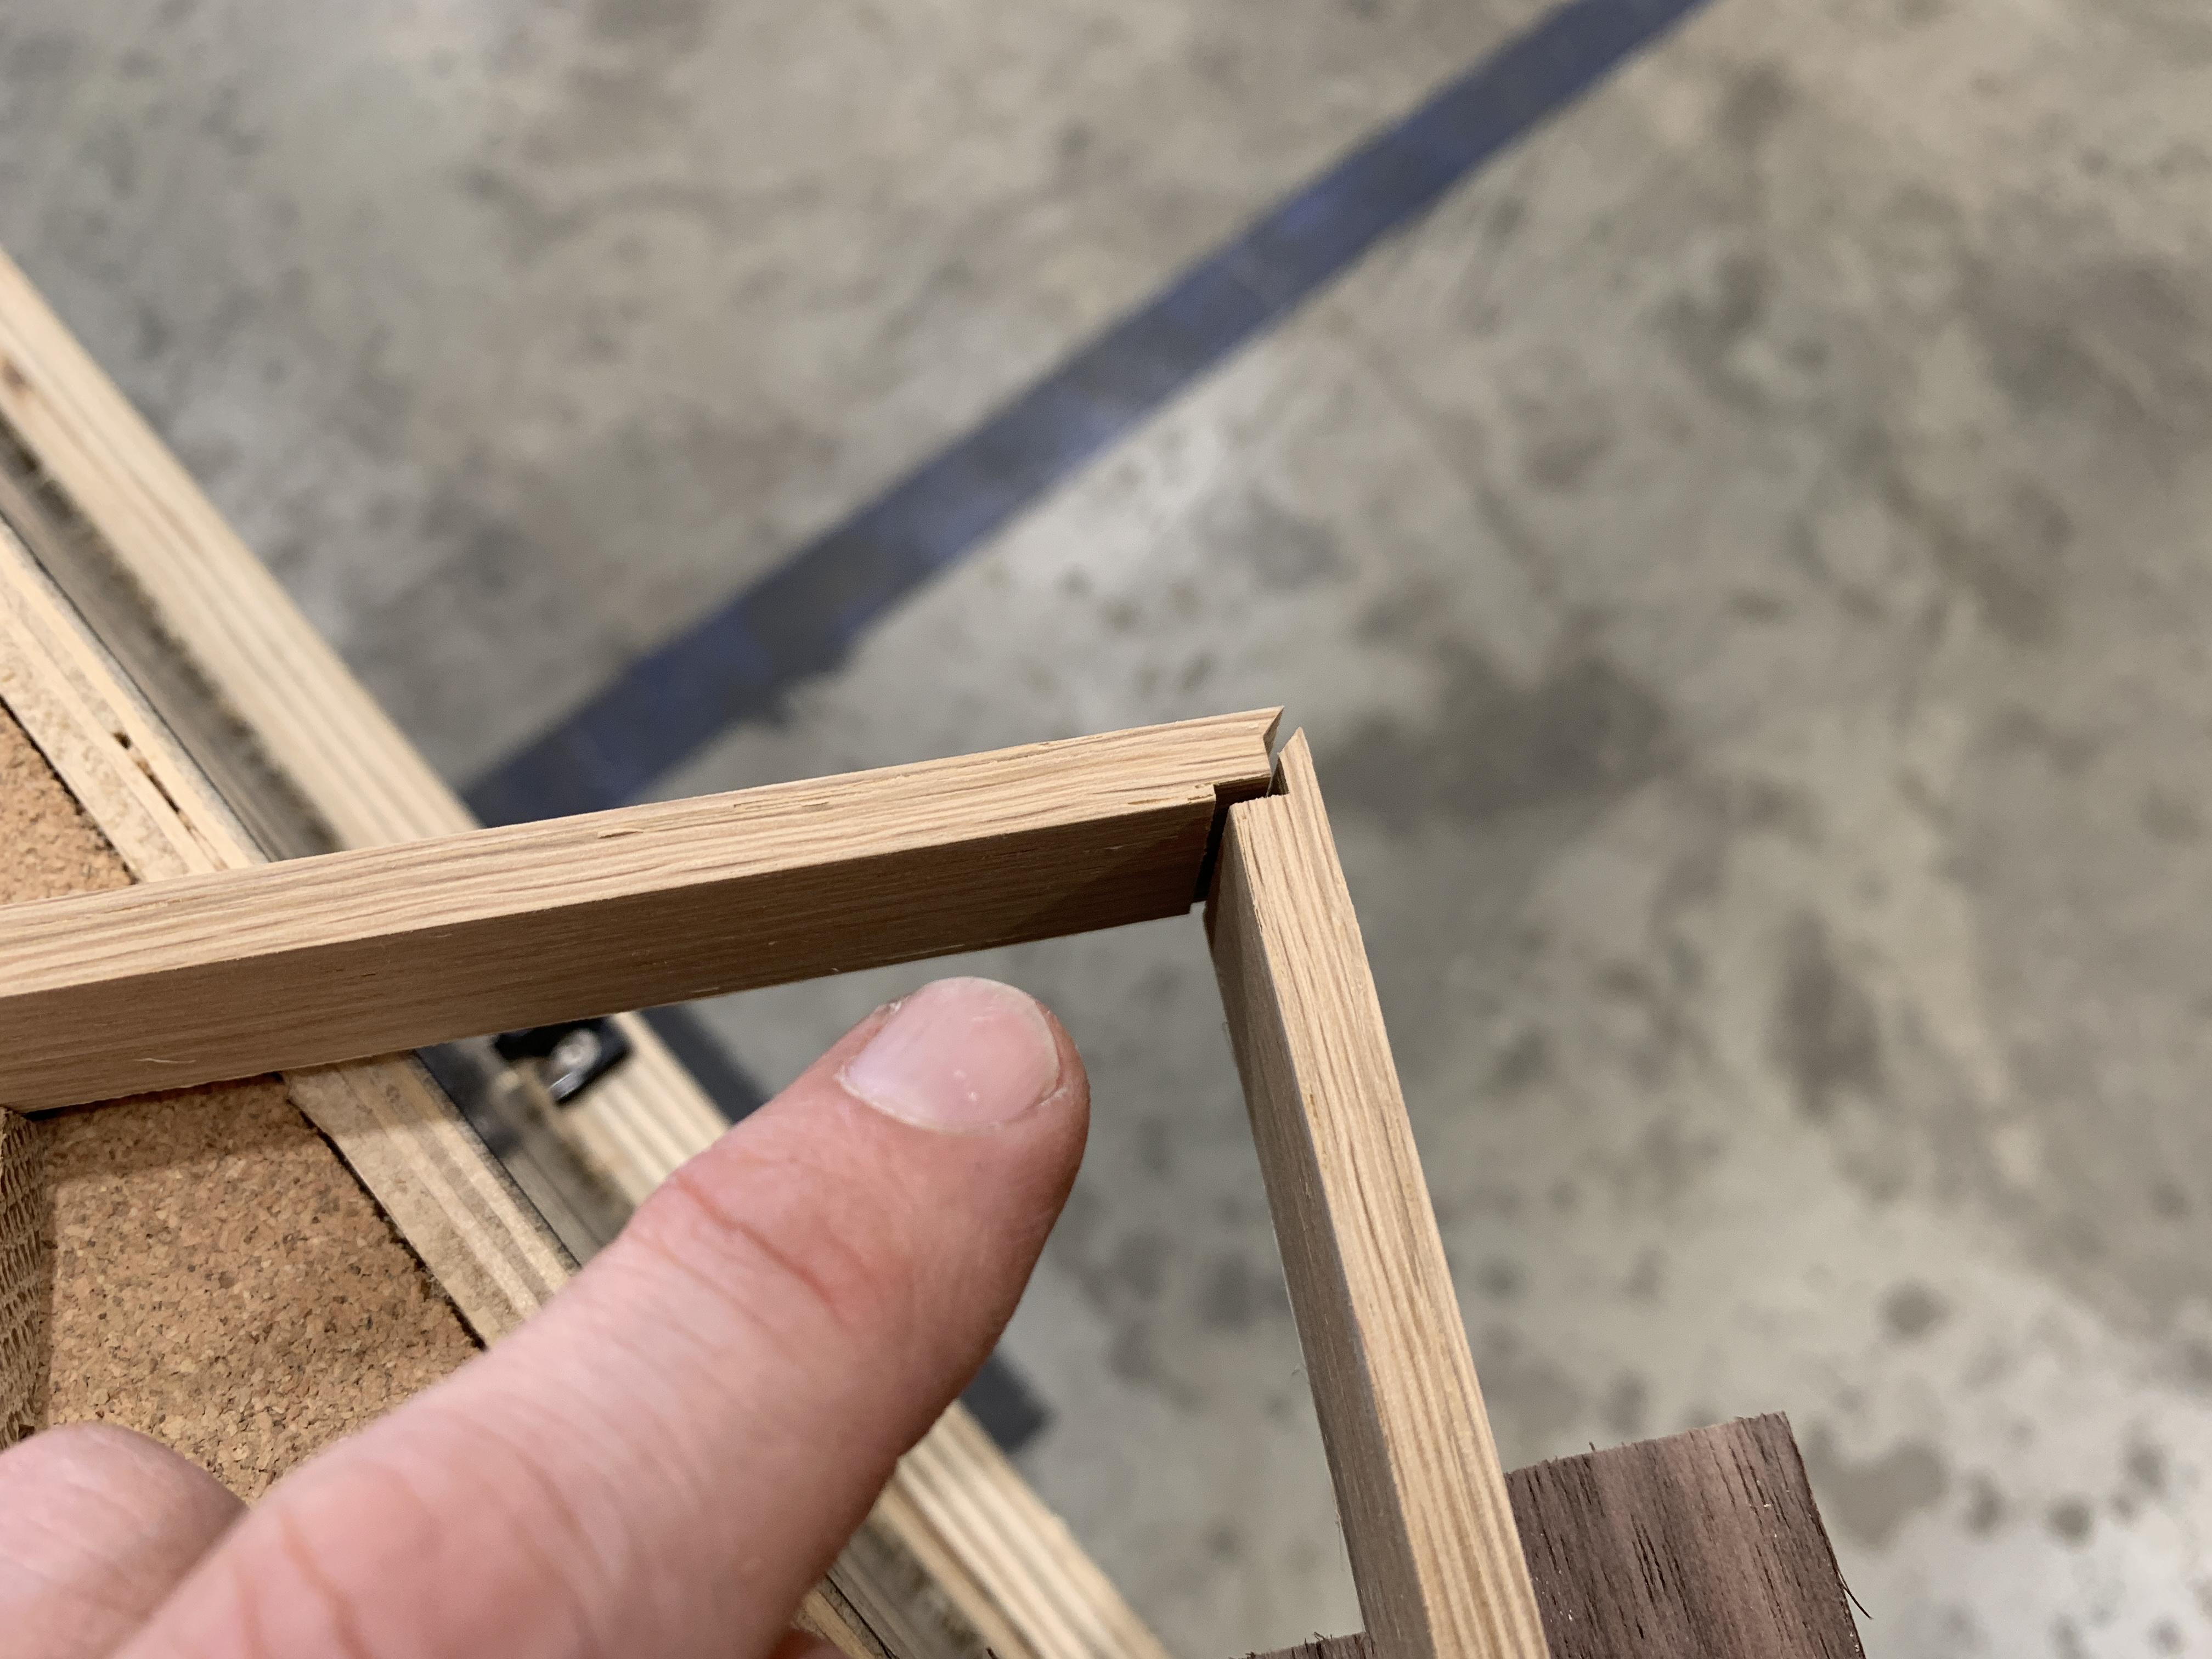
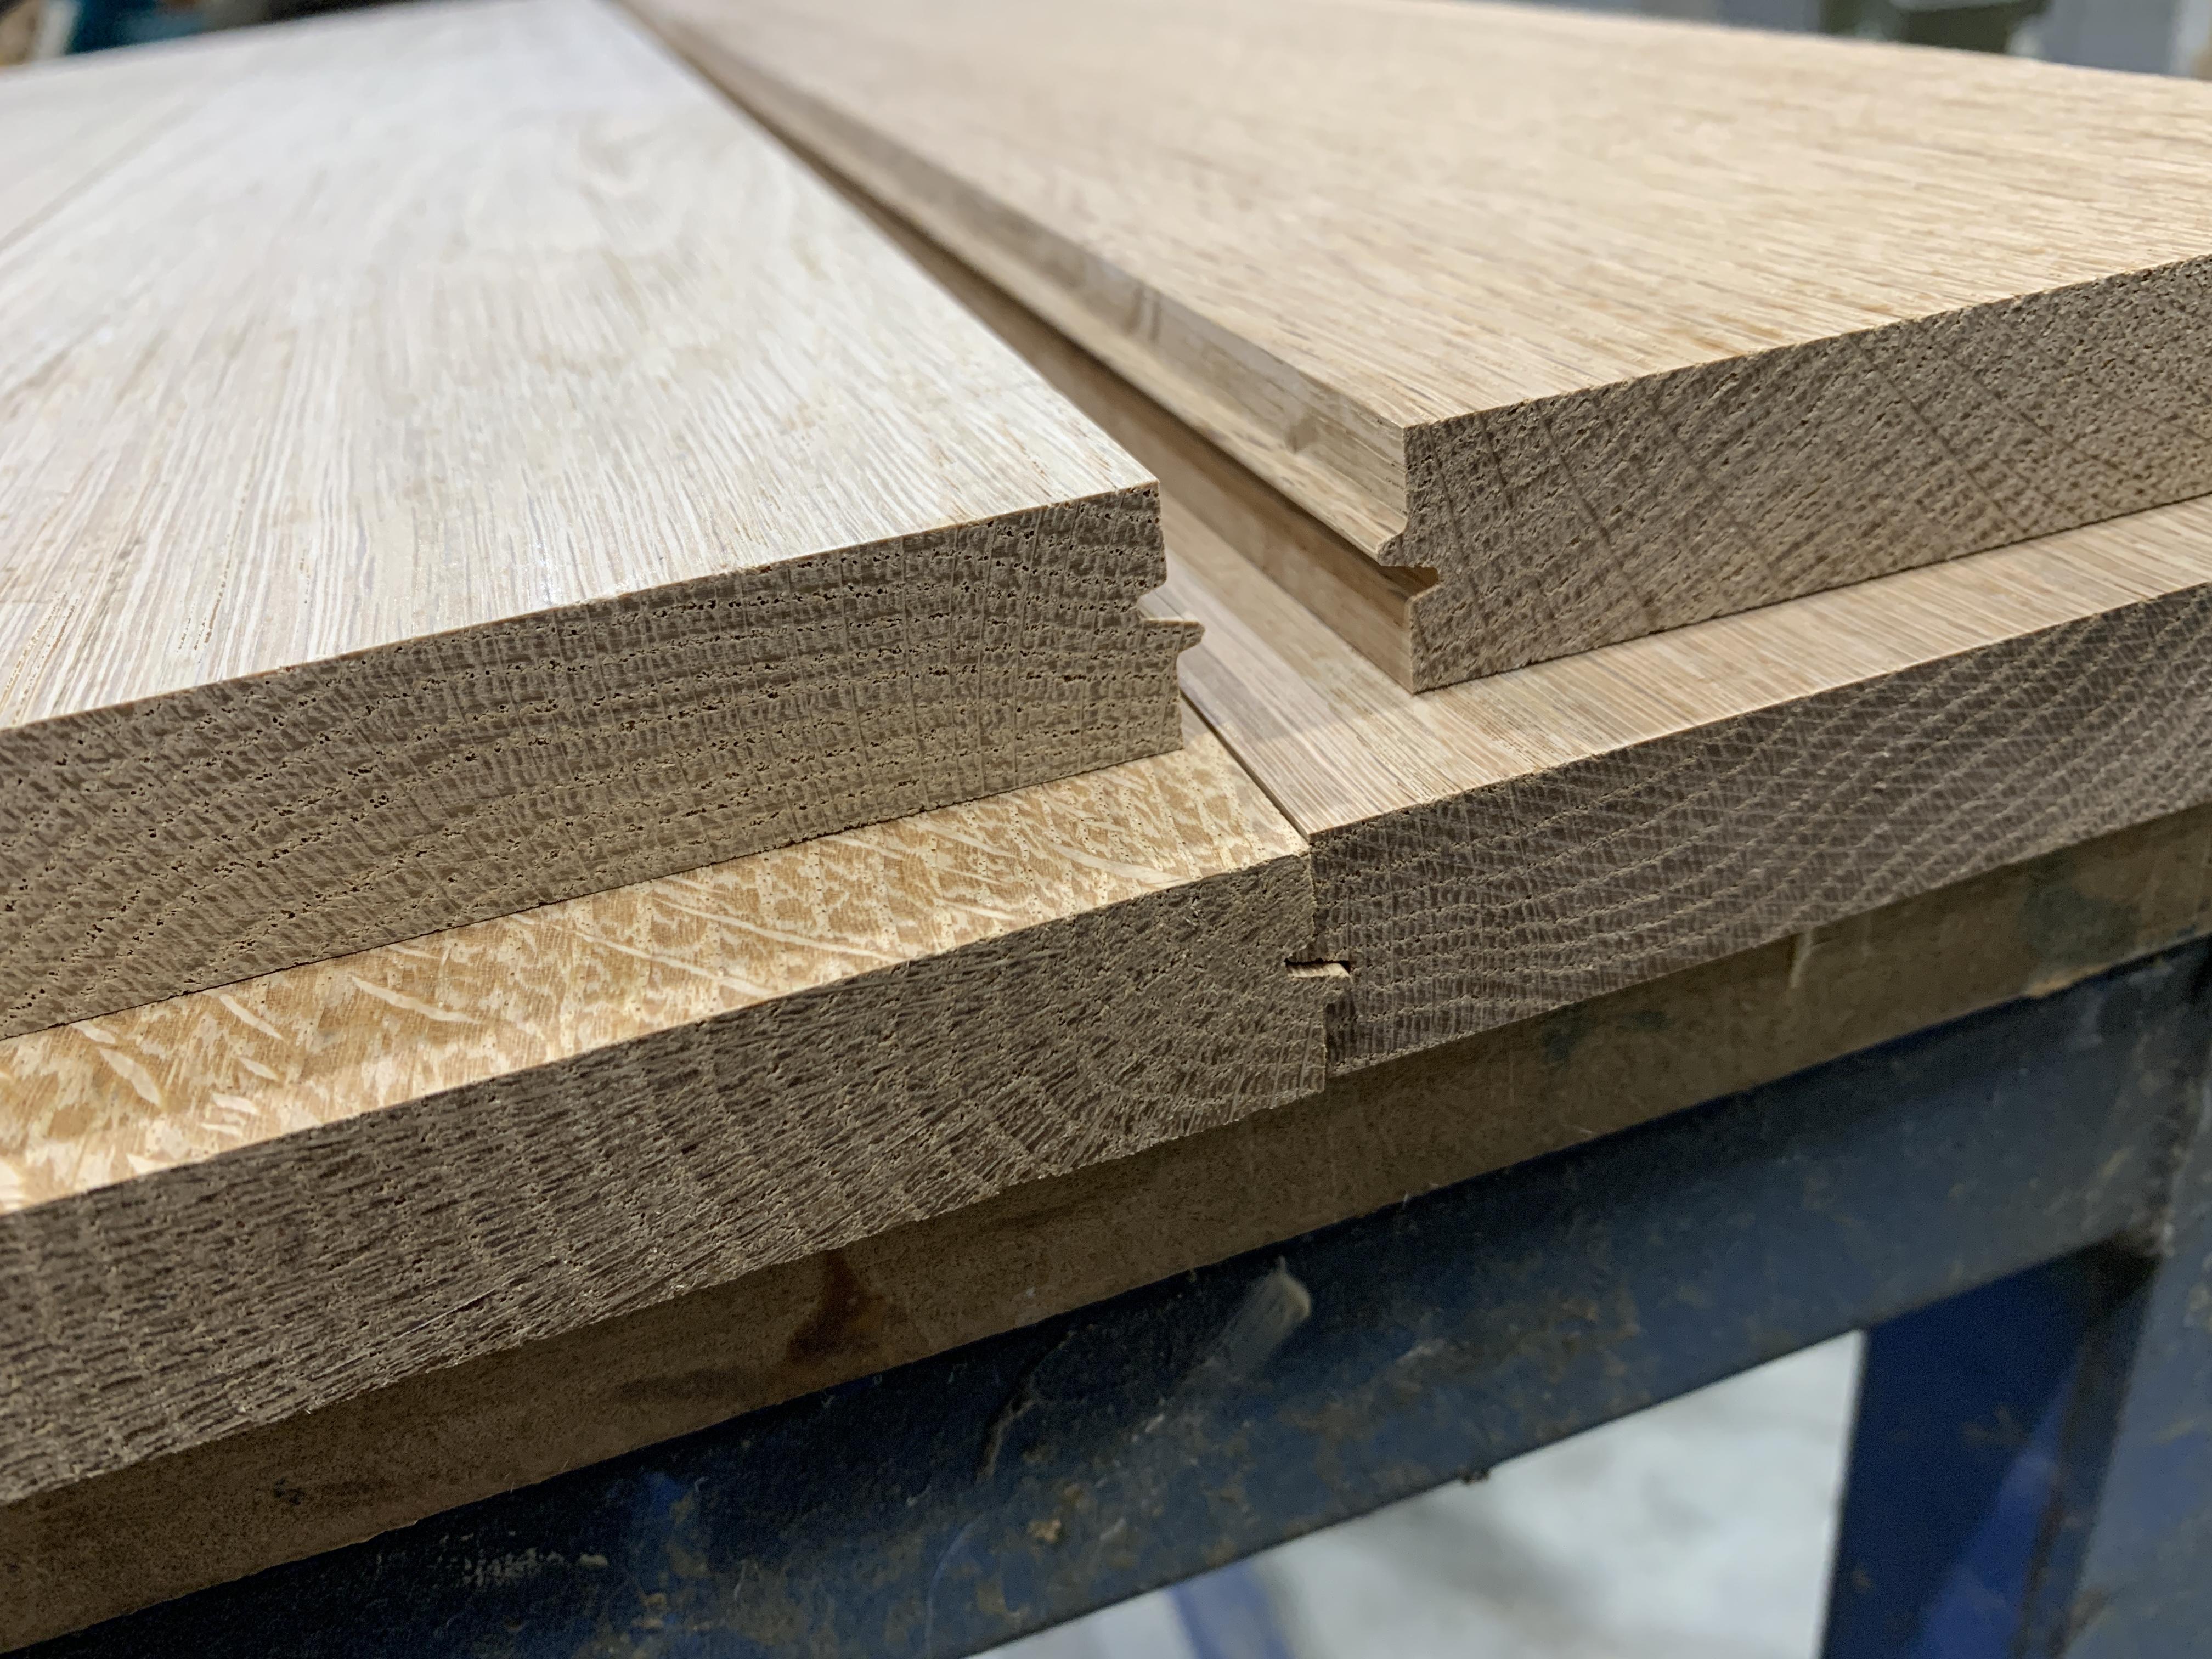
Here are some photos of the 4000c style plinths. The joint itself is slightly different, as well as the addition of splines. The joints are so tiny.
5 May 2024 at 08:43 #54825etype76
BRONZE MemberWell, that die-cast bottom chassis looks pristine now!
I measured my Beogram 4000 plinth and I get:
485 x 345 x 25mm
I’m not a carpenter so definitely verify that.
22 May 2024 at 04:26 #55839hunchbacker
BRONZE MemberExceptional work Christian. I came here for the restoration and stayed for the plinths. I’ve had my 4002 for about 2 years. It came without a plinth so I made a quick replacement. Have been looking for something more true to the OEM. Yours look beautiful. Did not see cost. Should I contact you directly?
Thanks, Calvin
Gig Harbor, Wa. USA
22 June 2024 at 10:32 #56688ChristianHak
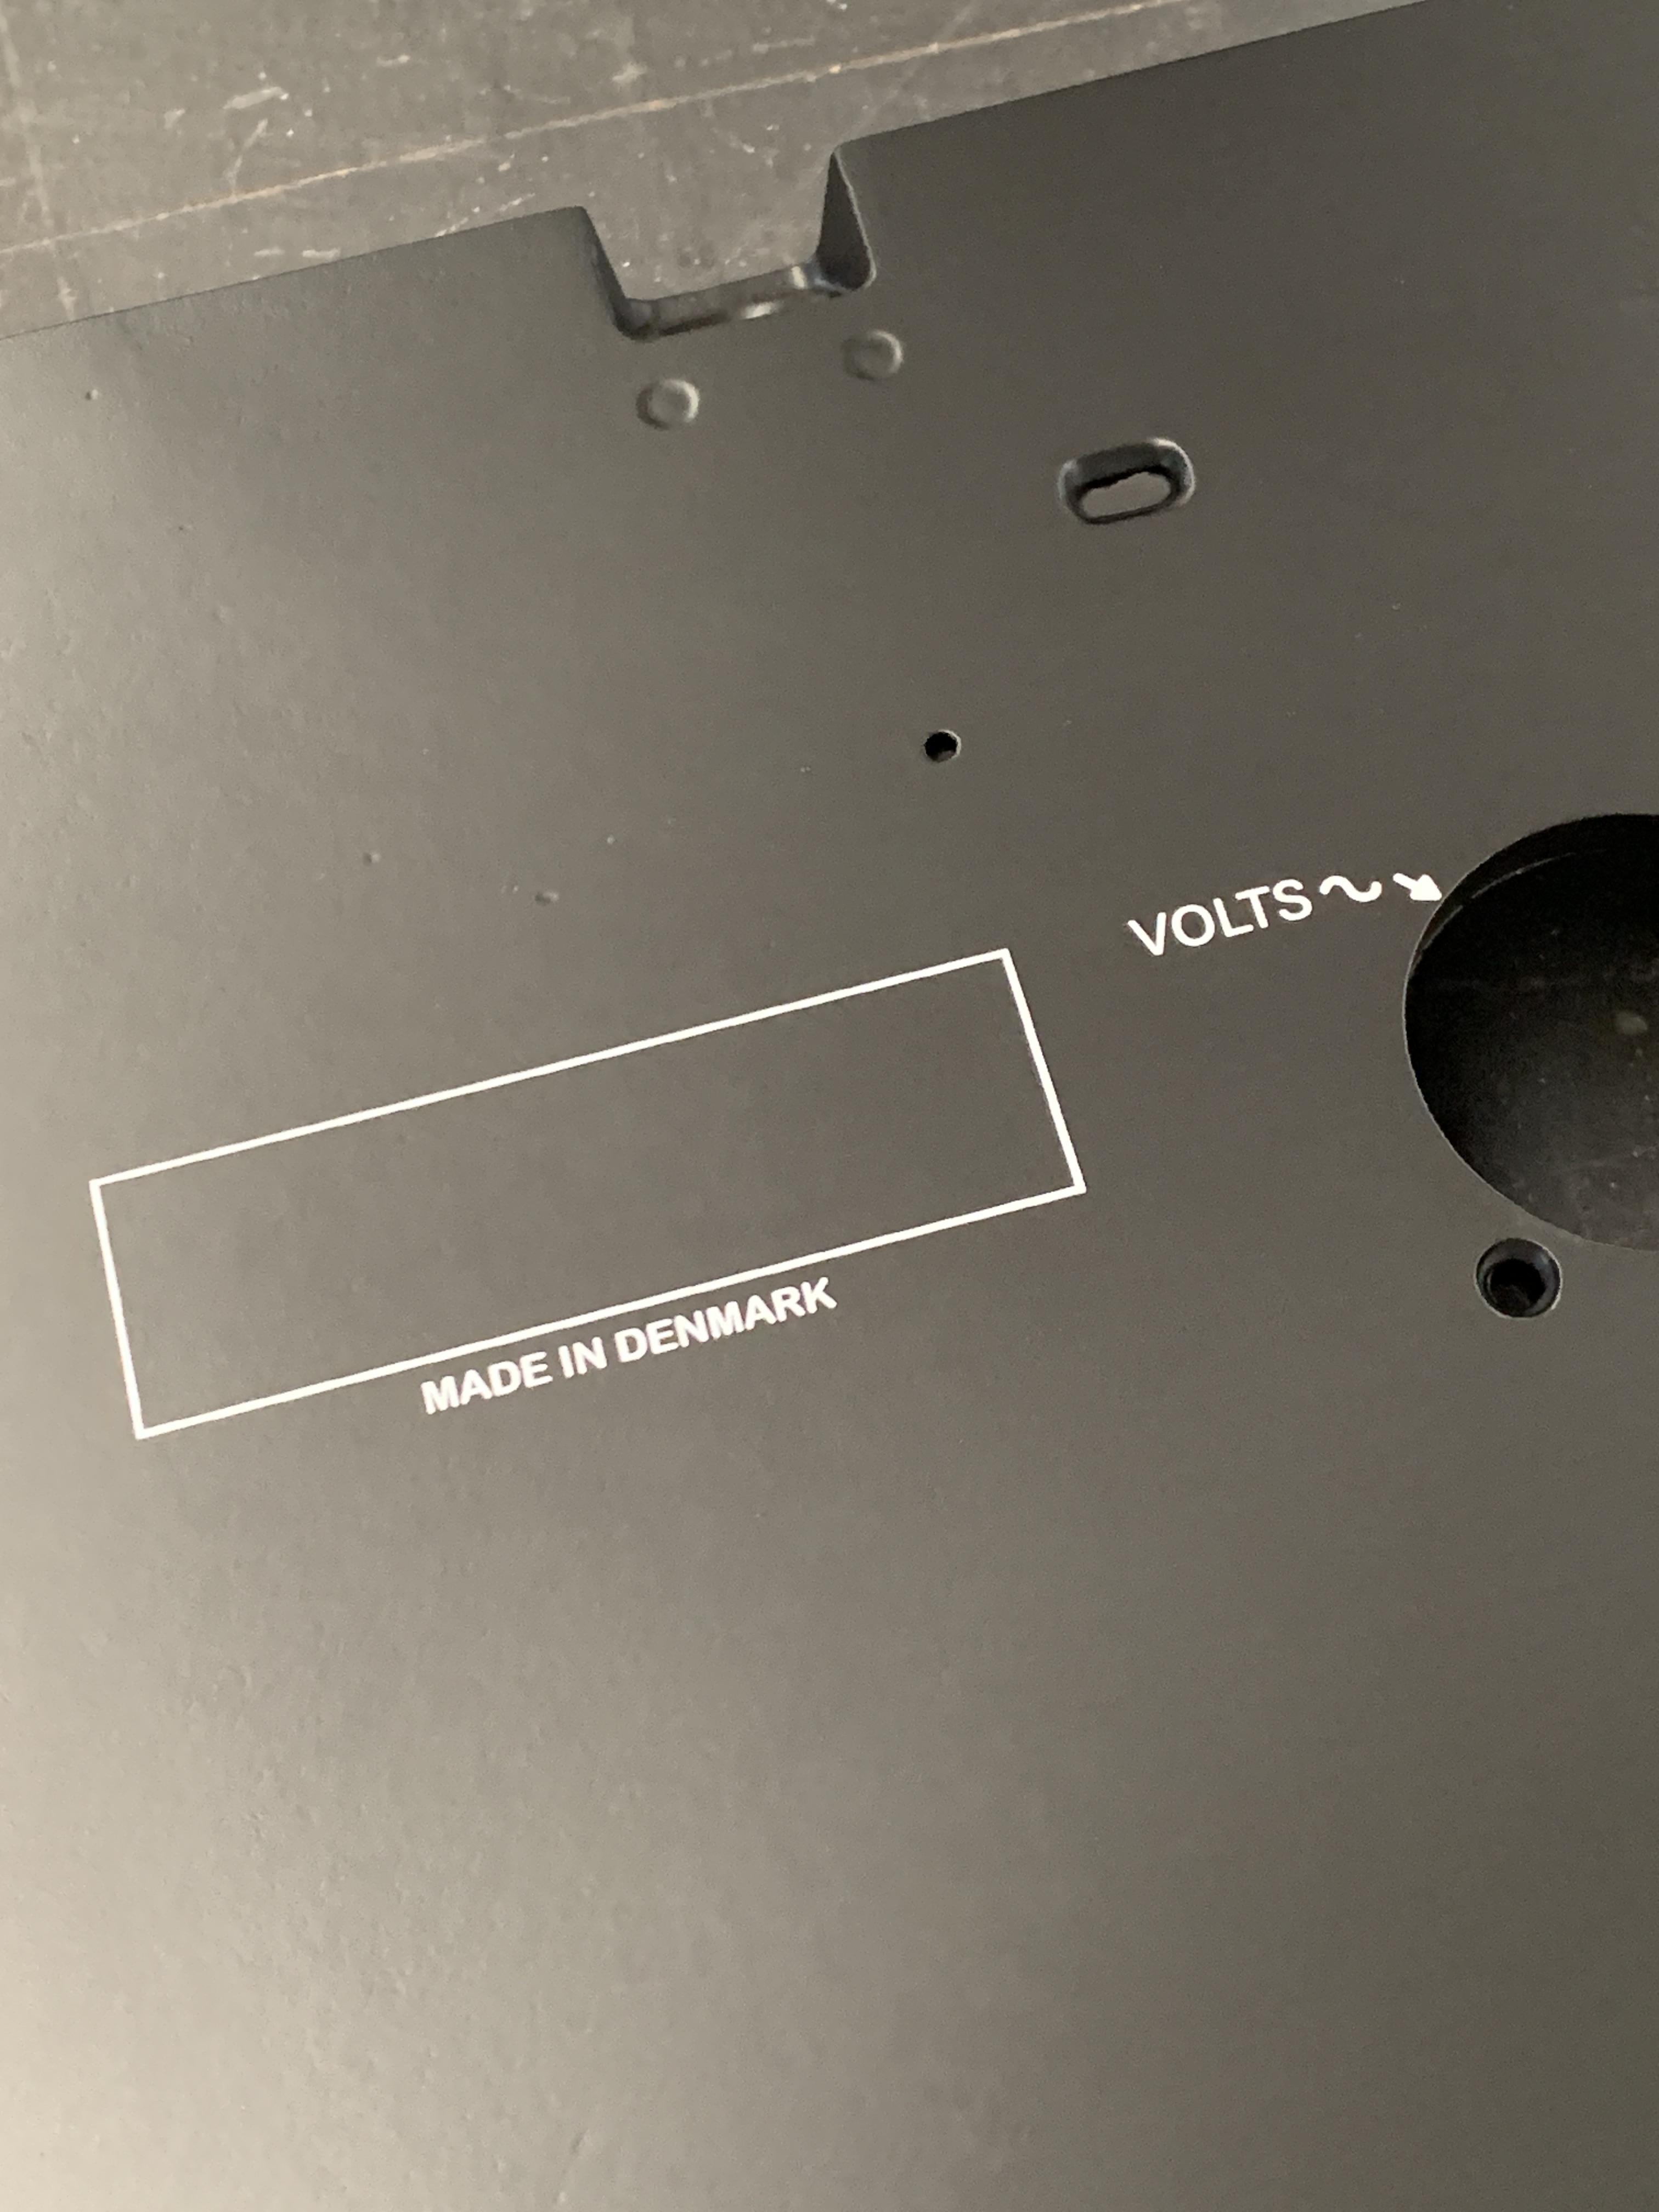
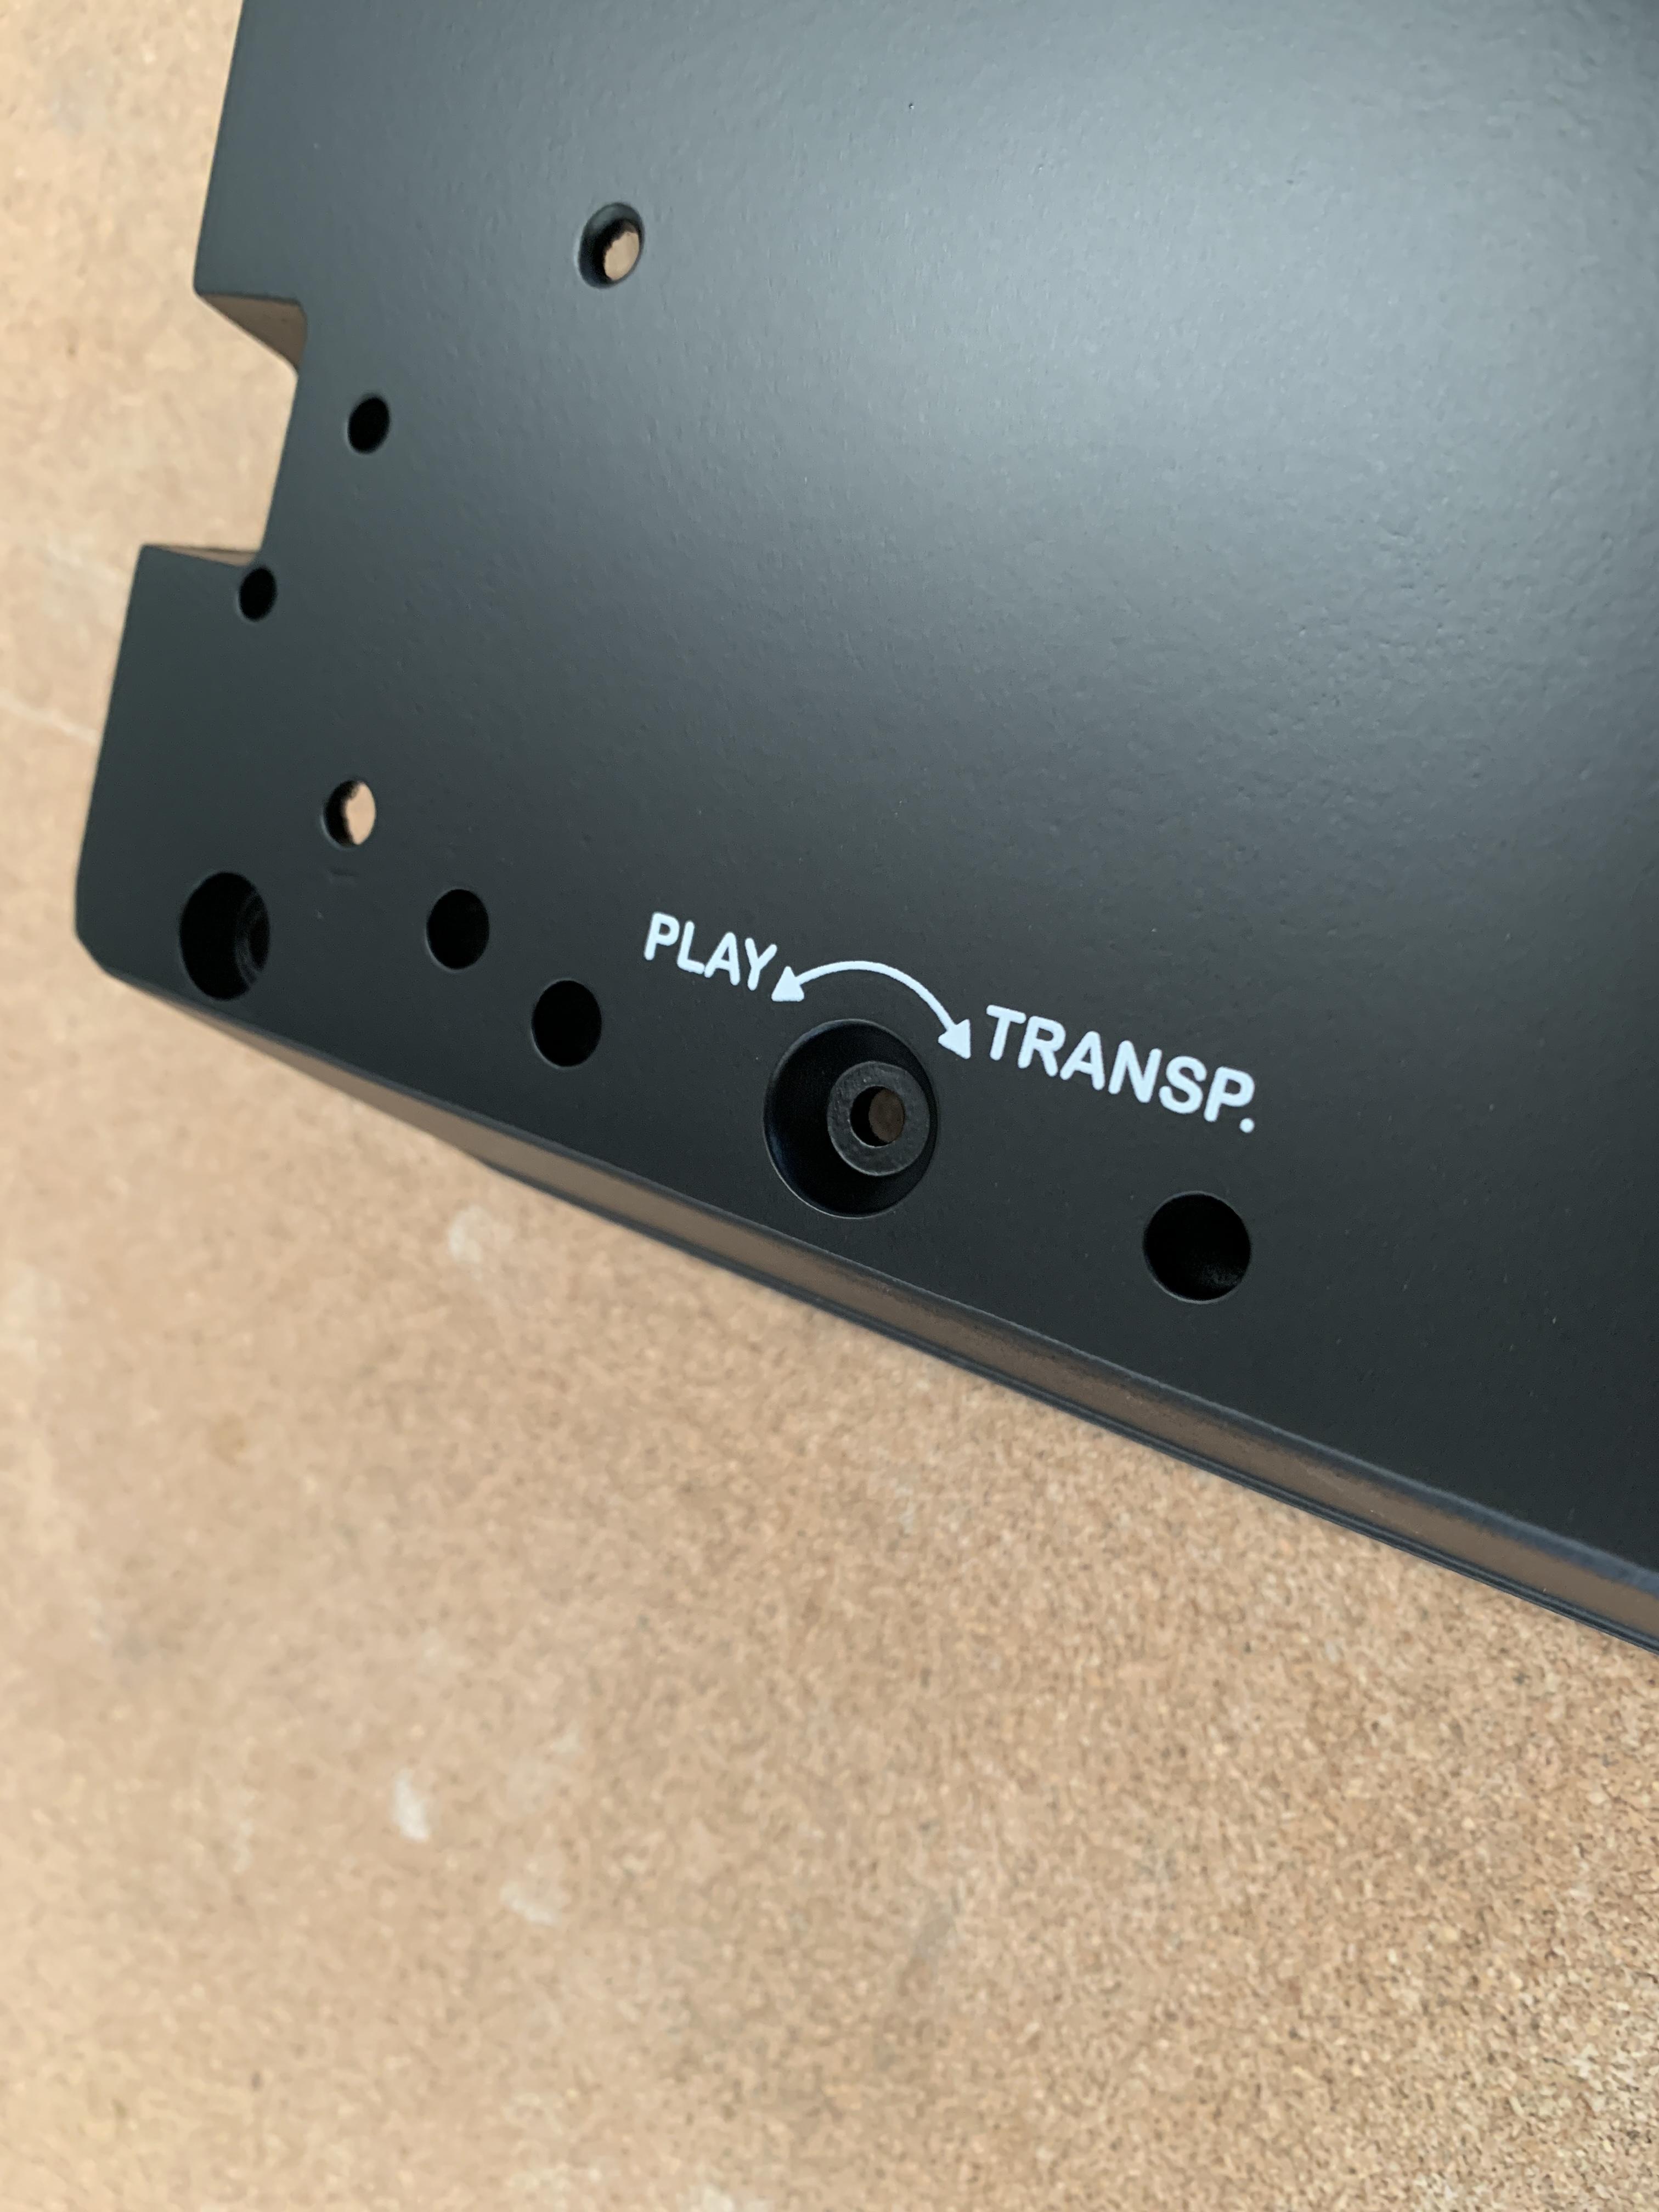
BRONZE MemberJust a quick update. The restoration has been on hold for a while as I waited for a screen printing screen to arrive. I am going to try to screen print the writing on the chassis and aluminium strip on the lid. I’ve never done it before but I thought I’d give it a crack. From my understanding, the Beograms that have been officially restored have the writing on the underside of the chassis replaced by stickers. To me, for such an expensive upgrade, it looks kind of cheap. So I am going the ‘overkill’ route and trying to screen print it.
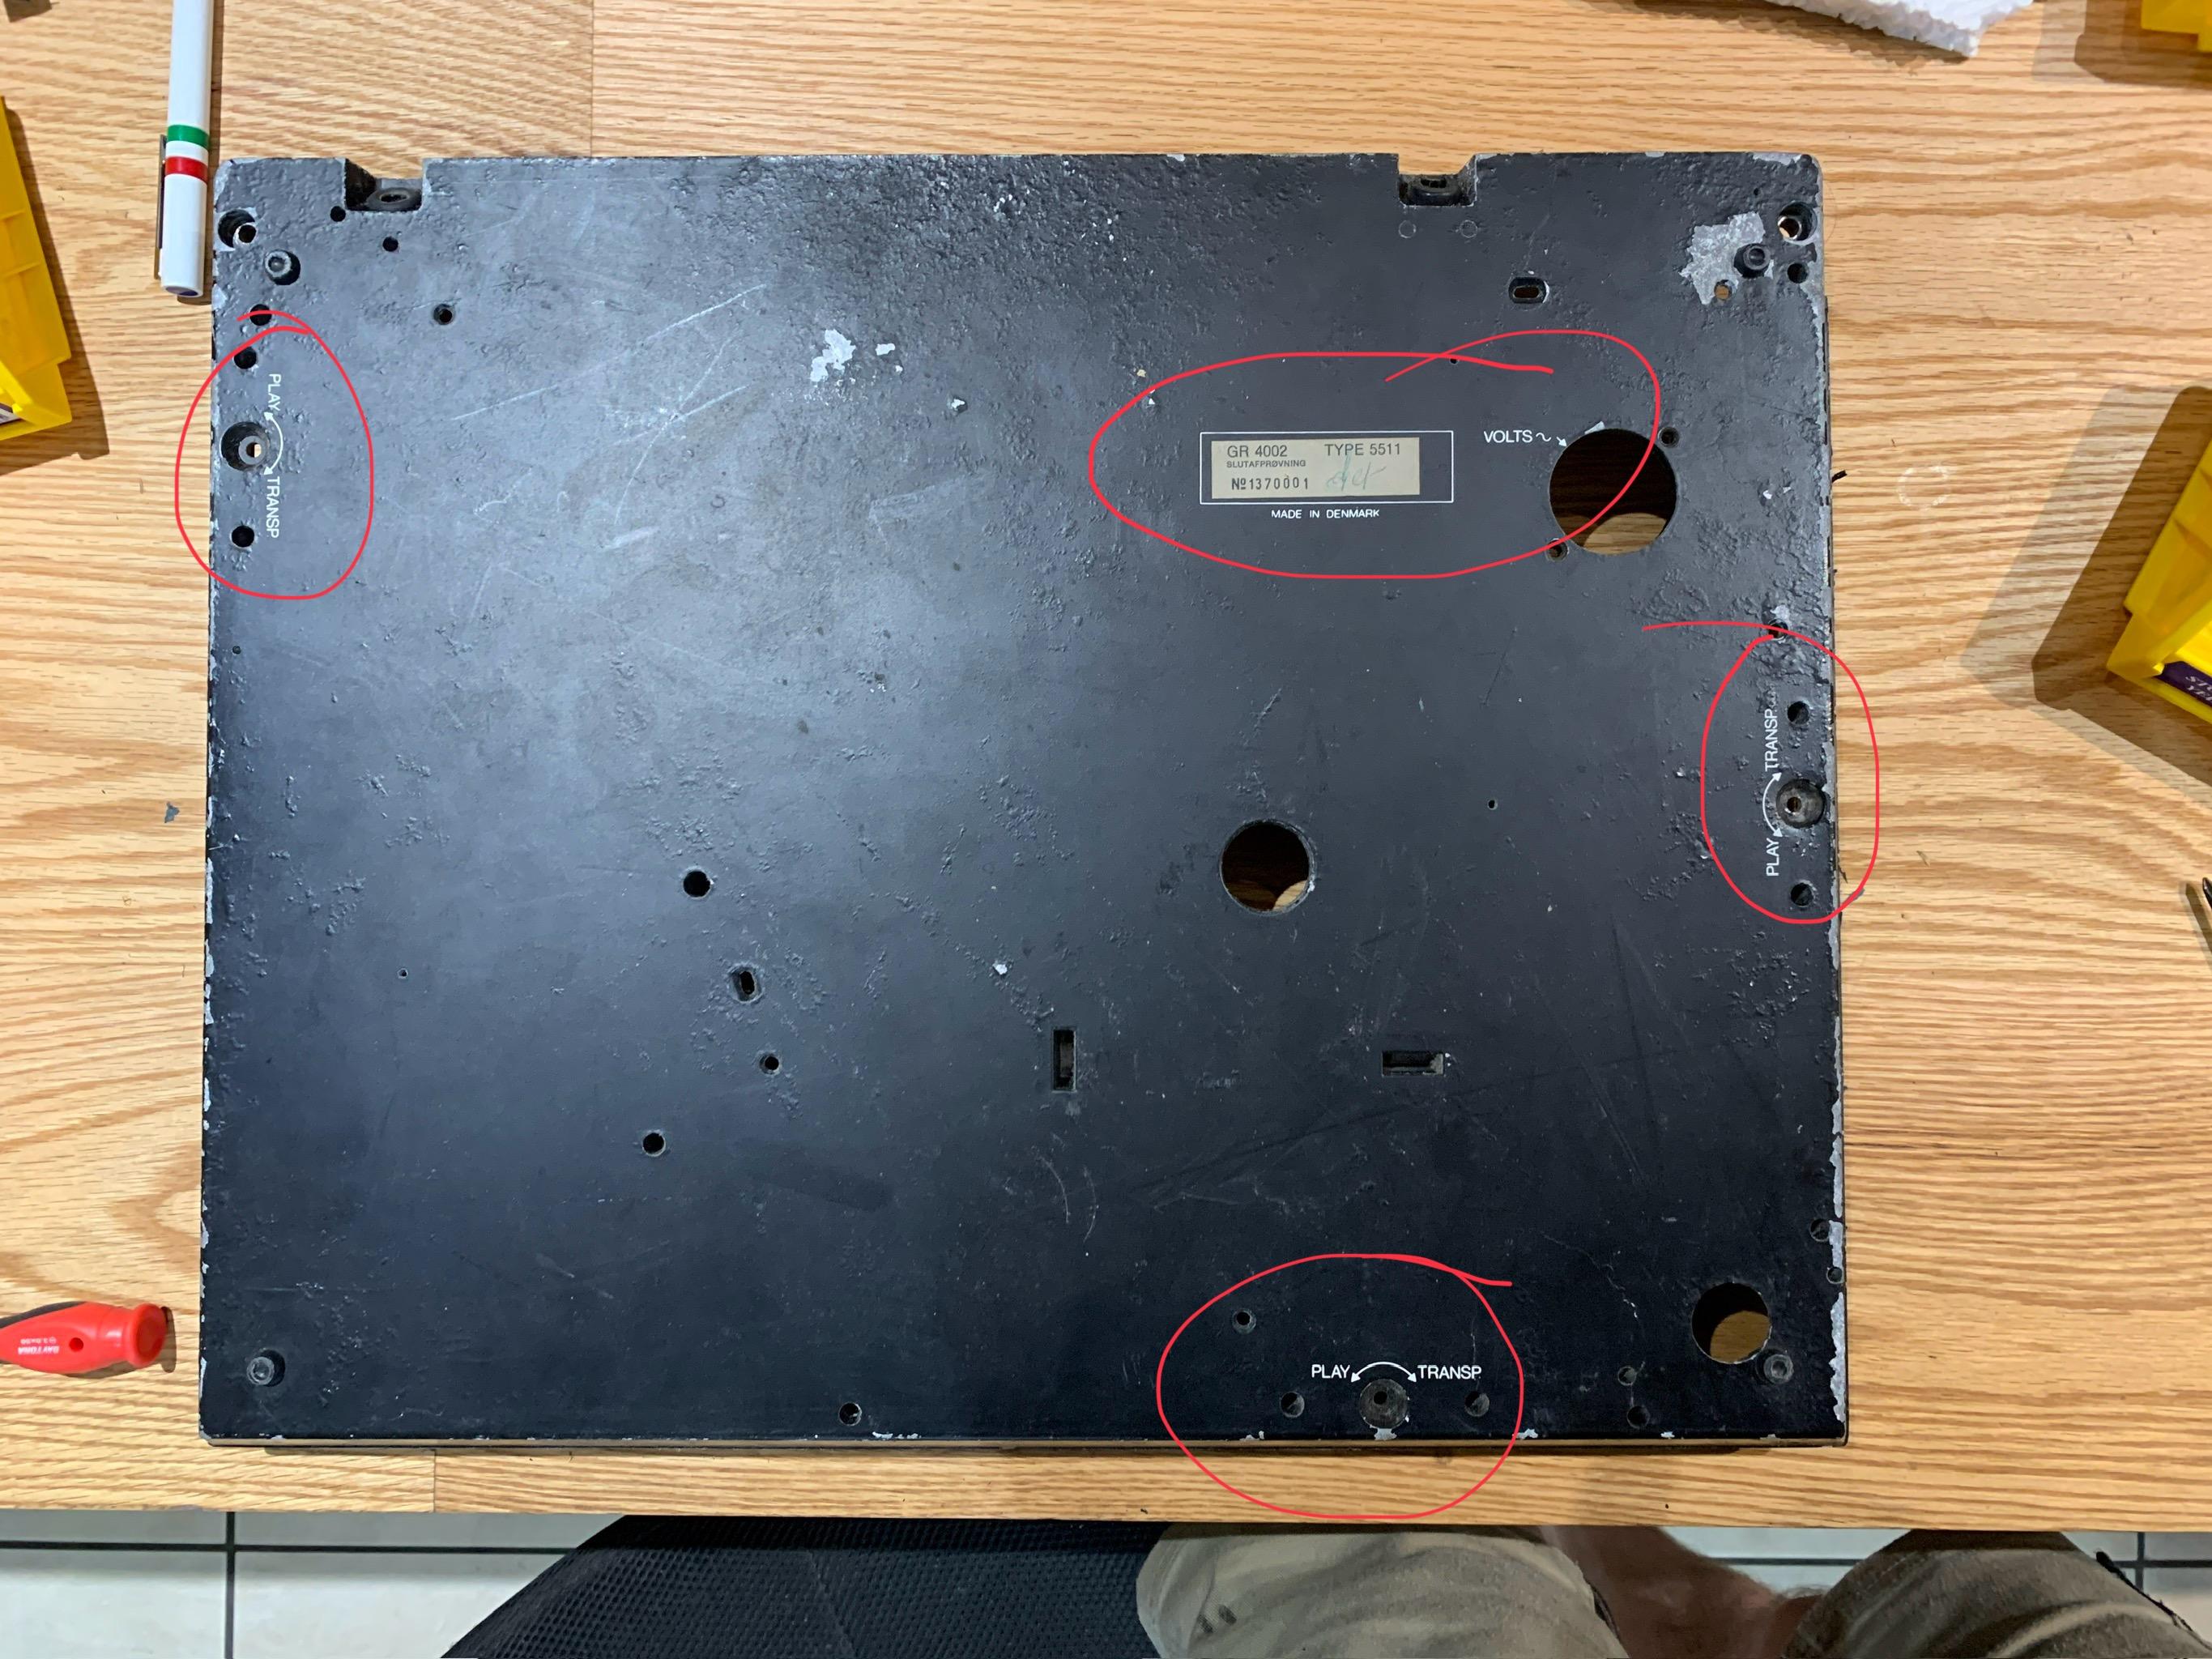
As a reminder, this is what it looked like when I got it.
This is what the chassis looks like after sandblasting and painting.
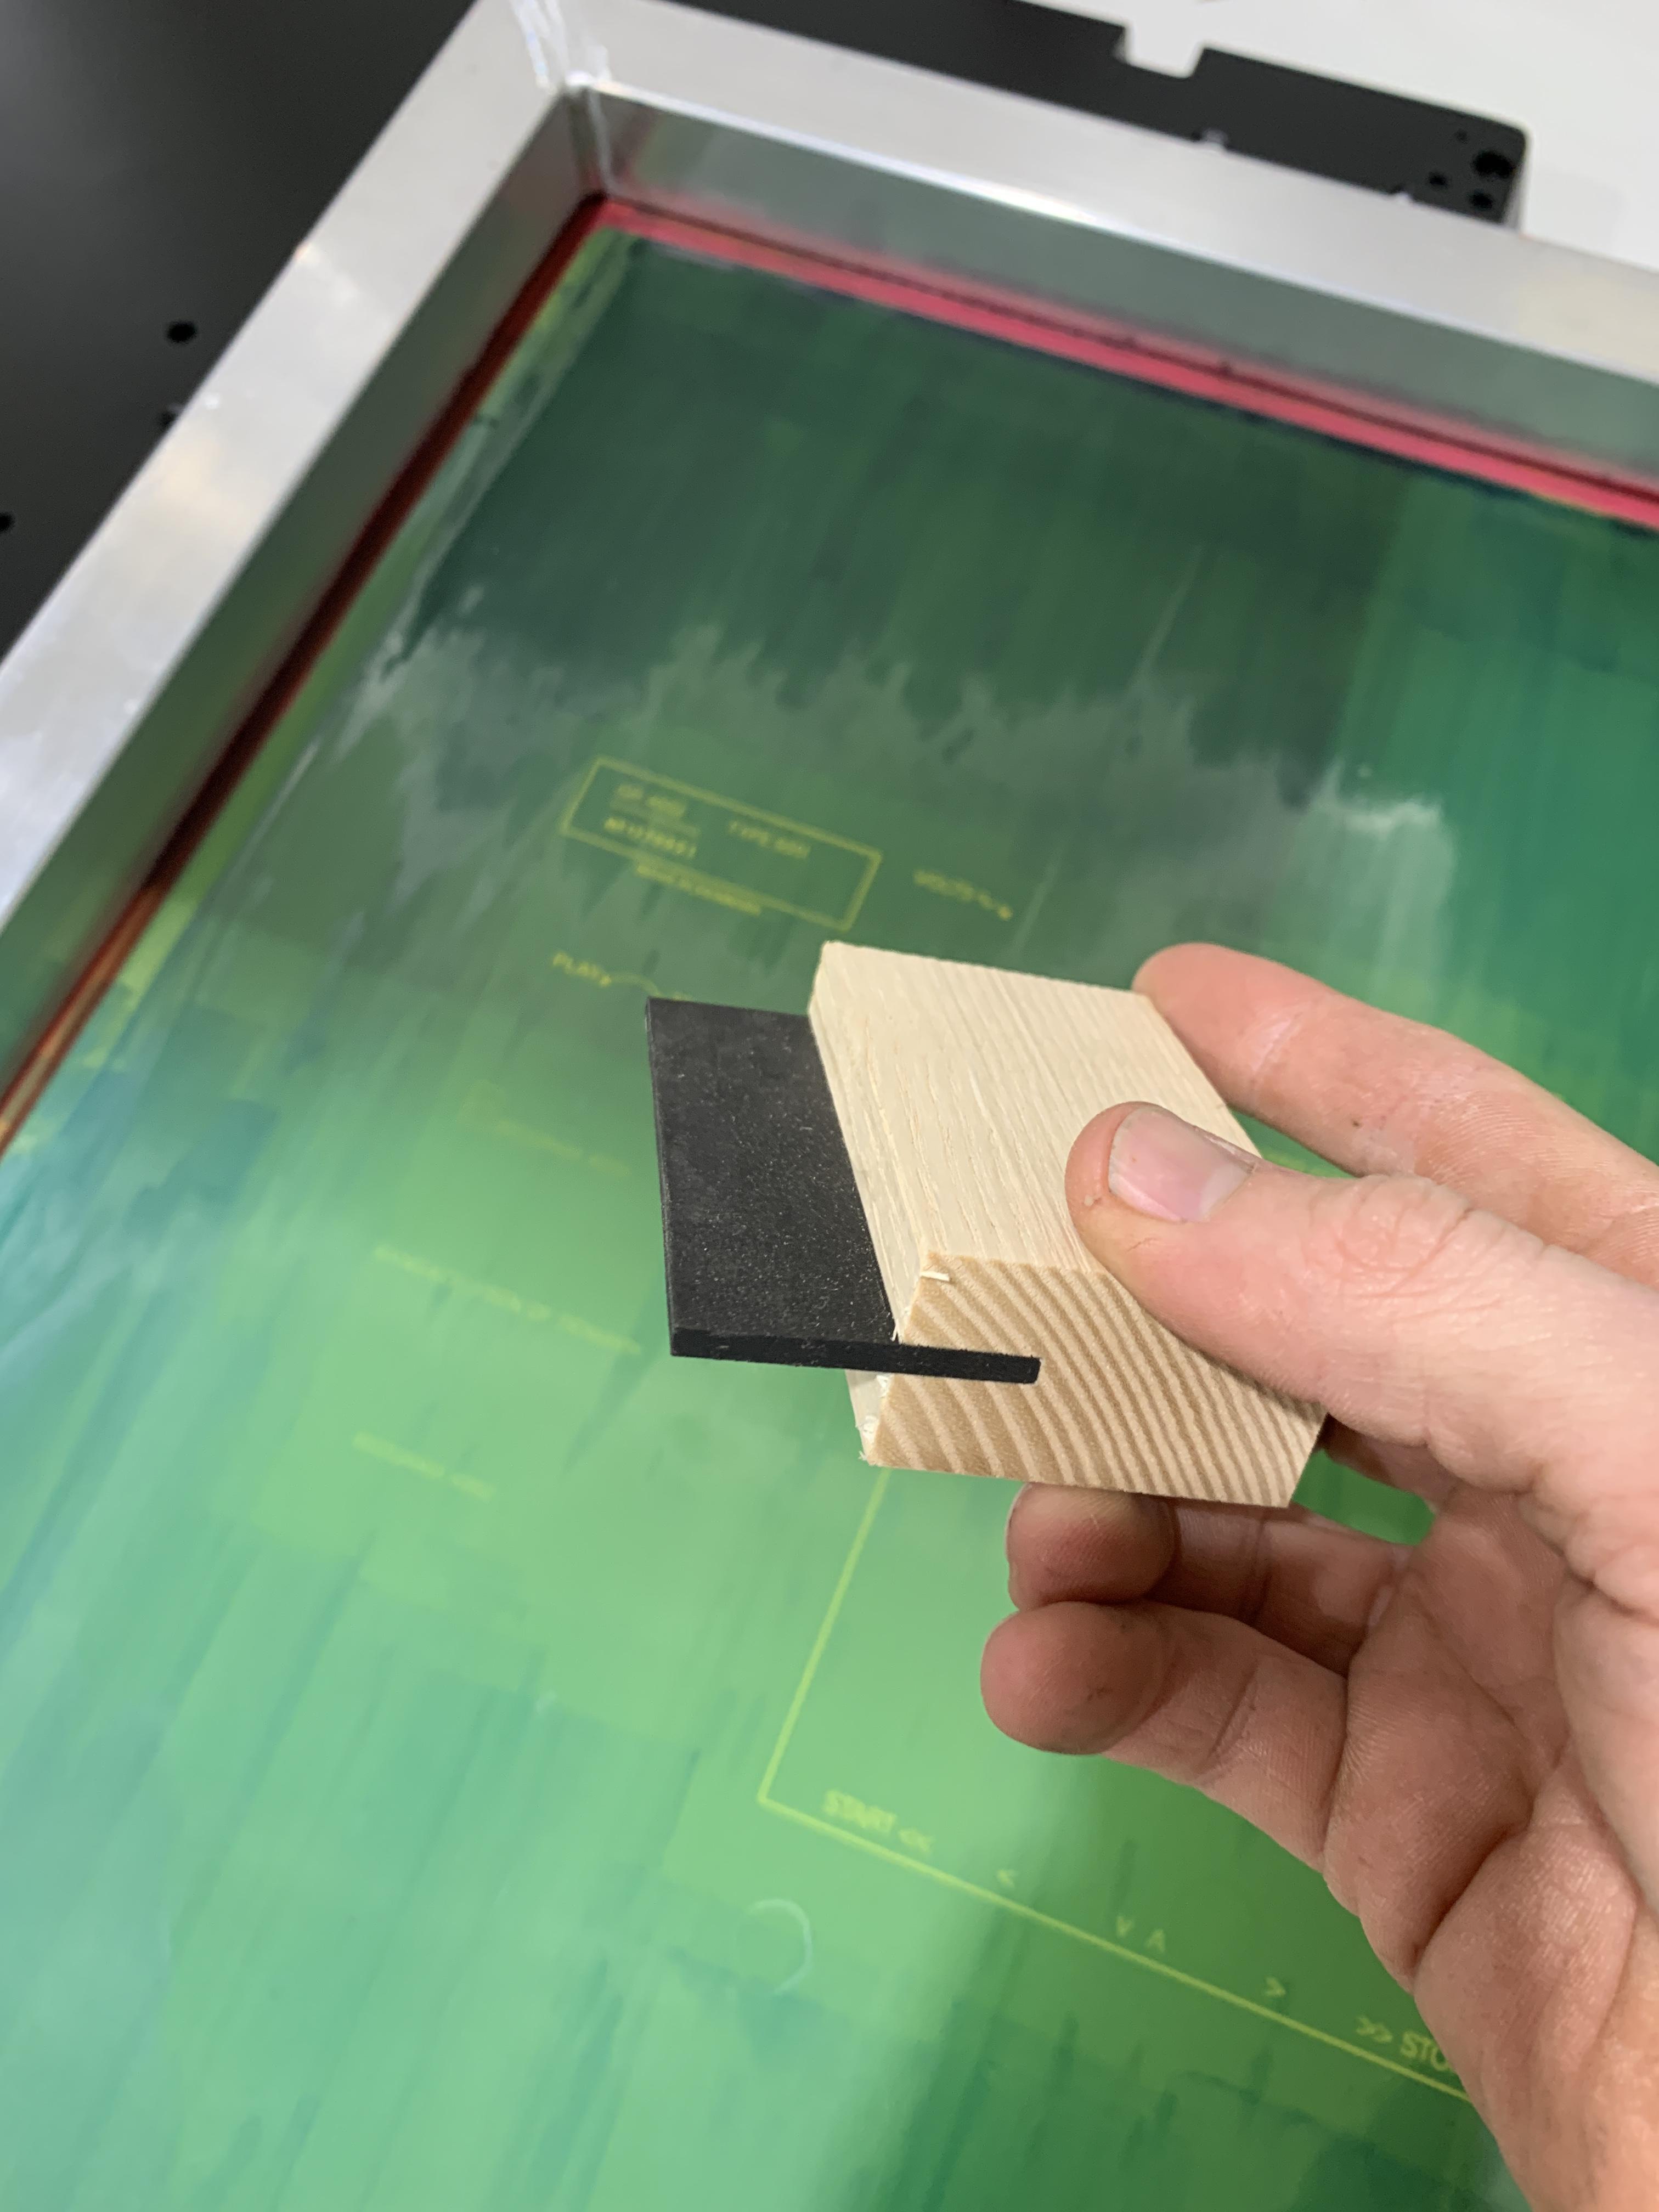
I made up an image with all the various text that I am planning on restoring at some point and popped it all on the one screen. Ideally, I will make a screen which has all the writing laid out properly so I don’t have to realign and print the various text in stages but can do it all in one go. But this is essentially a bit of a trial run.
I didn’t have a squeegee so I whipped one up.
The first try worked really well. But when I tried printing the second ‘play – transport’ text it smudged so I will have to start again. I will give it a try again tomorrow.
I will post some photos as soon as I manage to pull off a good print. And then I can start the reassembling process.
23 June 2024 at 08:42 #56946ChristianHak
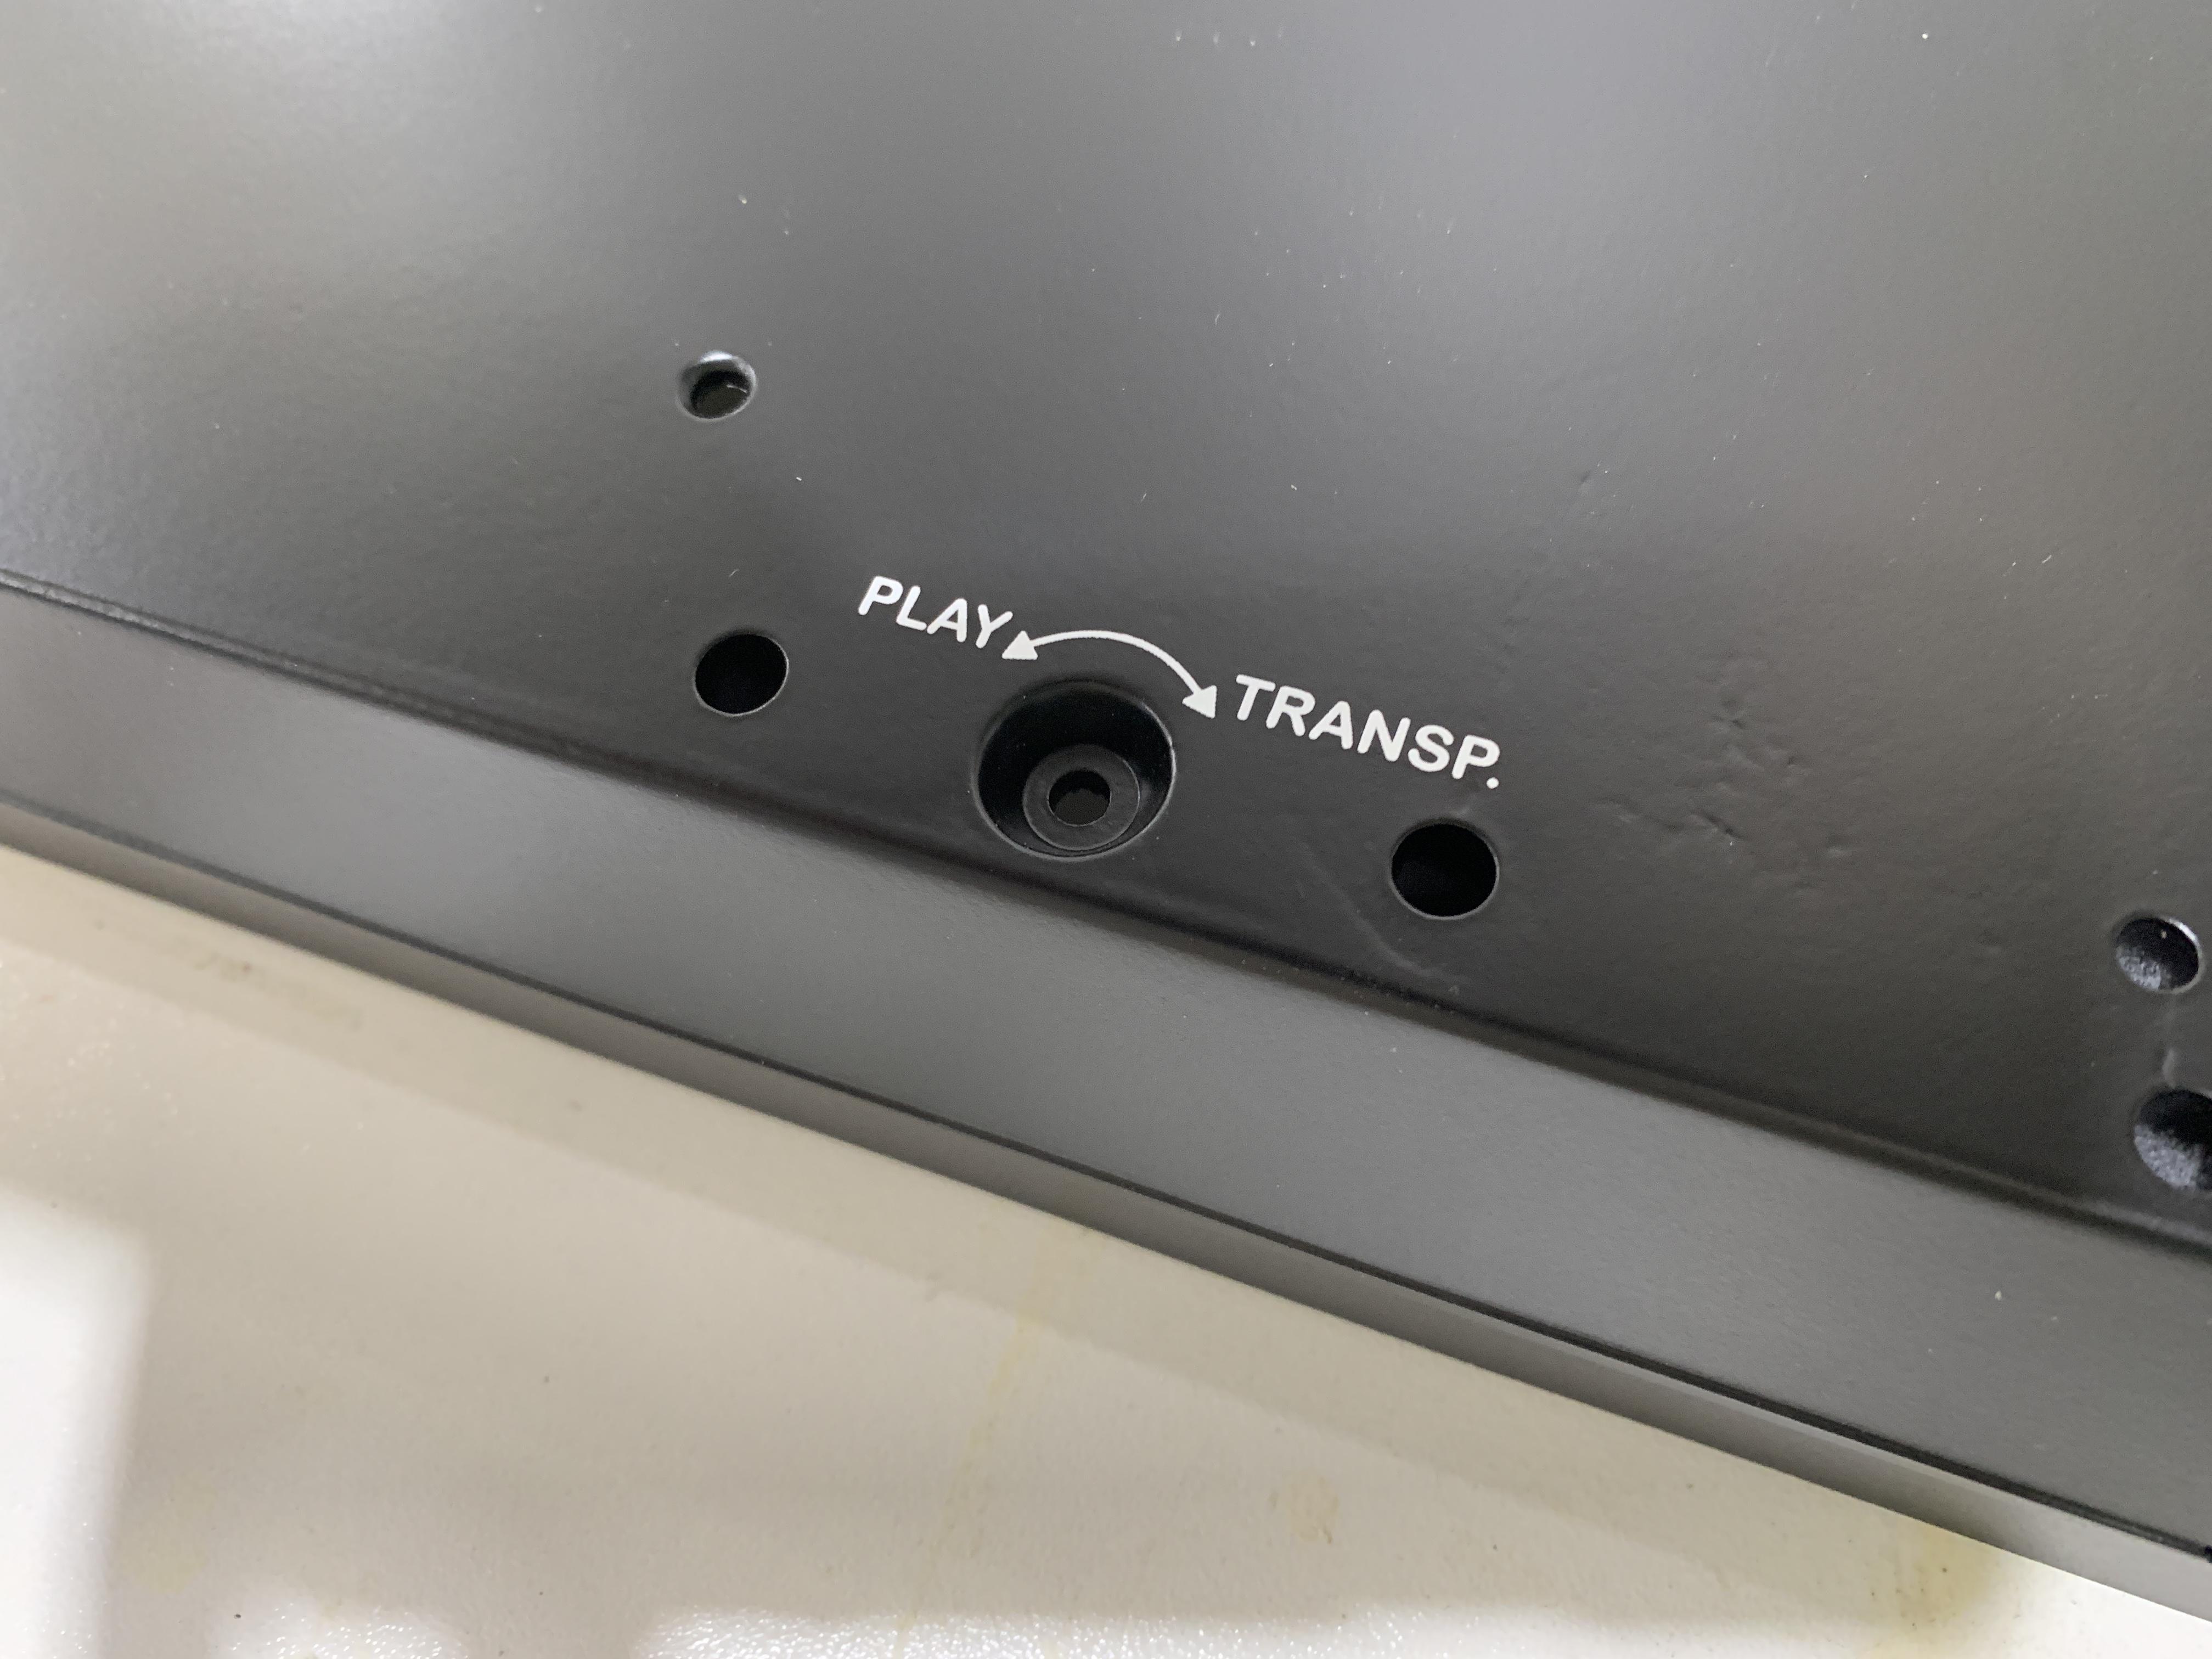
BRONZE MemberSo I managed to do a good print today! The photos are a bit blurry but in real life it turned out quite crisp.
23 June 2024 at 13:46 #56949That is a really nice result! And great to see your persistence in restoring these decks to perfections. You got some skills Christian.
Location: Netherlands
My B&O Icons:
15 August 2024 at 22:22 #58323Hats off to you Christian – very nice work!
Location: Nottingham, UK
My B&O Icons:
16 August 2024 at 11:11 #58338ChristianHak
BRONZE MemberThanks, guys!
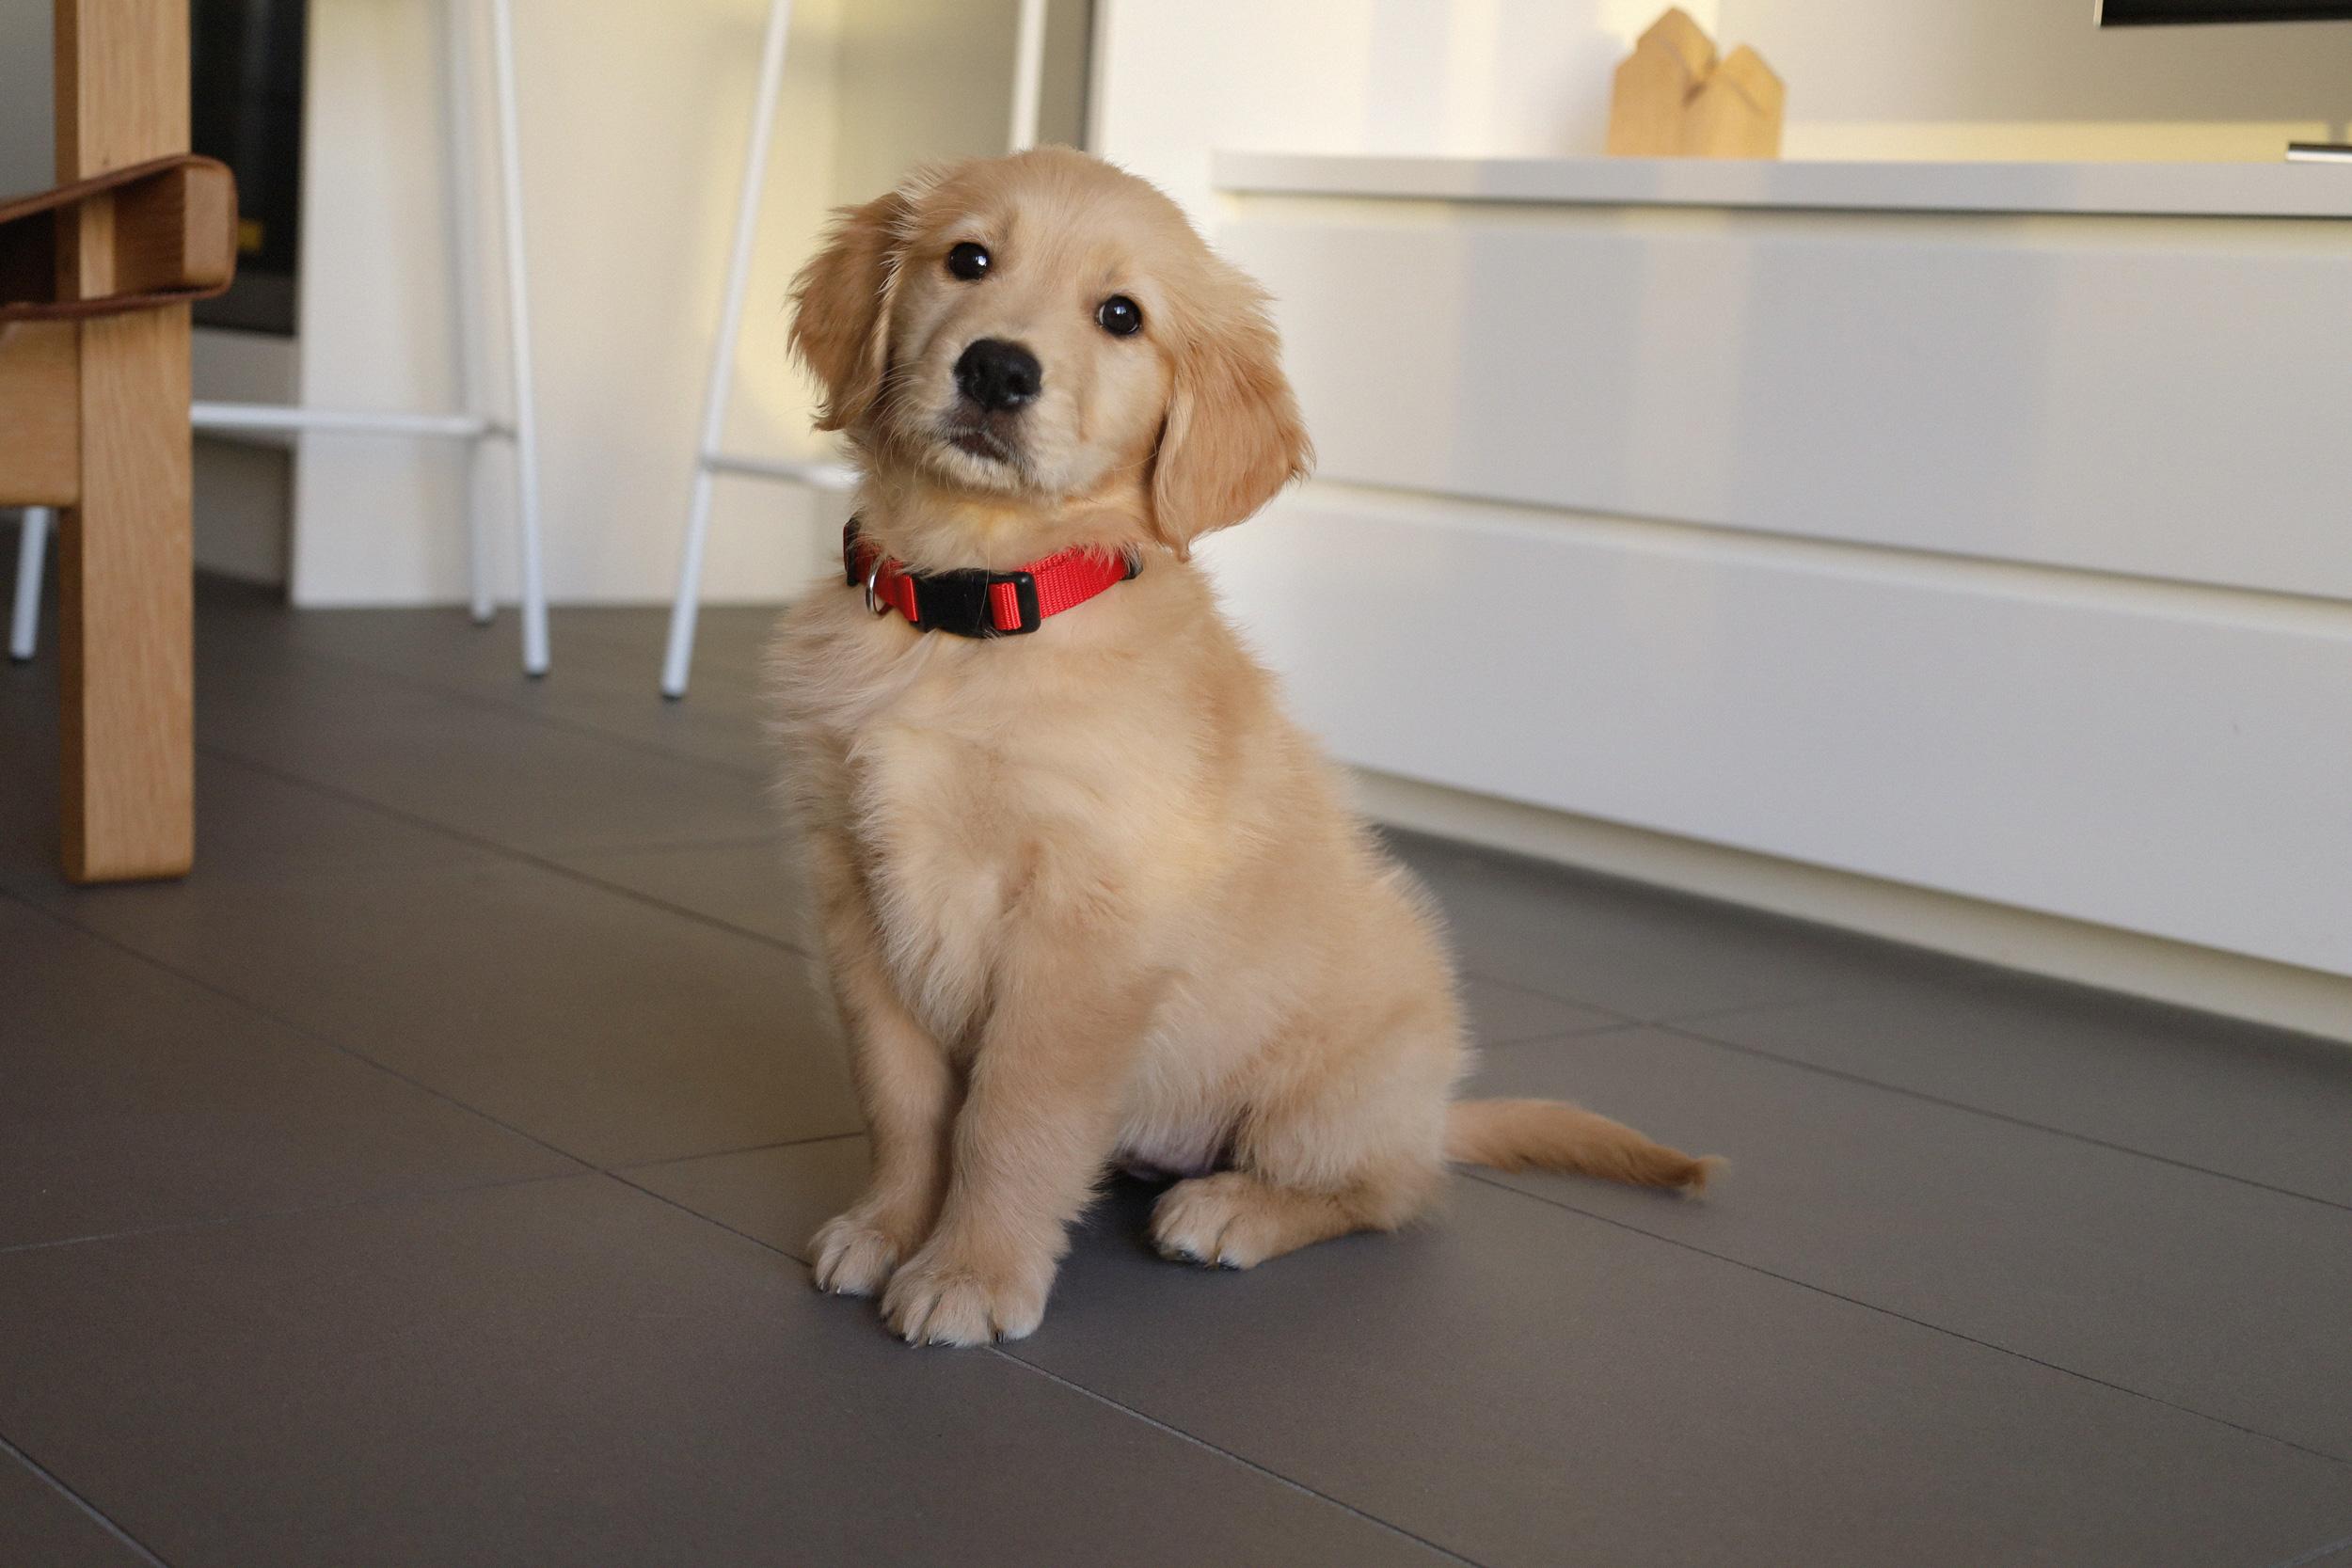
It has been a while since my last update. I got a little sidetracked. I have had my working Beogram 4002 packed away as we got a puppy late last year and needed to pack away the speakers as well they were just calling out to be chewed. Molly (the best and most beautiful dog in the world 😉 haha) is now beyond her chewing phase and I pray to the dog gods that she won’t find interest in the Kvadrat cover of my Beosound A9.
This got me thinking… I have a beautiful record player that is tucked away around a corner, but should in fact have a place front and centre in our little apartment. As such, I decided to take a break from restoring the trashed 4002 and make a record player cabinet. Some of the requirements were:
– oak timber to match the dog
– big enough to house my small but growing record collection
– room for magazines
– room for my liquor collection and glasses
– hidden cable management
– USB cable accessible internally to have my iPad/MacBook out of sight and charging
– the base needs to be tall enough to allow the robot vacuum/mop to clean underneath
– similar aesthetic to the Beogram
– adjustable shelves
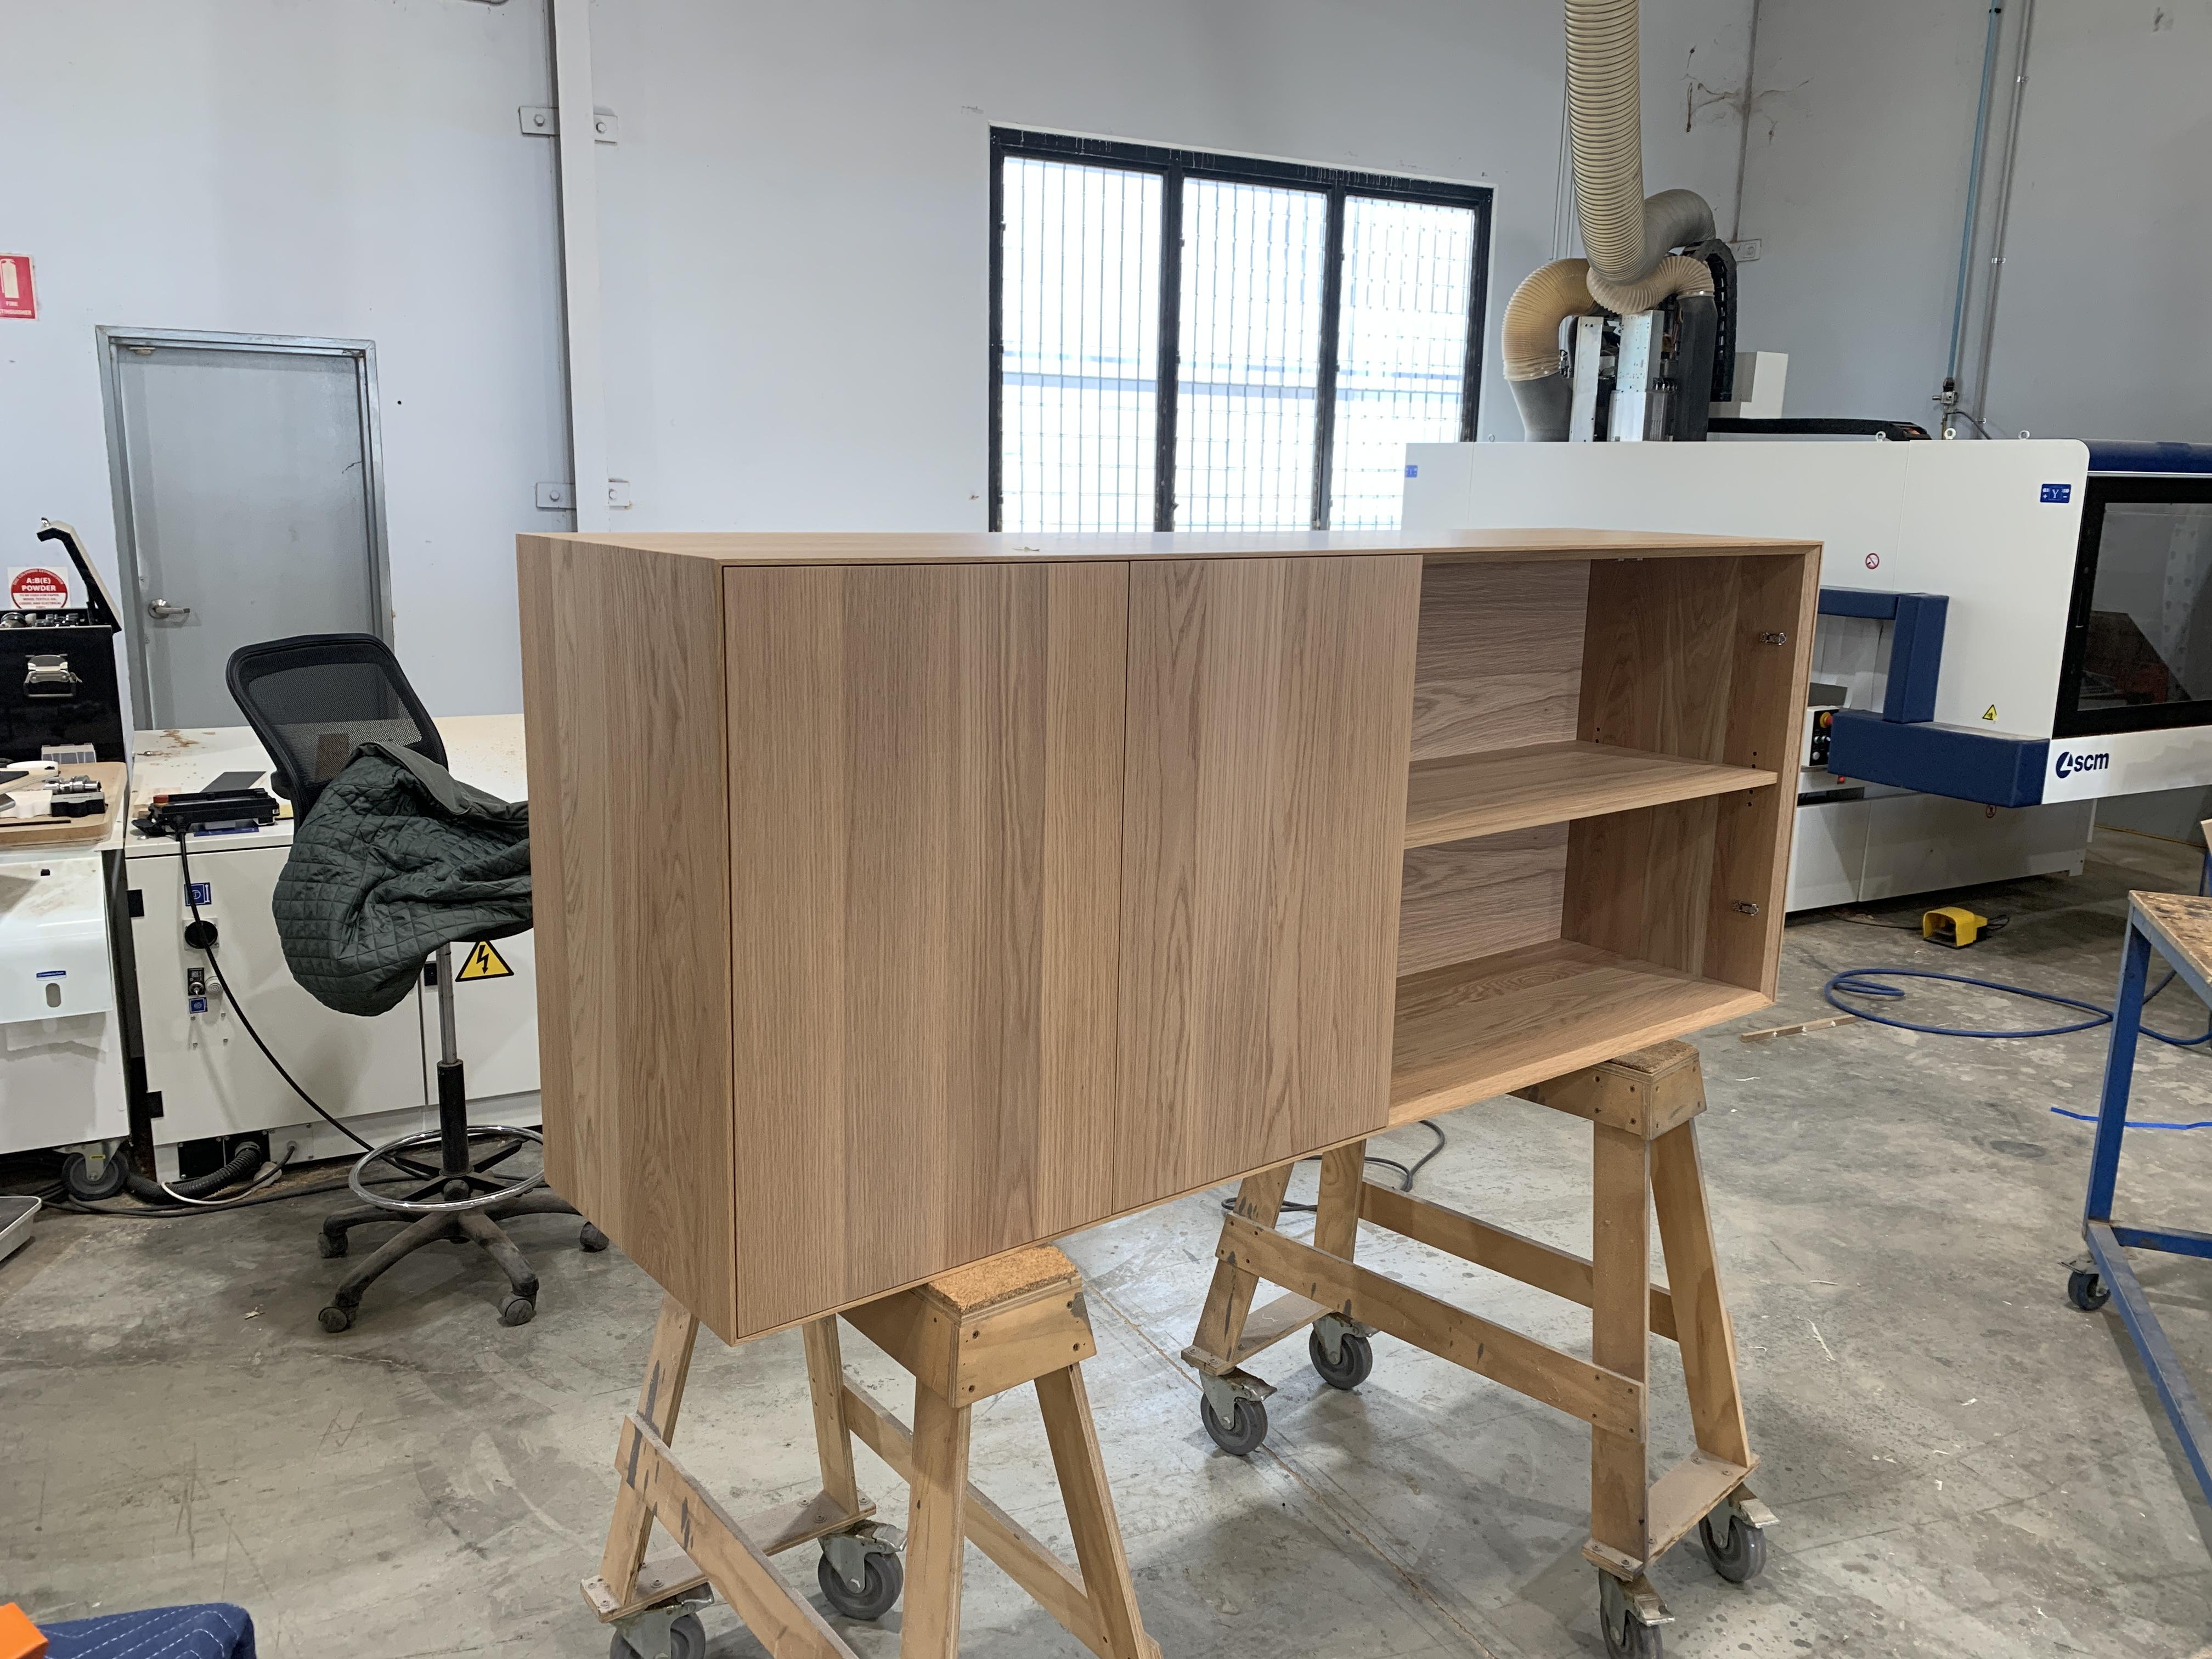
So I went about drawing up a minimalist cabinet and then set out to make it.
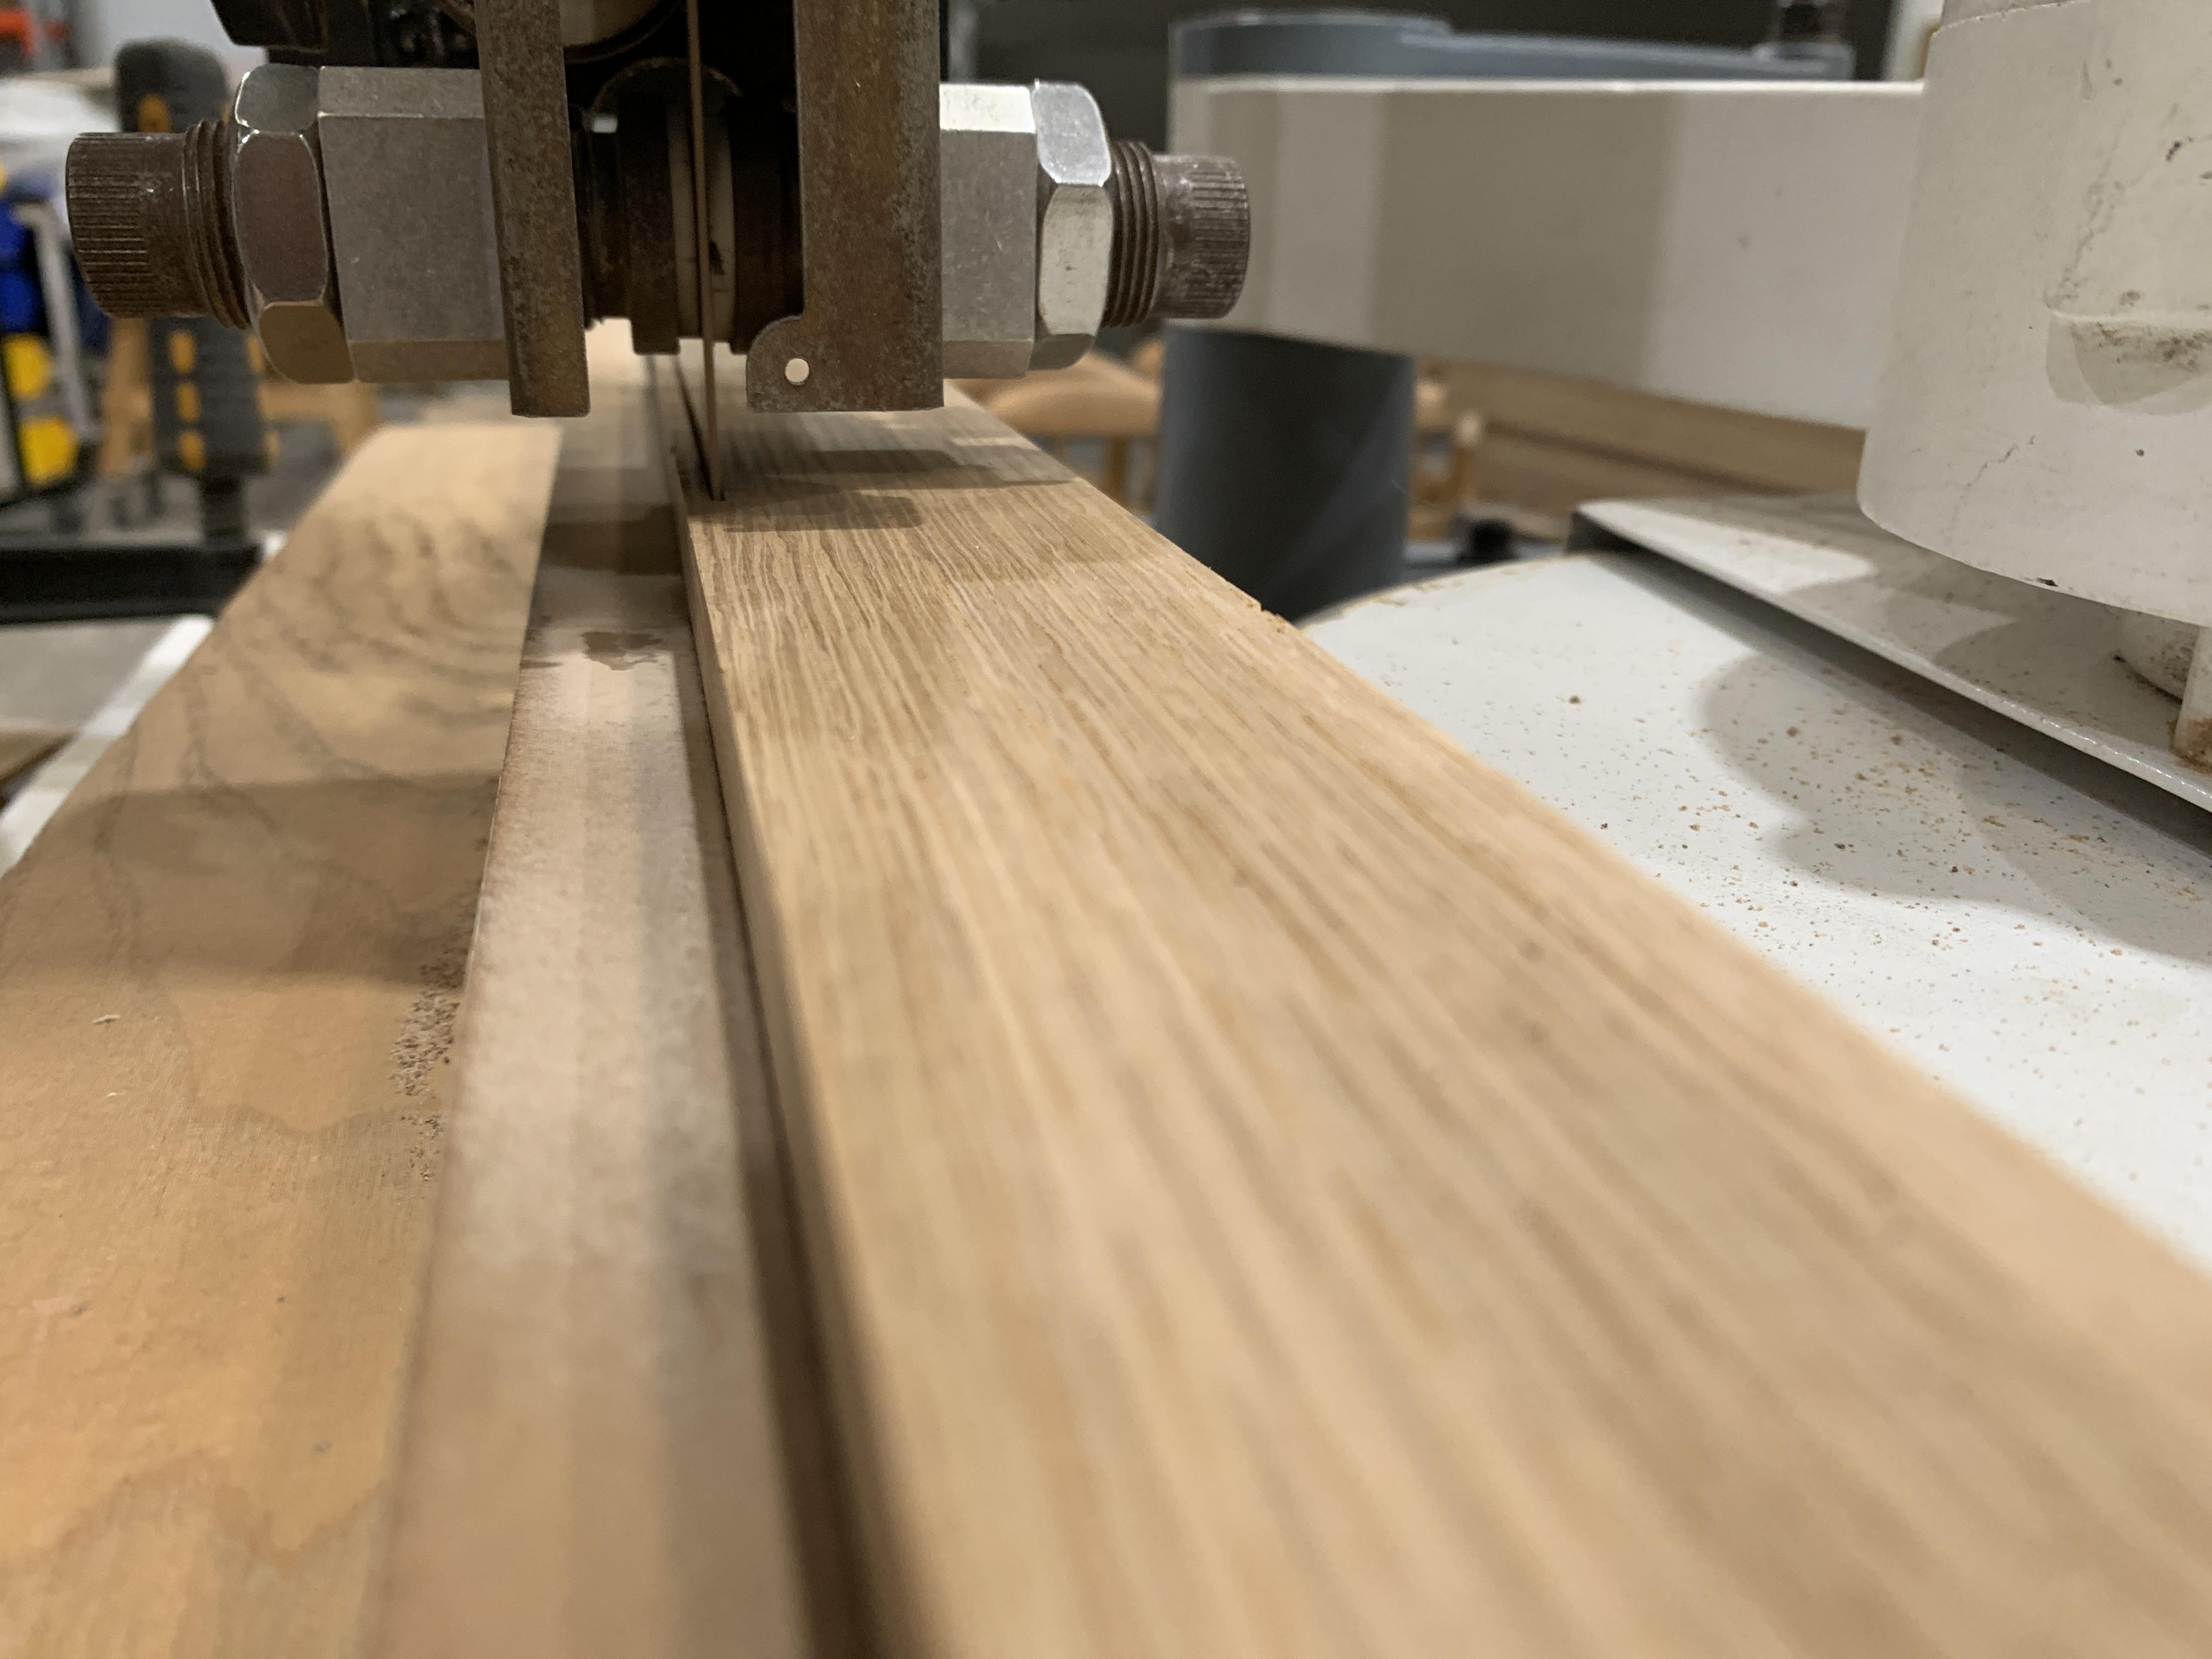
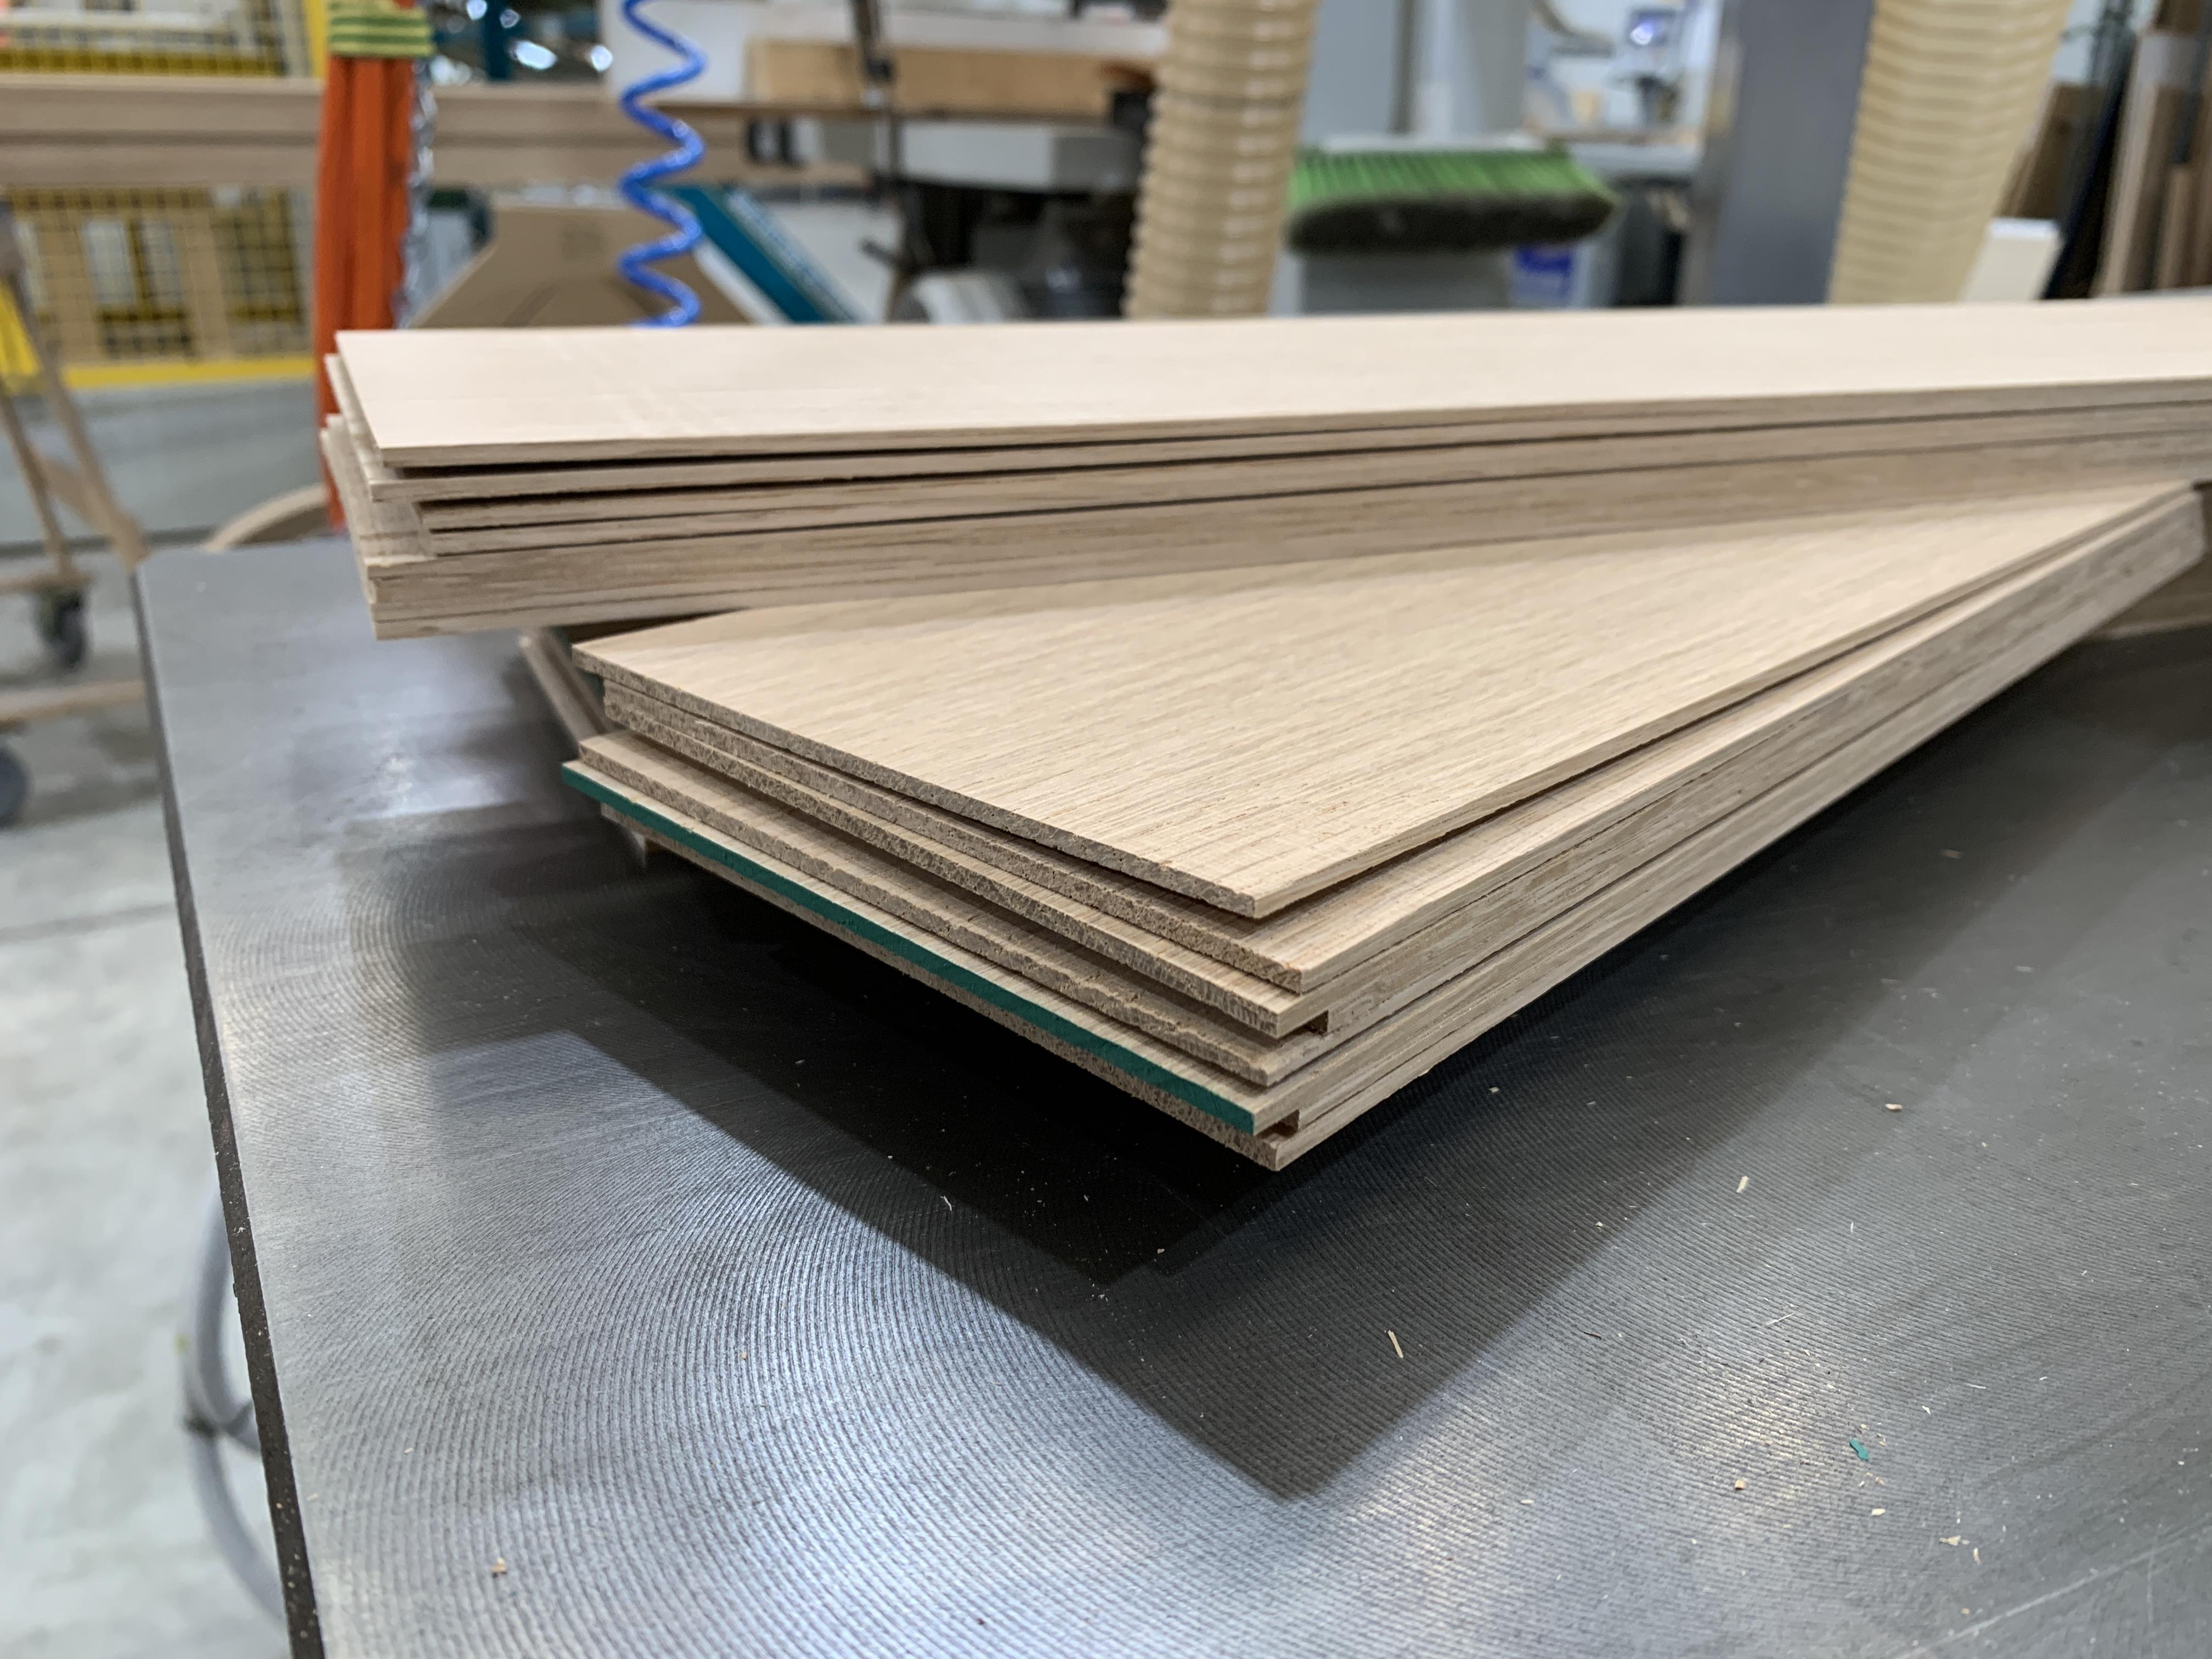
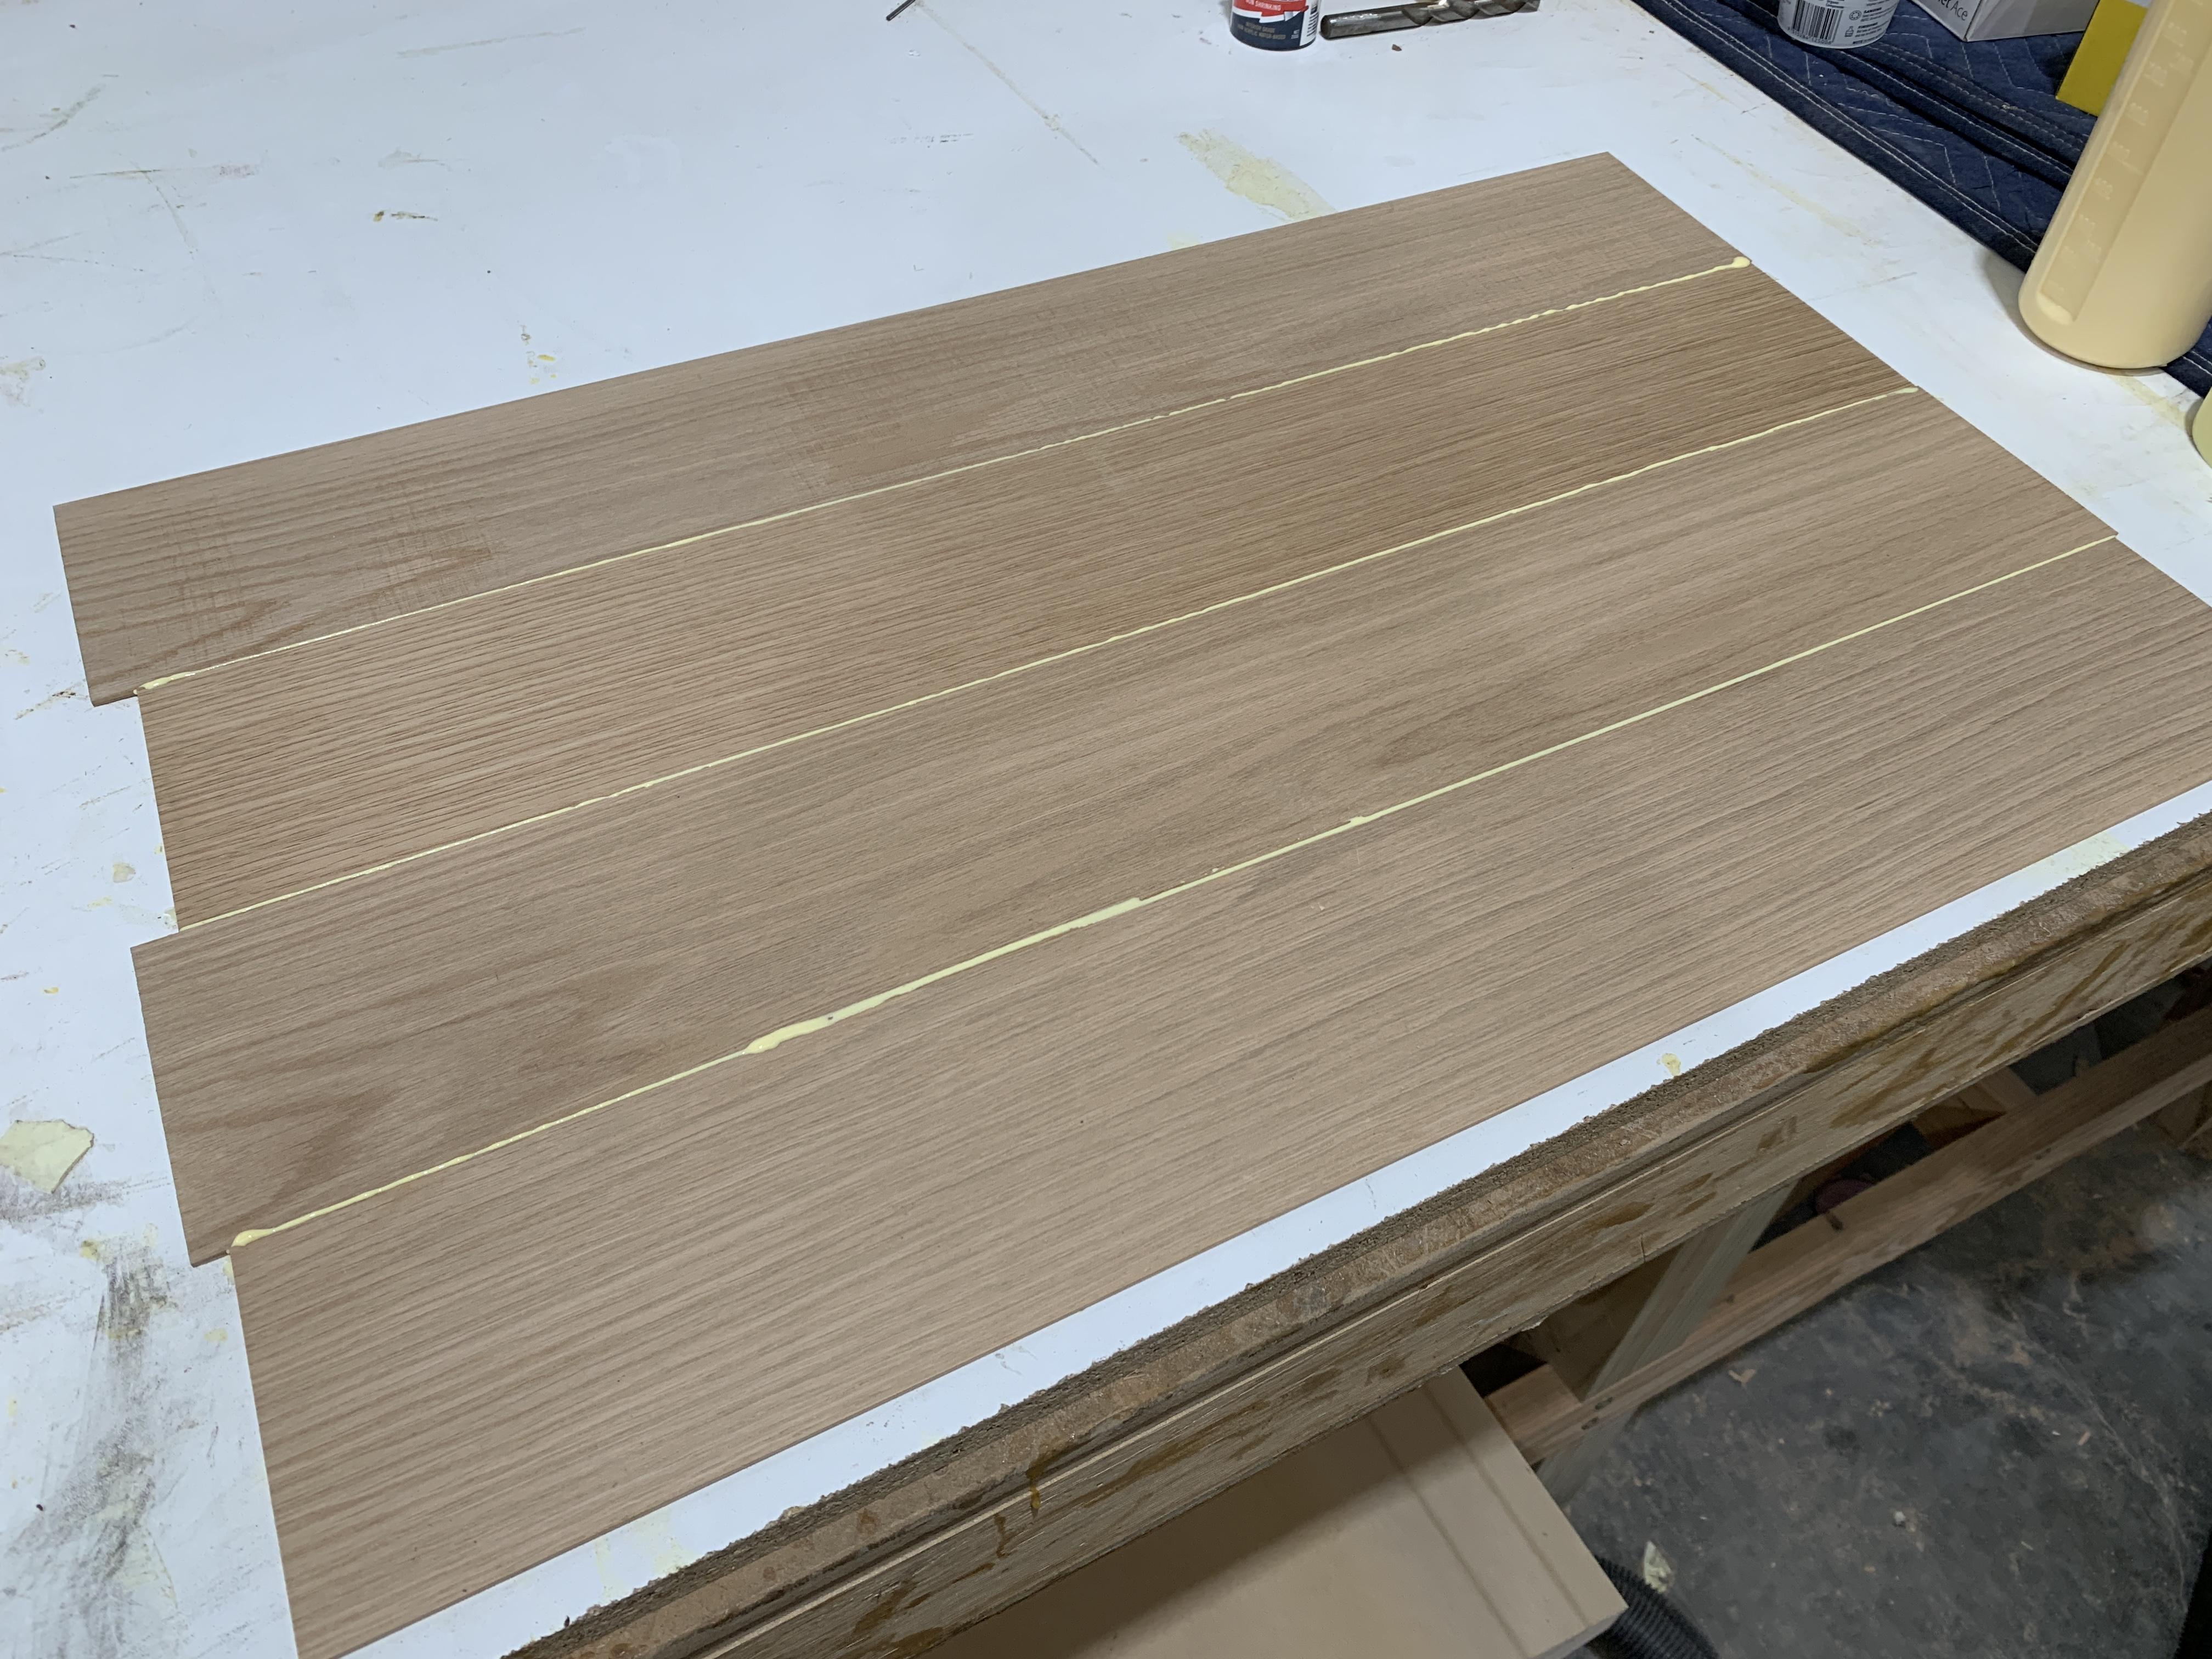
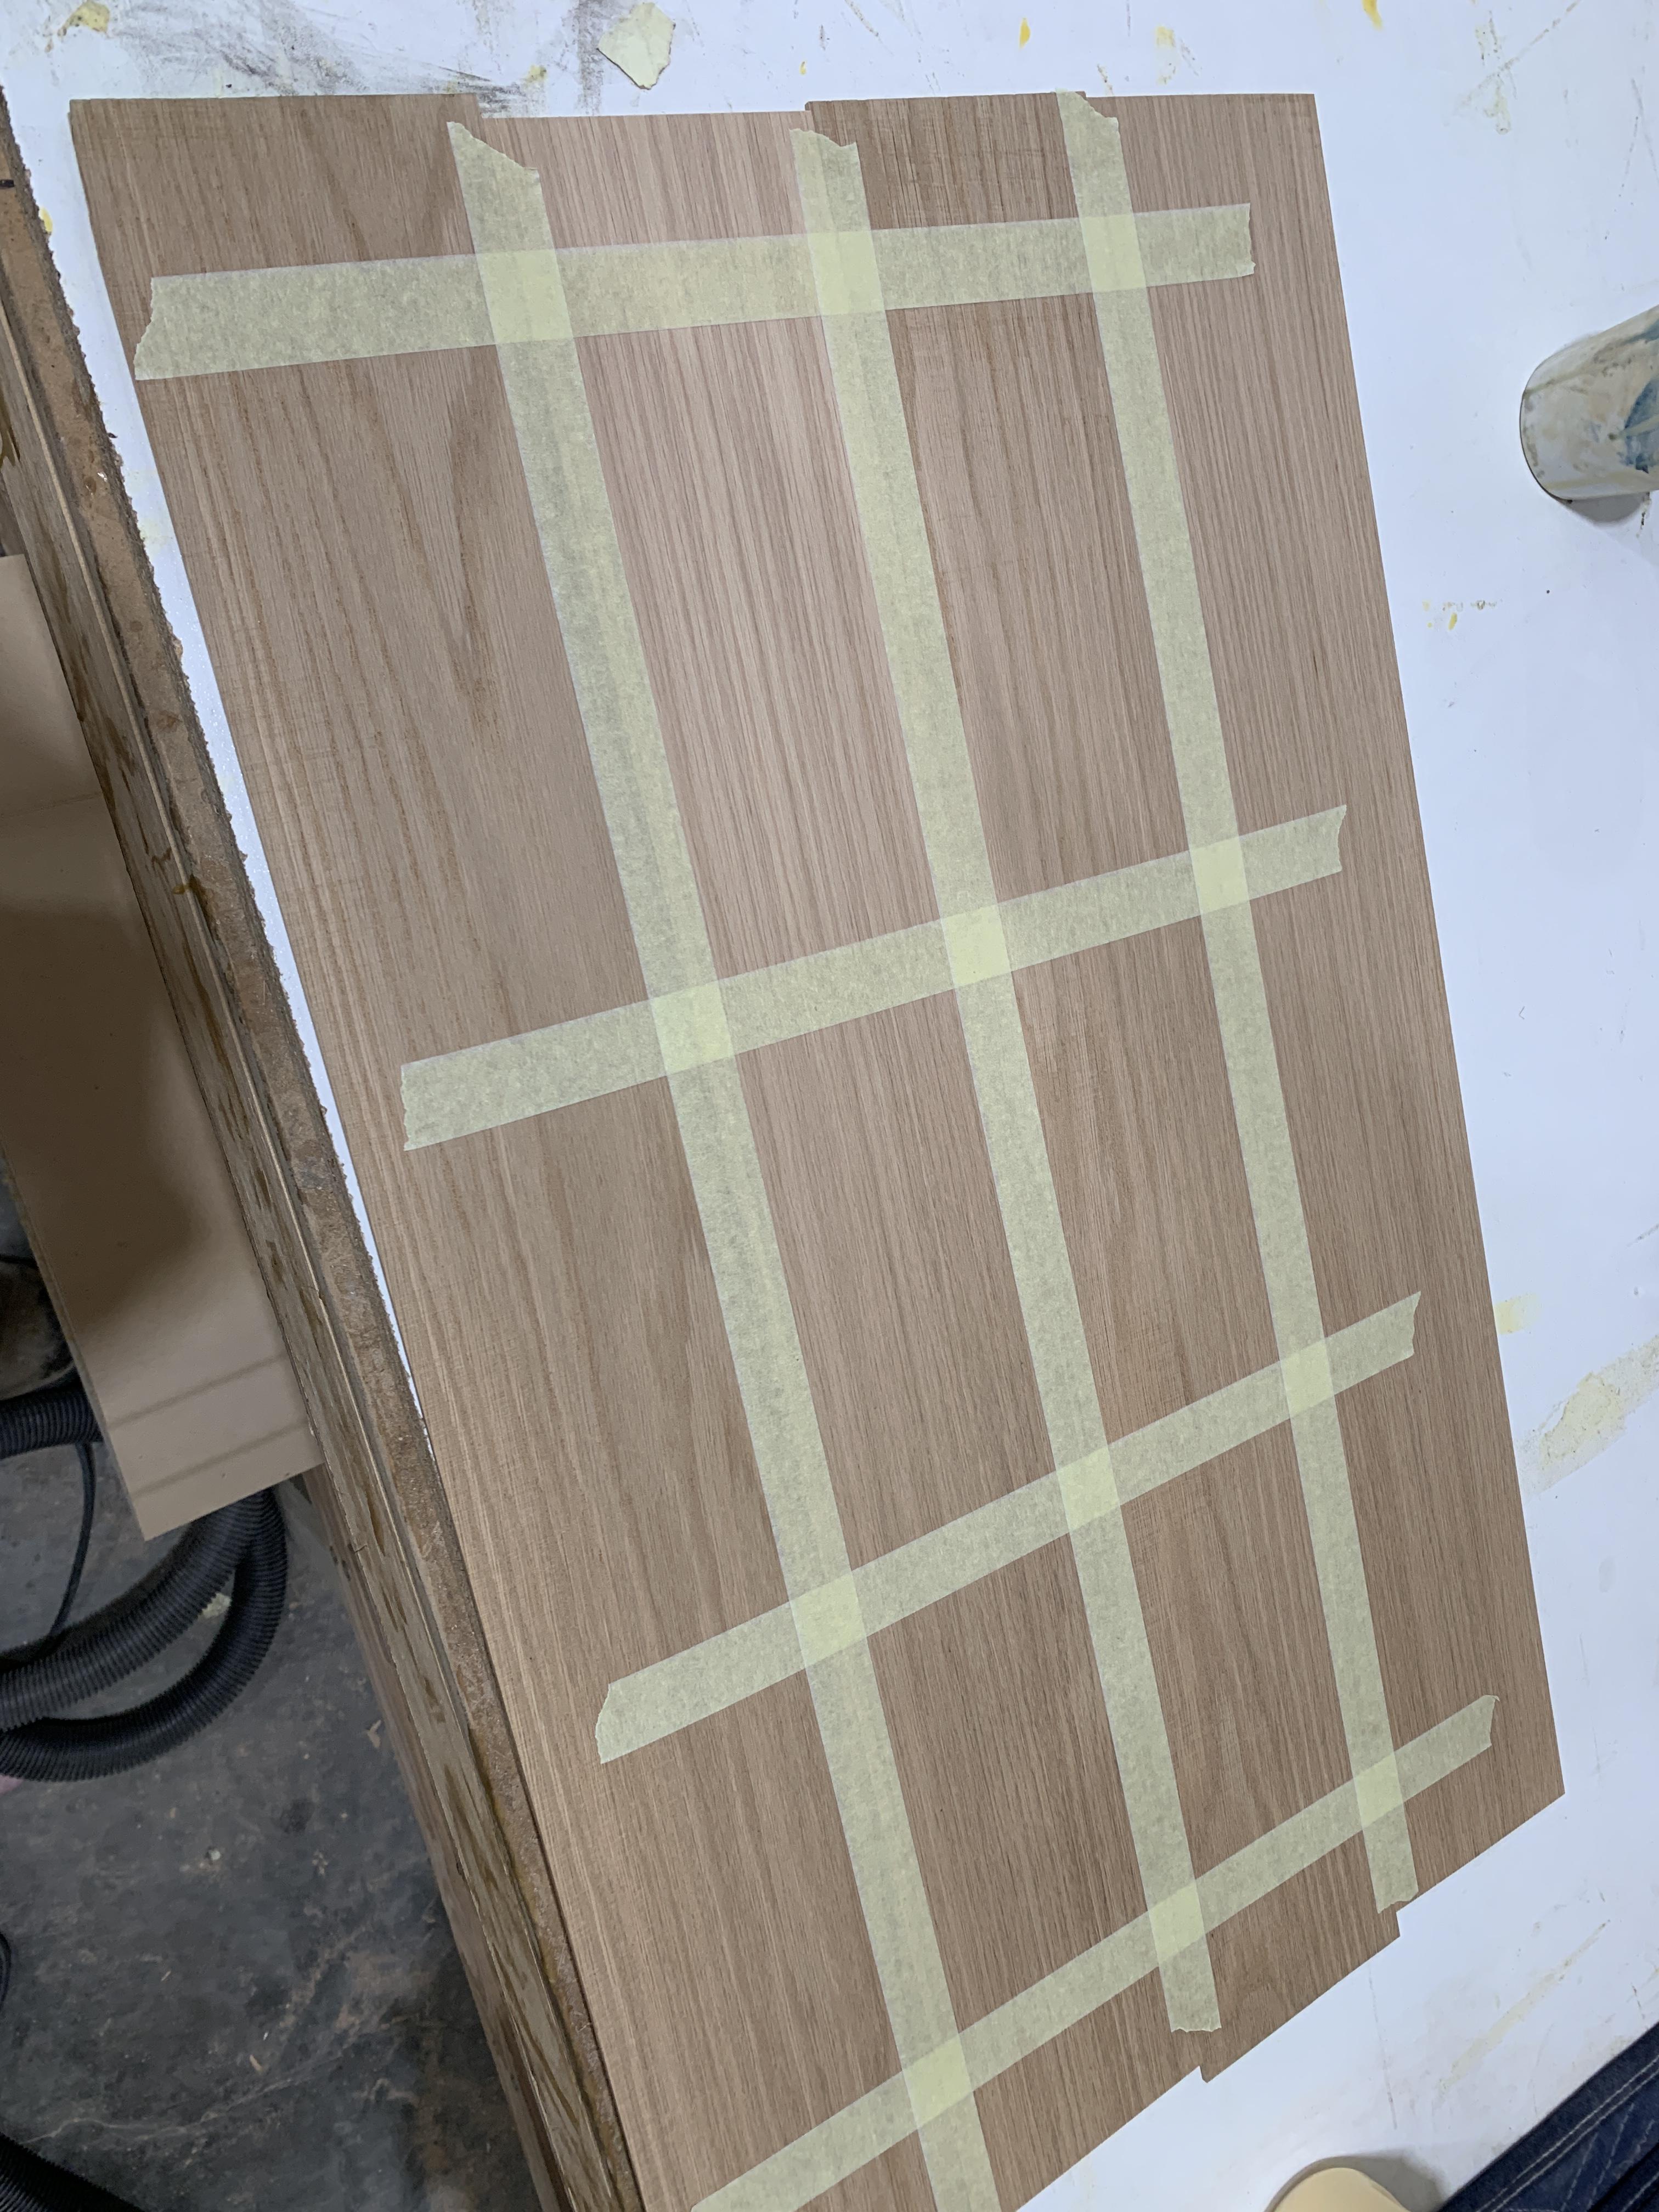
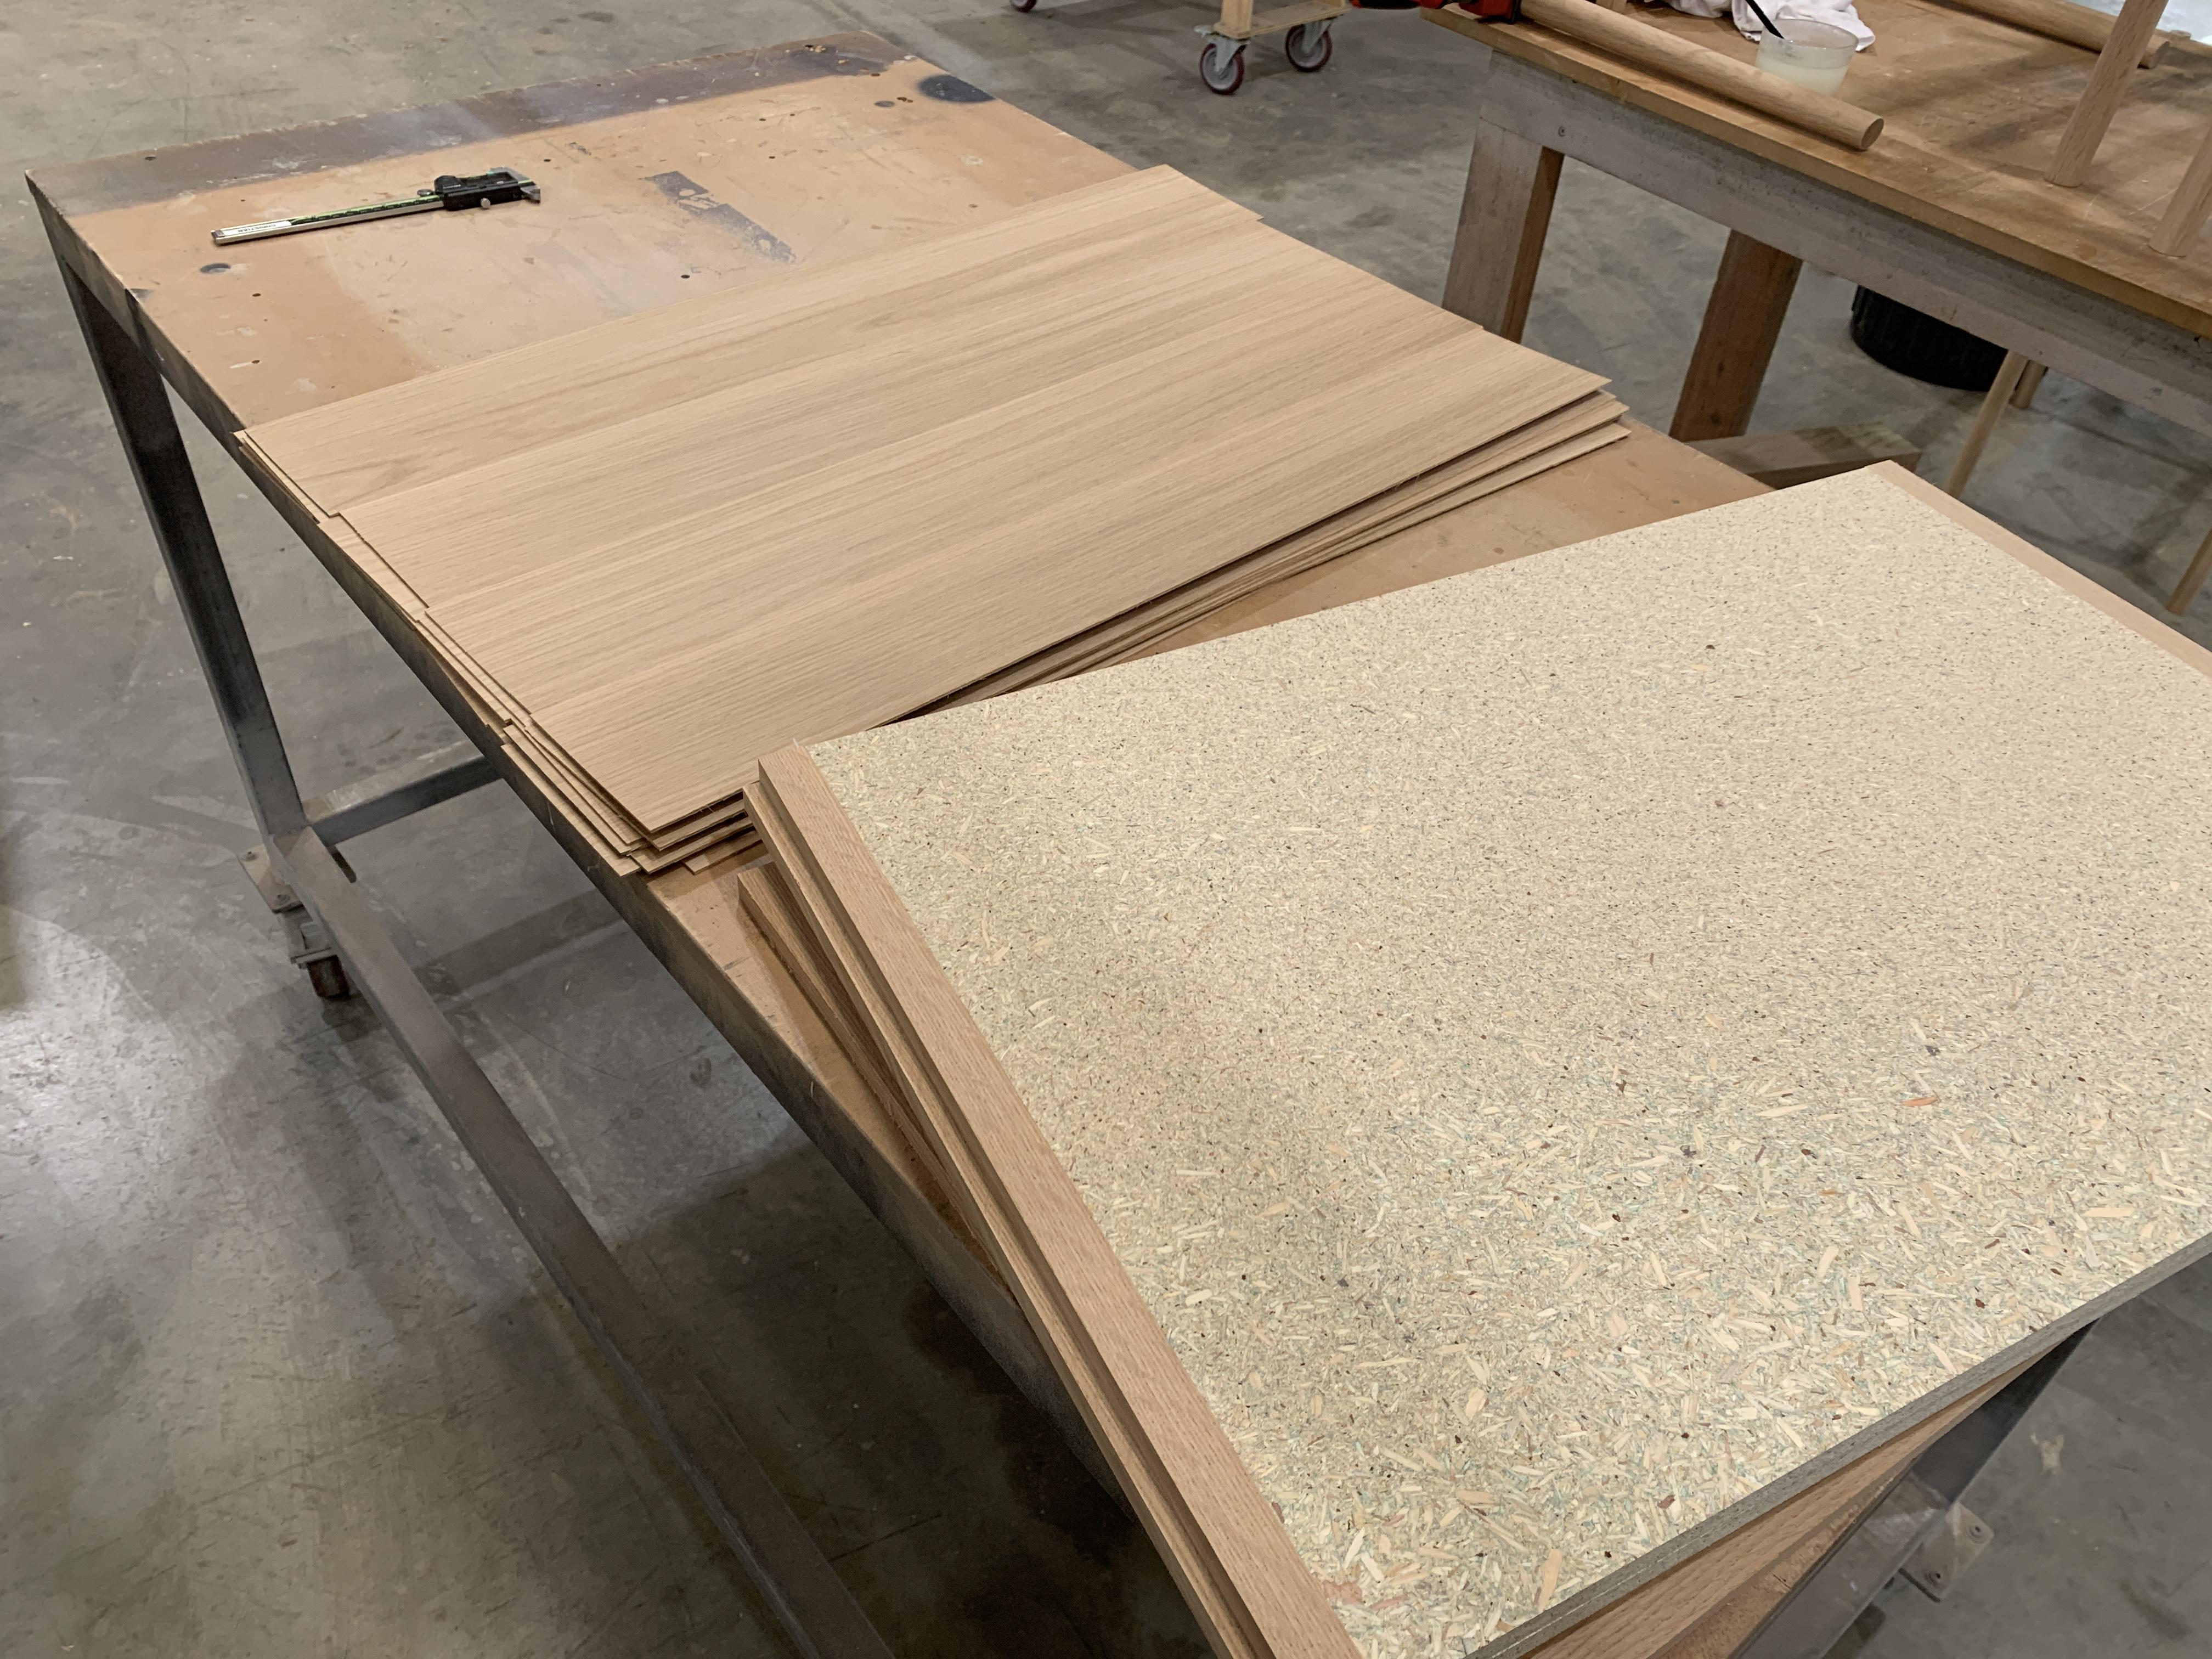
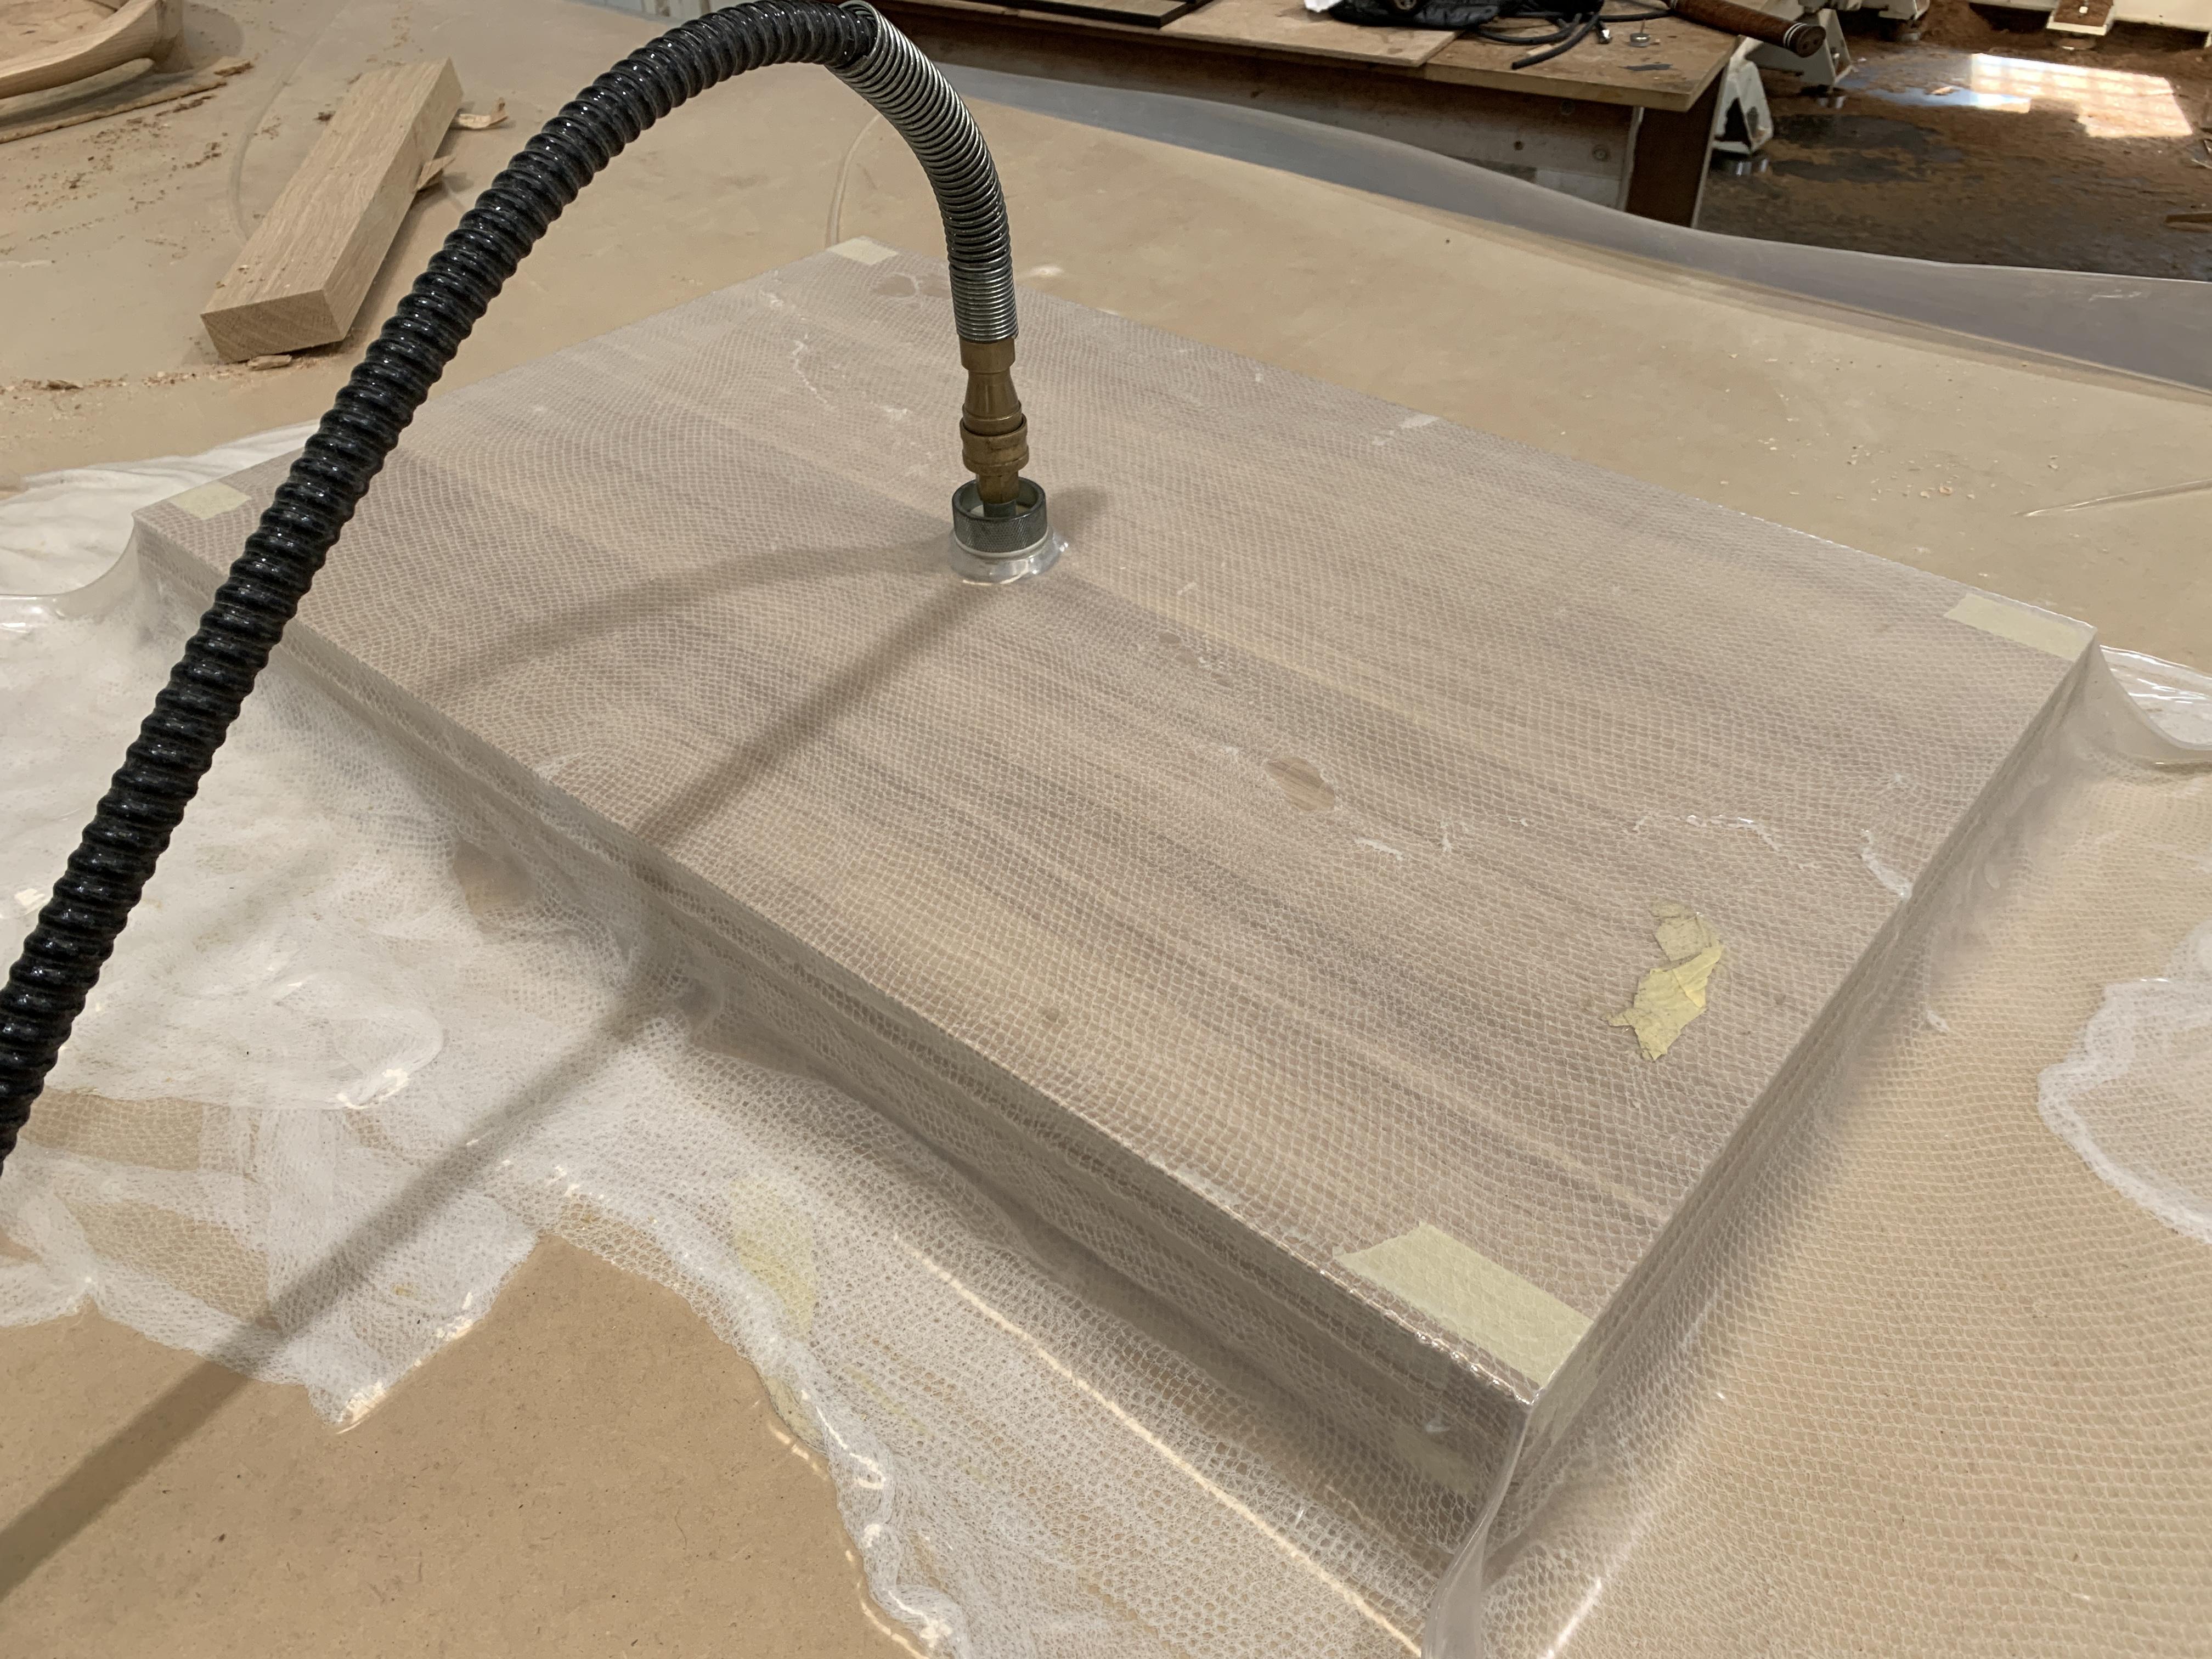
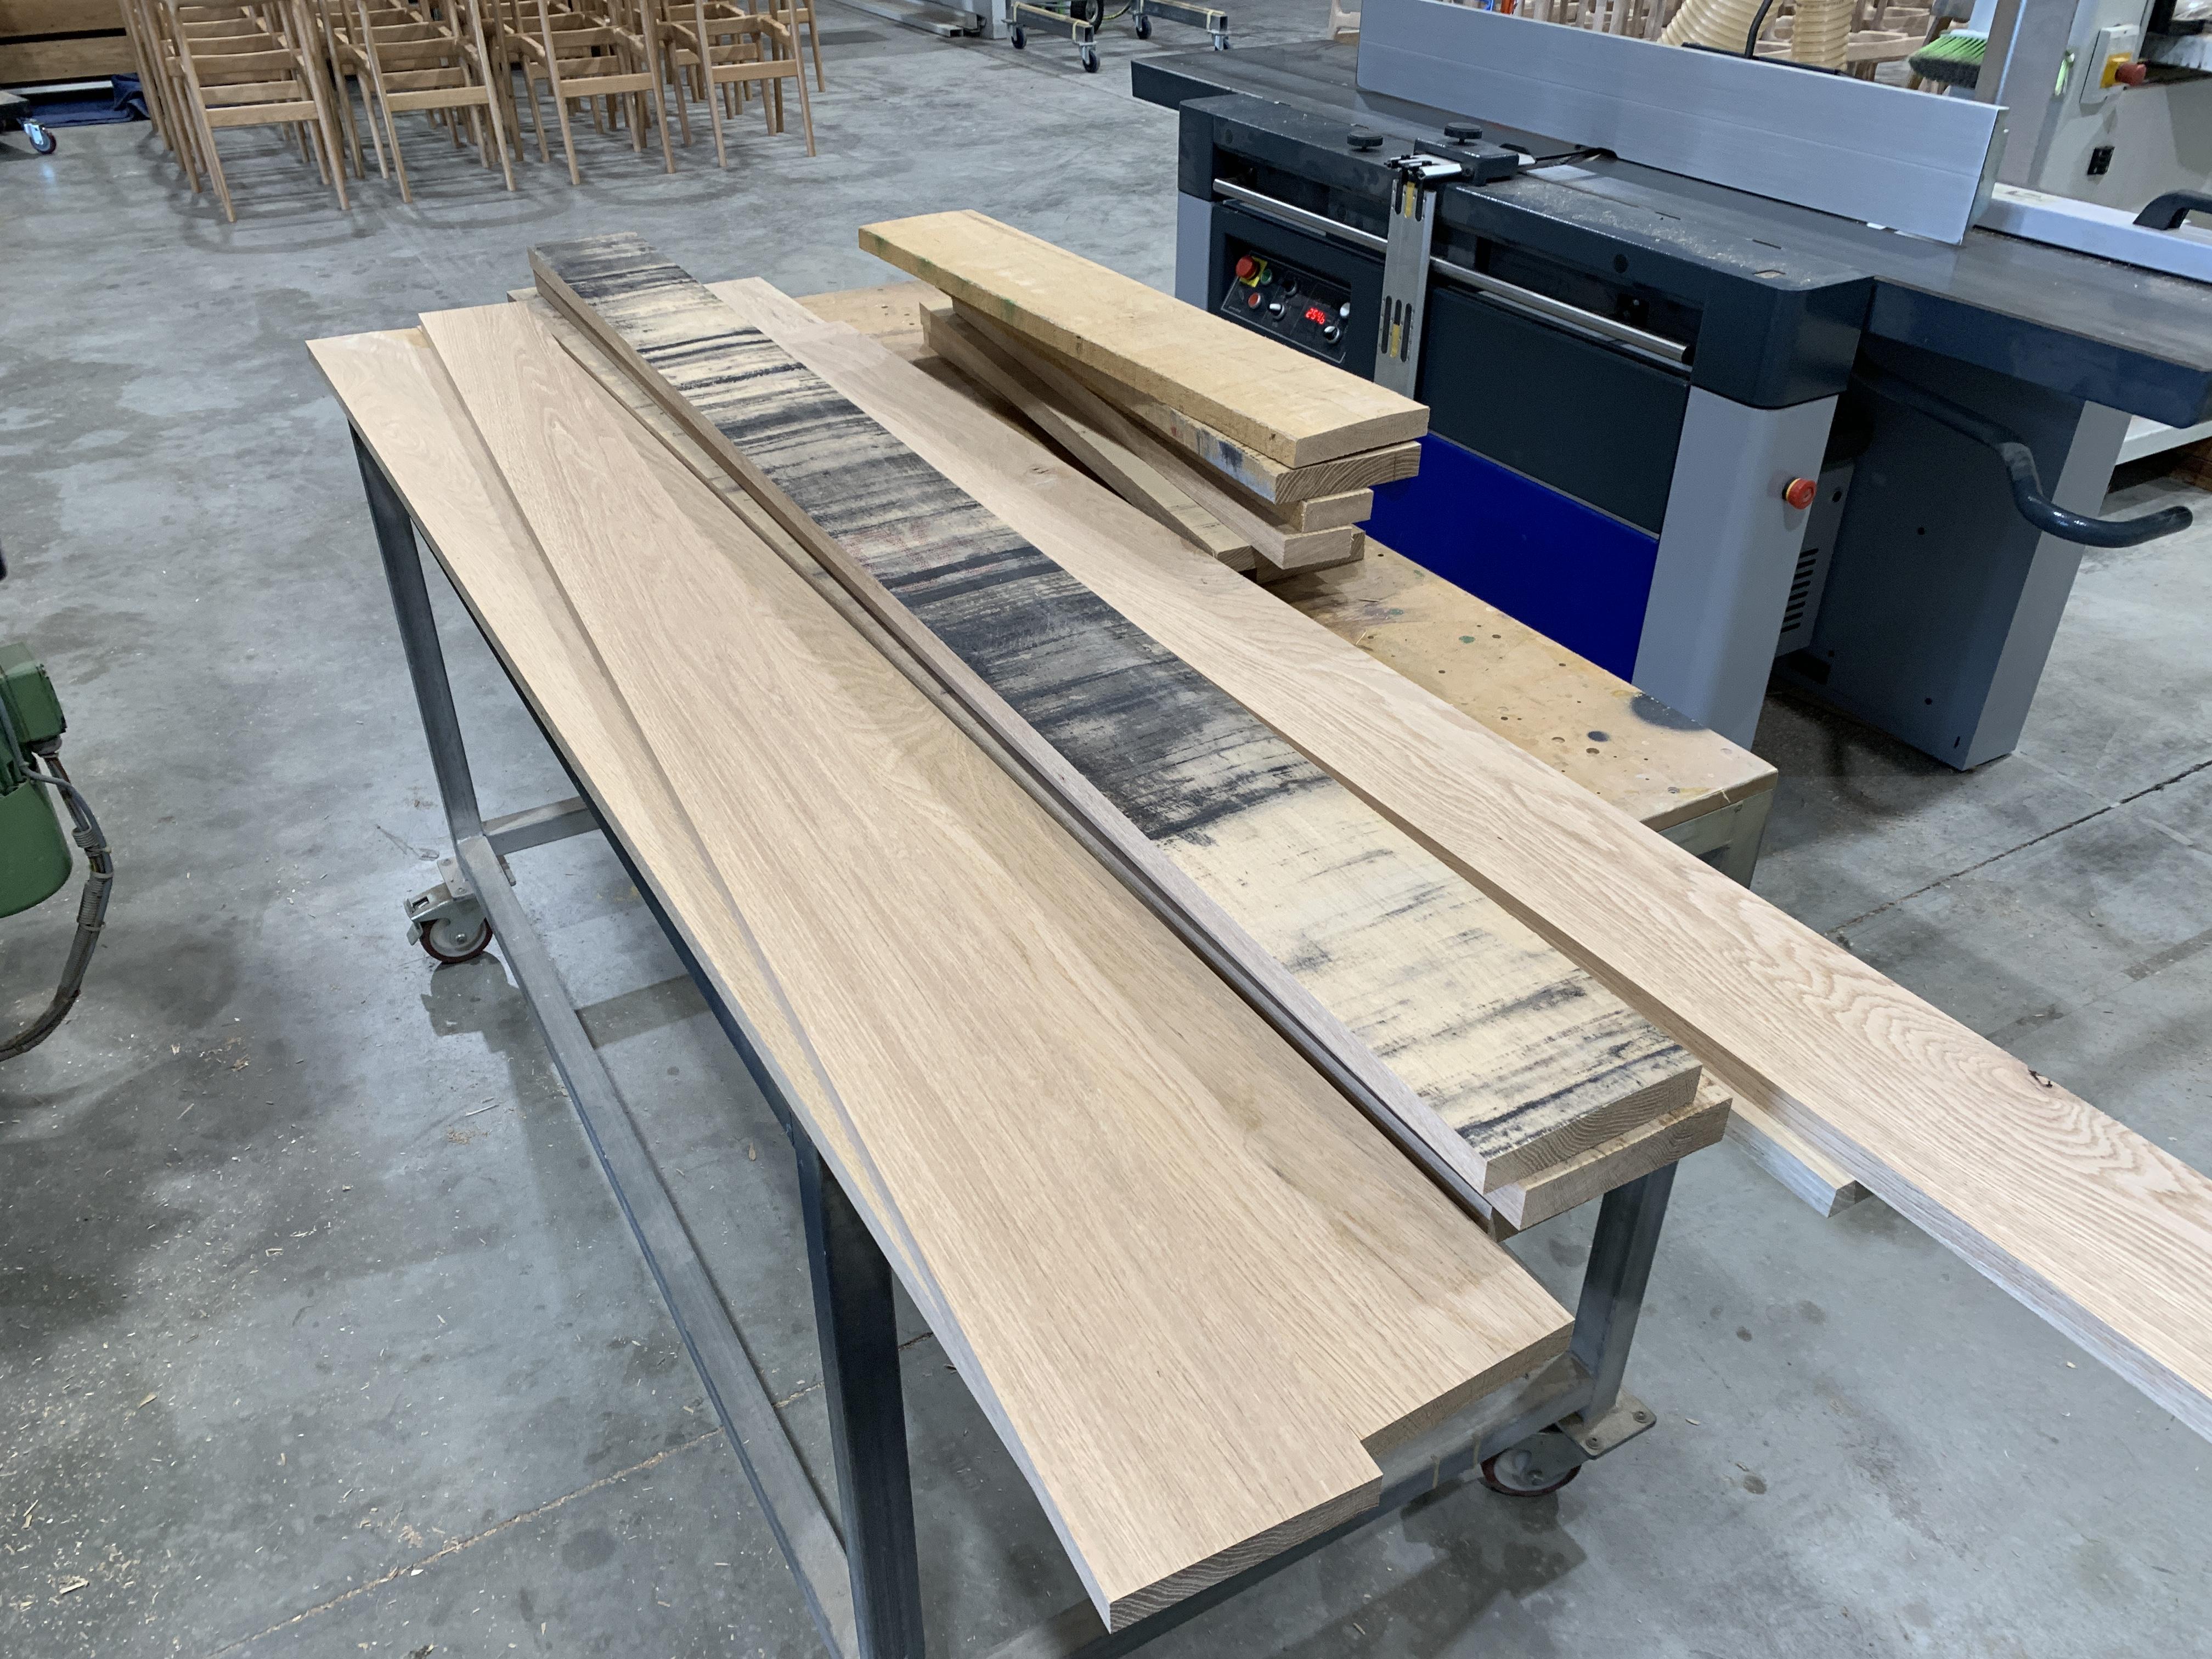
The carcass is made from solid oak. The front edge will be 6mm to reference the Beogram frame. The idea is that it would look minimalist and delicate. To achieve this I would have to bevel the inside of the carcass and subsequently the doors as well. As such, the doors would have chamfered edges to fit. Solid timber doors are not very stable as wood moves considerably with humidity. I started the build by resawing solid oak into ~3mm veneers on the bandsaw. These got ‘stitched’ together into a veneer leaf. The substrate of the doors is chipboard to provide dimensional stability. However, as the edges of the doors need to be chamfered, this required ~20mm thick edging. I laminated the borders on then laminated the veneer to the substrate.
Some images: Cutting the thick veneers on the band saw.
A stack of veneers
The veneers get ‘stitched’ into a leaf.
Here you can see the wide edges laminated to the chipboard substrate and the veneer leafs off to the side.
The veneer is then laminated onto the substrate using a vacuum press.
16 August 2024 at 12:08 #58340ChristianHak
BRONZE MemberIn the below photo you can see a door after milling on the CNC. There’s a lot that goes into just making a door!
Next up was milling up the timber for the carcass.
I route a little finger joint along the length of the timber boards. There are two reasons for this. Firstly, it helps with alignment when gluing the boards together, and secondly, it essentially doubles the glue surface area creating a stronger joint.
Once the panels are glued up, they are sanded flat through the wide-belt sander. Then lots of programming on the CNC before milling. There is a distinct lack of progress photos from here on out. However, here are a couple.
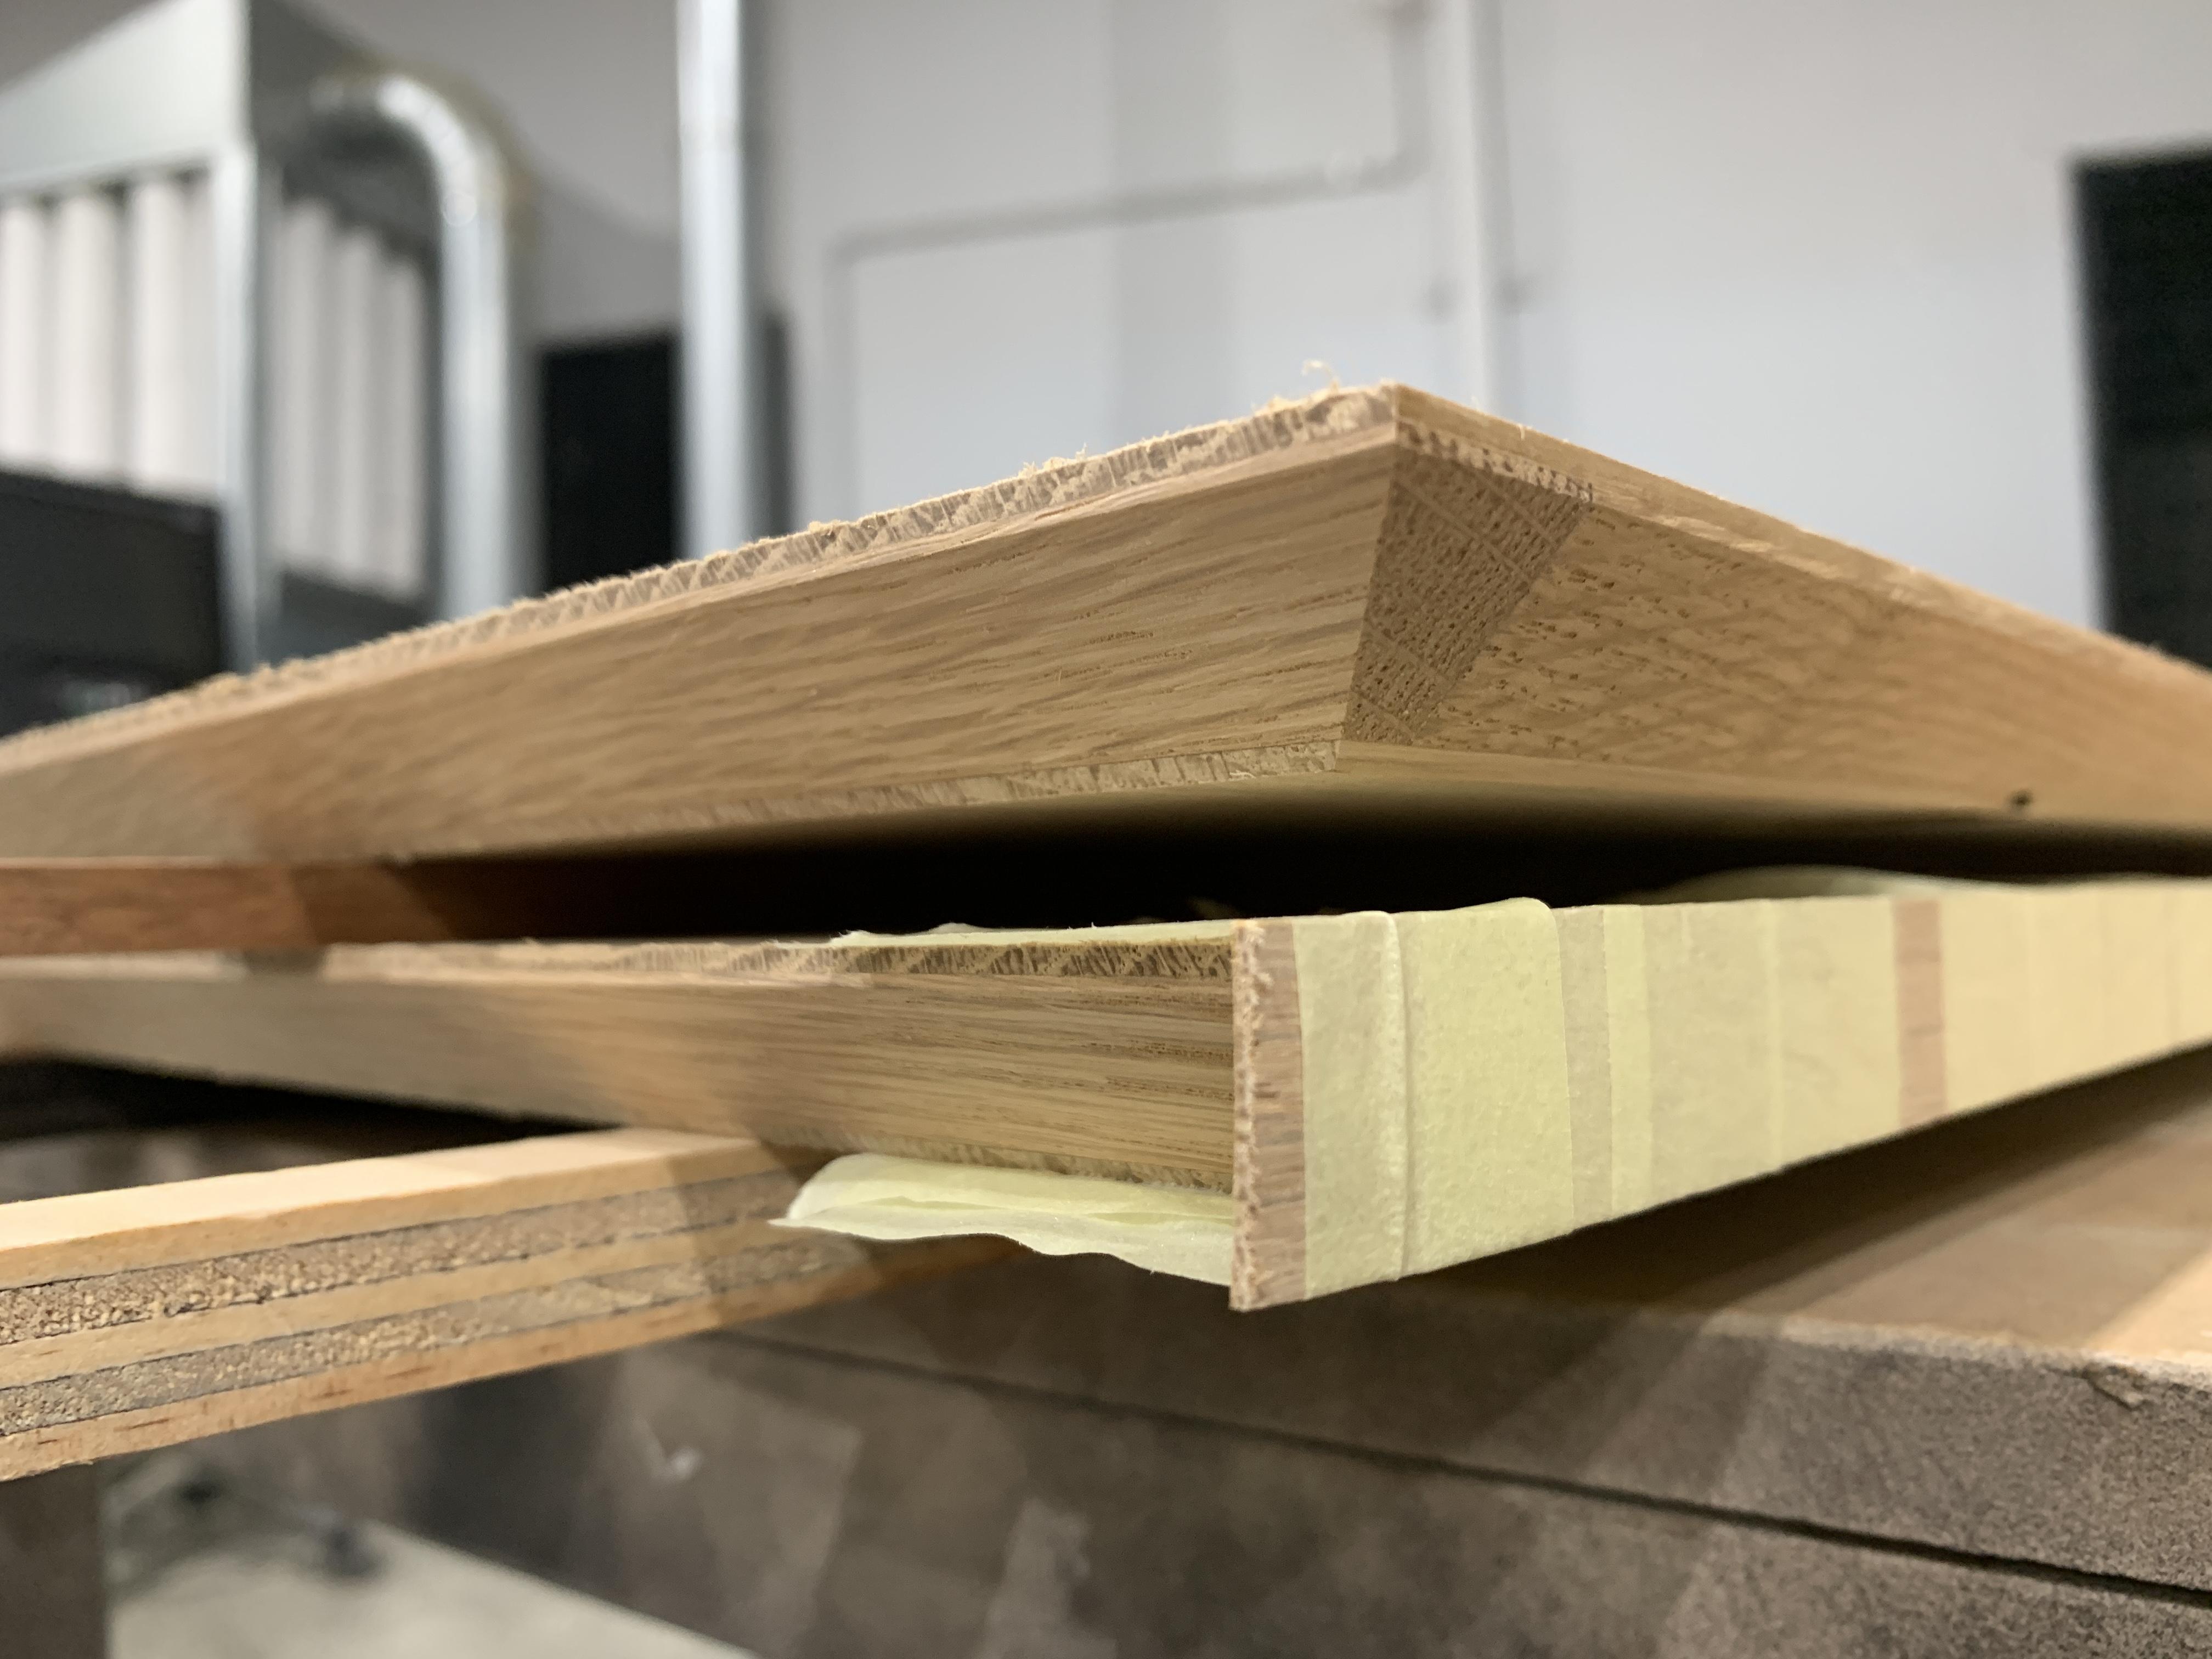
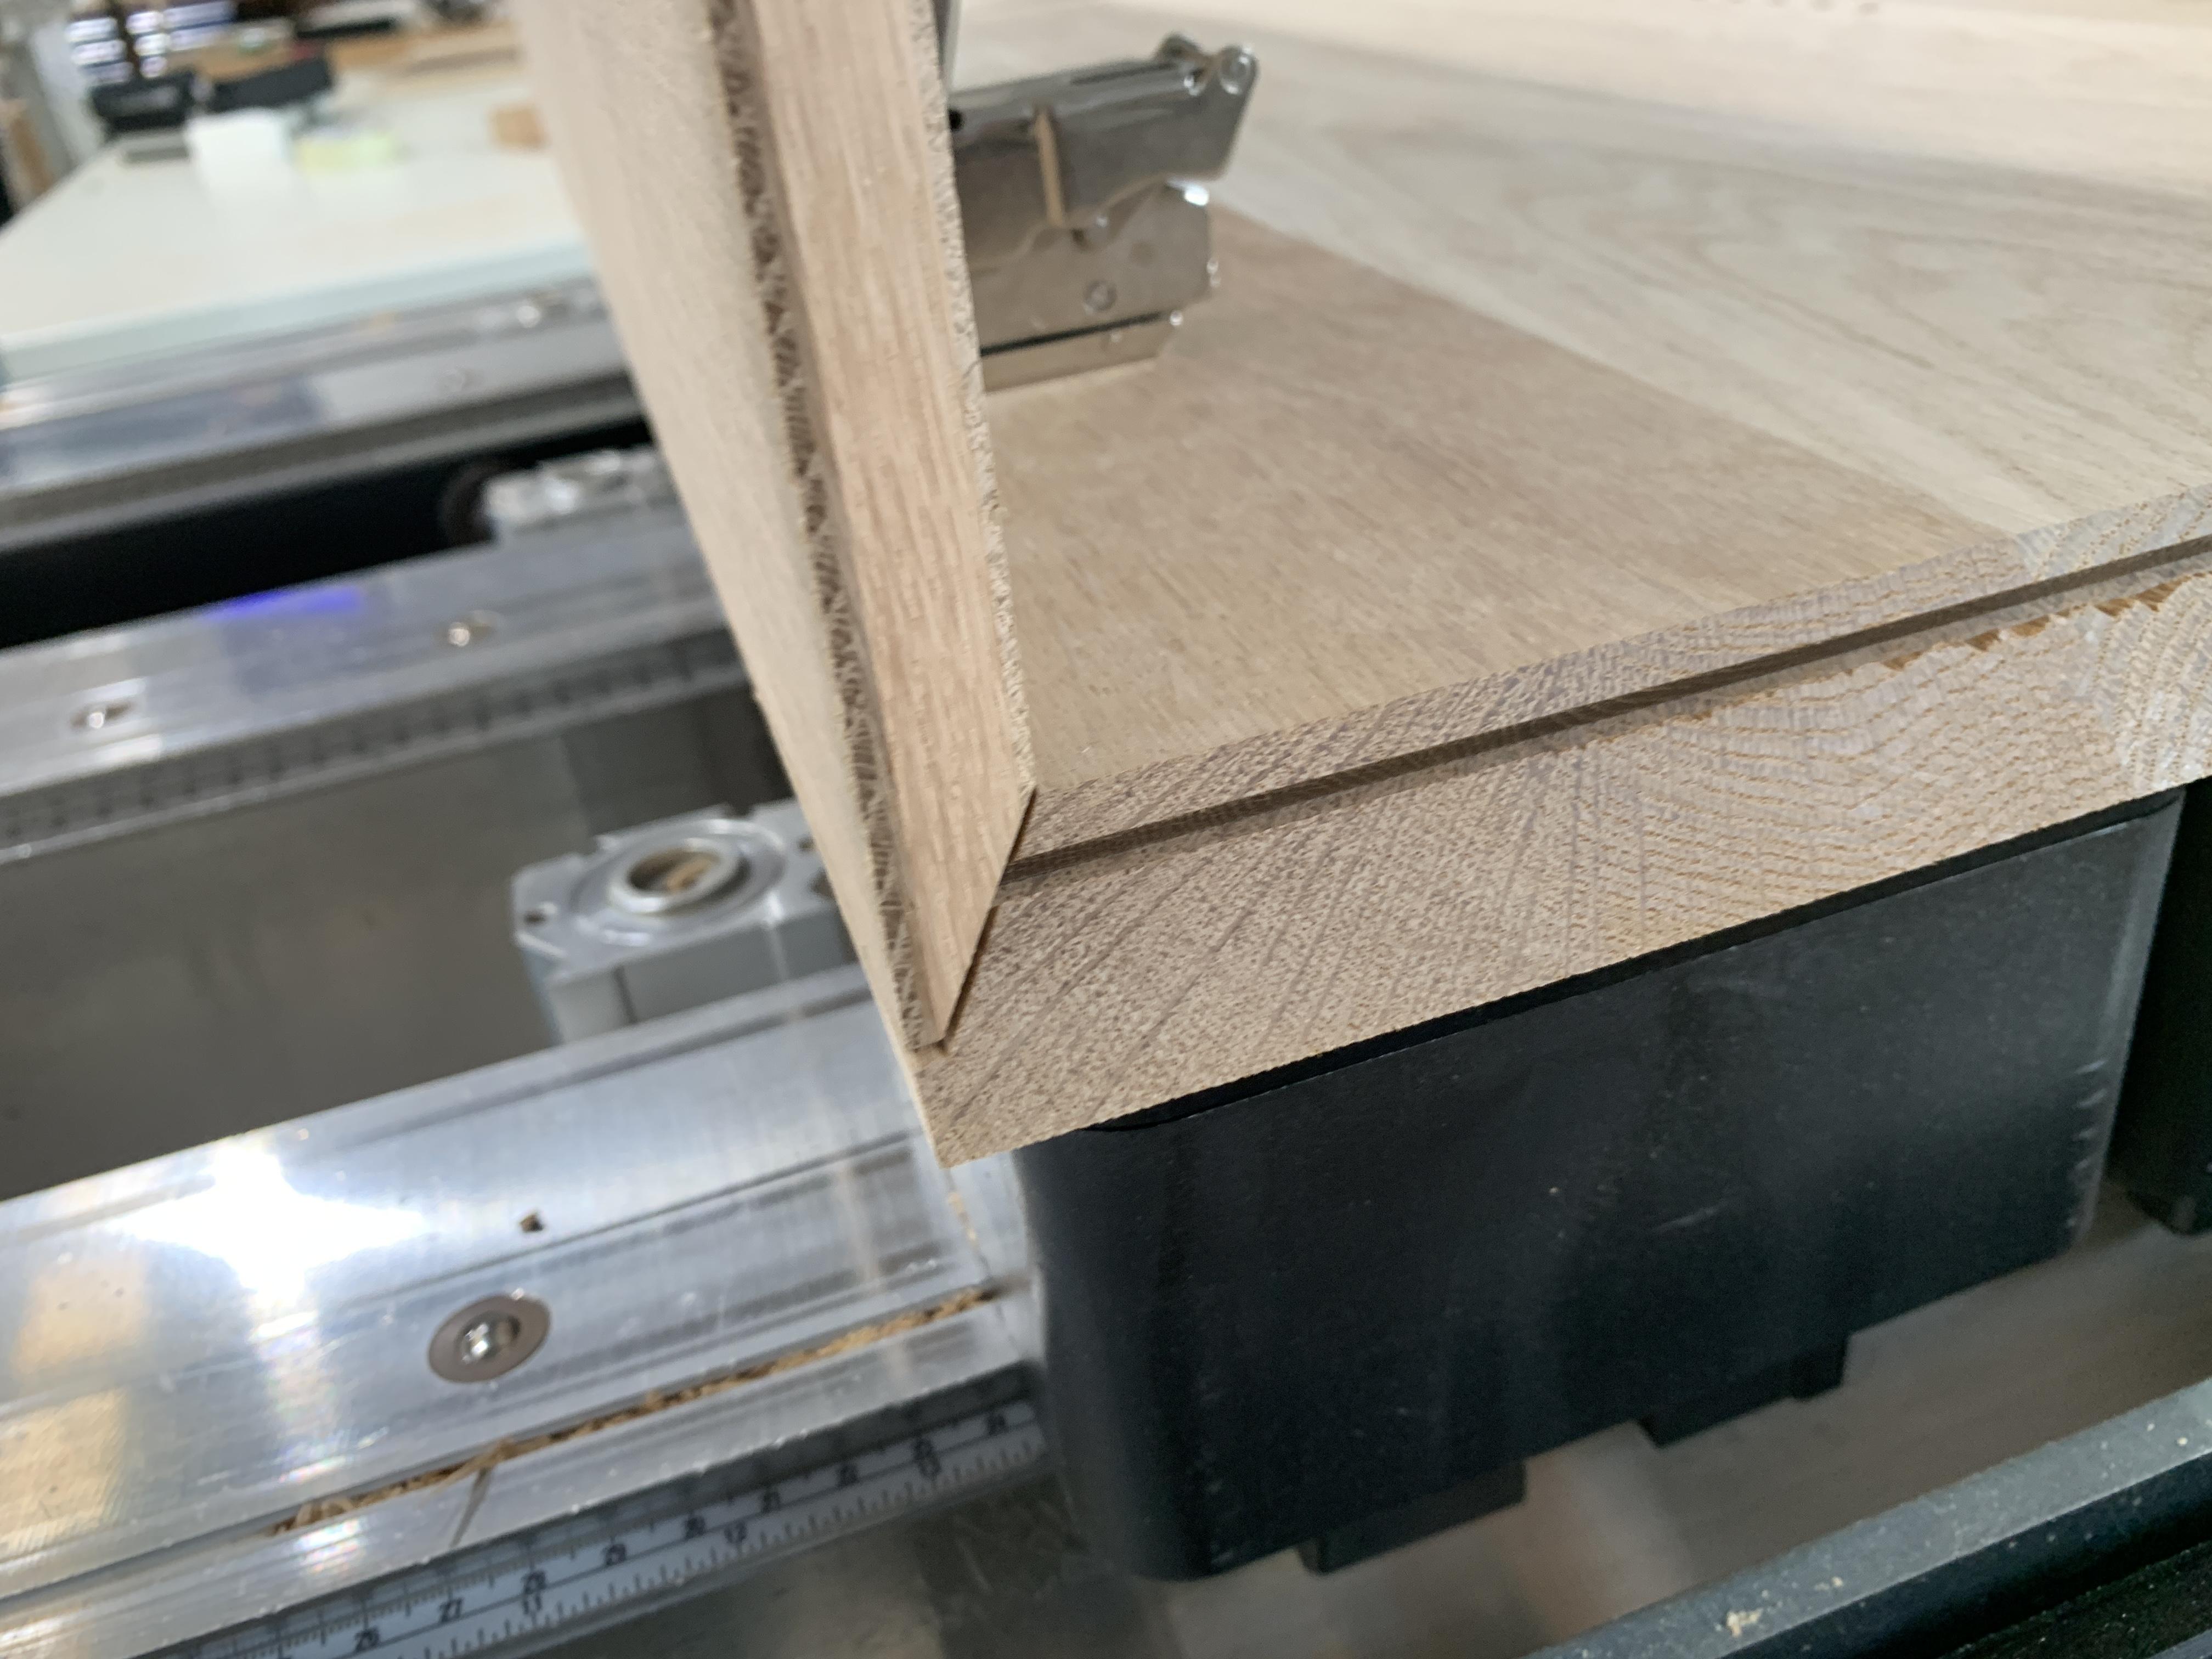
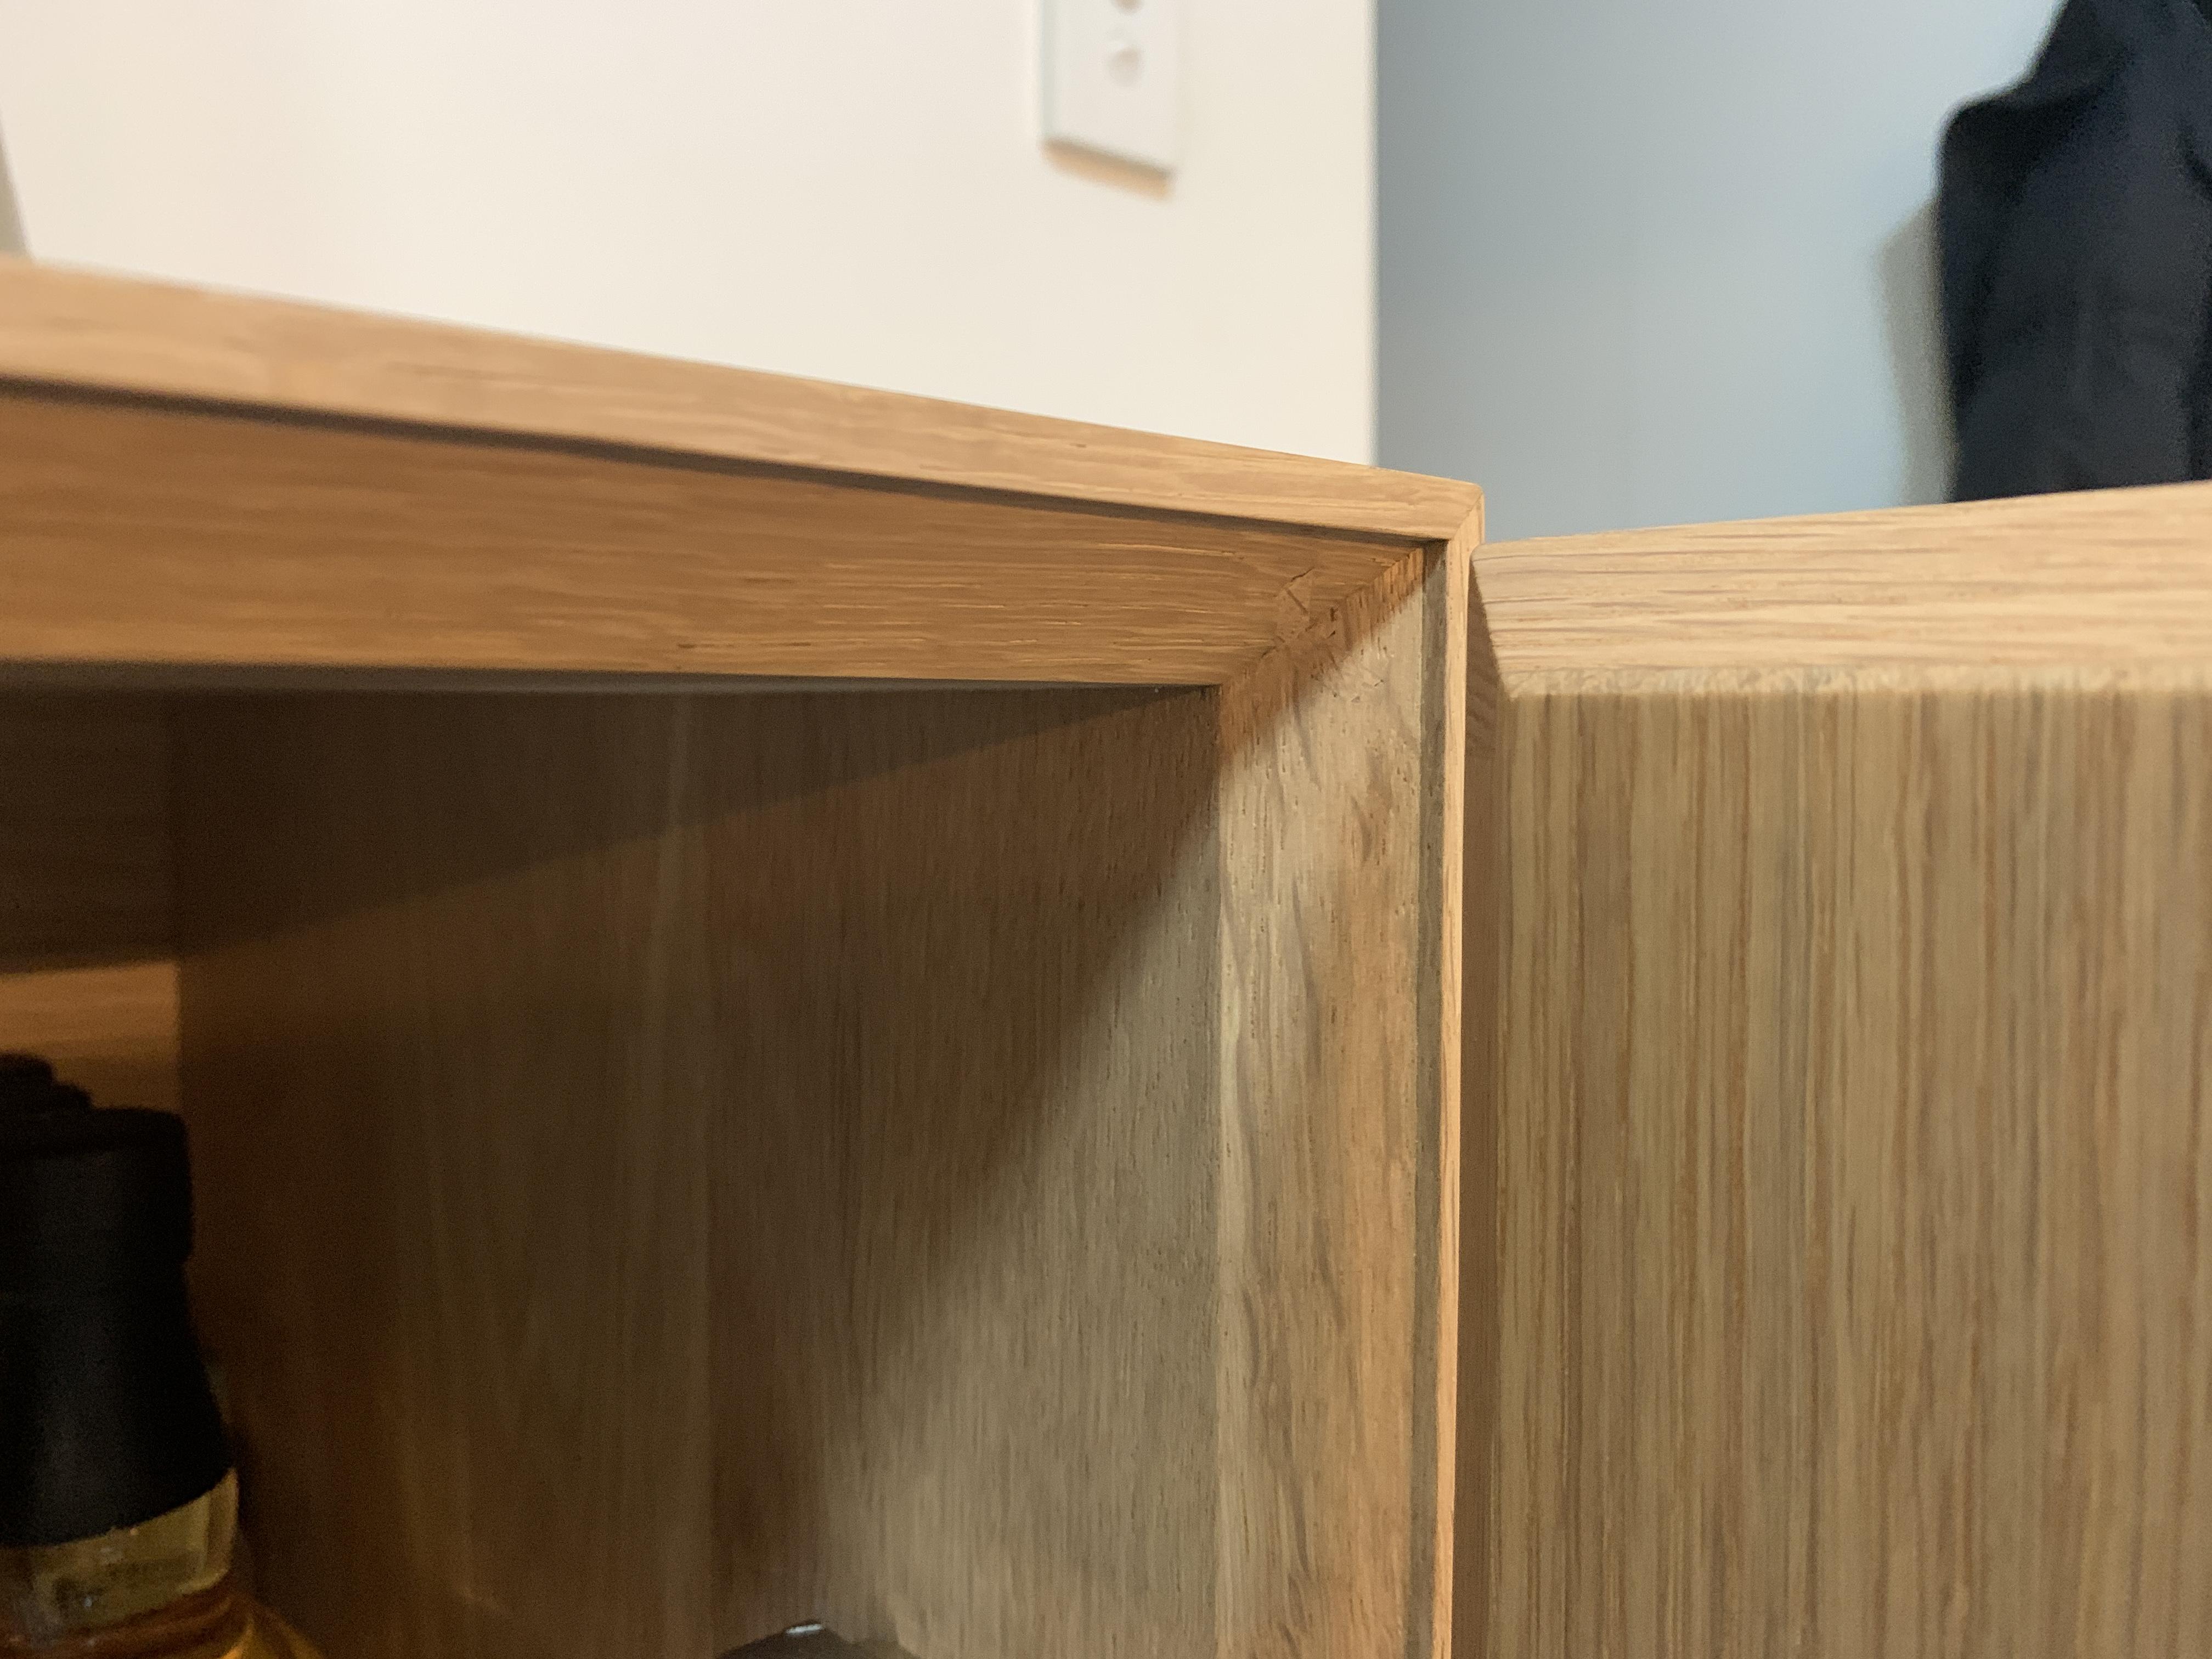
This photo shows one of the side doors and how it meets the carcass. It also shows a carcass panel with a mitre and spline joint.
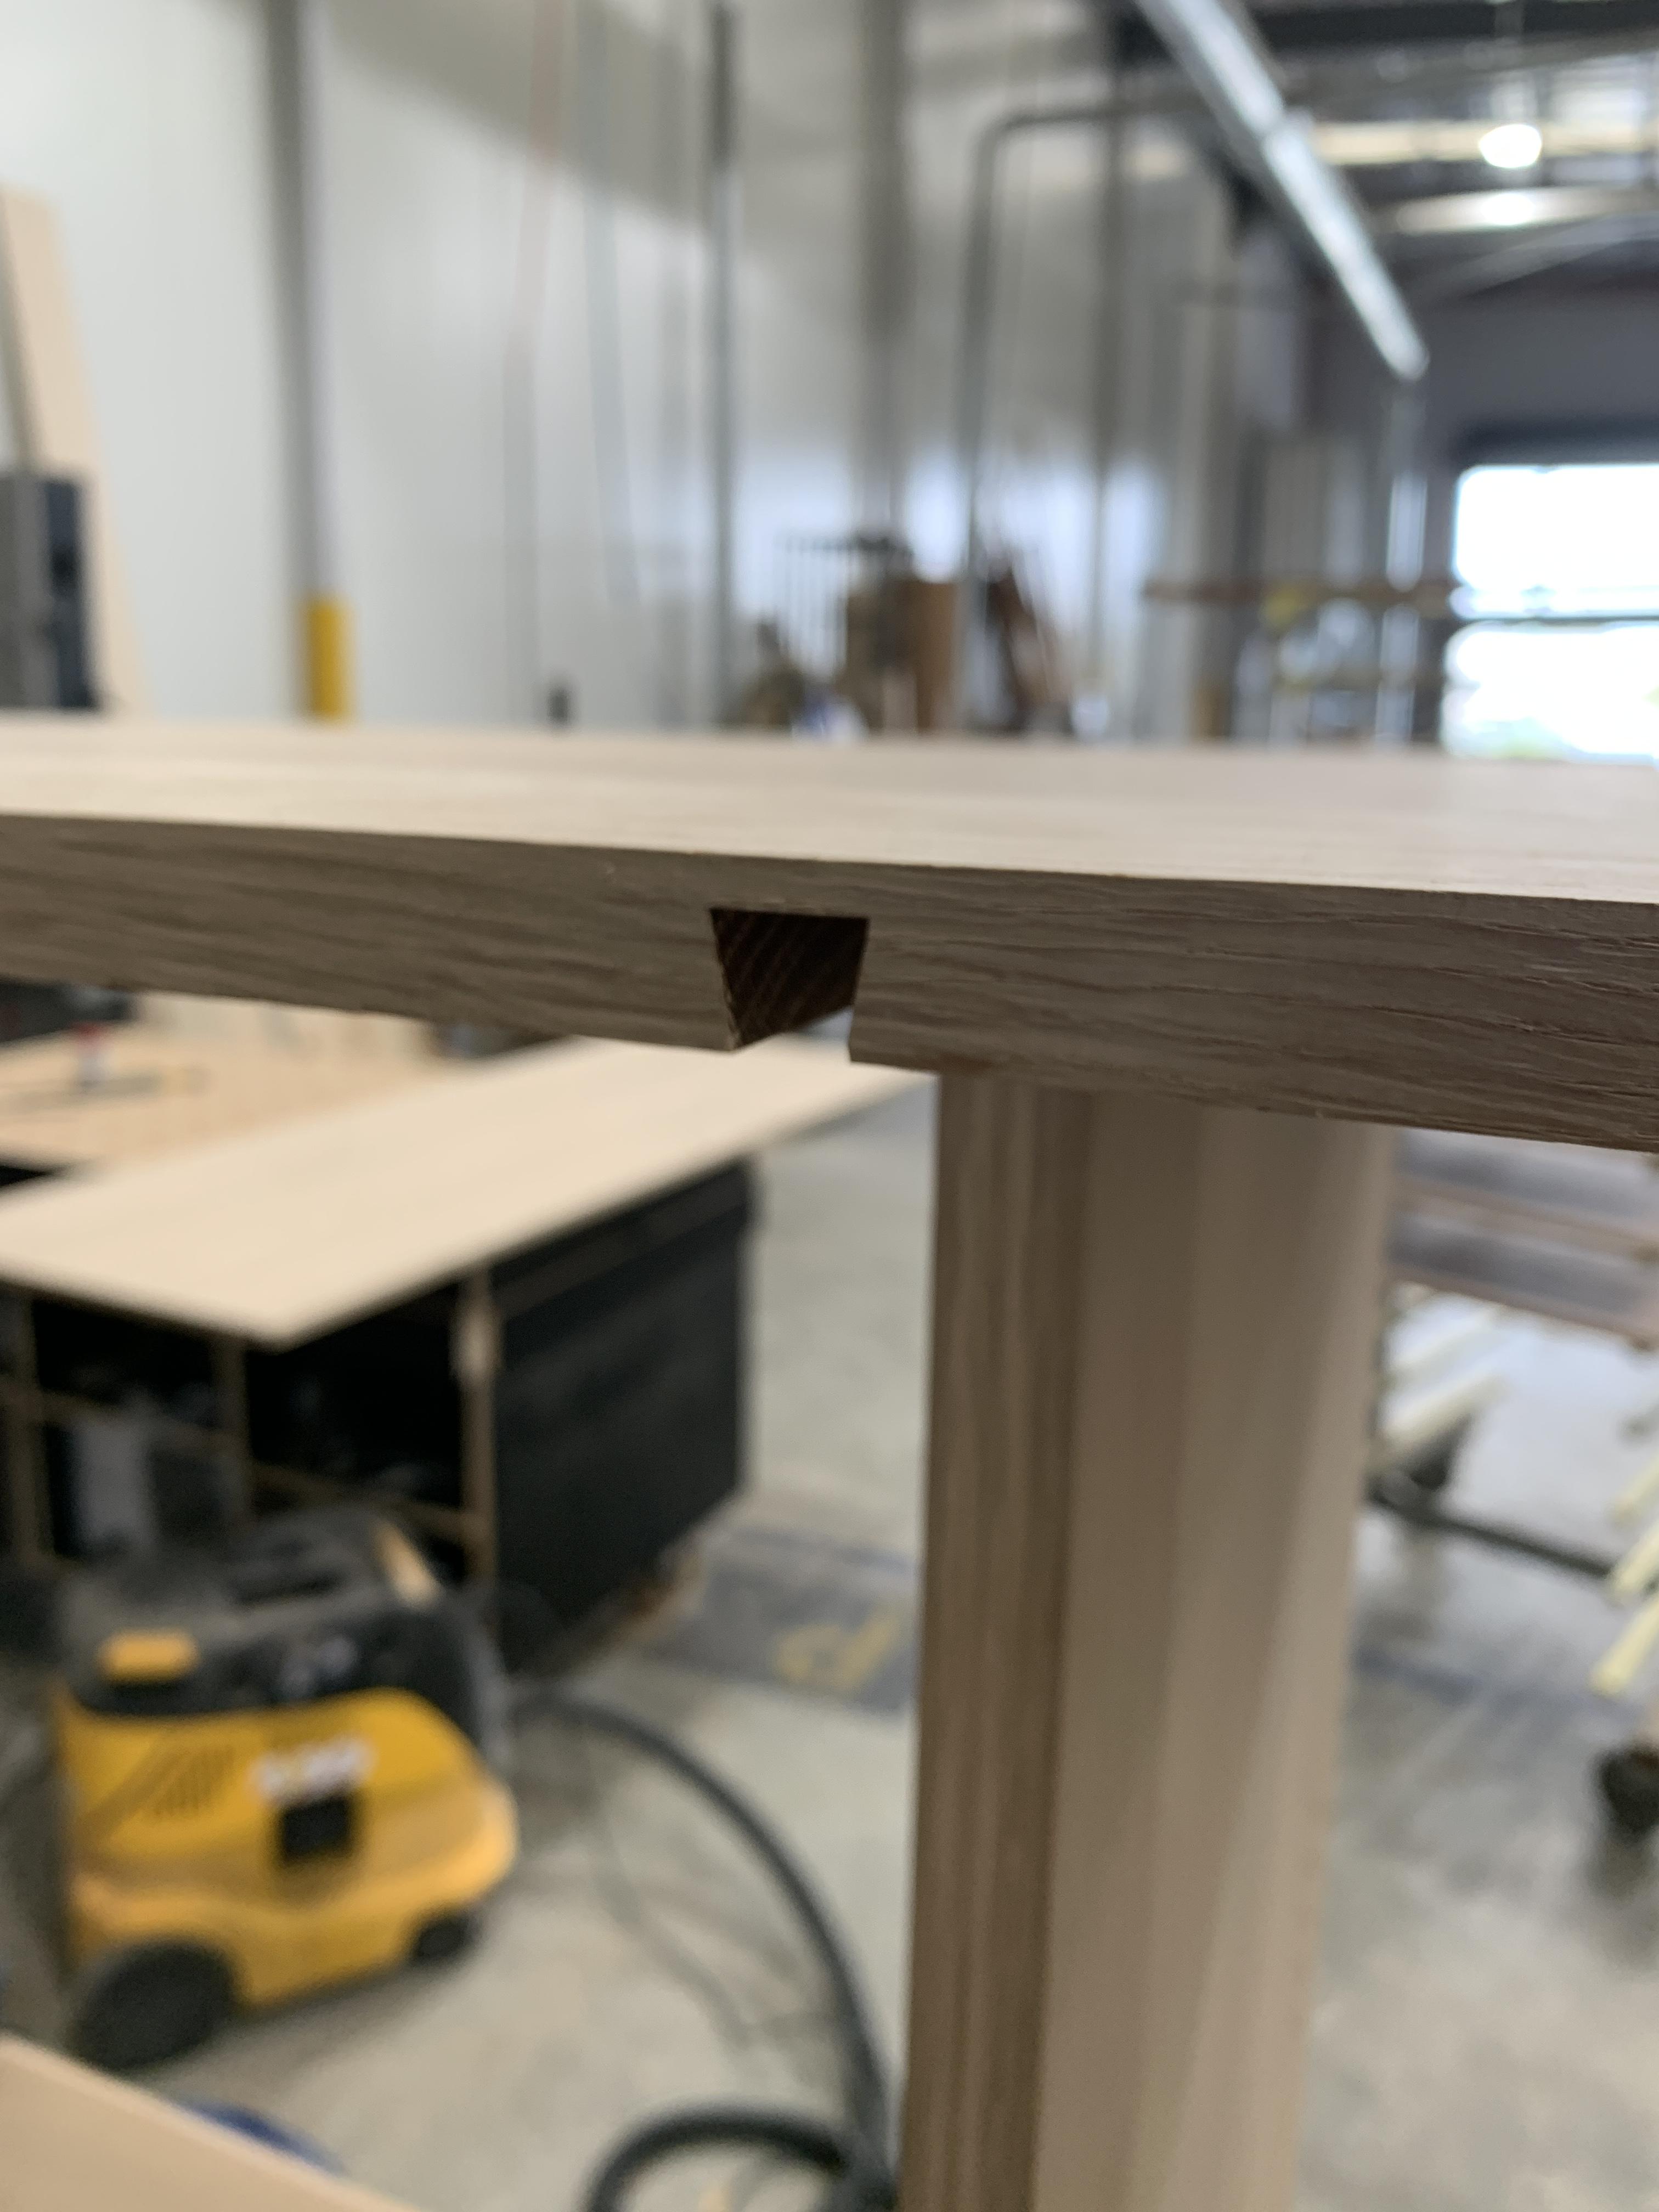
The centre panel is joined on the top and bottom to the carcass with a sliding dovetail joint. This allows me to glue together the outside panels of the carcass and then slide the centre panel in after the fact. It’s also a cool joint 😉
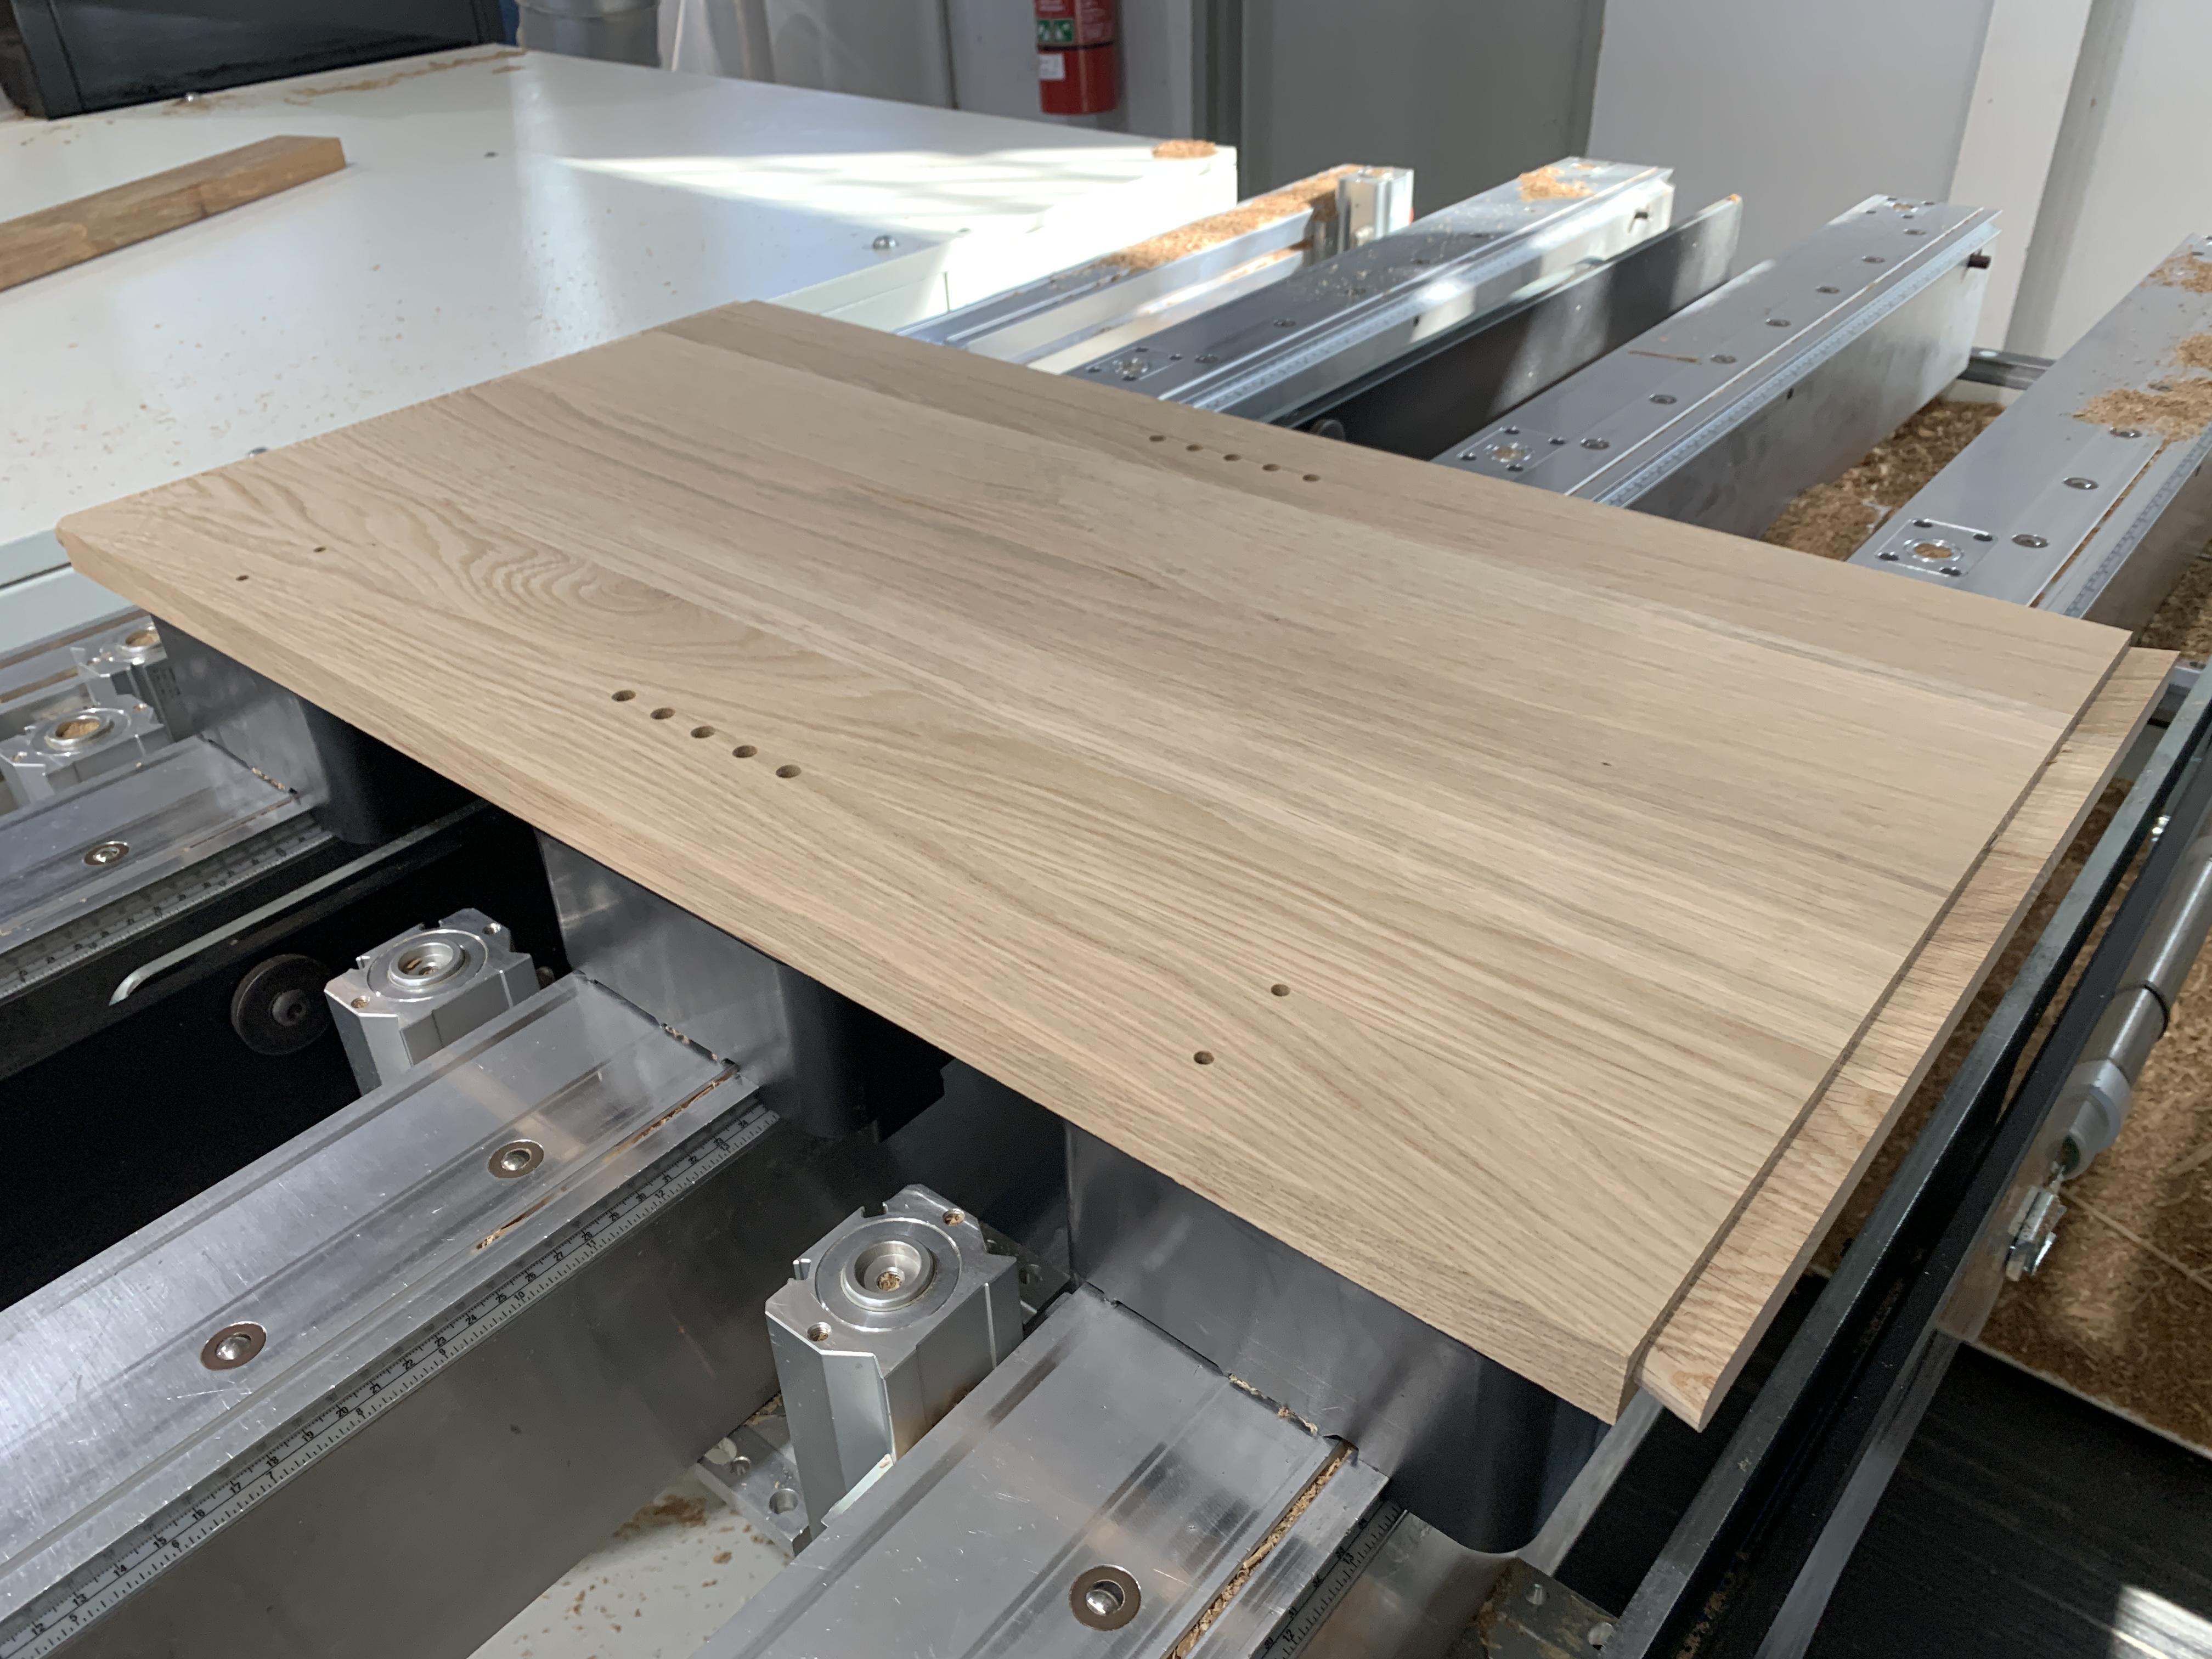
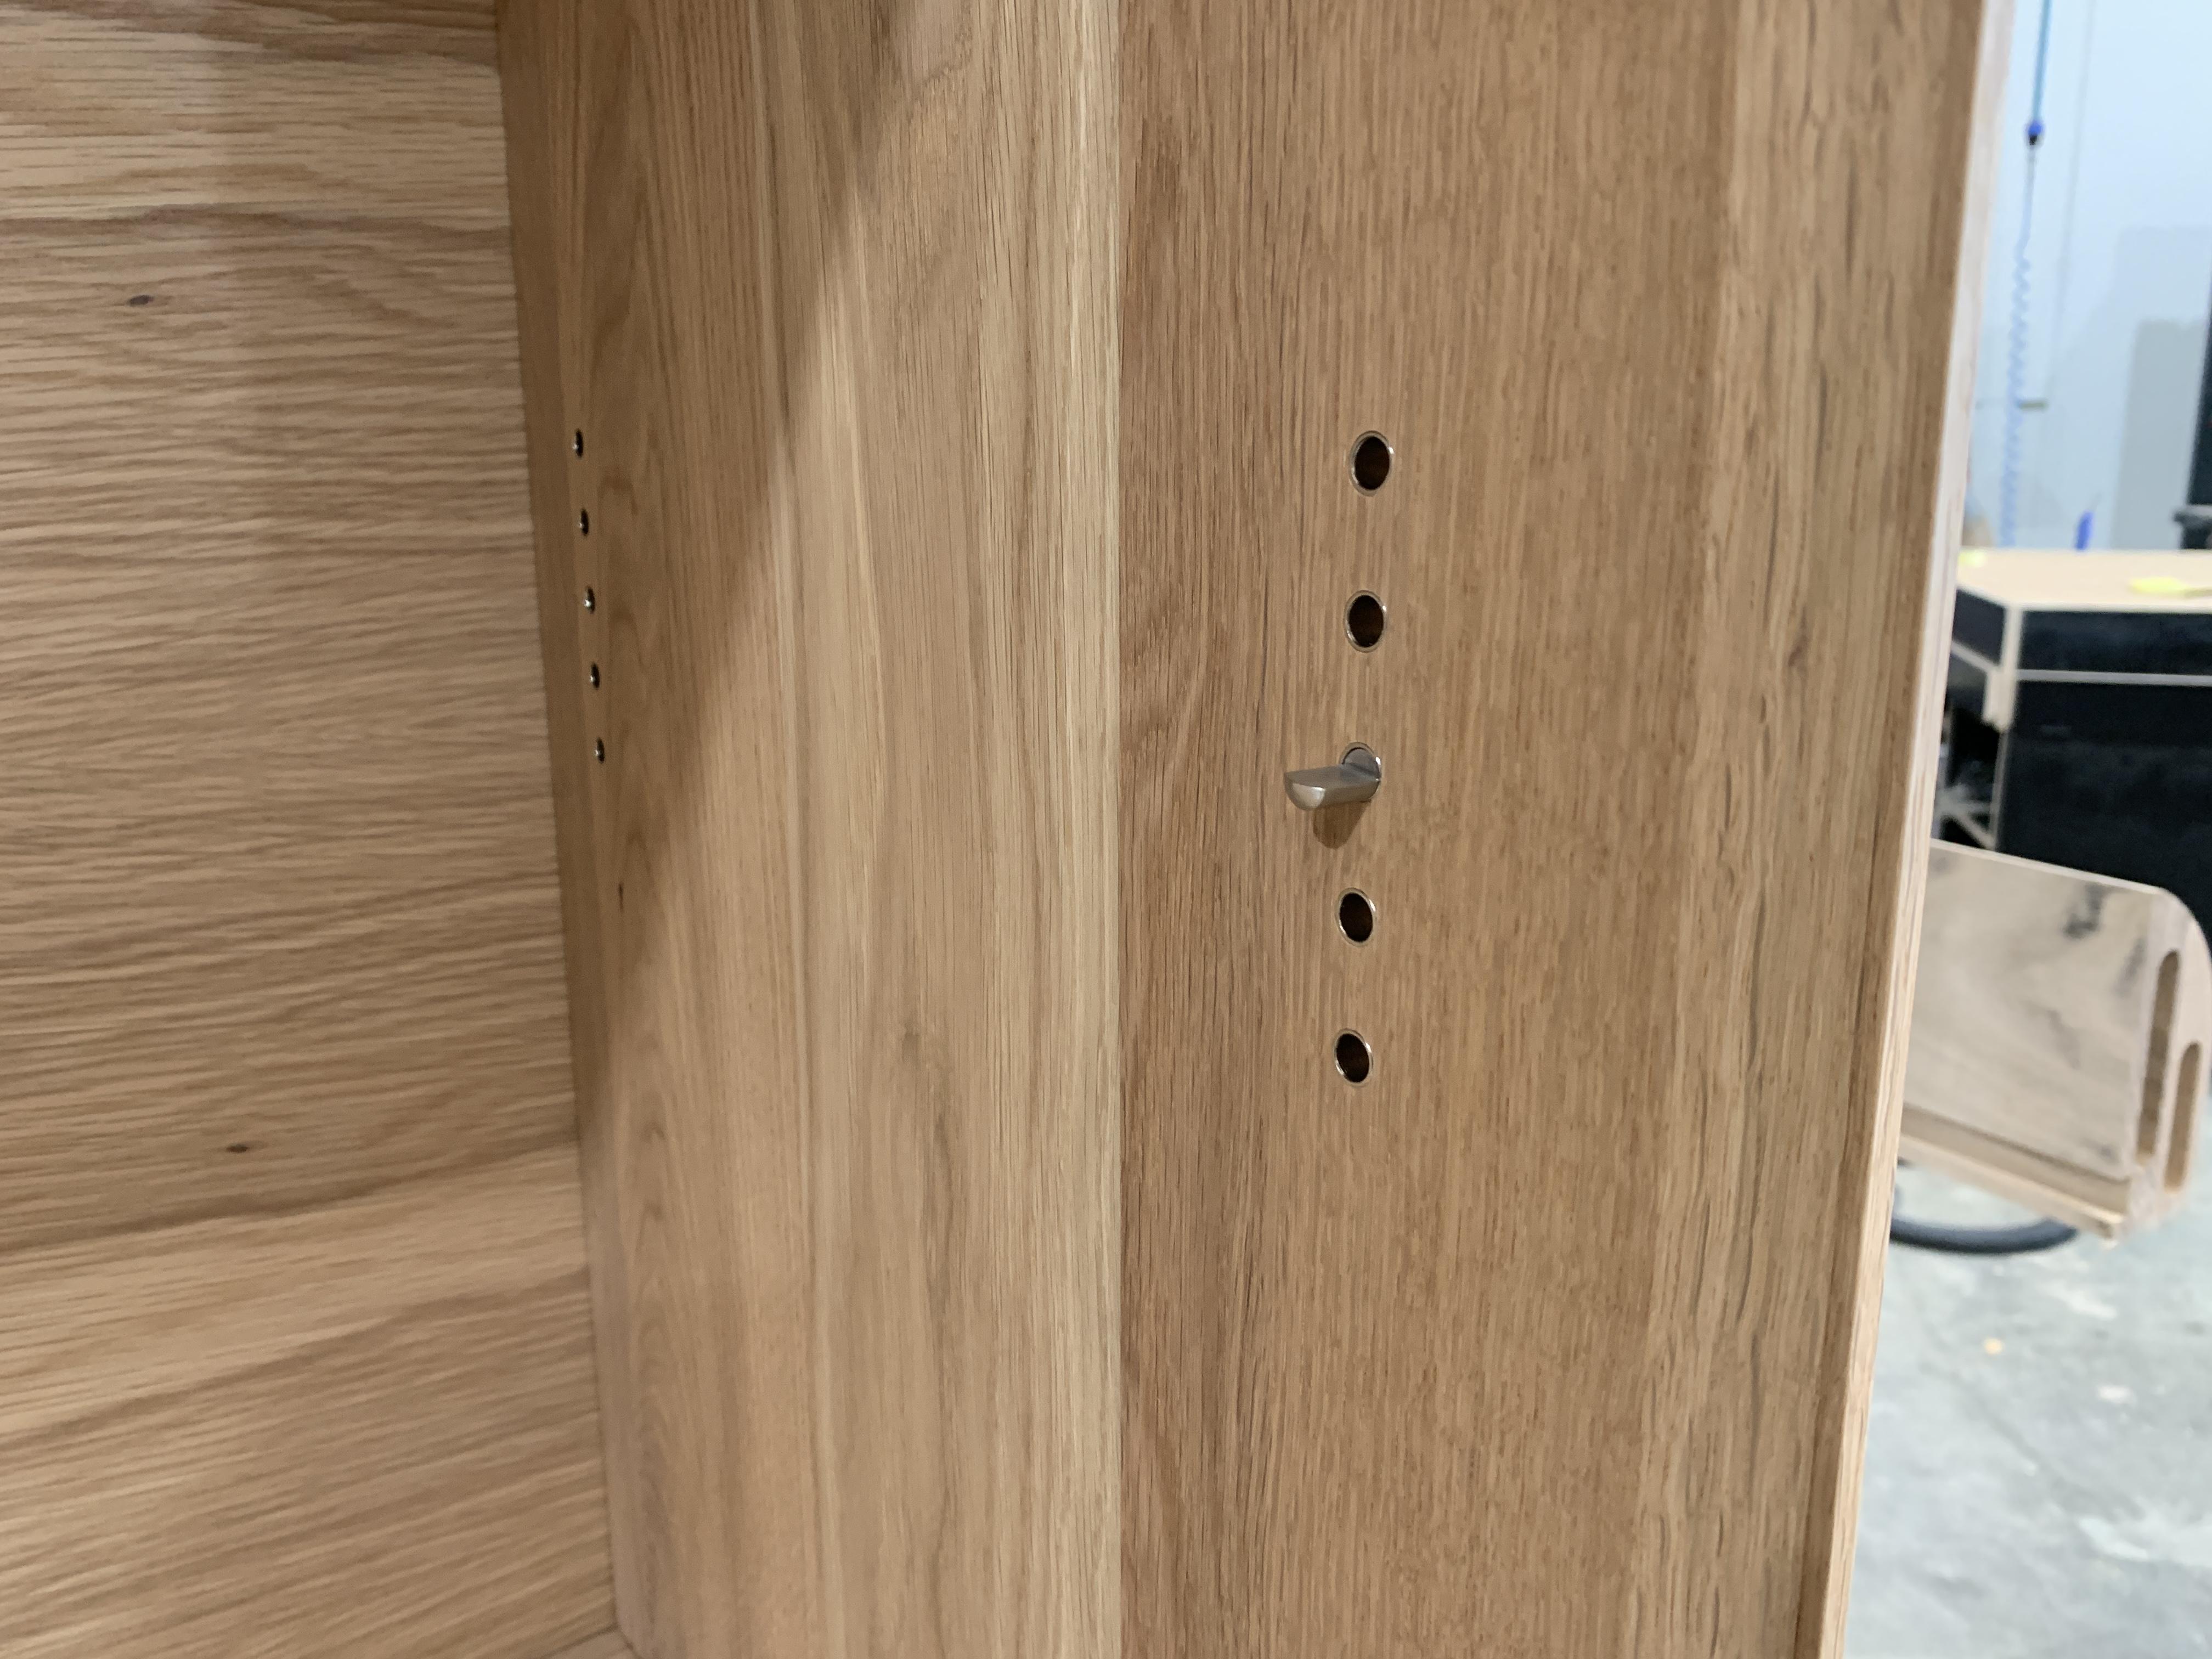
Details for the adjustable shelf pins.
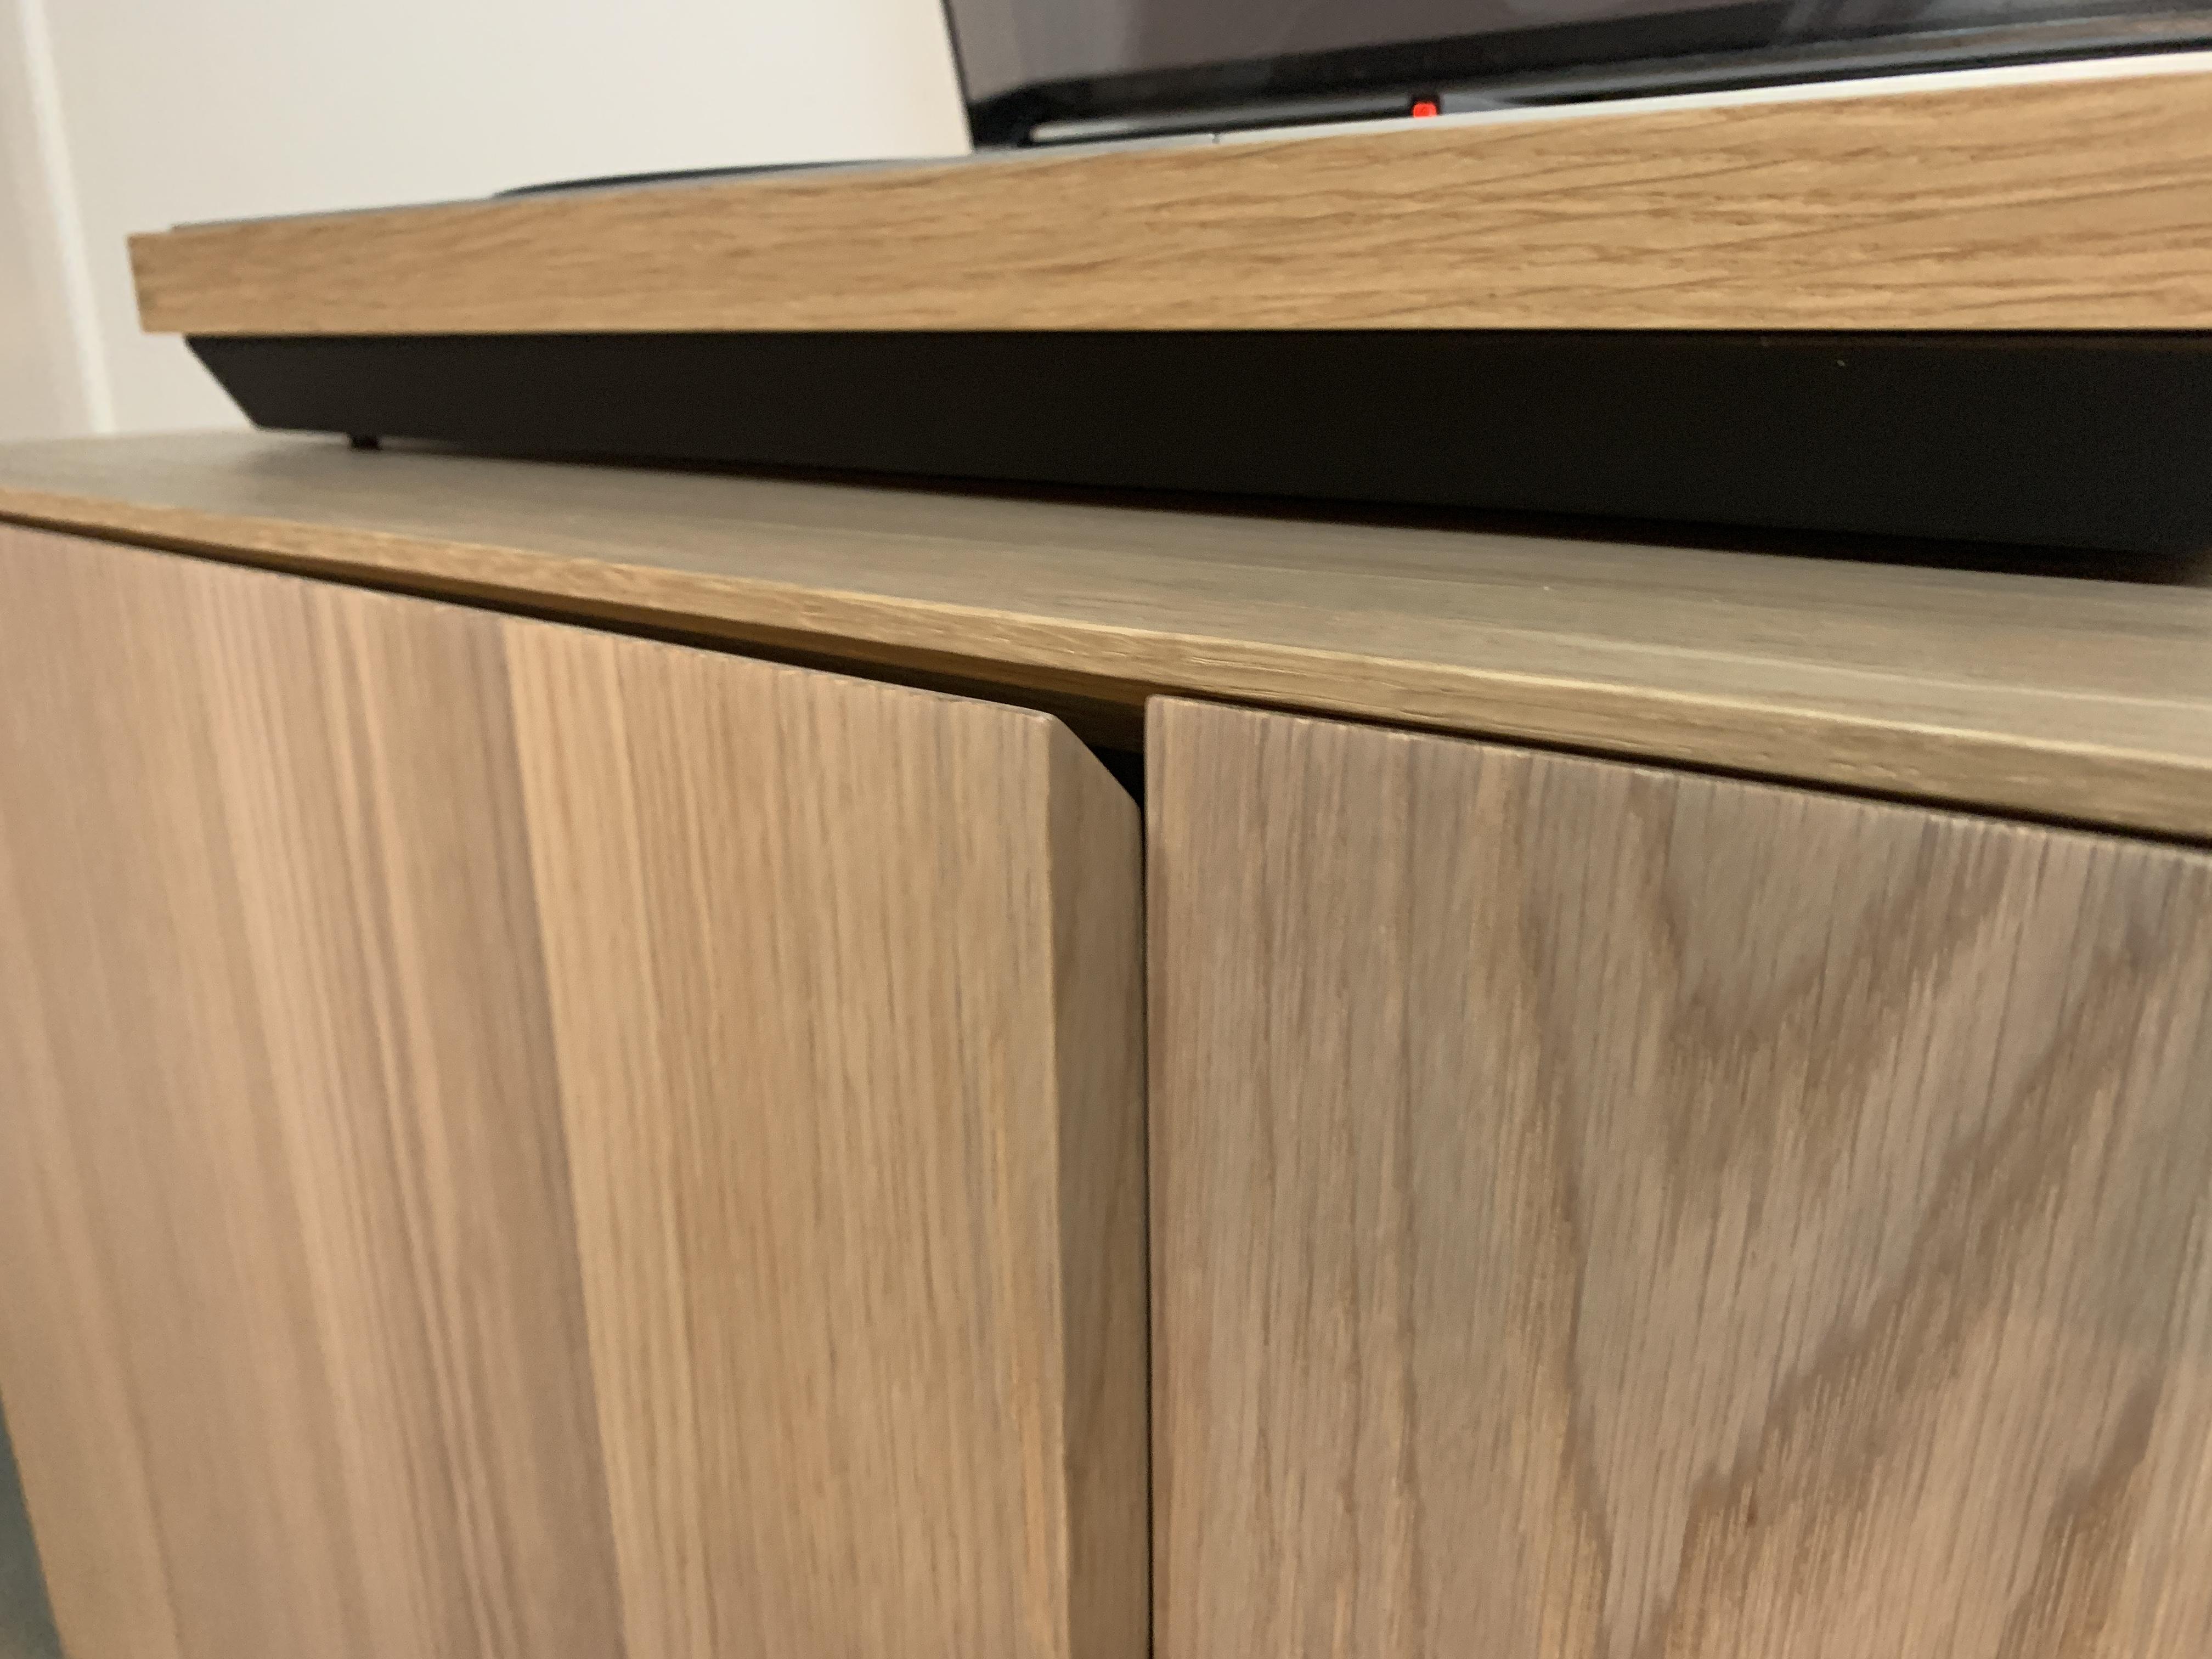
Test assembling. I opted for ‘push to open’ doors for a clean look, as well as wanting to avoid catching our cloths on a door knob due when walking past the cabinet (our apartment is small). There is a small 2mm shadow line between the door and the carcass edge detail.
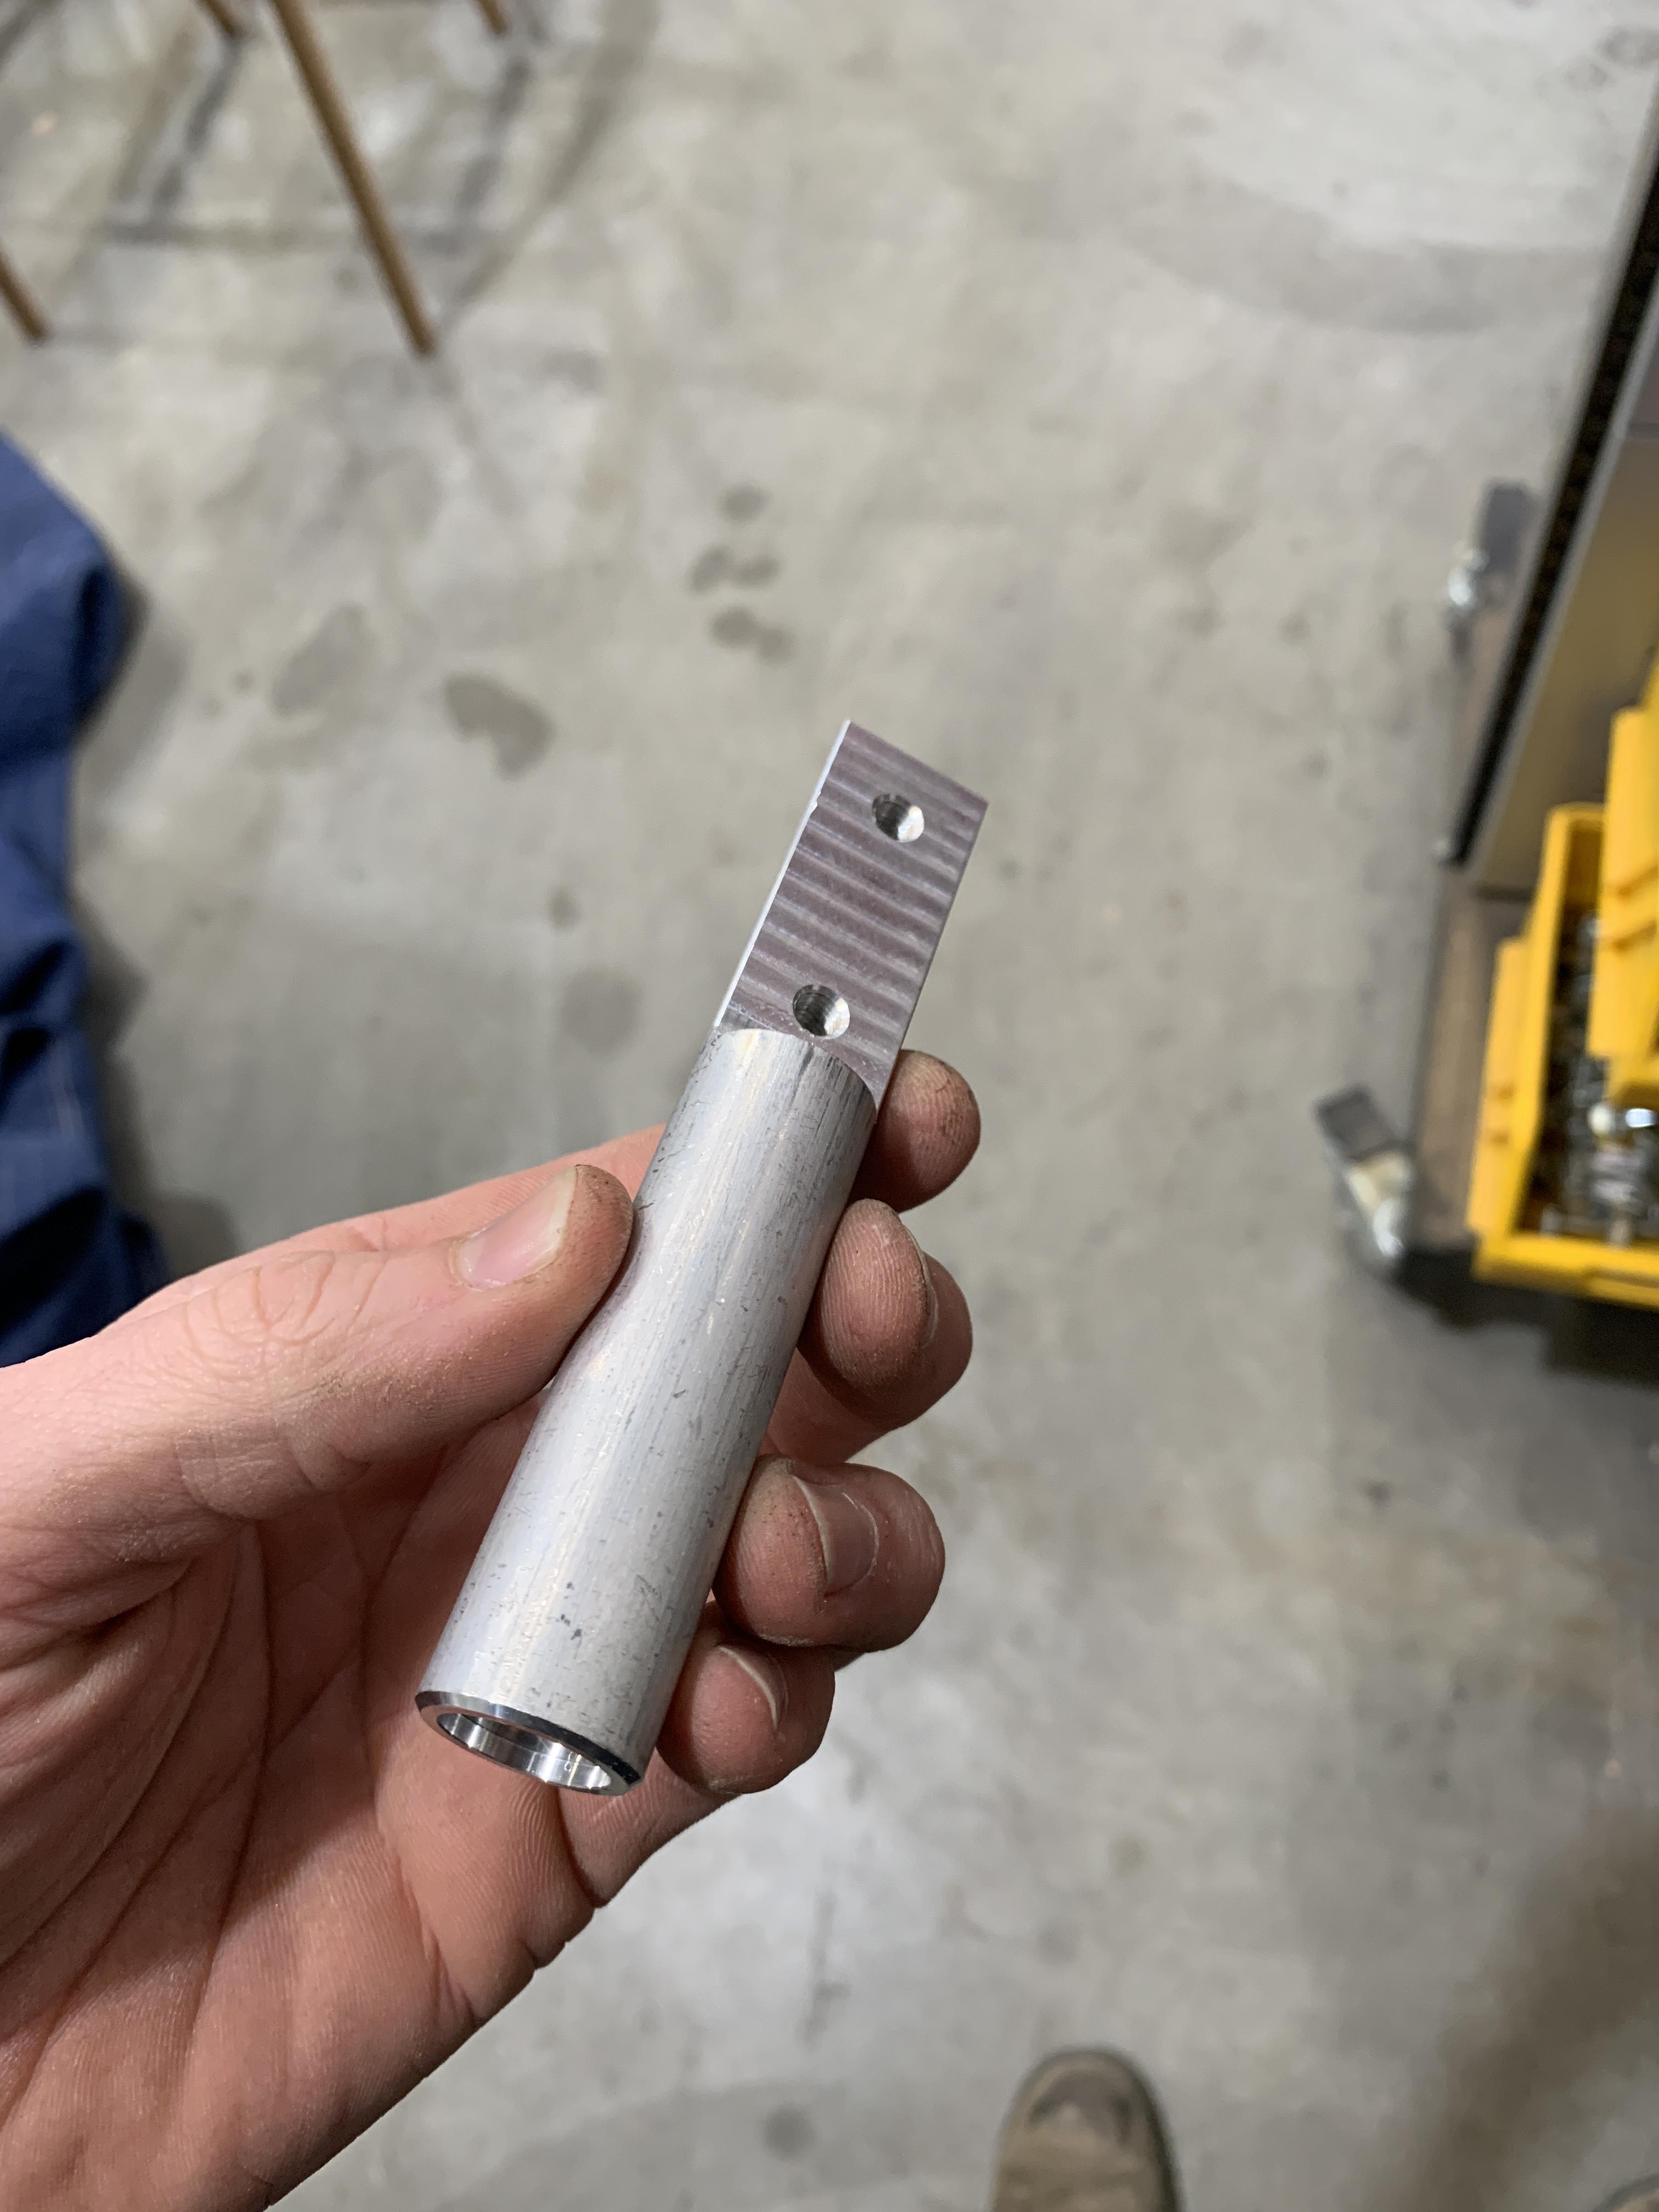
The base is made with 6mm thick aluminium angle along the length of the base, with slender round aluminium legs. The legs have been notched to accept the angle, and then will be bolted on. The base will be powder coated matte black to match the Beogram chassis.
16 August 2024 at 12:20 #58341ChristianHak
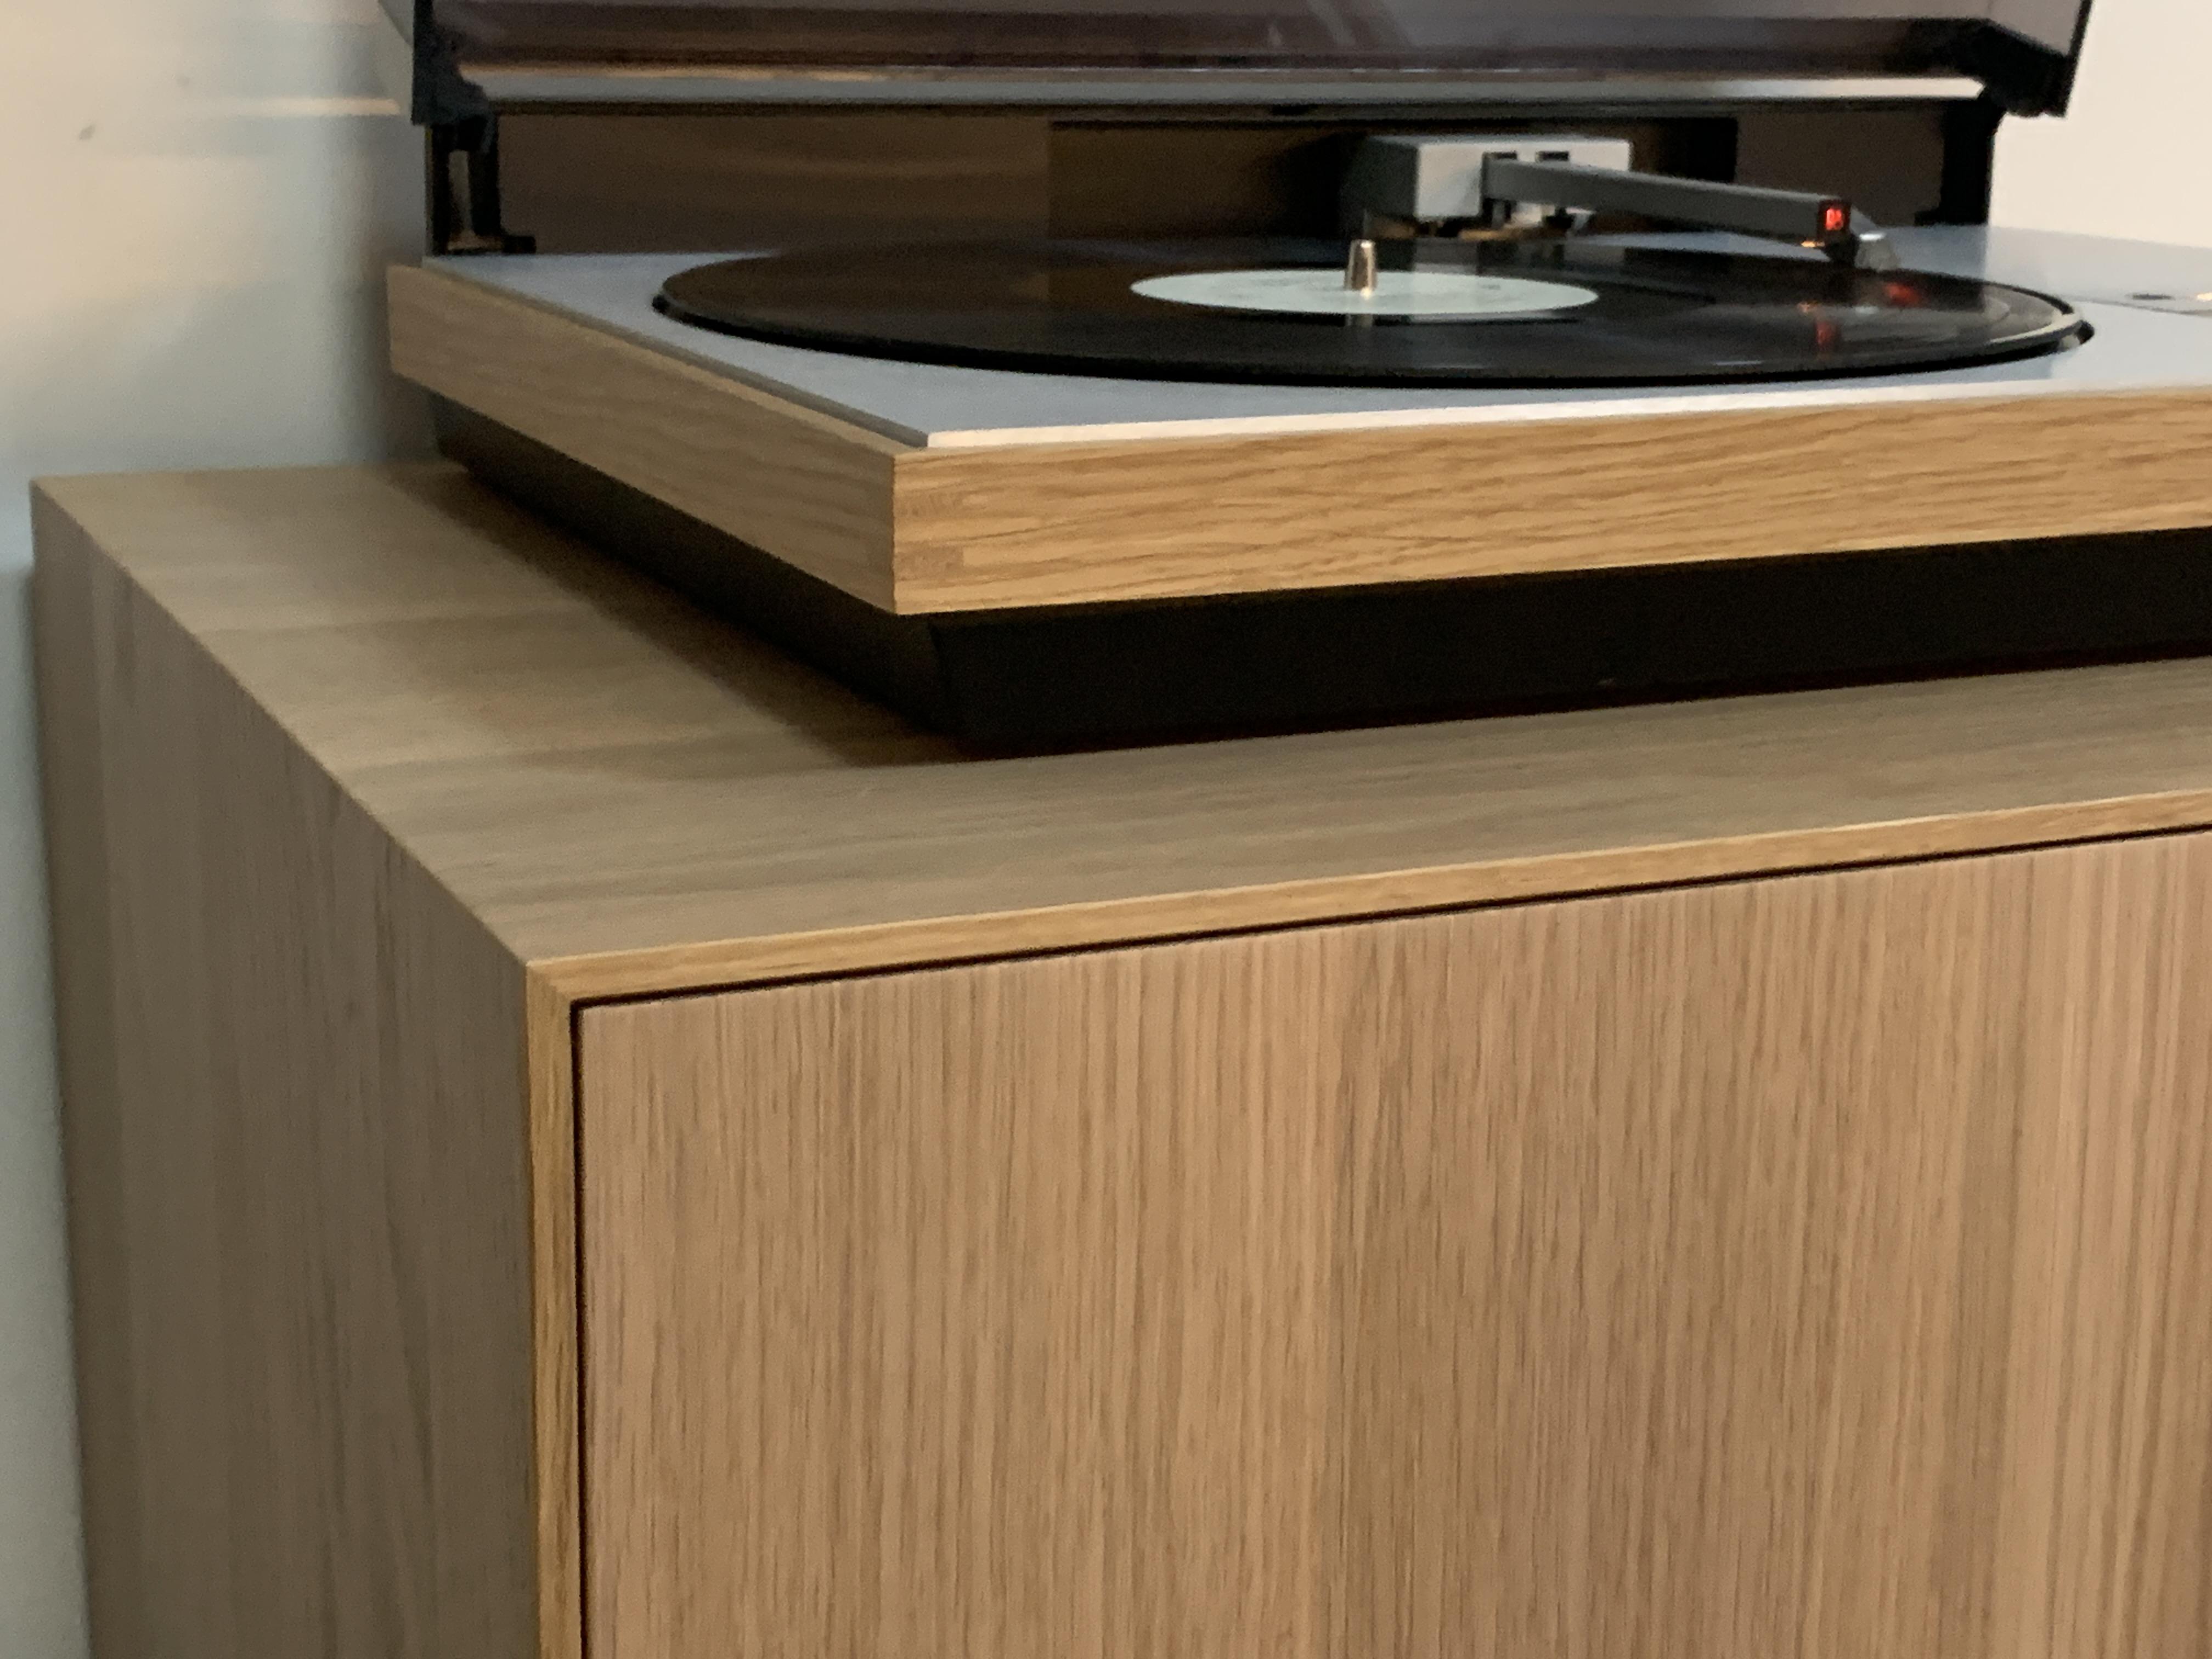
BRONZE MemberClose-up detail of the door and the carcass. If you look carefully, you can see the spline joint in the mitre.
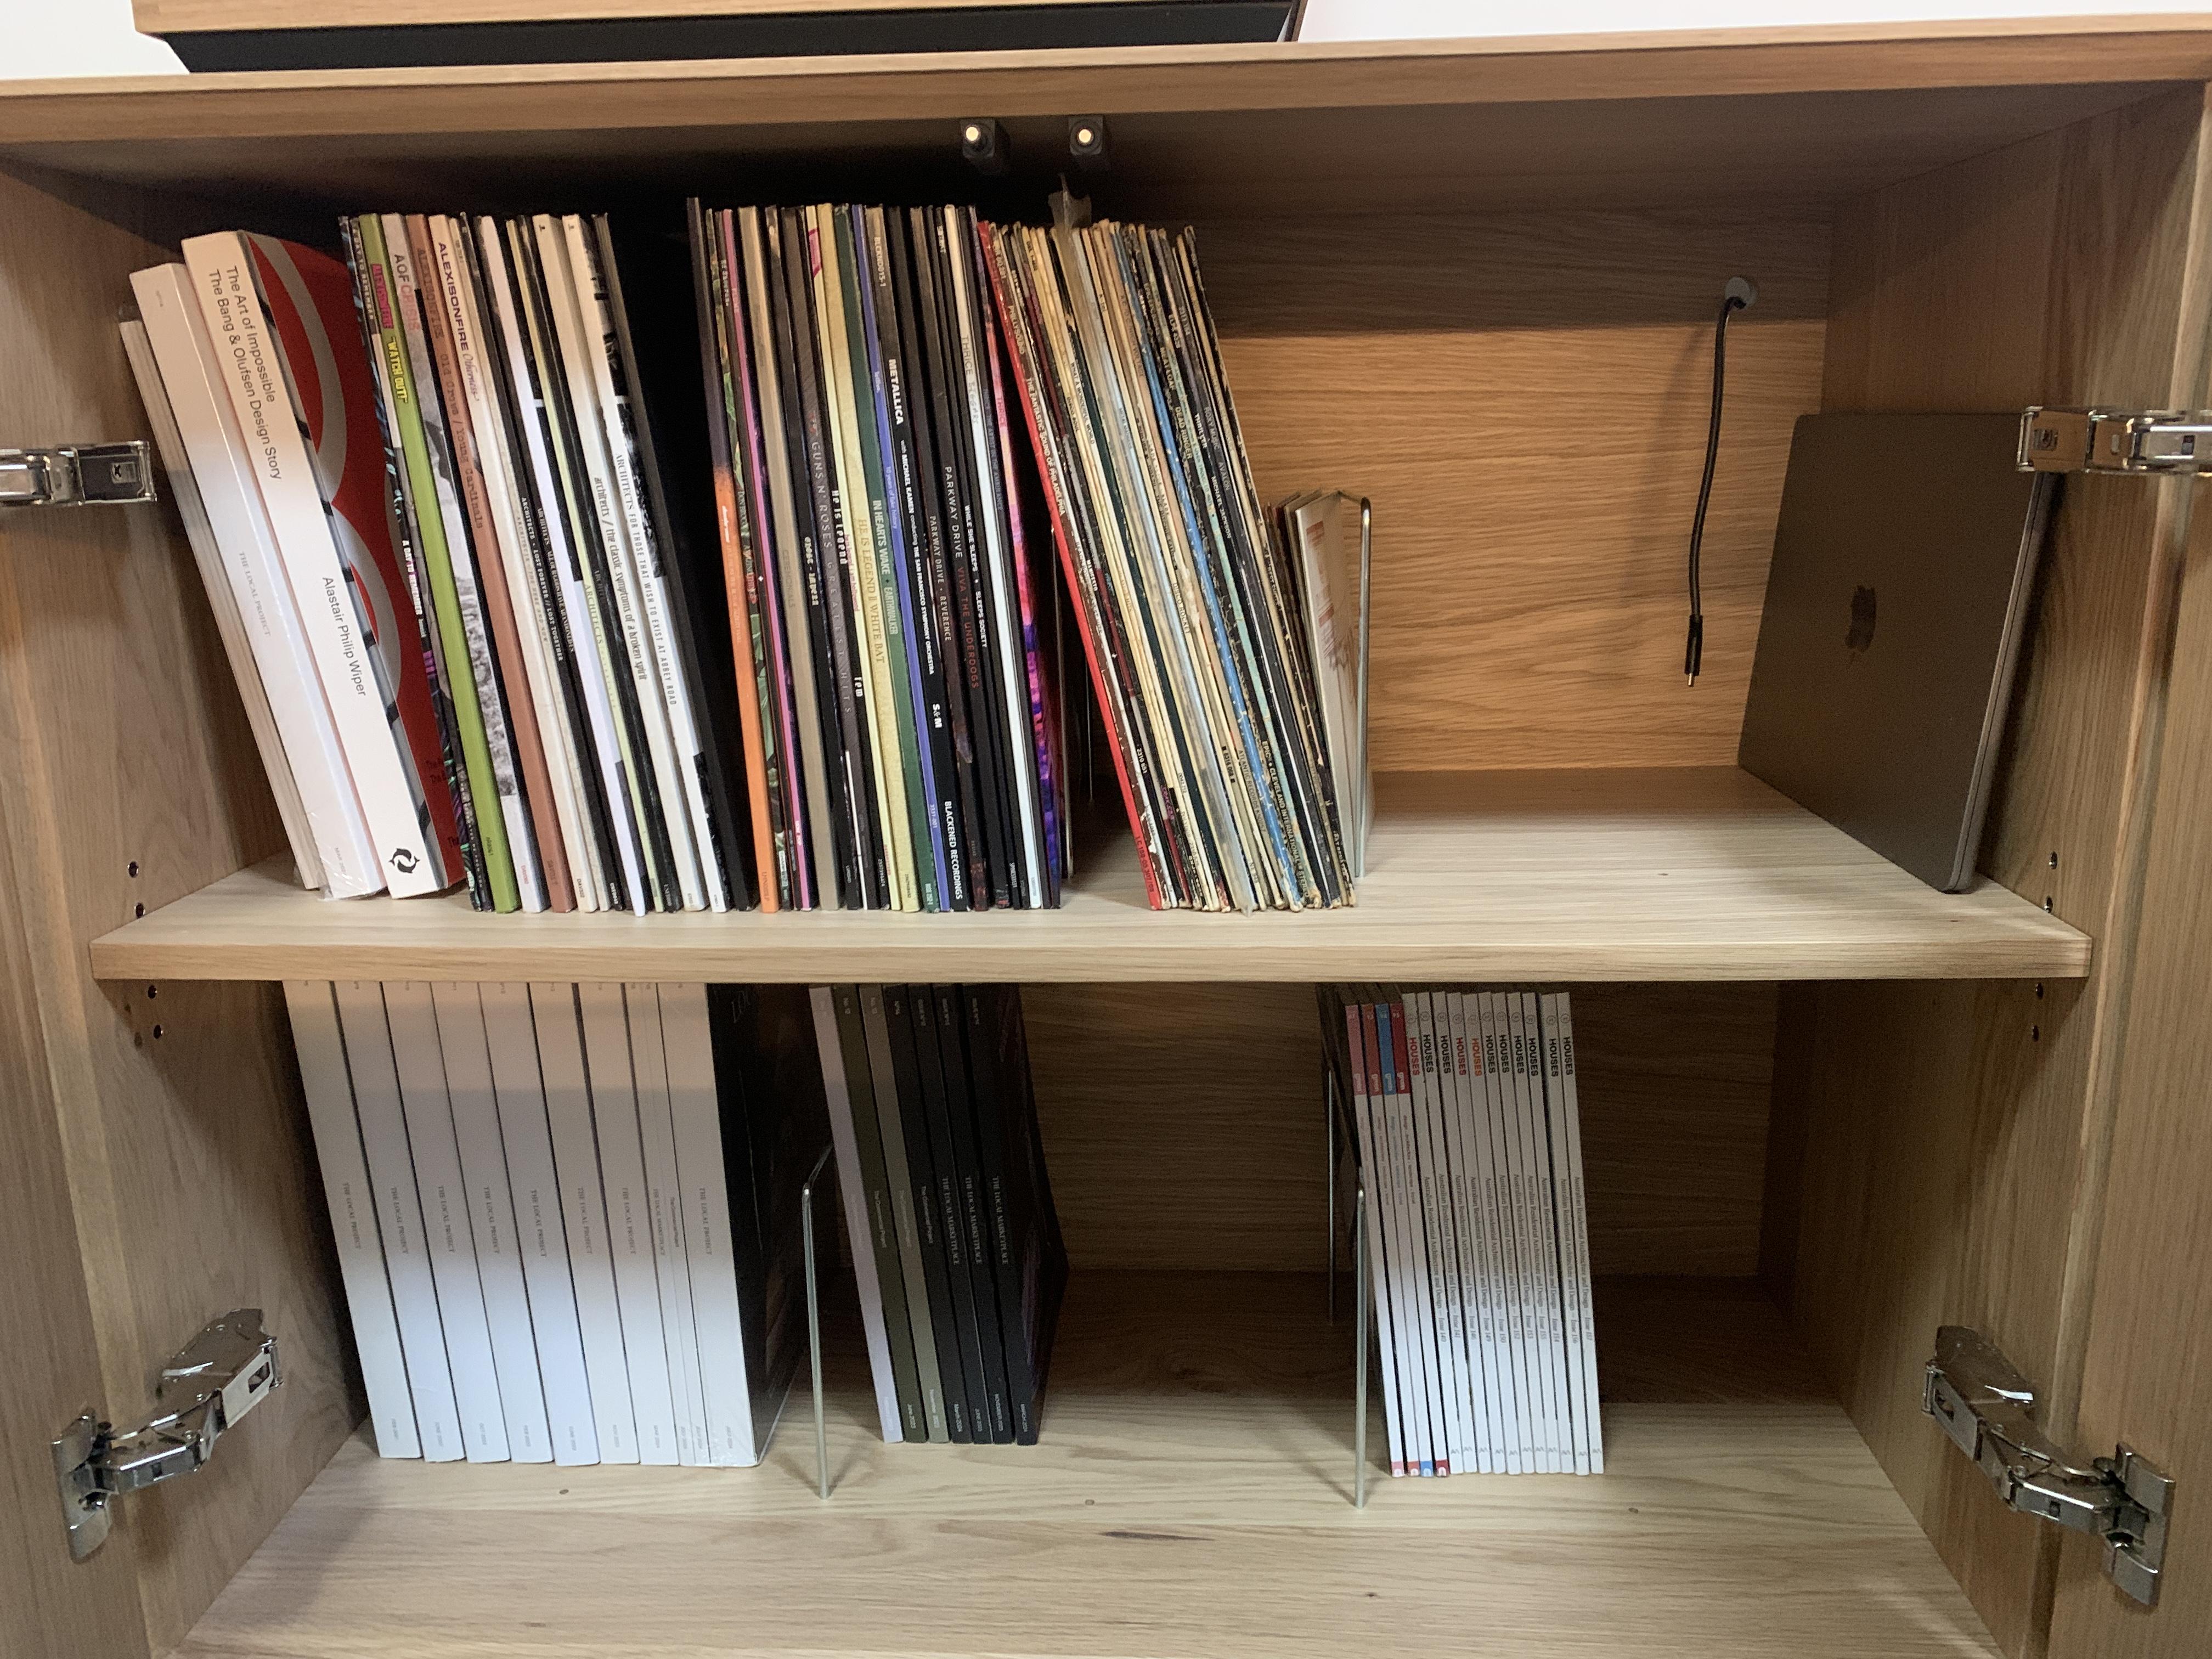
On the left side of the cabinet I added wire dividers for the records and the magazines/books. I drilled several holes so that I can add/remove/reposition the dividers where needed. I have a USB C cable in here as well so I can charge my devices out of sight.
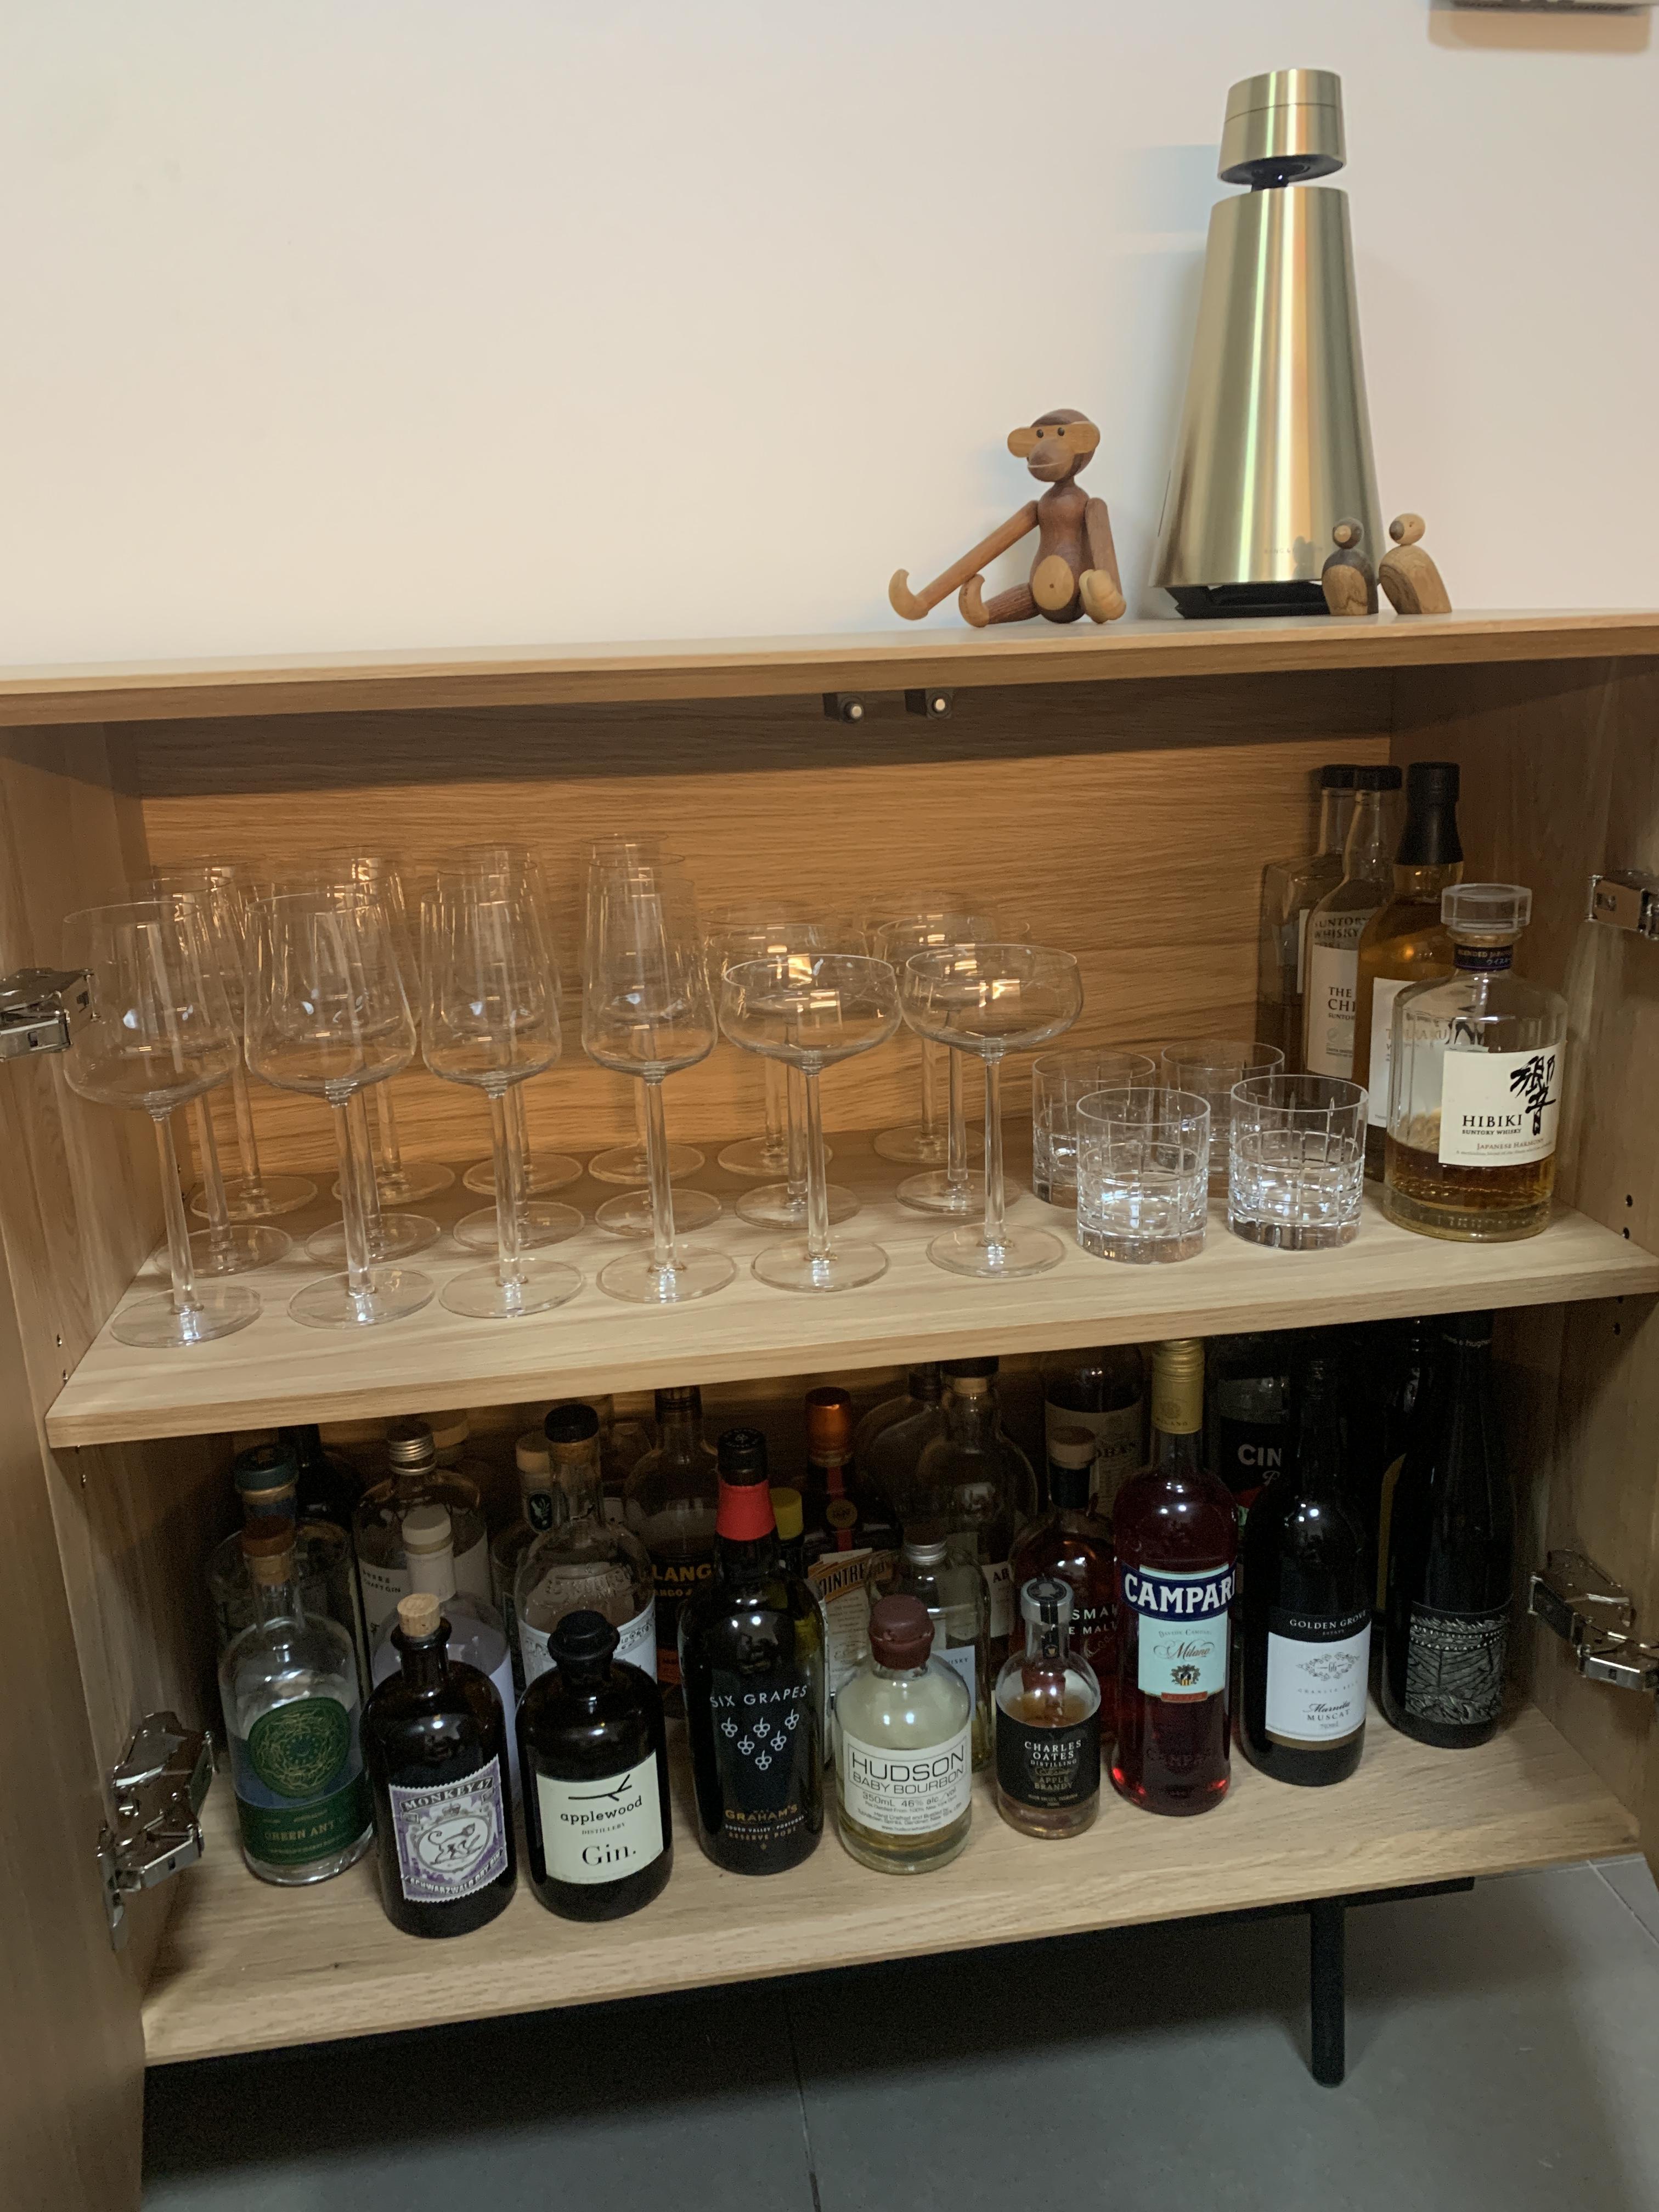
On the right side of the cabinet I have my liquor and glasses.
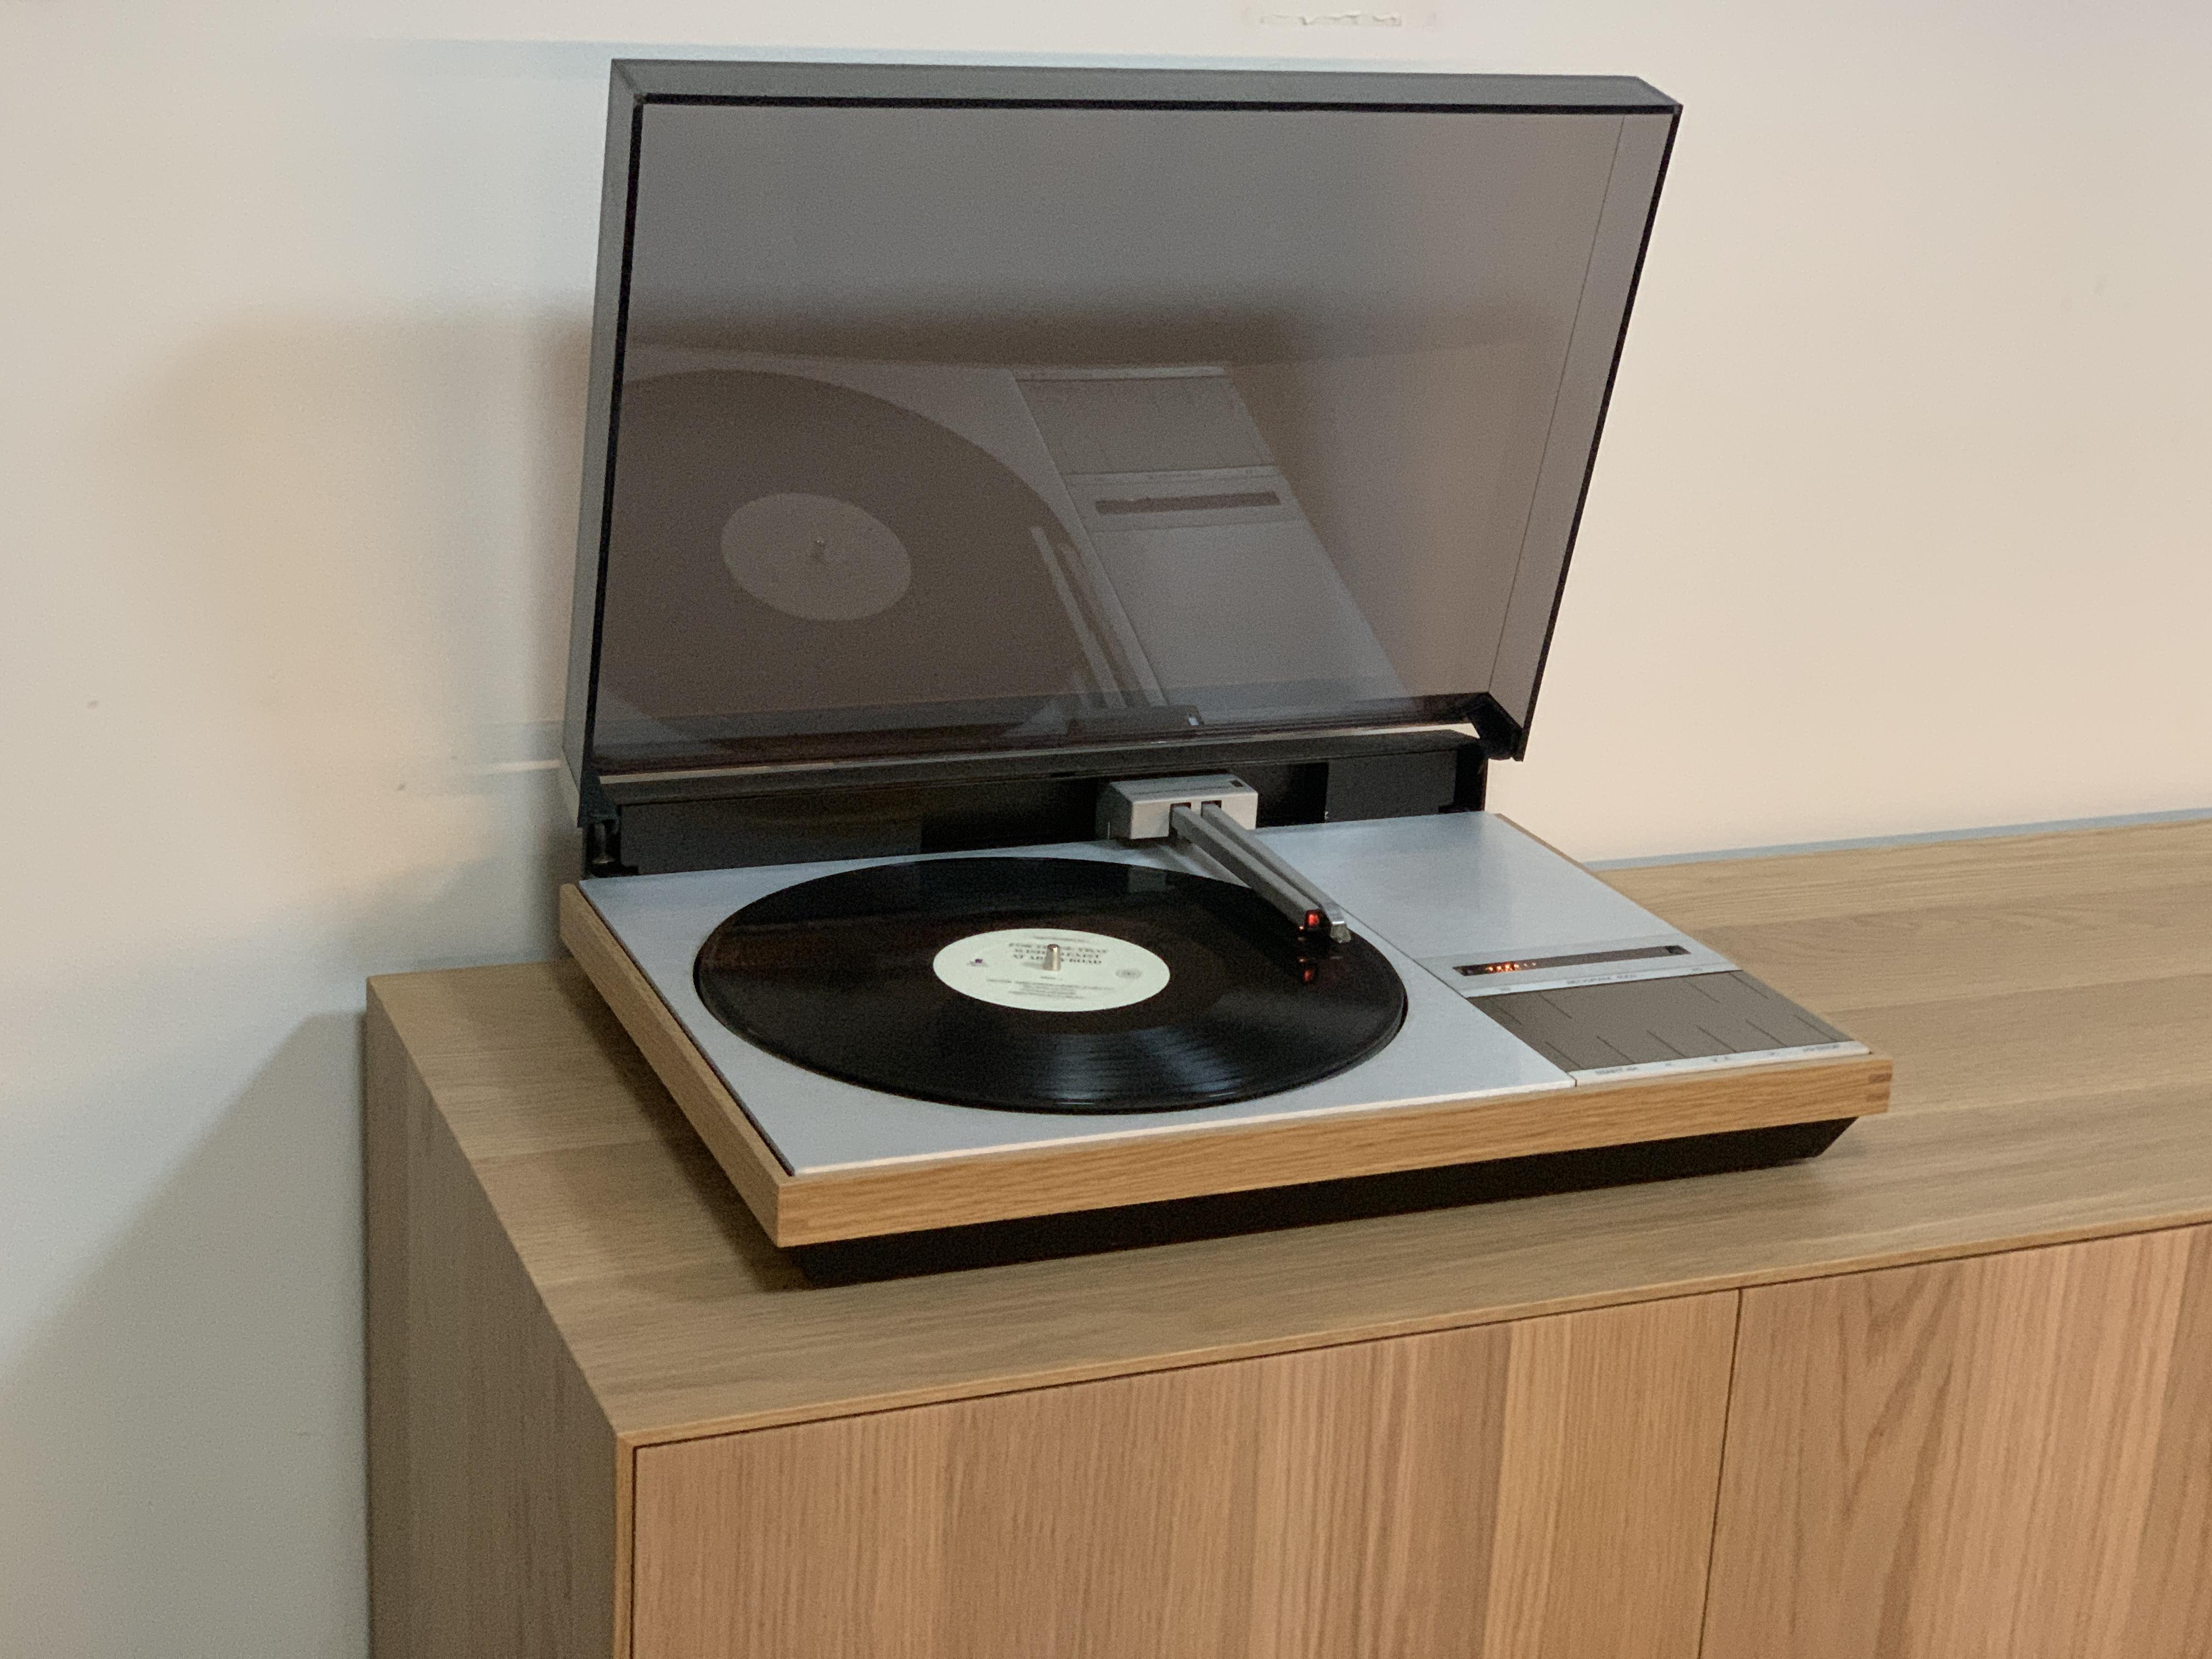
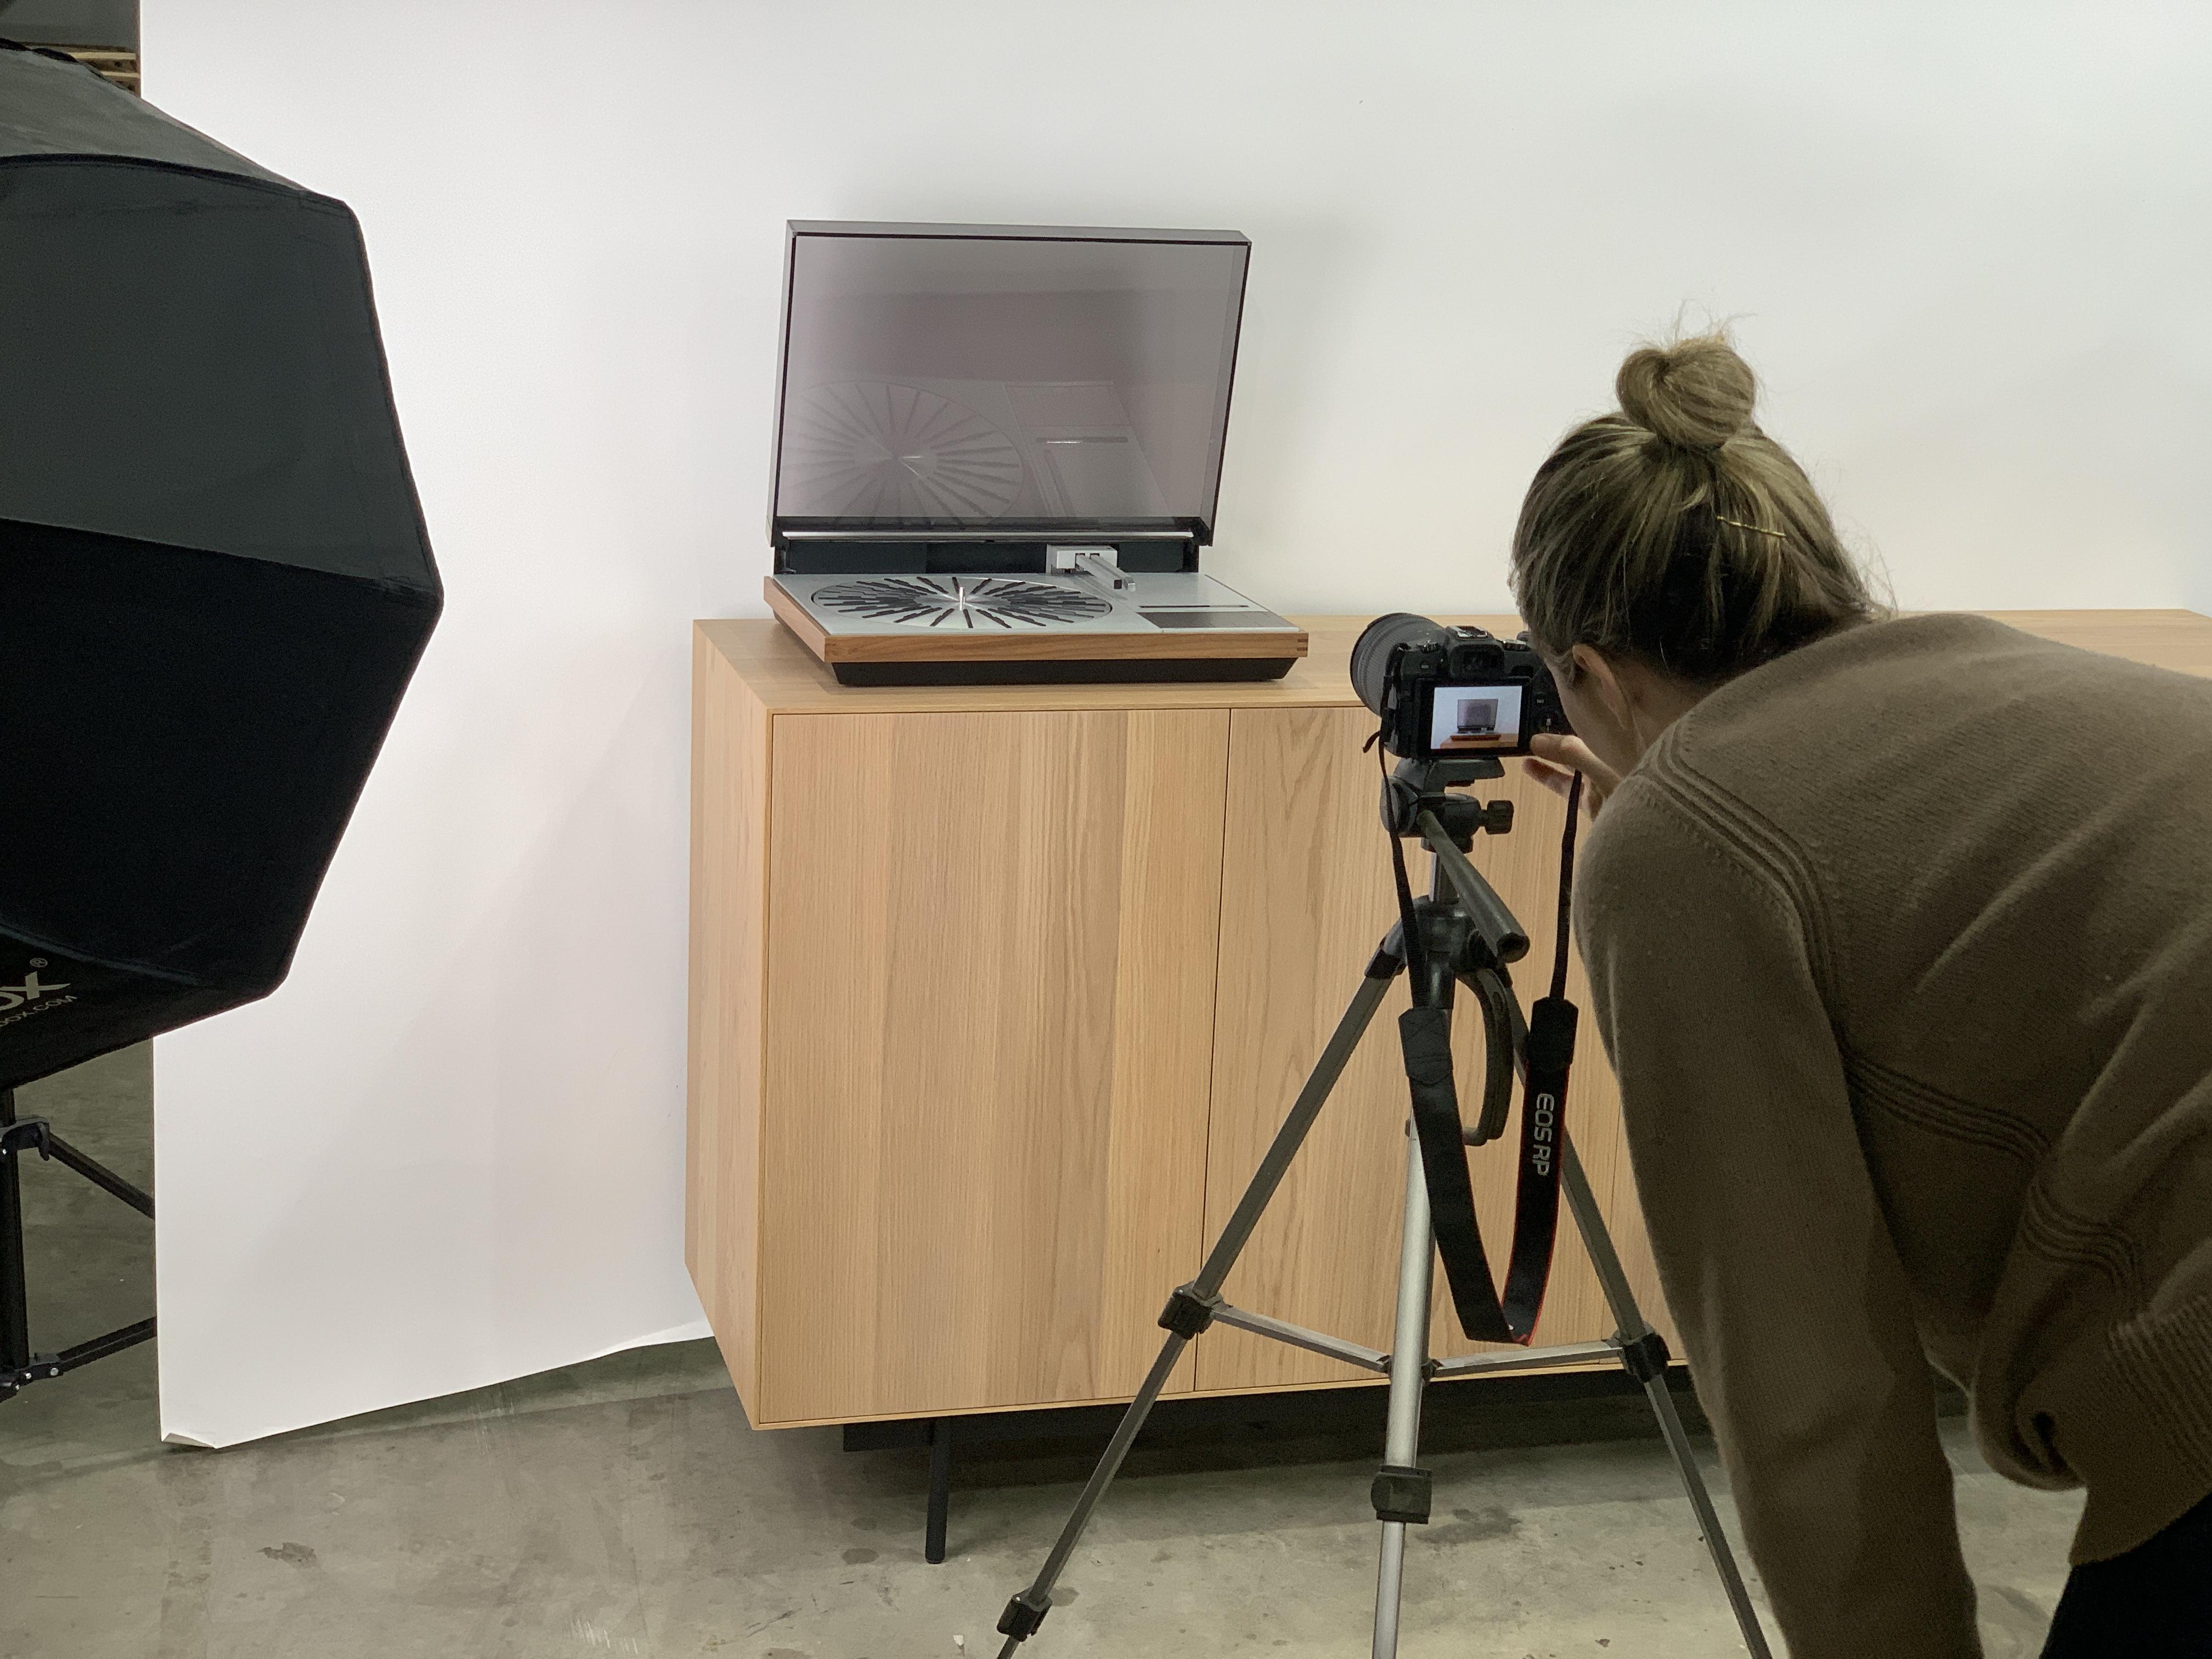
I didn’t end up taking any good photos of the cabinet fully finished, but here is a photo of it in the background whilst we were photographing a bunch of Beogram 400X frames I’ve been making.
Now that it’s at home I can finally spin some records again and try out a MMC20CL stylus I bought a while back!
16 August 2024 at 14:21 #58344Silent admiration over here, Johan
Location: Netherlands
My B&O Icons:
17 August 2024 at 08:13 #58377hcraig244
SILVER MemberBeautiful cabinet work….and attention to detail cosmetically…..I would have liked to see/hear more about the rest of the restoration work both electrically and mechanically, I’m imagining it will have been extensive considering the condition of the cabinet when it came to you…please detail the process you followed for this for our continued entertainment ;¬)
Craig
17 August 2024 at 22:27 #58410ChristianHak
BRONZE MemberThanks, Johan and Craig!
The current state of the Beogram that I am restoring is per my post a few months ago. I have repainted the chassis and made a new plinth and bought a whole bunch of new parts and electronics. I have restored the motor by pulling it apart and removing the oilite bearing and infusing them with oil under a vacuum. The next step will be to reassemble it and solder a new power cable on to see if it powers up. If it powers up I will solder on a new line out cable and see if it can send a signal. Then I will start replacing components one by one. I have my doubts that it will turn on but we will see!
The Beogram you see in the above photo is another one I have. I got incredibly lucky and found one that had been with the original owner since new. It was in excellent original condition and is still working. I don’t want to touch it (other than replace the plinth) as I want to keep in in as original condition as possible.
Will keep you all updated when I continue on the restoration journey.
26 August 2024 at 22:25 #58629Markus Summerer
BRONZE MemberI just bought a pretty run down looking 4002 online and am following your restoration journey with big interest. As I understand you are located close by and I am very interested in your plinths which are looking fantastic! I tried to DM you but it seem I have to become a silver member to do this? Or is there another way we can connect?
Attachments:
You must be logged in to view attached files.26 August 2024 at 23:48 #58631ChristianHak
BRONZE MemberI just bought a pretty run down looking 4002 online and am following your restoration journey with big interest. As I understand you are located close by and I am very interested in your plinths which are looking fantastic! I tried to DM you but it seem I have to become a silver member to do this? Or is there another way we can connect?
Flick me an email at christianhakansson@live.com to organise a meet up
1 September 2024 at 03:35 #58783ChristianHak
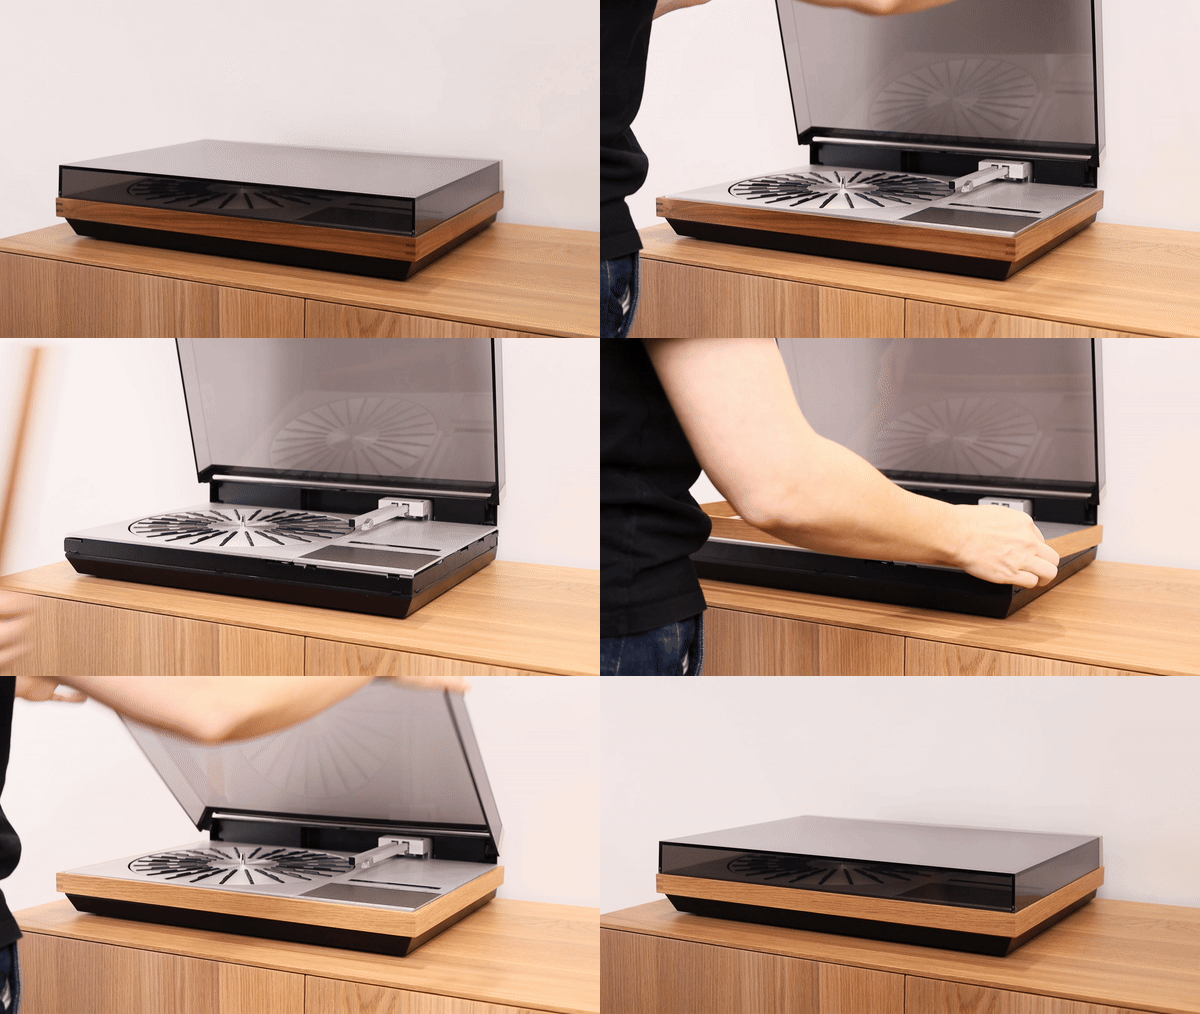
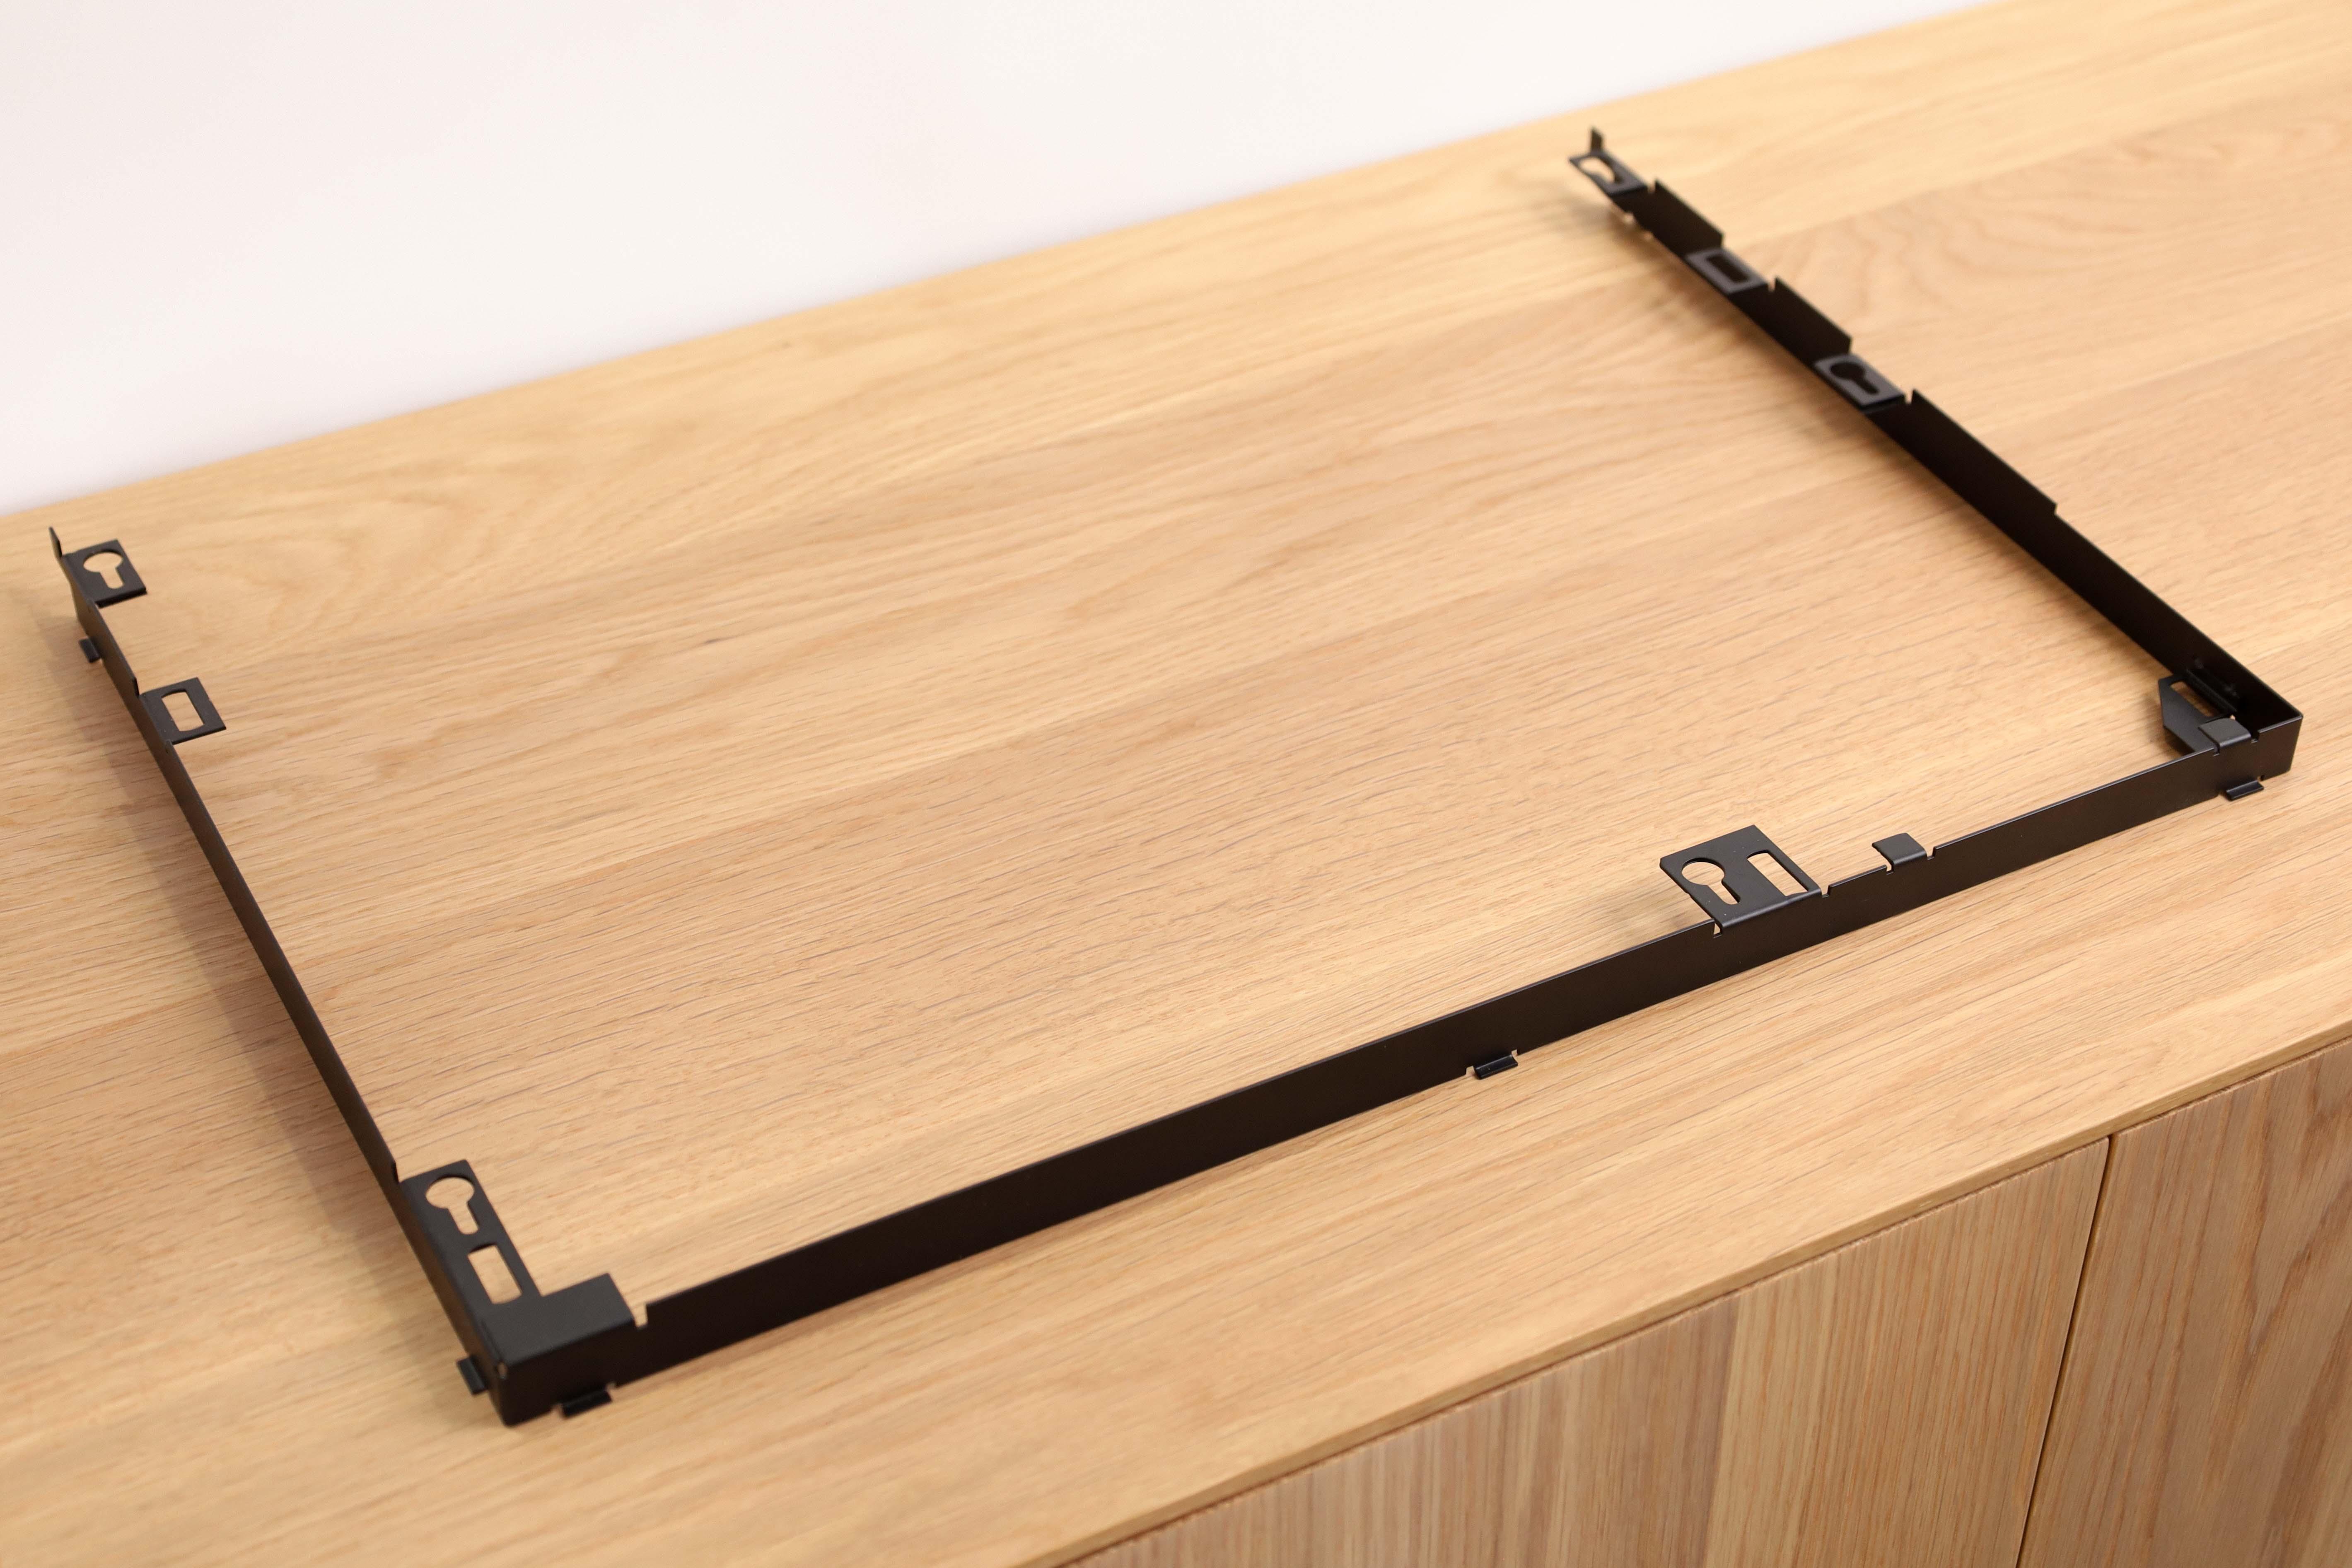
BRONZE MemberSo I got side tracked again. I have been making a bunch of new Beogram frames for people around the world lately. Some people were getting frustrated that they had to reuse their original metal fixtures. So I decided to manufacture some new ones.
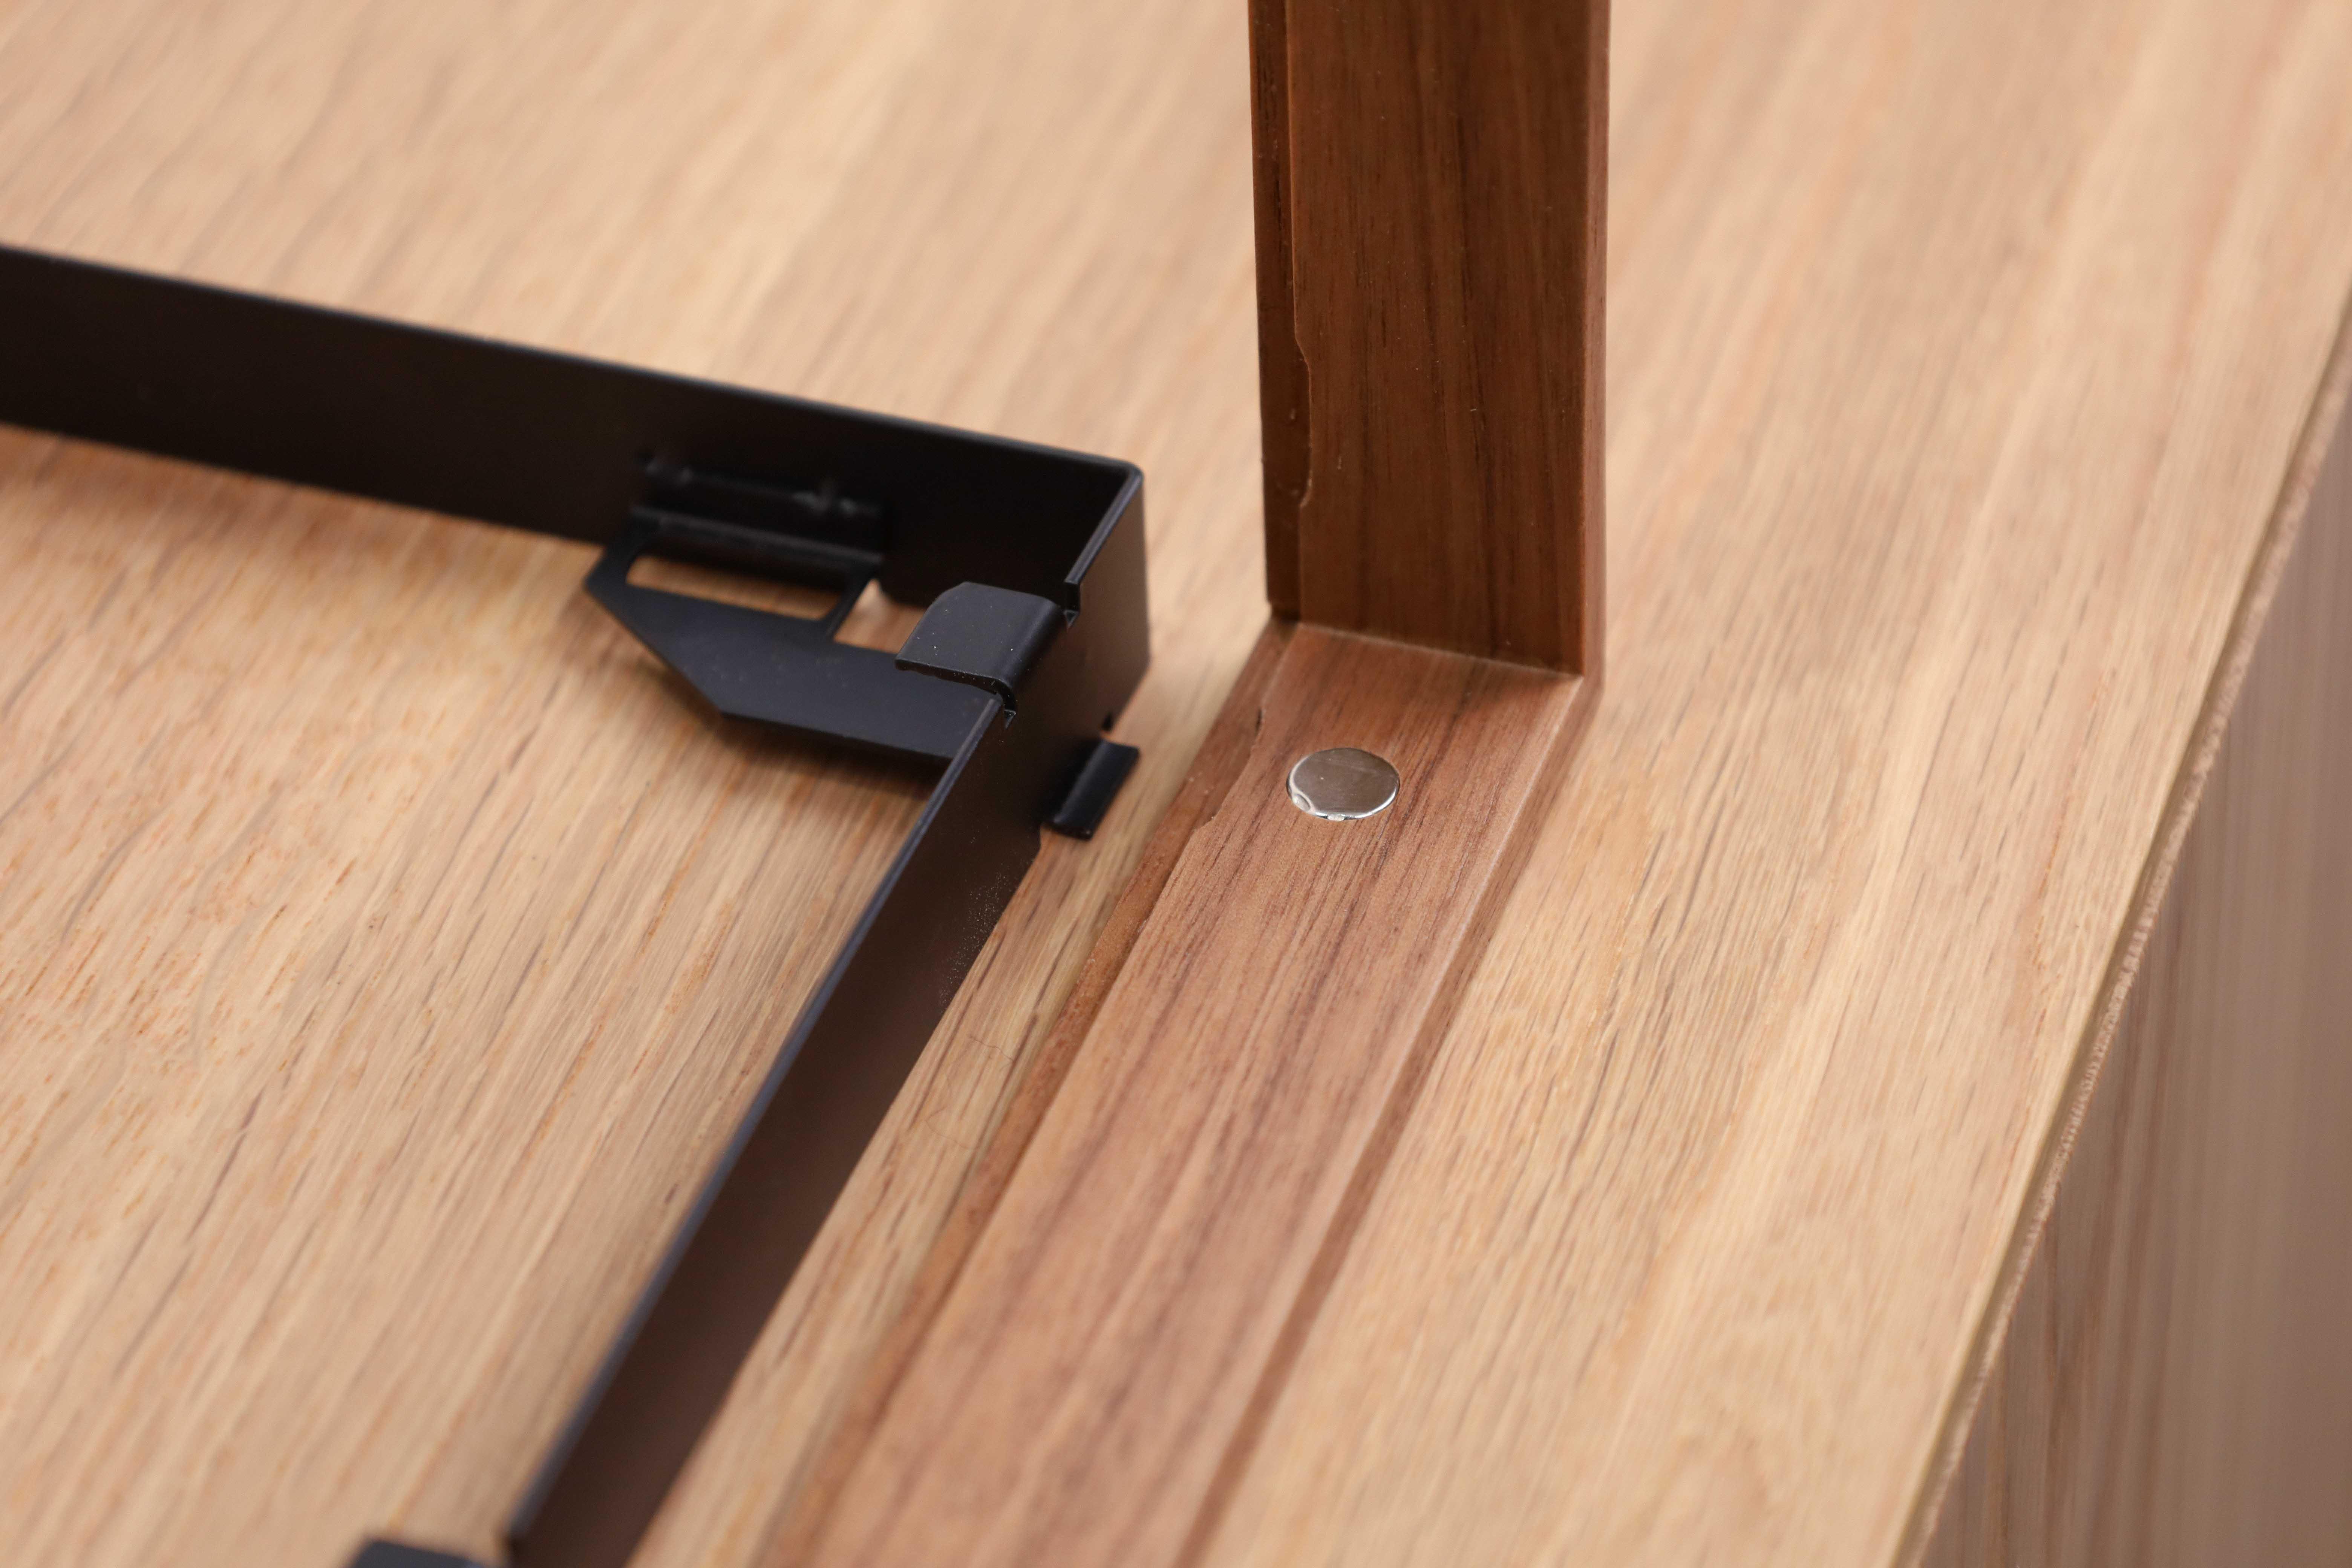
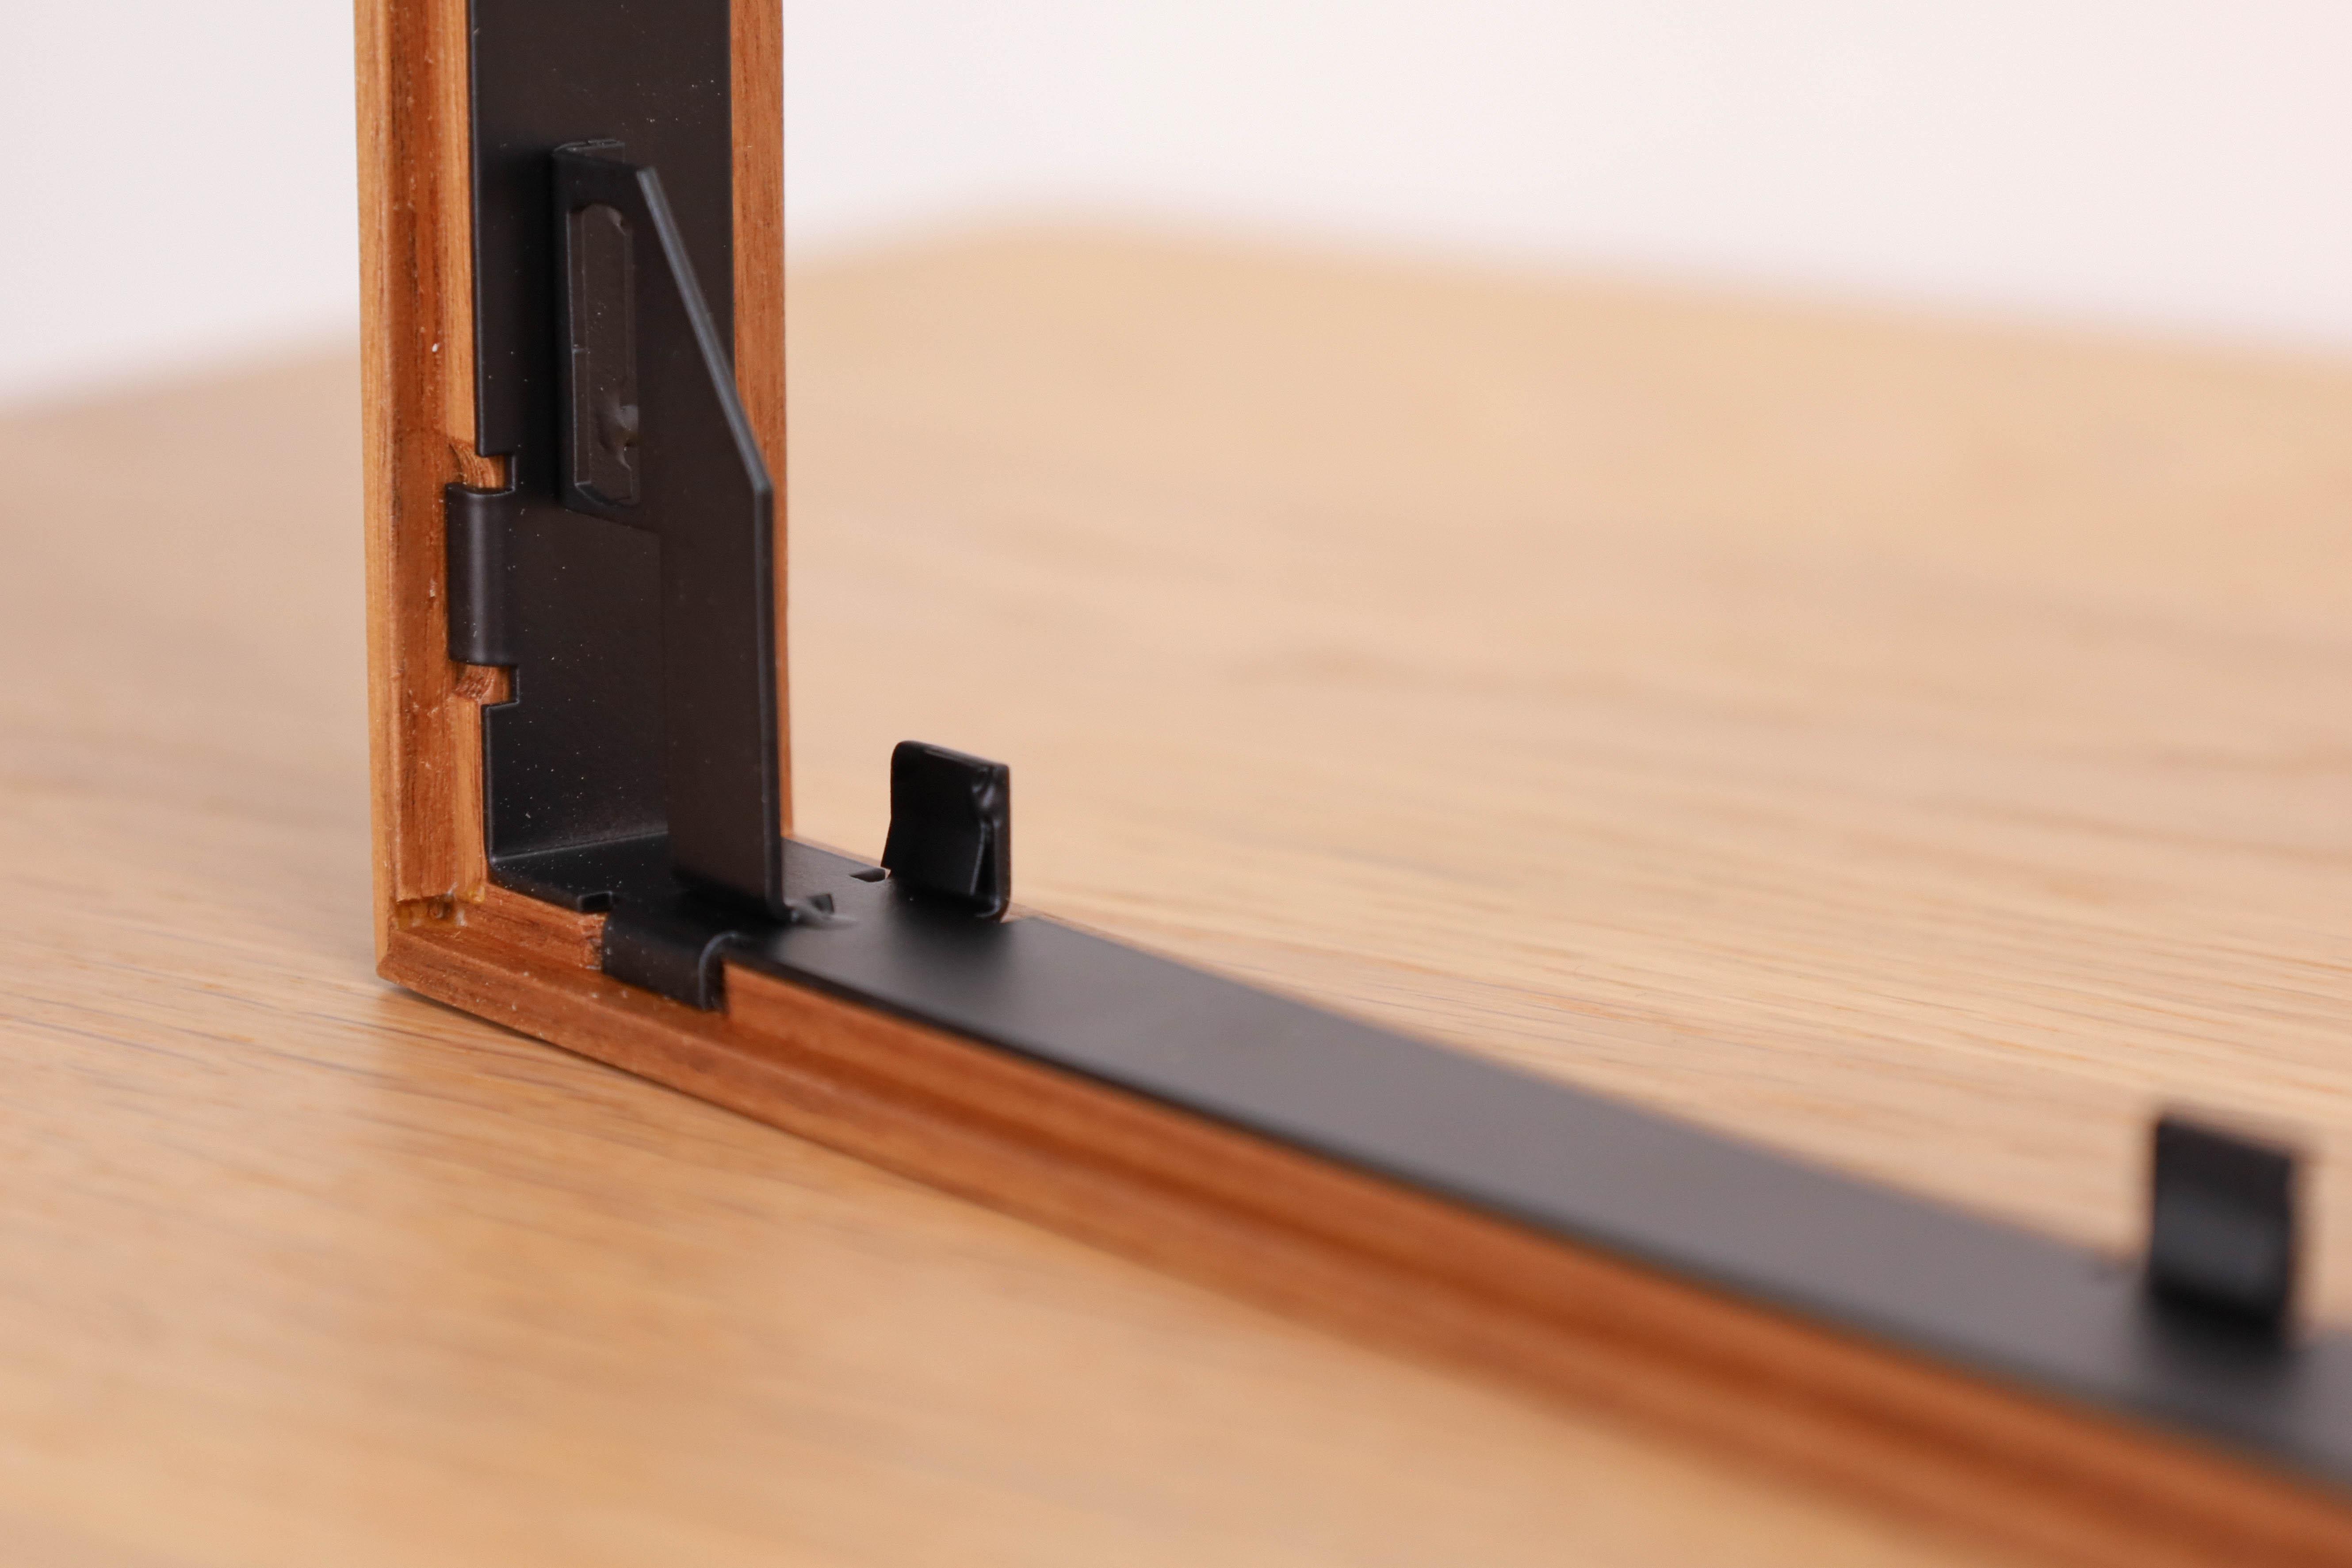
The idea behind it was that I know there are people out there that don’t want to buy a new frame as they would have to destroy their original frame to reuse the metal fixtures. And other people wanted to be able to swap their frames out with different timbers. As such, I remade the metal fixtures with a few slight differences from the originals.
First of all, they are in one piece instead of two. This was a necessity if I were to be able to have ‘swappable’ frames.
Second, the metal fixtures have little flanges on the outside which match with corresponding notches on the timber frame. This allows for alignment, as well as to stop the weight of the dust hood pressing down on the timber to dislodge the frame.Lastly, I removed the little tabs at the ends of the metal fixture. This was a bit of a cost/benefit analysis and the extra complexity didn’t justify the cost. Most people’s original fixtures don’t even use these tabs to hold the ends of the frame close to the chassis.
It is worth noting that the swappable frames sit in place on the flanges and are held close to the metal fixture with small magnets. As such, this isn’t permanent and the frame will move if you pull it forward, lift it up etc. However, in day to day use, you generally don’t touch the timber frame so it isn’t an issue. I have been using my swappable frame for a month now with no issues.
It is also possible to glue the frame to the metal fixture. An added benefit over the original frames are the little flanges which will counteract the force of the dust hood pressing on the timber frame when closed.
Anyway, I made a little website for those who are interested.
https://christianhakansson.square.site/I’m open to any comments or feedback.
Here are some photos.
Attachments:
You must be logged in to view attached files. -
AuthorPosts
- You must be logged in to reply to this topic.


