






Home › Forums › Product Discussion & Questions › BeoGram › Adding wifi control to my Beogram RX2… sanity check my approach?
- This topic has 8 replies, 4 voices, and was last updated 2 months, 1 week ago by


-
AuthorPosts
-
27 July 2026 at 16:22 #124710
 BRONZE Member
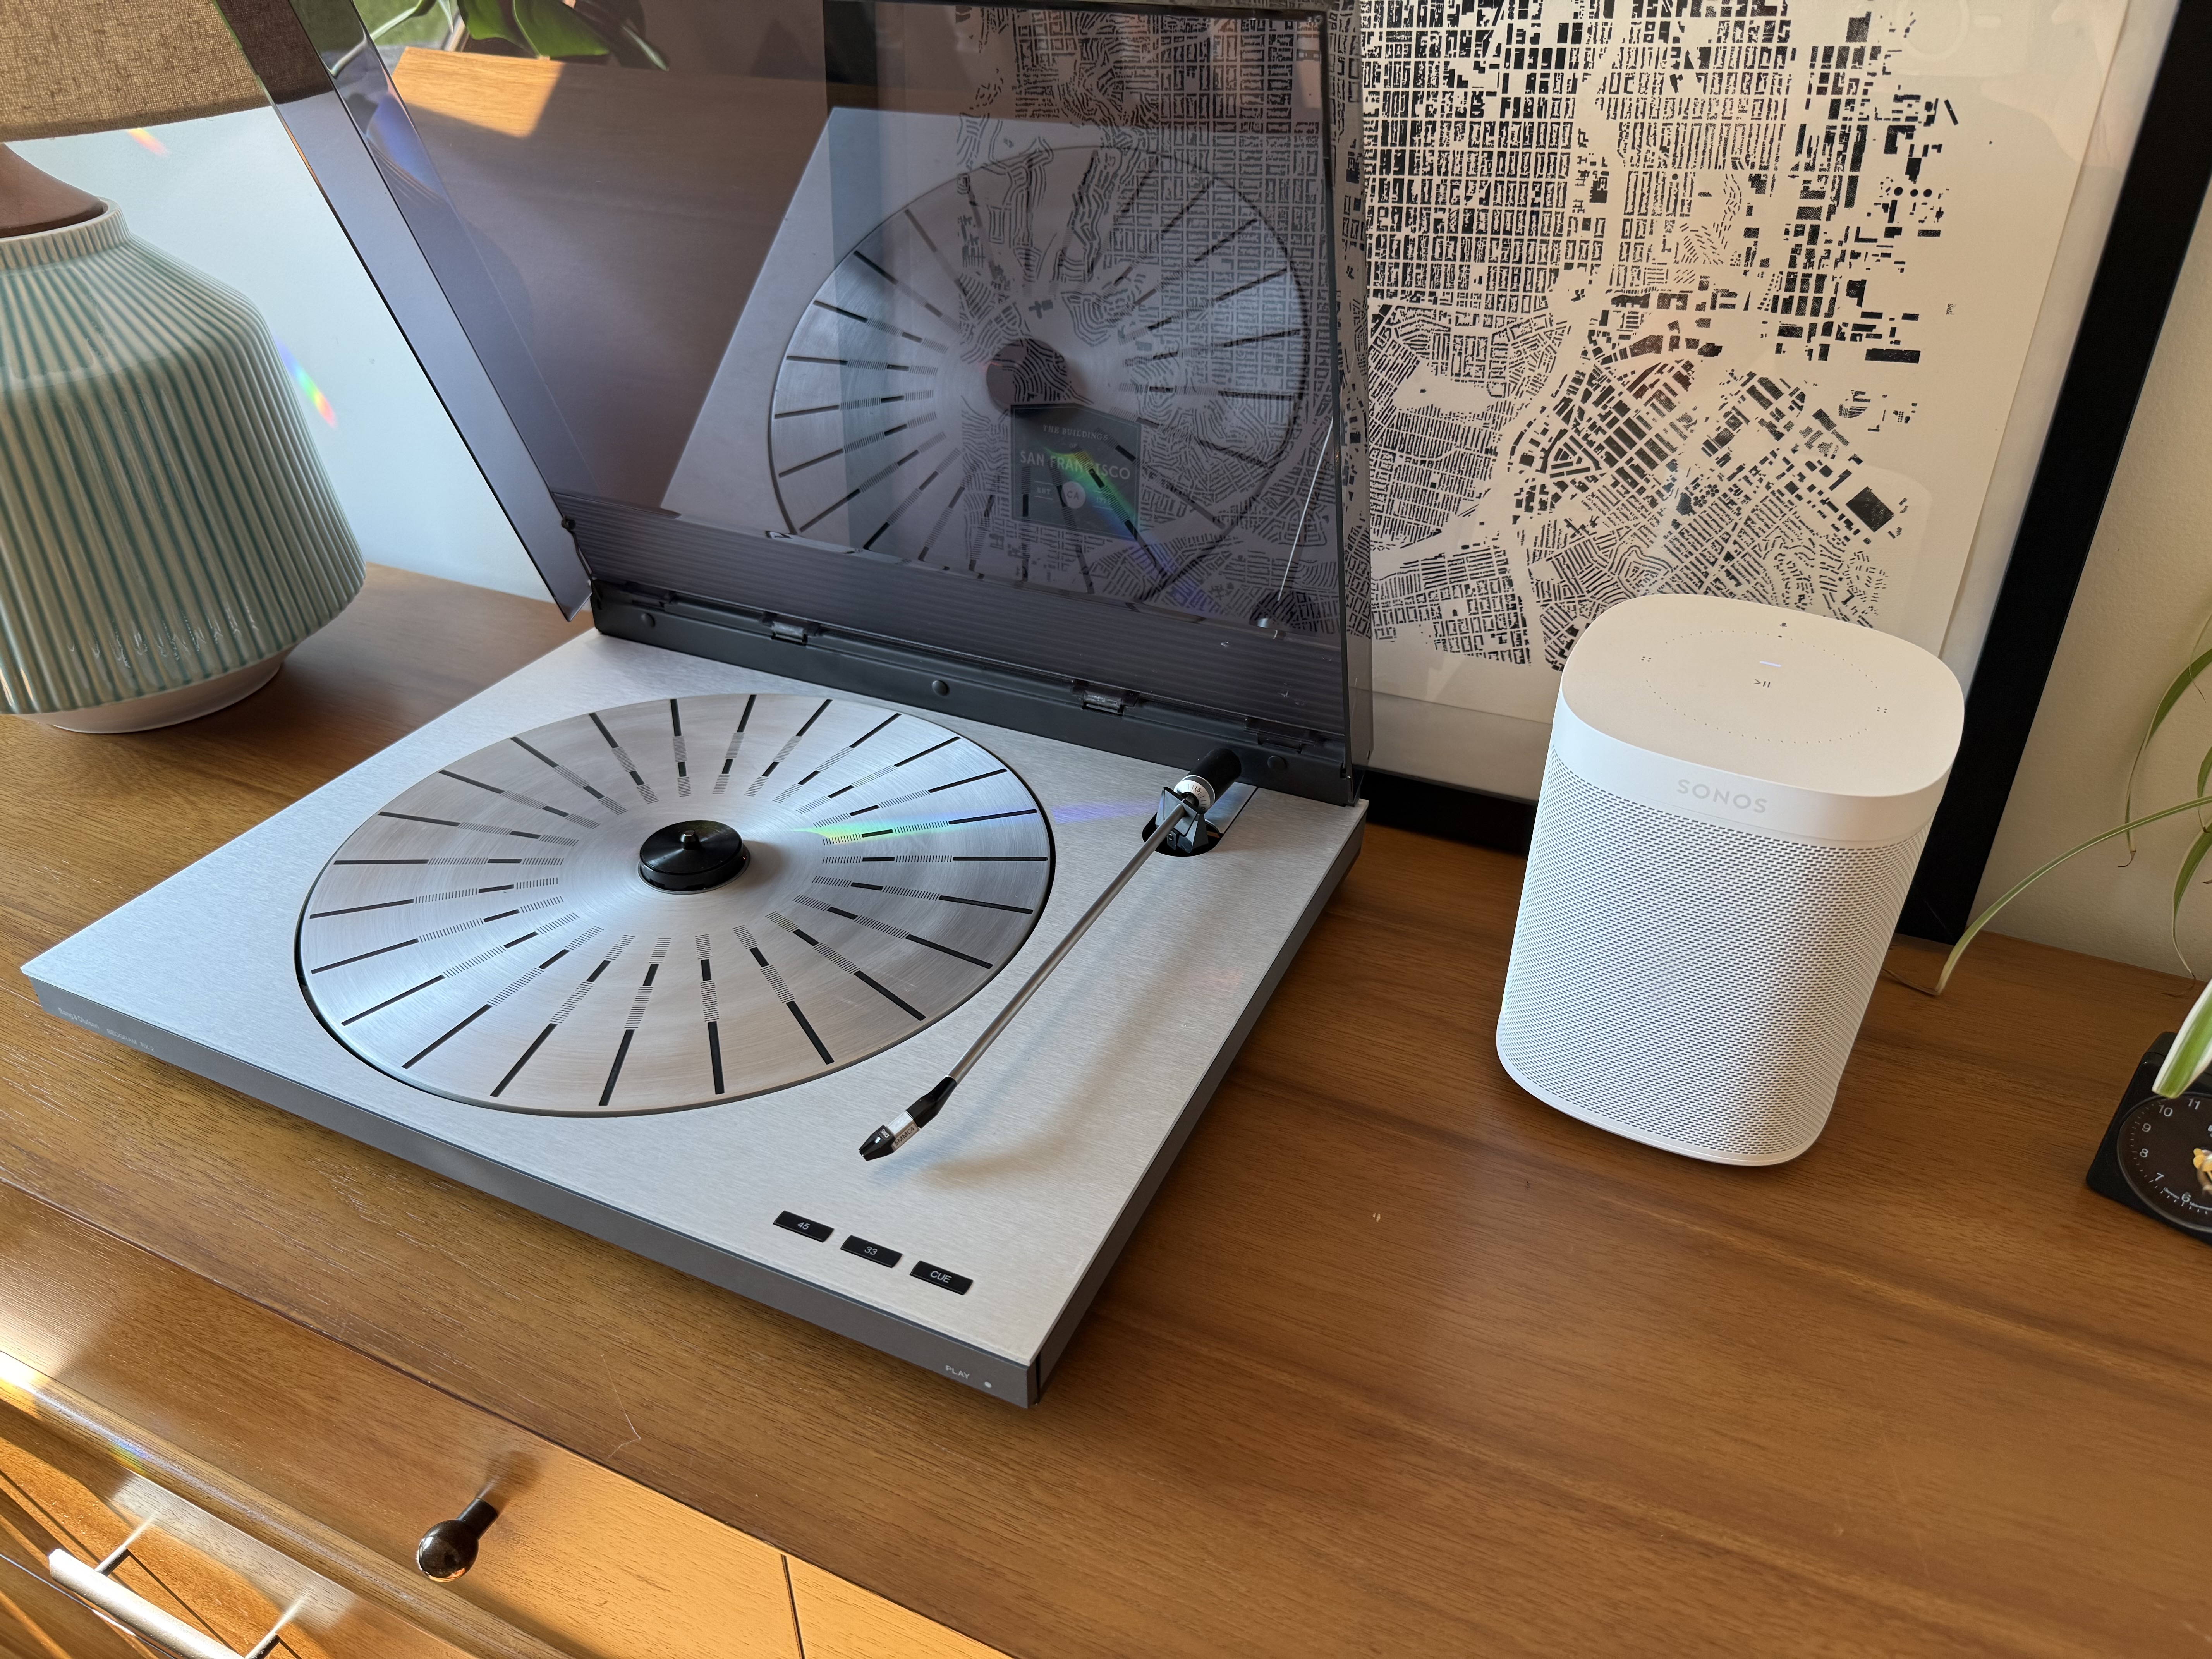
I found a beautiful Beogram RX2 on eBay last year, and have been using it with the handful of Sonos speakers throughout my house. It’s fun to be able to listen to a record outside, from the turntable in my office.
One thing that’s bugged me is that I can’t start the turntable from another room like I can with my other digital music sources. Likewise, if I pause the sonos to answer the phone or something, the record will continue to play through and will sometimes run out completely before I unpause. First world problems I know, but it gave me an idea…
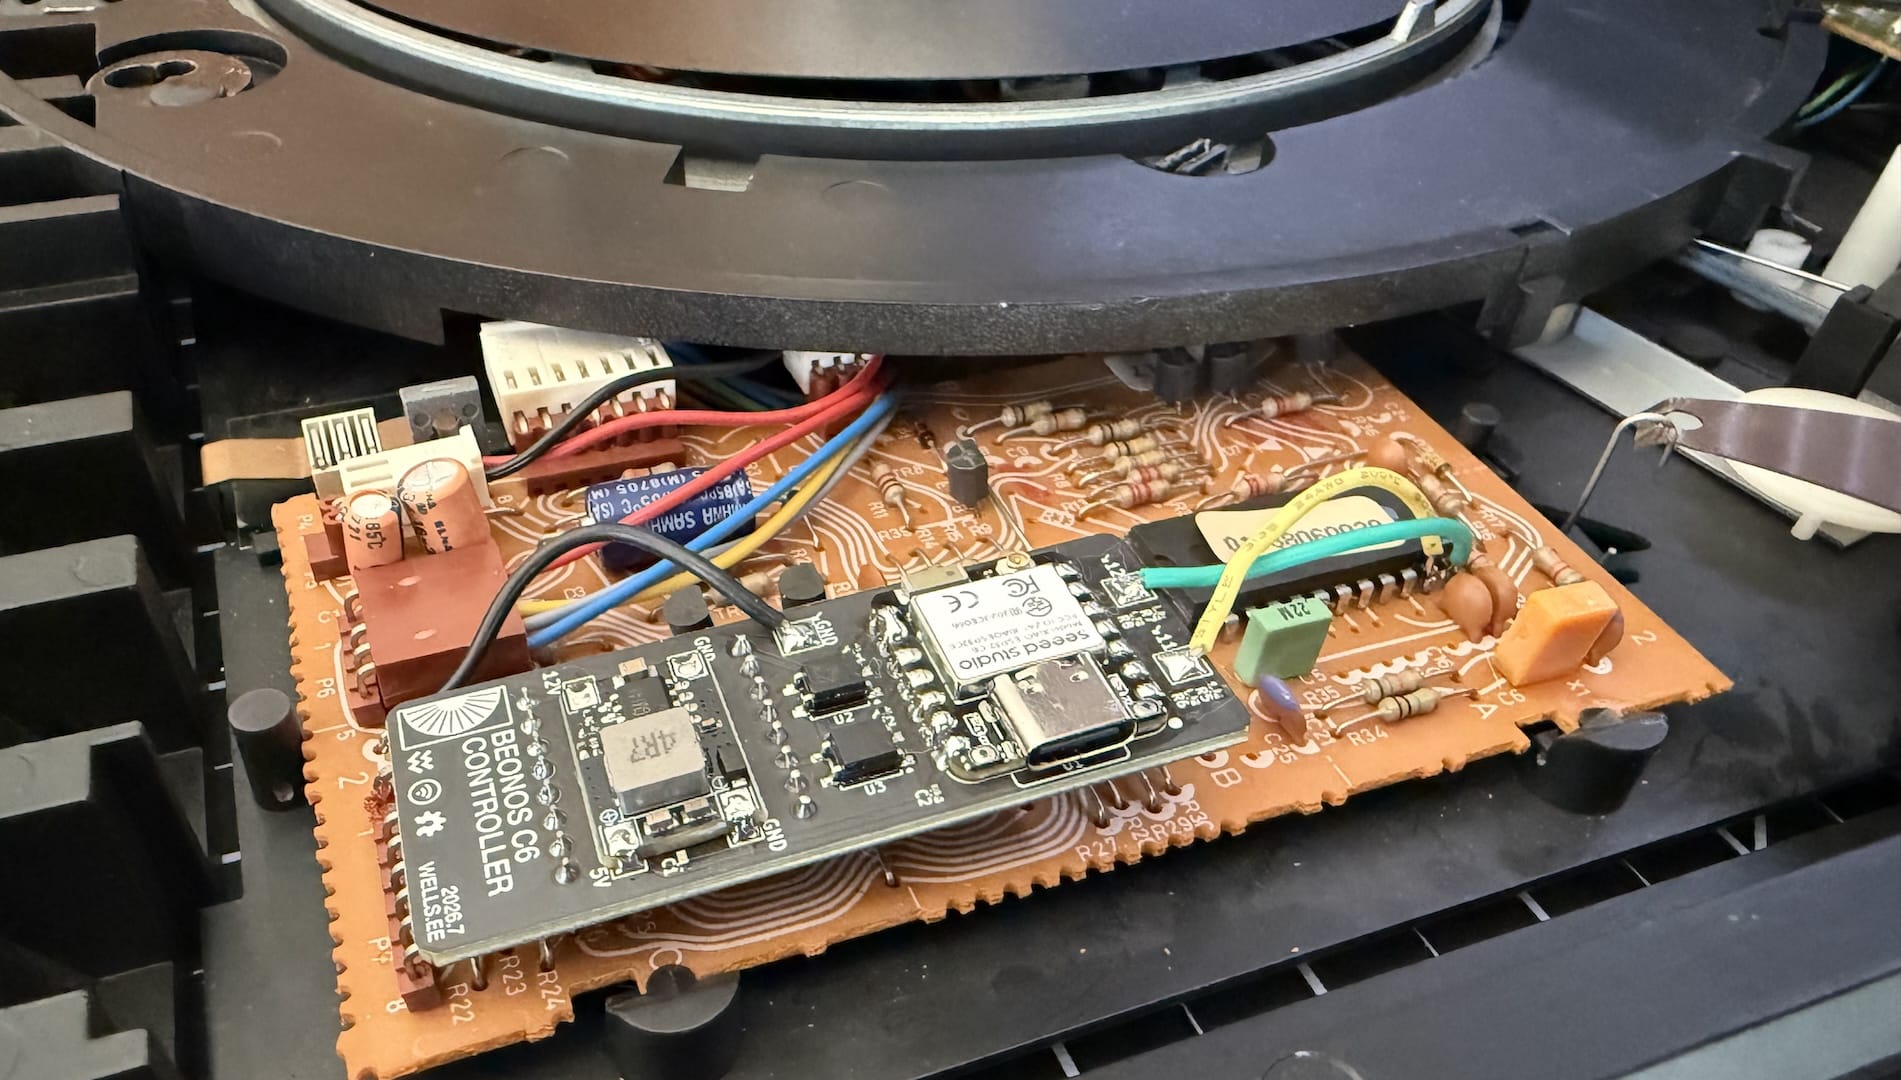
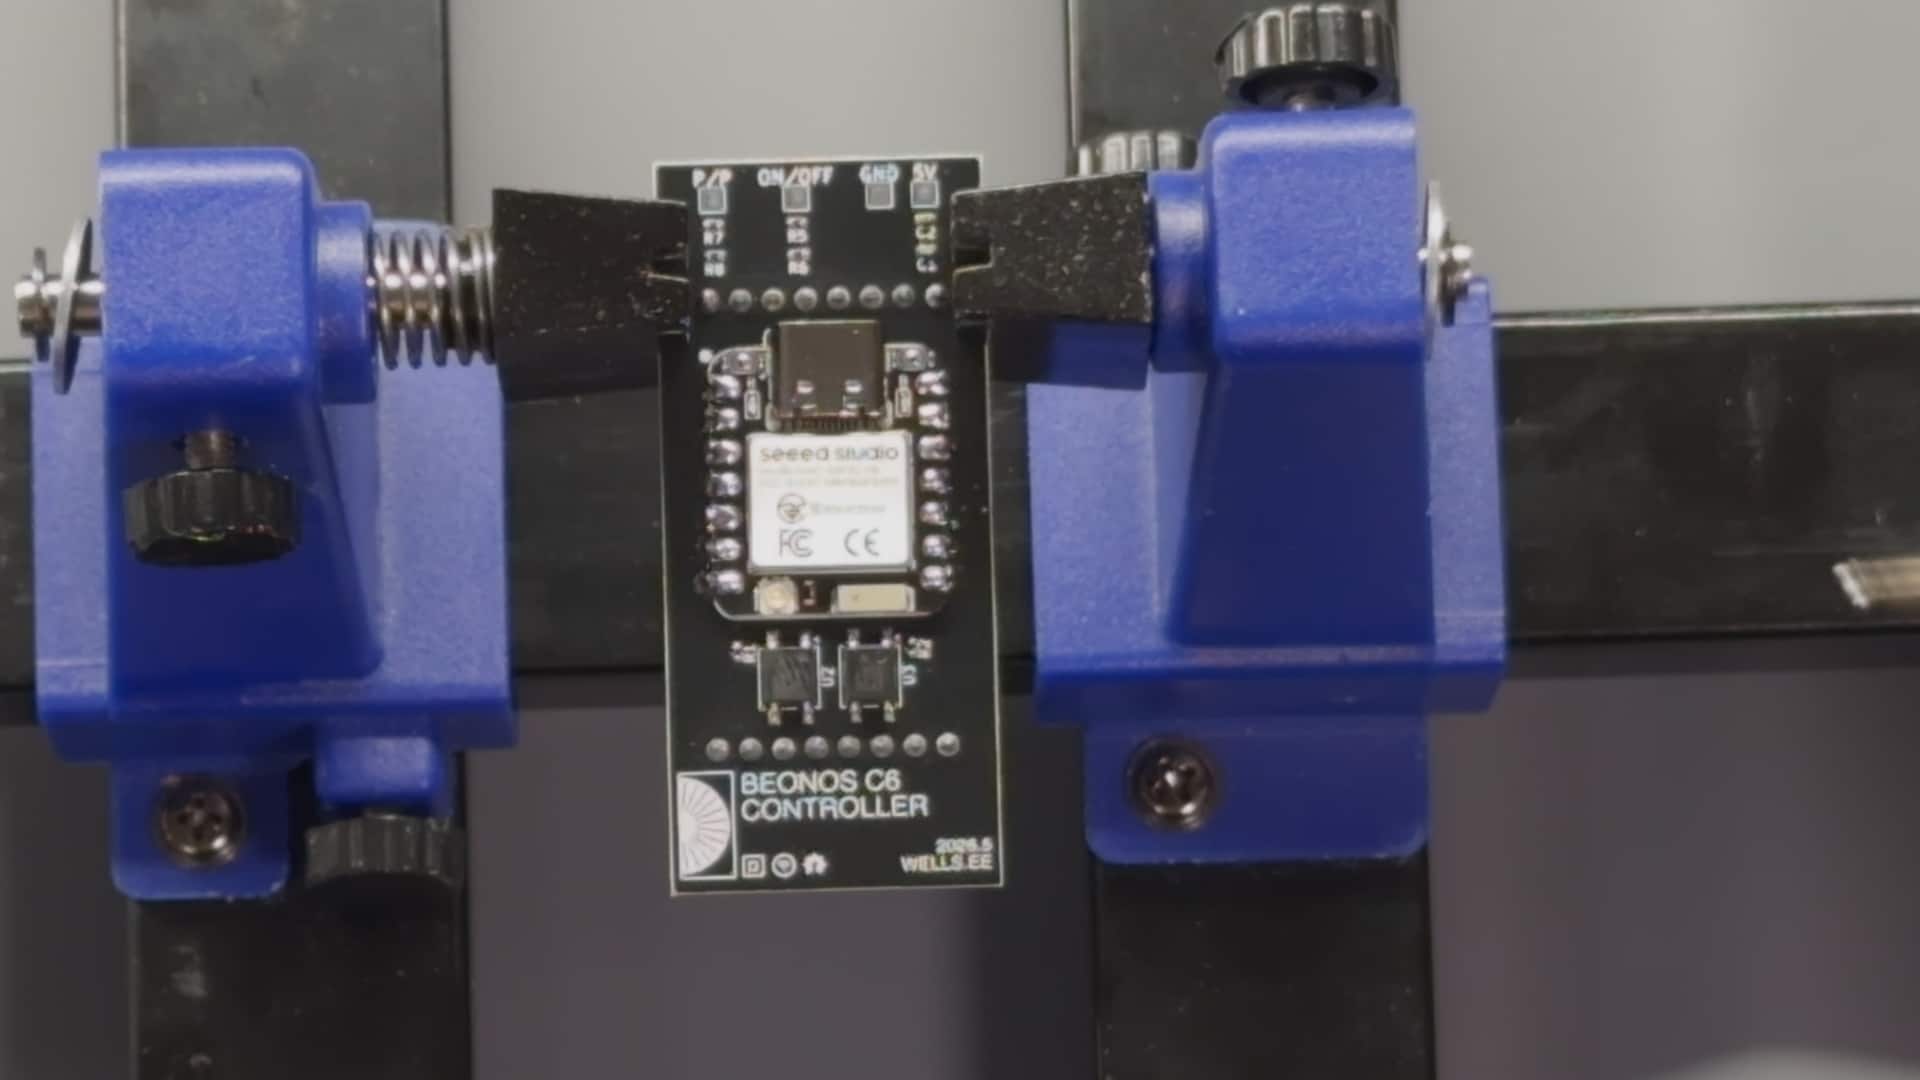
I set out to build a small add-in board that adds start/stop/pause control to the Beogram via a micro-sized wifi-connected board called an ESP32, as well as pass through the turntable’s current state to make it ‘smart’. I’m calling it “Beonos” (a lazy mashup of Beogram and Sonos… what, naming things is hard!)
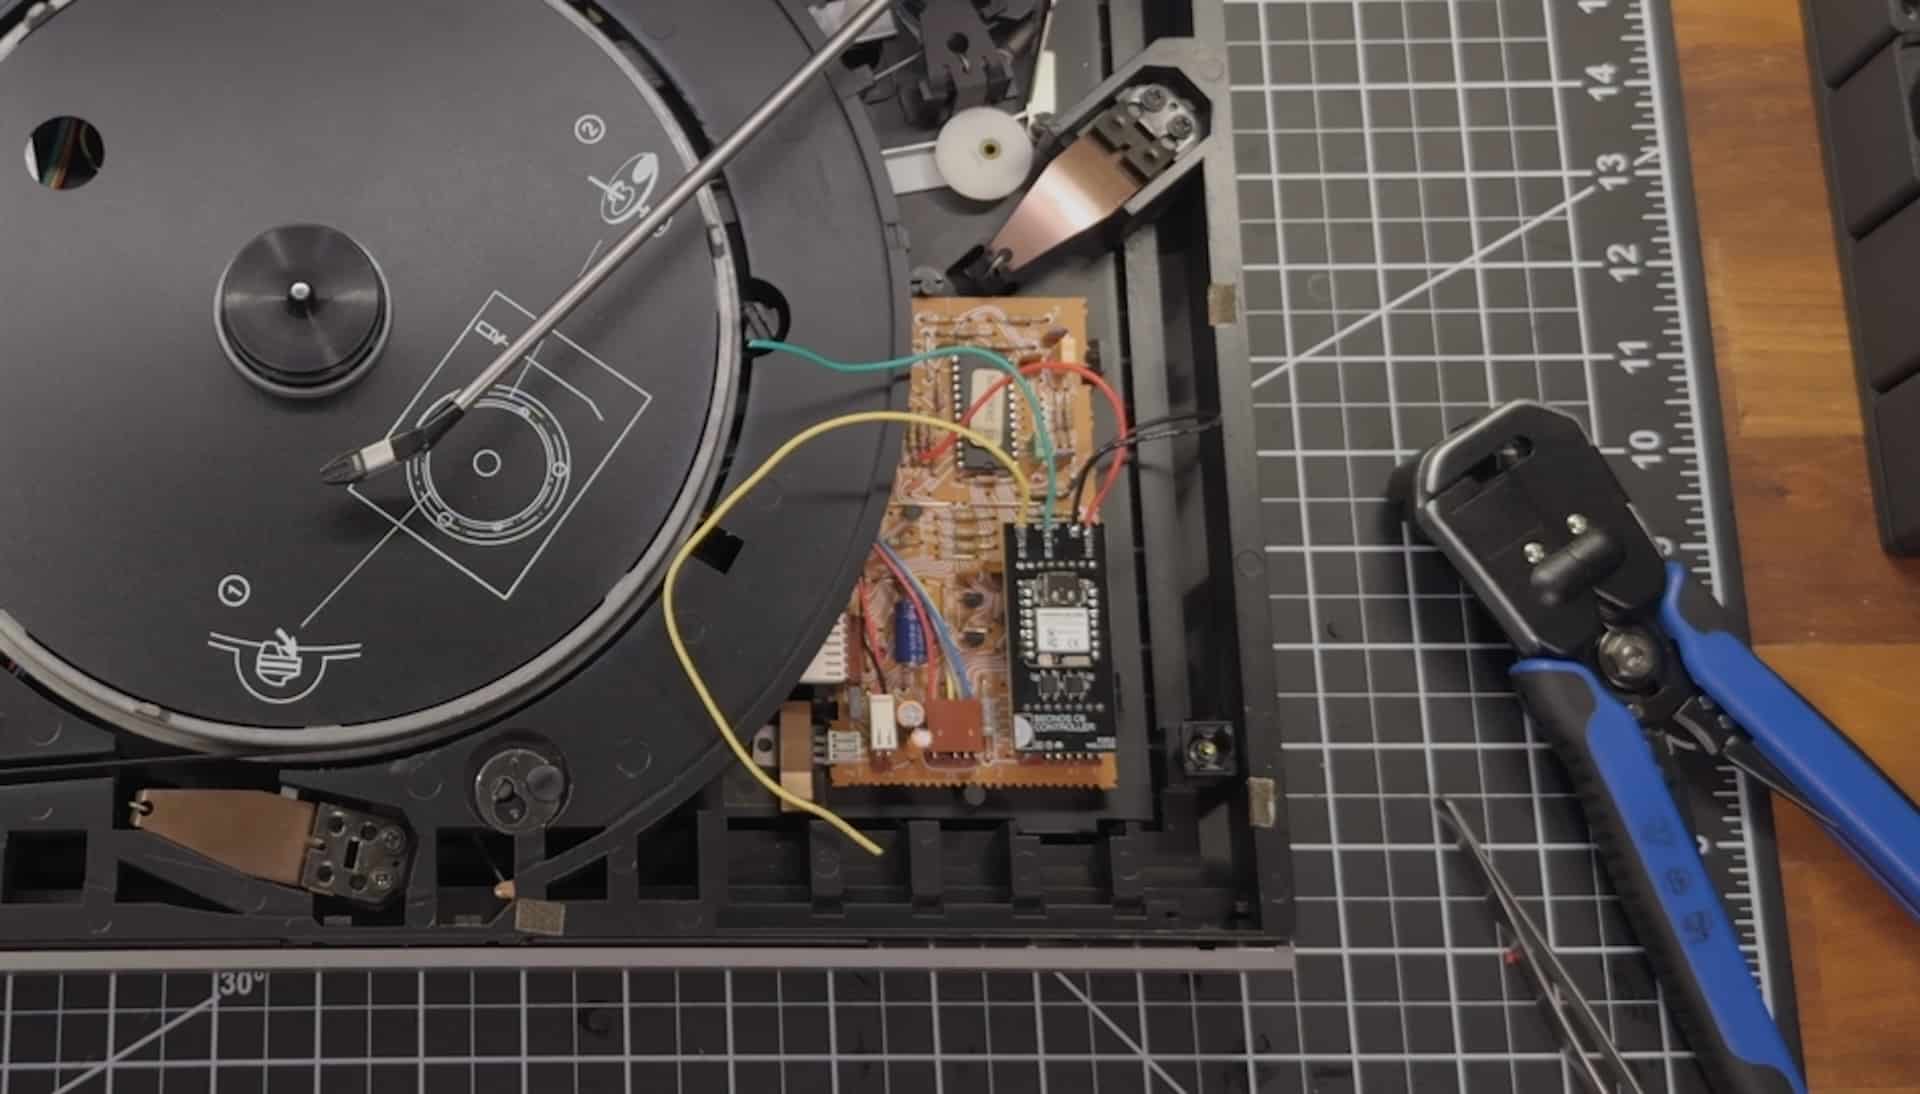
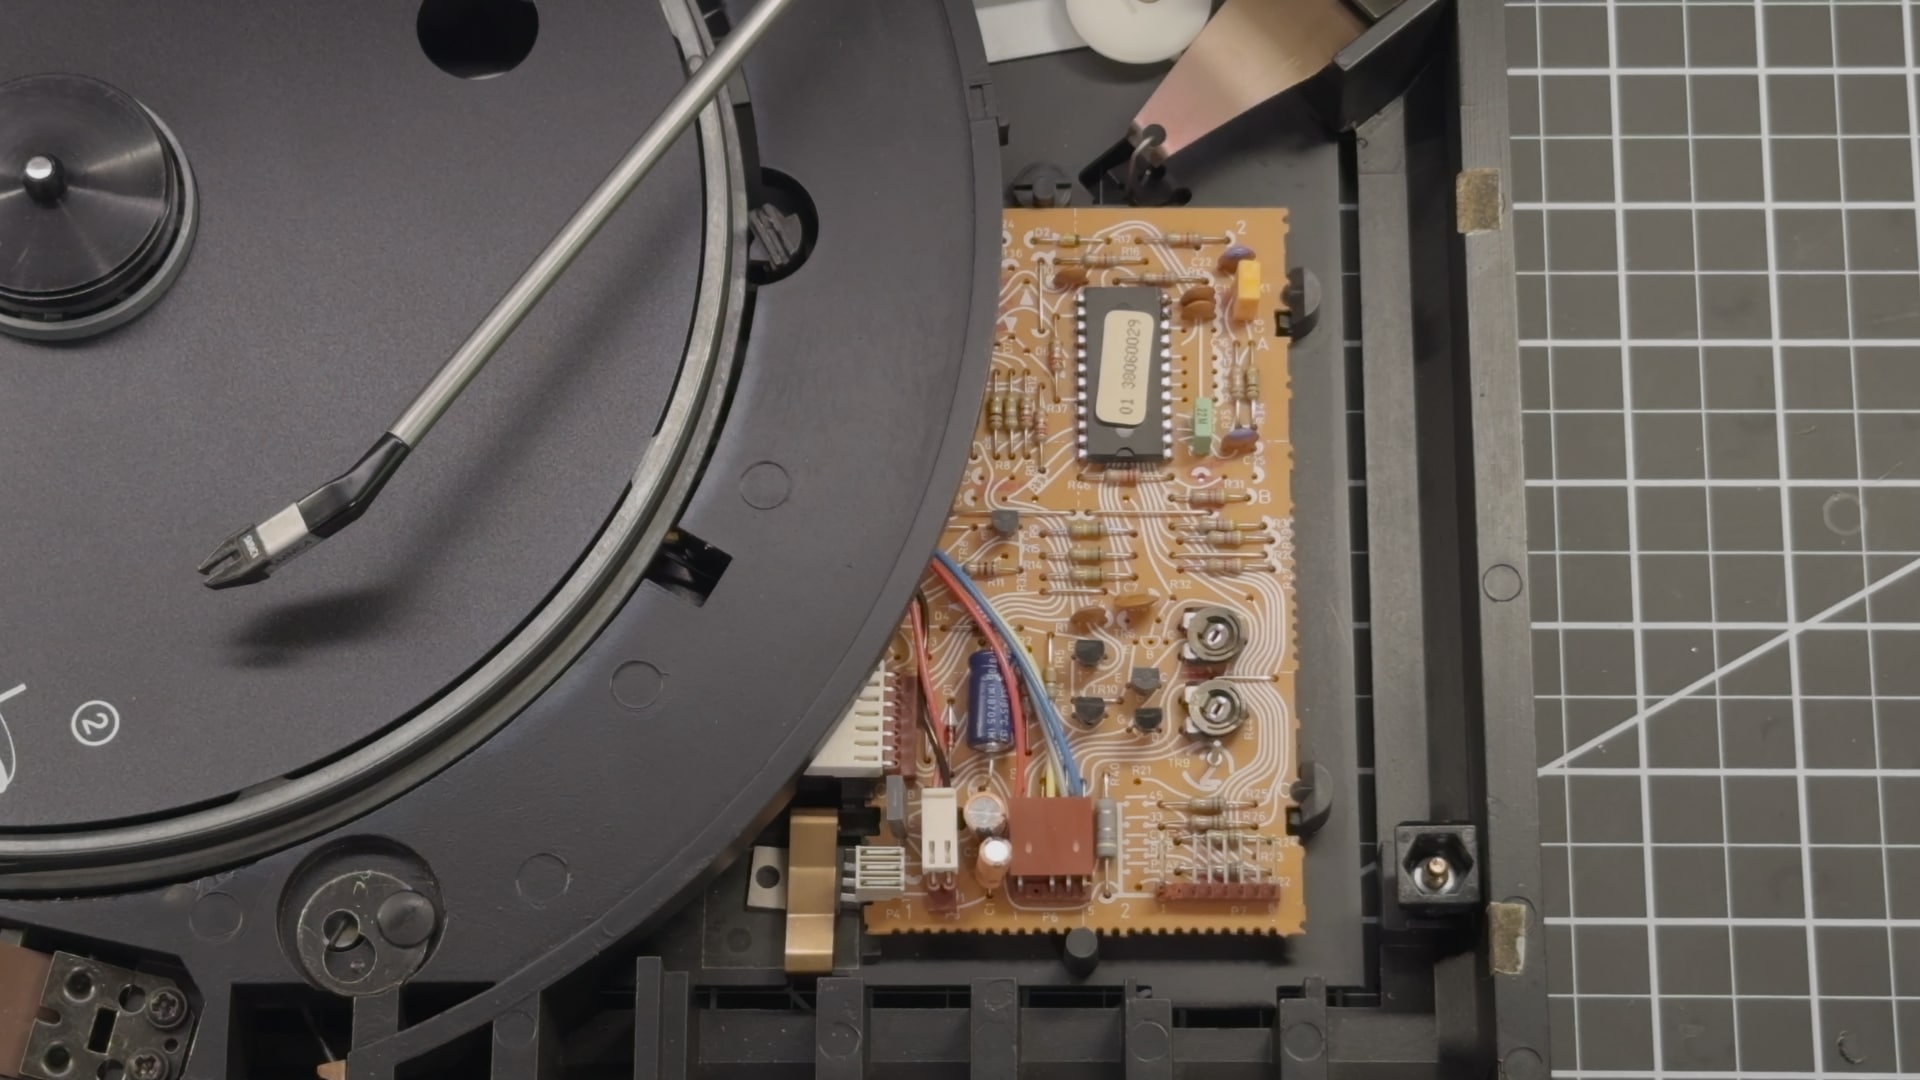
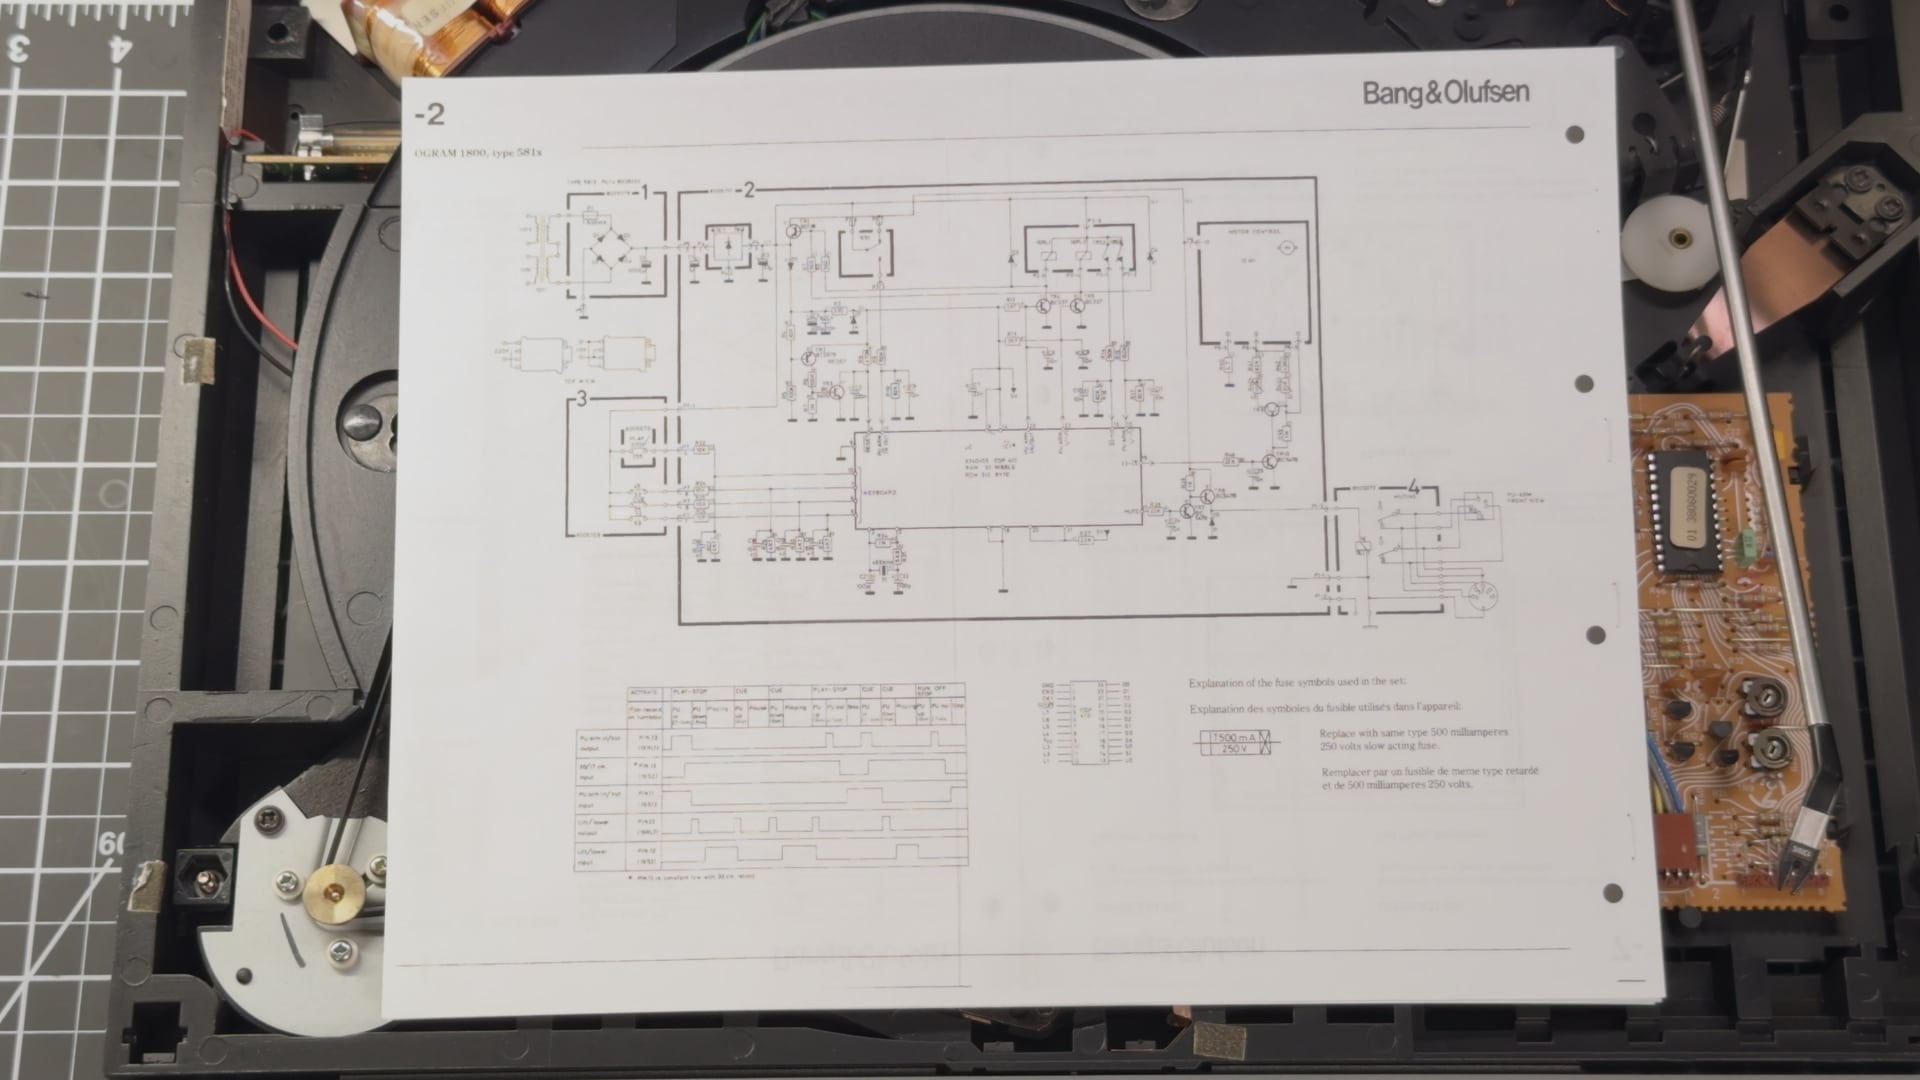
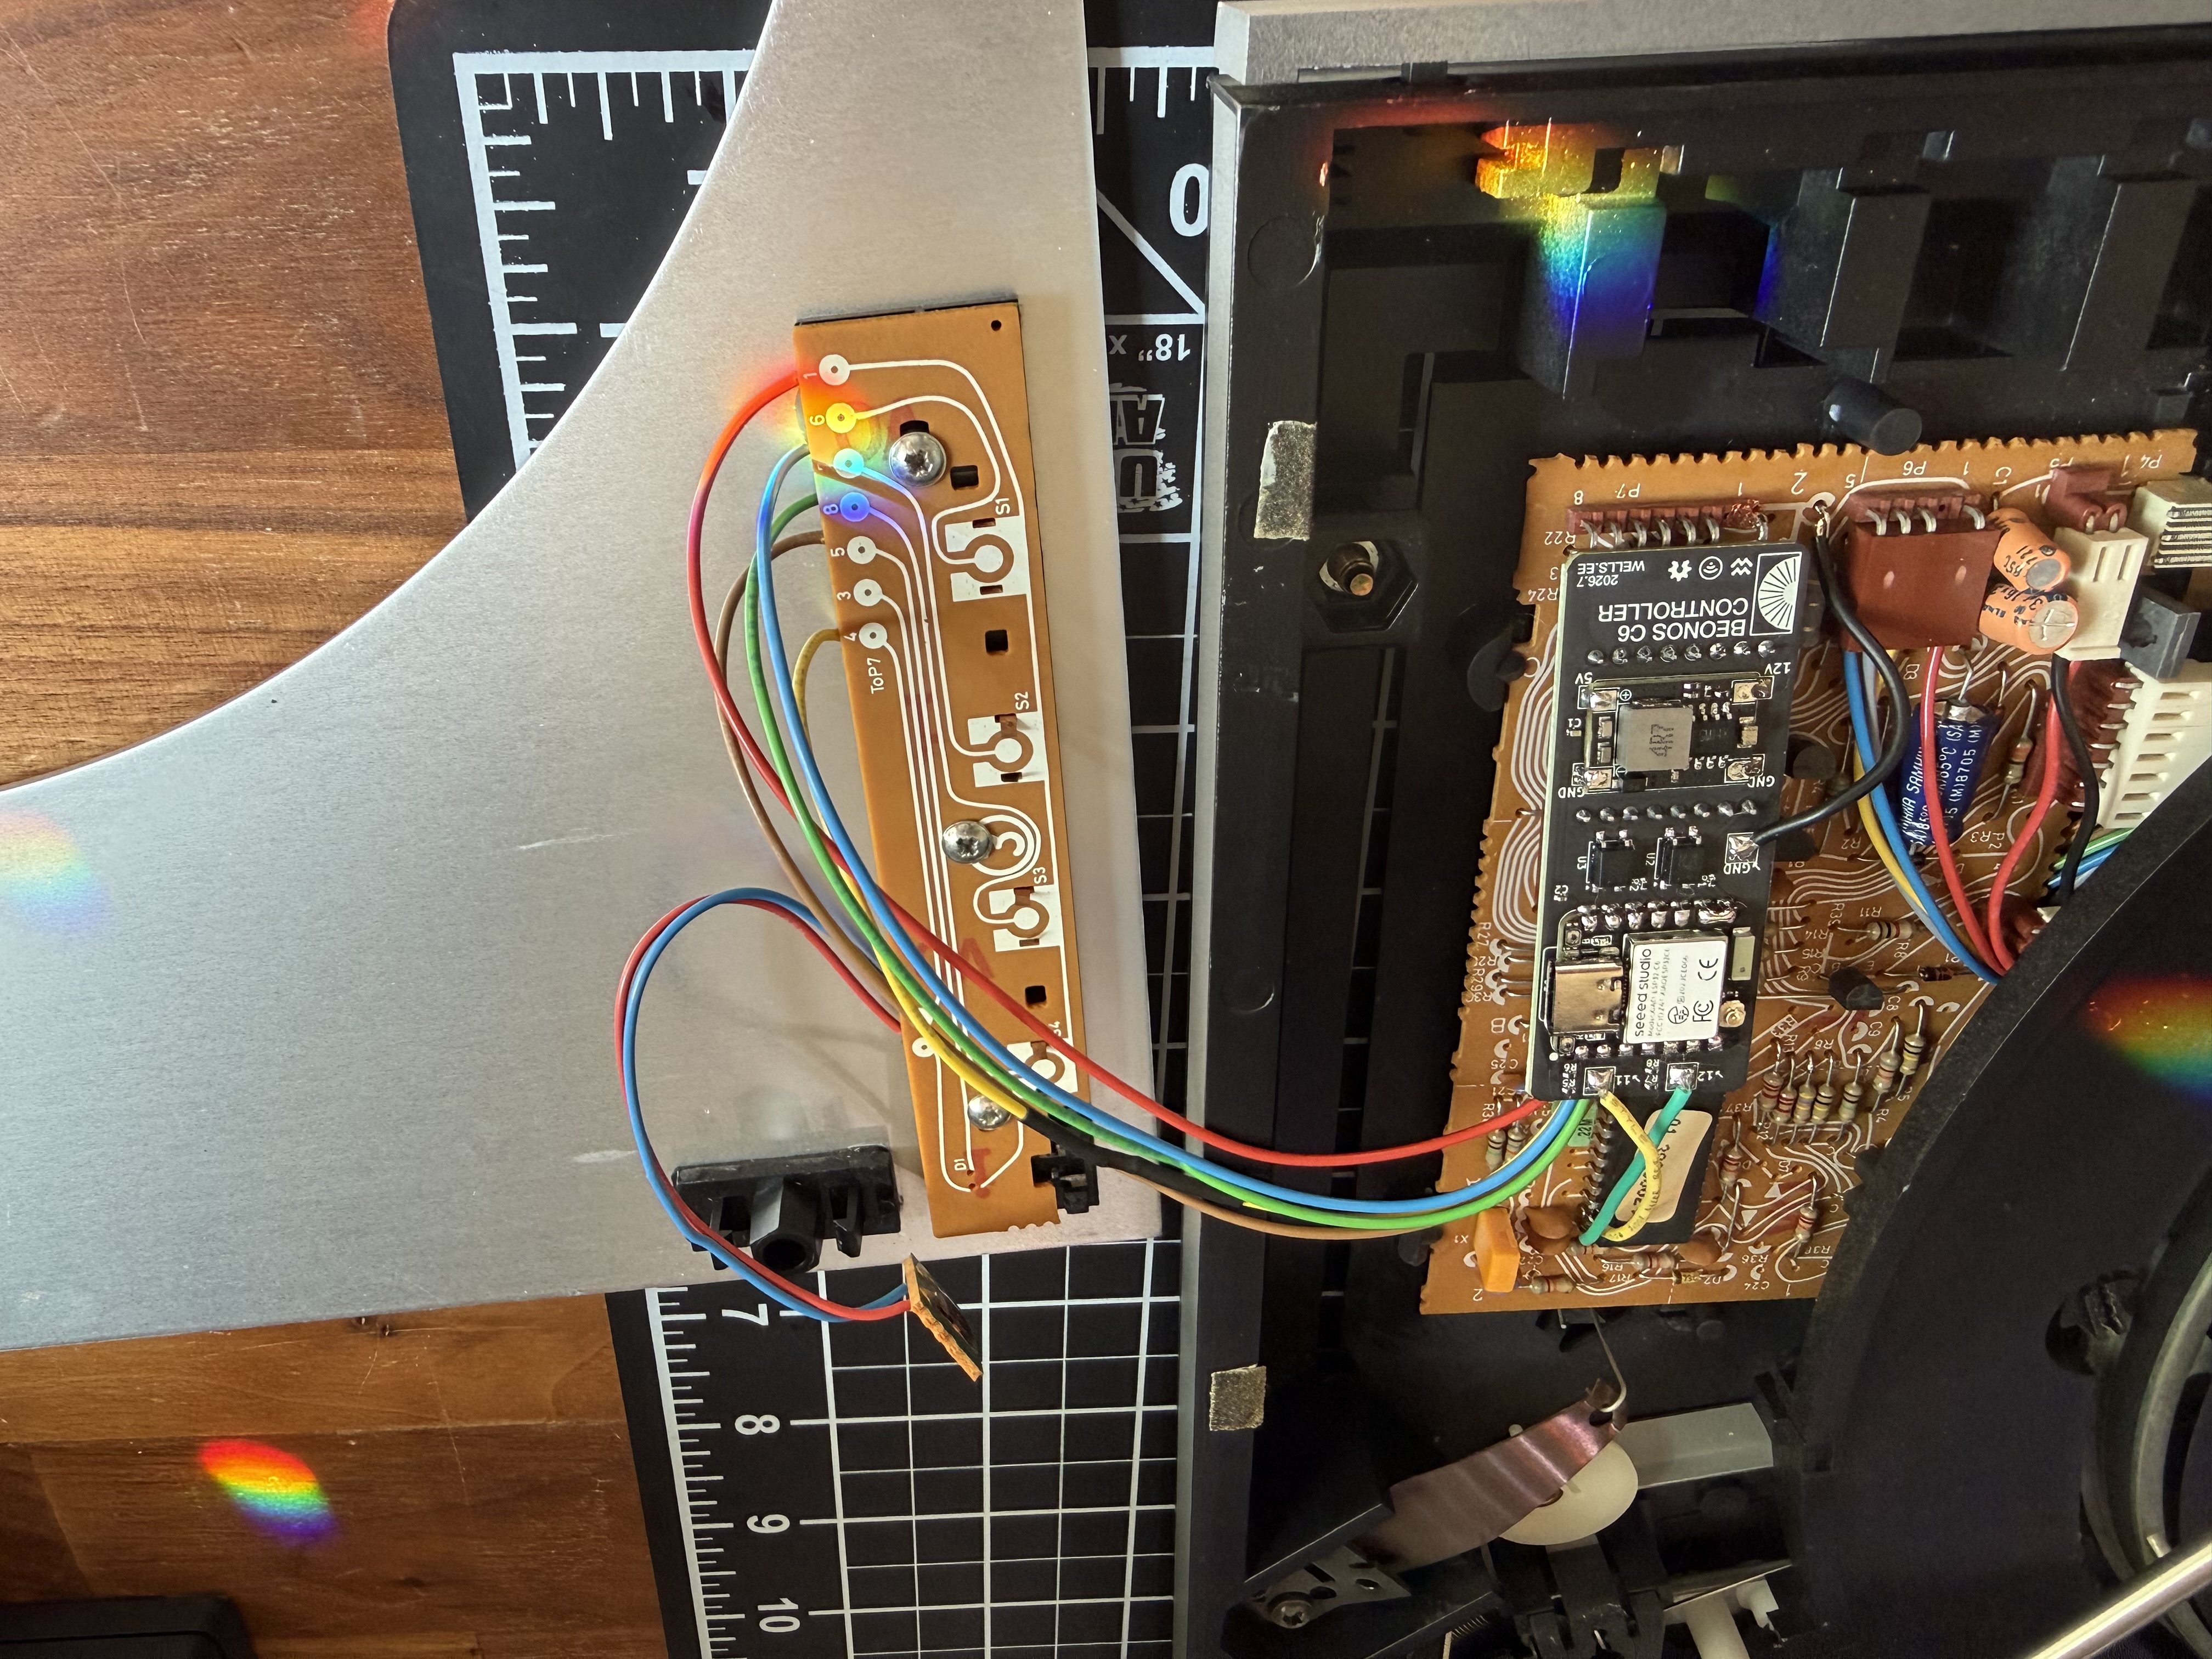
Where I’ve landed after a lot of reading schematics and a few dead ends… I’m tapping the control lines going into the deck’s microprocessor so start/stop/lift are controlled the same way the front panel ‘keyboard’ would. The RX2’s circuitry would be otherwise completely unmodified. It plugs in between the main circuit board and the keyboard attached to the top shell to ‘press’ the various buttons.
Anything on the RX2 (or similar era beograms) specifically I should leave well alone? I’m treating the tonearm servo and the cartridge as sacred and staying out of both… and from the schematics it seems like the control system is pretty much separate.
Has anyone here done anything similar with Datalink and regretted or preferred it? I looked at going that way but it seemed more complicated than it was worth, but I’m not sure I was right.
Happy to share more board photos once I’ve got it a little tidier. Mostly I just wanted to share my little project and see if there’s anything obivous I’m missing.
Cheers!
 27 July 2026 at 22:17 #124716TKBRONZE Member
Your approach seems quite sane given the Beogram you have. AFAIK, the RX2 microprocessor was not encoded with Datalink ’86, so the “keypress simulation” you’ve employed is an effective alternative, provided you’ve taken care to verify that you are protecting the microprocessor’s circuitry. Alternatively you could spring for a TX2 or other 59XX tangential Beogram (maybe $150 w/o cartridge), and tap into the Datalink control line, which is an alternate approach. This would offer similar control to what you have, and adds a few extra commands, with a few bonuses such as status updates (“Playing”, “Paused”, “No Media”, etc) but does require a microcontroller that can handle a 5V circuit. An ESP32 is a 3.3V microcontroller, AFAIK.
28 July 2026 at 20:09 #124742Very clever idea; however, I would add a diode in series to protect the processor as its not a good idea to drive 5V into its outputs when you use the manual keys.
30 July 2026 at 20:54 #124761Good point. I’m thinking the original buttons should pass through the custom PCB passively, so the OEM function would be unchanged with the board installed.
Since the keyboard just bridges pin 1 of the keyboard to the corresponding button’s sense pin on the processor, I’m using opto-isolators (kind of like mini relays) to simulate the button presses. None of the 5V GPIO output would then leak through to the processor’s input.
On the sense side I’m tapping pin 11 and 12 on the COP410 to sense whether the turntable is in the on/off state or play/pause state. I need to step down the 5v output from the COP410 to 3.3v (or so) with a voltage divider + filter cap so I don’t stress the ESP32.
31 July 2026 at 04:26 #124763That’s a non-intrusive way to execute it. I couldn’t see from you pictures where the other wires went.
9 August 2026 at 17:55 #124917Thanks all for the input! I’ve put together my first working prototype and it seems pretty solid so far! What’s working:
- Send play/pause/stop commands from Sonos and Home Assistant to the custom PCB
- State tracking (isPlaying, isPaused, isOnOff) from the turntable (regardless of how it was controlled, what the current status is)
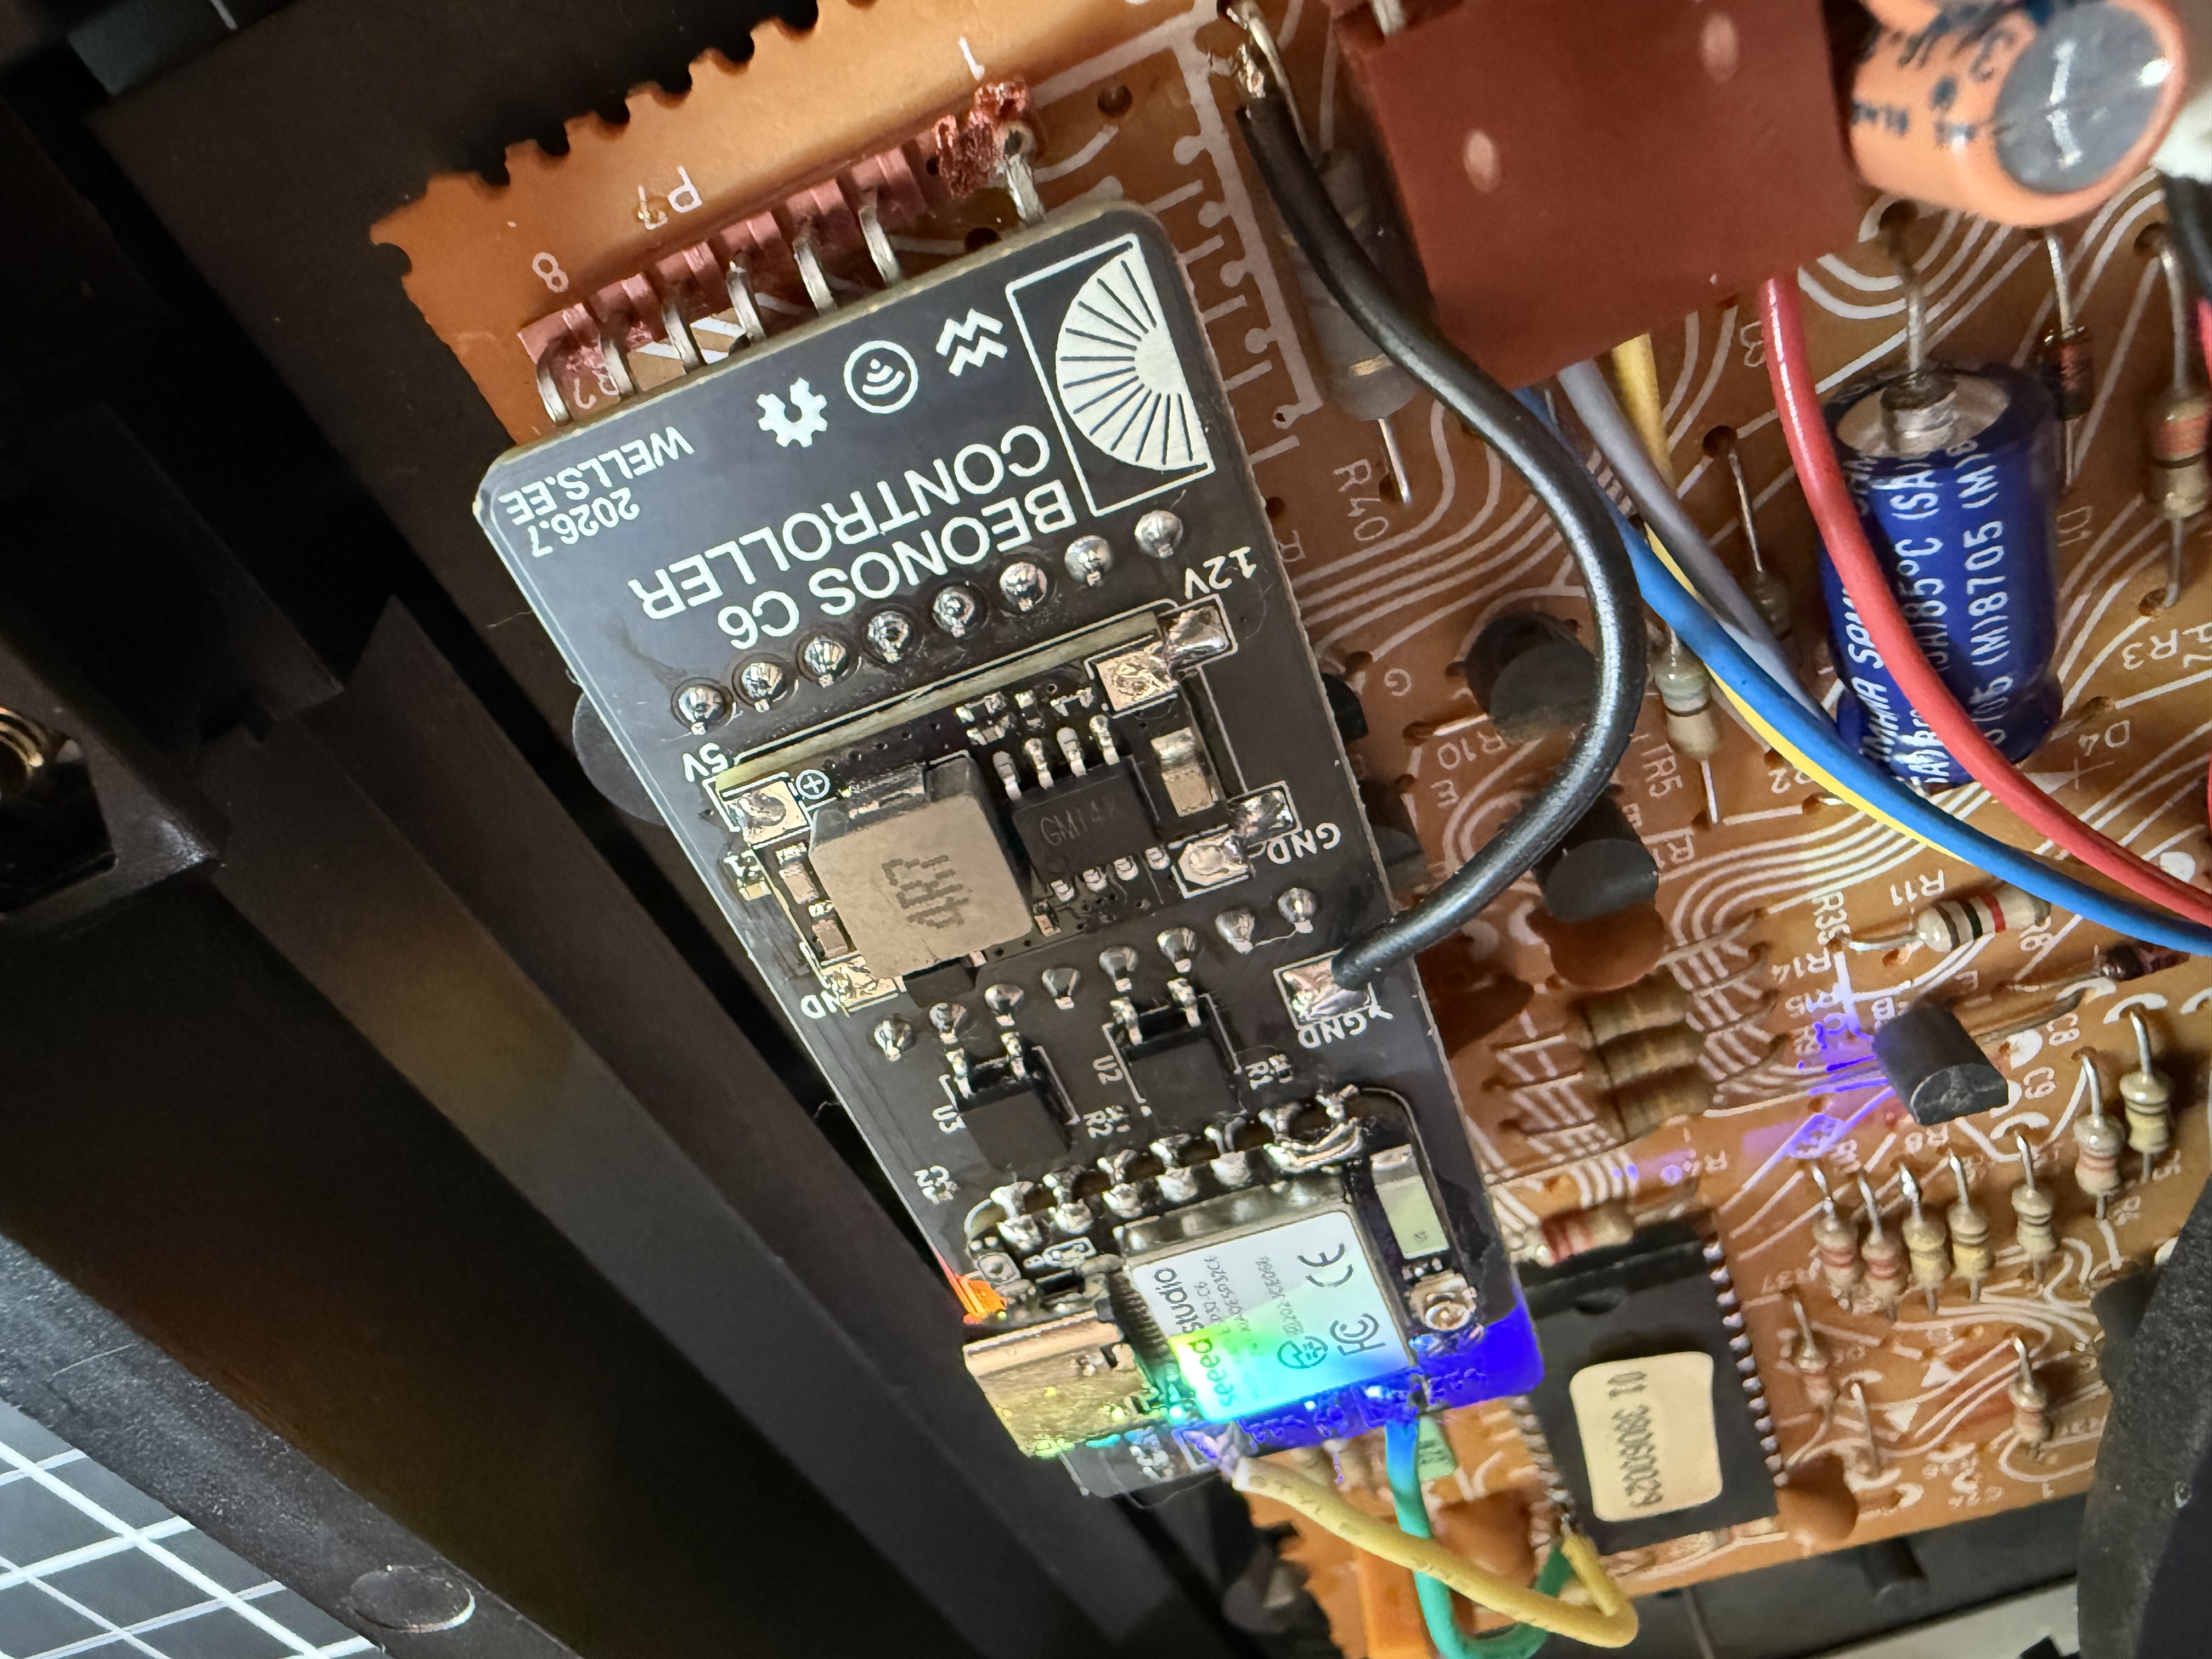
- Power is coming in via 12v from the “keyboard” (stepped down to 5v via a small buck converter)
WiFi signal seems fine, which is surprising considering the wifi antenna is right underneath the aluminum top plate. I had to redesign my PCB slightly due to clearance issues, but for now I just slightly bent one of the capacitors on the main board and it fits okay.
I recorded a video of my build, and I uploaded my custom PCB file and ESPHome firmware to this github project. There’s a link there to PCBway if you want to order one of your own—it’s still kind of amazing to me that you can buy one-off custom circuit boards from China so inexpensively!
10 August 2026 at 14:07 #124924TKBRONZE MemberReally nice job! Looks like a very clean and simple install. I’m looking forward to seeing more of your projects.
12 August 2026 at 11:33 #124950cklitModeratorAwesome project!
I actually work at Bang & Olufsen, and I love these kind of upcycling projects.
I took a similar, but different route on my own project. Many of the old Bang & Olufsen sources are using the Data link connection (which the RX-models does not have, unfortunately), which provides audio and a data-signal for control. You can connect my adaptor directly to a network-connected Bang & Olufsen speaker and make the record player/CD player start by selecting Line-in on the speaker. But it can also work with e.g. Sonos, through Home Assistant (MQTT). My project is available here if you’re interested: https://github.com/cklit/BeogramAdaptor12 August 2026 at 15:44 #124953That demo video is impressive! I share your love of upcycling. With how disposable everything’s gotten, I’ve come to really enjoy vintage electronics… even at 30 or 40 years old, most of them still have plenty of life left. Some were built better than their modern equivalents. Others less so, but they’re still a pleasure to use.
I also went down a rabbit hole on your other YouTube projects, and those speakers are insane. Very jealous. 🙂
-
AuthorPosts


- You must be logged in to reply to this topic.