


Home › Forums › Product Discussion & Questions › BeoLab › Beolab 8000 preventive care. › Reply To: Beolab 8000 preventive care.
Hi Guys, It’s done, at least for one speaker.
The other one will wait a bit since this is not a really pleasant experience.
That will also allow me to compare Both speaker with new and old foam.
Starting point: the Beolab with stand and fret off and obviously the new set of damping material.
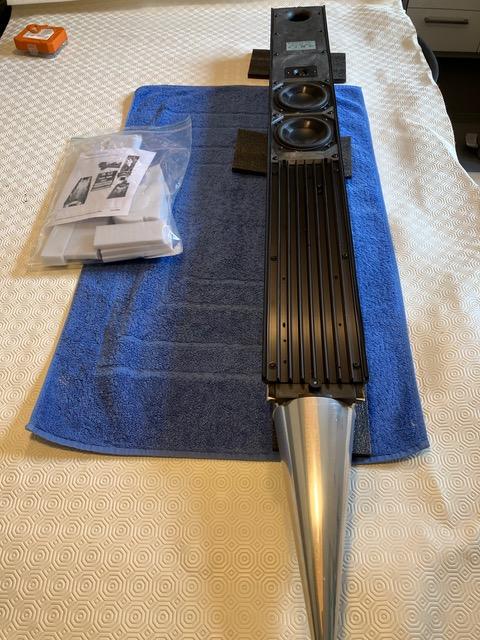
Then take out the screws off: 6 for the amplifier plate, 12 for the speaker plate. All the same.
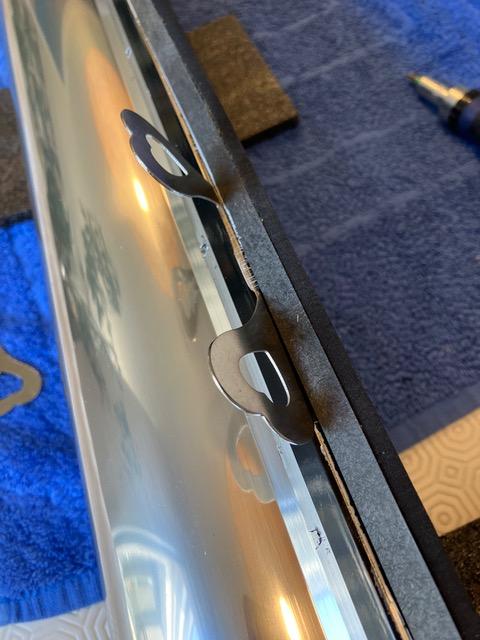
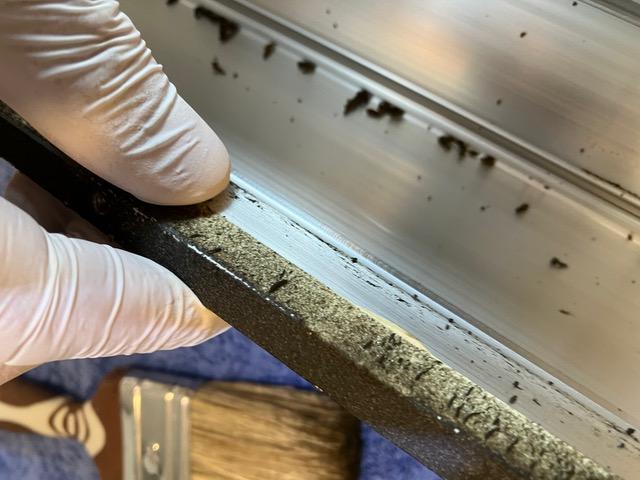
You need to cut the rubber border use to damp the fret between the two front plates. Use a sharp knife.
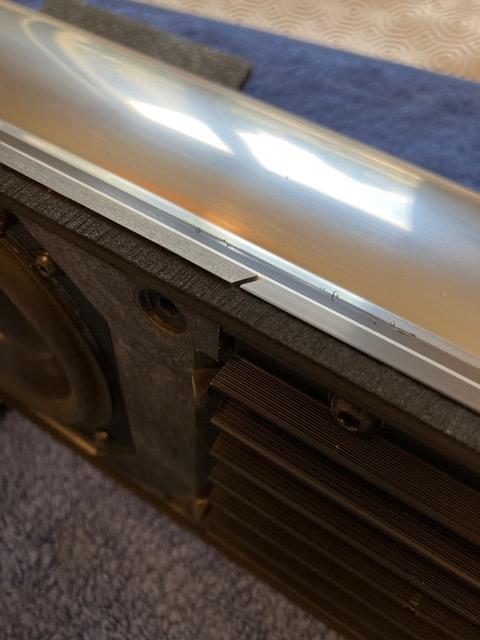
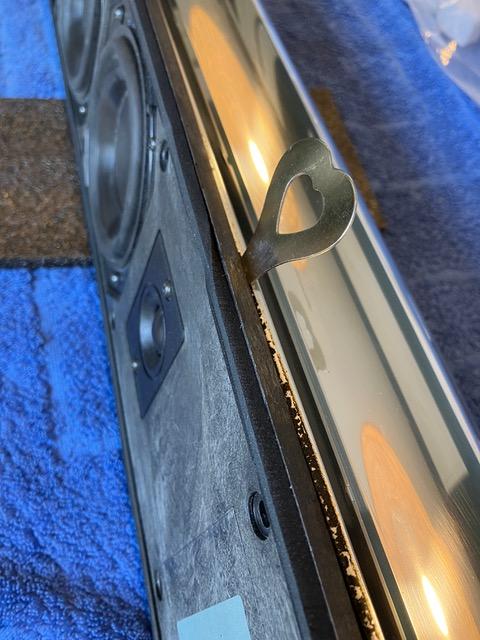
The plates are still firmly glued to the pipe. Insert a flat screwdriver and gently pry off the plate. Then progress to the bottom. I used two very useful little tools Thant came with a garden tinsel from a Scandinavian well known brand to open up the two plates, one side after the other.

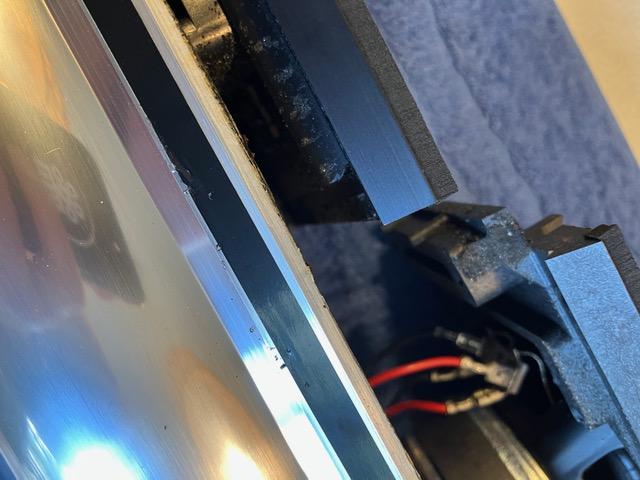
Disconnect all that should be:
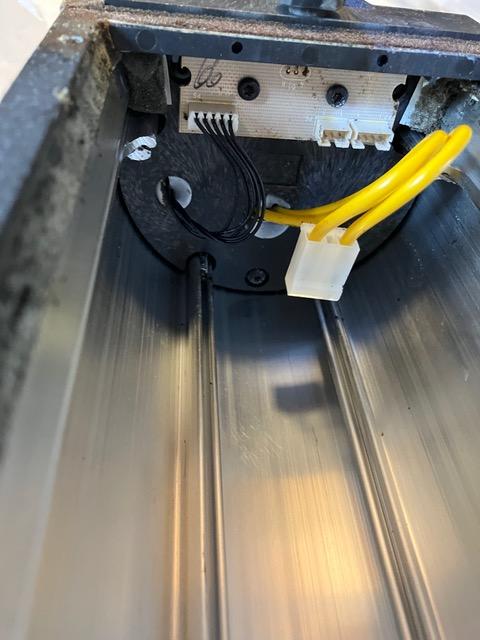
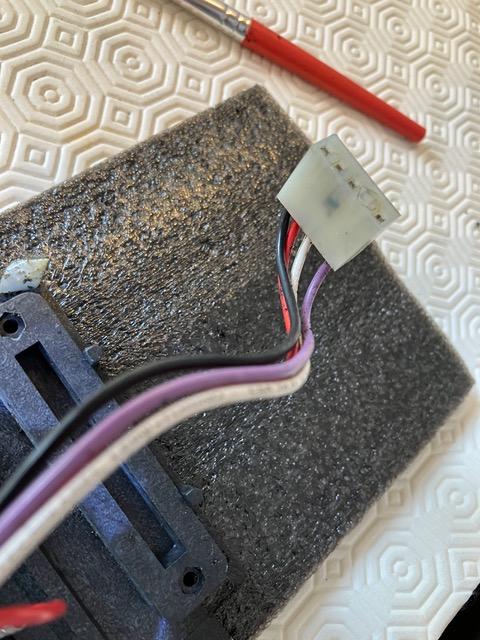
- One big socket between speaker plate and amplifier plate. (white/blue/red).
- One big socket (main power/Yellow) between the amplifier board and the cone.
- Two little connectors between the amplifier board and the cone (3 and 4 wires).
Beware, there is also a third tiny connector much larger (7 or 8 wires), you can disconnect it but it loops from the cone into the cone. Don’t mistake it for the one that must be disconnected and pull the plate while it is still attached.
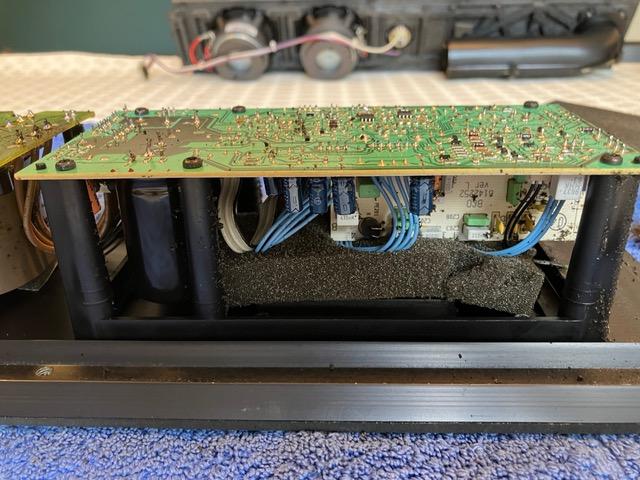
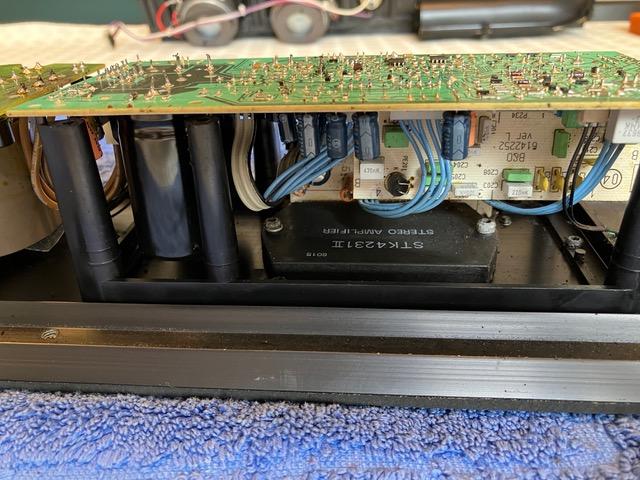
Once everything disconnected, take out the plates: amplifier first, then speaker
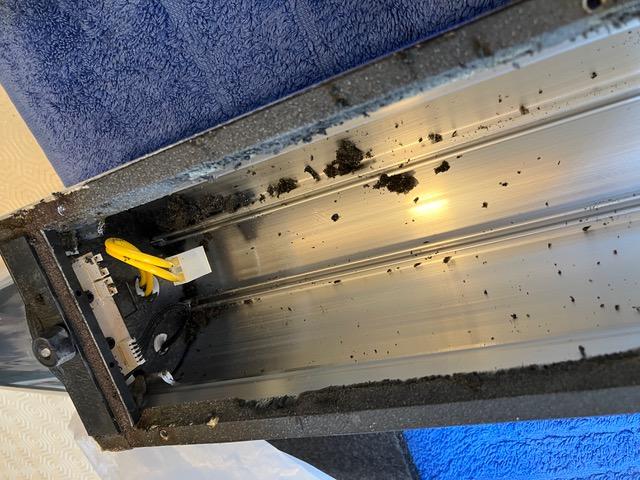
Here start the mess! Use gloves.
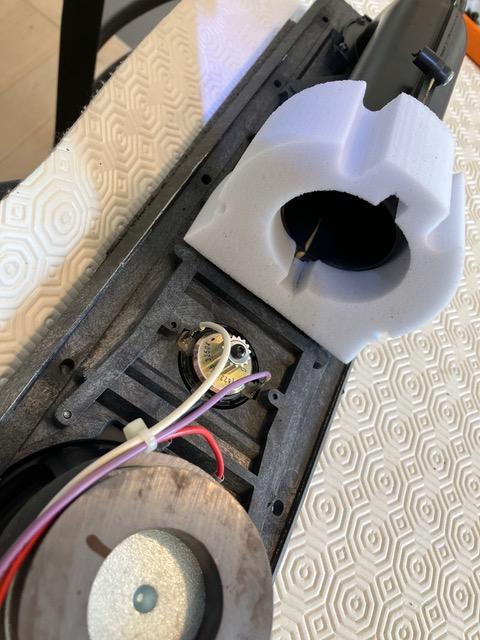
Foam to be removed is located:
- Just above the cone.
- One the amp board, between the actual amplifier chip and the main board.
- In the gap between the speaker zone and the amplifier zone.
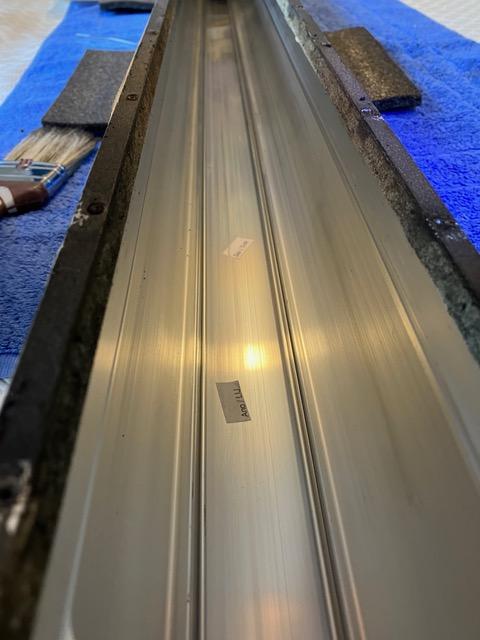
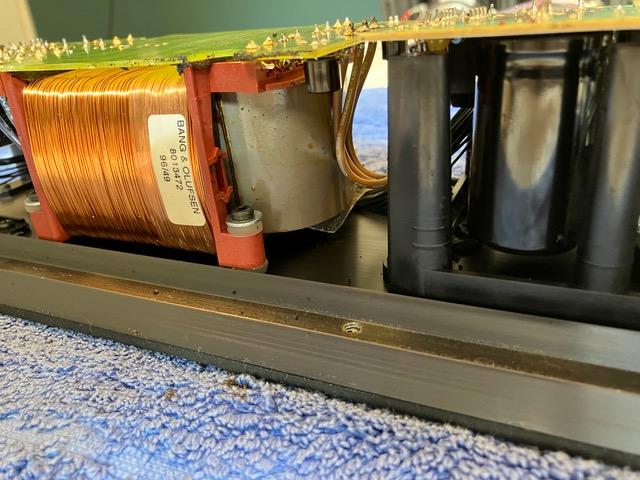
- One big piece in the speaker tube.
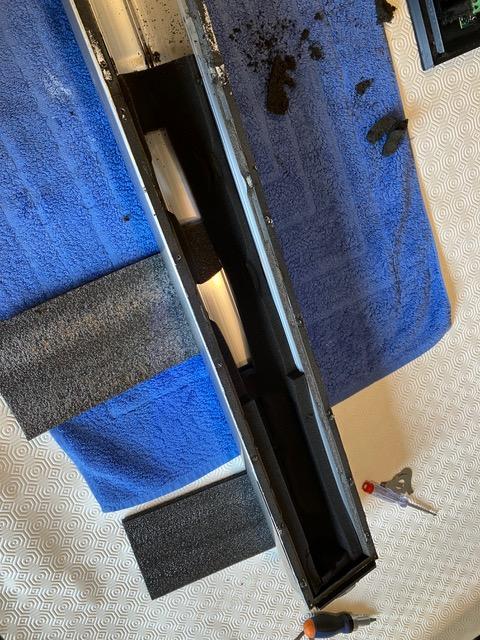
The big speaker piece was in my case quite well, sticky and chewy but I was able to remove it easily in one part.
All the other parts were in an advanced state of disintegration, turned into a sticky dust spread all inside the column. You’re happy when you manage to take out a big piece!.
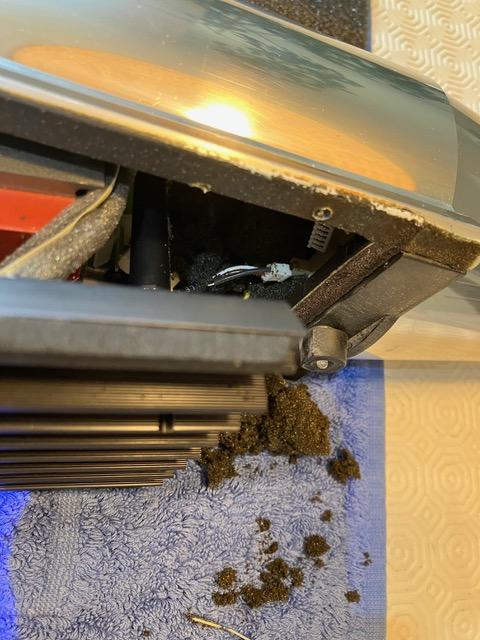
Even the foam sealing between the pipe and the plates is rotted. you need to rub it to clean it.
The pipe was vacuum cleaned with the help of alcohol (90°, no isopropyl here in France).
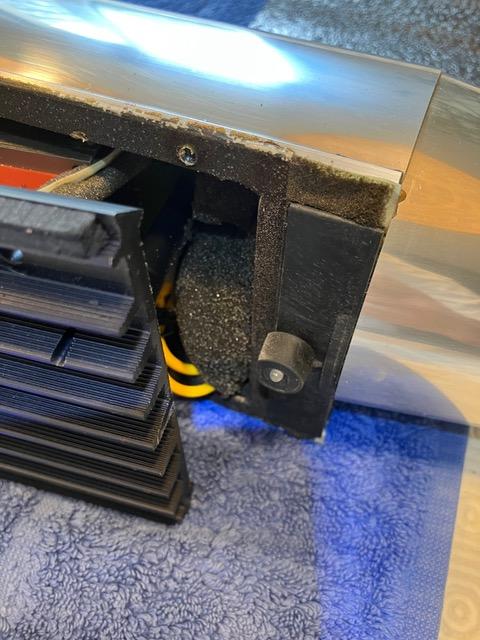
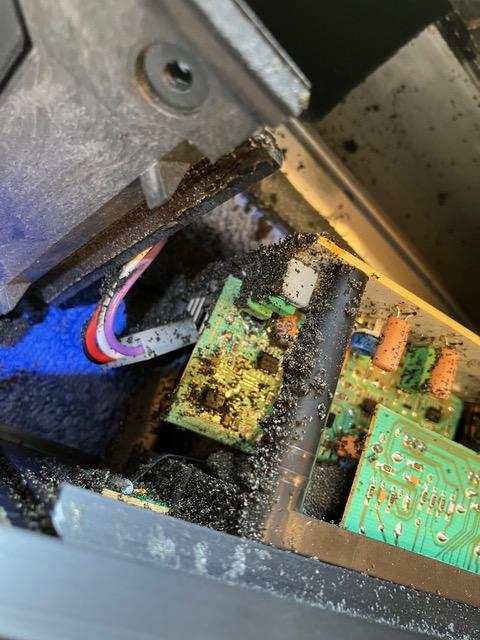
The amplifier board was opened after disconnecting the plugs and cleaned with a brush and alcohol.
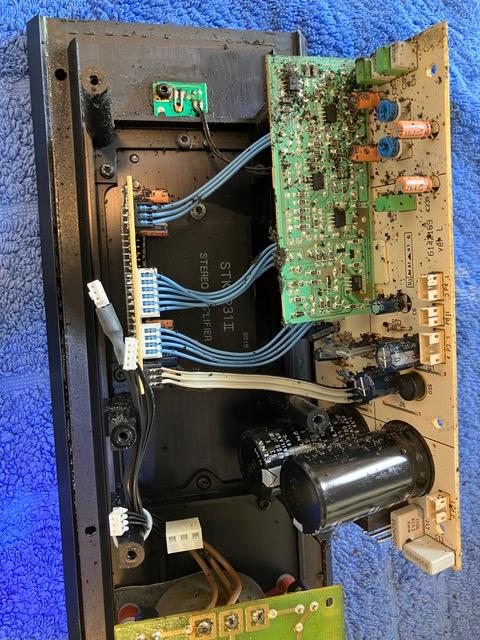
To me this is the most scary part: I don’t like rub a brush on those PCB with so tiny component. I’m not confident enough to know if this is ok or not and I’l afraid of breaking something or hurting a component. SO I did this carefully with a brush and a vacuum cleaner, take out the most of it but after this, it still remain some sort of sticky touch all over the parts. I think it still better the before.
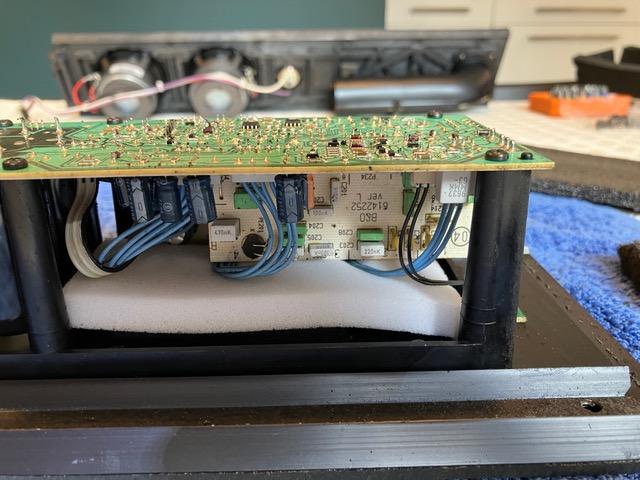
Before screwing the amplifier board to the Amplifier plate, you need to replace the foam between the chip and the board.
Then clean all the connectors, the speaker socket was particularly dirty.
Then you can start the actual foam replacement. Note that the new set has nothing in common with the previous.
Around the bas port entry.
In the column, roughly in the middle behind were the woofers are.
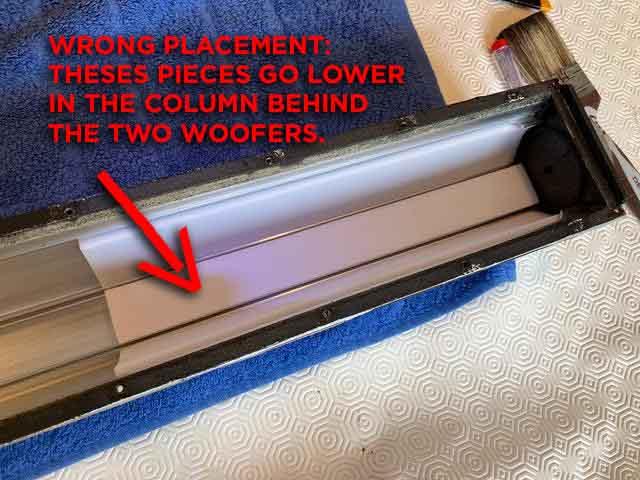
At the base (rear).
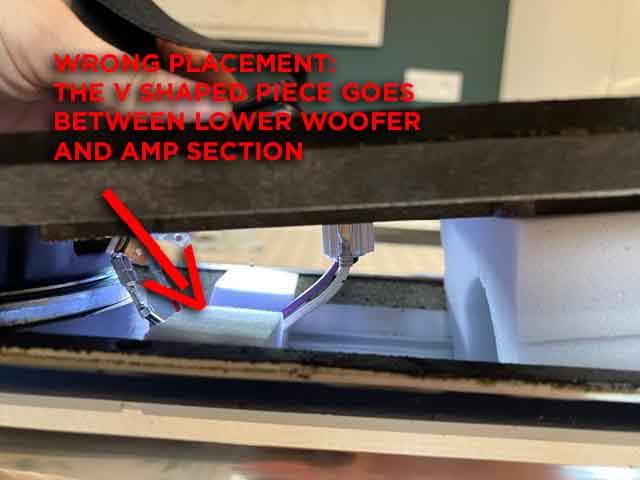
The V shaped one at the bottom of the long strips just above the amp section.
Close the speaker panel and watch out for the speakers wires to go into the foam groove of the V shaped piece.
Correct placement of the foam pieces is are illustrated below. They should make a coffin for the two woofers.
Then, place the amplifier board, plug everything that need to:
- One plug between amplifier plate and speaker plate.
- 3 or 4 plugs between amplifier plate and cone.
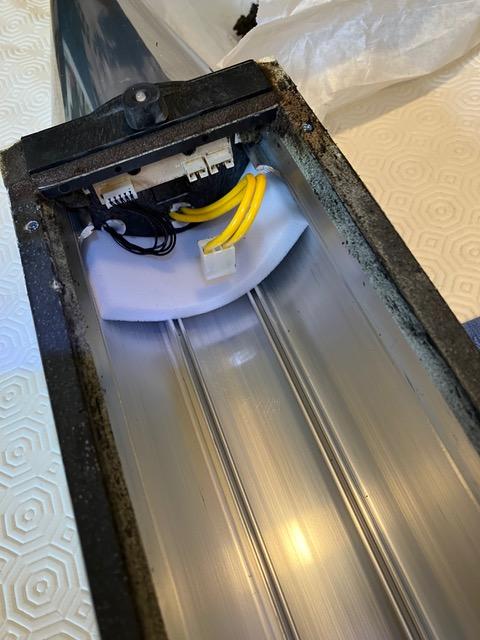
Before closing the amplifier plate, add the remaining front base foam piece.

Close the speaker, tight all the screws (18) and check your new foam root proof Beolab 8000!
Hope this helps.
Location: Paris France