


Home › Forums › Product Discussion & Questions › BeoMaster › Simplest way to change Beomaster 4400 FM signal level lamp
Tagged: t
- This topic has 4 replies, 2 voices, and was last updated 3 months, 1 week ago by
 Stephen Taylor.
-
AuthorPosts
-
6 December 2025 at 11:56 #71777
 Stephen TaylorSILVER Member
Hello!
I’ve been working on a Beomaster 4400 renovation for a few weeks now.
I bought it “completely dead” and true to the seller’s word it was totally lifeless.
Turned out someone else had attempted some repairs which ensured it would be a long road back to functionality.
Anyway having replaced all the semiconductors in the output stages (and a few others), quite a few resistors and finally some fuses, I’m now at the point where I can power it up and see correct voltages at test points.
It’s time to tackle the job that I’ve been putting off which scares me the most – I need to replace the lamp on FM signal level meter.
Is there a way to do this without taking the front panel off?
If there isn’t can anyone who’s done it point me in the direction of some instructions?
Everything else about the front panel works really nicely so I’d really like to avoid giving the ribbon PCB the opportunity to splinter.
I’ve had another look around the forum and it seems like most of the lamps are on a bayonet mount and pull out – does that go for the lamp on the signal level indicator? It all looks very tight in there.
Thanks!
heSteve
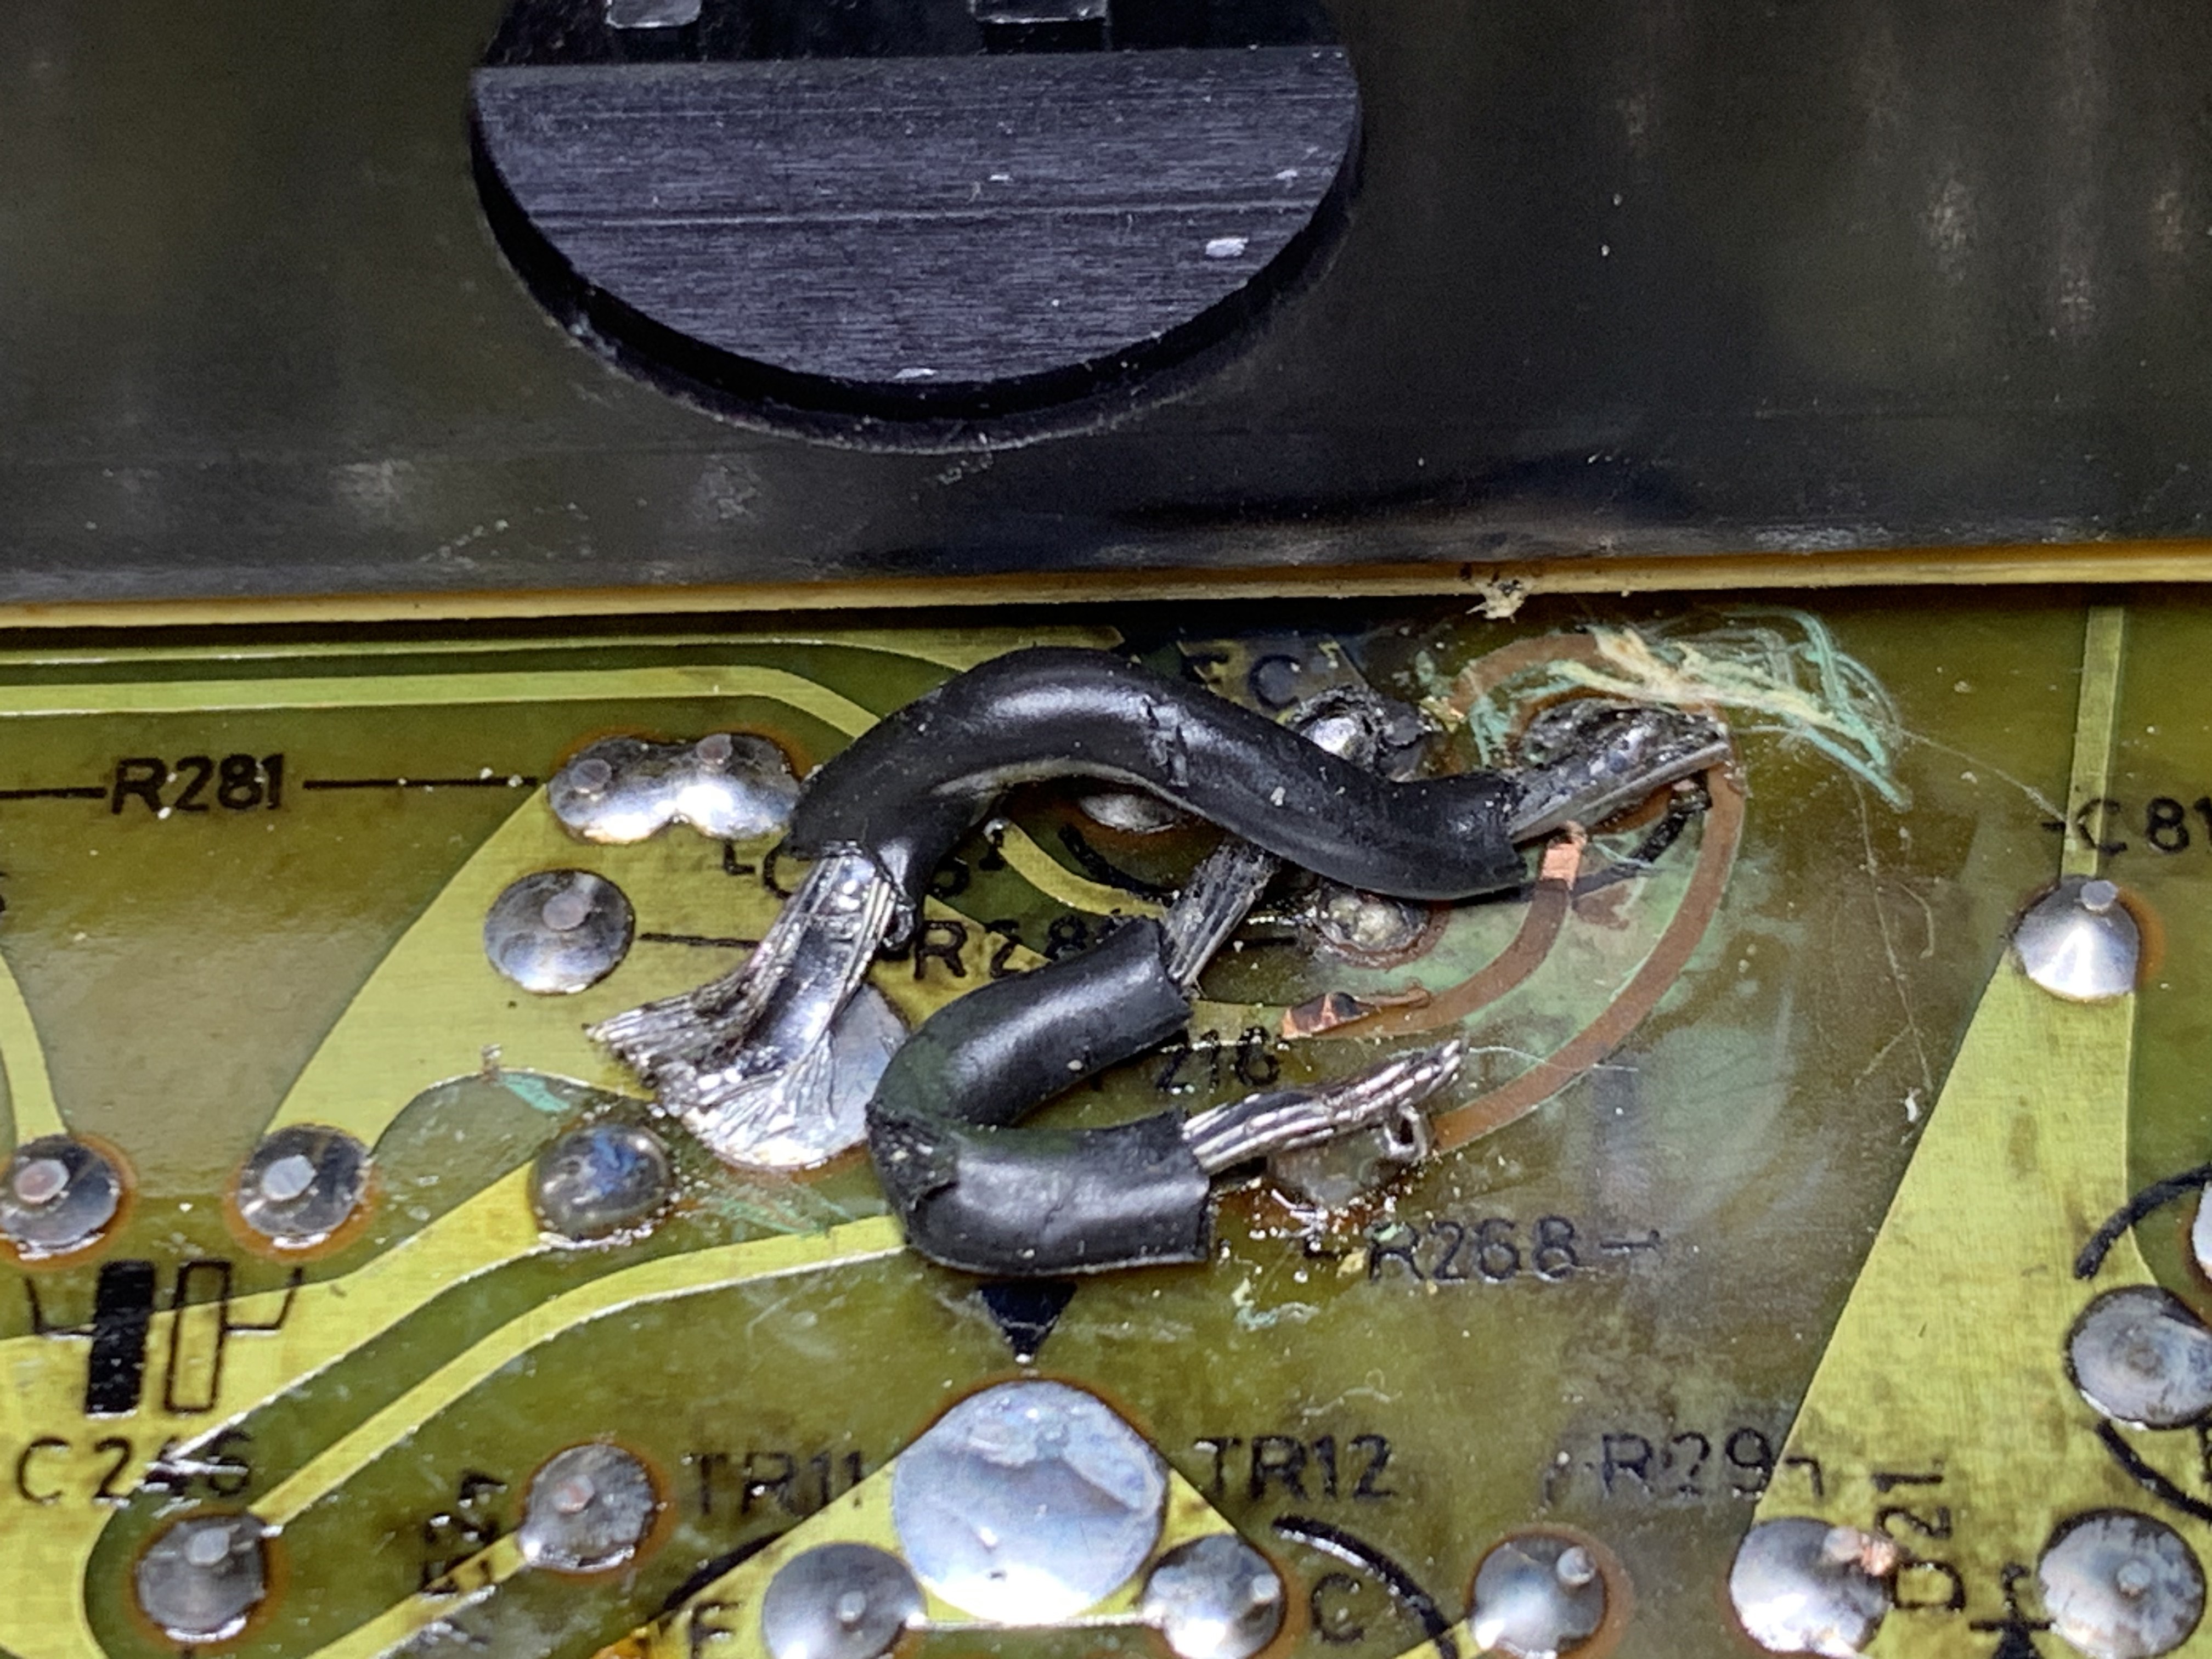
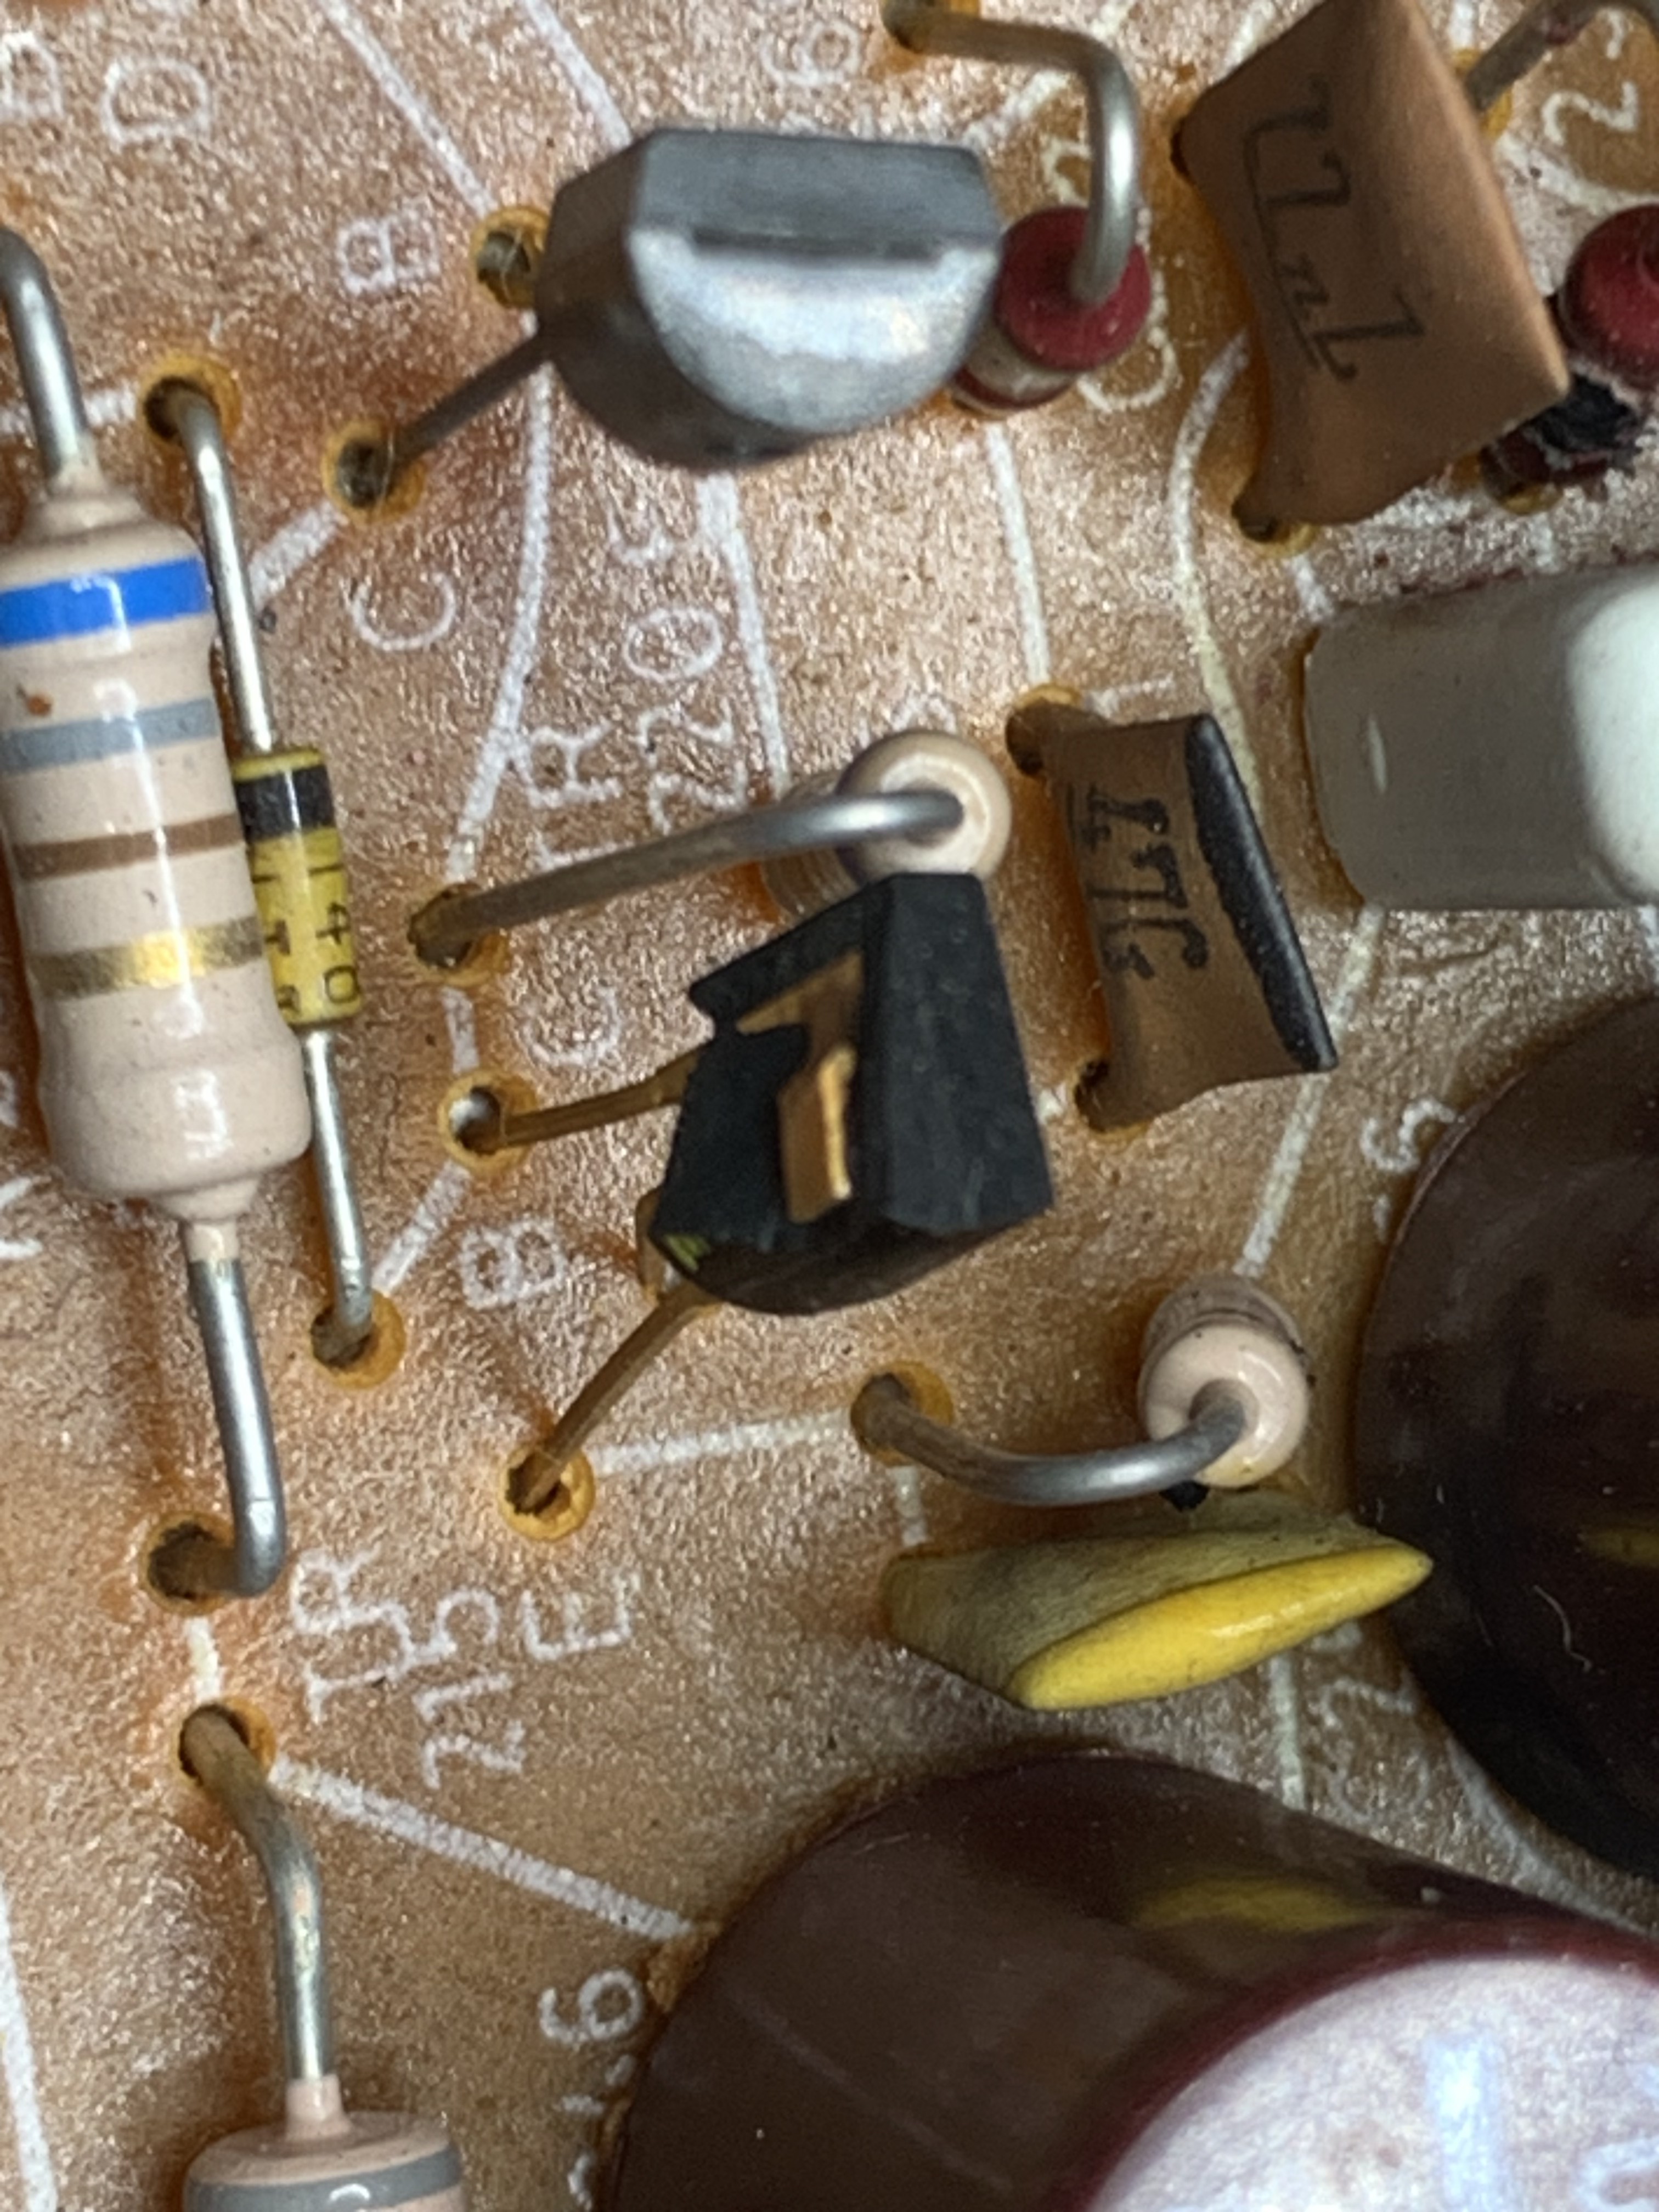
Without want to seem smug, here are some photos of the repair that someone had attempted and one of the many transistors that had failed, presumably subsequently.
 9 December 2025 at 10:50 #71822hcraig244SILVER Member
It’s tricky…
You dont need to remove the front panel, thank goodness…..would be a shocking design defect if one did. The lamp is held in a holder that slides into the side of the moving coil meter, the holder has two wires soldered to it to illuminate the lamp therein. the meter also has two wires soldered on to it externally to power the moving coil, cant remember if its a moving coil or moving iron meter…..non the less it has two wires!
The meter is held in place on the front panel by a copper leaf spring which in turn is held in place by a single screw, see below. when this screw is removed the meter will push in from the front of the switch panel and be sort of accessible, the connecting wires are single strand and very unforgiving….the tugging and pulling required to remove the lamp holder in situ with all wires still connected is traumatic and in one case for me I broke a connection to the moving coil and had to replace the whole thing….fortunately Dillen from this site had a used one he let me have ;¬)
My approach of choice now is to snip the four wires that connect to the meter, well inside the unit for ease of re-soldering later, then undo the screw and spring thus allowing the meter to be removed from the underneath of the chassis, the lamp holder can then be slid out and a new lamp inserted and the meter re installed prior to re soldering the snipped wires. This is a very delicate operation, partly due to the frailty of the connections and getting the spring loaded screw back in place is also a challenge best done before soldering the wires back in place. You also need to replace the lamp with one with the correct ratings…Dillen can provide the correct one.Attachments:
You must be logged in to view attached files.10 December 2025 at 10:10 #71839Stephen TaylorSILVER MemberThanks so much for the reply, fantastic detailed advice – there’s no substitute for learning from someone who’s done it before.
I’m building myself up to doing it this weekend – a while ago I bought a Beocenter 3500 kit from Danish Sound Parts which I haven’t used yet, so I’m hoping one of the bulbs in that is a match.
I’ve been carefully testing it and the only remaining problem (apart from the lamp) is that left left channel oscillates at around 1kHz if I activate the unit with speakers connected. The only difference that I can think of is that I replaced more of the diodes in the right-hand output section than I did the left. I tested them and put the ones that passed back in – regretting that now.
Thanks again,
Steve
10 December 2025 at 18:19 #71843hcraig244SILVER MemberI’ve had a similar problem in the past and with the help of a signal generator and an oscilloscope traced it to a noisy transistor in the pre-amp section as I recall….I’ll take a look at the circuit diagram and see if I can remember which one it was. There will be a post by myself in the archives detailing this im sure 🤔
10 December 2025 at 23:29 #71844Stephen TaylorSILVER MemberI managed to get the bulb changed without doing any damage – it those fiddly mechanical-type jobs that scare me the most. The hardest bit for me was screwing the copper leaf spring back in place.
The oscillation problem was due to a faulty diode. I’d had to replace them all on the right-hand channel but tested them on the left and they all tested “OK” but clearly weren’t. It was basically a “process of elimination” fix because the diode were the only things that were different.
Thanks again for your help, I’m extremely grateful.
Cheers
Steve
-
AuthorPosts
- You must be logged in to reply to this topic.