


Home › Forums › Product Discussion & Questions › BeoVox › S45-2 Woofer Problem
- This topic has 23 replies, 4 voices, and was last updated 1 year, 3 months ago by
 hcraig244.
-
AuthorPosts
-
10 February 2025 at 12:55 #63662
 Victor MazellaSILVER Member
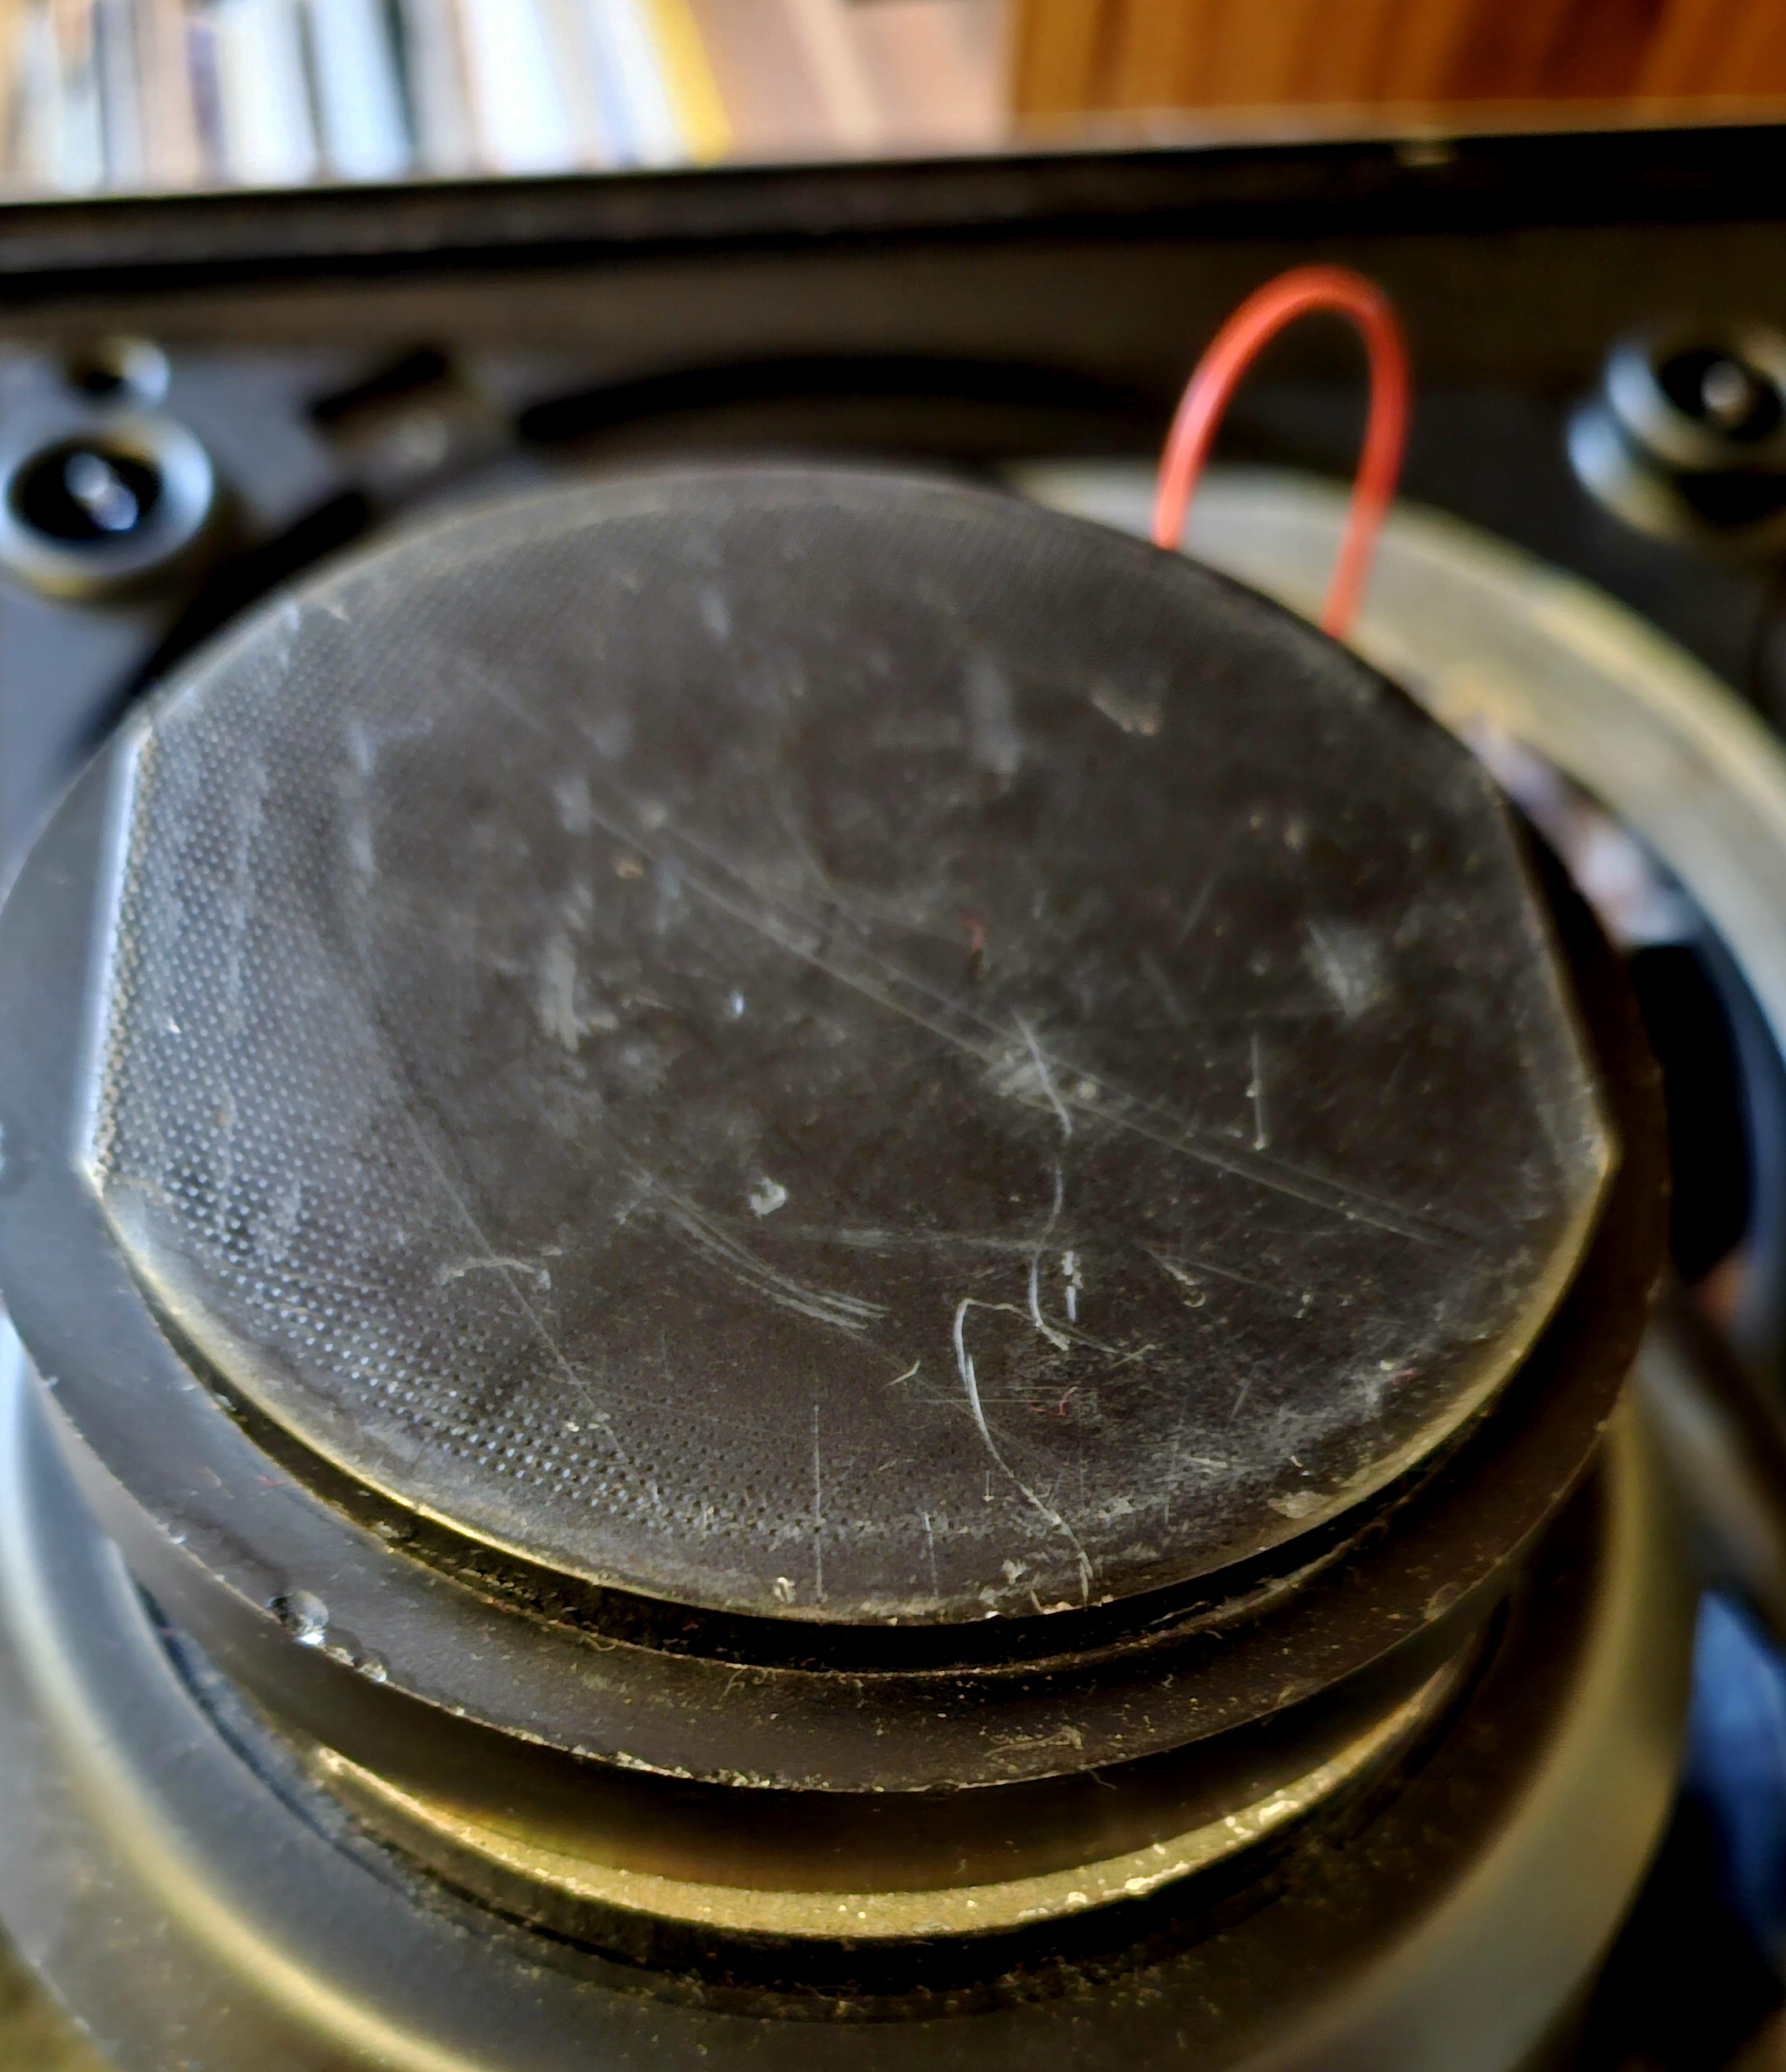
Good afternoon, New to Beoworld after inheriting a Beocentre7700 which I have had for a few months playing through a pair of Mission speakers. Ordered a pair of s45-2 speakers advertised as working however one woofer is not working as it should. I wired it directly and the sound is weak and tinny and I ask from the photo attached if someone can advise if the magnet has moved. If so can someone on Beoworld repair these as I am no where near competent to do so myself. Many thanks in anticipation of any forthcoming helpful advice. Regards, Victor.
 13 February 2025 at 08:15 #63767hcraig244Member
I’m surprised the speaker gives any sound whatsoever….the magnet has clearly shifted, I can sort that out if you get it to me.
Craig
13 February 2025 at 09:23 #63768Victor MazellaSILVER MemberGood morning Craig, Thanks for your reply. Yes please I would be most grateful if you could repair the speaker. We are visiting our son and returning home on 18th so would send it then. Please you give me your address and repair fee.
Regards Victor
13 February 2025 at 09:33 #63769hcraig244MemberHi
Can you check that the speaker coil still measures around 4ohms first, if the coil is broken its probably terminal…i will send you a pvt message with my details in the meantime. Check the post in here S45- Repair for pics of the procedure i carry out
Craig
25 February 2025 at 17:16 #64030hcraig244MemberOk
This arrived in the post today…….been expecting it.
Attachments:
You must be logged in to view attached files.25 February 2025 at 17:18 #64032hcraig244MemberWell packaged up and looking like its survived the postal system…
Attachments:
You must be logged in to view attached files.25 February 2025 at 17:22 #64034hcraig244MemberHowever I have to say I’ve not seen one looking quite so battered, everything looking askew….must have taken quite a knock.
Attachments:
You must be logged in to view attached files.25 February 2025 at 17:25 #64037hcraig244MemberEngineers vice once again, always a scary exercise as pulling things apart can cause more damage, firm upward pull keeping everything level..
Attachments:
You must be logged in to view attached files.25 February 2025 at 17:27 #64039hcraig244MemberCame apart cleanly leaving the coil behind and, apart from a very slight inward burr, looking in good shape. The coil moves freely in the frame with no scratching on the sides and overall should be fine. You can see from the traces of adhesive on the frame that not a lot was applied during manufacturing
Attachments:
You must be logged in to view attached files.25 February 2025 at 17:34 #64043hcraig244MemberThis is odd however……not seen this in the several I have taken apart, some sort of alluminium ring. Anyone got an explanation ? As can be seen the core has also dethatched itself from the backplate, the backplate and ferrite magnet will also need to be seperated.
Attachments:
You must be logged in to view attached files.25 February 2025 at 17:45 #64046hcraig244MemberAll apart and ready for cleaning up prior to fresh epoxy, the coil still reading an encouraging 3.7 ohms….
Attachments:
You must be logged in to view attached files.26 February 2025 at 04:35 #64077Michael BrownBRONZE MemberIf anyone can mend these speakers its Craig!!
26 February 2025 at 12:44 #64082hcraig244MemberMichael….thank you for those kind words ;¬)
Cleaned up the core and backplate and applied apoxy last night….dried out nicely.
Attachments:
You must be logged in to view attached files.26 February 2025 at 12:49 #64084hcraig244MemberNext task is to soften the glue holding the dust cap in place, this needs to come off so I can see what im doing when putting everything back in place and to give me a clue when centering the core inside the coil.
Attachments:
You must be logged in to view attached files.26 February 2025 at 12:54 #64087hcraig244MemberRemove the old adhesive from magnet and backplate, not a lot there so easy task, and having applied some epoxy join them together….
Attachments:
You must be logged in to view attached files.26 February 2025 at 12:59 #64090hcraig244MemberThese don’t need to be dead centre but just thereabouts, the accurate alignment will follow when the backplate and core are offered up to the magnet once everything has hardened off…….and in case anyone was wondering about the last pic it was taken through this magnifying glass, my eyes are not what they once where ;¬)
Attachments:
You must be logged in to view attached files.26 February 2025 at 20:00 #64110GlitchBRONZE MemberLooking good.
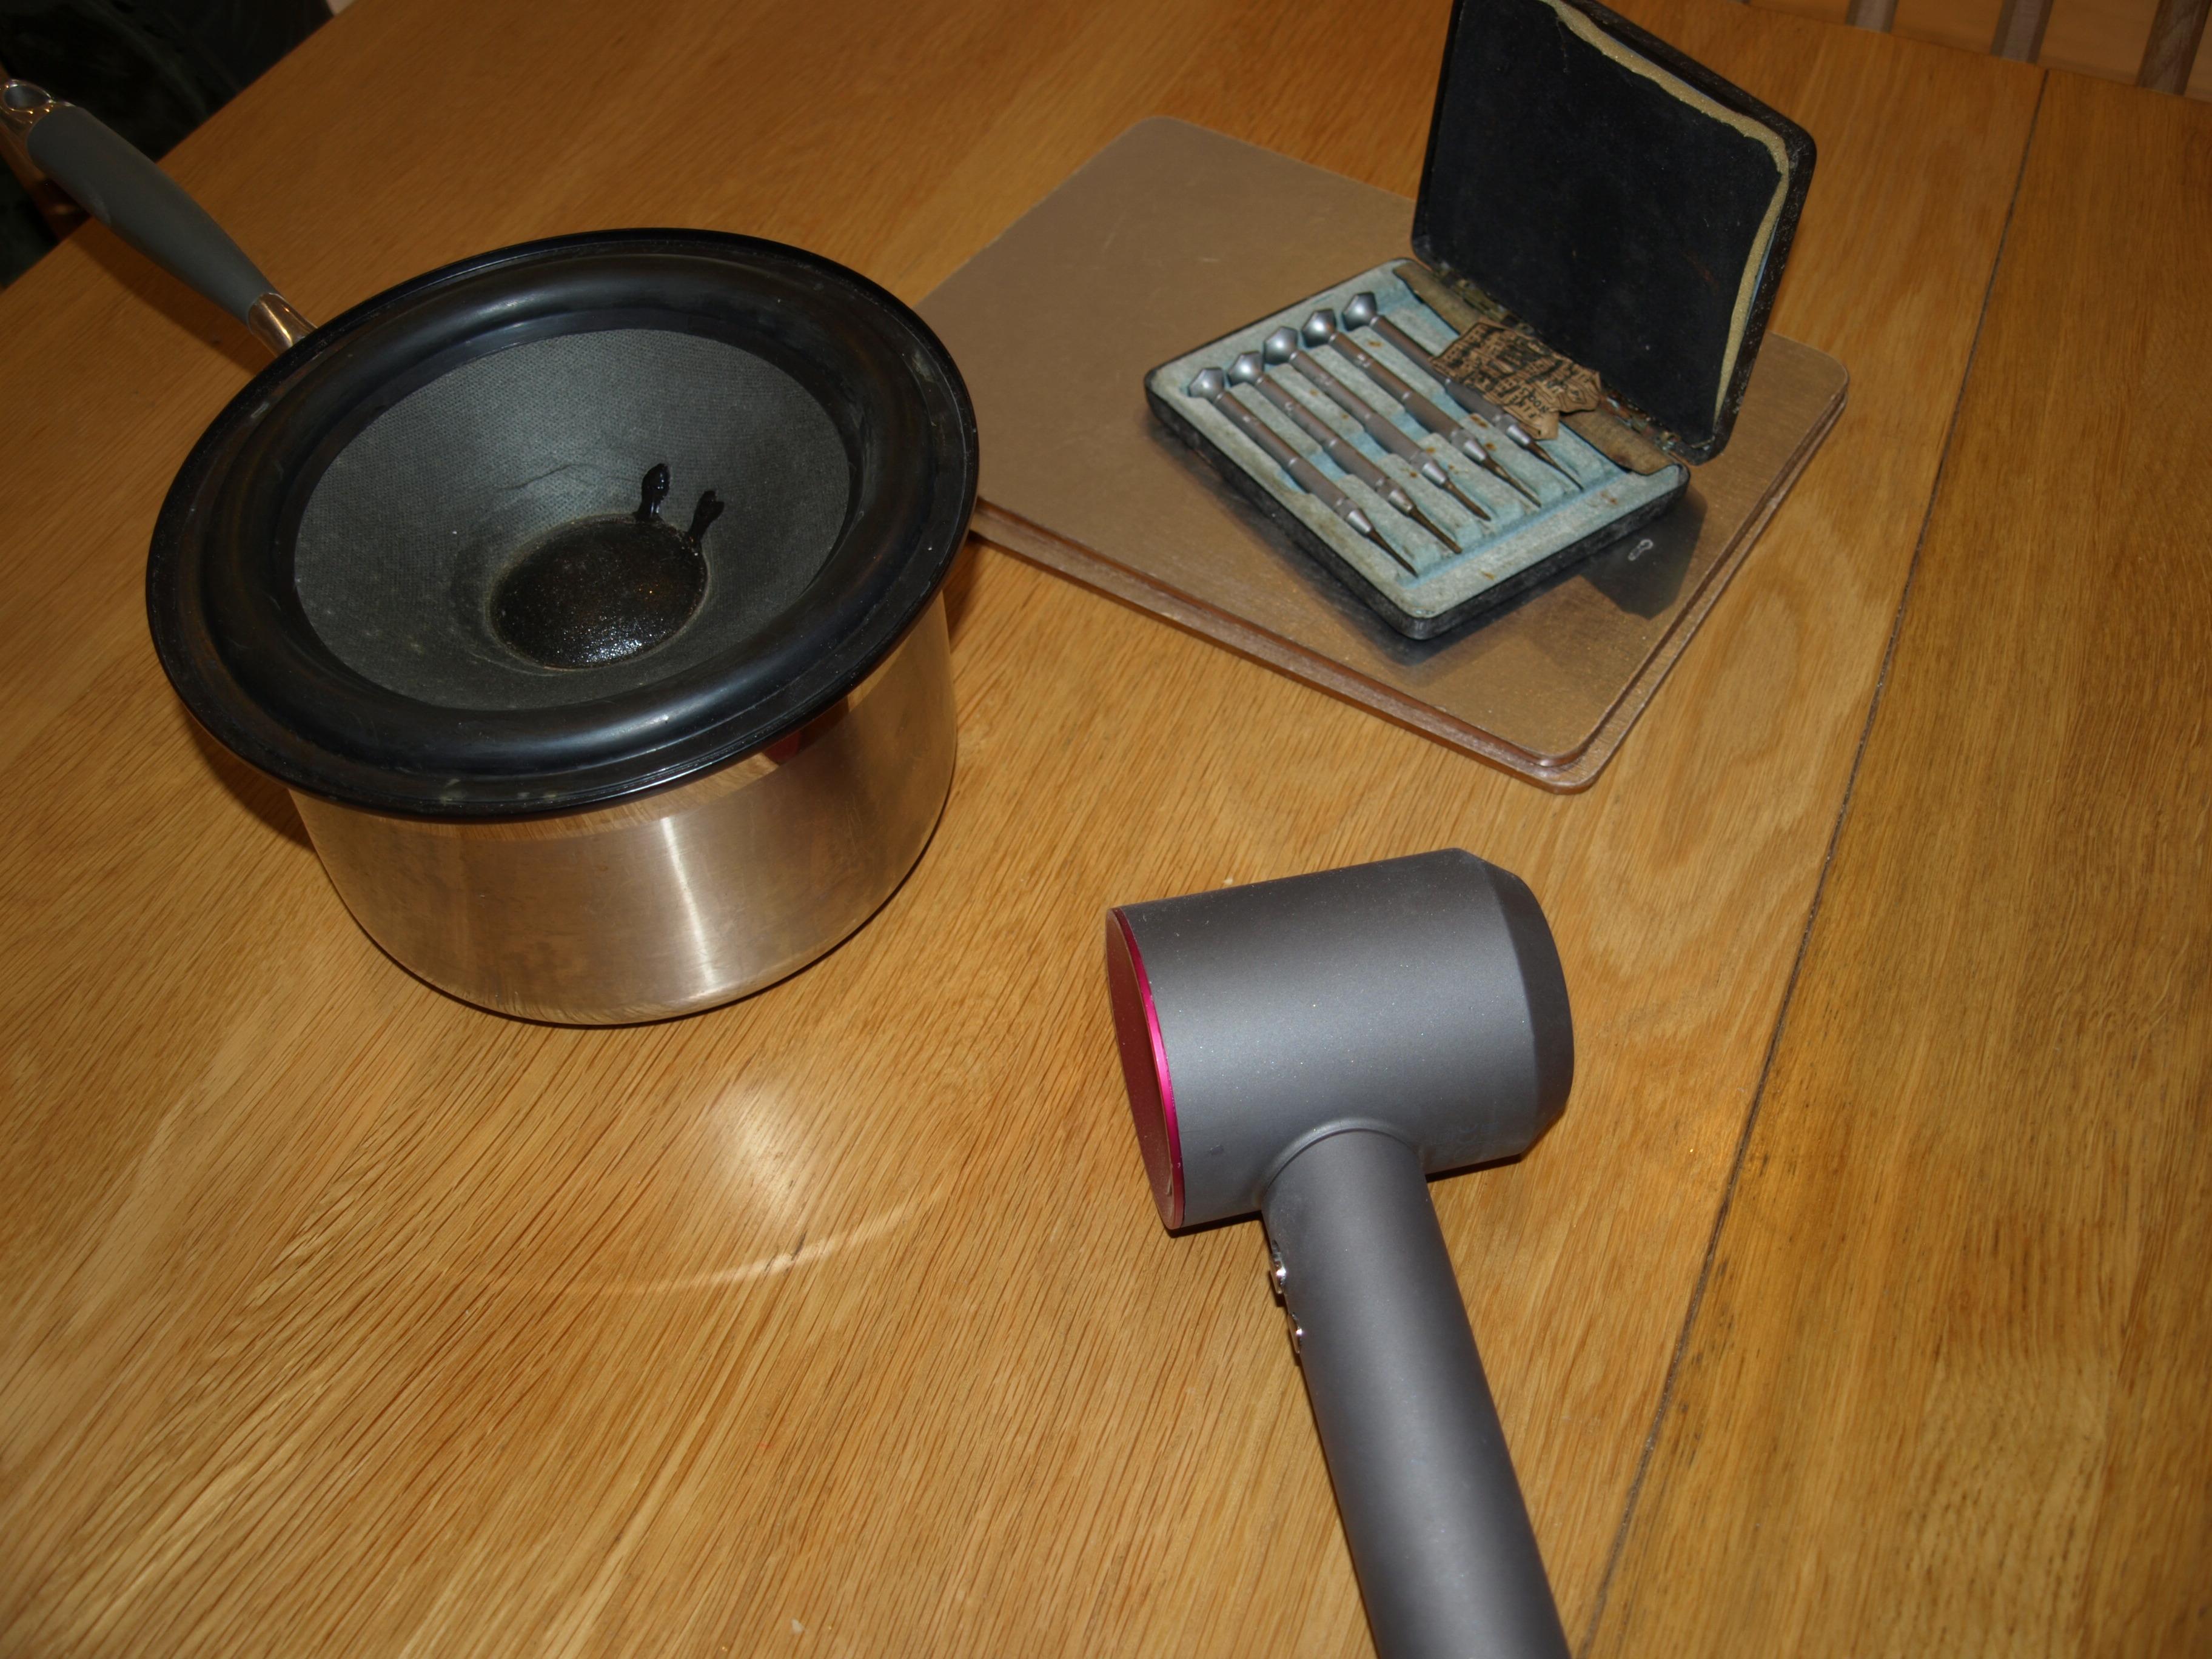
Can you provide more detail about how you softened the glue on the dustcaps? Is the pot part of the process or just a convenient holder for the cone?
Glitch
27 February 2025 at 07:32 #64136hcraig244MemberGlitch…
Yes the saucepan is simply a convenient diameter to rest the speaker on during removal of the dust cap and drying time of the epoxy, keeps any pressure off the cone and coil. The process of softening the dust cap
 comprises the use of my partners hair dryer providing hot air, this quickly softens the old adhesive which can then be very carefully lifted with a jewellers screwdriver….and in my case the use of a magnifying glass ;¬) takes a bit of patience but is quite straight forward.27 February 2025 at 10:00 #64140hcraig244Member
The epoxy now dry on the backplate and core it goes back into the vice, 2 or 3mm below the vice jaws
Attachments:
You must be logged in to view attached files.27 February 2025 at 10:15 #64143hcraig244MemberThe epoxy holding the magnet to the frame now hardened, more epoxy can be applied to the magnet face. The whole assembly is then, with a firm and steady grip….the magnet wants to pull down and sidewards, lowered onto the core held in the vice jaws carefully…..the coil is exposed to damage at this point as the core is guided inside it. With a clunk the magnet will grab the vice jaws which can then be released to allow the backplate to snap into place. The coil now gripped by the off centre core can be viewed through the dust cap apperture as the alignment jig is fitted tightly to the magnet by the bottom row of screws and the top row of screws adjusted up against the backplate and used to centre the backplate and core using the dust cap apperture as a guide until the it looks central and the cone and coil move freely within the magnetic field……
Attachments:
You must be logged in to view attached files. -
AuthorPosts
 comprises the use of my partners hair dryer providing hot air, this quickly softens the old adhesive which can then be very carefully lifted with a jewellers screwdriver….and in my case the use of a magnifying glass ;¬) takes a bit of patience but is quite straight forward.
- You must be logged in to reply to this topic.