Home › Forums › Product Discussion & Questions › BeoLink › Beolink 5000 finally a solution?
- This topic has 19 replies, 7 voices, and was last updated 12 months ago by

-
AuthorPosts
-
14 December 2023 at 12:42 #51268
 BRONZE Member
I was watching a video on YouTube yesterday where a guy was changing the LCD display of a pocket computer, and something was quite interesting. It made me think that maybe there is a solution to the glue of the display ribbon cable coming lose and no longer making a connection, resulting in the Beolink 5000 display missing lines.
The pocket computer is made in a similar way but the way it is connected to the board is quite interesting.
Here is a look at the new LCD display – the stripes on the border are connectors:
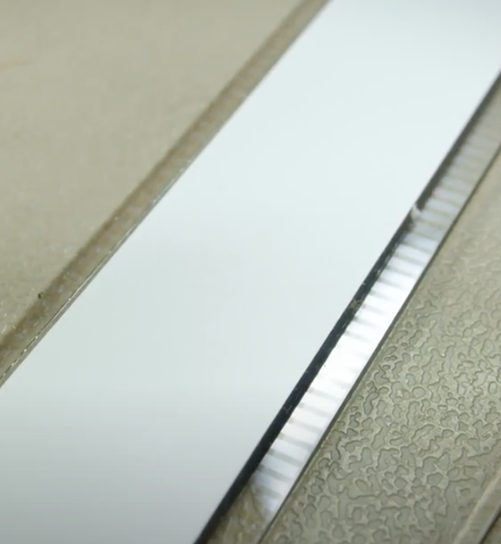
Instead of using glue to make the connection, conducting strip is used between the display and the PCB. Now, perhaps something like this could be made for the Beolink?
Here is the video: https://youtu.be/SZzgoo4ZGC8?si=mMqYcii2FED33TdO&t=433
Location: Copenhagen
14 December 2023 at 18:55 #51269 Die_BogenerBRONZE Member
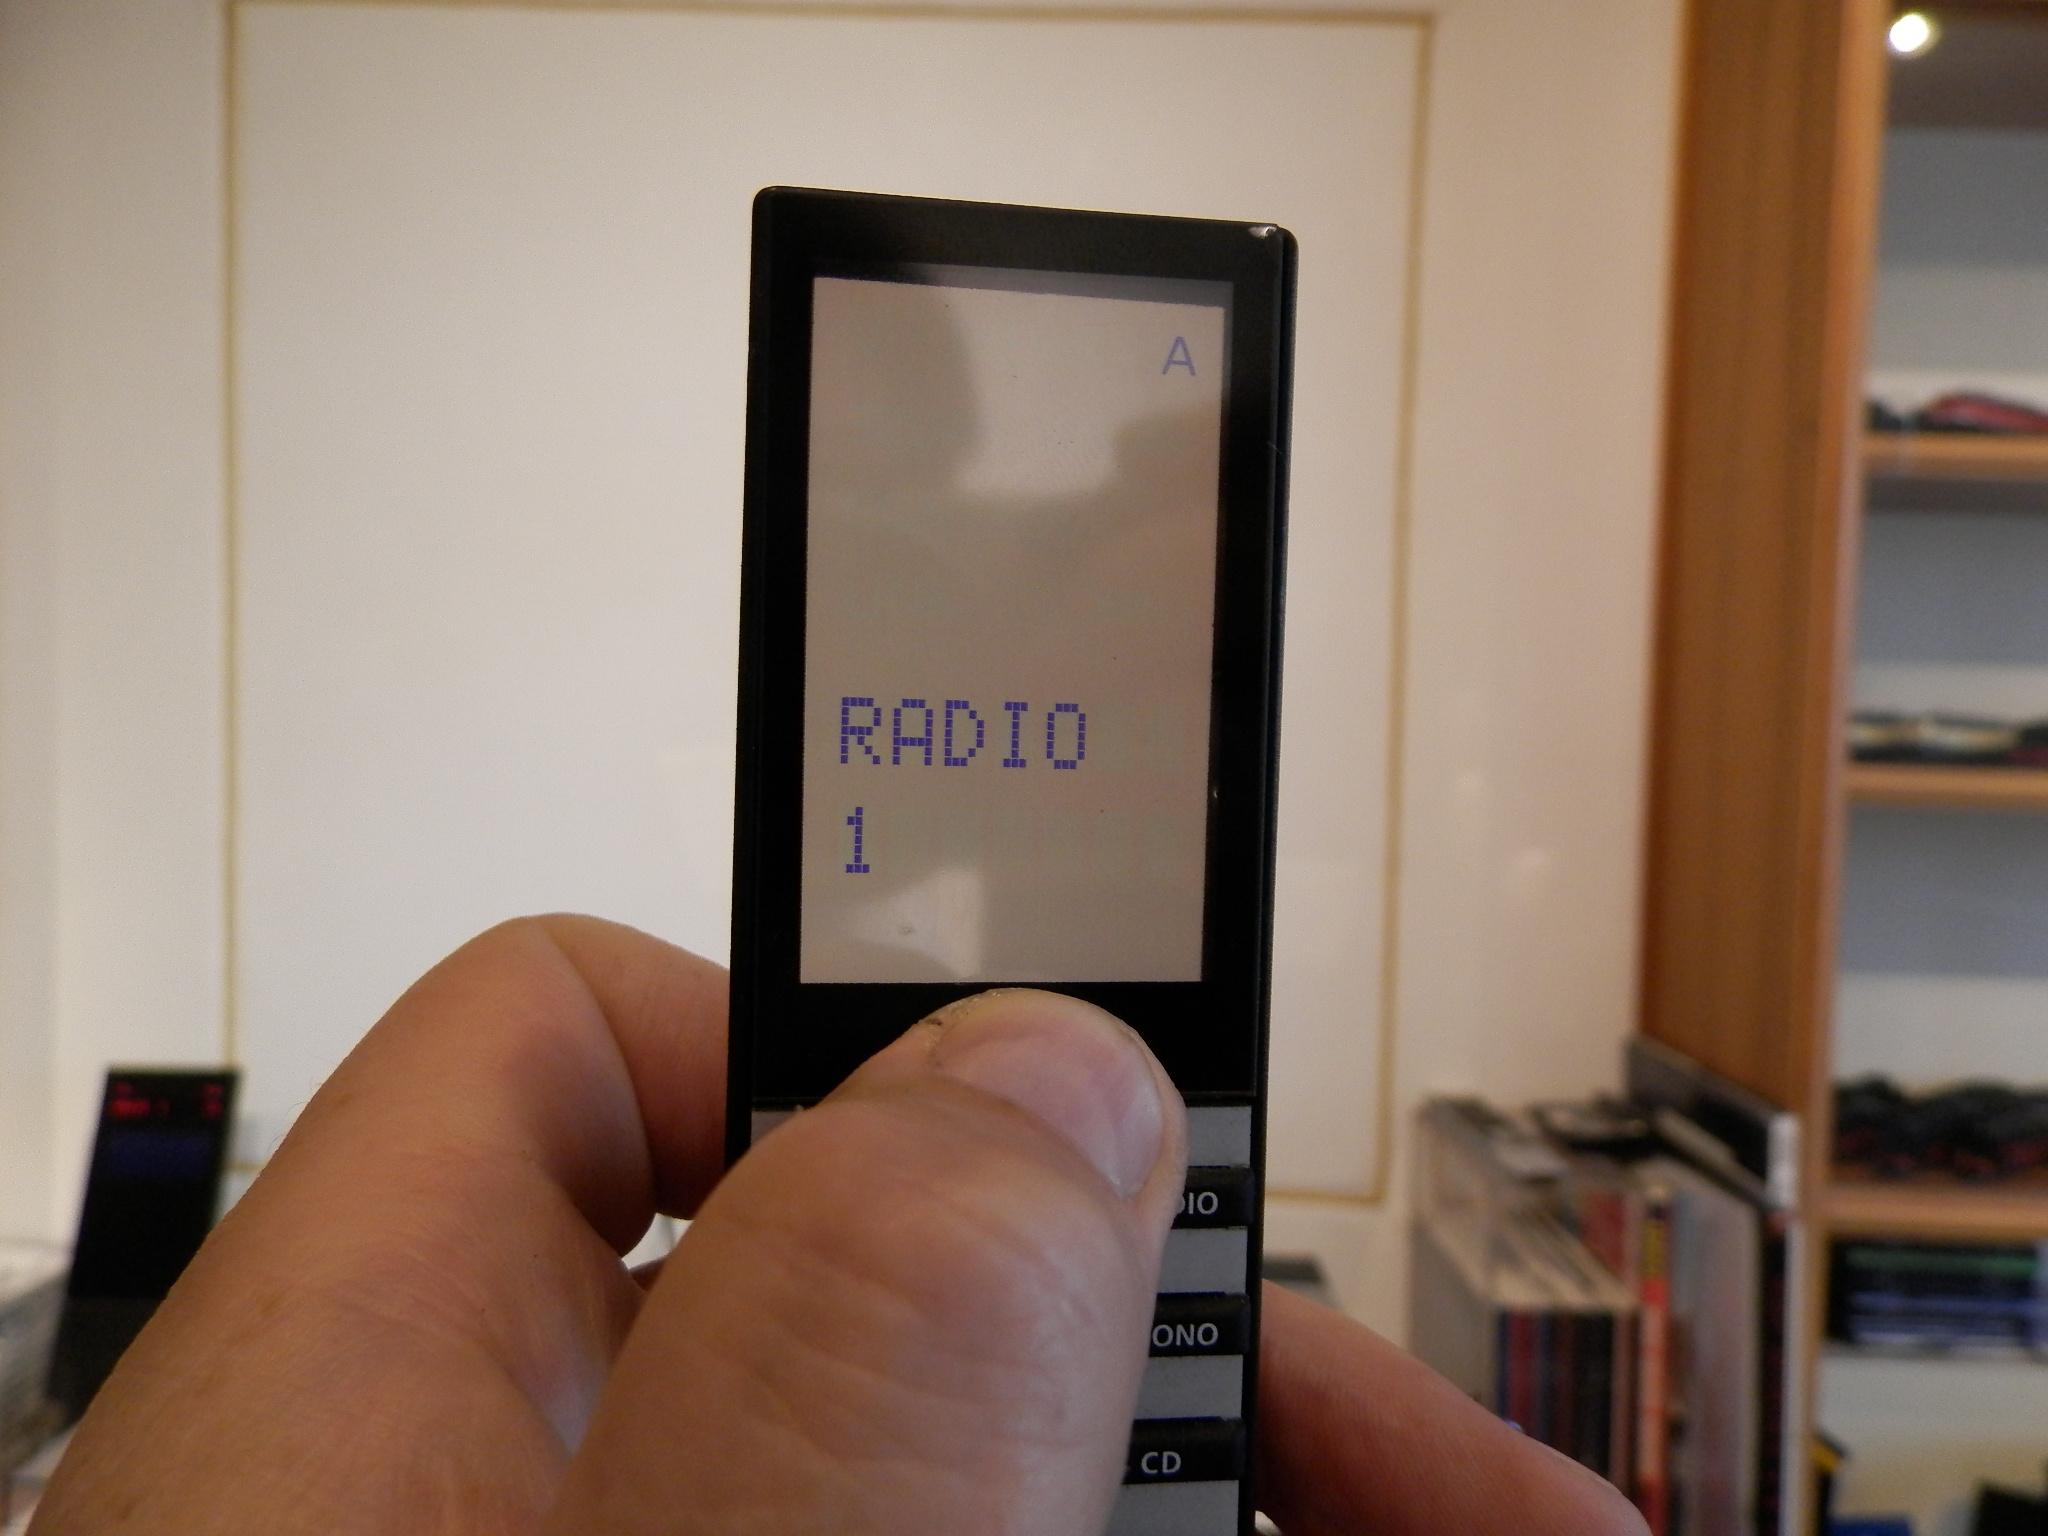
There is no board under the display… the board and the display are seperated around 1cm.
Therefore it must be a foilcable like it was before.
The only solution for a silicon connector would be an extended Mainboard. An then there is the problem, that the silicon connector will make pressure on the display pushing it out of the metal frame…
 15 June 2024 at 17:16 #56517
Interesting idea! The Beolink 7000 has a similar conductive strip between the board and the transparent display. I hope one day someone cracks this problem!
Location: Nottingham, UK
My B&O Icons:


 16 June 2024 at 11:28 #56526
 GOLD Member
It seems that someone has cracket the problem. In the facebook group Bang & Olufsen there is a thread where a solution is shown
https://www.facebook.com/groups/2263448640/search/?q=beolink%205000
/steffen
Location: Hvidovre, Denmark
My B&O Icons:


 19 June 2024 at 11:35 #56585
 BRONZE Member
From RS Baarstrøm on Facebook:
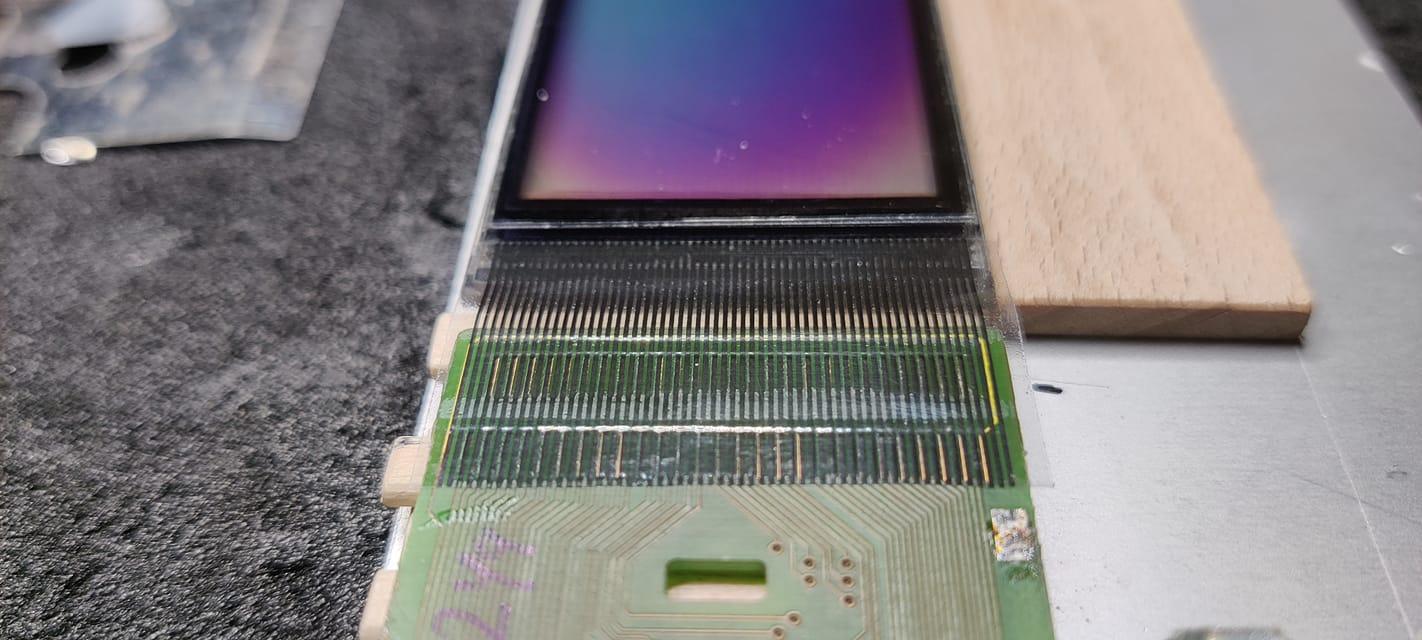
“The method is simple. You have to find a new LCD cable with a pitch of 0,55mm.
Then you align the cable with the screen and pcb and attach it with a heat press.
It is nearly impossible to do by eye, I had to build a simple fixture for alignment and use a microscope.”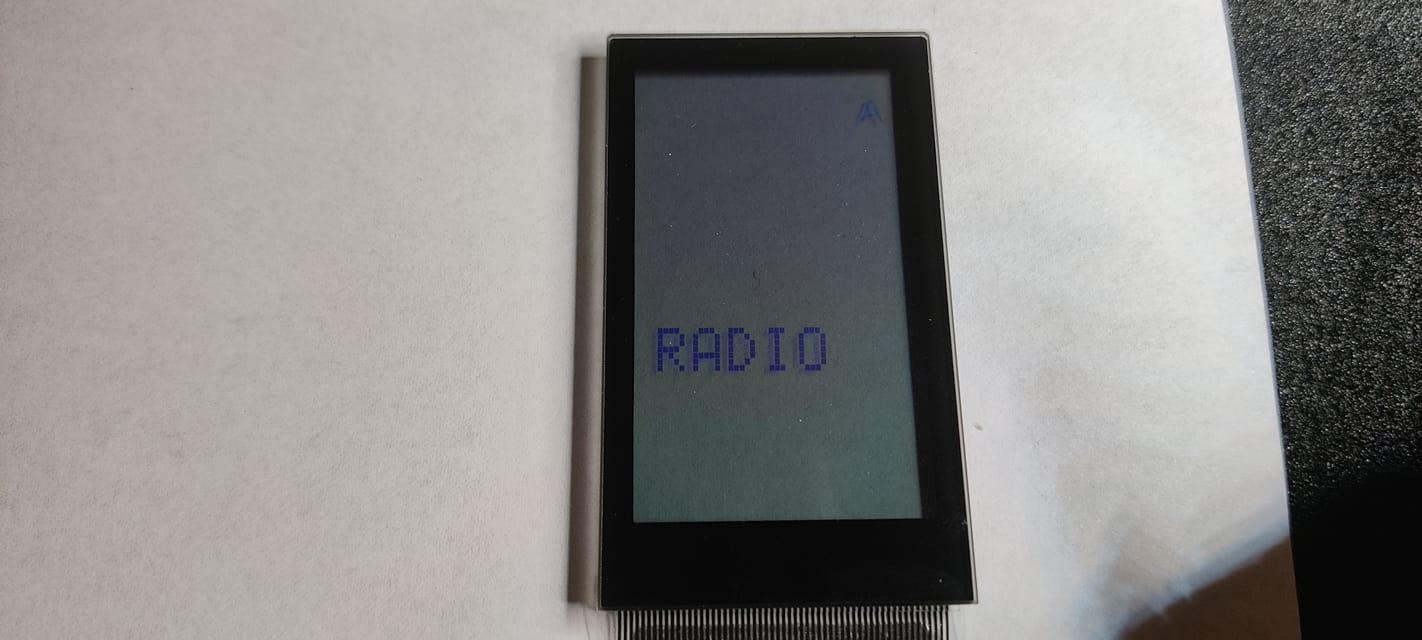
Location: Copenhagen
10 August 2024 at 21:29 #58144 BRONZE Member
Hi everyone,
I am happy to report back that I was contacted by a nice fellow on Beoworld. He had seen that I had been looking for a solution for fixing the Beolink 5000 for a while, to no avail.
He wrote to me that all I had to do was rip off the old LCD cable and clean the print and screen for the glue that was used and then either send it to him or come to his place. I have three of these wonderful remotes but only one of them was working, and with a lot of pixels missing. So, obviously I was very interested. I was also a bit reluctant to remove the cable from the one remote that actually worked but I still did it.
So, I tore off the LCD cables and cleaned the screens and prints, and then I drove to his place just outside of Copenhagen where we had a great talk about Bang & Olufsen, and how we got bitten by the bug. I handed him the screens and prints, and he said that they would probably be ready within a week or so. I also received quite a few spares that I needed to make my Beolink 5000s look almost like new. The price was also very, very acceptable. Thank you!
Sure enough, after a week, he called me and said that the LCD cables had been fixed by a guy in Struer, Denmark.
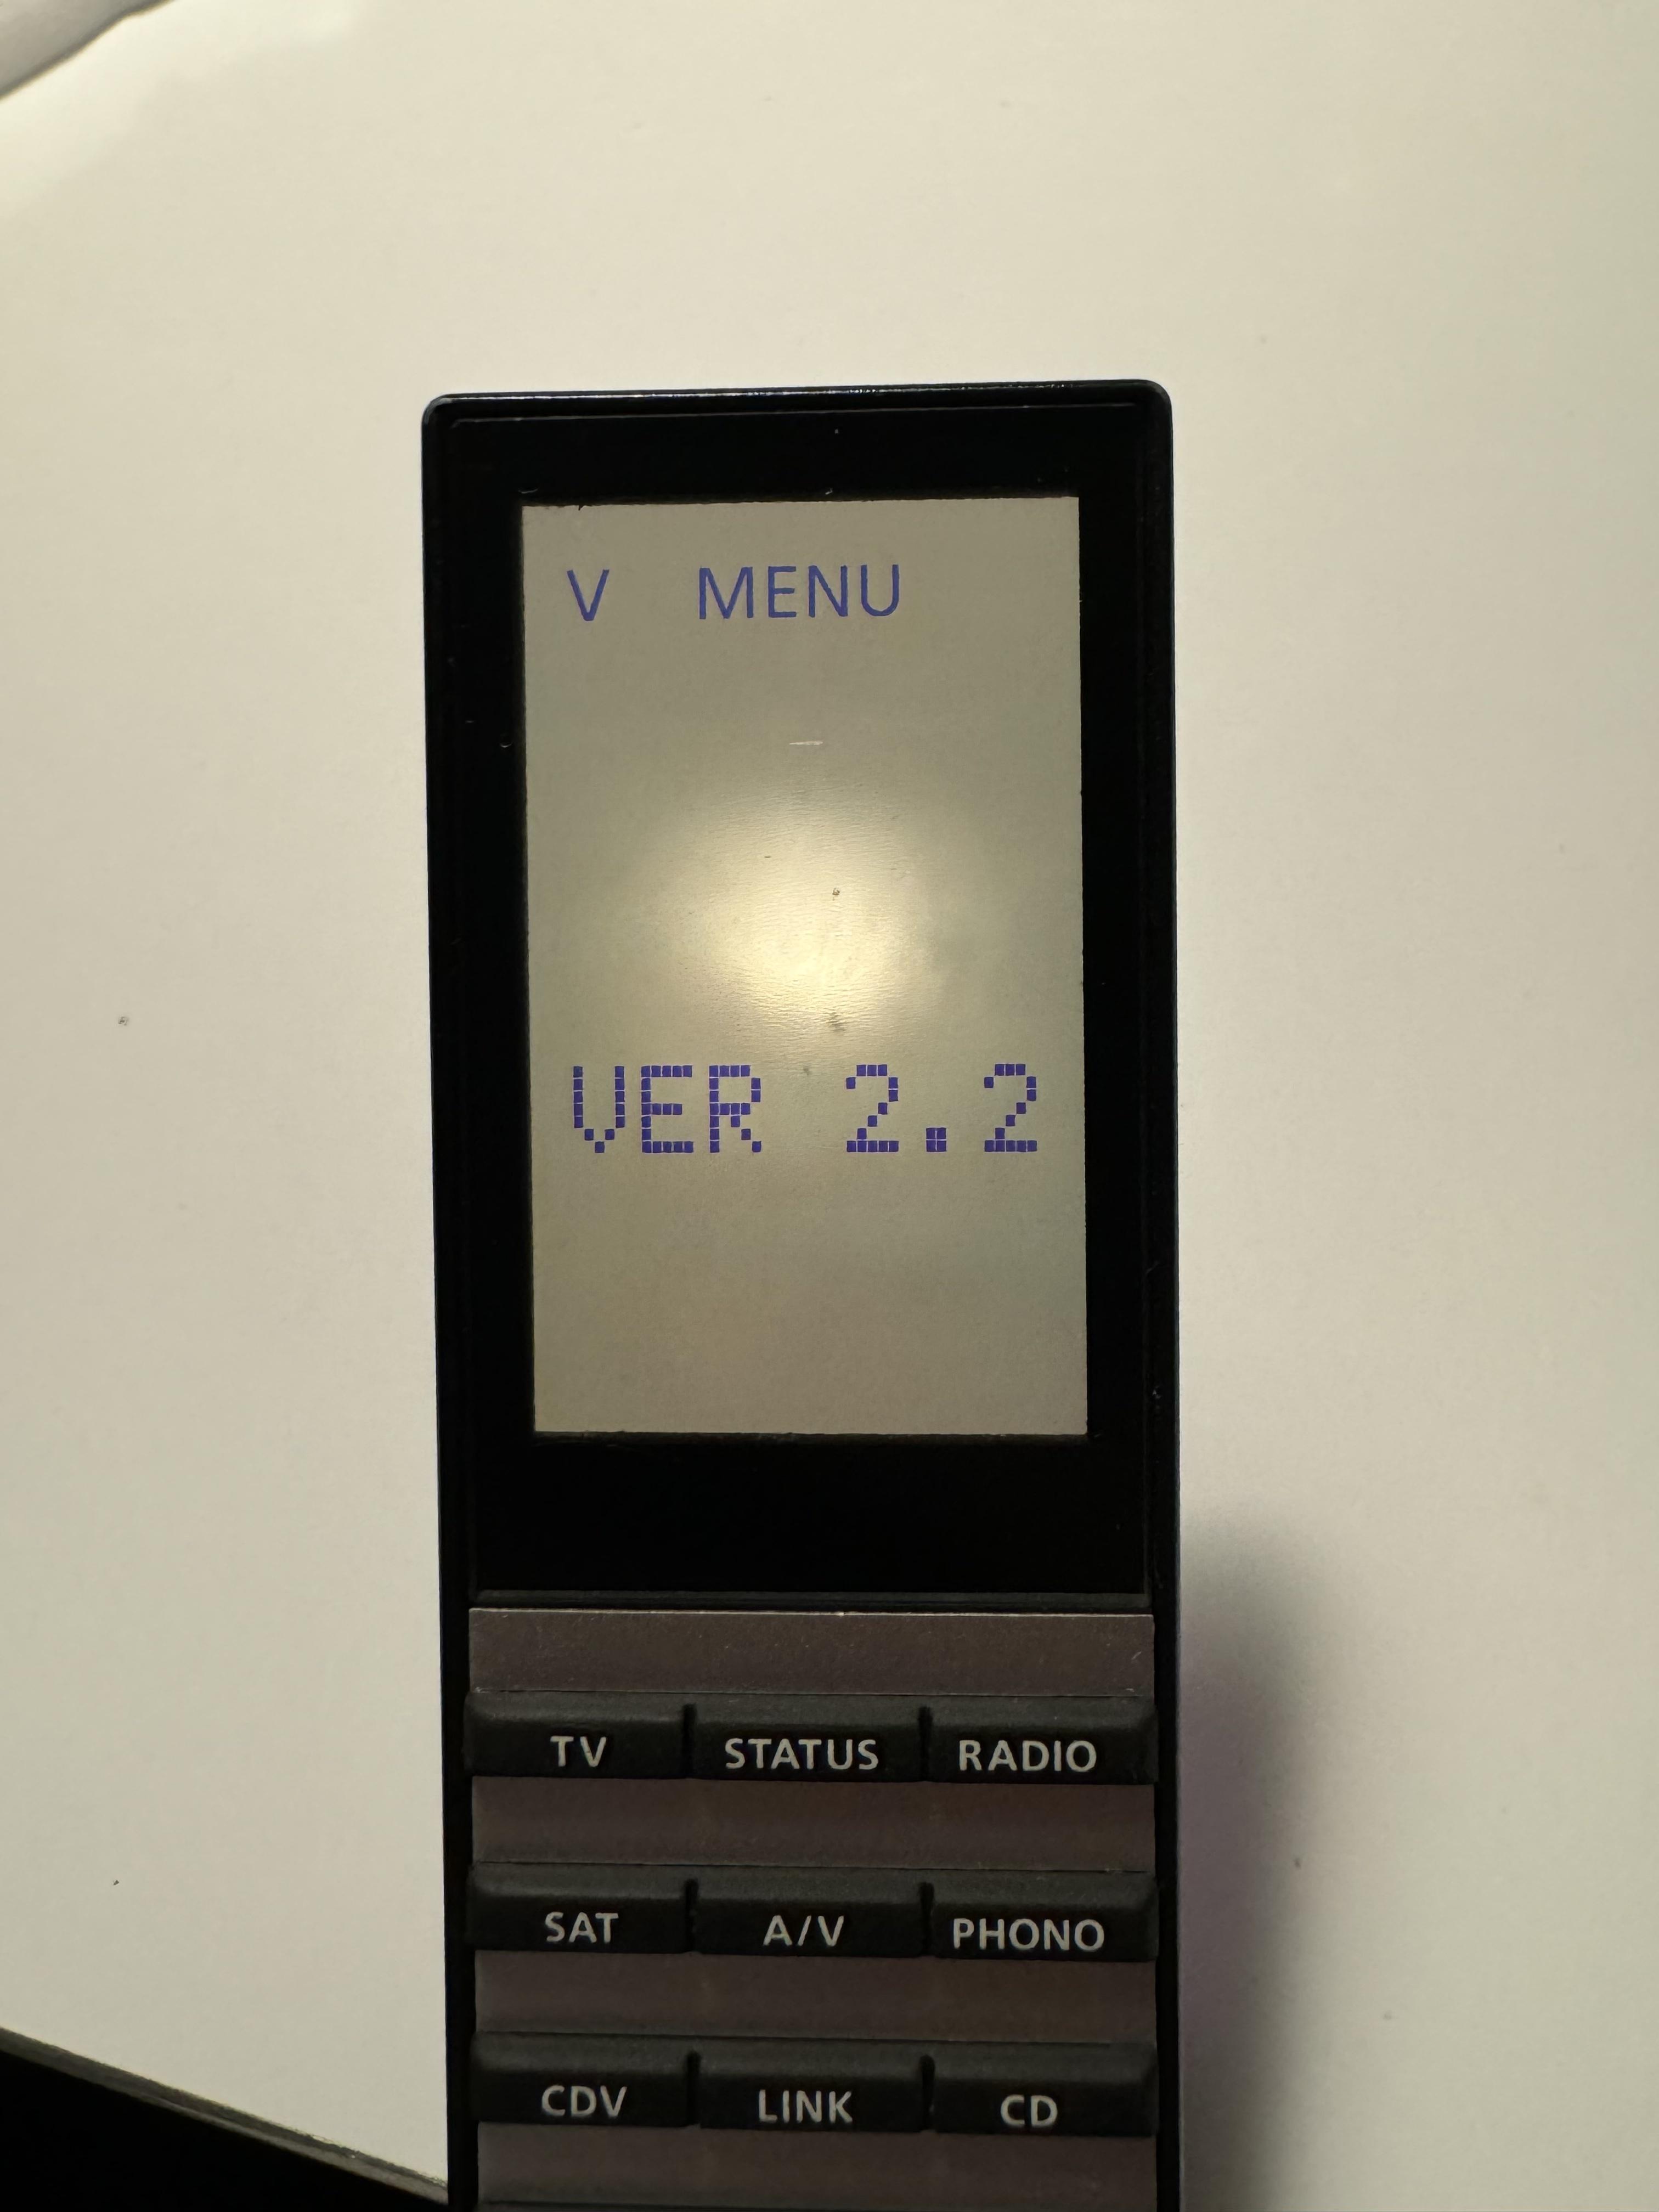
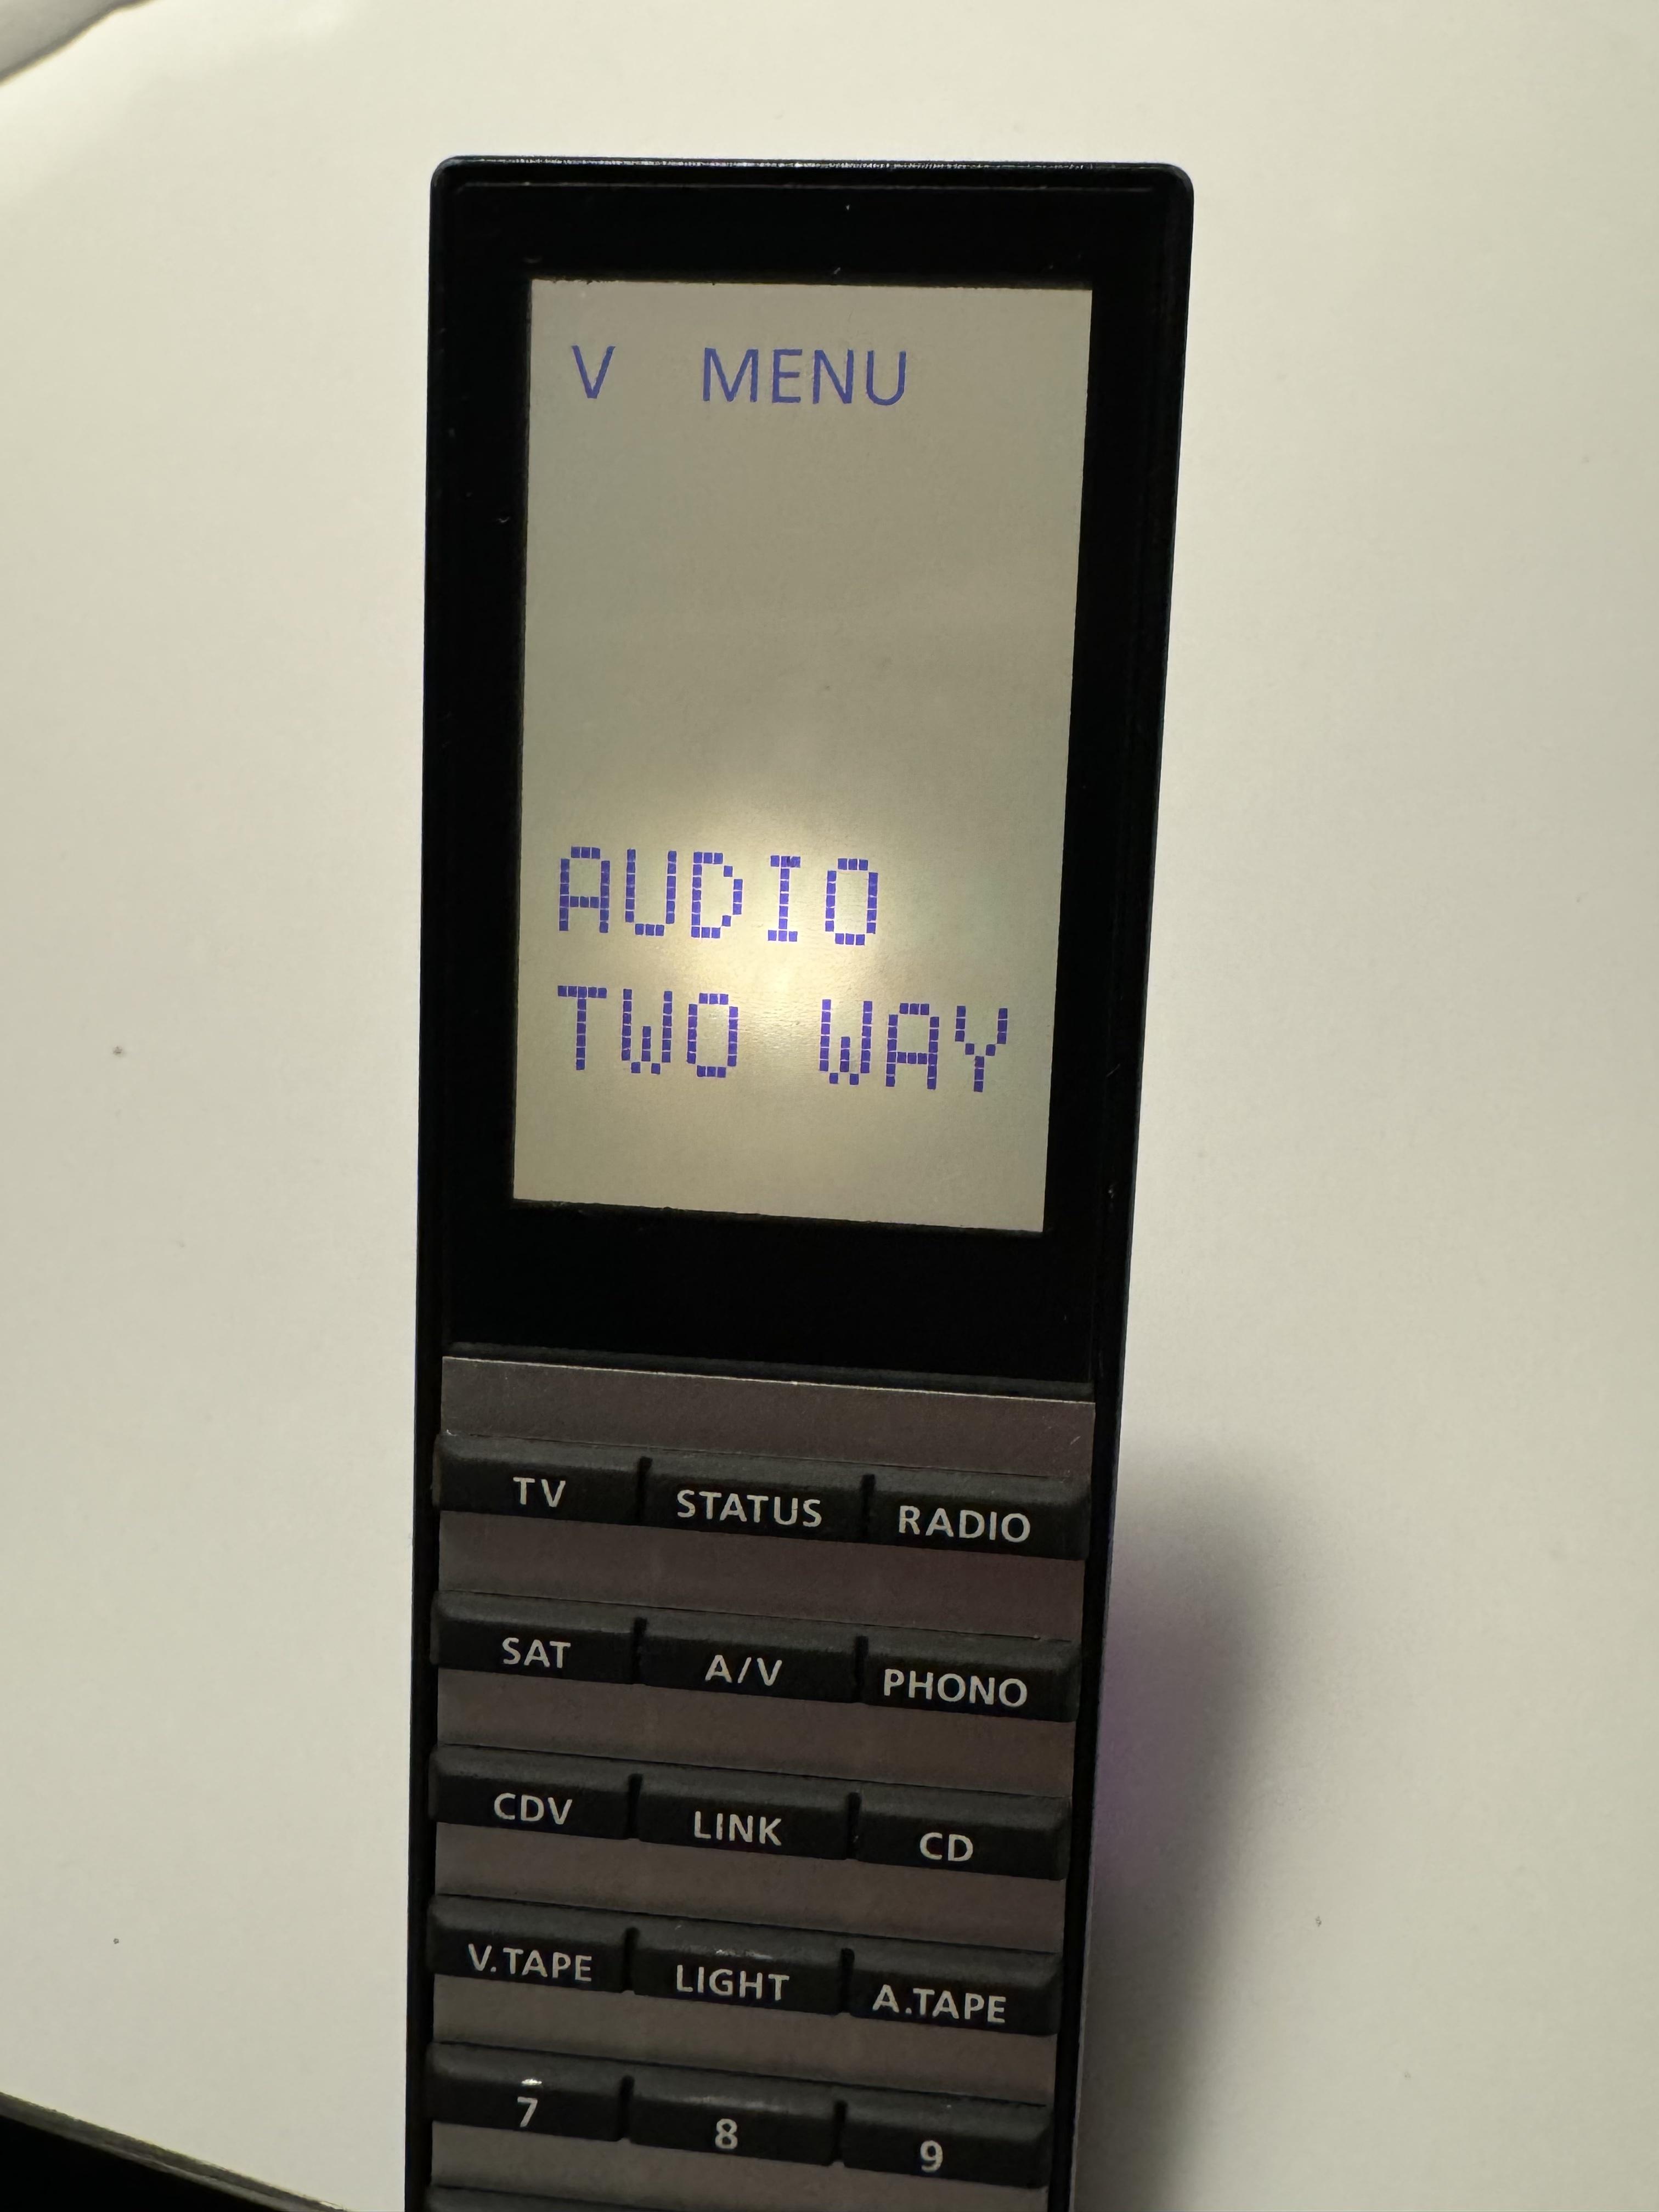
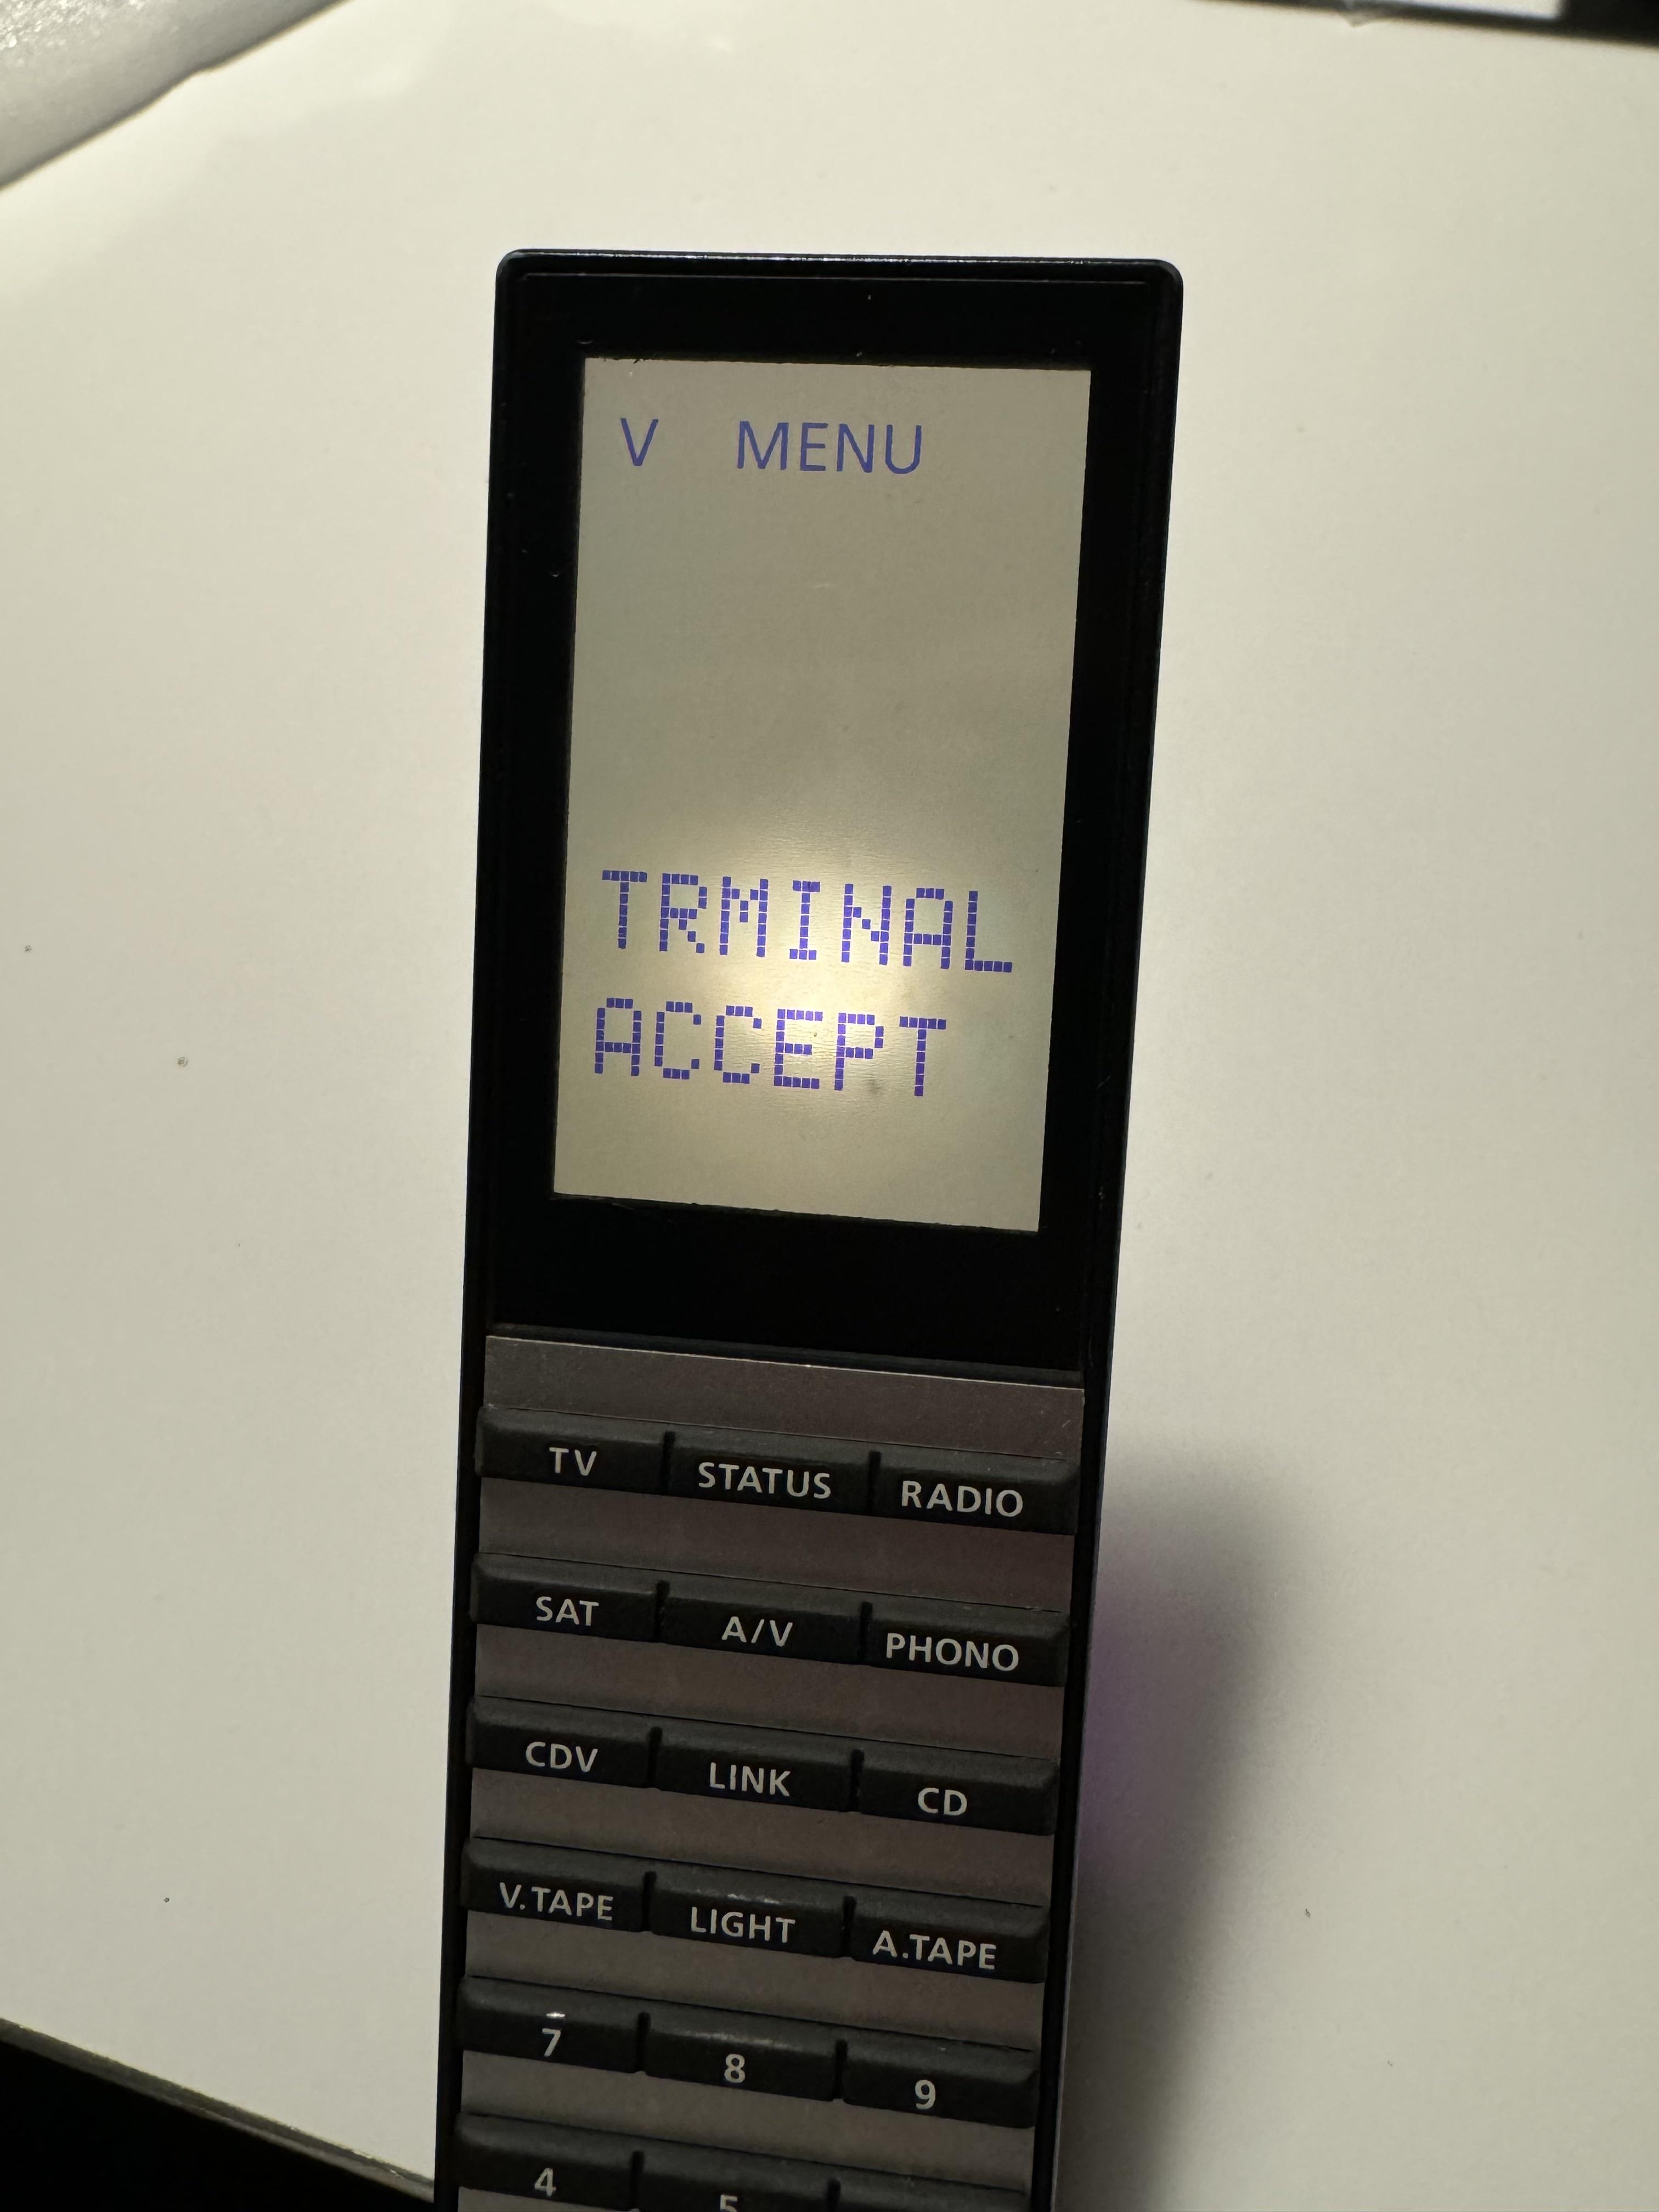
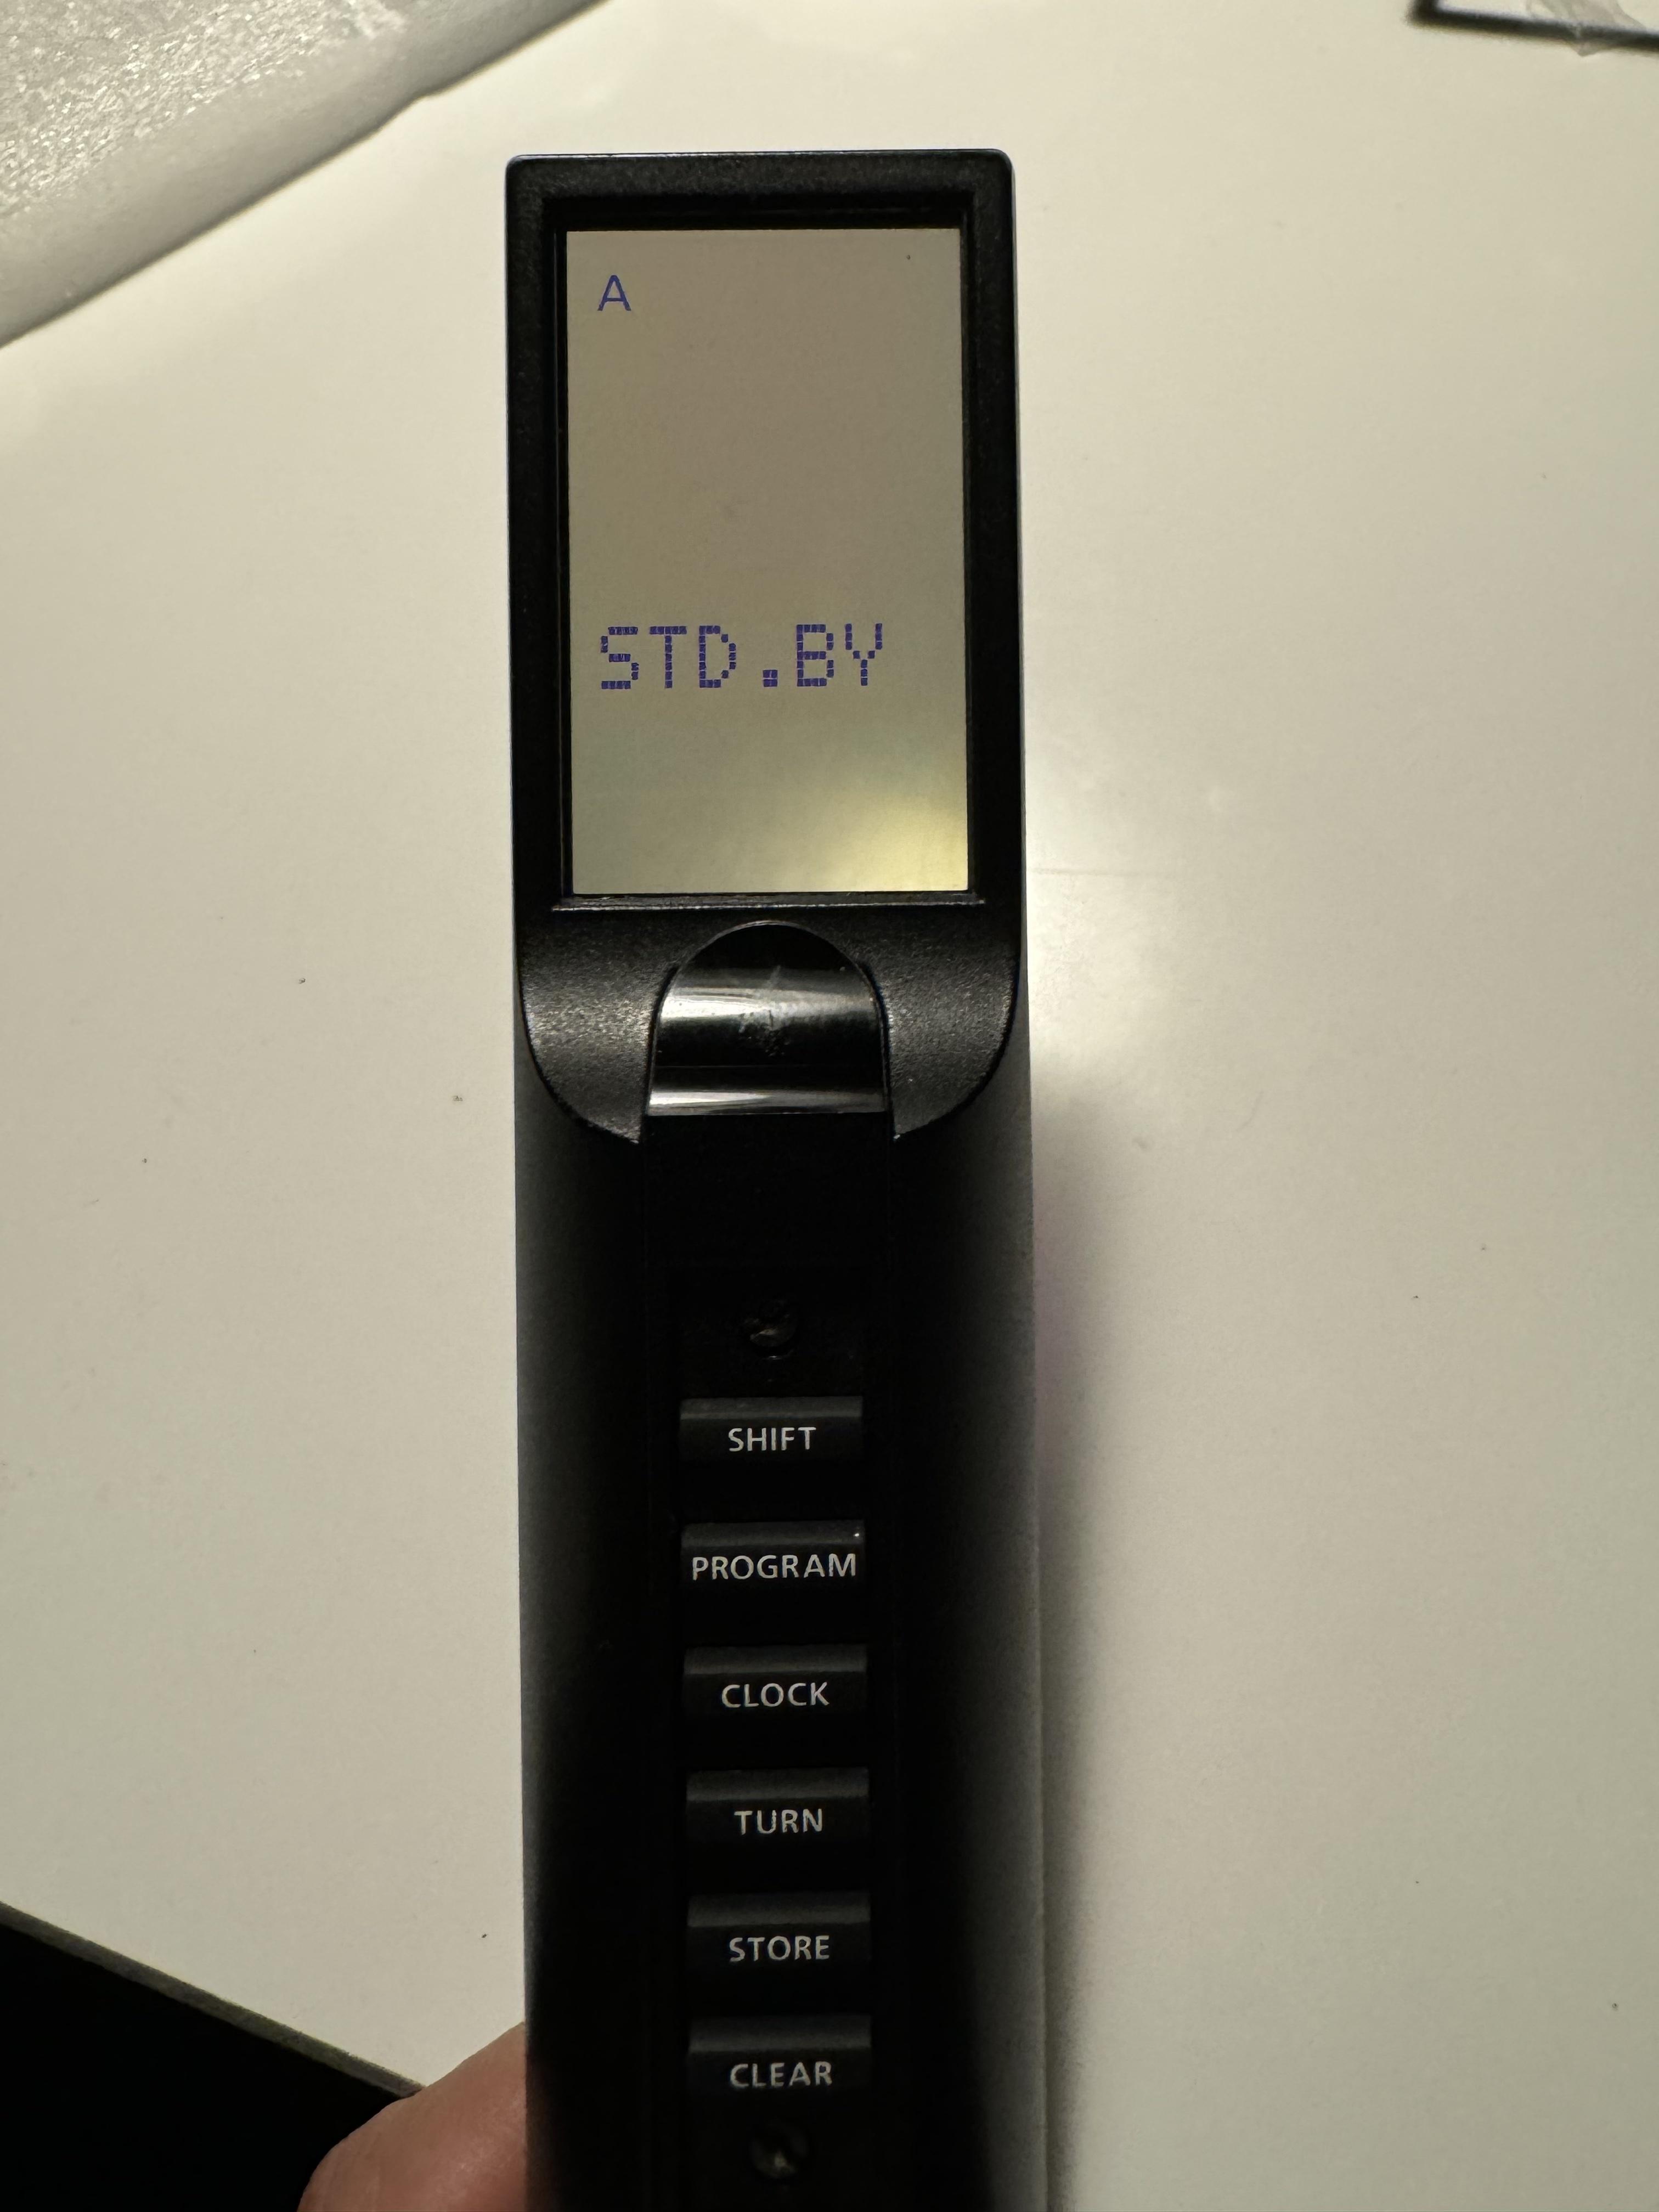
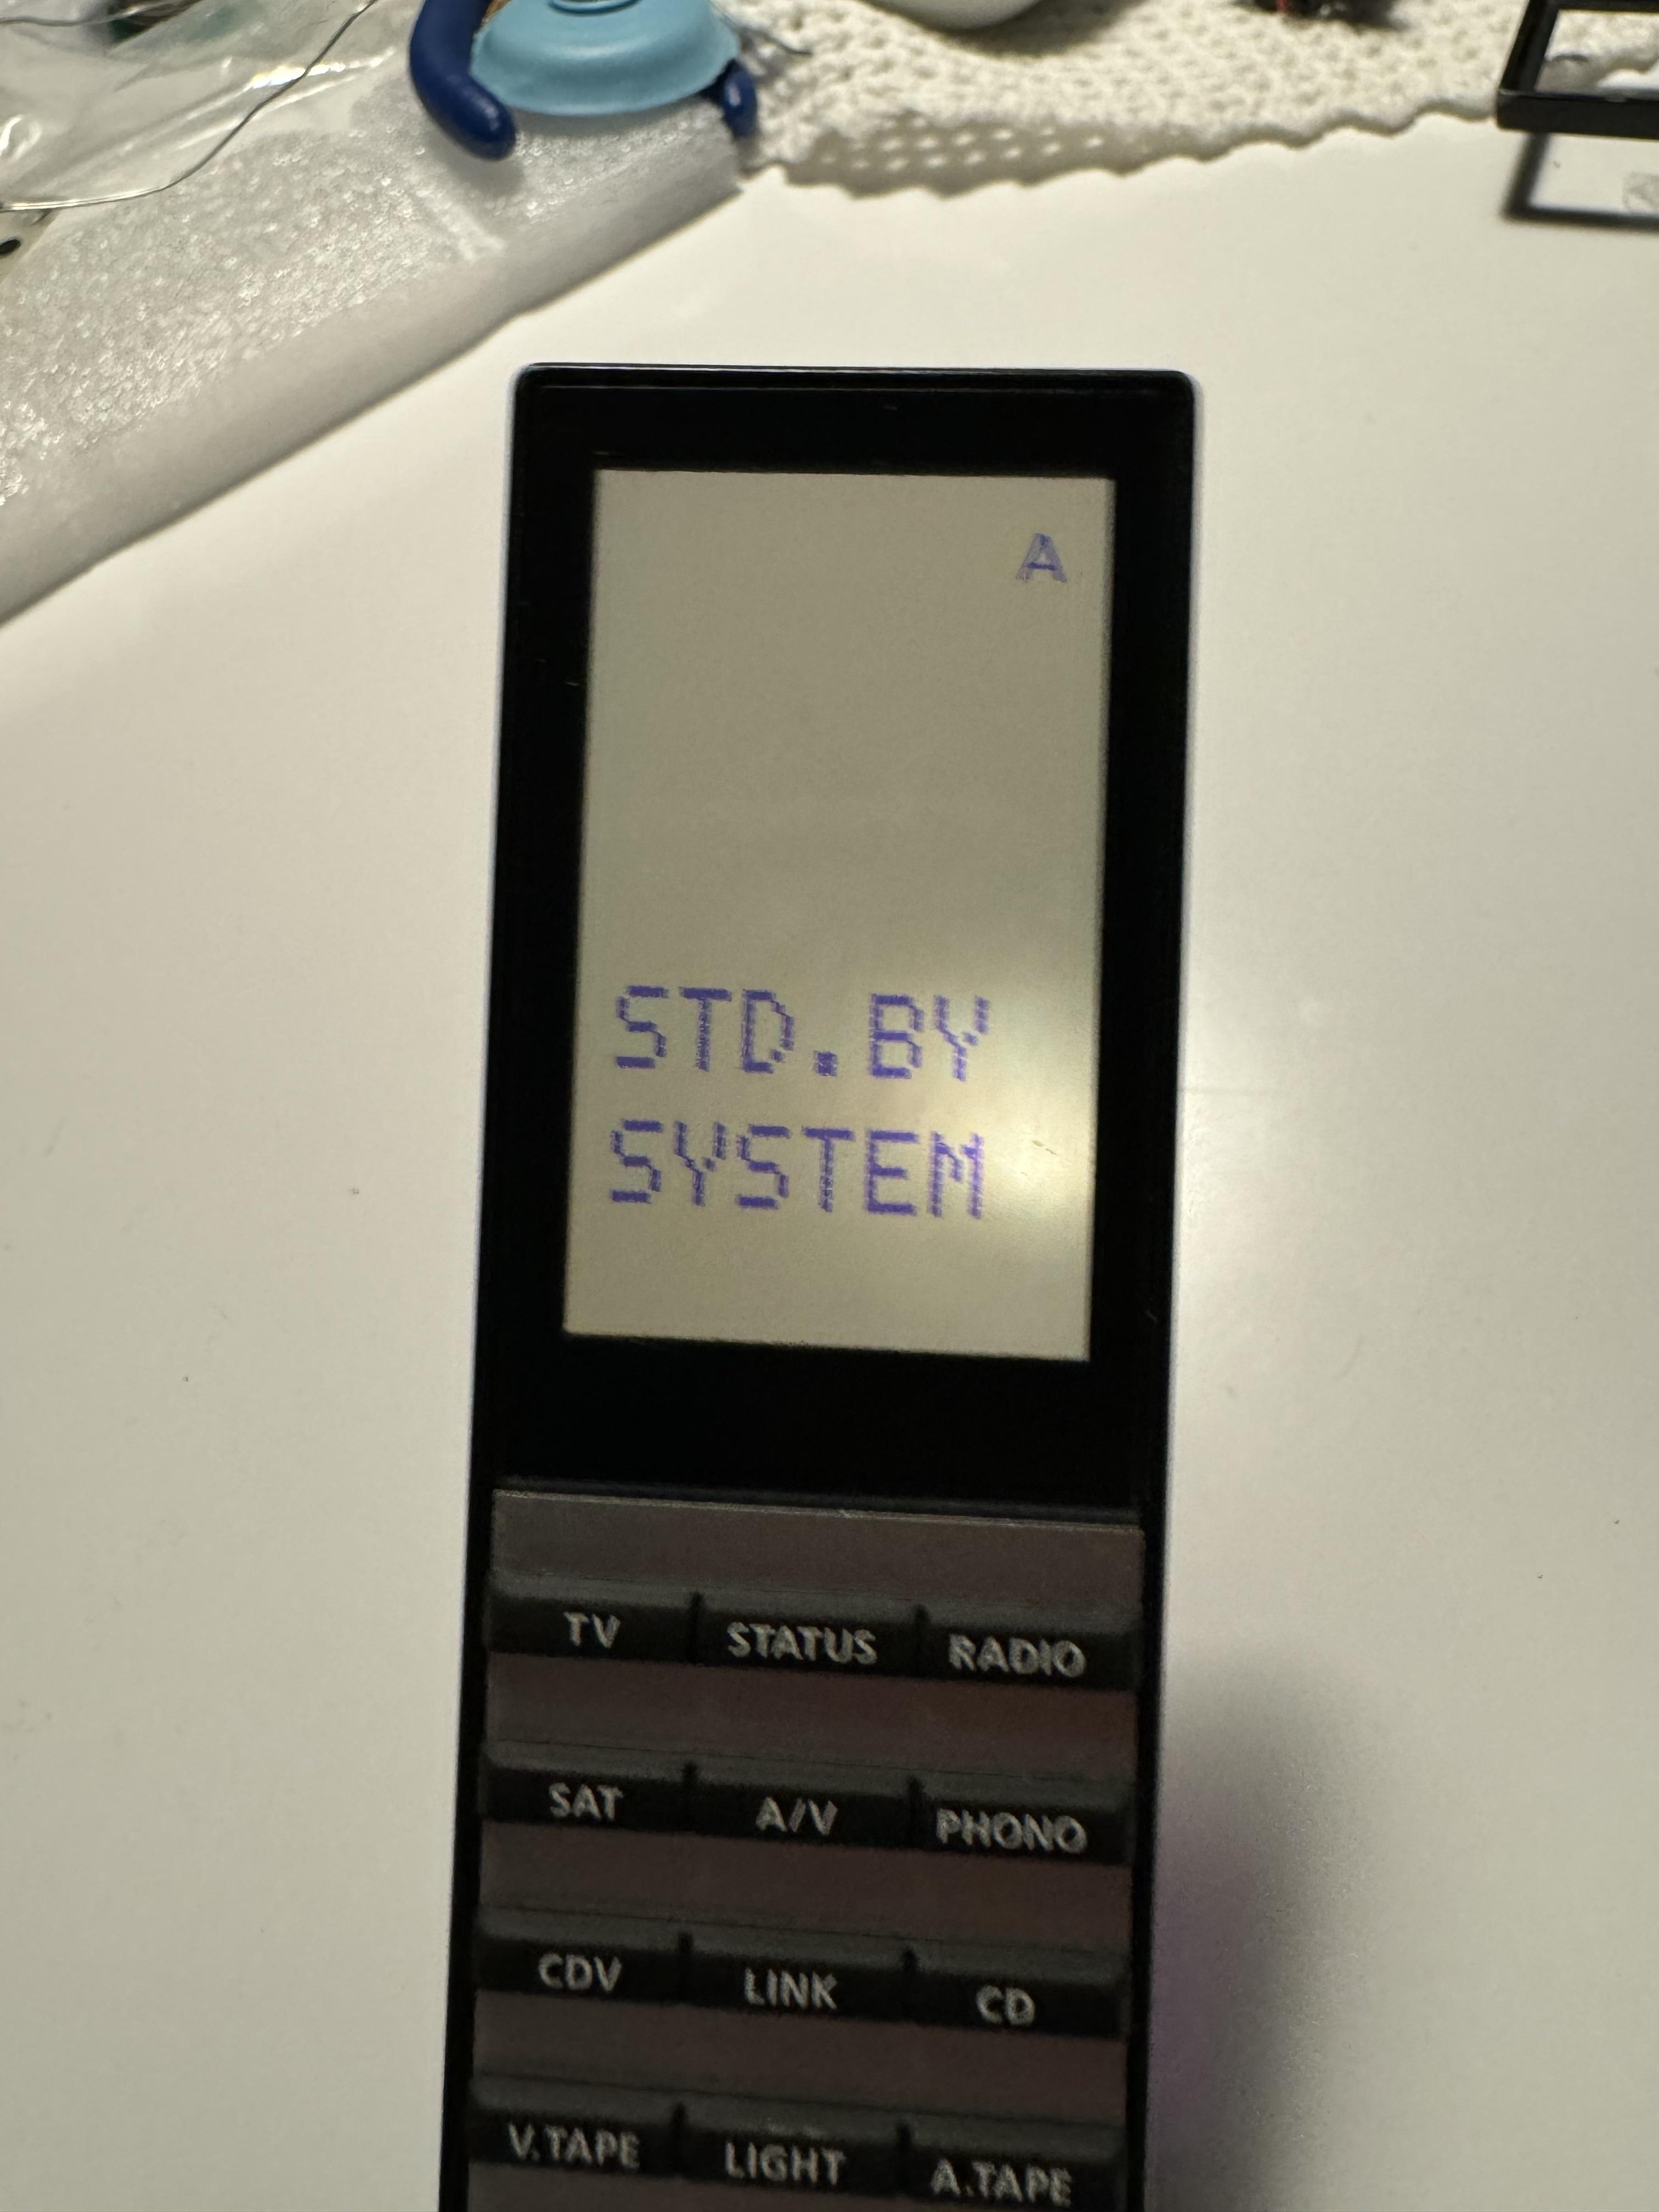
I have now assembled the first of the Beolink 5000s and I wanted to share the result with you. The screens are working 100%, and I just love the result.
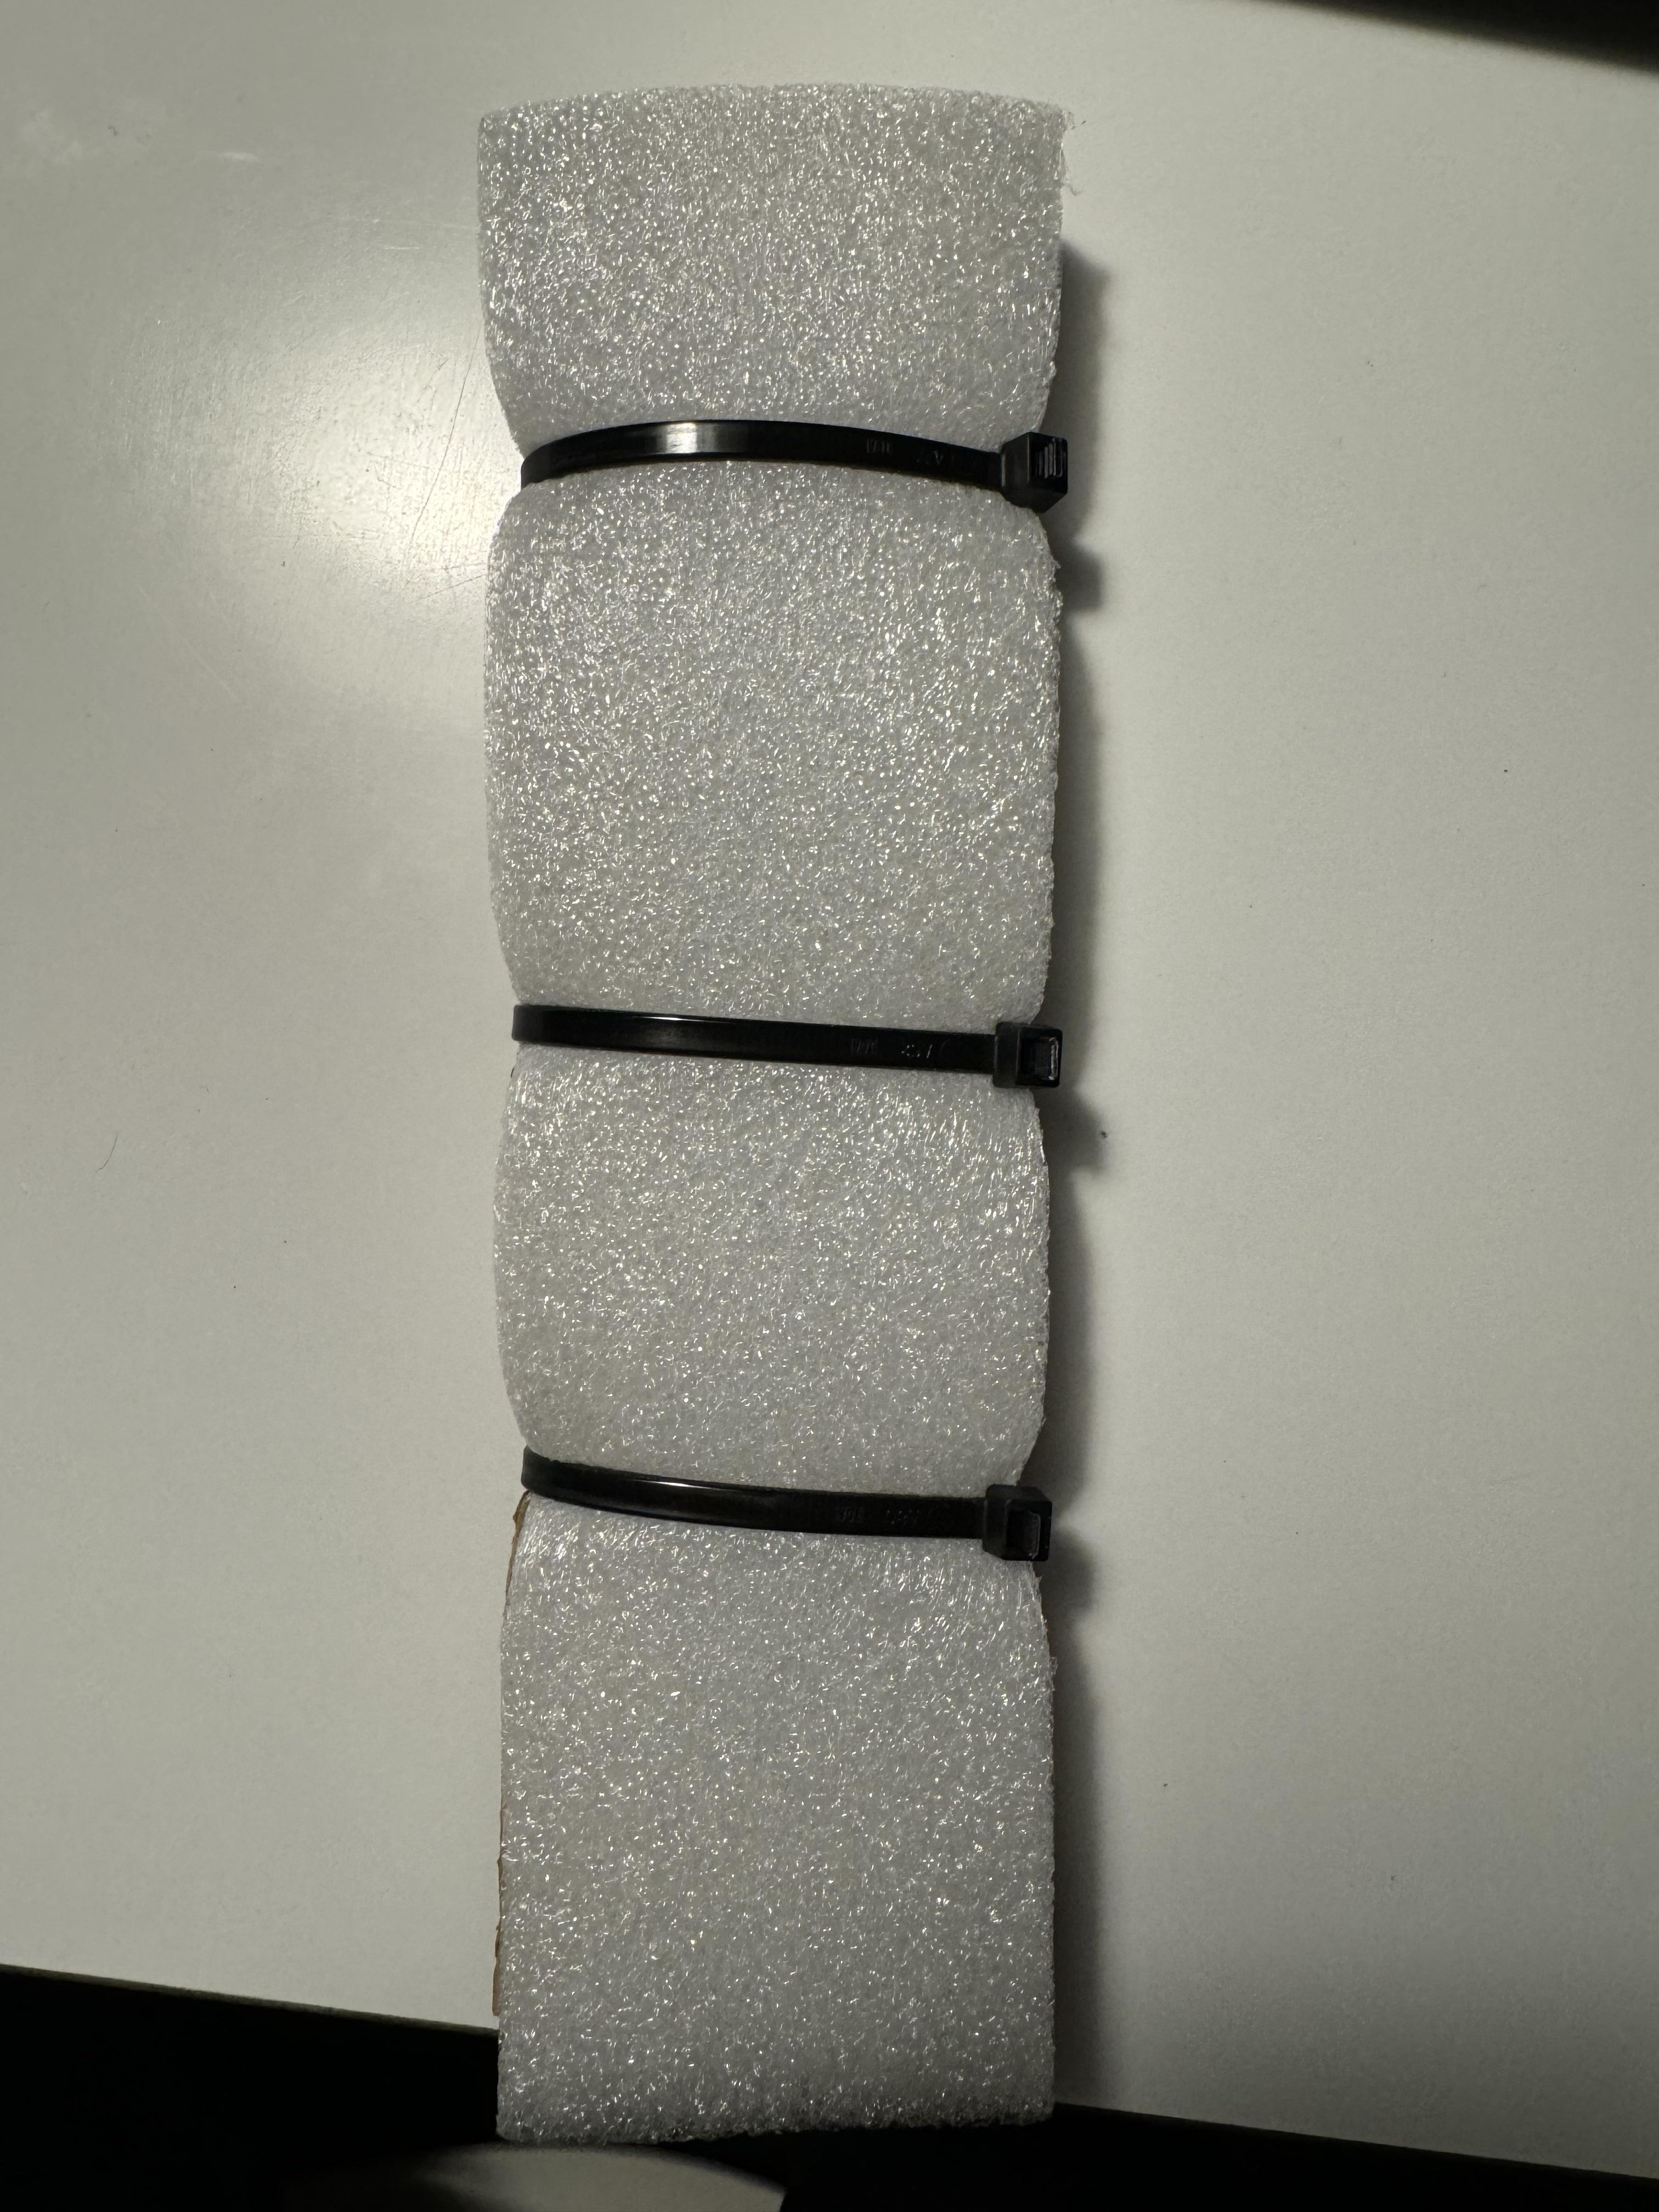
The screen and print are fragile so they were packaged very securely.
Checking the software version:
Setting up the remote for one way or two way communication:
Storing:
Using Link CD
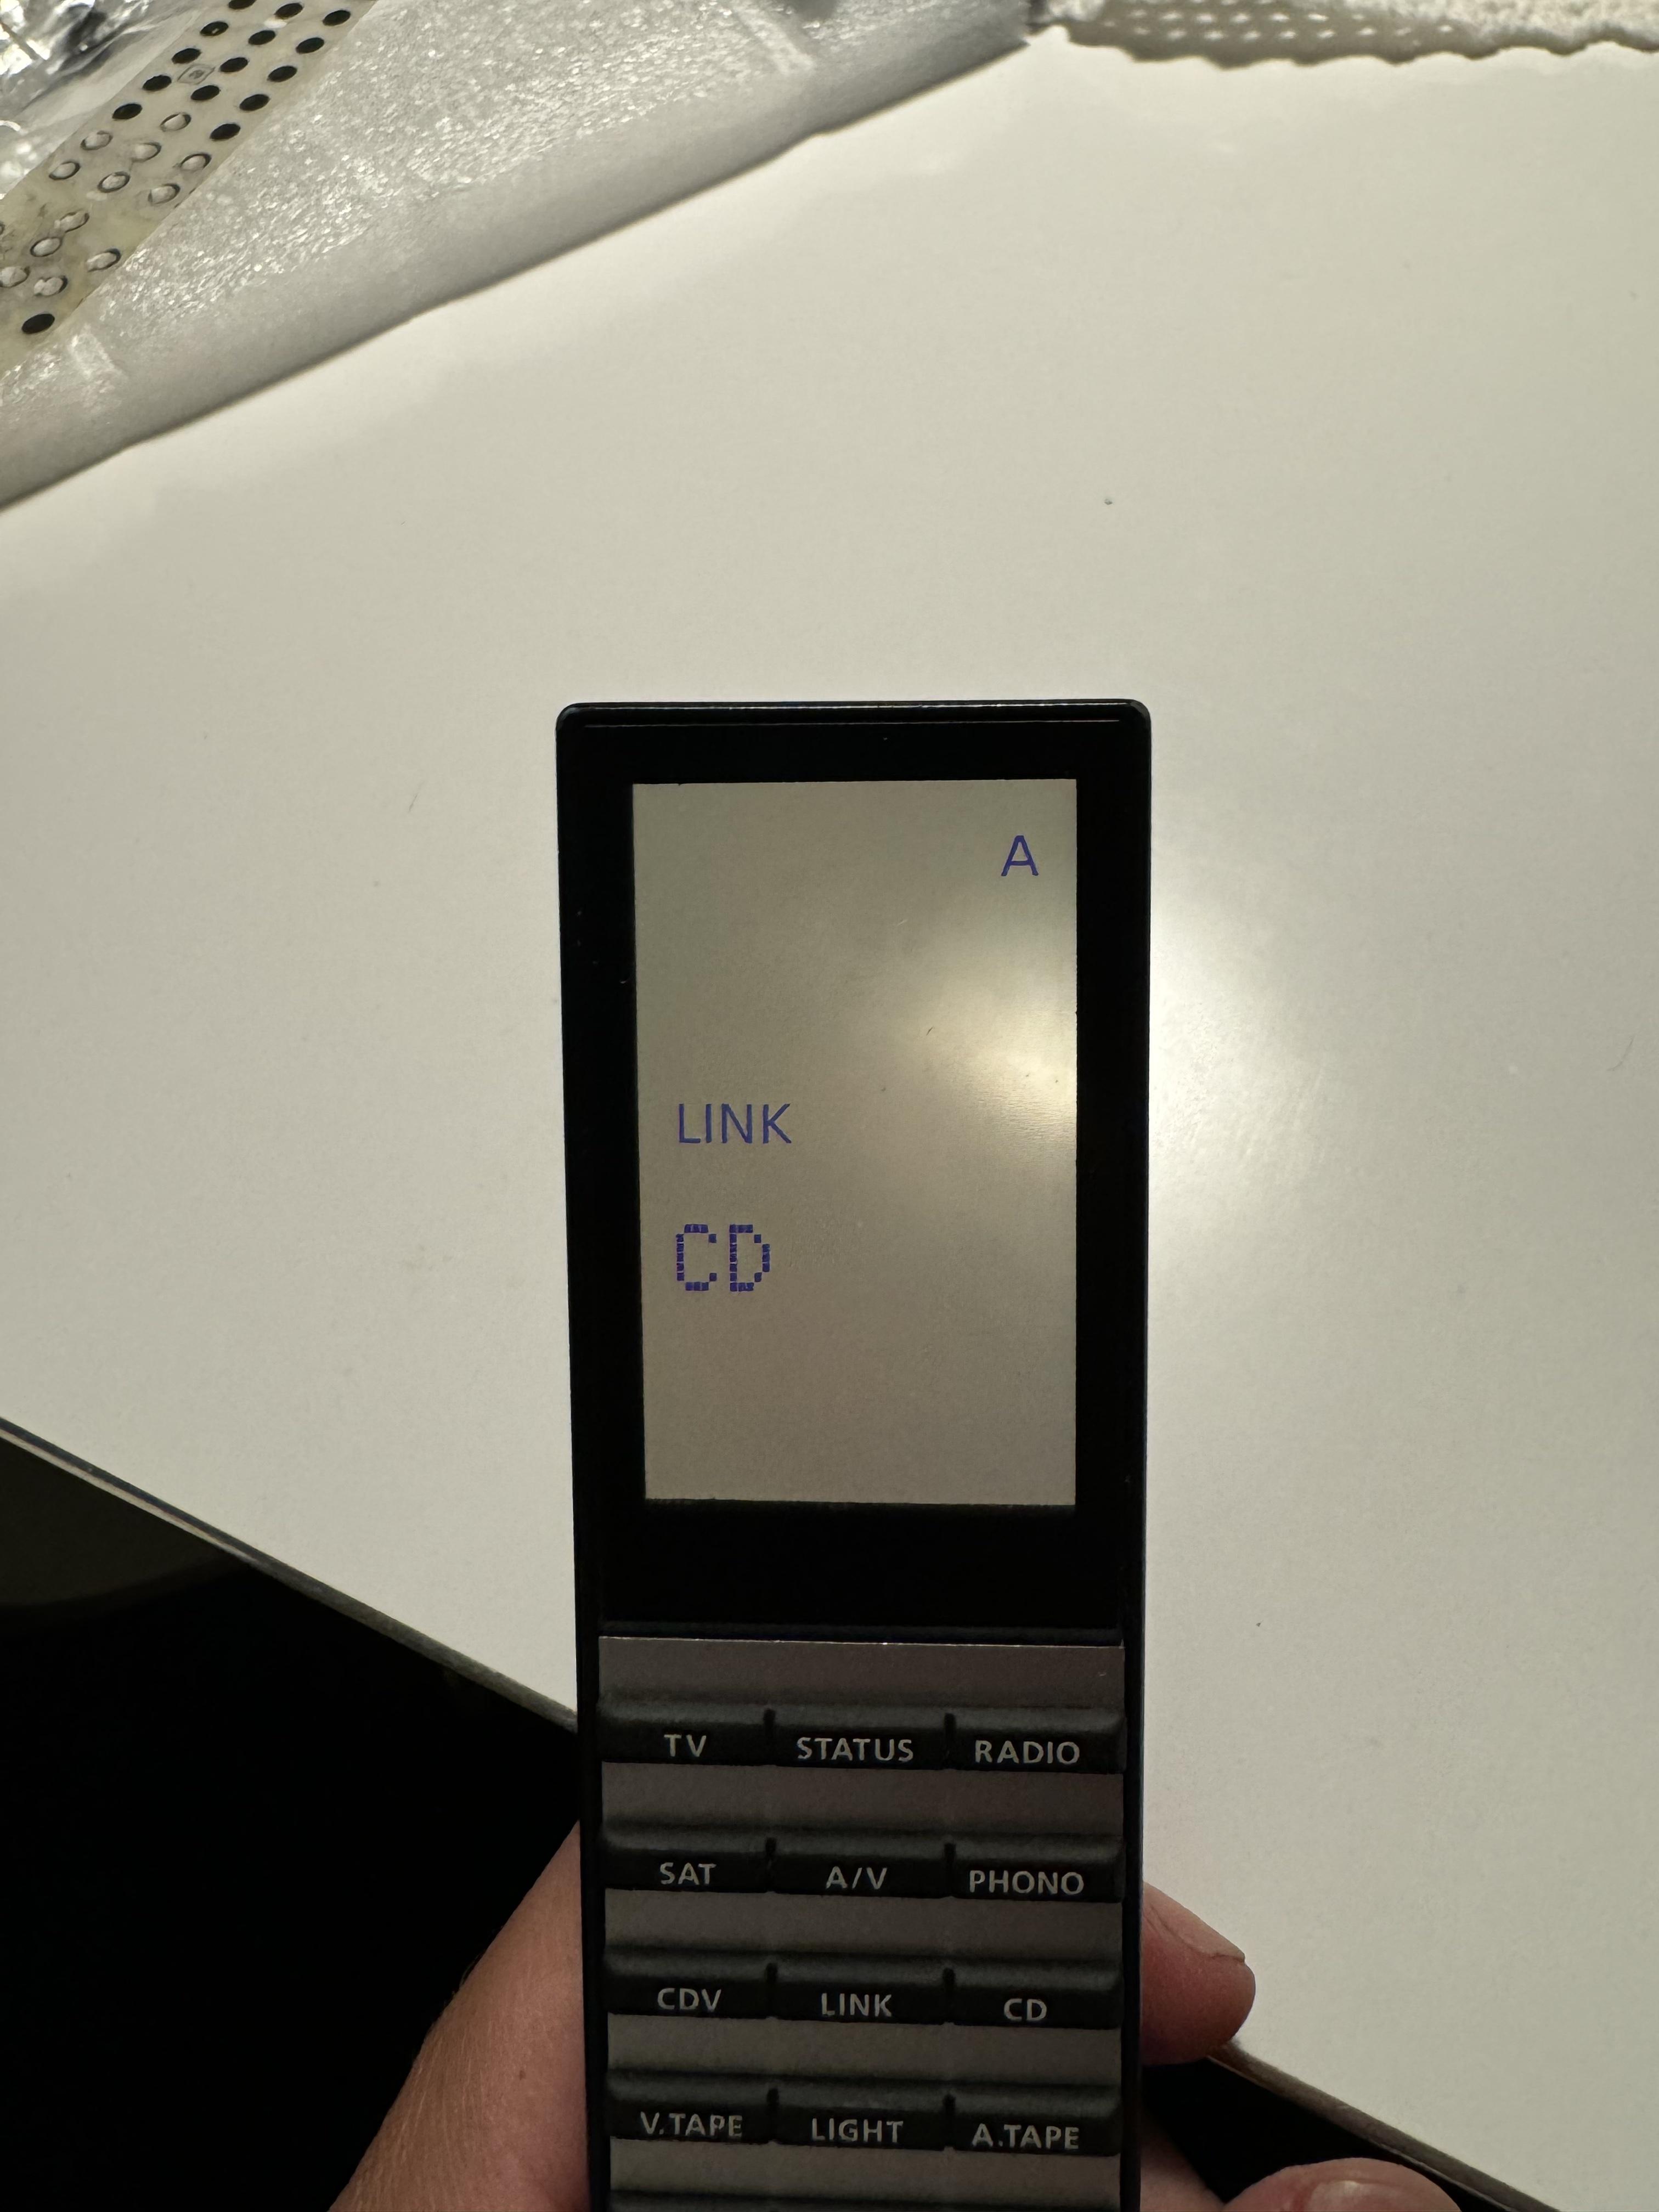
Testing the back display:
System shut off:
So there you have it. After all these years, a guy from Beoworld has the opportunity to fix the faulty LCD cable and replace it with a new one.
I am very happy right now 🙂
/Filip
Location: Copenhagen
11 August 2024 at 10:46 #58154 GOLD Member
I’m so glad on your behalf Fillip, that every thing turned out great with your Beolink 5000.
It was me who got in contact with Filip, as he has for a long time searched for a solution to replace the old display ribon and I actually have contact to a guy who can do the job.
The process is to strip down and clean the display and PCB for old glue.
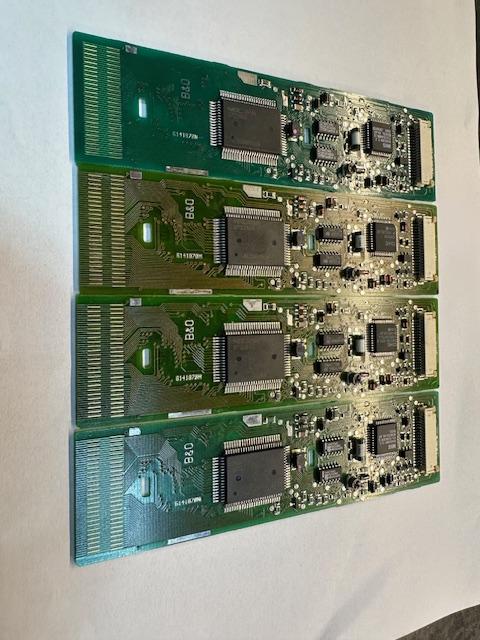
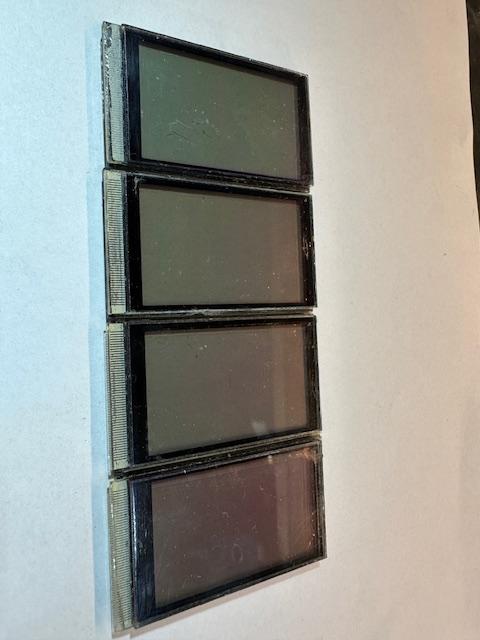
Then send all the pieces the guy and this is what you get returned.
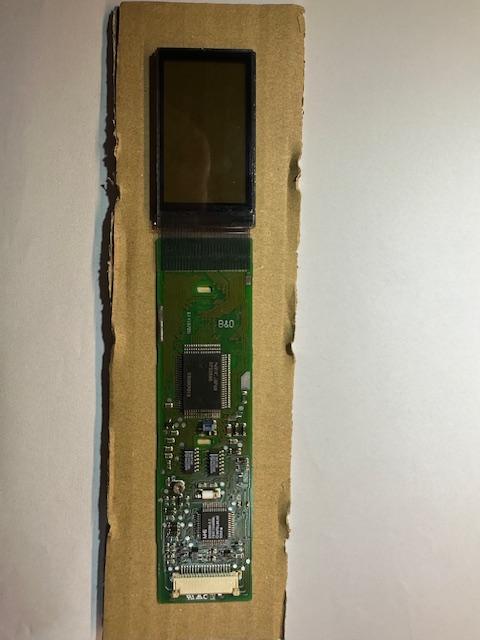
Then is just to reassemble the Beolink 5000 after a recap of the IR PCB and the enchanting result is a fully functional Beolink 5000.
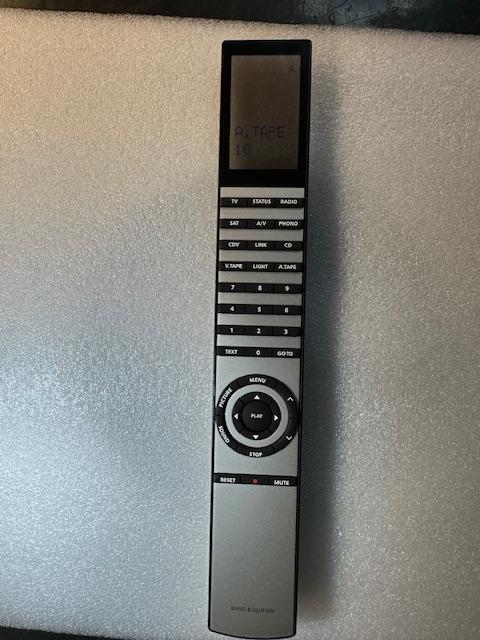
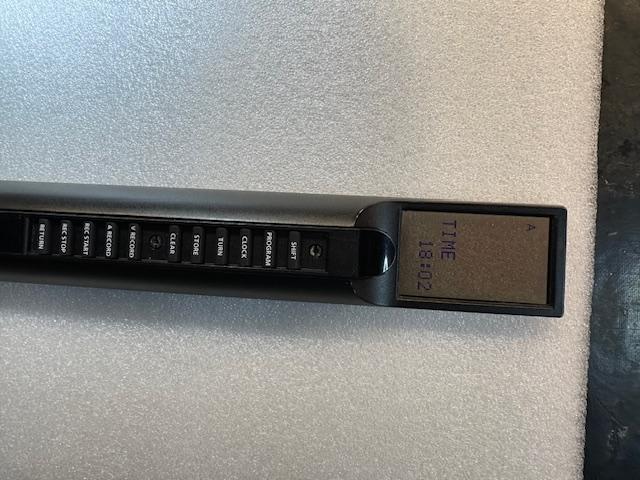
/steffen
Location: Hvidovre, Denmark
My B&O Icons:


 12 August 2024 at 11:20 #58194
 adyanBRONZE Member
Hello,
I´m also interested to get my Beolink 5000 working again. How to proceed?
Thanks
Christian
12 August 2024 at 20:52 #58207 GOLD Member
Hi Christian,
For a start you could send me an PM 🙂
/steffen
Location: Hvidovre, Denmark
My B&O Icons:


 13 August 2024 at 06:34 #58227
 adyanBRONZE Member
Hi Steffen,
thanks for your answer. Since private message is not possible anymore as bronze member, maybe you can send me an email at mail@adyan.de.
Christian
13 August 2024 at 07:10 #58229 GOLD Member
Hi Christian,
That’s new. I used PM for a couple of weeks ago.
Any way I’ll contact you. But as I’m vacation it will take some time.
/steffen
Location: Hvidovre, Denmark
My B&O Icons:


 13 August 2024 at 09:09 #58236
 adyanBRONZE Member
Hi Steffen,
thank you in advance. Have a nice vacation.
Christian
17 August 2024 at 17:07 #58400Hi Steffen,
Catching up on this thread has made my day! Like Christian I’m very interested in getting my two 5000s working again – would you be able to pass on the details of RS Baarstrøm?
Location: Nottingham, UK
My B&O Icons:


 17 August 2024 at 18:41 #58408
 GOLD Member
MrRoast,
Please send me an email on steffen.k.olesen”at”get2net”dot”dk and then we take it from there 🙂
/steffen
Location: Hvidovre, Denmark
My B&O Icons:


 17 August 2024 at 19:53 #58409
Done!
Location: Nottingham, UK
My B&O Icons:


 21 December 2024 at 18:17 #61833
 gruenerkaktusSILVER Member
hi Steffen
I also have a “new” Beolink 5000 with missing lines, is it possible to help? 🙂
thank you
Location: Switzerland
Favourite Product: Beovision 11-40
My B&O Icons:


 22 December 2024 at 13:57 #61856
 GOLD Member
Hi gruenerkaktus,
Thanks for your e-mail and hope you can use the answer 🙂
/steffen
Location: Hvidovre, Denmark
My B&O Icons:


 26 December 2024 at 11:24 #61921
 hulk2099BRONZE Member
Merry Christmas gentlemen
I hope you had a good day yesterday
I have a beolink 5000 with faint display with lines missing and the no contact after every button press, can this be repaired? If so please message me at maka3000@hotmail.com
Many thanks
Attachments:
You must be logged in to view attached files.26 December 2024 at 11:25 #61923 hulk2099BRONZE Member
Merry Christmas gentlemen
I hope you had a good day yesterday
I got a beolink 5000 remote with faint display with lines missing and the no contact after every button press, can this be repaired? If so please message me at maka3000@hotmail.com
Many thanks
Attachments:
You must be logged in to view attached files.26 December 2024 at 17:51 #61929 GOLD Member
Hi Hulk2099,
E-mail is sent.
/steffen
Location: Hvidovre, Denmark
My B&O Icons:


-
AuthorPosts
- You must be logged in to reply to this topic.
