


Home › Forums › Product Discussion & Questions › BeoLab › Beolab 8000 Foam Help
- This topic has 6 replies, 3 voices, and was last updated 2 years, 10 months ago by
 beoshark.
-
AuthorPosts
-
19 September 2023 at 08:43 #49208
 beosharkBRONZE Member
Hi folks, I recently picked up a set of beolab 8000’s with serial numbers beginning with 12. Both seem to function normally.
Thanks to all the useful info on this site, I knew that I should check the foam to see if it is deteriorating before I use the speakers too much and replace/clean deteriorating foam before it causes problems.
Here’s where I need help – to see where things stand with the foam, I looked behind the drivers and observed black foam that appears to be intact and not deteriorating. I slipped my finger into the cabinet and the foam feels normal to me – it is not sticky and didn’t flake away in the areas I touched. There was no sign of foam falling onto the backside of any of the drivers I removed (tweeter and lower woofer).
My current thinking is to leave well enough alone and not tear into the speakers any further. Does anyone know if a non-deteriorating black colored foam was ever used in Beolabs? I was under the impression that non-deteriorating foam typically would be white.
Thanks!
20 September 2023 at 09:36 #49209Die_BogenerBRONZE MemberYou have a choice.
- Do nothing and wait
- Do it now and have no damage in the future
The foam will deterioate, it’s just a matter of time and heat.
And when it looks like this… have a nice day! It’s a lot of work…
 20 September 2023 at 11:14 #49210beosharkBRONZE Member
Thank you – I like the idea of avoiding future damage. Is there a recommended foam kit? I am in Europe.
20 September 2023 at 13:14 #49211GlitchBRONZE MemberCould the previous owner have already replaced the foam? Are there any signs of work being done to the speakers?
Glitch
20 September 2023 at 13:34 #49212beosharkBRONZE MemberI haven’t been into them far enough to really see if there are signs of previous work. The screw heads holding the drivers and front panel all are quite clean with no obvious signs of being unscrewed/rescrewed. The small portion of adhesive foam visible at the top junction of the front panel and the metal cabinet does not look like it has been recently replaced.
20 September 2023 at 16:27 #49213GlitchBRONZE MemberDid the previous owner give you any clues on the service history of the speakers?
Personally, I would just listen to them for a while and see if I liked them. You have plenty of time to make a decision. If you decide that you really like them and they will be a “forever speaker” for you, then invest the time and money in them.
Keep in mind that any time you open up vintage electronics it can be a can of worms. You can also negatively effect the value of an item if you are not careful (i.e. a scratch from the slip of a screwdriver or broken plastic clips). I would pay more for a untouched/unrestored piece of equipment than one with an amateurish repair. YMMV.
Glitch
23 September 2023 at 21:27 #49214beosharkBRONZE MemberI wanted to close the loop on this post for the benefit of future Beolab 8000 foam adventurers.
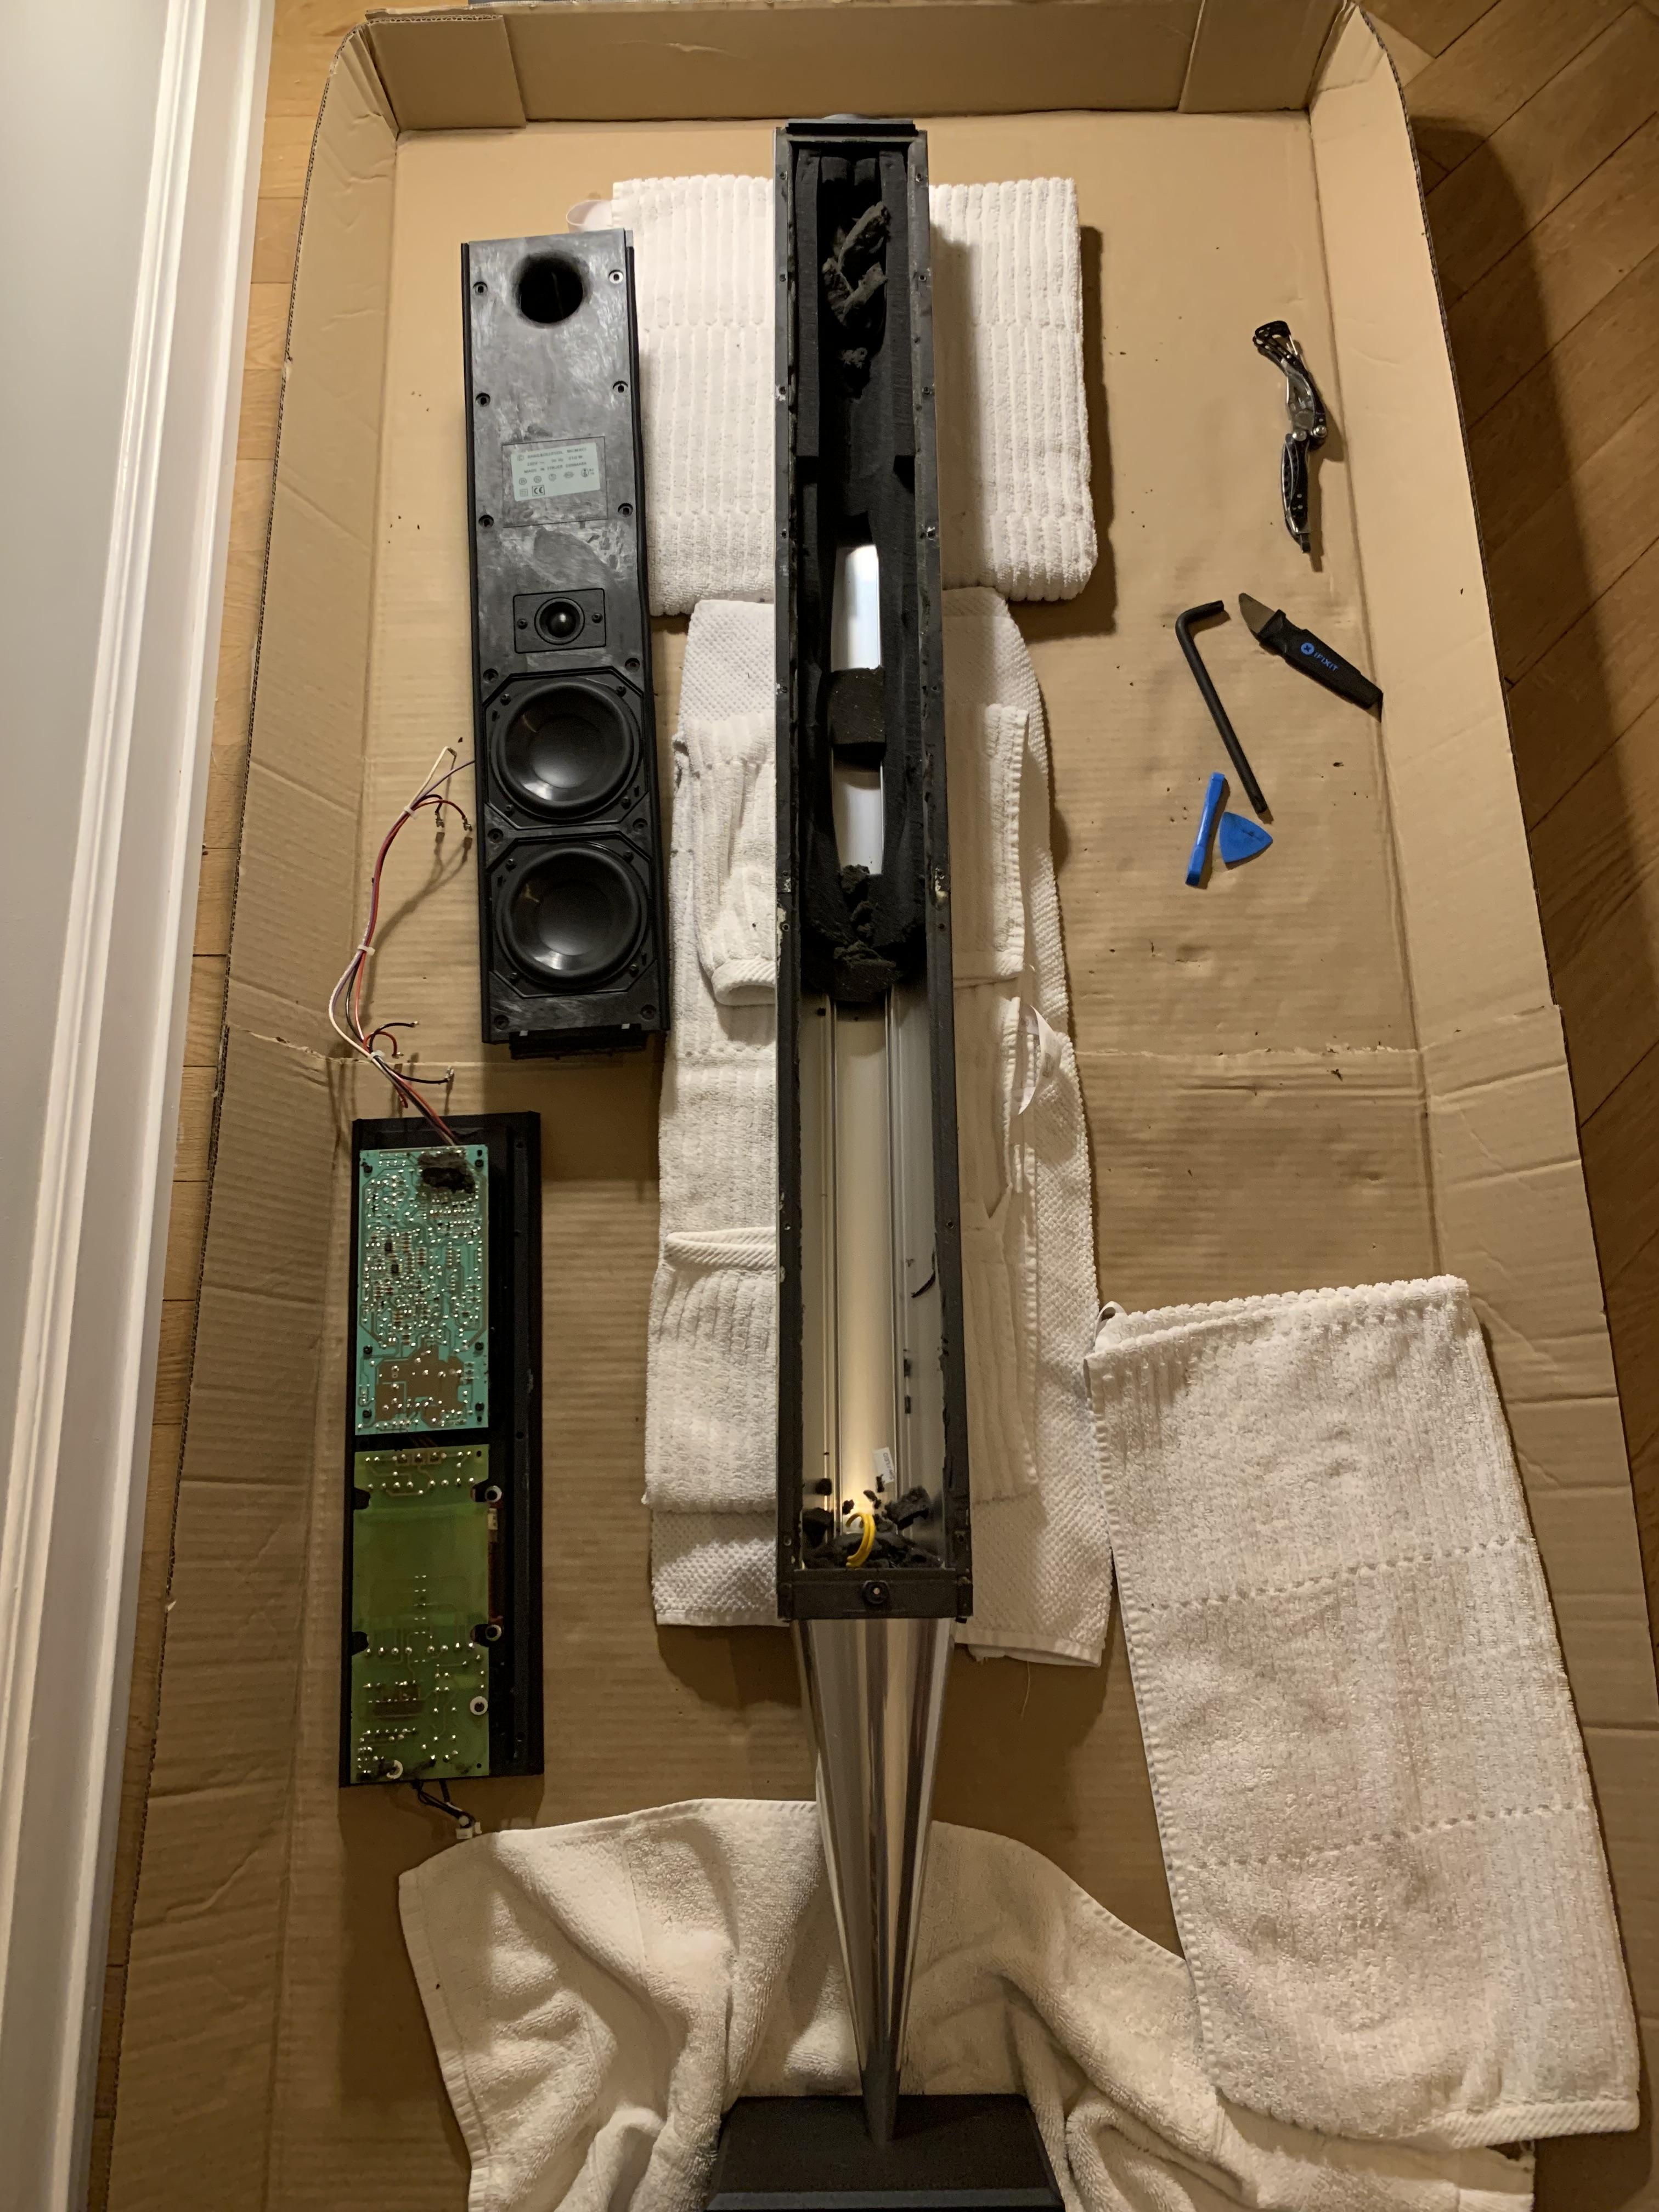
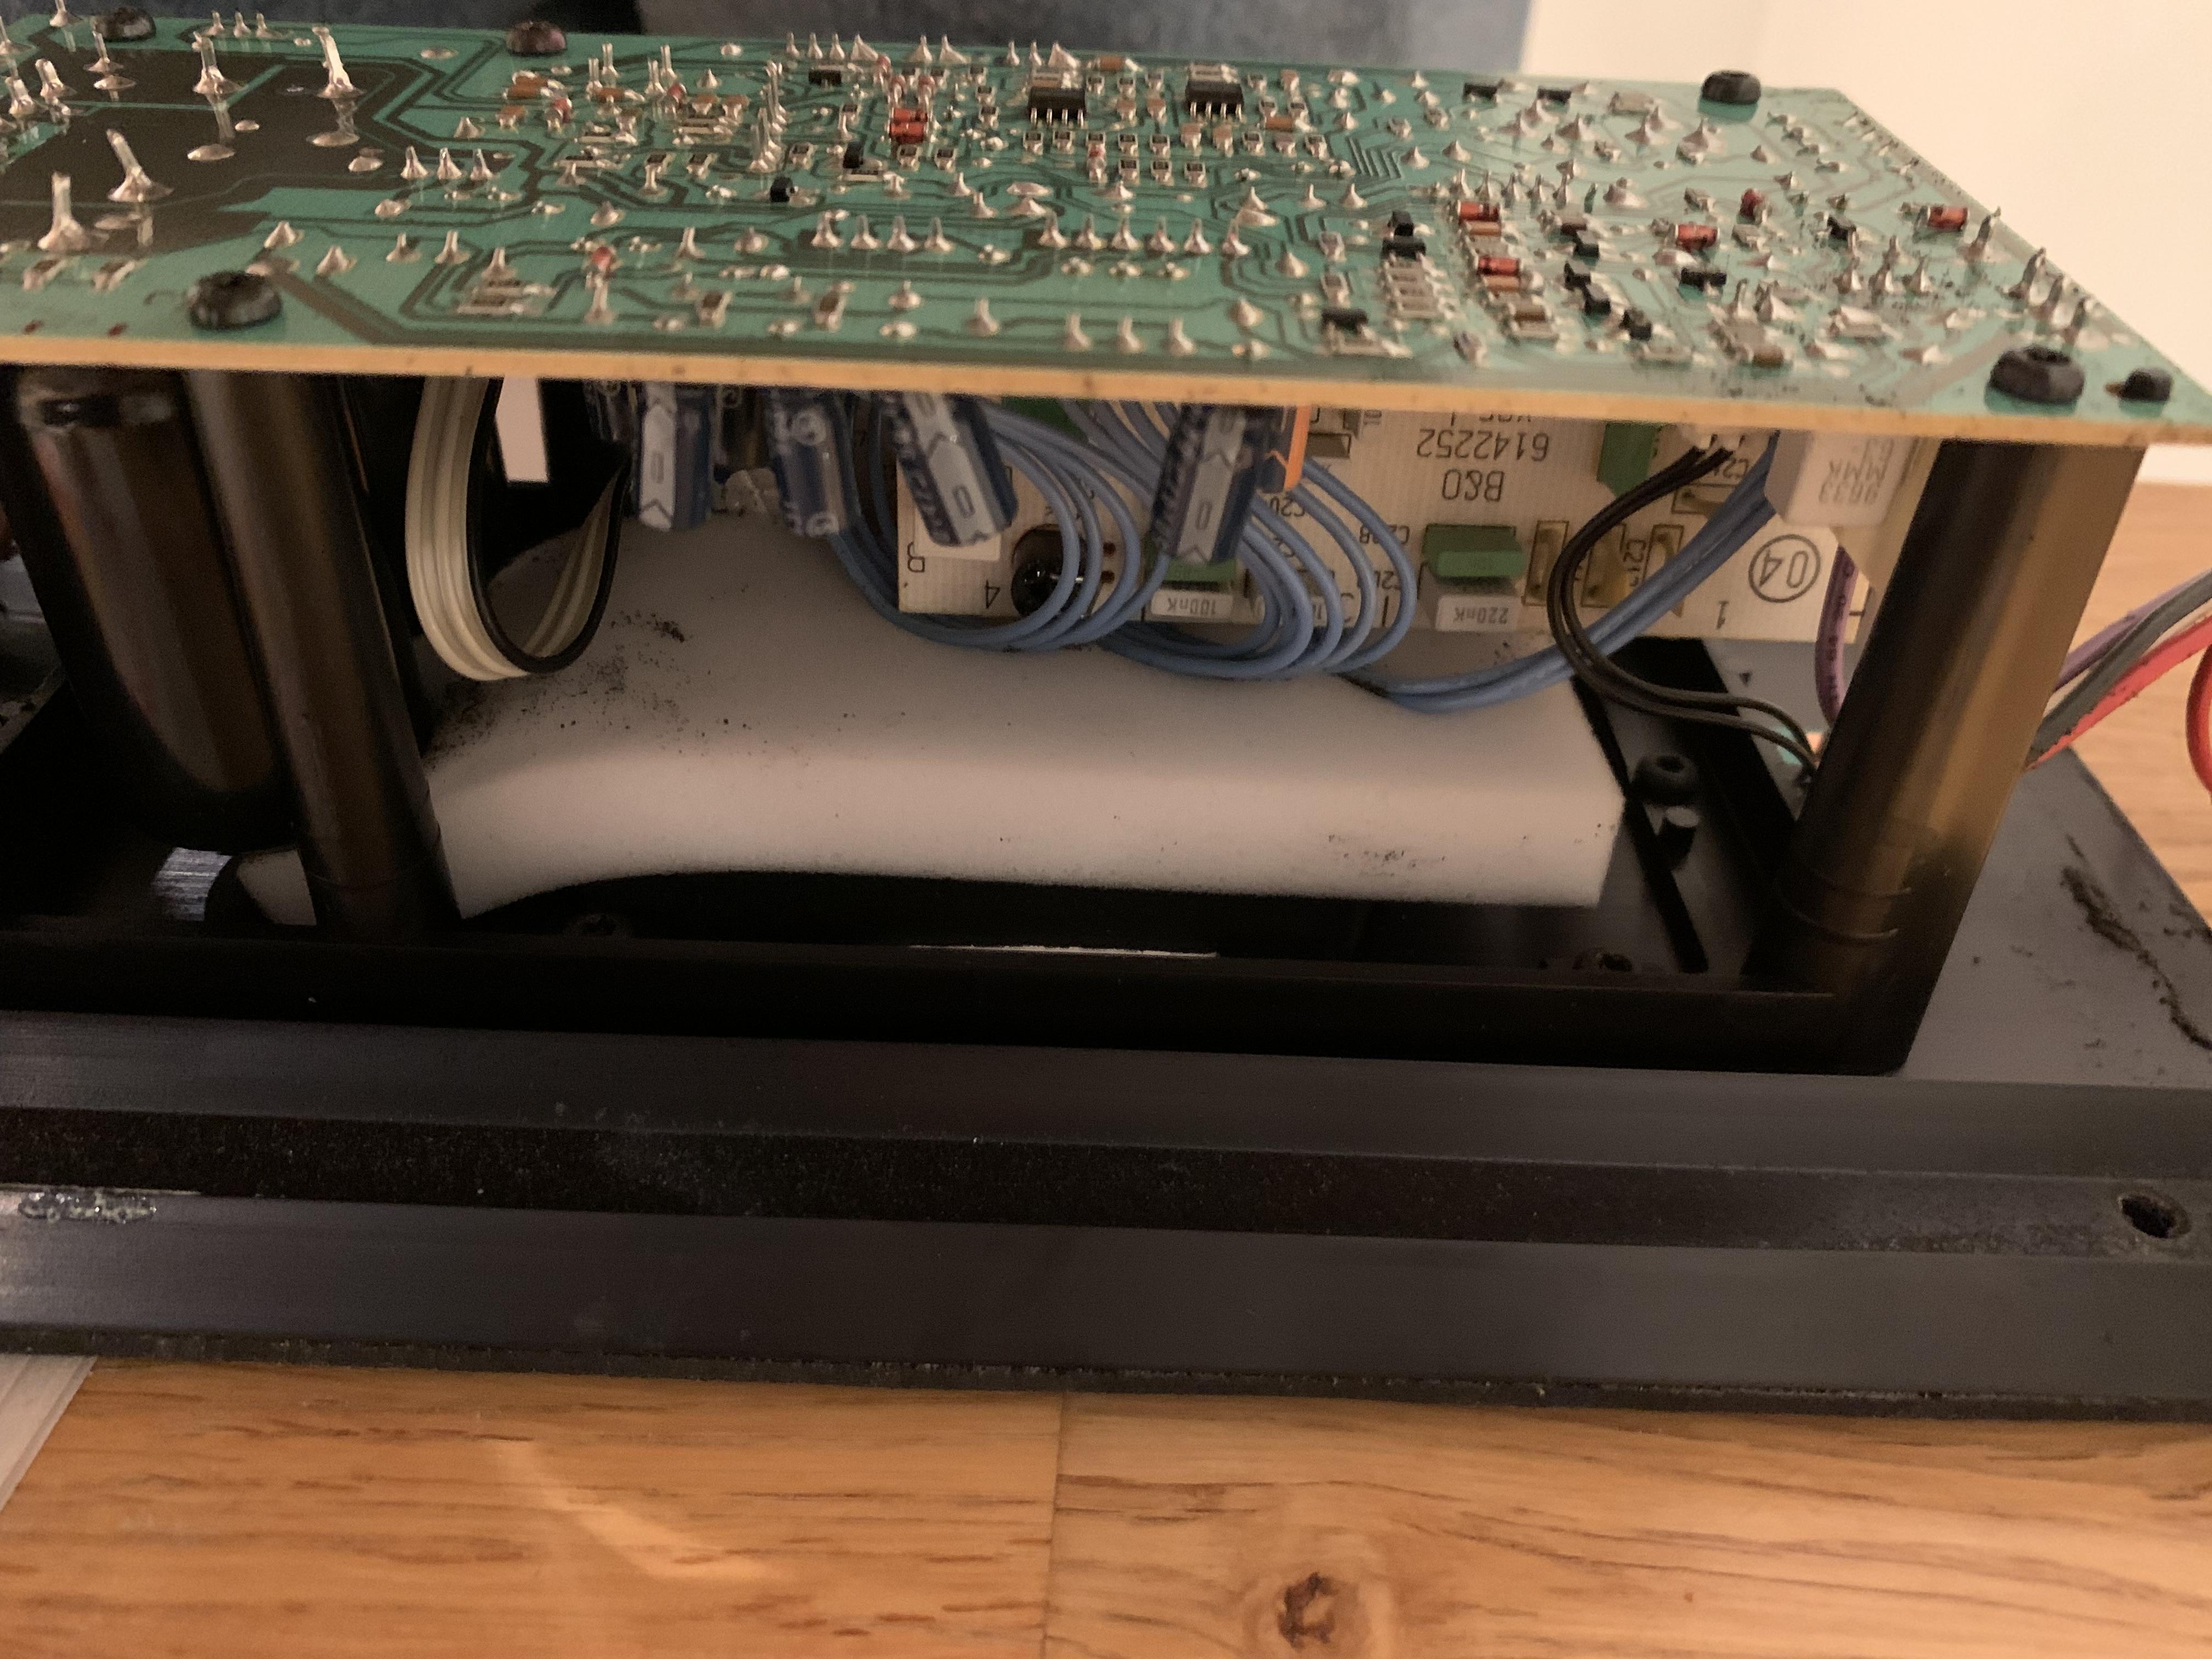
I decided to re-foam the speakers on the theory that an ounce of prevention is worth a pound of cure. That was a good idea – while the main foam in the upper part of the chamber was in good condition, the foam lower in the chamber nearer to the electronics was rotting.
I was lucky that my speakers probably were not used very much during recent years when the foam rot was bad. This meant that my speakers were relatively easy to open and clean. My electronics were also in good condition.
***NOTE*** I have not seen this mentioned much in the foam replacement posts but people should be aware that there are relatively large capacitors on the amplifier board and the service manual notes that these capacitors can hold charge for weeks and should be discharged with a resistor — be aware of this and be careful handling the amplifier board.
Here are some pictures:
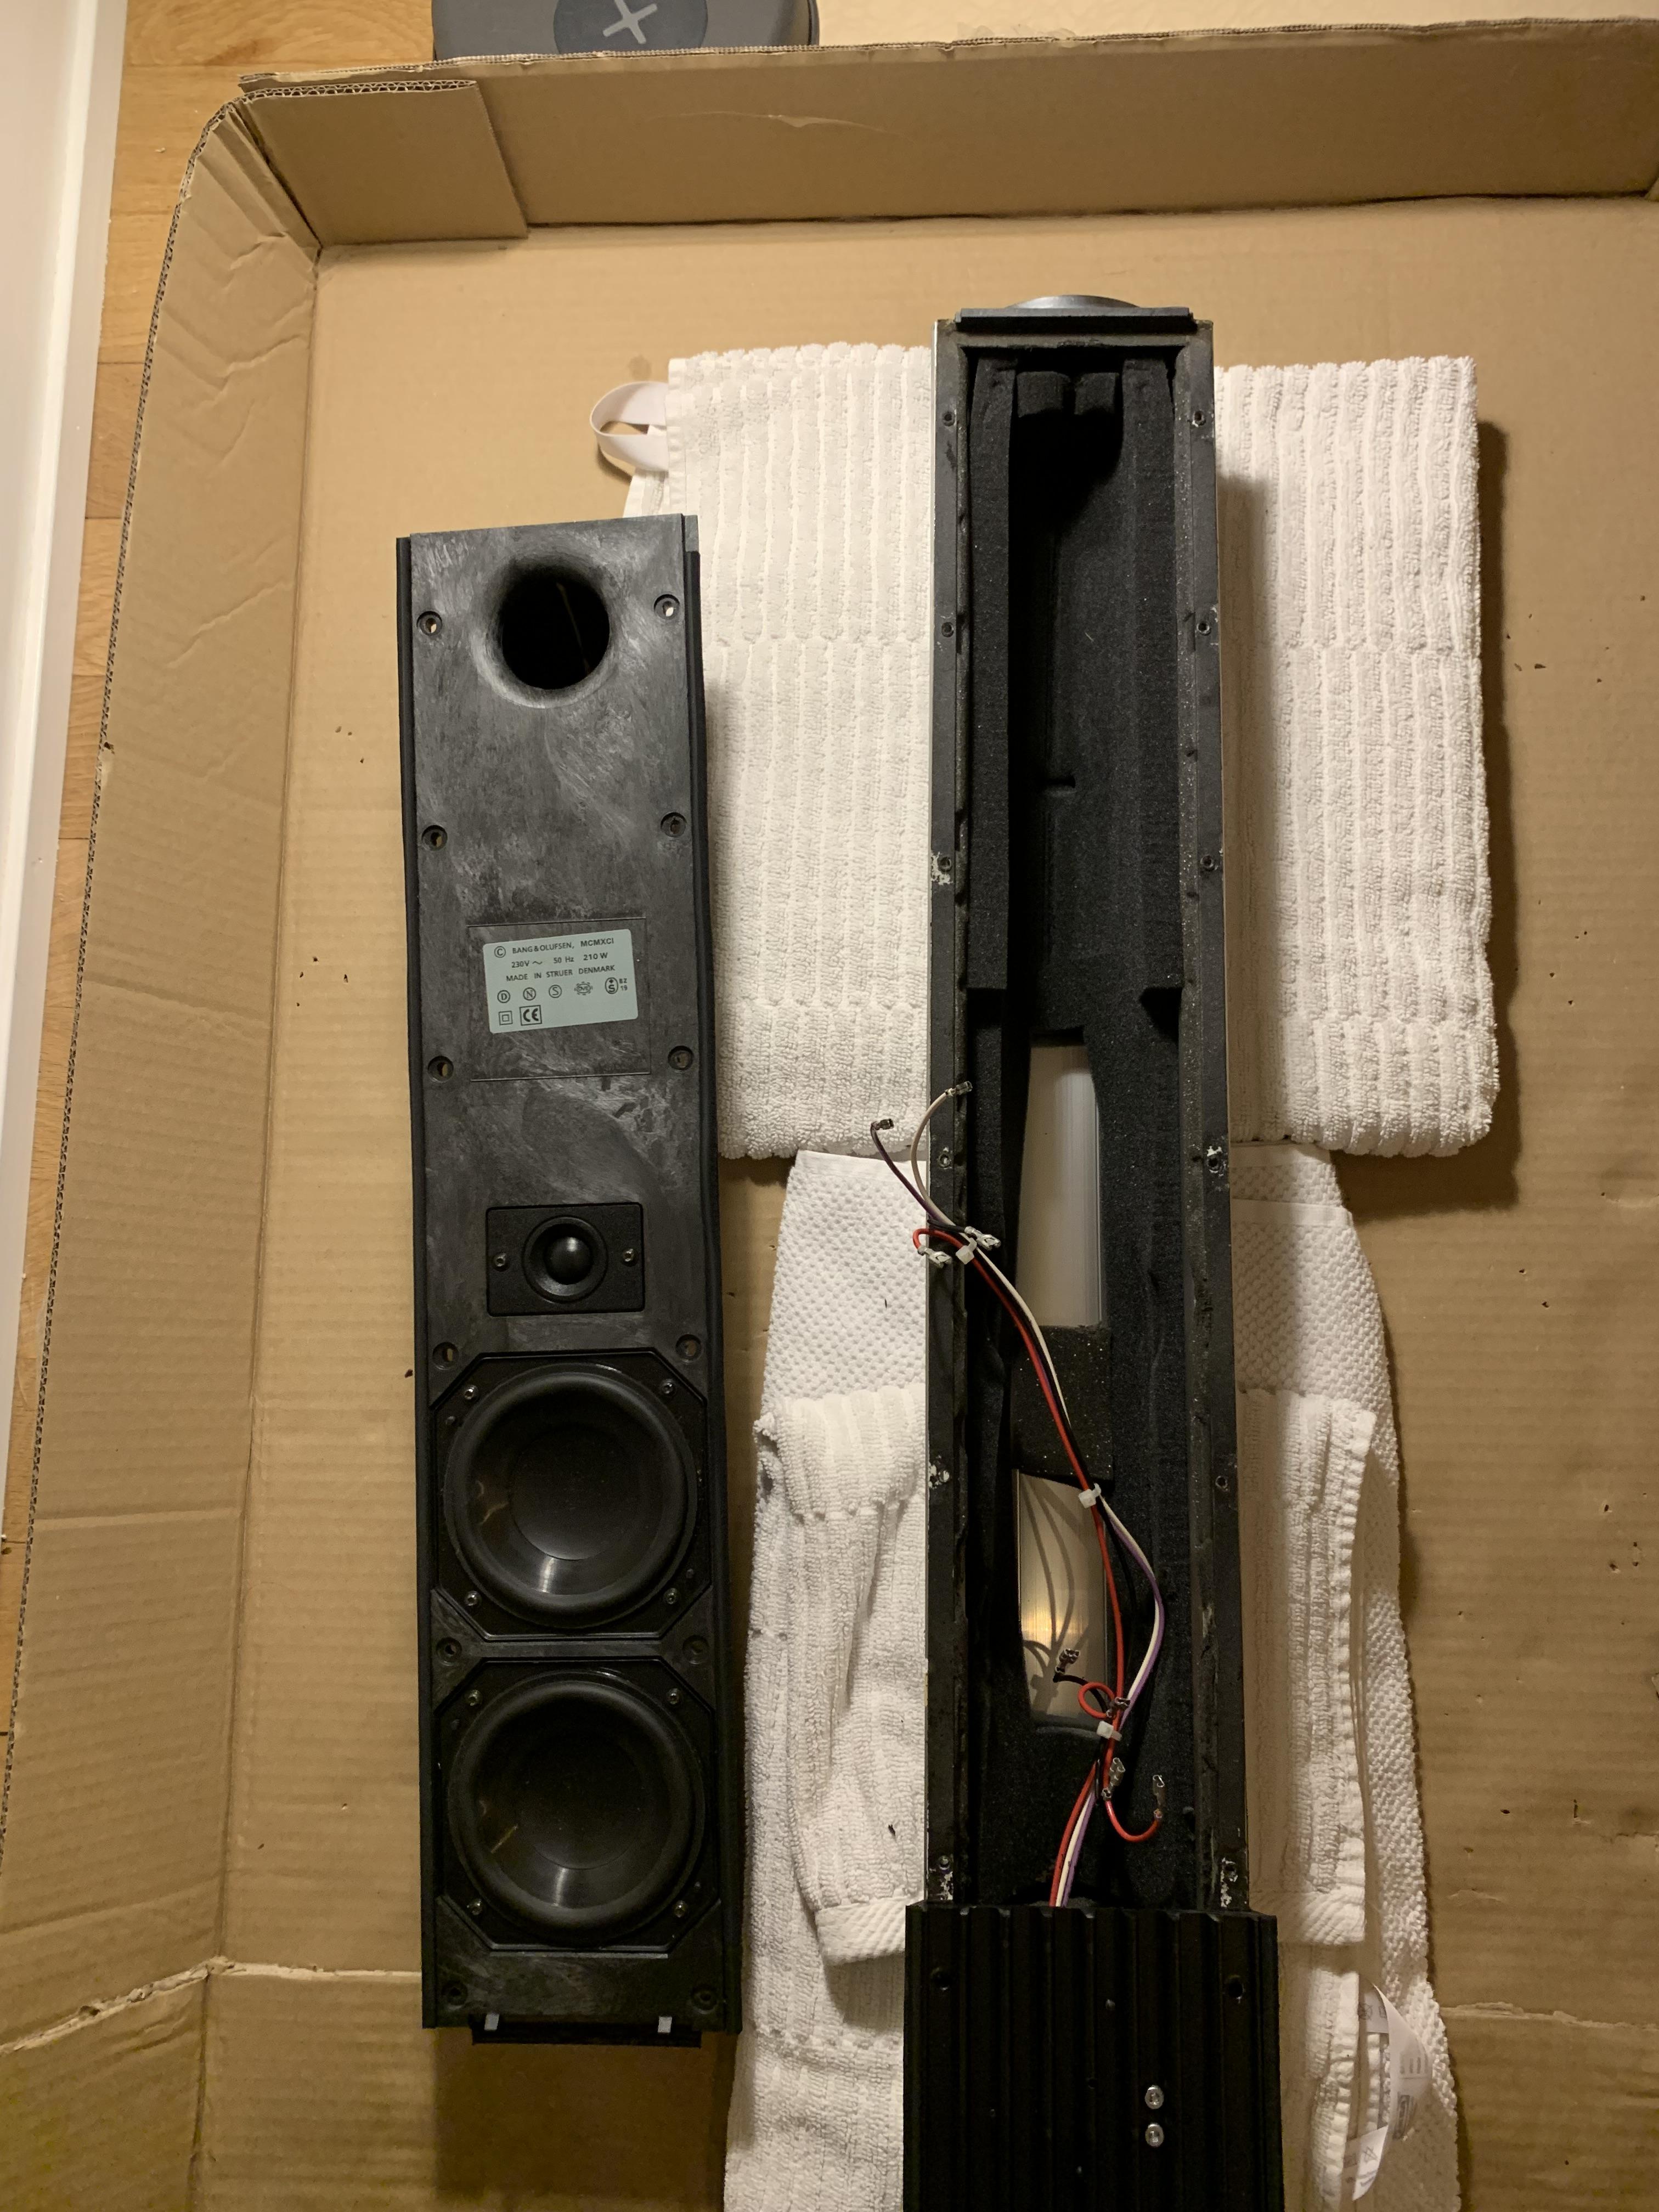
Speaker unit came off easily on my set.

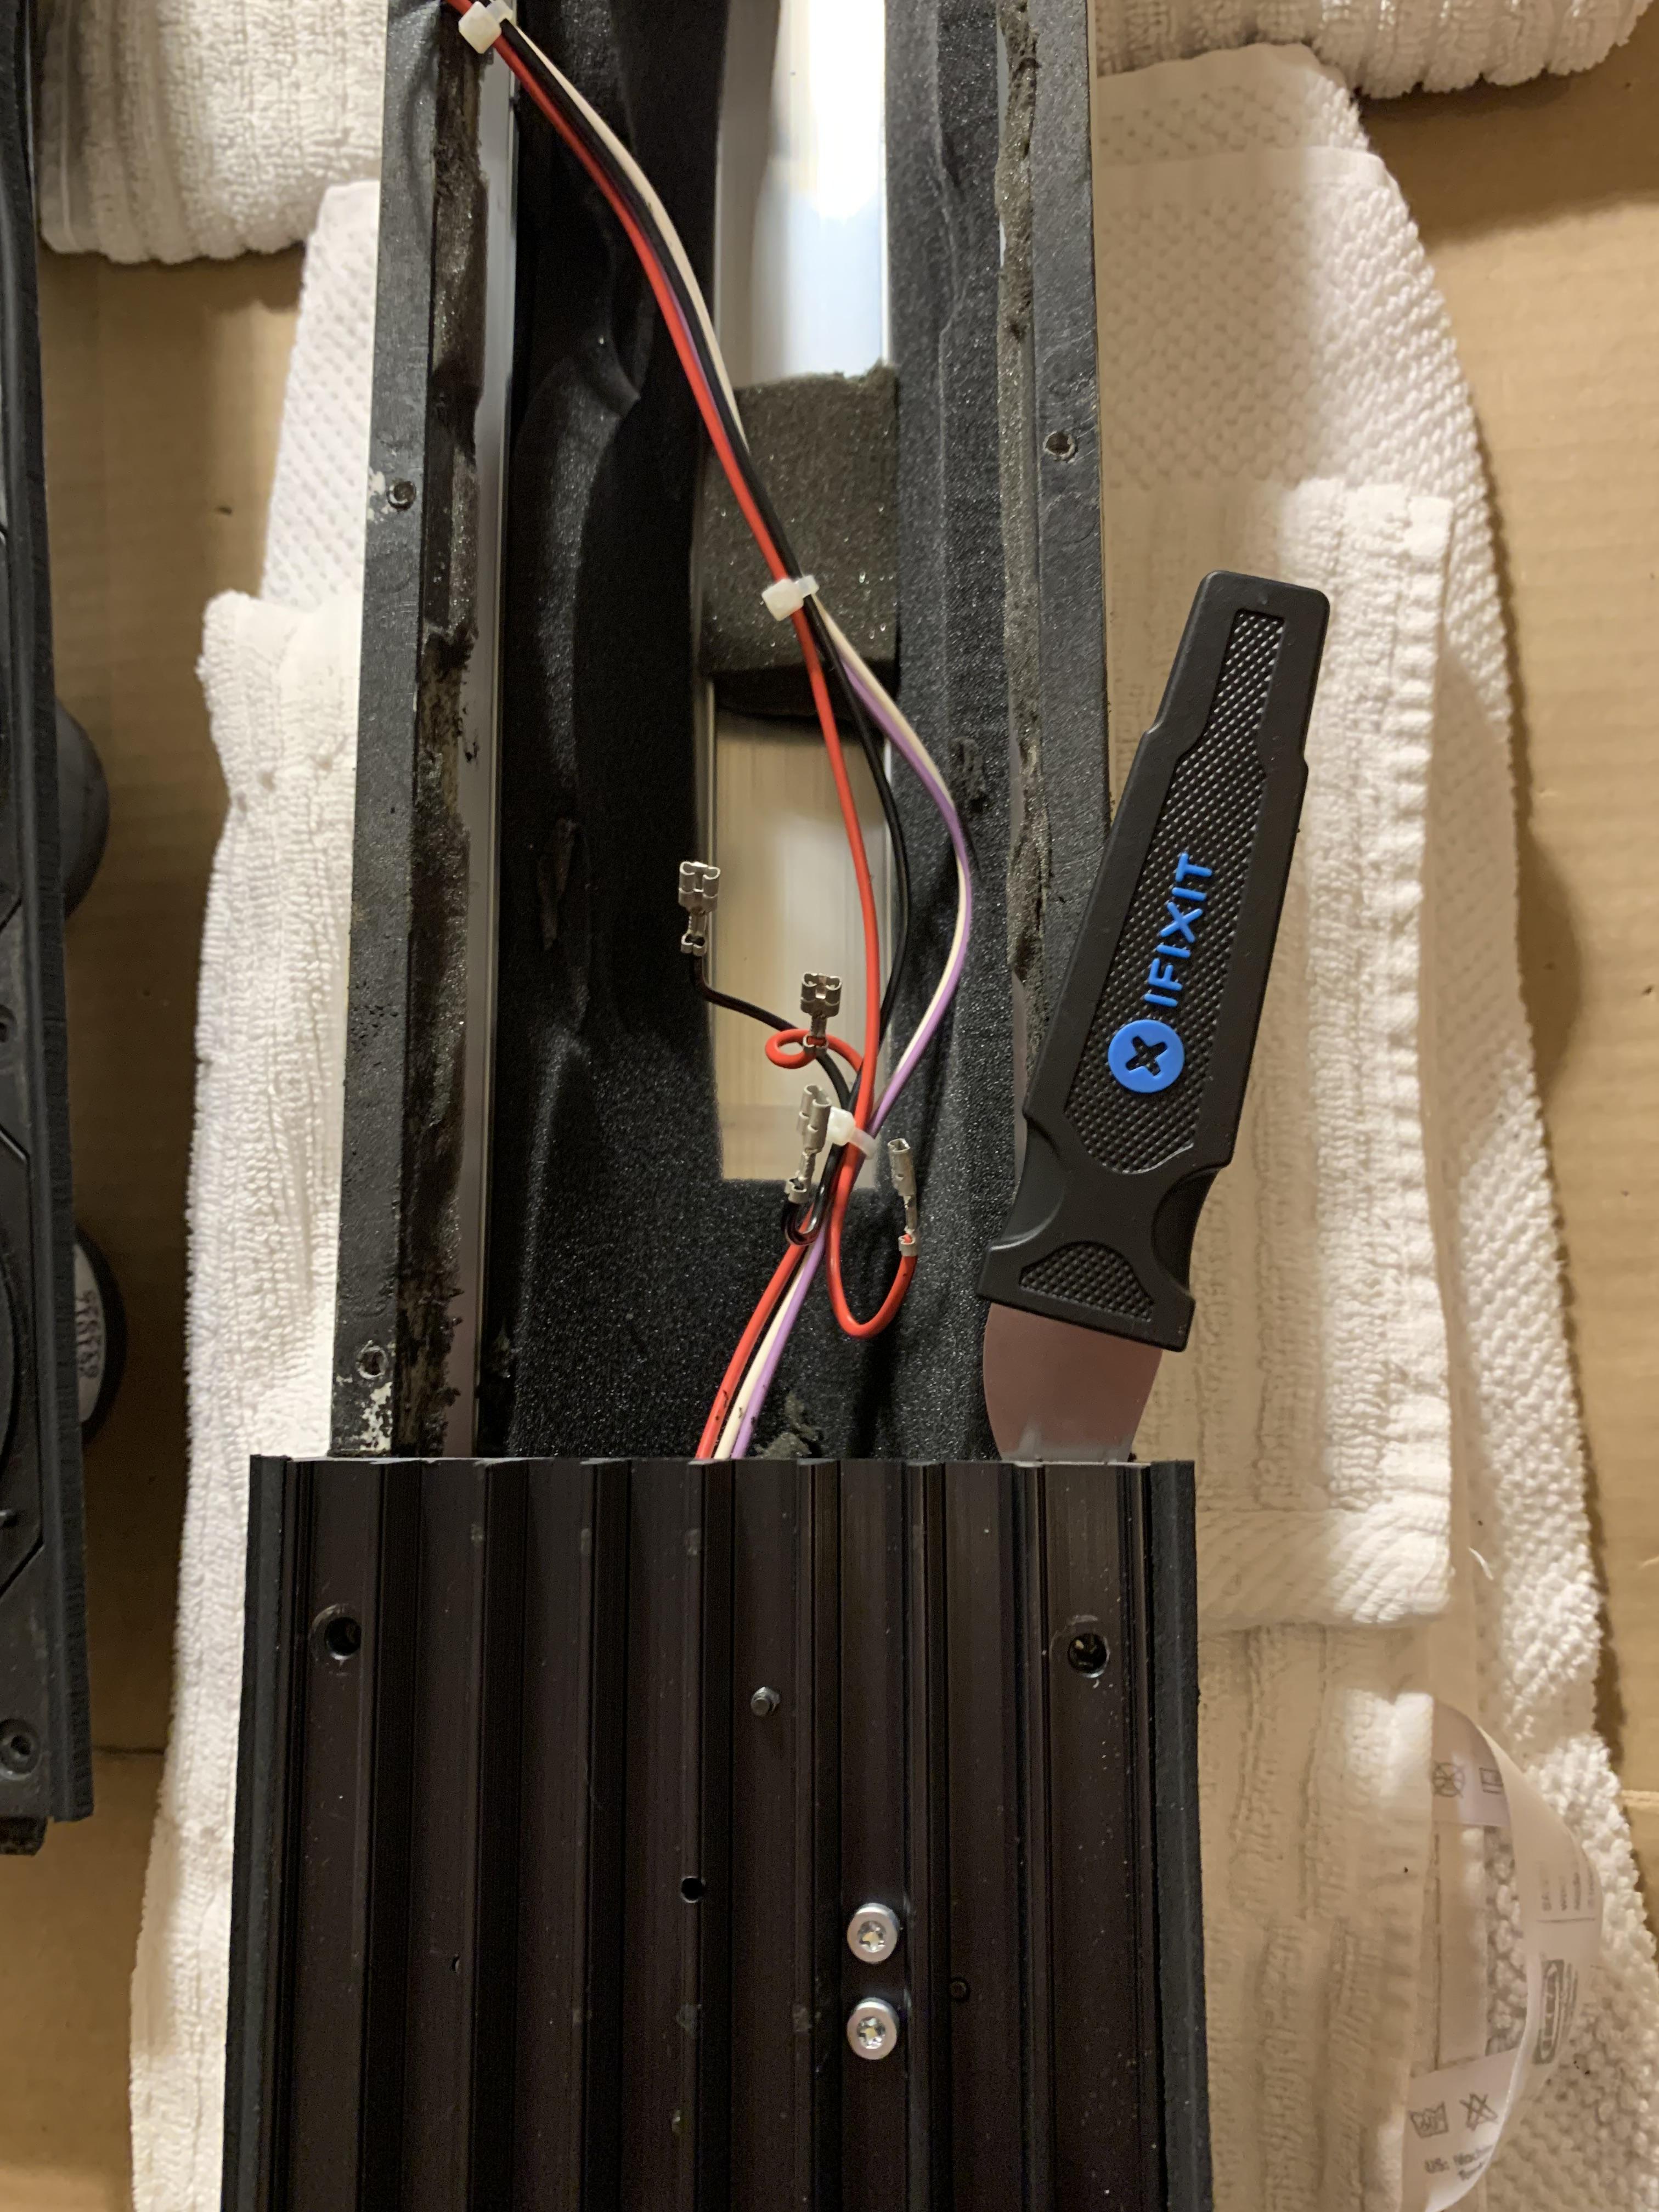
I disconnected the drivers from their wire harness so that I could have access to the amplifier unit with a spudger.
Front plates out, foam stuck to amplifier board in top right corner:
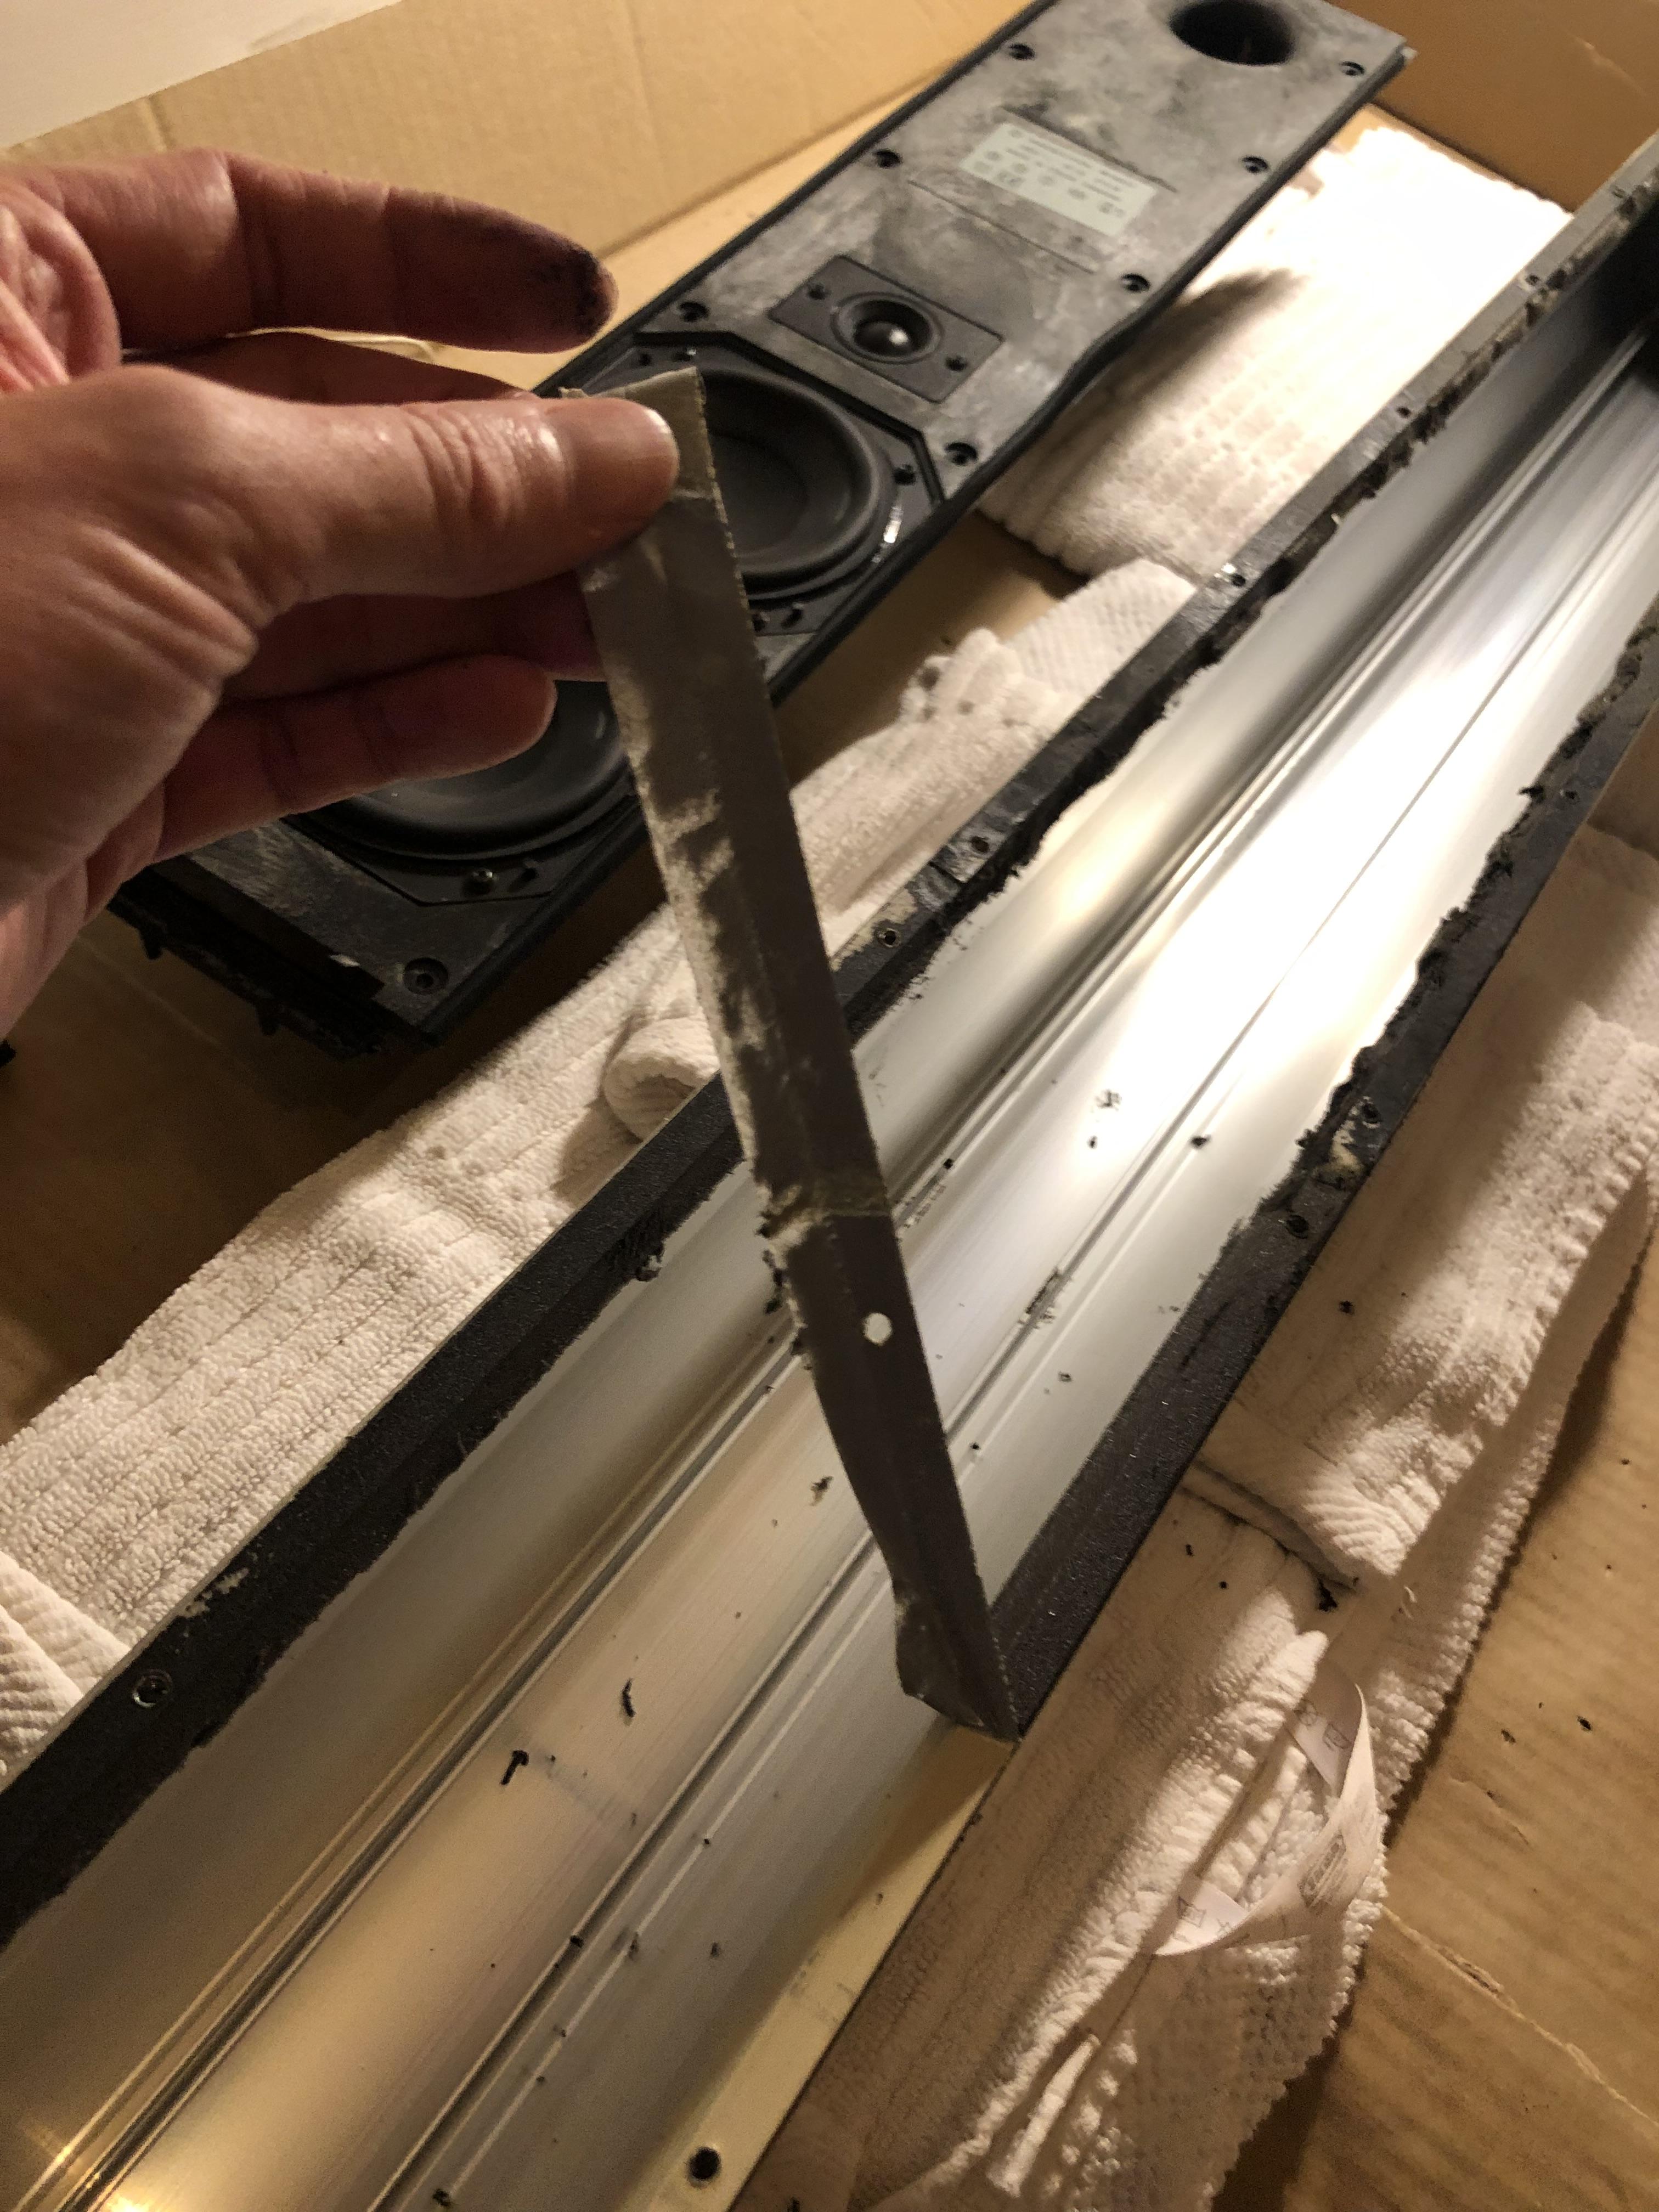
Sealing tape removed:
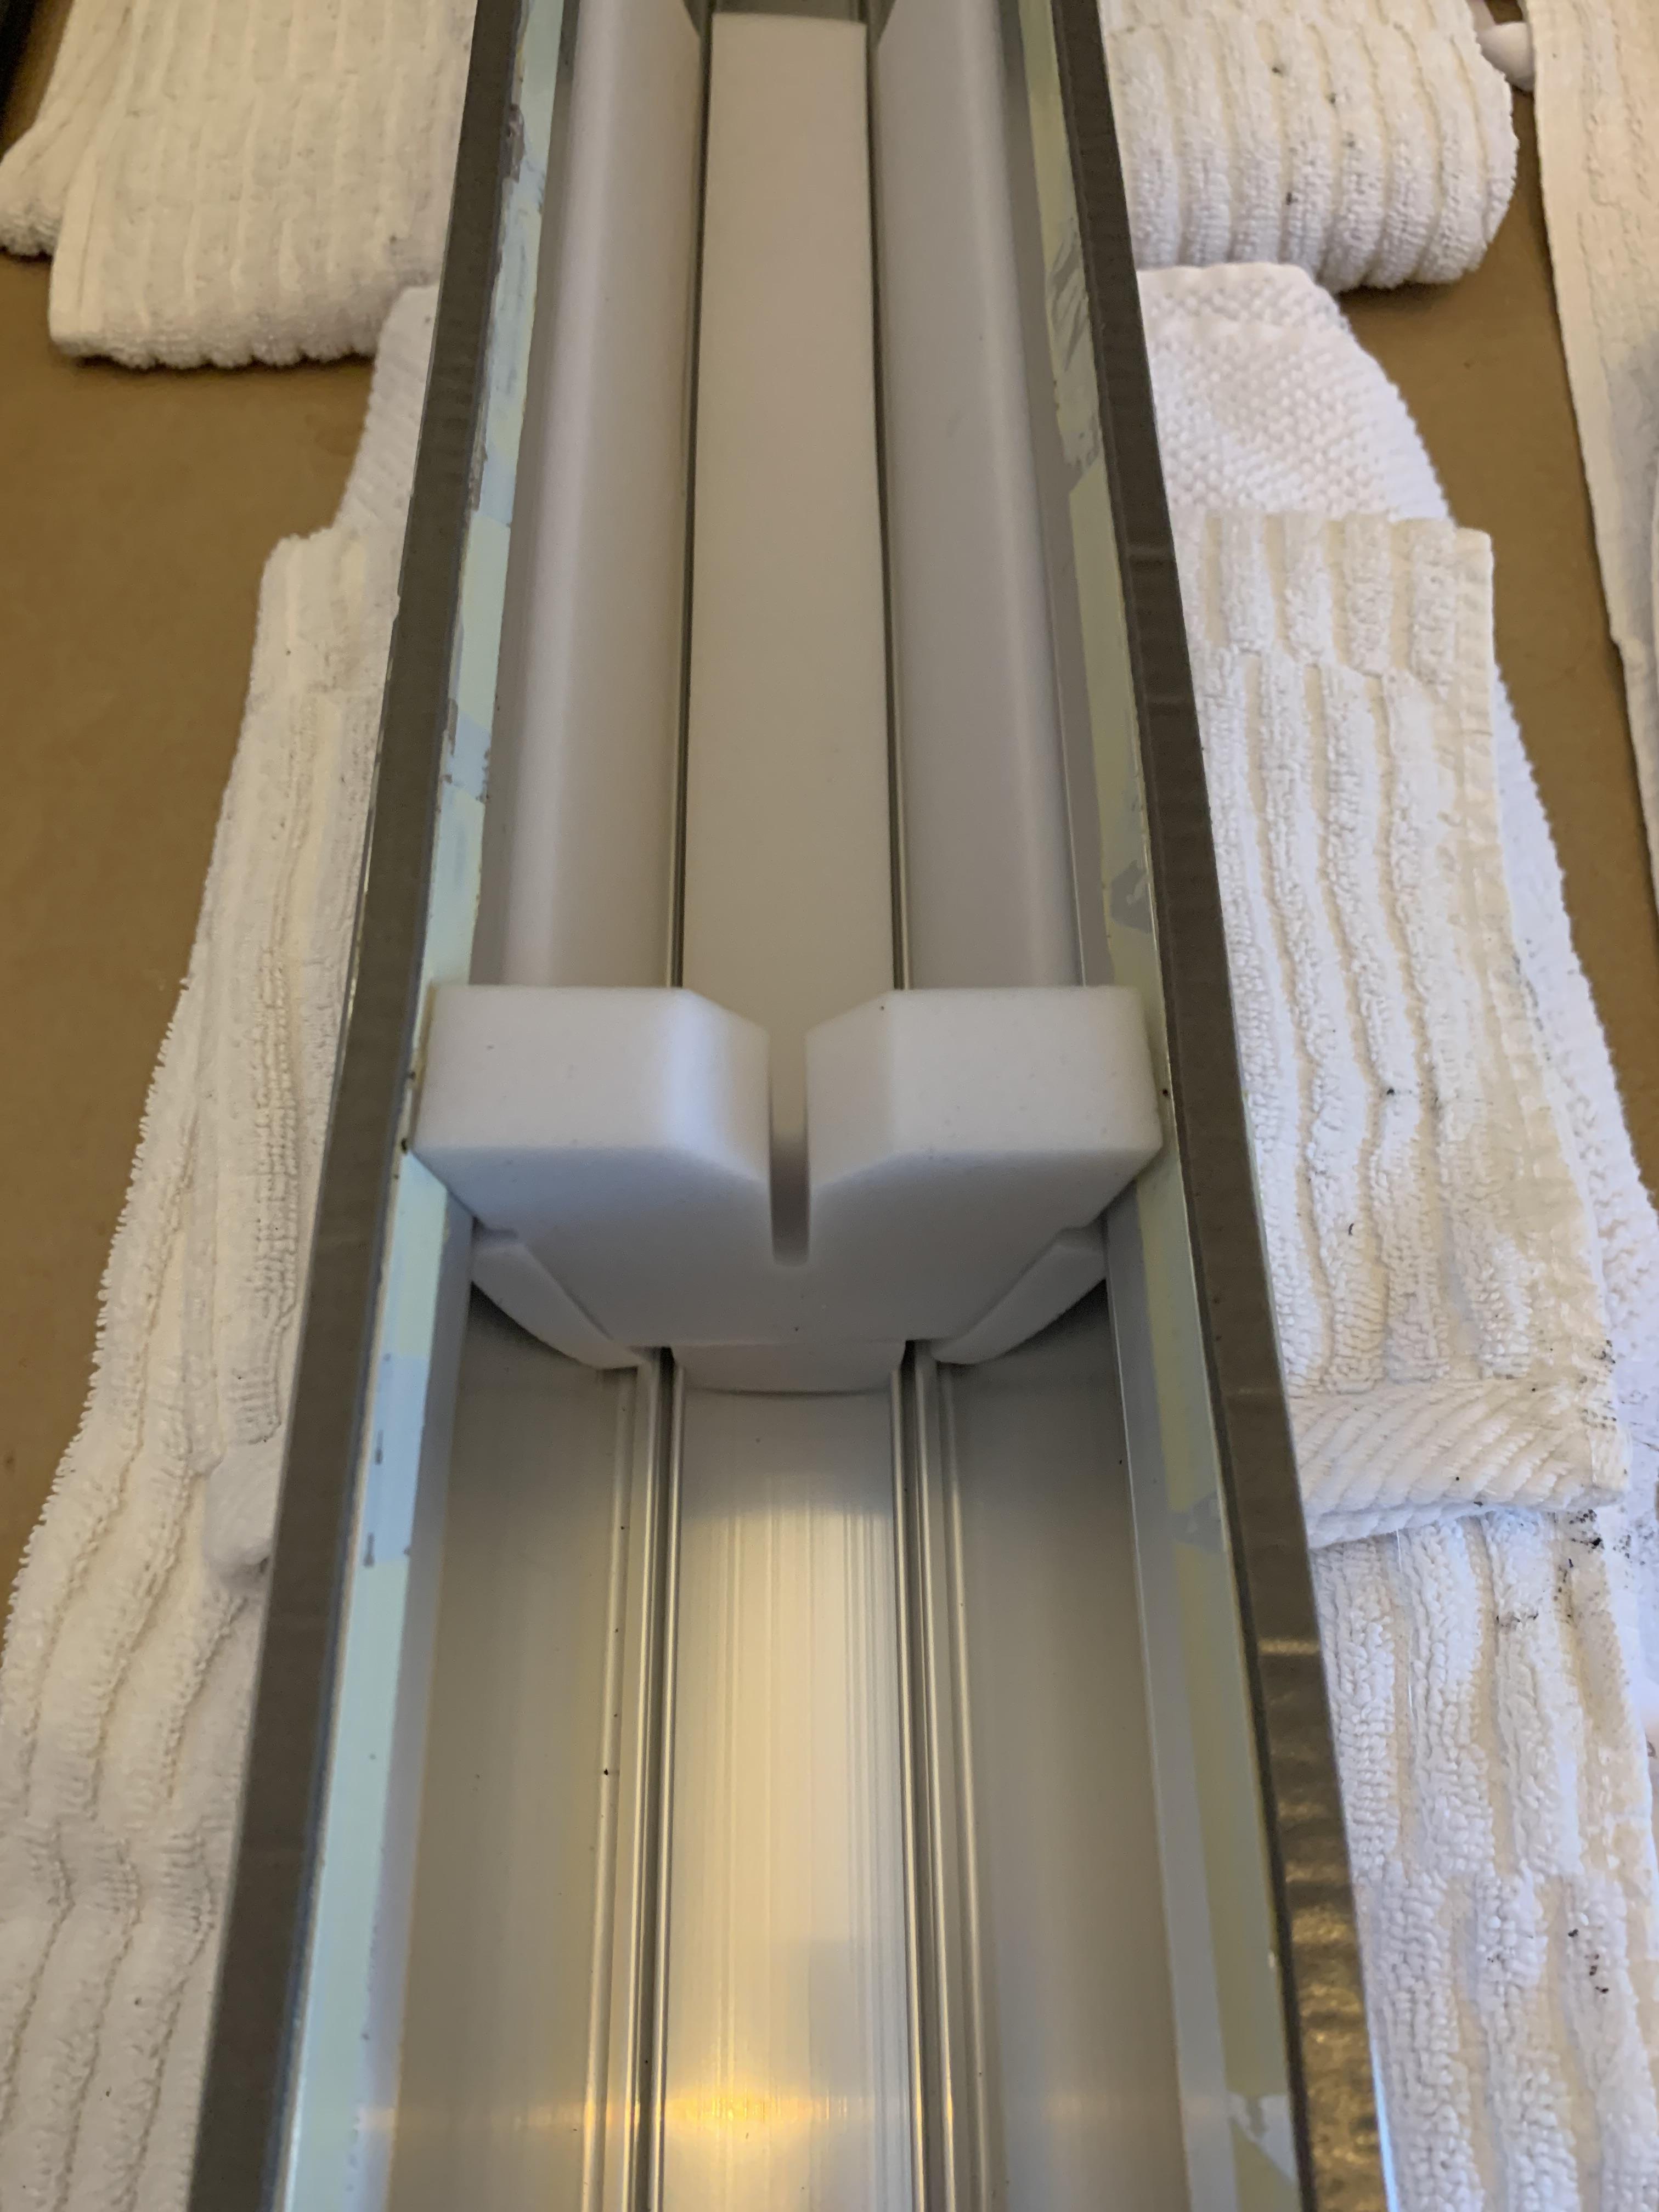
New sealing tape and replacement foam installed:
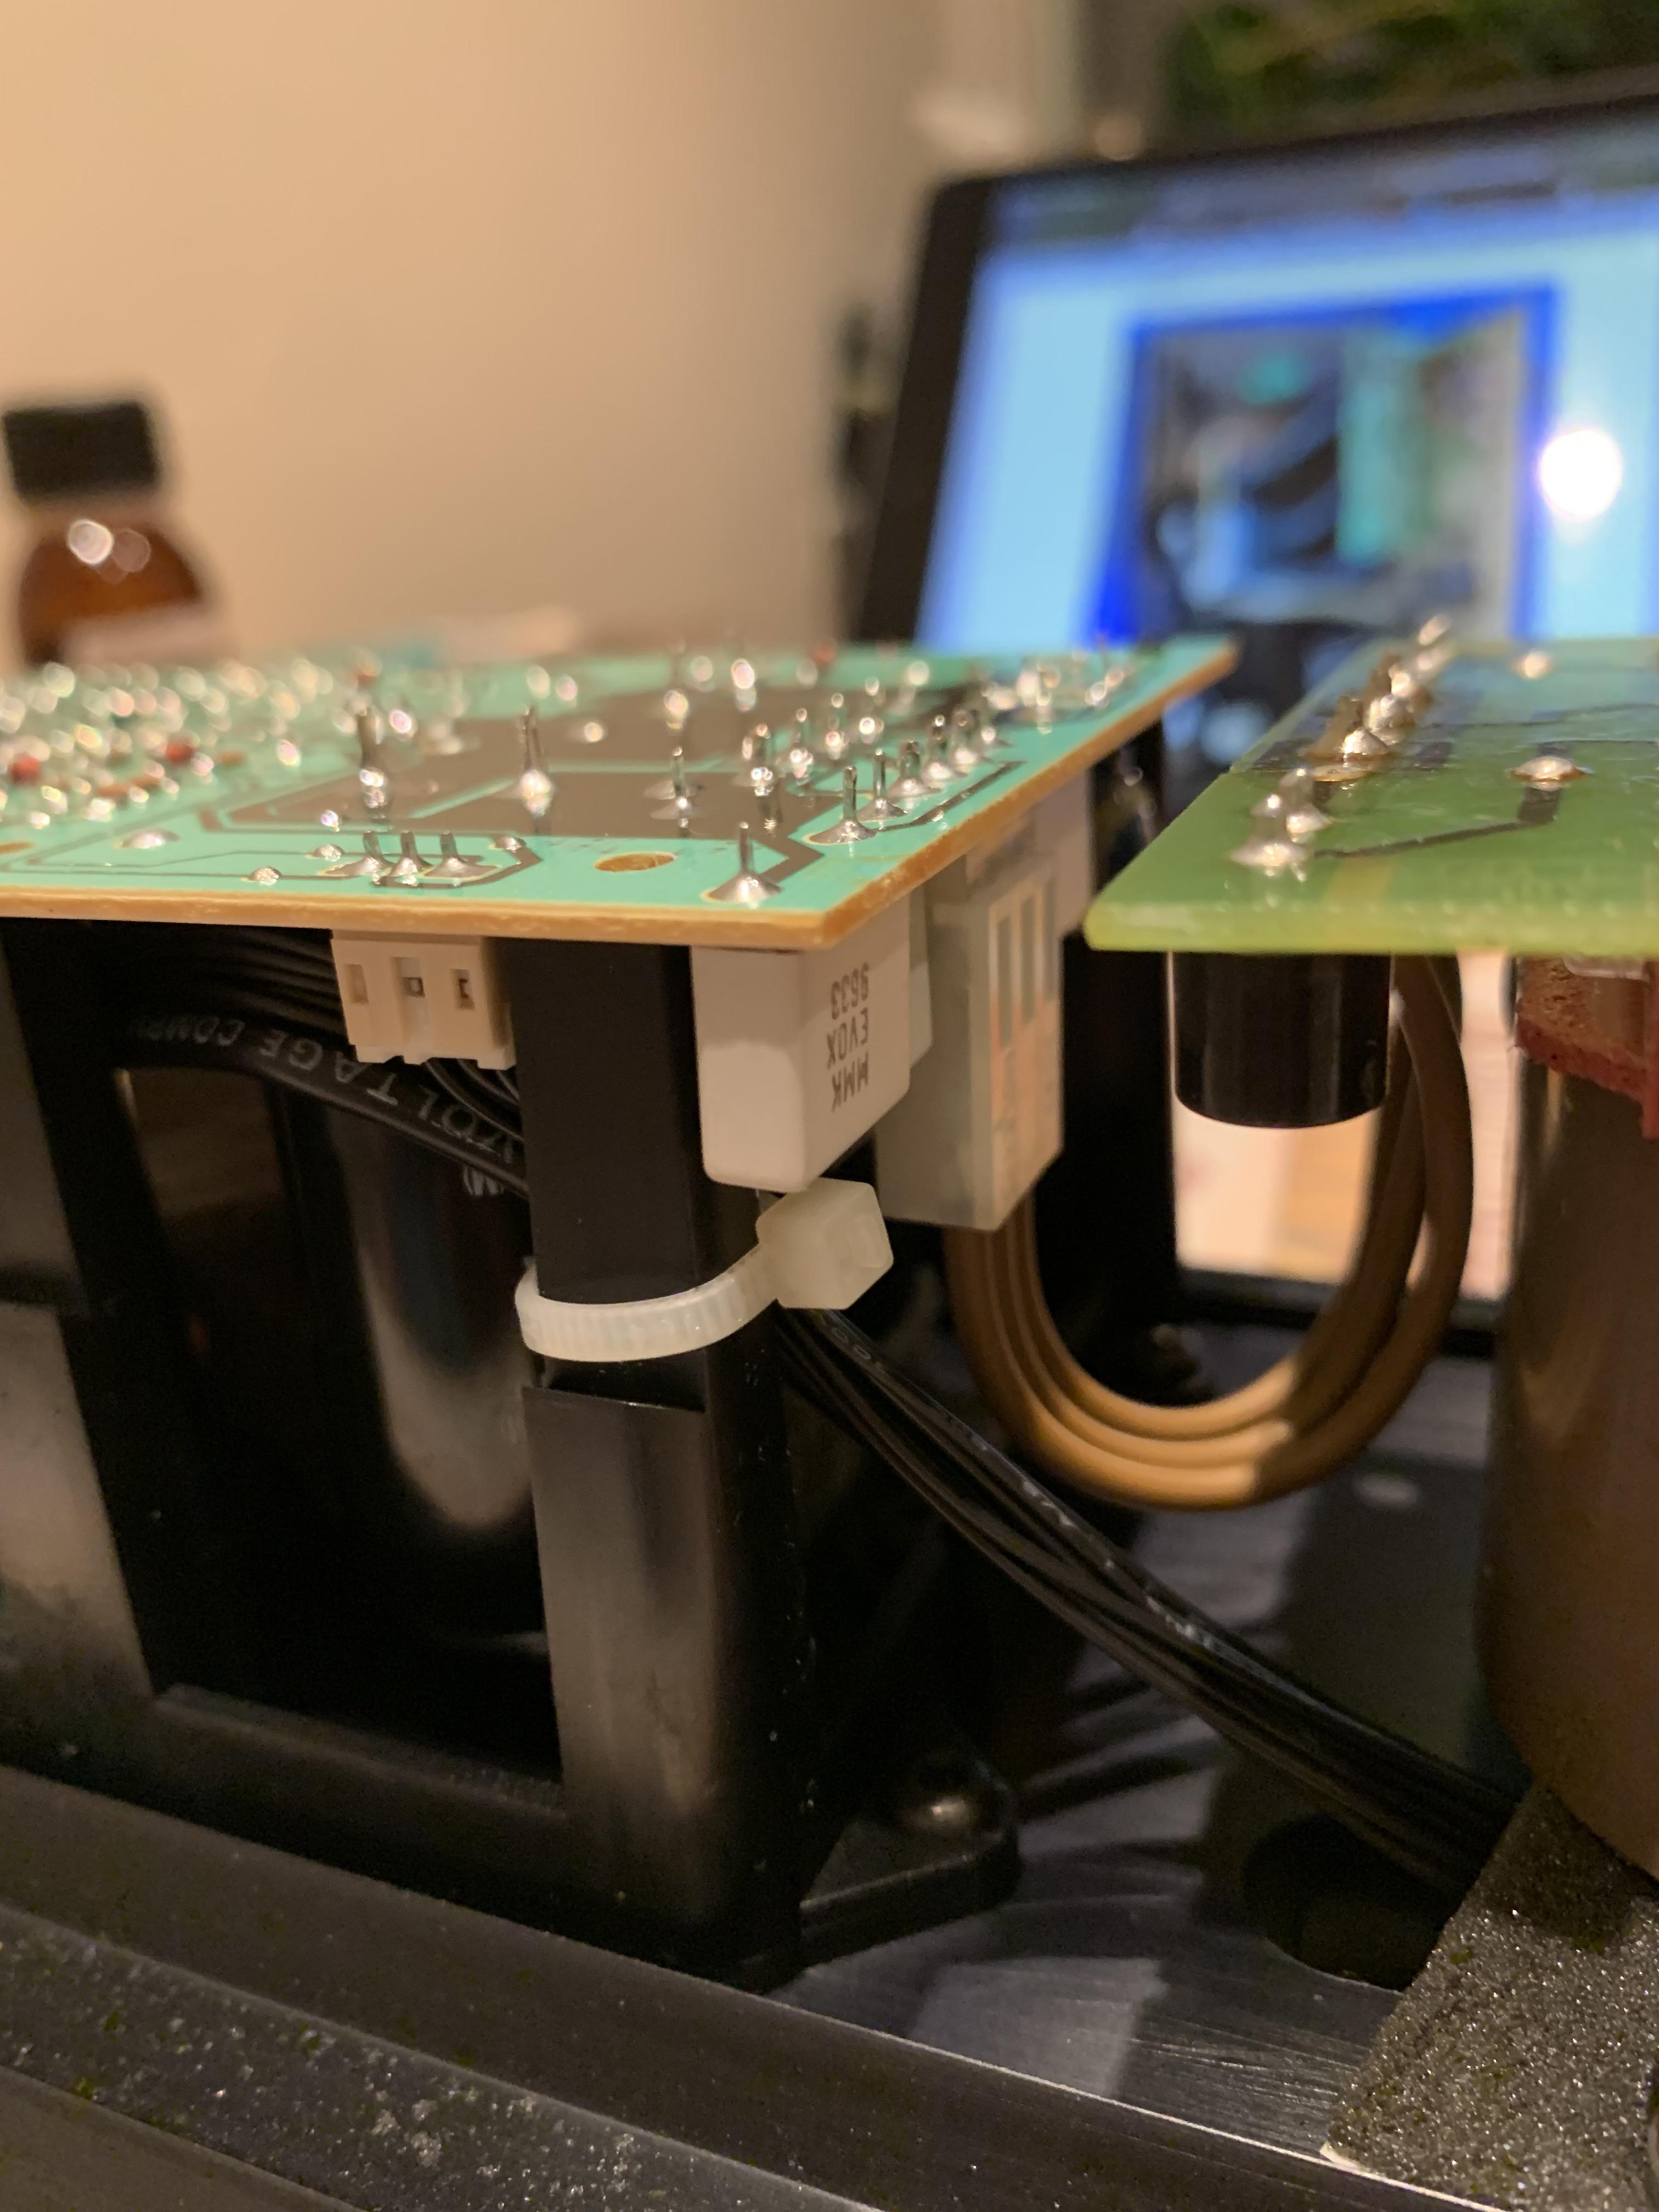
Because my speakers had fortunately not suffered much foam damage, I did not fully disassemble the amplifier board for cleaning. Instead, I cut the pictured white zip tie so that I could separate the two half with all wires still installed and slipped the new foam into place:

I buttoned everything back up and was pleased that each speaker worked. Big thanks to those who have tackled this before and shared their experience.
-
AuthorPosts

- You must be logged in to reply to this topic.