


Home › Forums › Product Discussion & Questions › BeoGram › Beogram 1902 Dust Cover
- This topic has 3 replies, 2 voices, and was last updated 2 years, 3 months ago by
 Jerrez57.
-
AuthorPosts
-
14 December 2023 at 04:14 #51274
 Jerrez57BRONZE Member
Gulp – hope some one can assist. Reinstating an old Beo system for my sister and found that on the Beogram 1902 there was a small metal angular plate and small plastic block floating free nder the cover. In a moment of madness I undid the other two screws and the cover popped loose but now struggling to get it back together – Did see a comment whilst searching NOT to take the cover off as it’s a B… to get back together – any suggestions or links on how to reassemble Many thanks
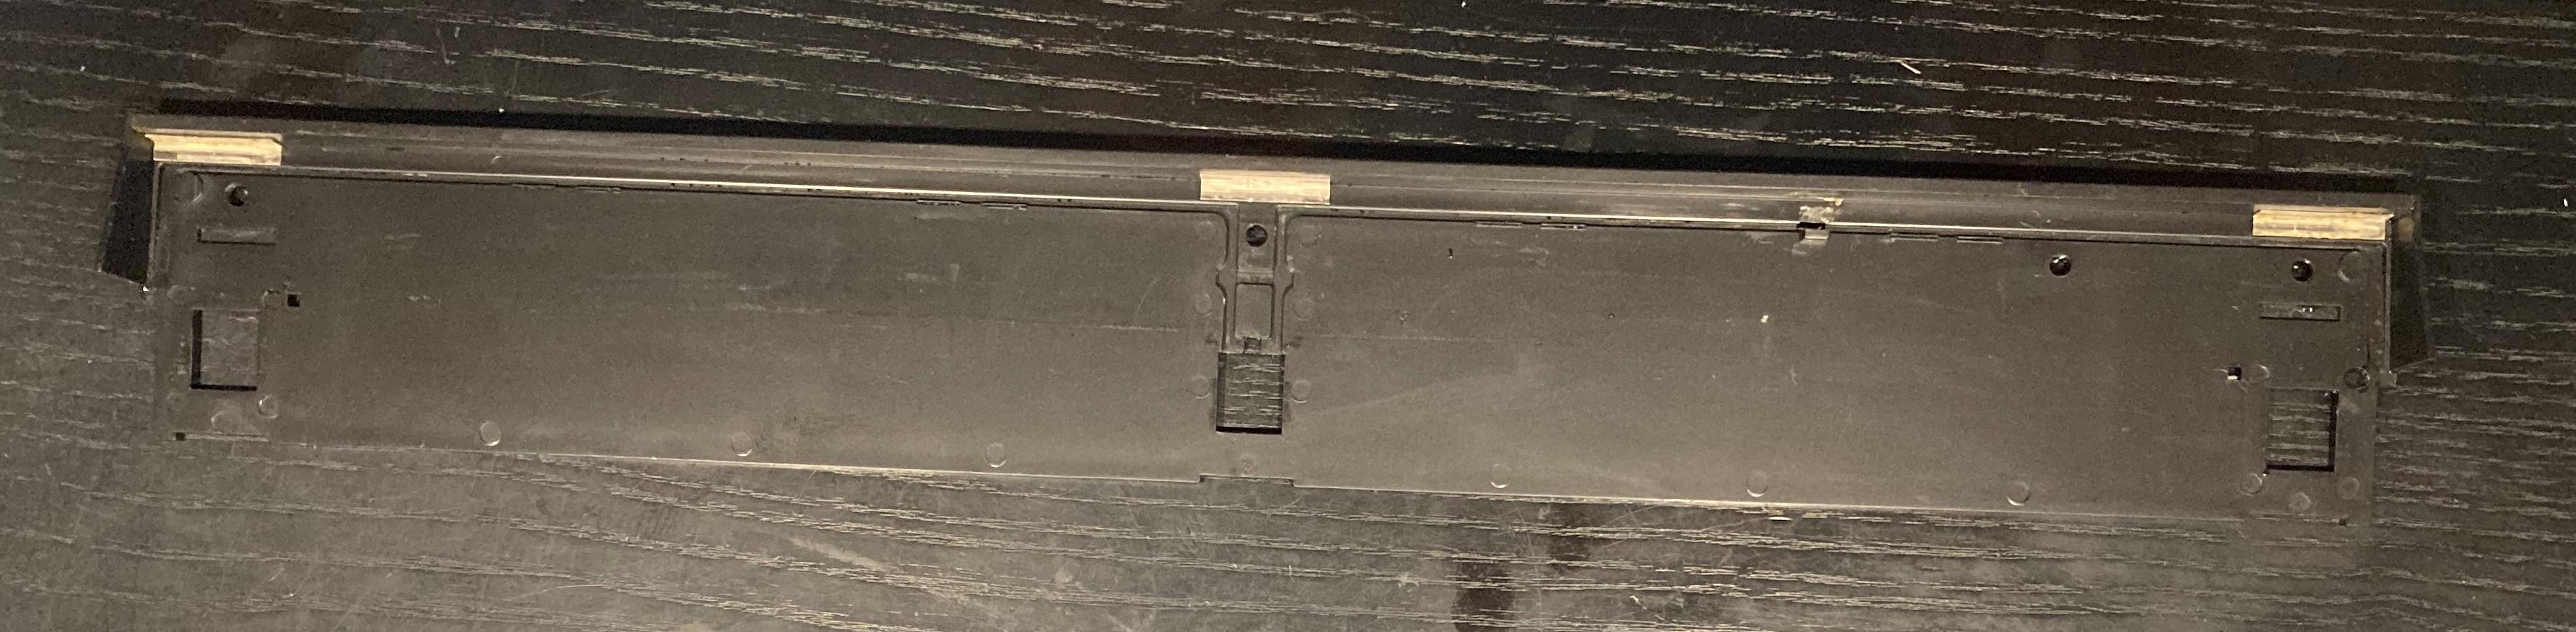
14 December 2023 at 18:21 #51275DillenModeratorLay the large black hinge bracket (the rear vertical plate) flat on the table with its backside down. Put it on a thin piece of cloth or similar to prevent scratches and scuff marks.
Place the three small shiny friction plates in place in the hinge bracket, so that they sit aligned with where the three holders will be (photo).
From little marks they have left, you can usually see where they sat previously, and you can glue them in if you find them difficult to control.Put the dustcover in place in the bracket, also lying flat on the table (in what would correspond to fully open position if upright) and fit the spring to the hinge bracket at the center with a holder, a screw and a washer. Don’t mind the springs ends at this point – just let them flap around as they please until the center holder has been fitted.
The spring has small round ends, that needs to run in the grooves at the ends of the dustcover, so make sure the spring is the right way up, or it will run with the sharp pointed ends in the groove and wear the grooves out in no time.Then grab one end of the spring with pliers, twist it to upright position and set the springs length down in the groove in the hinge plate (some hinge plates have small tags it needs to go around and between) and set it into the groove in the dustcover.
Often the spring will be able to sit by itself like this.
Put a black plastic holder in place, hold it with a finger or two while you lift up the whole assy and mount the screw and washer from the other side. Alternatively, keep it flat and slide it out over the edge of a table, just enough to fit the screw and washer from below.
Same job at the other end.
Takes a little practice but it’s a 2-minute job when you know how.
The above instructions for assembly of the dust cover, spring etc. is valid for the following
Bang & Olufsen models:Beogram 1100
Beogram 1102
Beogram 1500 (Type 57xx only)
Beogram 1600
Beogram 1602
Beogram 1700
Beogram 1900
Beogram 1902
Beogram 2200
Beogram 2202
Beogram 2400
Beogram 2402
Beogram 2404
Beogram 3400
Beogram 3404
Beogram 6000 (Type 57xx only)
Beogram RXThe square holders (friction brackets) are known to break.
New parts can be found here.Martin
14 December 2023 at 20:00 #51276Jerrez57BRONZE MemberDillen,
Thank you that is excellent and so easy to read as well. A few glasses of vino now but I’m all set for the morning and lesson learnt. I won’t be unscrewing anything else until I’ve taken photos and had a very good look at this forum
Regards Jeremy
29 December 2023 at 02:28 #51277Jerrez57BRONZE MemberThanks again for your response. A couple of bits.
- Do you know of anyone who might store replacement plastic hinges. I thought one of them was a different shape with a shamphered top but have realised it has actually sheared which was why the cover came loose.
- If not any ideas on any one who could possibly 3D print me one?
- On the cover assembly as an FYI I got quite frustratred trying to put it back together then I desicovered a curved ball that might help others. I actually laid the spring so that the U shape actually lies towards the cover at 180 degrees from where it should finally sit. Fixing the end hinges with the sharp ends floating around I was then able to pull the U shaped bit through underneath whilst easing the two spiky ends into the narrow groves on the back of the cover. Then attaching the middle hinge last of all. Worked perfectly apart from me realising it was broken BUT didn’t require any fiddling with plier etc.
- Thanks again for your previous guidance – Kind regards Jeremy Instone
-
AuthorPosts
- You must be logged in to reply to this topic.