Home › Forums › Product Discussion & Questions › BeoGram › Beogram 400+ control panel refurbishment
- This topic has 3 replies, 4 voices, and was last updated 1 year, 7 months ago by
jfrancis49.
-
AuthorPosts
-
9 June 2024 at 14:02 #56385
timornellas
GOLD MemberHas anybody been able to refurbish the steel control panel to remove the years of finger pressing marks please?
Attachments:
You must be logged in to view attached files.11 June 2024 at 01:59 #56425 BRONZE Member
Actually the marks are a wearing away of the matte finish. Some have simply removed the finish entirely or you can check out Rudy’s excellent blog entry at https://beolover.blogspot.com/2022/04/beogram-40024004-keypad-restoration.html.
12 June 2024 at 14:51 #56452Glitch
BRONZE MemberIn the Beolover blog, he writes: “Here is the keypad received back from being professionally coated, this new coating is more permanent – very durable and cannot be removed chemically (by cleaners, etc), and it’s also an excellent match for the frosty appearance:”. However, the exact specification of “profession coated” is not stated. This could be any number of things like powder coat, epoxy, two part urethane, etc. The level of gloss (i.e. flat, satin, semi-gloss) is also missing.
Does anyone recall any mention of the missing details?
This information would be invaluable to those that don’t have multiple keypads to experiment with. Also, considering that the parts are becoming increasingly rare, it would be a shame to lose some to unnecessary experimentation.
Glitch
14 June 2024 at 19:45 #56496jfrancis49
SILVER MemberHello,
I am not very electronic savvy but do investigate how to make the B & O equipment I do have look as good as possible, and I have learned by my mistakes in the process. Like don’t clean your matte finish Beogram platters with anything stronger than water.
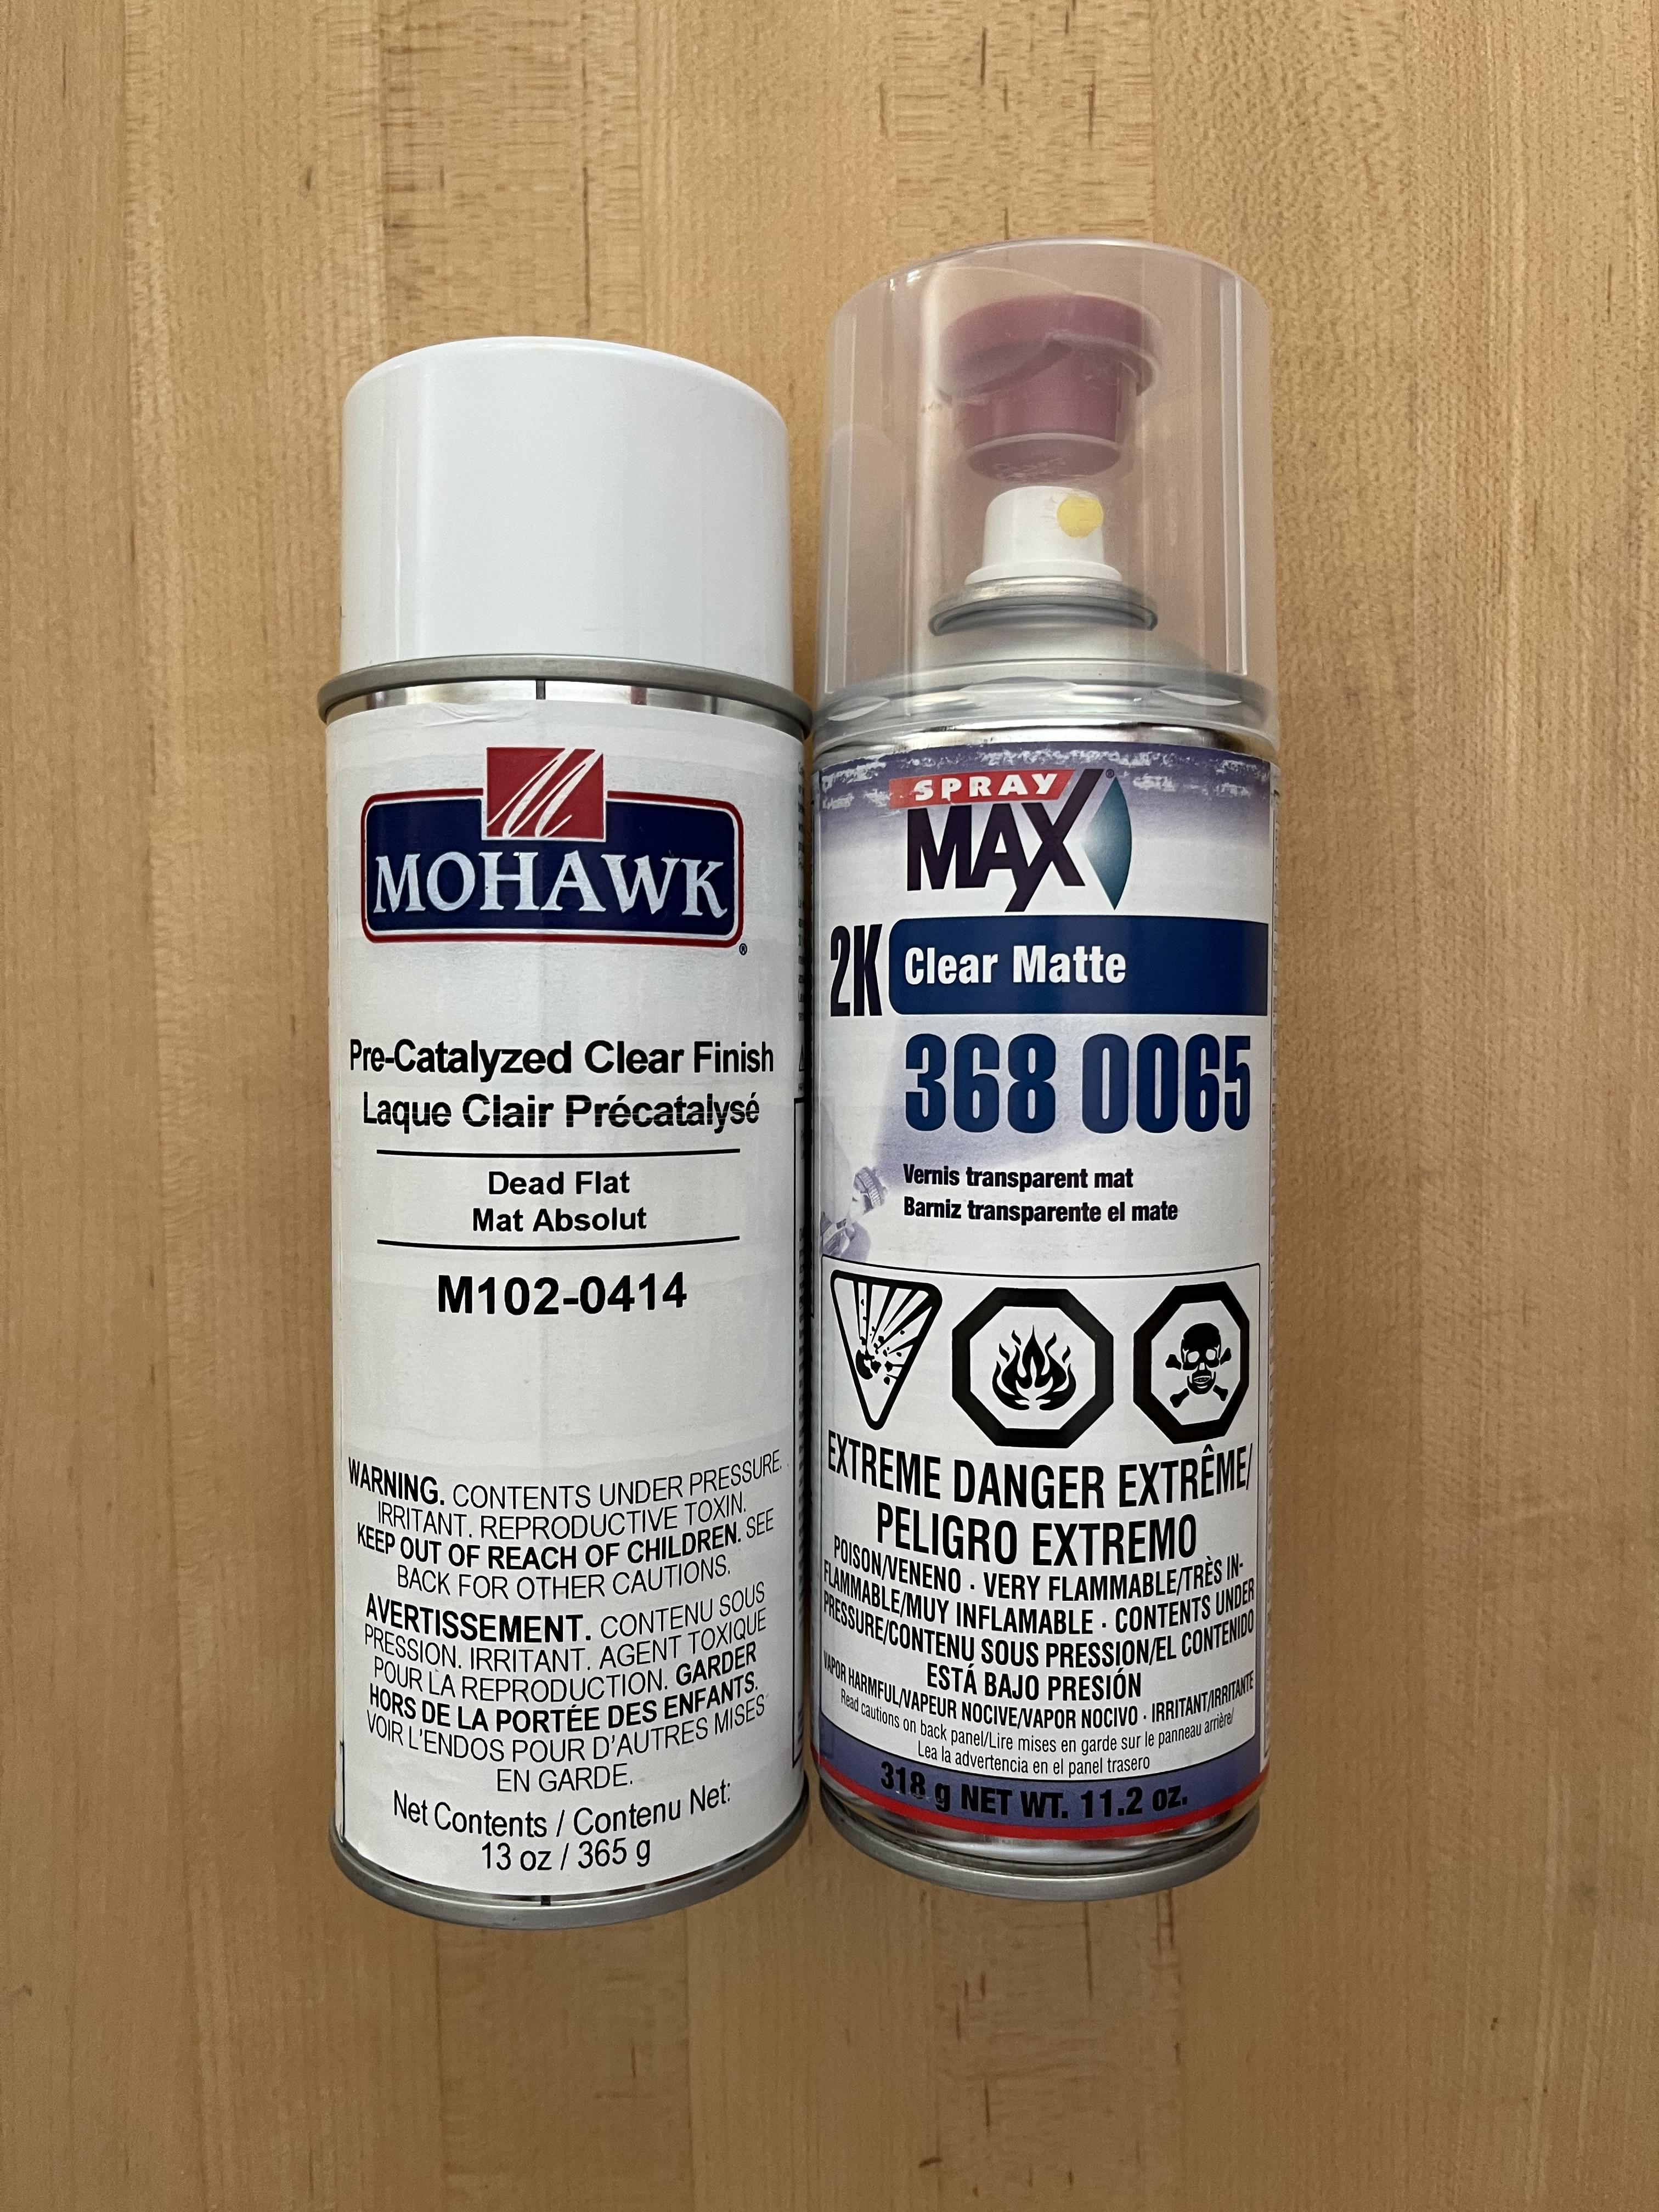
So regarding the keypad, have used Mohawk Dead Flat lacquer spray on the 4002 keypad with excellent visual results. The downside is it isn’t very durable over time if touched with your bare hands.
This was my process. You can do one of two things, completely strip the old coating off or spray over it. The first is if you want to completely strip off the old finish, tape off everything but your keypad, after removing the back control panel. In a well ventilated area get a cloth or cotton pads and use acetone to remove the old finish. Dampened the cloth don’t use excess acetone. The metal will end up looking shiny and you might think it has destroyed the look but it hasn’t. After removing the visible finish remove the tape and clean everything with warm soapy water. I have then carefully gone over the stepped metal with alcohol on a cloth to remove any streaks or you can use acetone again if careful.
After is dry I then tape off the frame and pads and spray the black areas with matte black where there is a gap at the top and bottom of the metal keypad. After several light coats of the black I remove the tape from the stripped keypad. Mask off any of the frame showing, but don’t worry about the black gaps you painted, those can be sprayed with the matte clear lacquer paint. You then can use the matte paint to spray the keypad, using several light coats. If you don’t want to strip off the old finish on the keypad, skip that step and go to painting the black areas first and follow the rest of the steps
This process worked for me and looked brand new, but won’t last too long under a lot of direct contact with oils from your fingers. You can use a cloth to touch the keypad when using your turntable or get a remote with plug-in panel from Beolover (Google him) or search eBay.
I chose the Mohawk spray lacquer because I read it was used to coat musical instruments which get a lot of handling. In my photo you will also see a can of epoxy matte. Epoxy is harder and more durable than lacquer but I am told by an automotive paint shop that any matte finish will get shiny over time with use. I have a keypad I completely removed from the control frame,that I plan on recoating with the epoxy. I advise extreme caution should you try to completely remove the metal keypad from the frame and the plastic keys behind it, it is easily bent and realignment of everything is tricky.
-
AuthorPosts
- You must be logged in to reply to this topic.


